
Is your email list looking a little short? Are you getting thousands of visits to your website yet only a few hundred people receive your emails? An email opt-in form could be exactly what you need.
Using an email opt-in form is one of the easiest ways to boost email signups on your site and create a sizable list of potential customers you can market to for years to come.
With Jotform, creating one is easier than ever. Here’s how you can create an email opt-in form today.


Why you need an email opt-in form on your website
Adding an email opt-in form to your website should be a top priority — if you haven’t done it already — because an email list can be a powerful marketing tool, writes social media marketer David Wouterson.
It opens up a one-to-one communication channel with your customers in a medium they check more regularly than social media. And you own the email list, which means there’s no chance of losing it because of a Google update or new social media fad.
How to create an email opt-in form
Creating an email opt-in form is easy with Jotform. You have three options to get the job done:
- Create one from scratch.
- Use a template.
- Import a form.
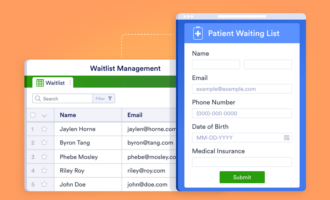
Using a template is the quickest and easiest way to get started. Jotform provides over a dozen ready-made templates that you can customize and use without having to code.
Creating your own form from scratch is easy too. Start by choosing your form type. A card form breaks down your form into steps. A classic form shows all of the fields on a single page — and it’s usually the best choice for a simple email opt-in form.
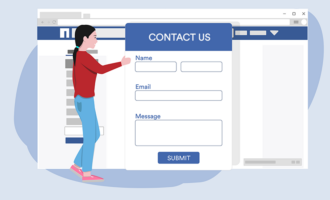
Next, drag and drop the fields you want from the toolbar on the left. In most cases, you’ll collect only the user’s name and email address. But if you want to collect any other information — like a phone number or job title — you can simply drag the appropriate field into your form.
You can make all of the fields required, meaning users must enter the information in order to submit the form.

How to make an offer they can’t ignore
Whether you’re using a template or creating a form from scratch, offering people something enticing is essential.
You’ll need to give users a good reason to hand over their email address, write Madison Jacobs, Jessica Mehring, and Dev Sharma at e-commerce platform Keap. “When a user is visiting your site for the first time, it’s expected that they don’t know anything about you, your business, or your website. Therefore, to attract a visitor to become your subscriber, you have to entice them with the sort of promotion or offer that they can’t ignore.”
This could be a free e-book, a discount, an online course, or something else that your customers consider valuable.
You don’t have to offer something up front, though. Website designer Jonathan Pavoni points out that another way to encourage users to hand over their email addresses is by using premium content. “By developing top-of-the-funnel premium content offers like industry reports, e-books, and guides, you can effectively attract new subscribers to your database,” he writes. In addition, you can further persuade users by letting them know how many people currently subscribe to your emails.
How to embed your email opt-in form in your website
Now that you’ve created your opt-in form, it’s time to add it to your site. Jotform’s online forms integrate with virtually all major website builders, including WordPress, Wix, and Squarespace.
Adding the form to your site is easy.
Head to the Publish tab in Jotform’s Form Builder, select the embed option, and click Copy Code. Next, open an editable version of your web page in your website’s CMS and paste the code where you want the form to appear. Hit save, and you’re done.
That’s how to create an email opt-in form and embed it into your website. It really is that easy with Jotform.
Image by: Brett Jordan


Send Comment: