
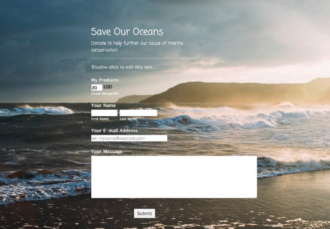
If you run a nonprofit, you know that consistently collecting donations is imperative to supporting your organization’s mission, increasing your impact, and magnifying the good work you do in the community. One of the best ways to make the donation process as easy and frictionless as possible is through a simple online donation page.
Donation pages have many advantages — they’re a breeze to share on social media and through email, they can increase donations if you optimize them, and they allow you to collect and track data that you can use to improve your fundraising campaigns.
One of the simplest platforms you can use to quickly set up a beautiful page for donation collection is Carrd.
Carrd is a website builder that you can use to create great-looking, responsive, one-page sites for multiple purposes, from personal profile pages and landing pages to simple portfolio sites.
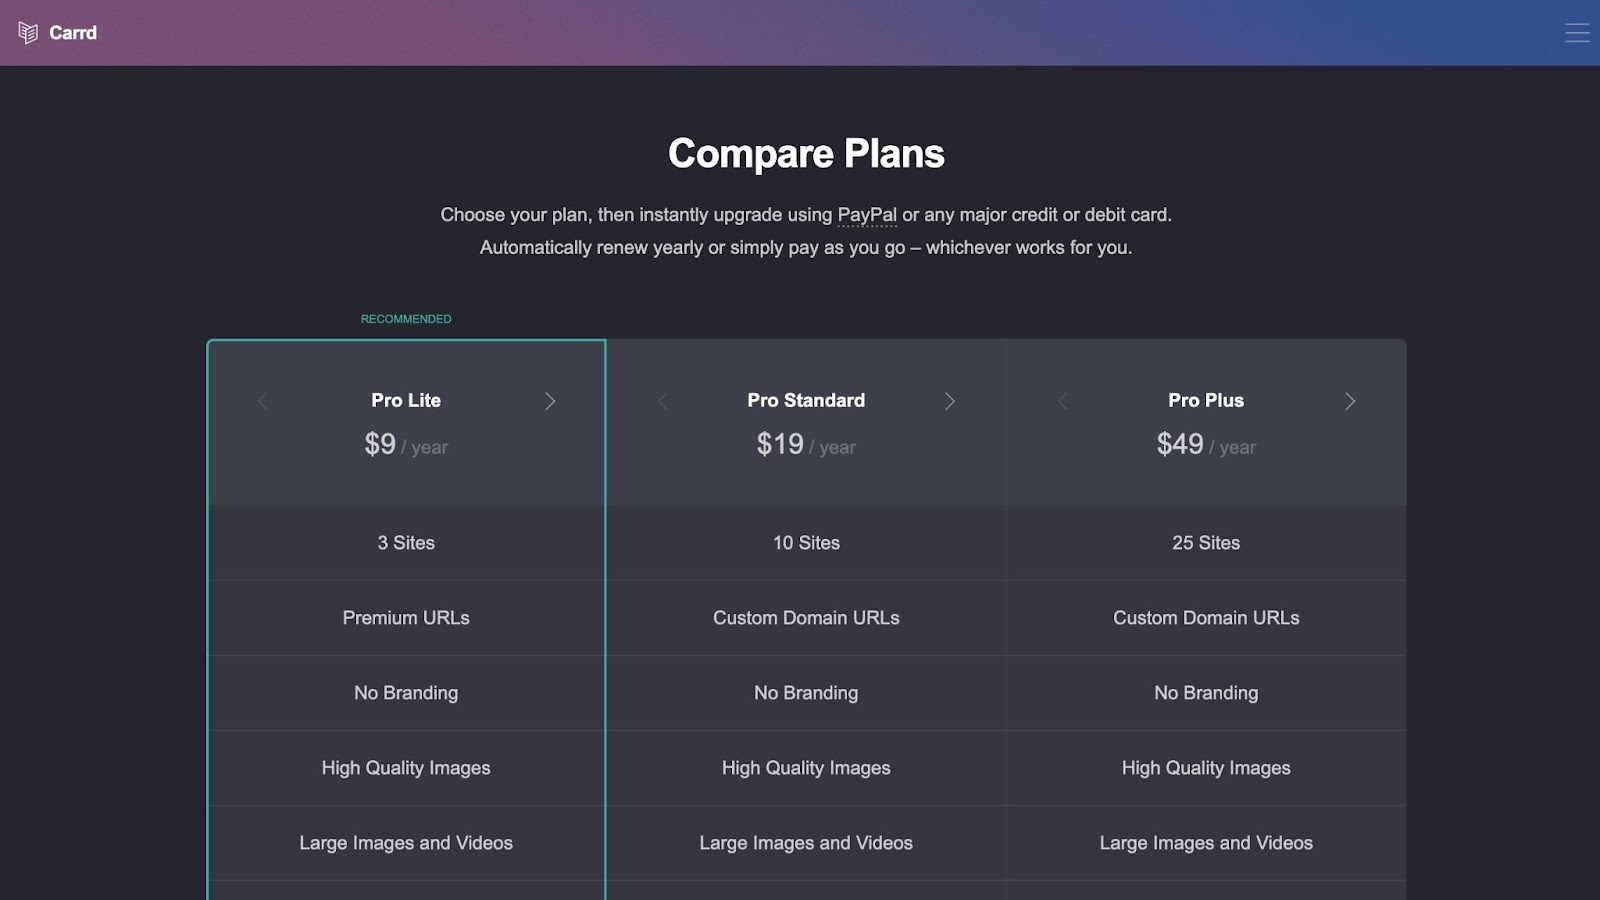
There are four plans to choose from: free, Pro Lite at $9 per year, Pro Standard at $19 per year, and Pro Plus at $49 per year. You can choose from dozens of templates to create your site or select a blank canvas if you want to start from scratch.
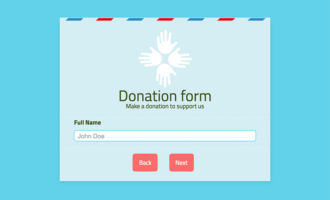
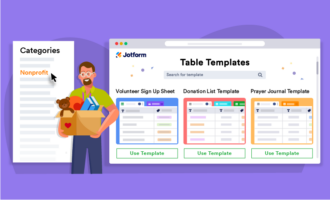
To begin collecting donations with Carrd, select the Pro Standard plan or higher in order to embed a donation form. You can easily create a donation form with Jotform, which has over 130 free online donation form templates to choose from. These forms are customizable, and you can easily embed them into a Carrd site or page.
9 steps to set up your donation page with Carrd
1. Go to Carrd and choose the Pro Standard plan. You have the option of testing Pro plan features free for seven days, with no credit card information required, but you’ll need a Pro Standard plan to embed a donation form. Enter your name, choose a password, and create an account to get started.
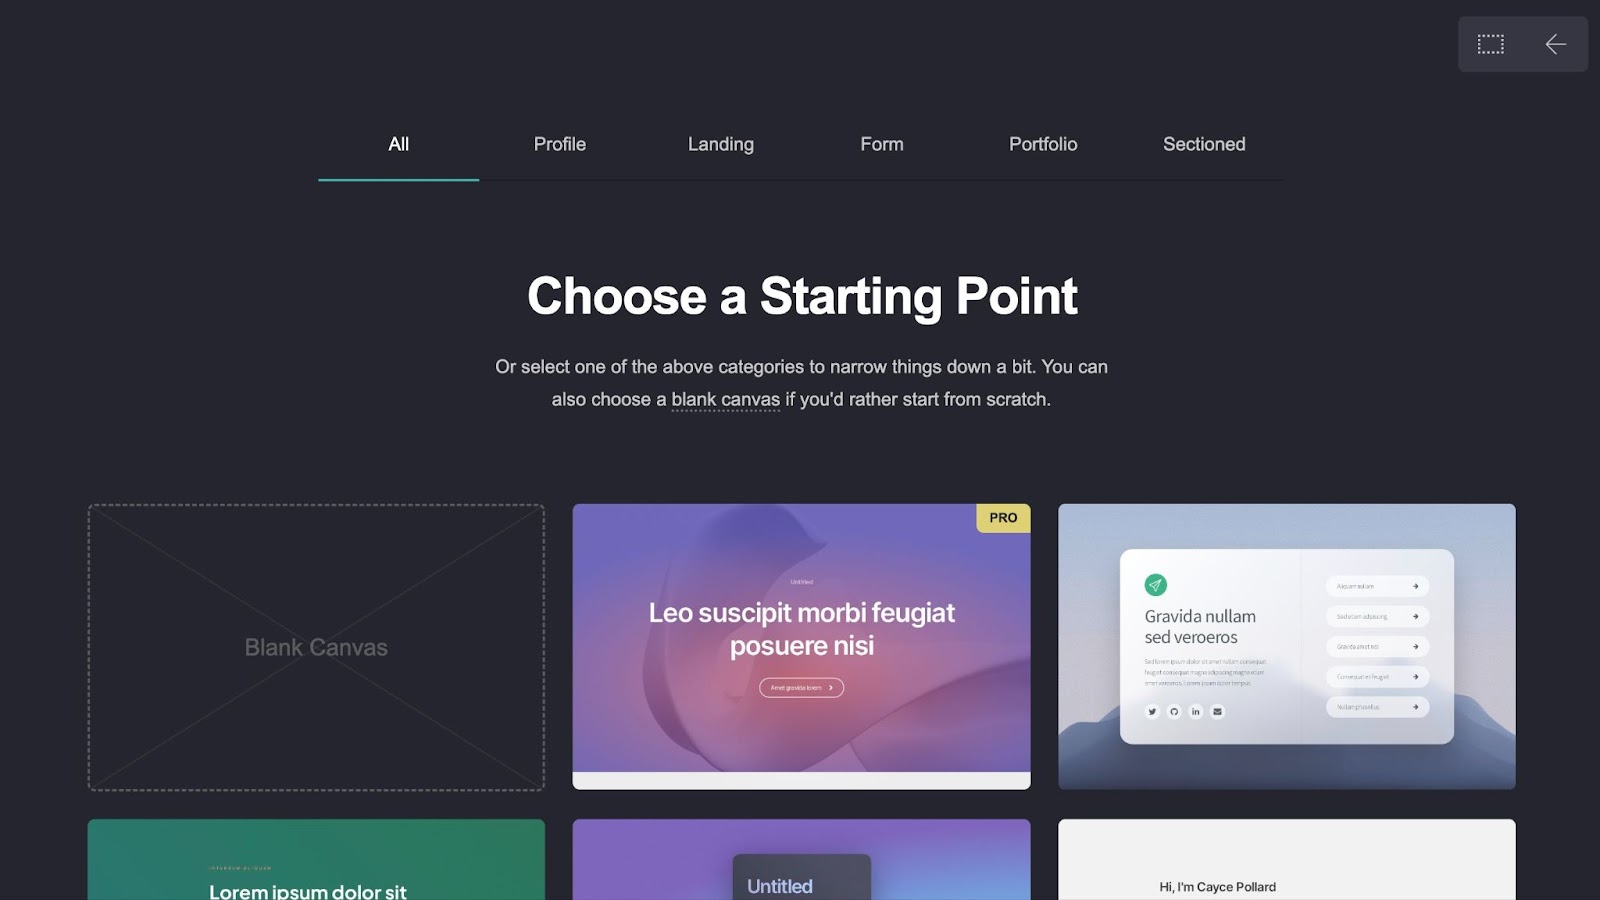
2. From the dashboard, click the + New Site button in the top right, then Choose a Starting Point. Select from among the five available formats — Profile, Landing, Form, Portfolio, or Sectioned (or choose a blank canvas to start from scratch).

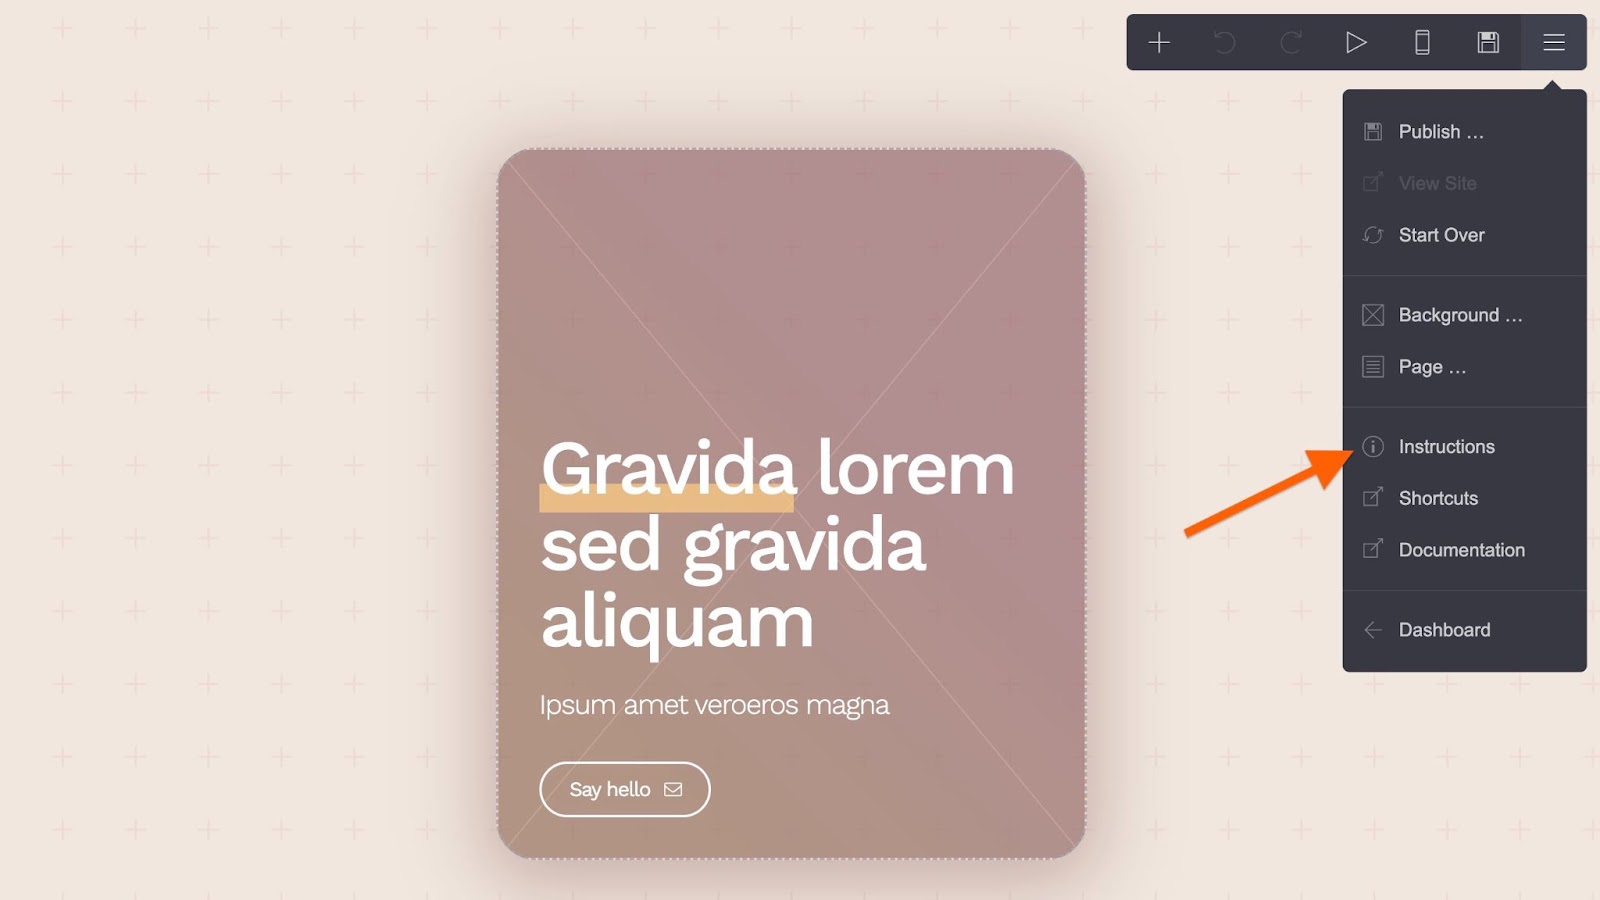
3. After you choose your layout, you’ll be taken to the site template, where you’ll see instructions on how to add elements (text, image, buttons, links, video, etc.) through the toolbar at the top right. To pull up these instructions at any point, click the hamburger icon (the three horizontal lines) in the toolbar and click on Instructions.
The instructions will help you get acclimated to everything you can do. Once you’re ready to get started, click on Okay, got it! in the bottom right corner of your screen.
4. Use the hamburger icon in the toolbar to select Background. Create your background using the toolbar that pops up along the left side of the template screen. You can upload an image or choose a color, among other options.

5. Use the hamburger icon to select Page. Choose and design your preferred page elements using the toolbar on the left side of the screen.

(There are many options to play around with when you’re building and designing your page inside Carrd, but they’re outside the scope of this article. Luckily, the platform is intuitive and easy to navigate, so you should have no trouble creating a great-looking donation page with a little practice — especially if you opt for one of the pre-made templates.)
6. If you’ve selected the Pro Standard or higher plan, you’ll now be able to embed a Jotform donation form into your page by clicking on the + sign in the menu bar at the top right of your screen and selecting Embed.

7. Simply embed your donation form. Learn the four simple steps for getting the embed code for your Jotform form here.
Jotform’s forms are customizable, and your embedded form will display as you’ve designed it. You can view the data you collect through your form in Jotform Tables or through other tools, such as Google Sheets, Excel, and several others via Jotform’s integrations.
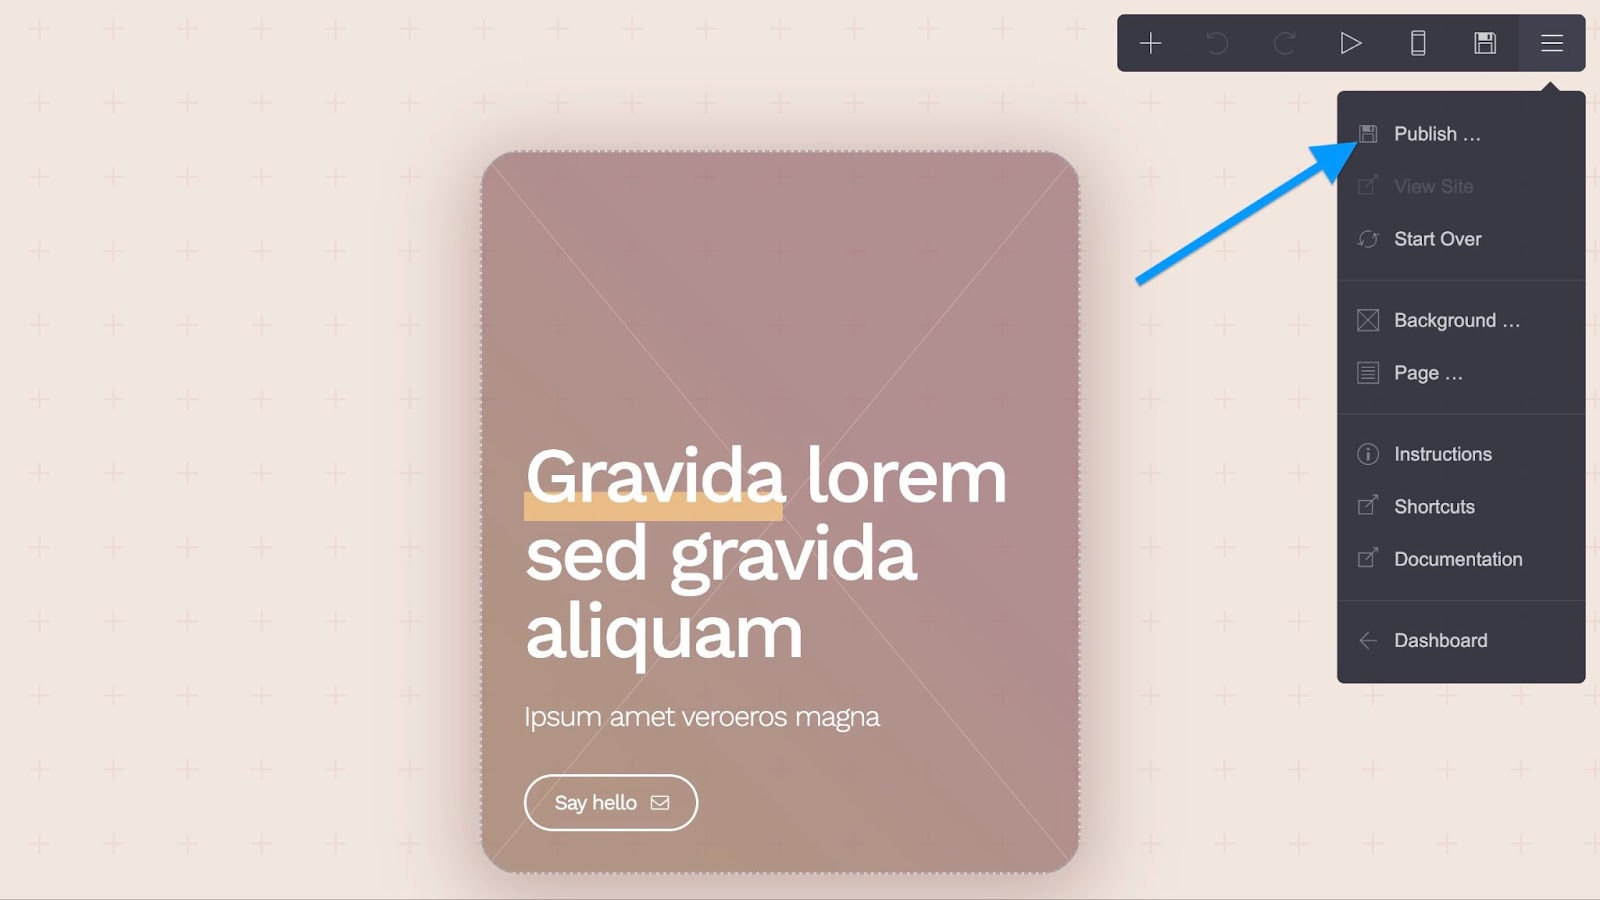
8. Once you have everything ready and to your liking, click Publish from the hamburger icon at the top right of your page. (You also have the option to Start Over at this stage if you need to.)
9. Finally, it’s time to promote your page. Share it on social media and with your donor database via email. Link to it in all your donor appeals and on your main website. Add the donor page link to your email signature, share it with local media, and ask your supporters to share it with their networks — you get the idea.
A donation page is a simple, powerful tool to raise money for your organization’s mission. With Jotform and Carrd, you’ll be able to set up a beautiful, responsive donation page in a single afternoon and begin collecting donations as soon as you promote and share your new page with supporters.
Collect donations with Jotform
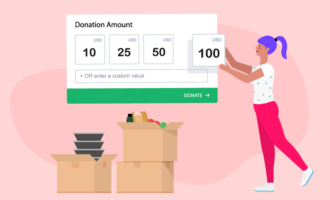
Did you know Jotform has integrations with 30-plus payment processors? When you create a donation form, you can add multiple payment options, so donors have more flexibility in how they contribute. What’s more, Jotform doesn’t charge you for using a payment integration. There’s even an option to collect recurring payments.
If you want to give donors an even more convenient way to support your mission, you can build your own mobile app with Jotform Apps. With our no-code app builder, simply drag and drop elements to design your app, then incorporate the Donation Box element, which offers the same payment processor options. You can add forms to your app for volunteer recruitment, event sign-ups, and more to create a one-stop resource for your supporters. You can also organize and manage all your donor information with a spreadsheet in Jotform Tables. That way, you can keep all of your data in one place, instead of sifting through multiple apps and platforms to find what you need.


Send Comment: