Zapier is an automation tool that connects your favorite apps in simple steps. Its flexibility allows you to integrate apps conveniently. You can interconnect two or more apps to automate repetitive tasks without coding or relying on developers to build the integration.
While you can create a Zap through the form builder, doing the same is also possible through Zapier’s website. Plus, you can choose Jotform as Action to perform an event after your first trigger. Let’s start.
- Go to Zapier’s website, and log in.
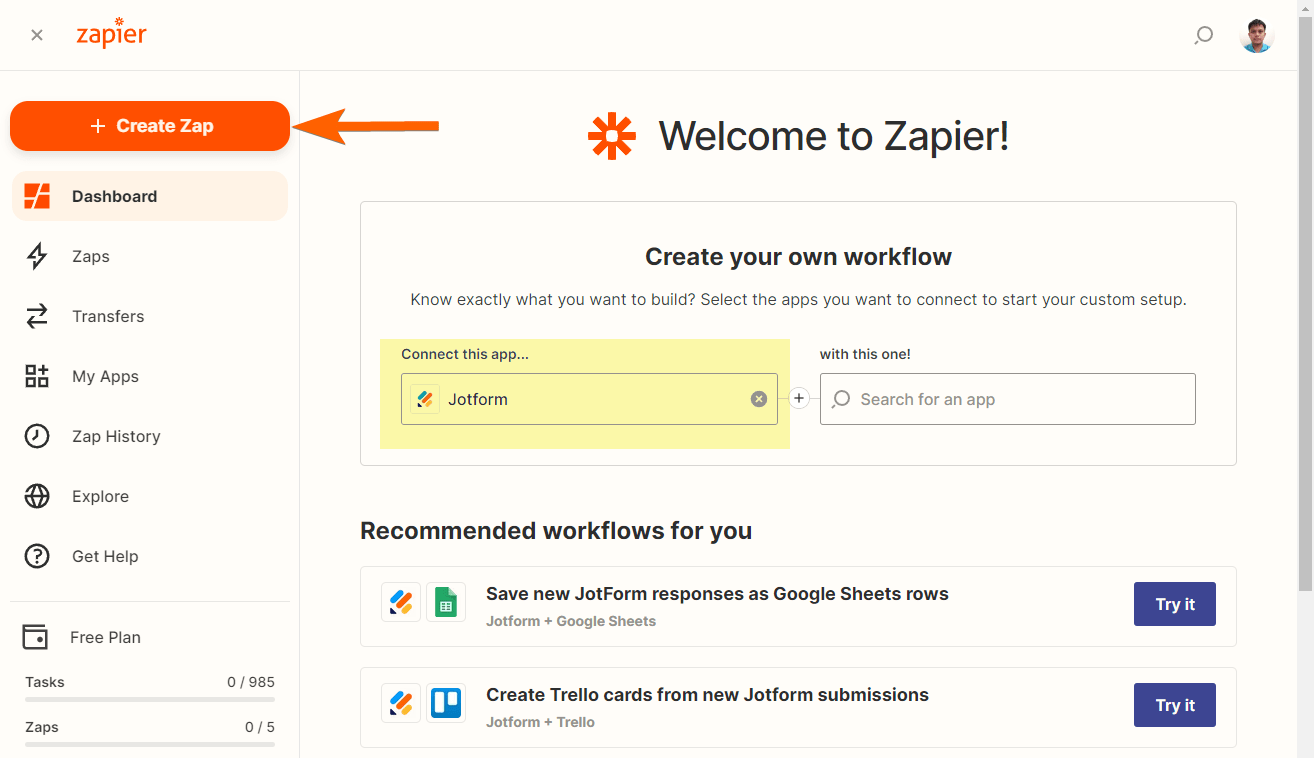
- In Zapier’s dashboard, you can start creating the Zap by either clicking the Create Zap button at the top of the sidebar or through the “Create your own workflow” boxes.
Setting up Trigger Event
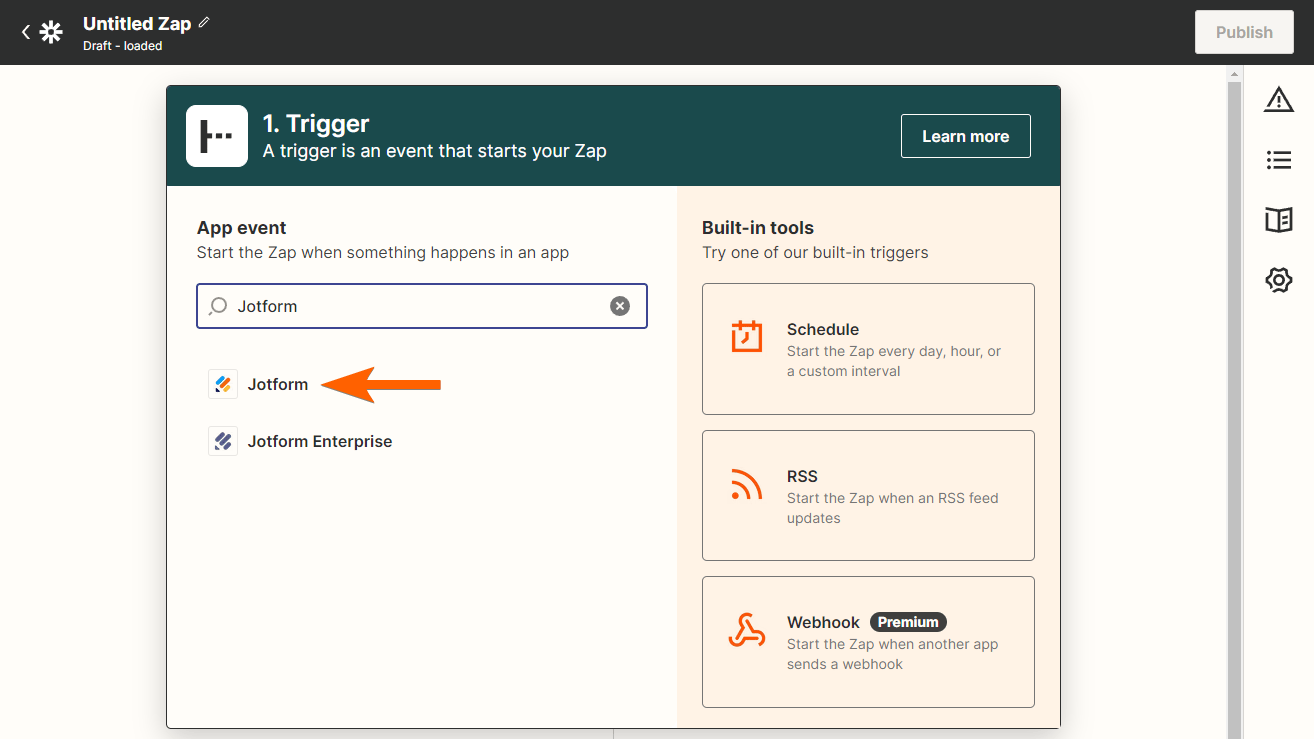
Jotform forms can send a trigger to Zapier when a new submission is received. Assuming you clicked the Create Zap button, you have to search Jotform in the next window. You have two options; Jotform and Jotform Enterprise.
- Since you will be integrating Jotform, click Jotform from the list to proceed.
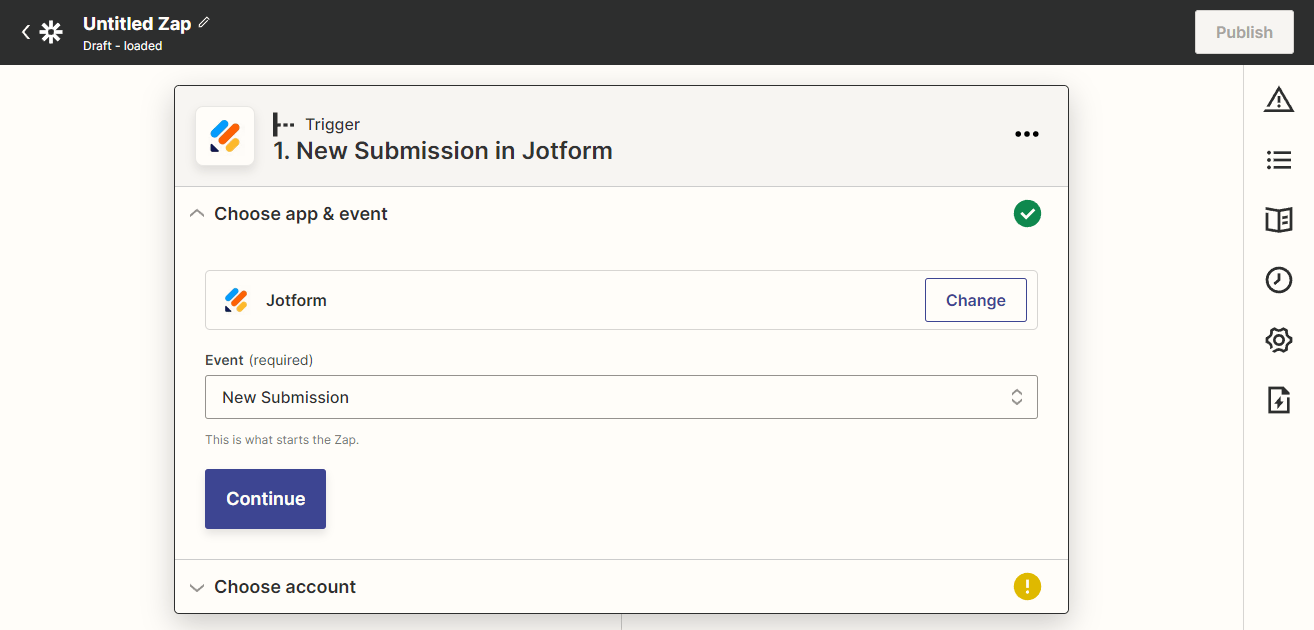
- You will need to set up the following to complete the setup at the Trigger event:
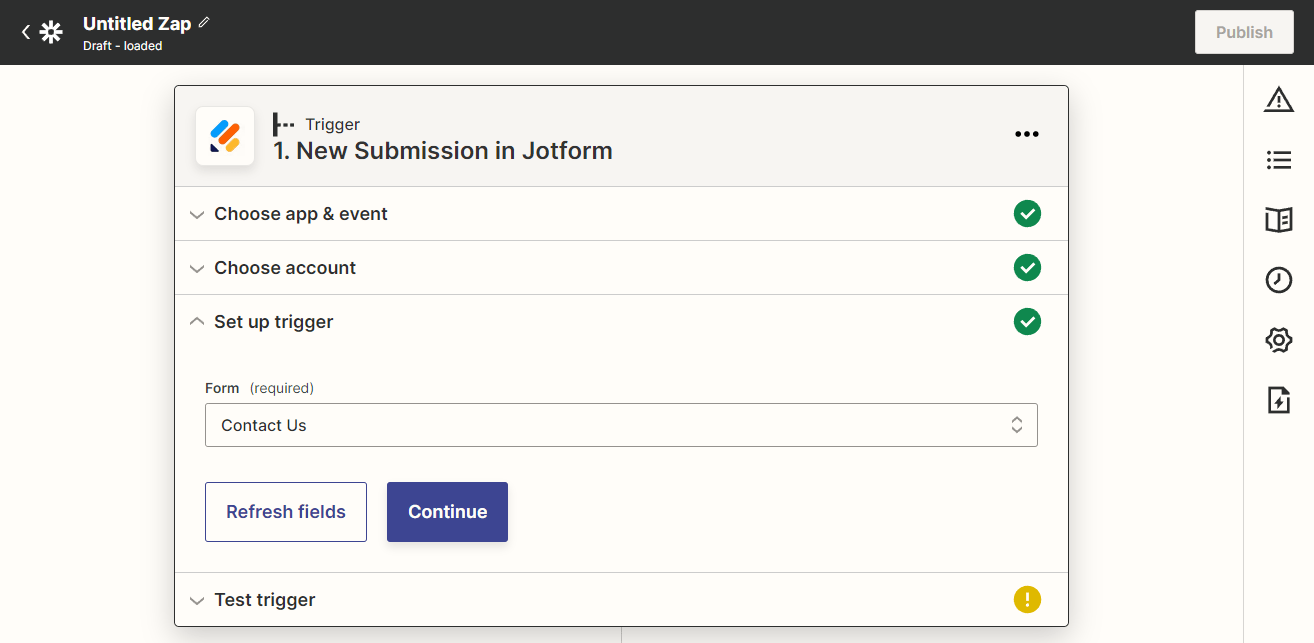
- Choose App & Event. The app will be Jotform, which Zapier automatically selects upon selecting Jotform at the first step. You have to choose New Submission from the Event dropdown.
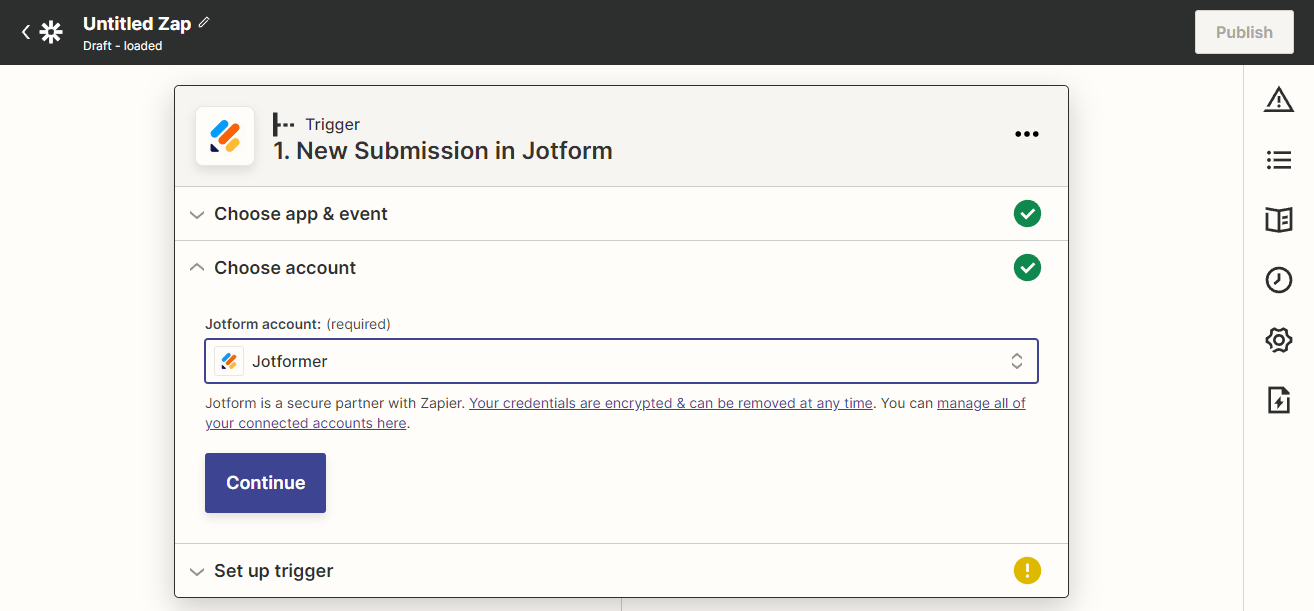
- Choose Account. You have to select your Jotform account from the list. You may need to connect your account if you haven’t done it yet.
- Set up the Trigger, which will be to select your form.
- Test the Trigger. Zapier will need to confirm if your setup is ready for the next step.
The images below cover the above steps. Click the images to view them fully.
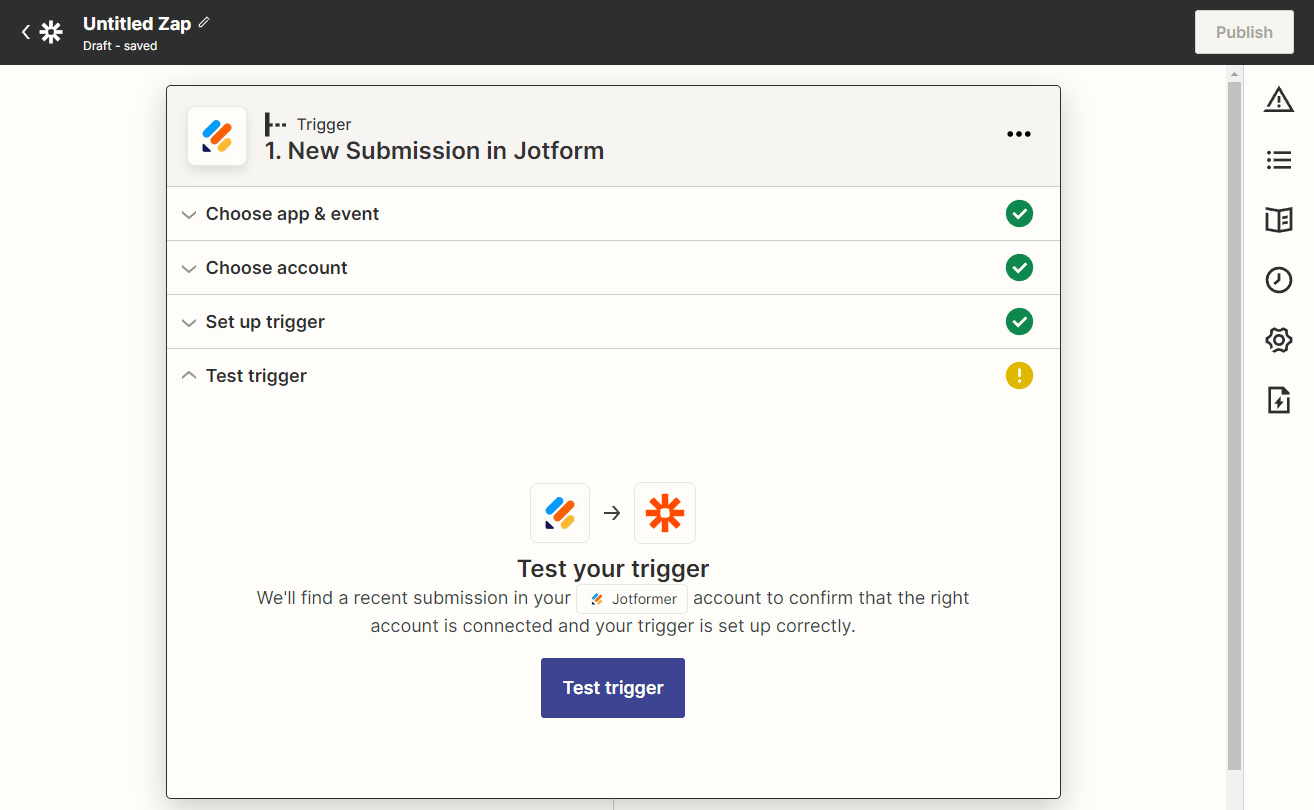
Zapier will fetch your existing submissions in the selected form when testing the trigger. If it’s a new form with no submissions, Zapier will create/load test data.
- If the test works, you should see the below screen with a confirmation of a new submission. Click the Continue button to set up the next part of the Zap, setting up the Action event.

Setting up Action Event
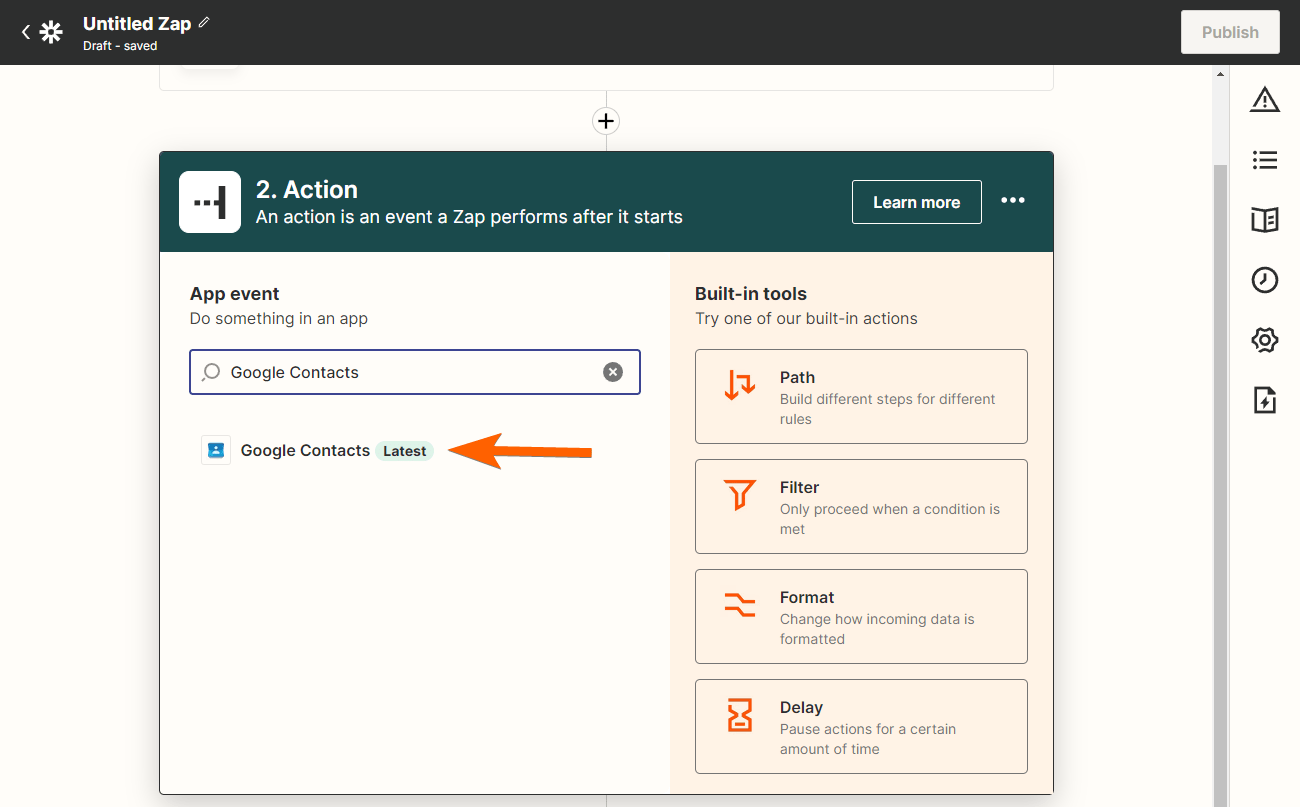
After setting up your Zap trigger, the next step is to add an action to your Zap. An Action is an event your Zap performs when your trigger event occurs.
- Let’s choose Google Contacts as an example. Search and click Google Contacts from the list.
- Similar to setting up a Trigger, you will need to set up the following:
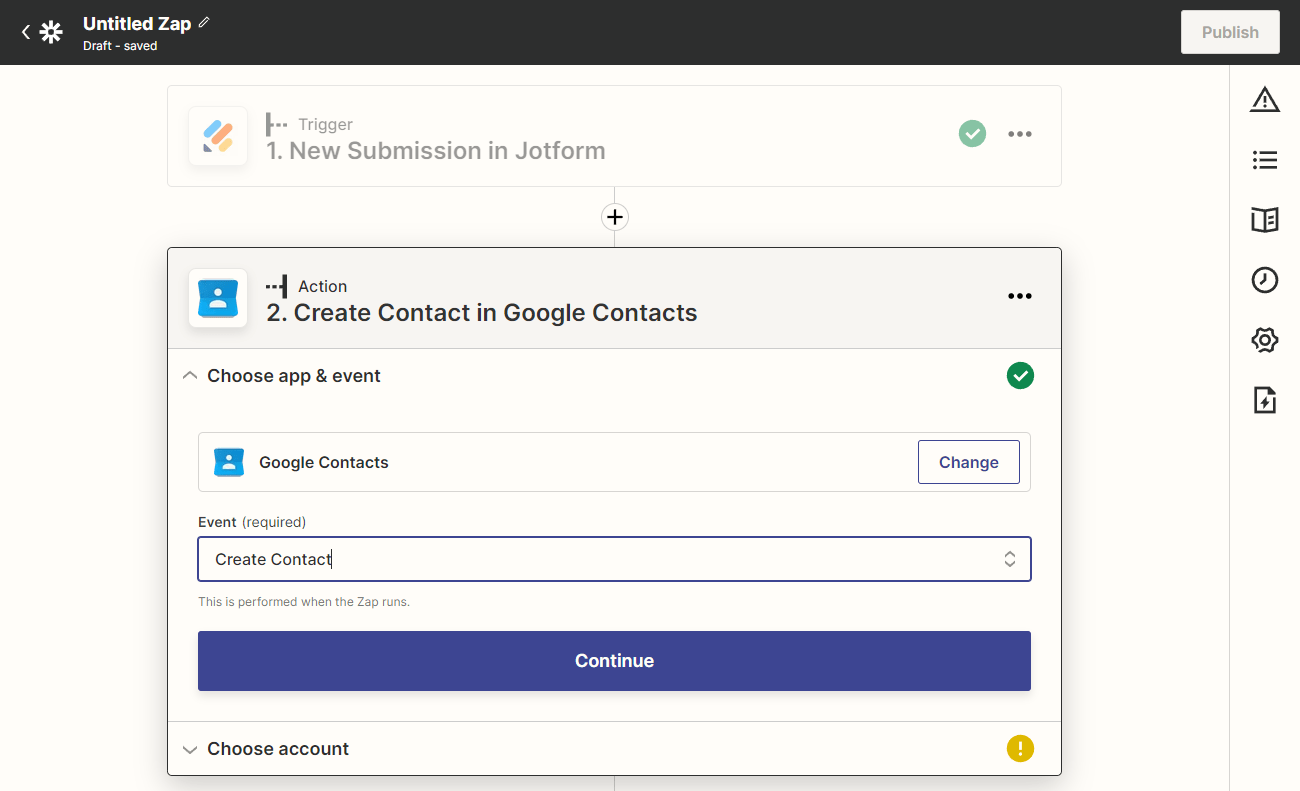
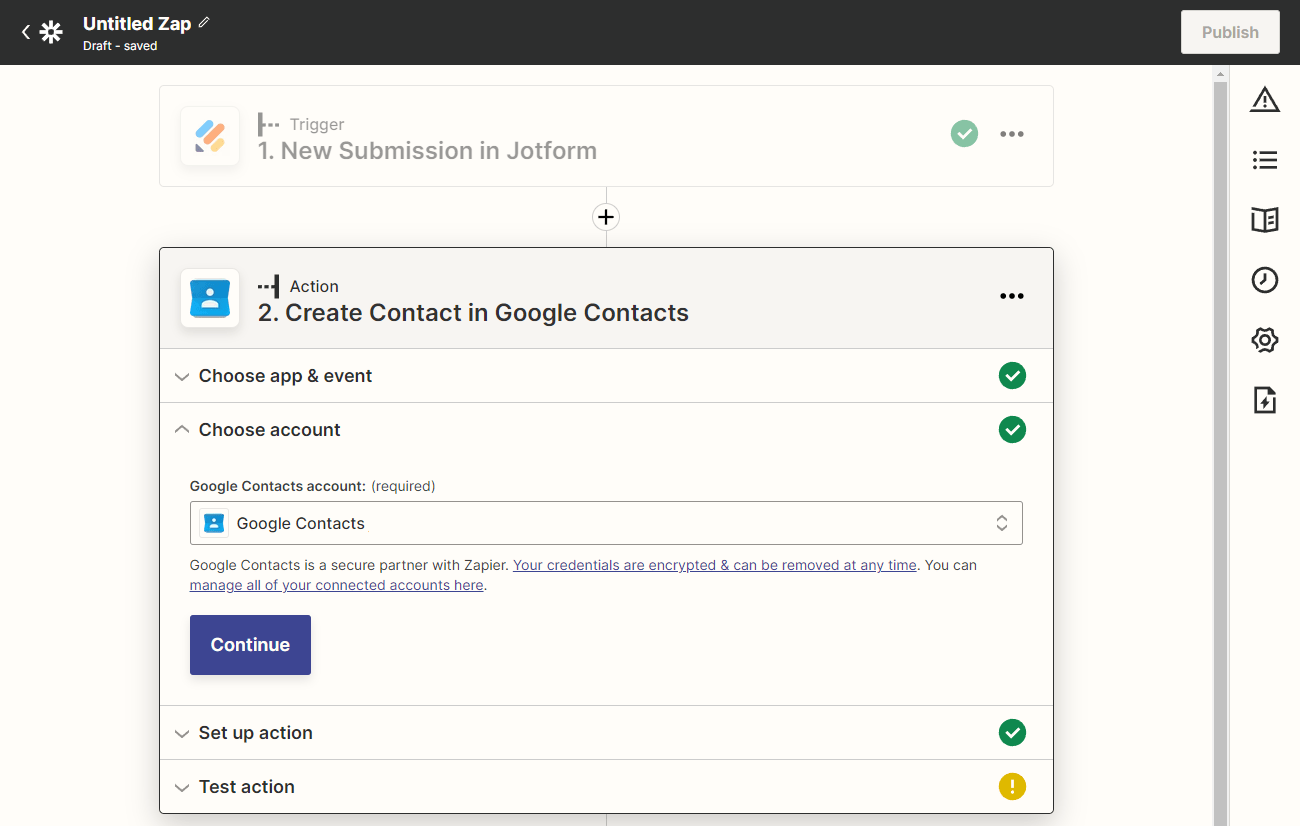
- Choose App & Event. Zapier automatically selects Google Contacts as the app. You can select multiple events with Google Contacts, but we will be choosing Add Contacts in this scenario.
- Choose Account. You have to select your Google Contact account from the list.
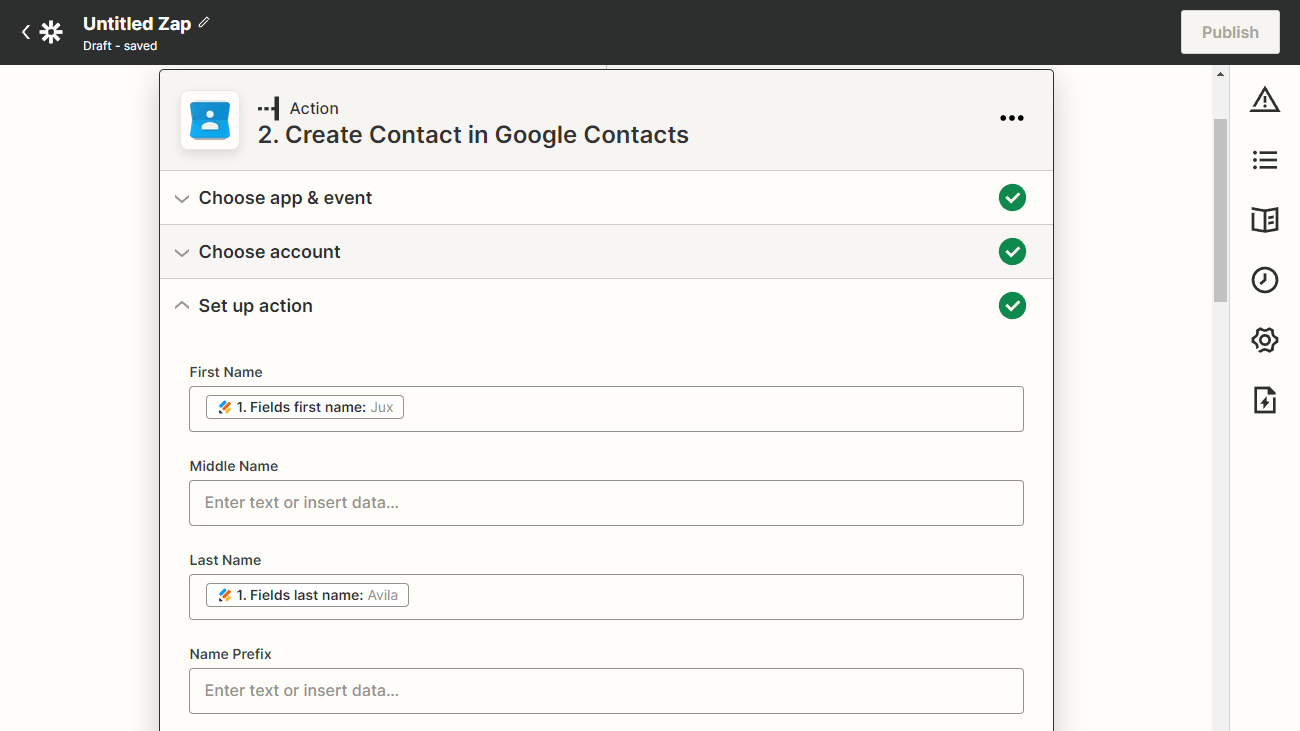
- Set up Action, which will be to map your Jotform form fields to your Google Contact fields.
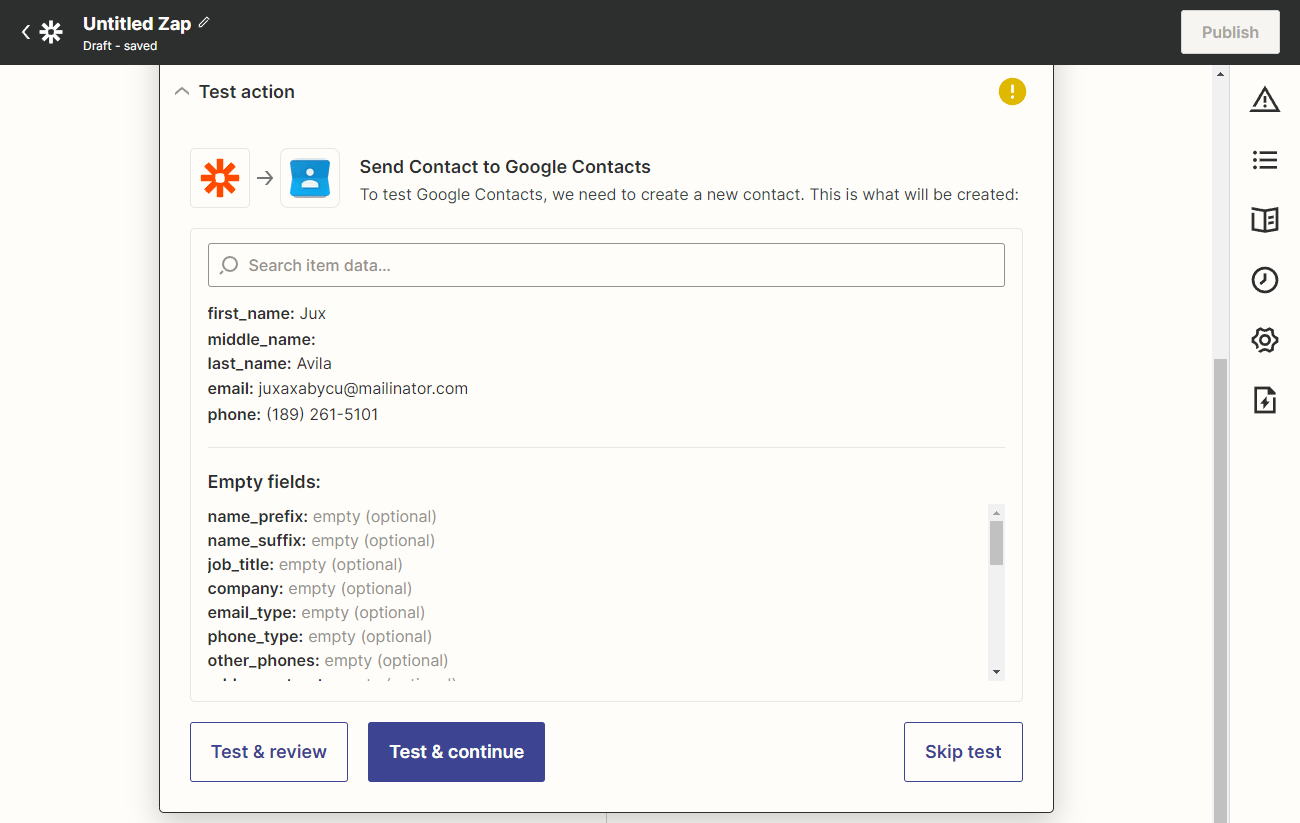
- Test the Action. Zapier will need to confirm if everything is in order and your Zap is ready to be published.
Click each of the images below to view them fully. Each of them covers the above steps.
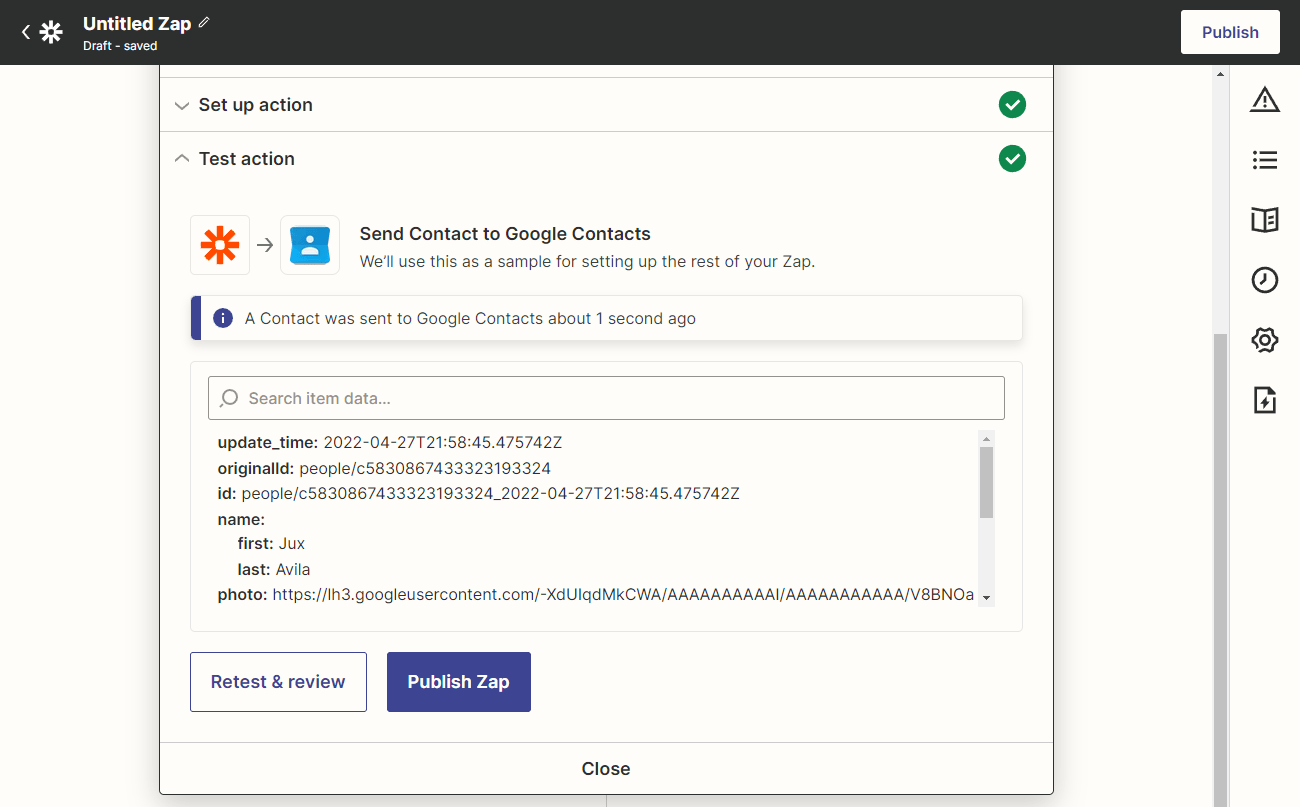
- Zapier will send the contact details to your Google Contact account if the test works. Finally, click the Publish Zap button to complete the Zap and exit the setup.
Setting up Jotform at Action Event
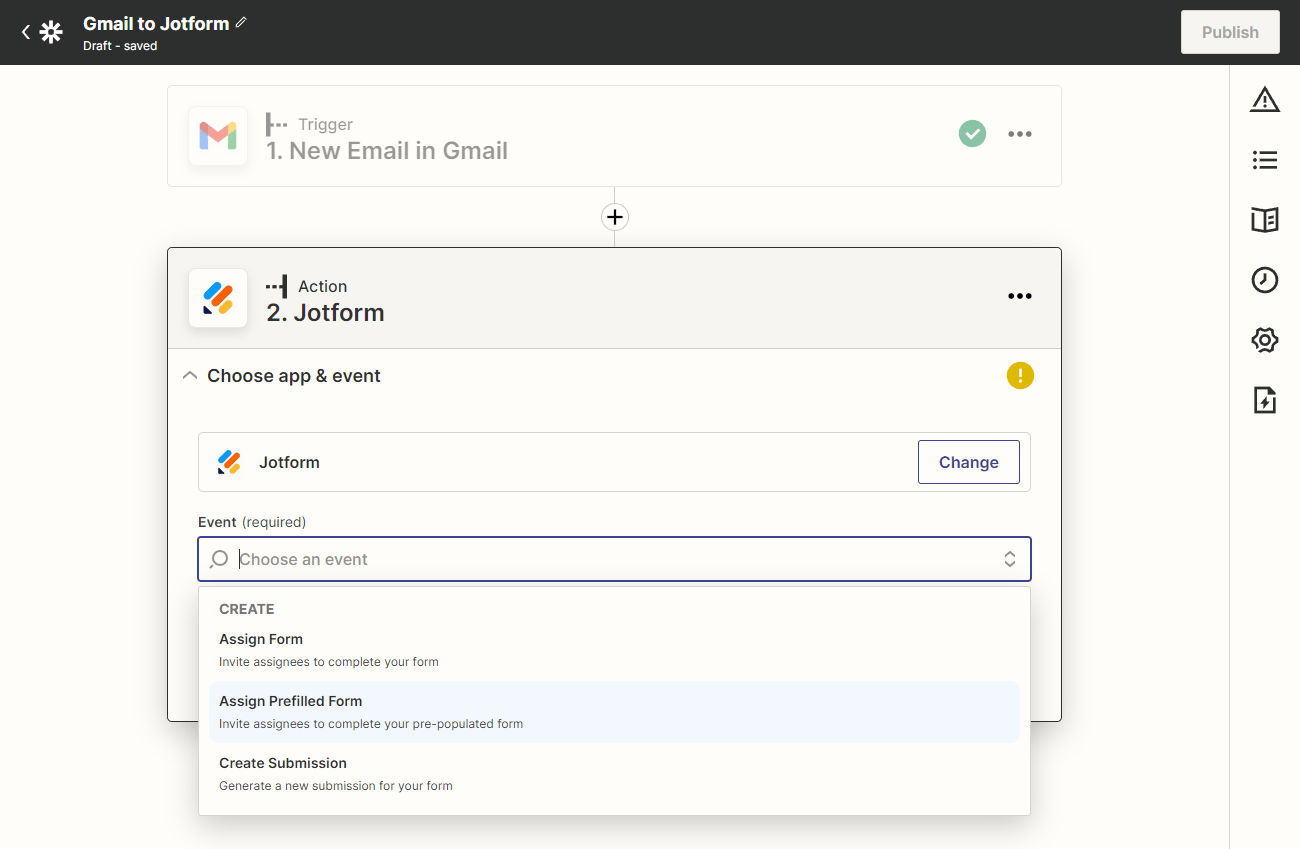
As we mentioned above, you can choose Jotform to perform an Action. You can select the following events when choosing Jotform:
- Assign Form
- Assigned Prefilled Form
- Create Submission
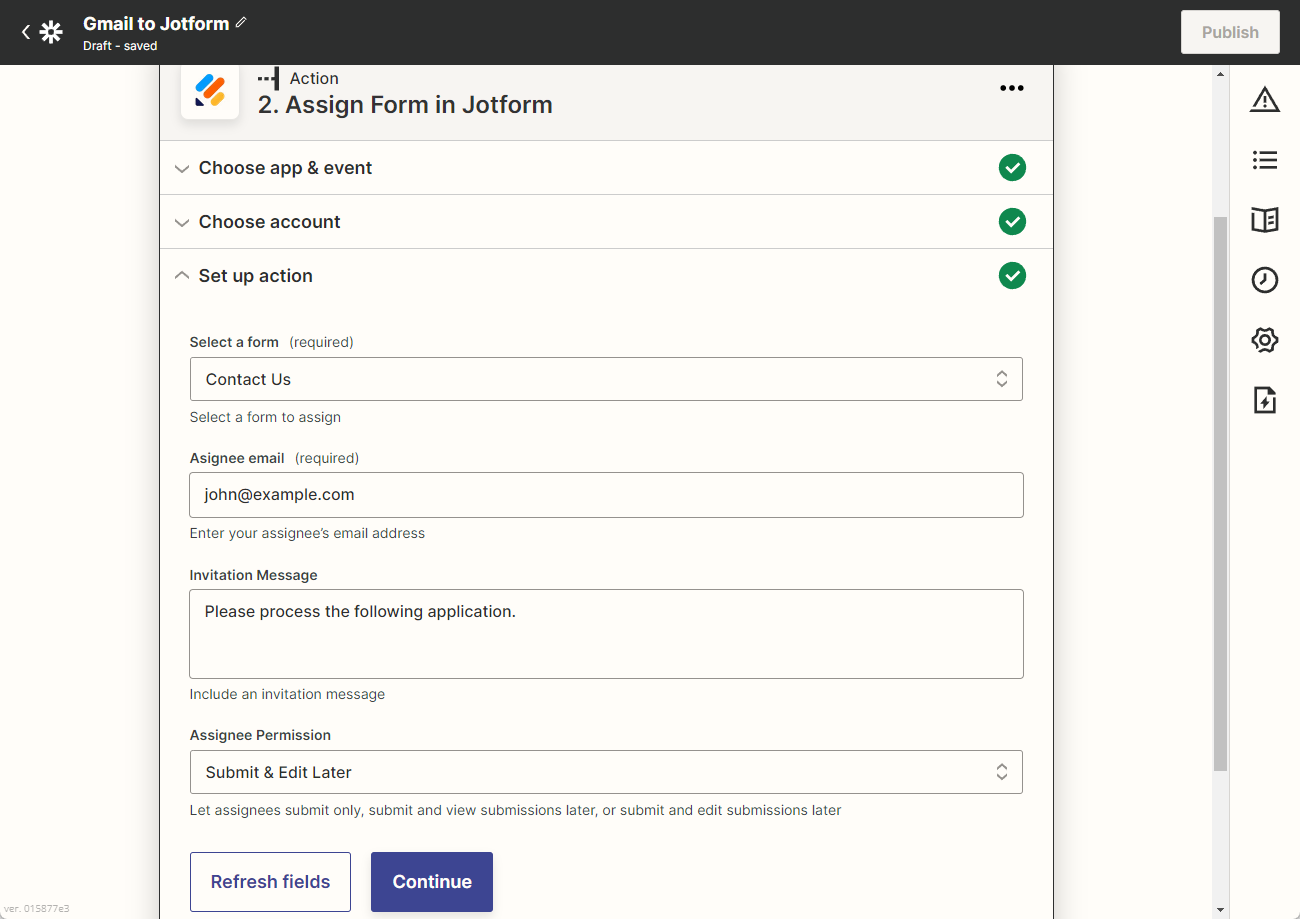
Assign Form
When you choose to Assign Form, you can select the fields from your first Trigger as the Assignee Email. If you decide to assign a form to your team, you must type in the email address.
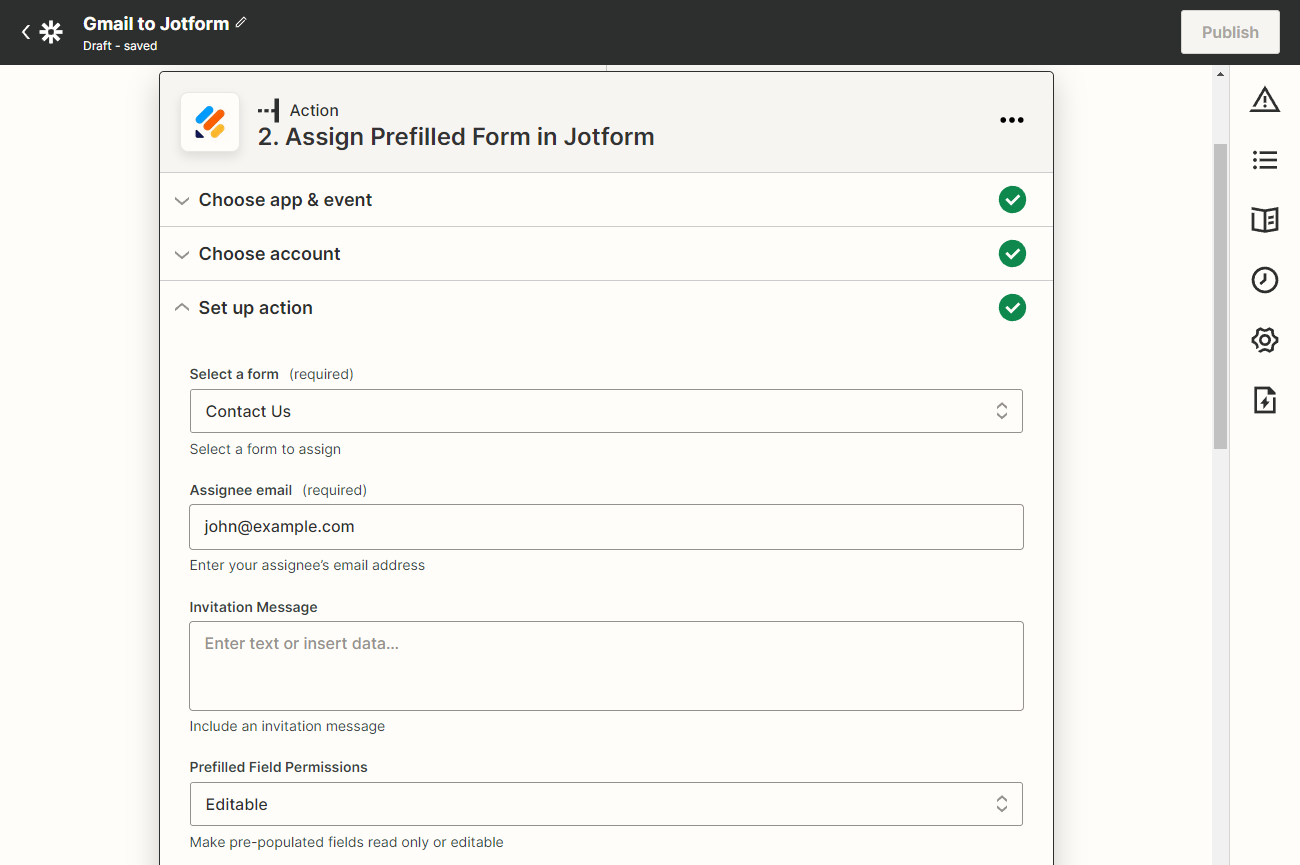
Assign Prefilled Form
If you choose to Assign Prefilled Form, you have to define permission for your assignee. You can select either Editable and Read Only. Of course, you also need to map the fields from your Trigger to your form.
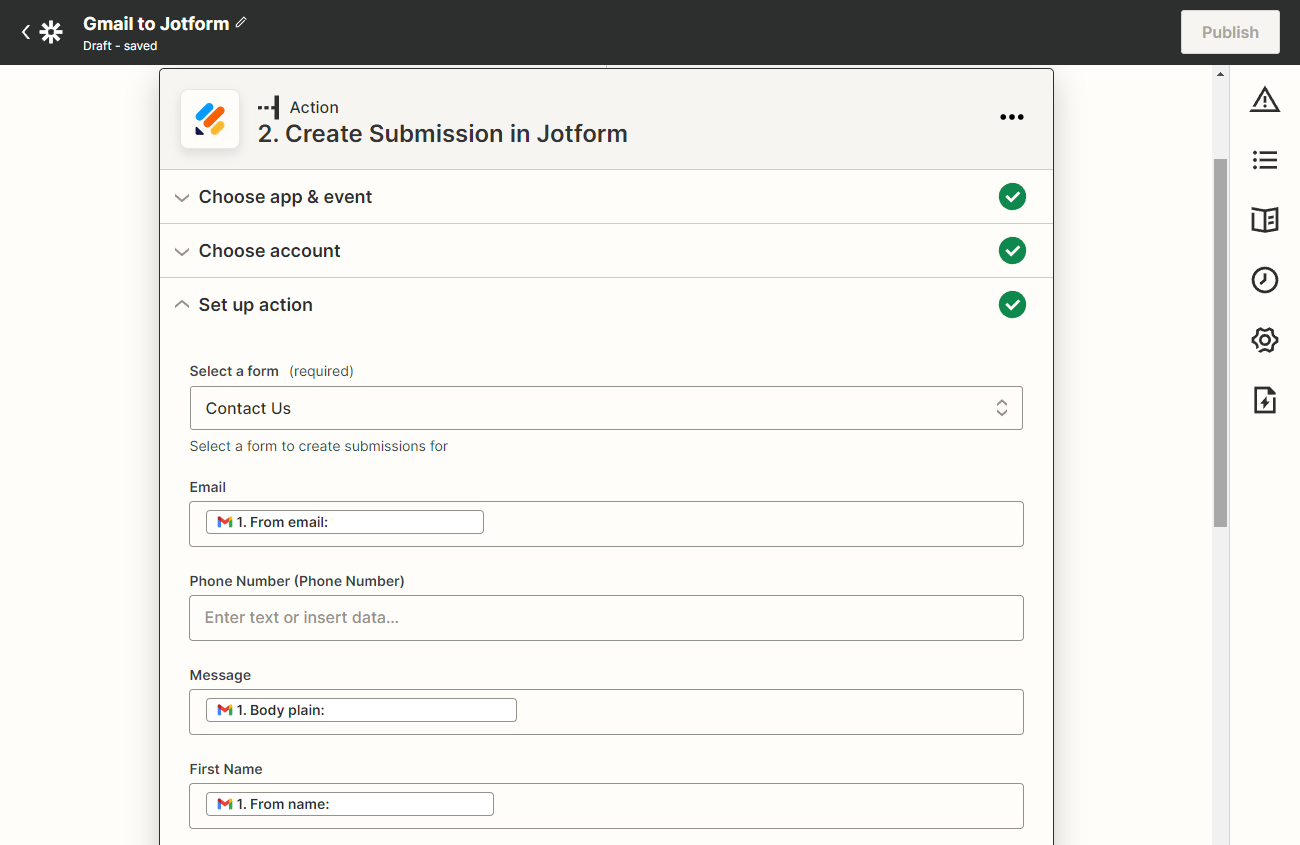
Create Submission
When you set it up to create a submission, you must select the form and map the fields. In the below image, you’ll see Gmail fields mapped to the fields of the chosen form.
The last two steps are always the same, test out the Zap and Publish the Zap. If the test works, you should be able to publish the Zap. If there are warnings, you should check and correct them.

Send Comment: