Jotform is excited to announce our new QuickBooks integration and share how it has improved our own internal workflow — our finance department requested the QuickBooks automation and couldn’t be happier about the results. Using Jotform and QuickBooks together saves hours of time every week and reduces data-entry errors.
Now, it’s your turn to simplify your workflow with QuickBooks. Use Jotform’s QuickBooks integration to
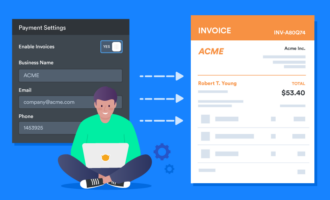
- Generate QuickBooks invoices with form submissions
- Create QuickBooks customer records with form submissions
- Collect a variety of client- or customer-specific data with each form
Jotform users are no doubt ready for this integration as well. While our finance team was the first to take advantage, our newest automation tool was often requested by field service workers, freelancers, financial advisors, and more.
Already use QuickBooks and ready to dive in? Add this integration to your form now!
Let’s take a closer look at how much our finance team enjoys using the QuickBooks integration with Jotform and how to install the integration. Plus, see how Jotform customers use QuickBooks and why this integration is a perfect fit for their diverse needs.
Truly a lifesaver
When members of Jotform’s finance team noticed a hitch in their invoice workflow, they saw an opportunity. They already used Jotform and QuickBooks to process invoices for Jotform Enterprise customers, but each invoice created in Jotform had to be recreated within QuickBooks. That resulted in wasted time and data-entry errors.
“We deal with numbers, so accuracy is paramount,” says Burcu Akşit, CFO at Jotform. “Wasted time is frustrating no matter what the job is; in our field, data-entry errors increase because we feel the time crunch and can be in a rush. It’s challenging to be 100 percent accurate in that situation.”
They had an idea: What if they could automatically generate an invoice in QuickBooks from an online form? Our integrations team went to work developing the integration, and Akşit and her team are thrilled with the results. They report the integration saves more than an hour of time every day. Most importantly, there are no more headaches from processing the same data twice.
“Before, we got the job done, but looking back, it’s difficult to see how,” she says. “This integration saves our team nearly 30 hours per month. It’s truly a lifesaver to our daily accounting practice.”
Pro Tip
A QuickBooks account is needed to use Jotform’s QuickBooks integration. It only takes a few moments to sign up, and QuickBook offers a free 30-day trial.
From our team to yours
Though we created the QuickBooks integration at the urging of our finance team, Jotform developers wanted to hear from users as well. We asked users in a variety of industries, such as consulting, dentistry, food and beverage, nonprofit, and more, how they use QuickBooks. This data helped us shape the integration.
Want to request a widget or integration? Jotform has a form for that!
The majority of Jotform users (52 percent) surveyed by our user research team said they count on QuickBooks for invoicing and billing. Creating and updating customer information is the second highest use case, followed by collecting payment.
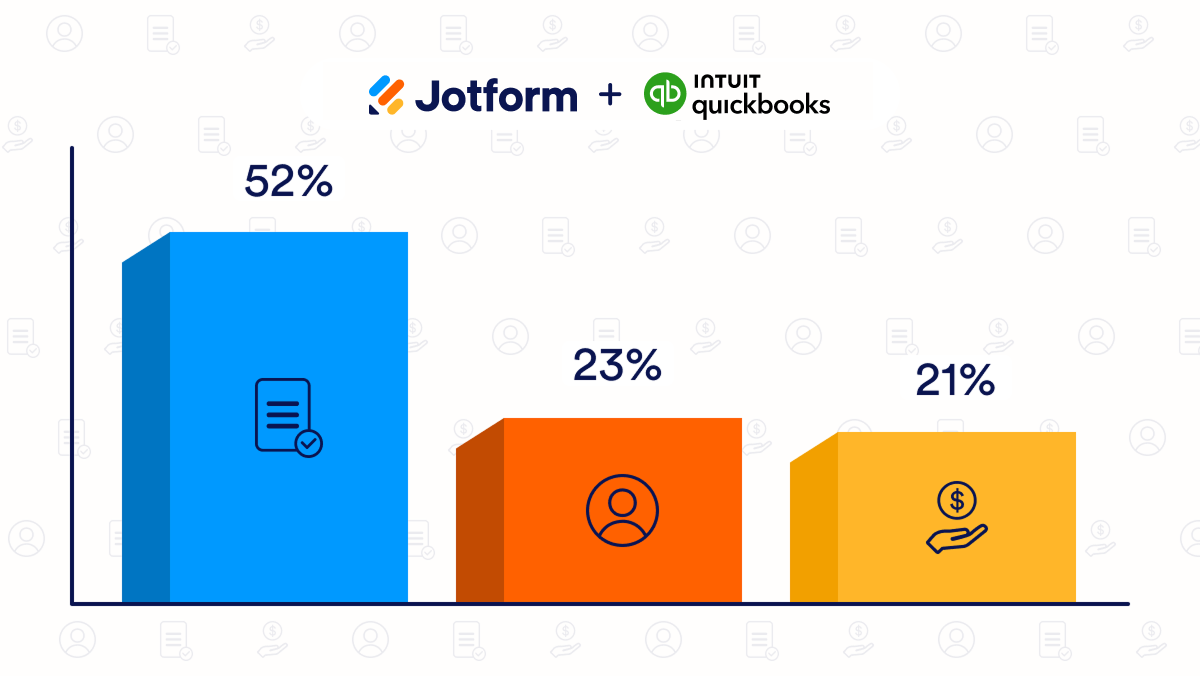
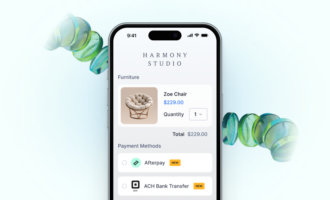
The QuickBooks integration reflects those needs. In addition to automatically creating invoices for billing purposes, the integration creates and updates customer information. Jotform users can collect payments directly on their online form or by using the payment options available via their QuickBooks account.
Here’s how two Jotform users use Jotform and QuickBooks to power their workflows.
Isaac Marinez, graphic designer

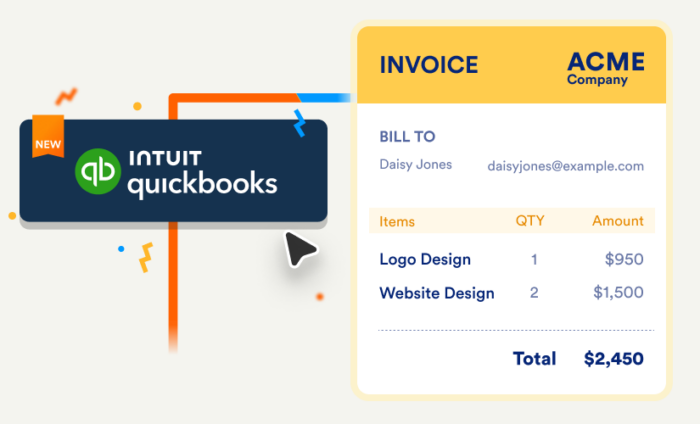
Isaac Martinez of Pointline Graphics in Seattle, Washington, uses Jotform to field requests from clients who want a custom logo for their organization. He collects client information with his form, including name, business address, and the type of logo clients want. The data is sent to QuickBooks where it creates a QuickBooks customer as well as a QuickBooks invoice.
“Jotform makes life easier for a non-web creator,” he says, adding that Pointline uses Jotform’s Stripe payment gateway to collect payment via the form.
Jay Mehta, owner and CEO

Owner and CEO at Jay Mehta Digital Agency, Mehta uses Jotform to collect proposal details for website design services, such as the name of the client, their company, and the quoted cost for design. He sends his data to QuickBooks to create customers and invoices.
“Jotform has been an invaluable tool for my business,” he said, noting that Jotform’s array of integration tools has streamlined his entire operation by reducing his manual workload.
Altogether, our users’ needs closely match our own. More than anything, our developers realized that the QuickBooks integration had to be versatile to process a wide range of data, in addition to the universal need for creating customers and invoices.
How to use Jotform’s QuickBooks integration
There are multiple ways to use this integration. Each user can decide which method suits their needs best. First we’ll look at how to add a customer. Afterward, I’ll demonstrate how to create an invoice with form submissions.
Create customer
To add a customer, create a form from scratch or use a contact form template. Here’s an example of a contact form we’ll use for the demo.
When you’re finished creating your form, go to the Settings section (1) of the Form Builder and select Integrations (2). Next, select QuickBooks from the integration menu (3).

After you click the QuickBooks integration tile, select Create customer from the Choose Action menu and click the Next button below.
Pro Tip
You can add the Create customer and Create invoice options to the same form! Just follow this tutorial to see how.

Now’s the time to authenticate your QuickBooks account. Choose your preferred QuickBooks Mode Type, either Production Mode or Sandbox Mode. Sandbox Mode allows you to test the integration to see exactly what it will look like before the integration is live. For our purposes, I’ve selected Production Mode. Click Authenticate to move to the next step.

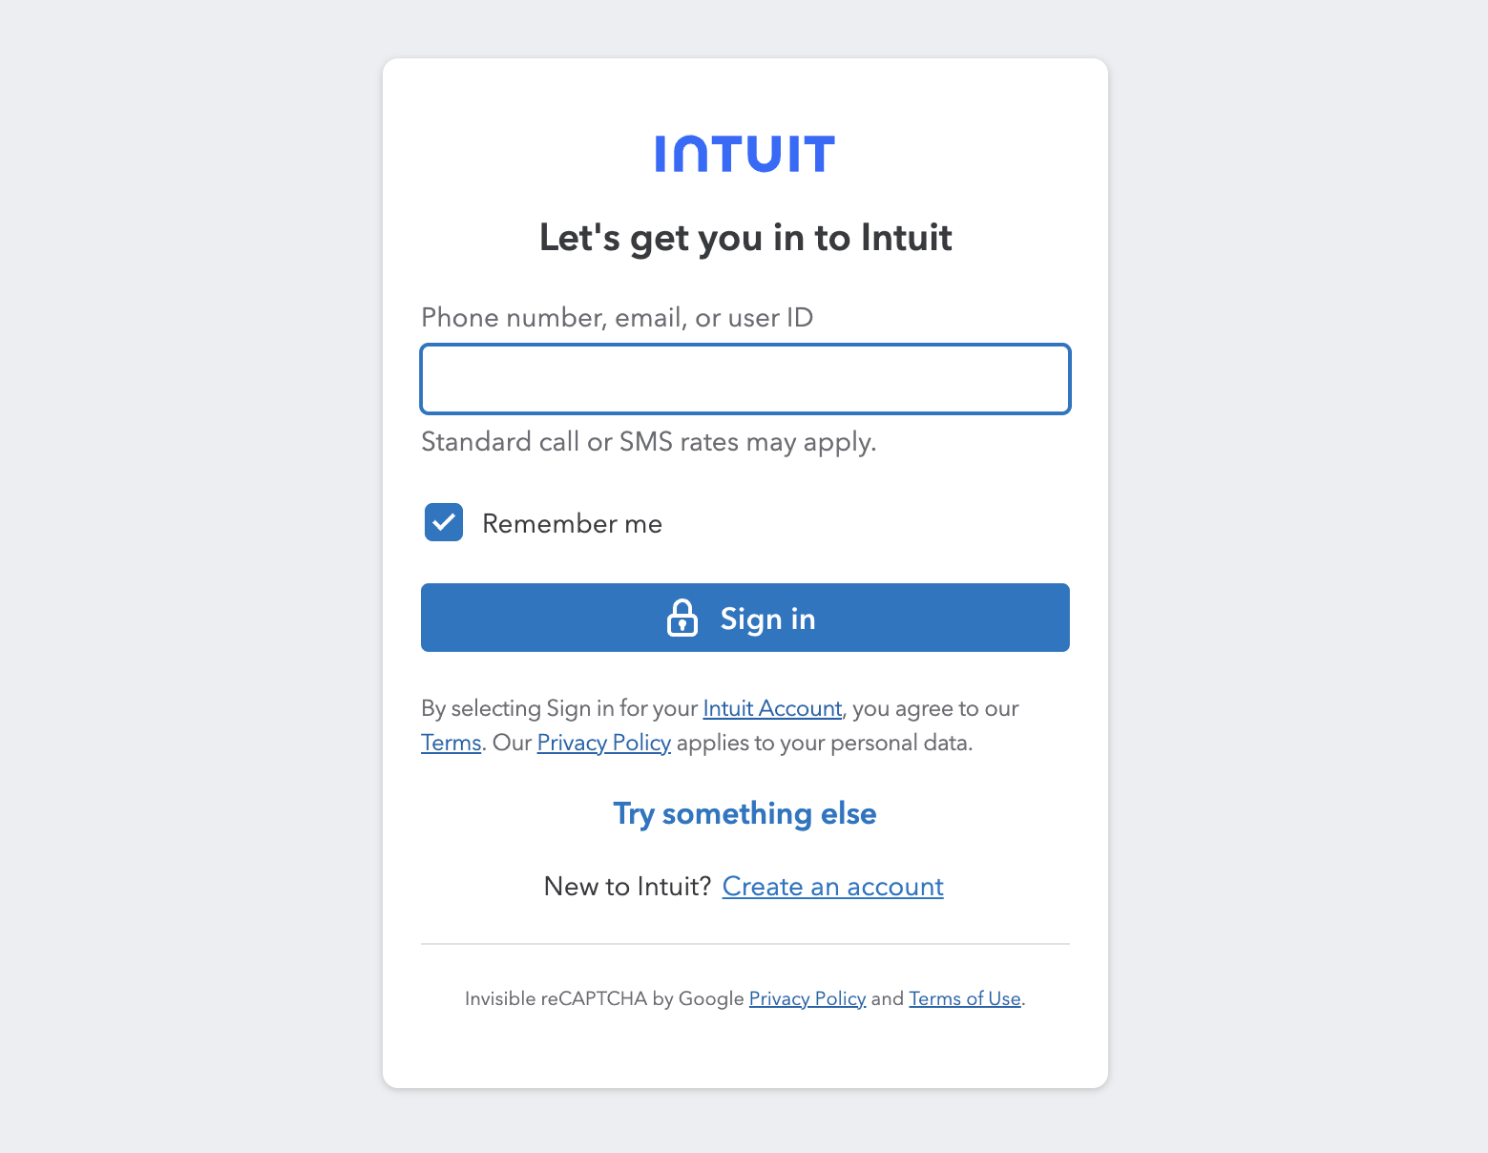
A popup window will appear, courtesy of Intuit, the company that operates QuickBooks. Sign into your account via Google or your user ID. If you don’t have an account with Intuit, easily create one by clicking the Create an account link at the bottom of the popup.
Once you authenticate your Intuit account, the QuickBooks integration will be installed.
You can add more QuickBooks accounts for the integration. To the right of the dropdown menu, click the +New Account button. Use the dropdown menu to choose which account you’d like to use. When finished, click Add Action.

Whether you’re authenticating your account for the first time or returning to use the QuickBooks integration, the screen will display the Create or update customer menu after your QuickBooks account is connected to Jotform. The next step is matching your form fields, such as name and email, to data points in your QuickBooks account.
To get started, click the dropdown menu on the right, which will be labeled with the name of your contact form. The menu lists all of the fields on your form. By default, the first entry in the QuickBooks menu on the left is Customer Display Name. Choose the Name field, and the name entered into your form will appear as a customer in QuickBooks when the form is submitted.

Next, perform the same action for all of your form fields by selecting the Add Field option. When you’re finished, click Save, and you’ll be ready to distribute your form and create a customer in your QuickBooks account.

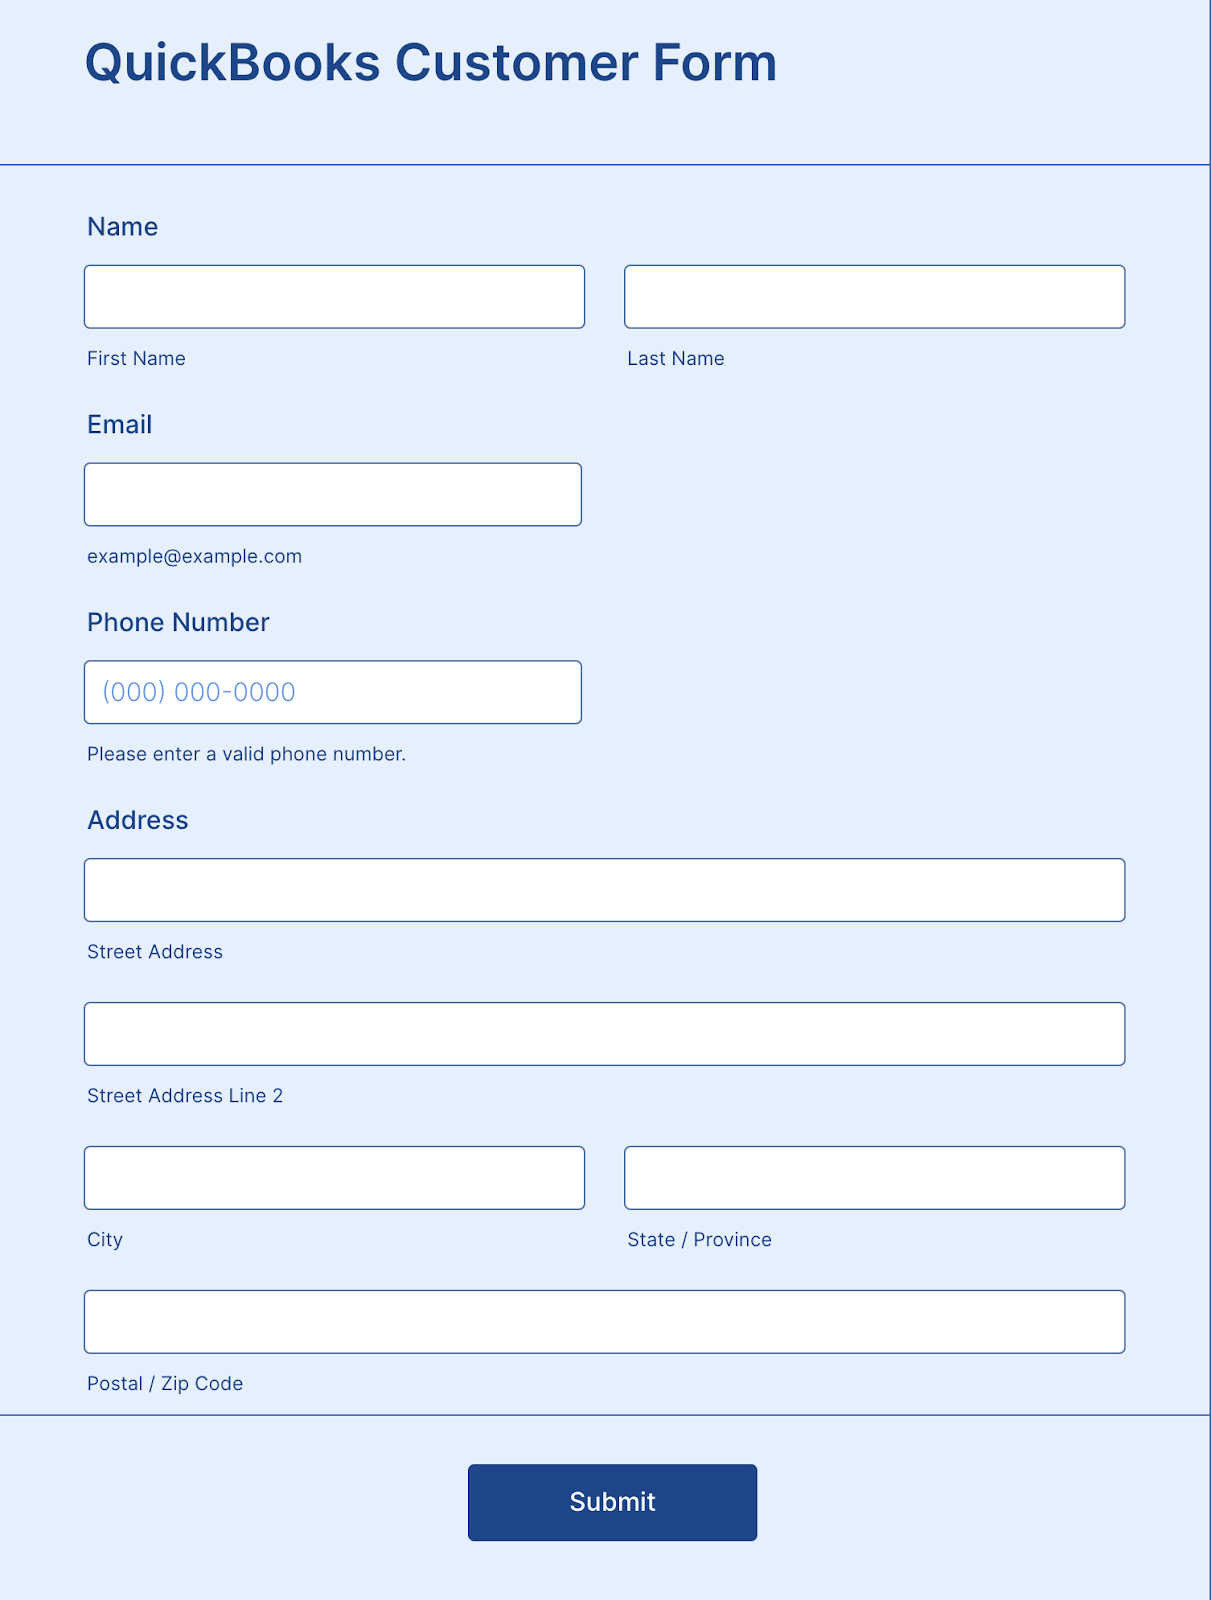
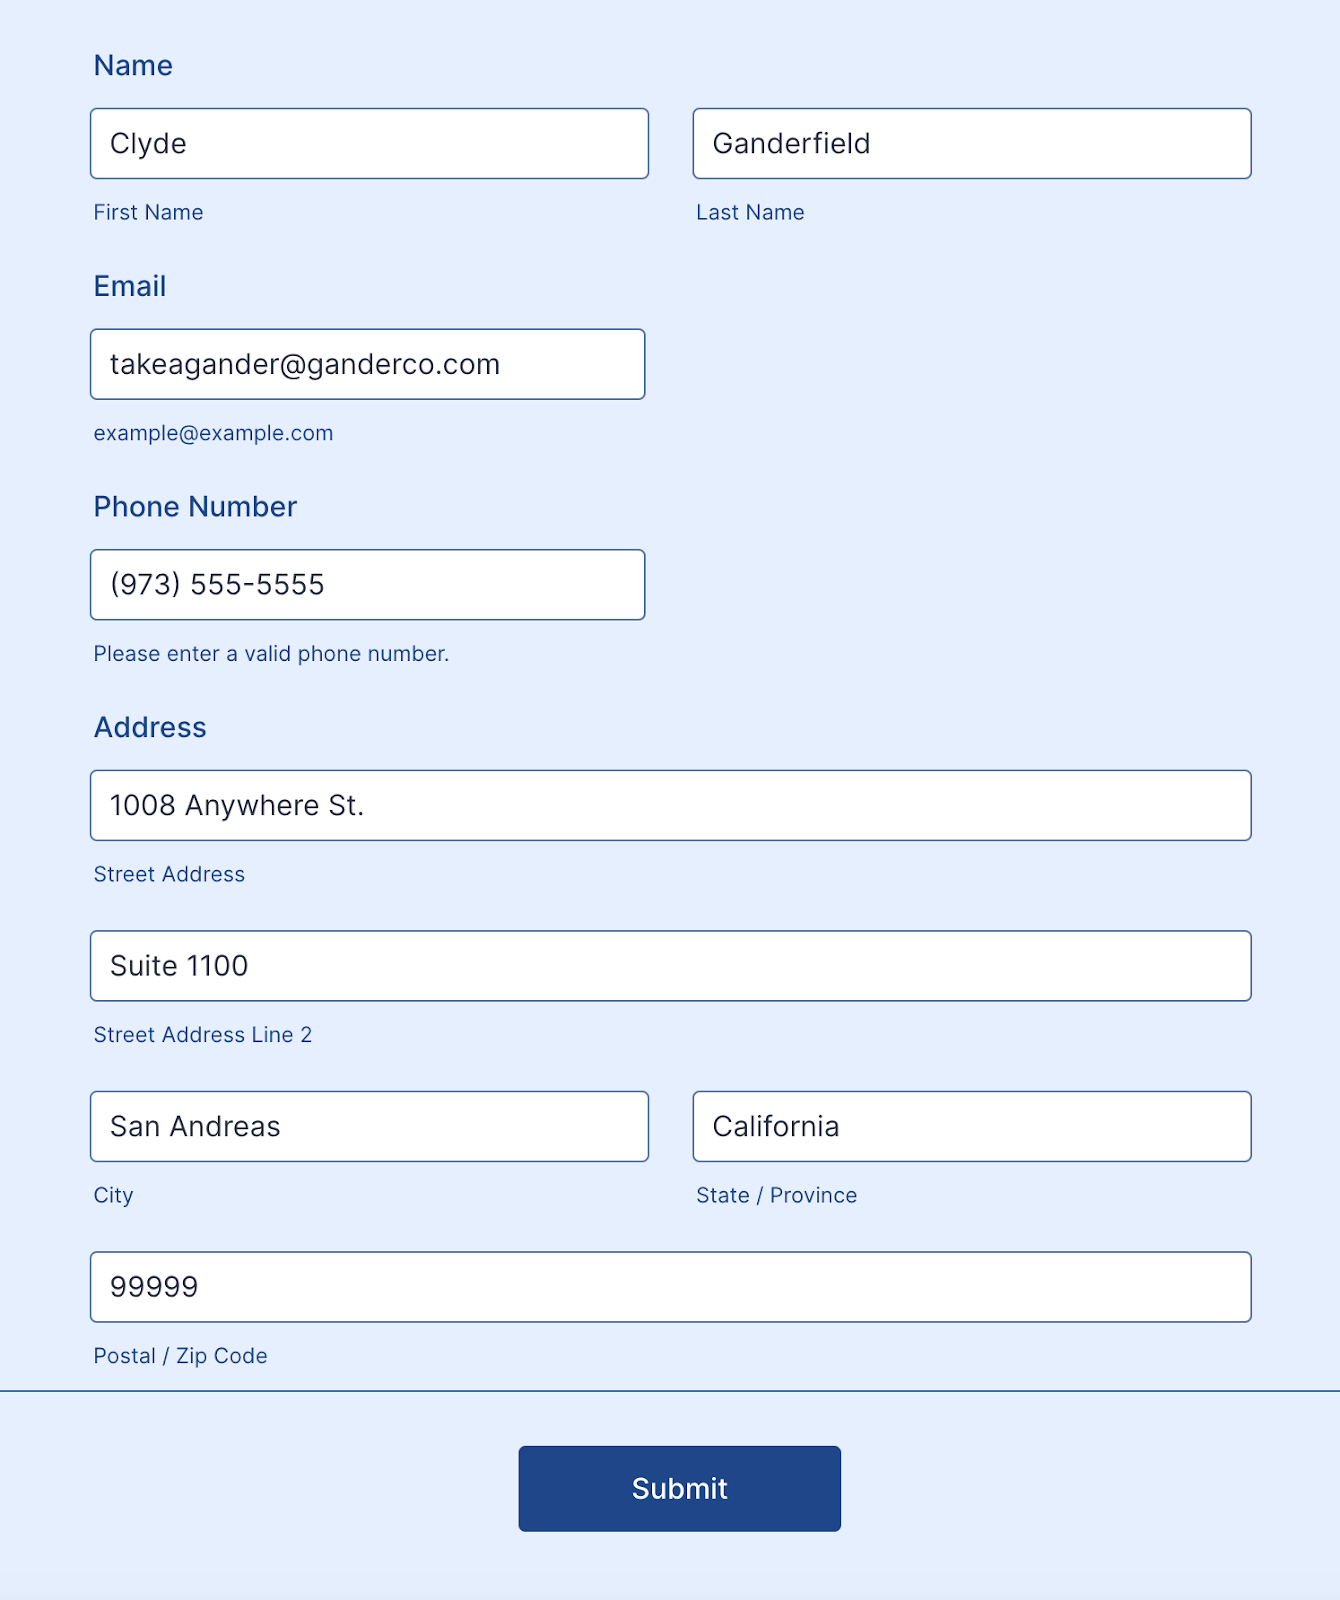
I’ve filled out our sample form with an imaginary customer. For reference, here’s what the completed form looks like. When the Submit button is clicked, a QuickBooks customer is automatically created with the information provided.
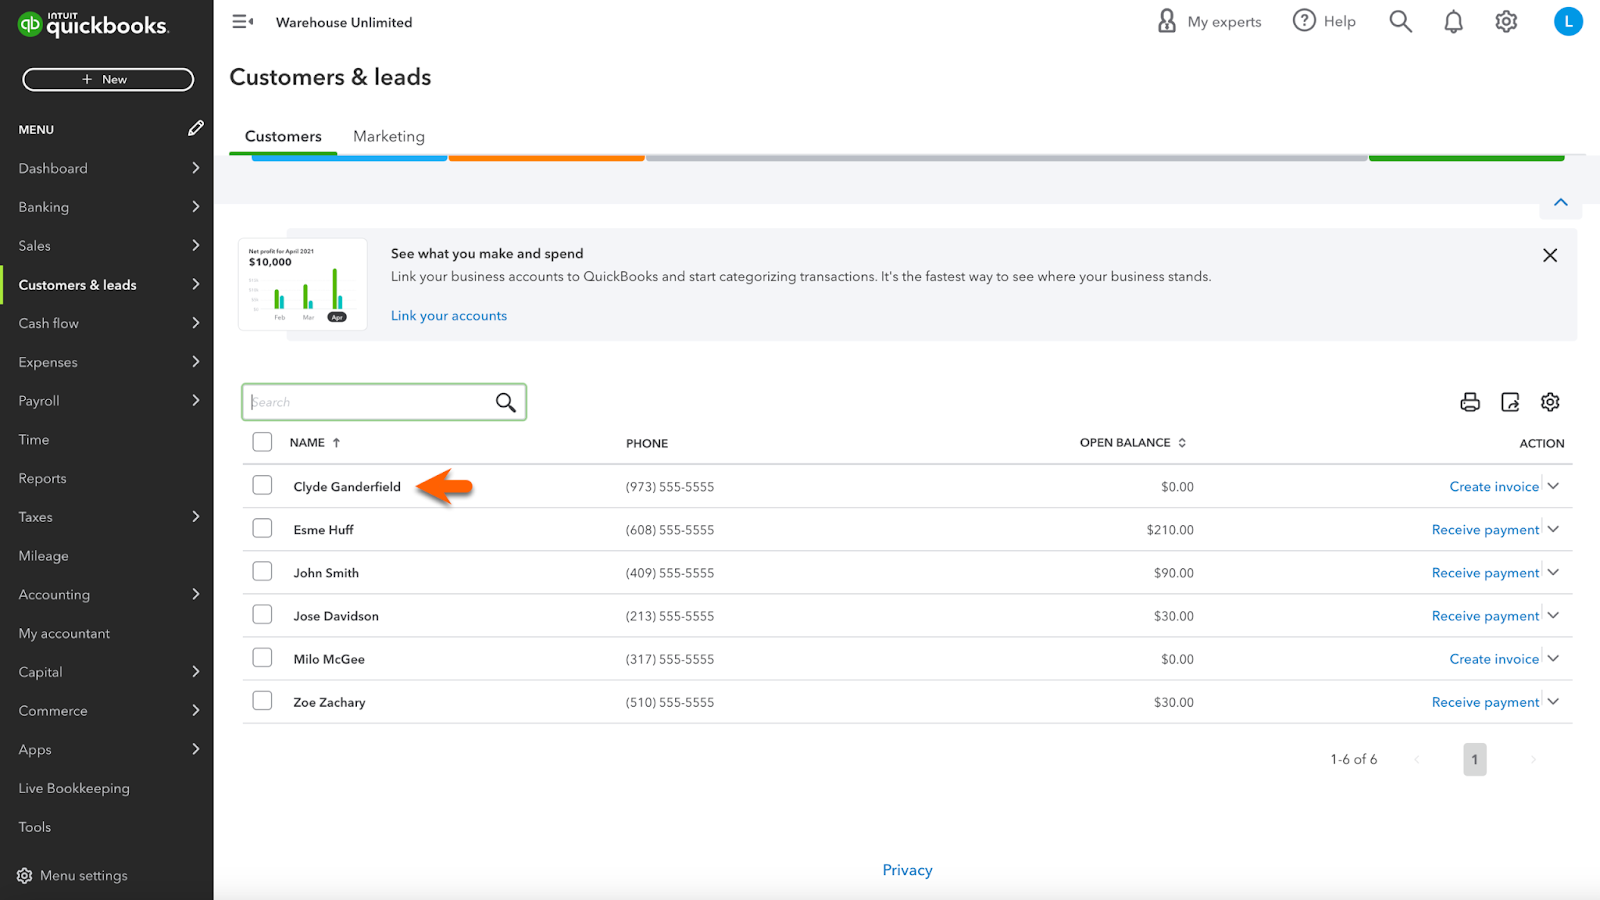
In an instant, the above customer appears in the Customers & leads section of the connected QuickBooks account. Notice the name and phone number are exactly the same as entered into the form.
Click on the customer name and then Customer Details. You’ll see that the customer address, phone number, and email have been added to QuickBooks as well. If you want to collect more information from your new QuickBooks customer, add more fields to your form, such as a Short Text element to record their company name or to add notes to the Customer Details page.

While this may appear like a lot of steps, the process only takes a few minutes to complete. The same is true when you use the Create invoice option.
Create invoice
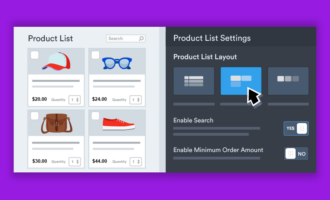
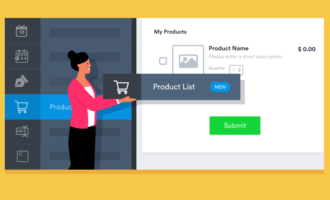
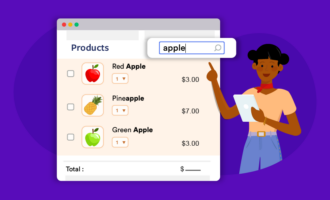
The process for creating a QuickBooks invoice with your form is nearly identical to creating a customer. But when creating an invoice, you must add products and/or services to your form, as well as the cost of those products and services. To do so, add a Product List element to your form. Alternatively, you can use Single Choice, Multiple Choice, or Dropdown elements to list products and prices.
To get started, create a form with basic contact information and a Product List, Single Choice, Multiple Choice, or Dropdown menu element. You can also use a variety of these elements on one form. Here’s a sample form that uses a Product List.

Repeat the process for creating a QuickBooks customer with your form. Go to the Settings menu in the Form Builder, select Integrations, and choose QuickBooks. Click Create invoice and then the Next button. Choose which QuickBooks account you’d like to use, or add a new account. Finally, select Add Action.
Now you can match form fields to data points within QuickBooks, just like before. This time, there is a separate section for the name of your product, the quantity ordered, and the price. This data is recorded by the Product List. Match the data fields in your Product List to the corresponding QuickBooks fields. Click the Save button, and the form will be ready to distribute.

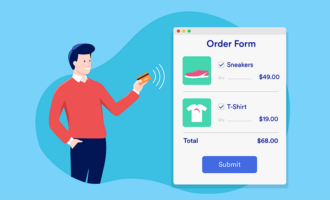
Here’s our sample form from above, filled out by a fictitious client. It includes Name, Email, and Phone Number elements along with a Short Text element and a product selected from the Product List. Once this form is submitted, an invoice will populate in your connected QuickBooks account.
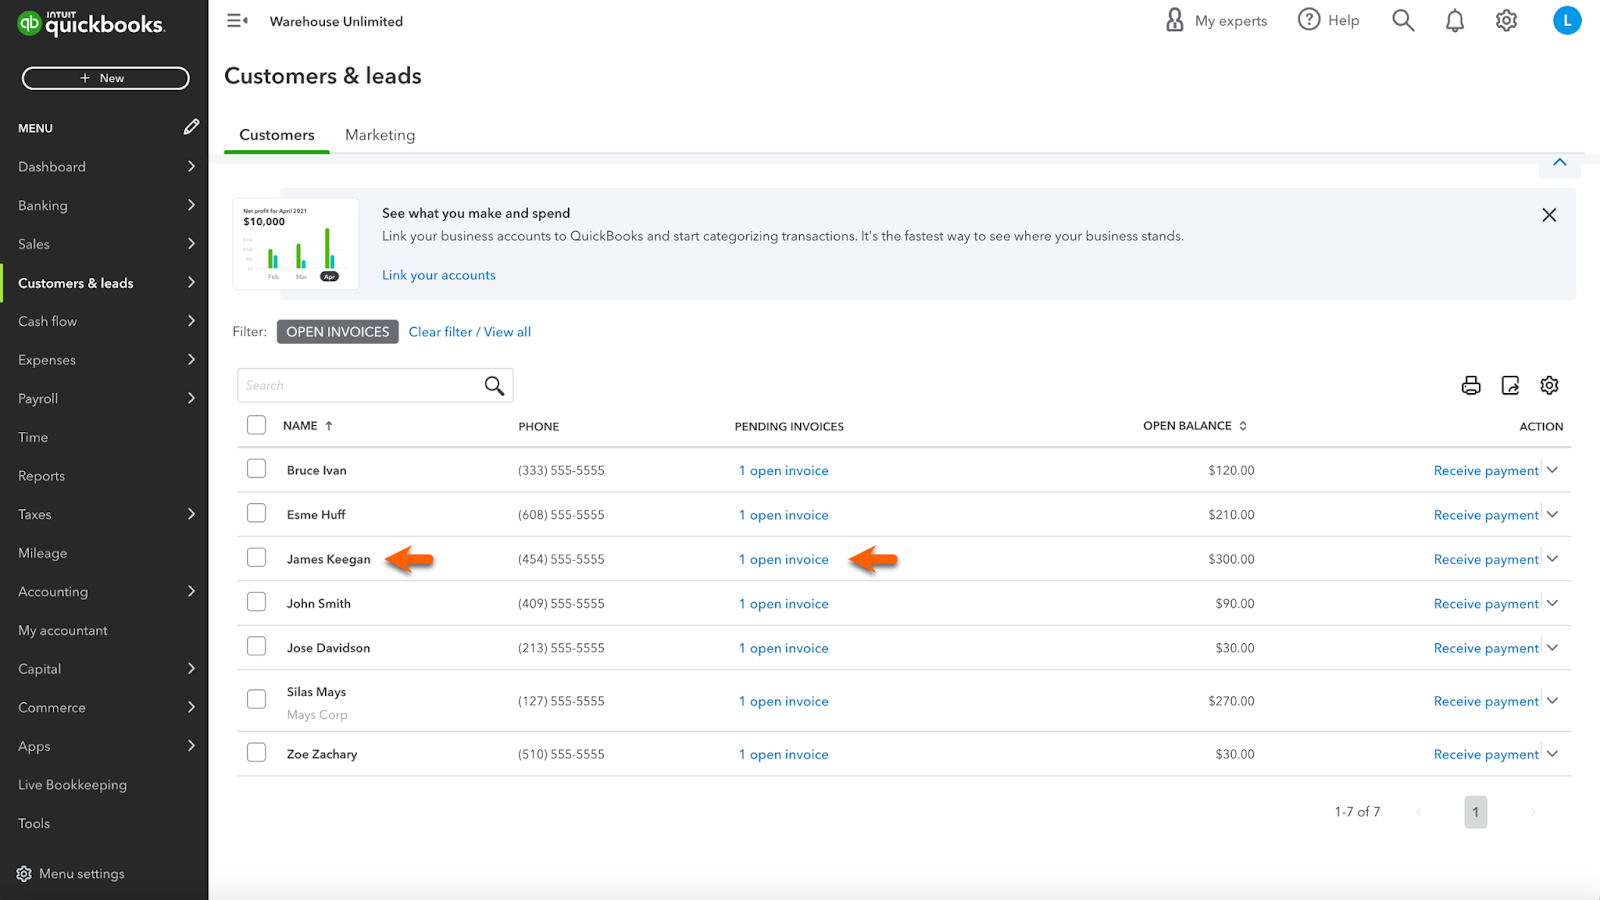
When we go to QuickBooks, the customer information has been transferred to the connected account and an invoice has been created.
Pro Tip
If you already have products and services listed in your QuickBooks account, make sure the products and services on your form match them exactly.
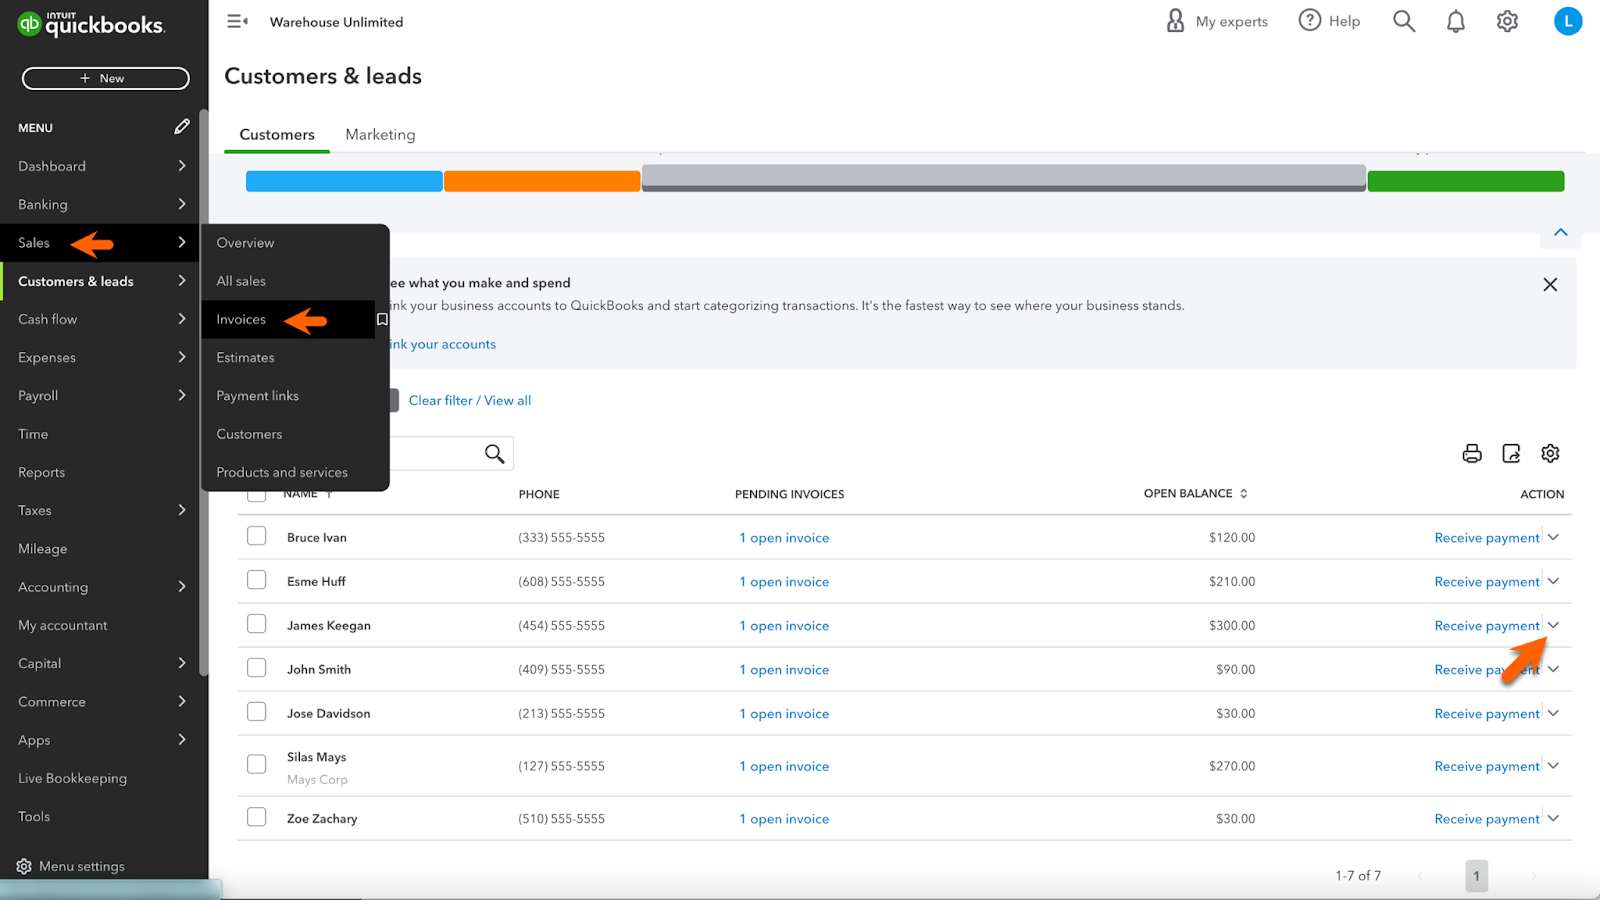
To view your invoice, find the Sales tab in the QuickBooks menu on the left and then select Invoices. Locate the customer and invoice you want to view, and click the dropdown menu in the Action column. Then choose the View/Edit option.
Pro Tip
For repeat customers, contact information must be exactly the same on each submission or QuickBooks will create a new customer.
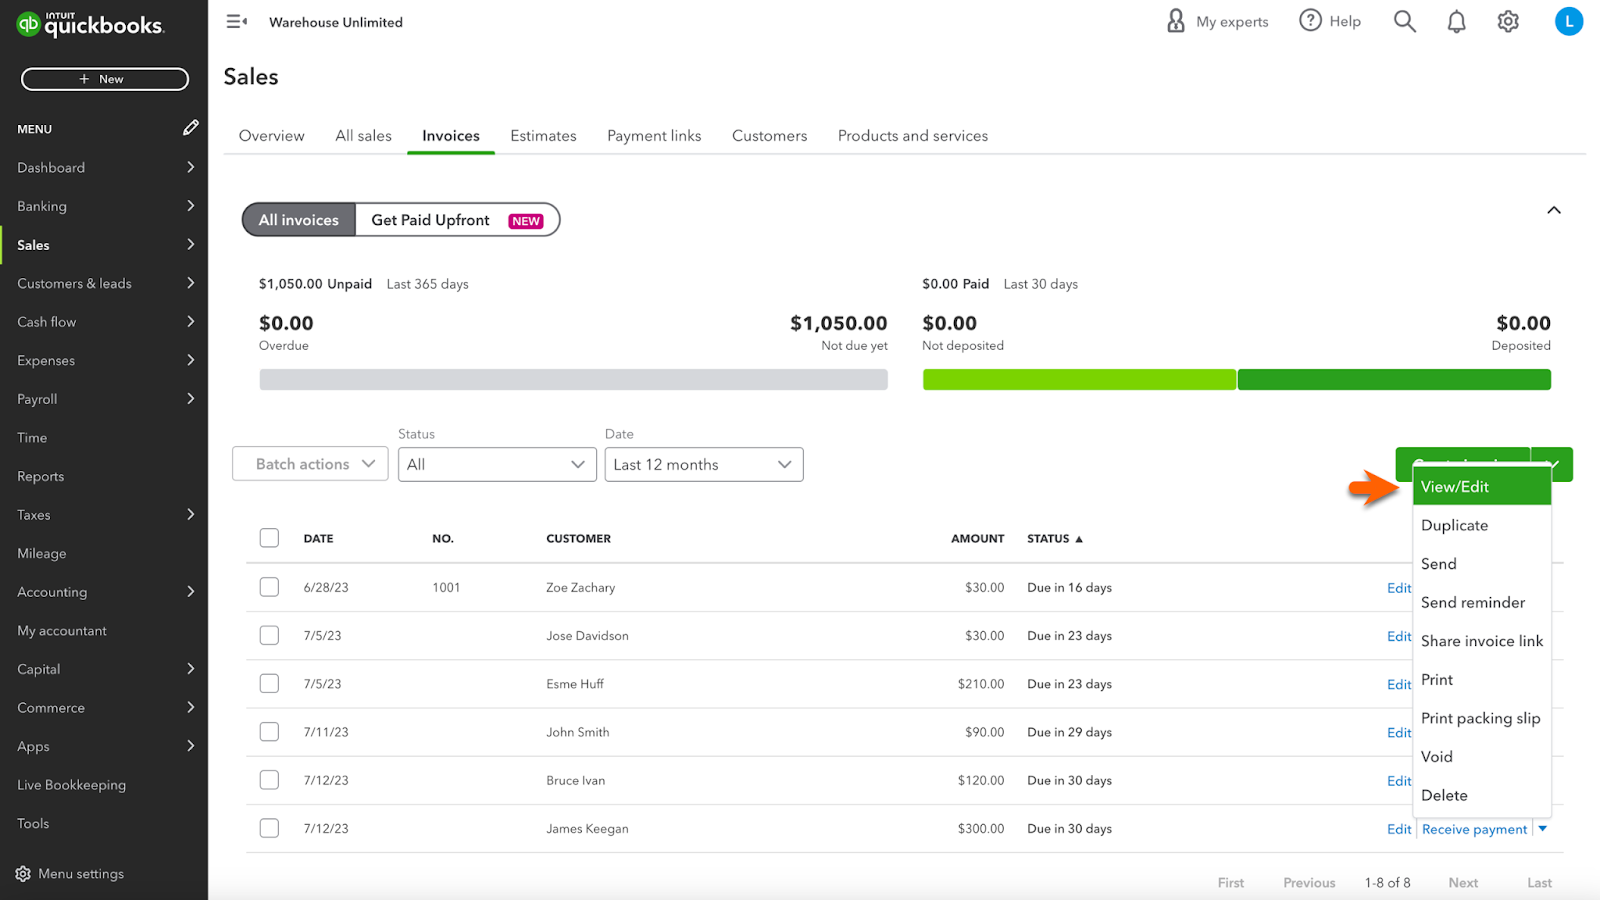
Viewing your invoice, you’ll see a variety of options, such as entering an invoice number, adding your logo, adding another product or service to the invoice, and adding a customer payment method.
For those in the United States who use different tax rates for different locations, use the Invoice Fields toggle switch when you set up your integration. Add a dropdown menu to your form that includes the states, counties, or cities that have different tax rates. Be sure the labels in the dropdown menu are identical to the labels in your QuickBooks account.

If you’d rather use the Single Choice, Multiple Choice, or Dropdown menu form elements to add items to your invoice, the process will be similar to that of the Product List. In all cases, match the chosen element with data points in QuickBooks. However, there are some additional, unique steps to follow for each element. To learn more, by reading our user guide.


Pro Tip
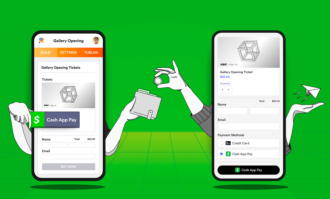
To get paid on your form with one of Jotform’s 30-plus payment gateways, add a payment gateway to your product list. When you receive your form submission, manually mark the invoice as paid in QuickBooks.
An integration for everyone
The QuickBooks integration was requested by Jotform’s finance team, and they started saving time immediately after adding it to their workflow. Our users also requested the integration, so it stands to reason that you’ll love it as much as our in-house team.
Now it’s your turn to reduce headaches from manually entering information and save time that you can spend performing more important tasks. For users who already use Jotform and QuickBooks, this integration is sure to be a slam dunk. And for those who have yet to try these automation tools together, now is the time to see what all the excitement is about by adding the QuickBooks integration today.
Jotform may receive a commission for referred signups through this link. Refer to the linked provider’s website for information about their products, services, and pricing.


Send Comment: