
Steps to create a QR code for a quiz
- Create a form
- Choose a template or start from scratch
- Edit the form
- Add quiz fields
- Configure question settings
- Add pages (optional)
- Design your quiz
- Set up notifications (optional)
- Configure general quiz settings
- Preview your quiz
- Publish your quiz
- Share your quiz
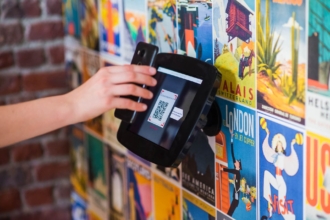
Using a QR code for a quiz is a quick and easy way for participants to access the quiz, especially in public settings, such as at an event or in a classroom. Anyone with a smartphone (which is pretty much everyone these days) can simply use their phone’s camera to scan the code and open the link to your quiz.
In no time at all, your participants can take your quiz — providing you with valuable information you might not be able to collect with a less convenient approach. After all, participants are much more likely to give you a few minutes of their time if they’re sure the process will be straightforward and uncomplicated.
Create quizzes with Jotform’s AI Quiz Generator
Here are some of the reasons you might use a QR code for a quiz and how you can use Jotform to make the process of creating the quiz and the QR code a breeze.
5 reasons to use QR codes for quizzes
Using a QR code for a quiz can be beneficial in many scenarios, depending on the context and goals of the quiz. Here are some reasons you might want to use a QR code for a quiz:
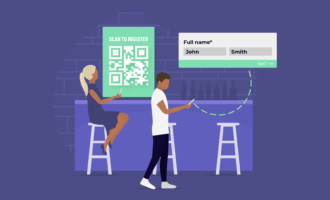
1. To provide easy access to the quiz
If the quiz is hosted online or on a specific platform, you can generate a QR code that sends participants directly to the quiz URL upon scanning the code. This simplifies the process of accessing the quiz, especially in situations where your participants will likely have their mobile devices.
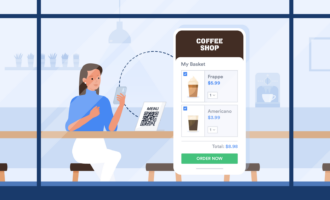
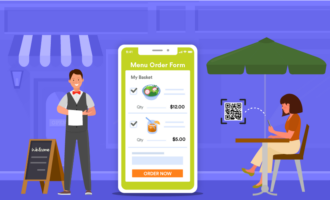
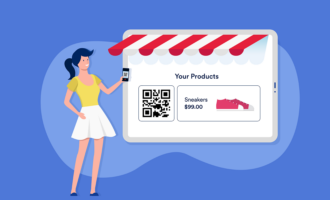
2. To enhance printed materials
If you’re distributing printed materials, such as flyers, posters, or handouts, including the QR code image can provide a quick way for participants to access the quiz. They can simply scan the code with their smartphones and be directed to the quiz platform.
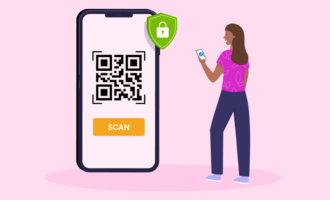
3. To allow for contactless participation
In situations where you want to minimize physical contact — for example, during a pandemic or in environments where hygiene is a concern — using QR codes allows participants to engage with the quiz using their own devices.
4. To level up your marketing and engagement game
You can use QR codes in marketing materials or advertisements to engage the audience in a fun and interactive way. For example, a QR code on a subway ad for jeans could lead to a quiz to collect people’s feelings on the different styles of jeans the company is selling.
5. To gamify your event or use for scavenger hunts
If the quiz is part of a larger gamified experience or scavenger hunt, participants can scan QR codes at different locations to access quiz questions or clues, adding an element of exploration and fun to the activity.
Create QR Codes in Minutes
Steps to create an online quiz with Jotform
Jotform is an online form builder that allows you to create various types of forms, including quizzes. With Jotform’s drag-and-drop functionality, creating a quiz is simple. Here’s a basic guide on how to create a quiz using Jotform:
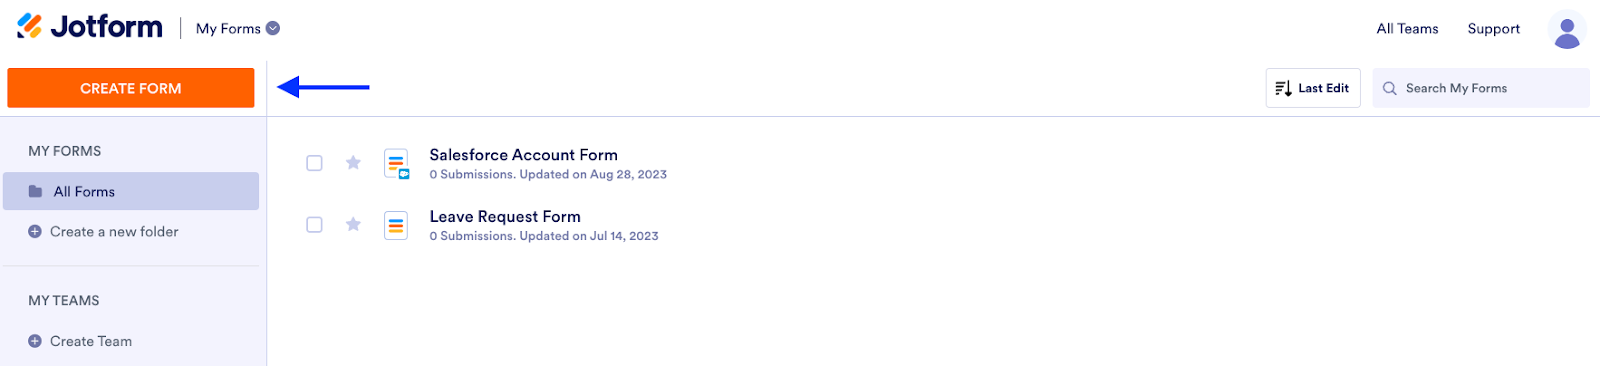
1. Create a form
Once you’ve logged into your Jotform account, click on the Create Form button.
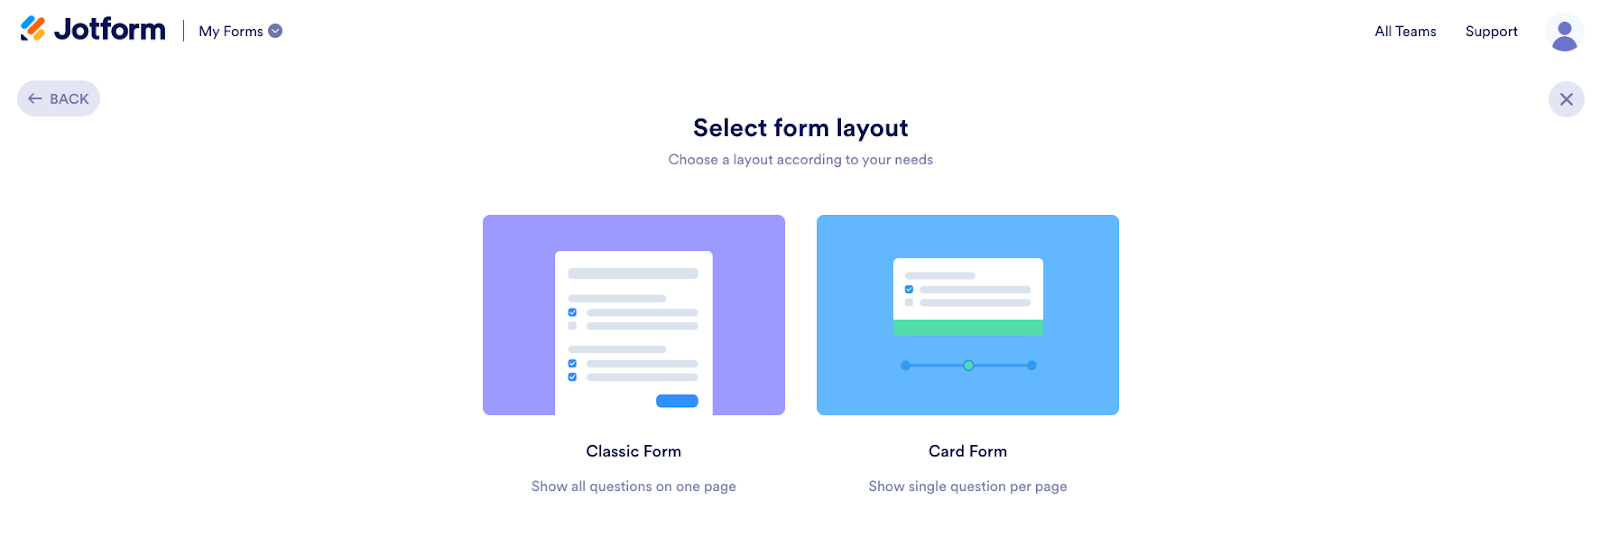
2. Choose a template or start from scratch
You can either choose a quiz from more than 150 premade quiz templates or build one from scratch. If you start from scratch, select either a Classic form or a Card form.
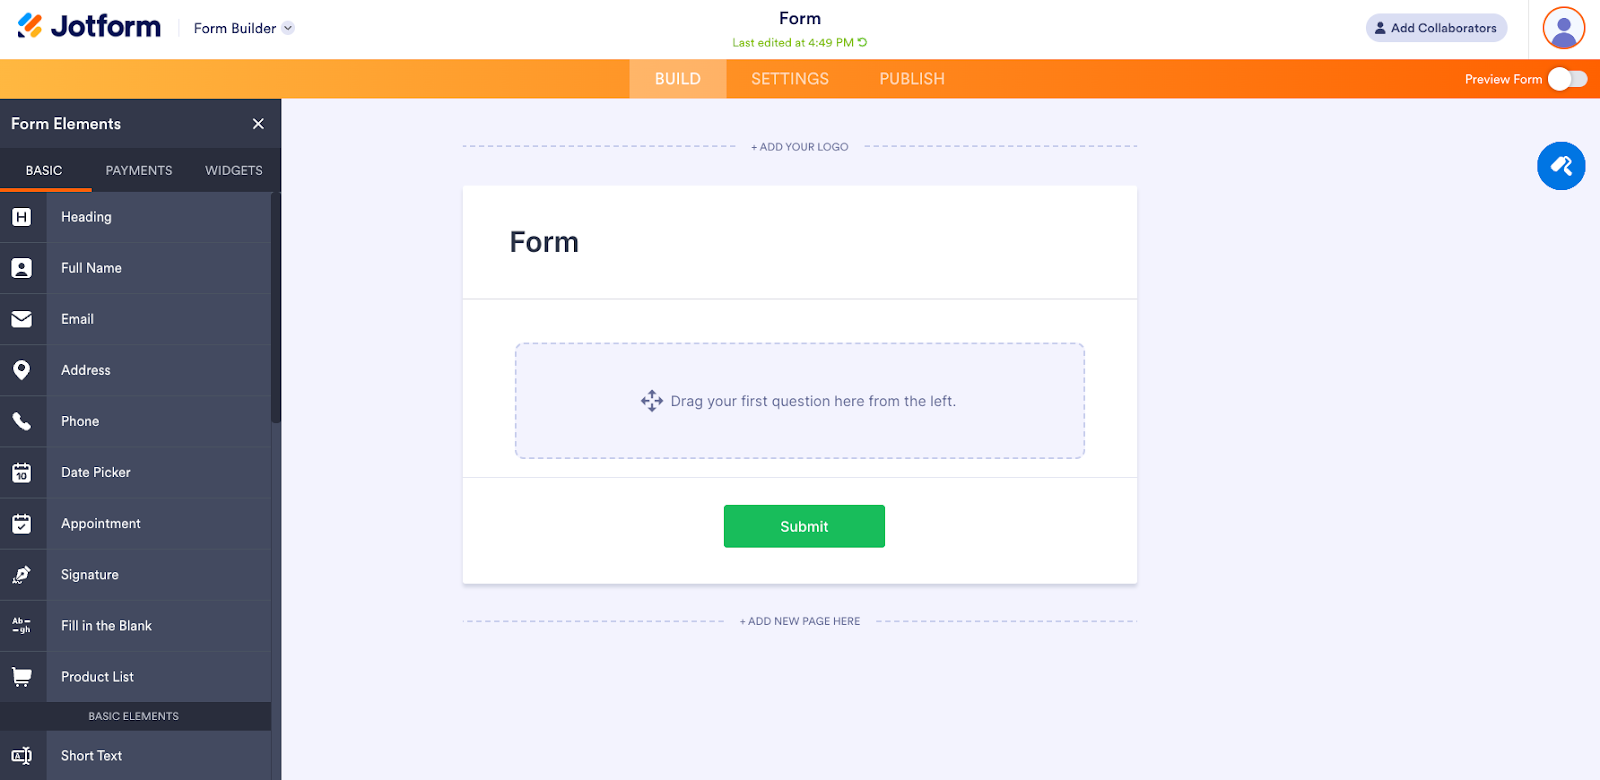
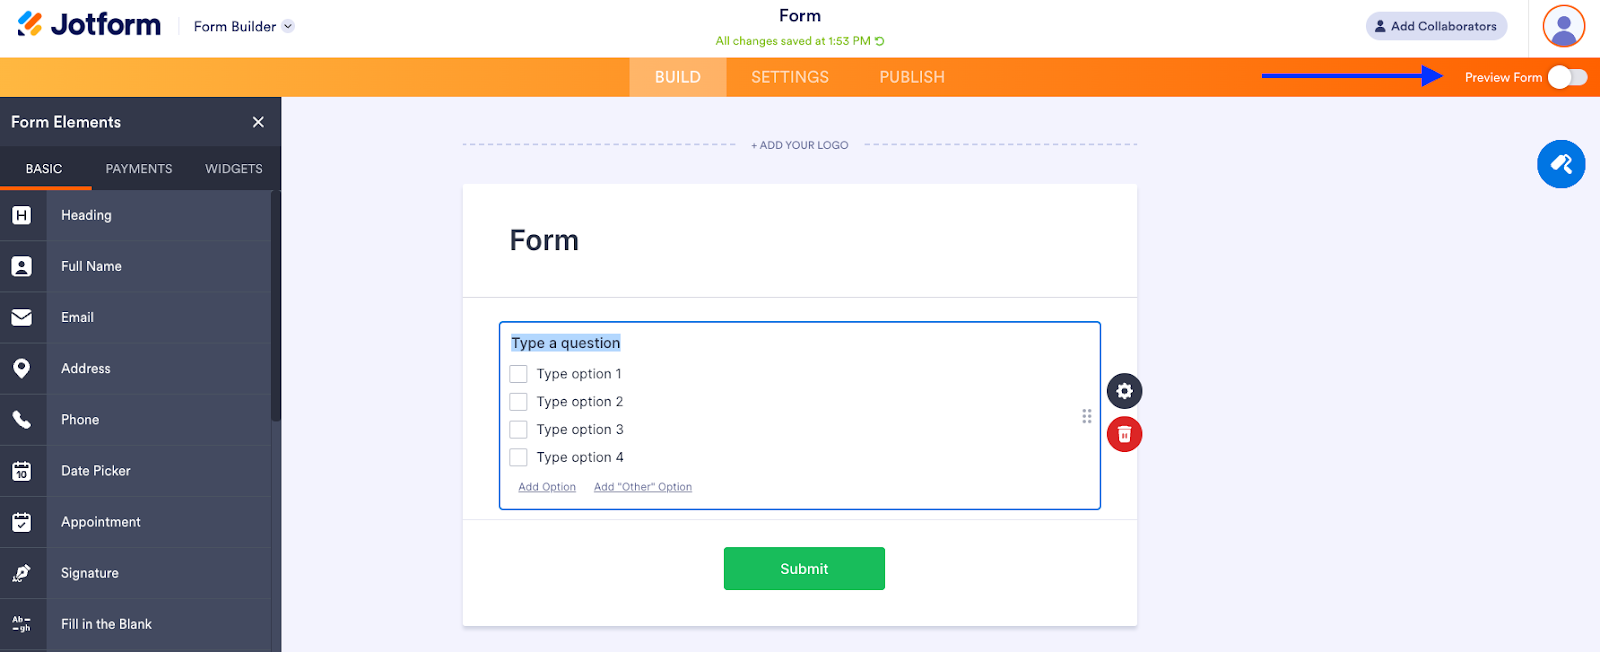
3. Edit the form
Customize the form by adding, removing, or editing fields/questions. You can do this by clicking on the Add Form Element button on the left side of your screen and choosing from the various form elements. For a quiz, you’ll likely want to add a mix of question types, such as multiple-choice, fill in the blank, etc.
4. Add quiz fields
Drag and drop fields from the left sidebar to the form and fill in your questions. You can reorder questions by clicking and dragging them up or down.
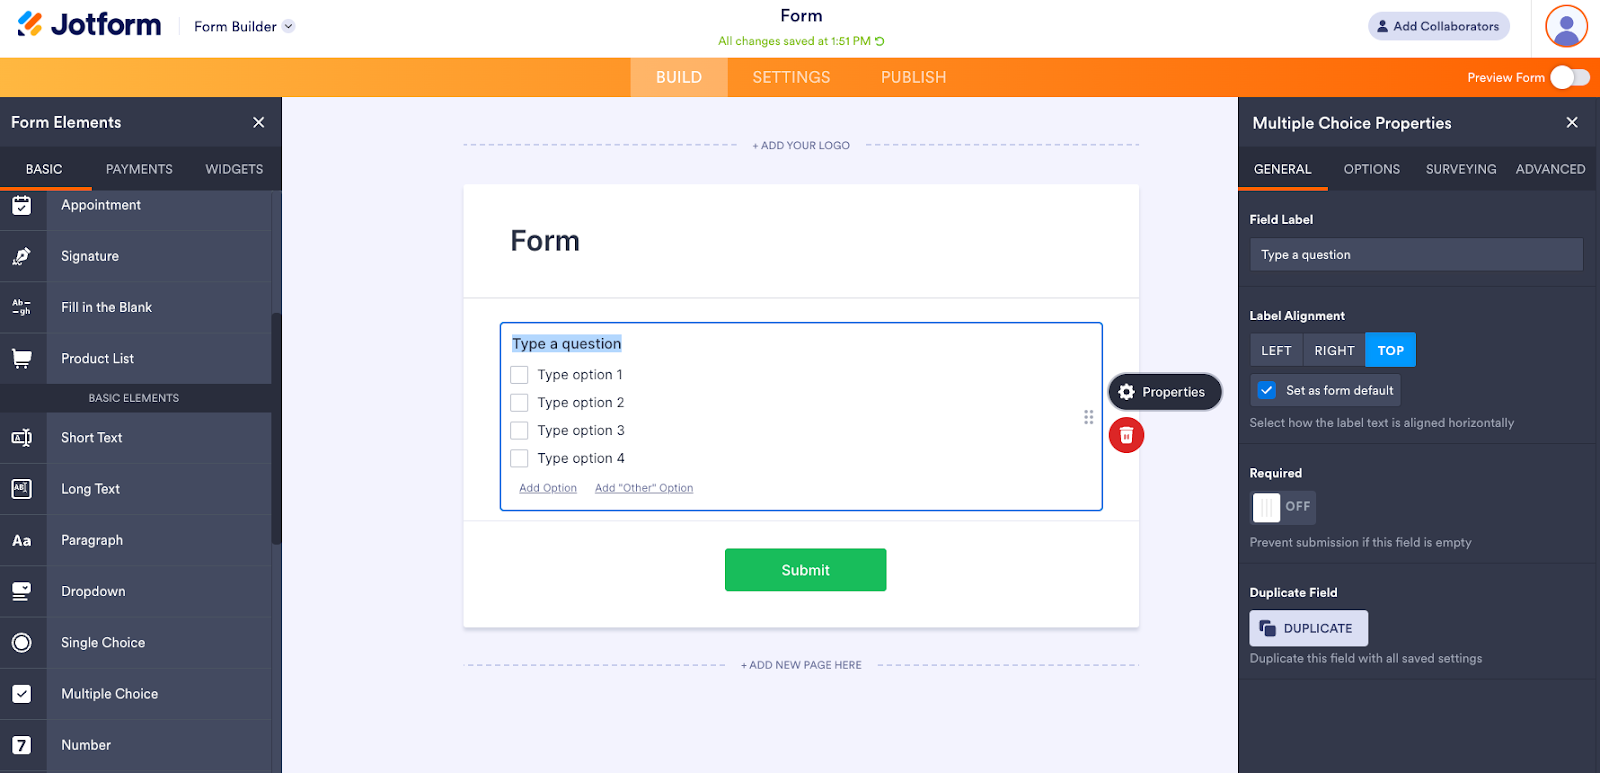
5. Configure question settings
You can configure some question-specific settings, such as changing the text alignment or allowing the answers to shuffle with each quiz. You can do this by clicking on the gear icon to the right of the question box to open the Properties menu.
6. Add pages (optional)
If your quiz is long or divided into sections, you can add pages to your form. Each page can represent a different section or category of questions. If you want to add a page, click on the Add New Page Here link under the current list of questions.
7. Design your quiz
Customize the design of your quiz by adjusting colors, fonts, and styles. These adjustments are optional, but they can enhance the overall appearance of your quiz.
8. Set up notifications (optional)
Configure email notifications to receive alerts when someone completes the quiz.
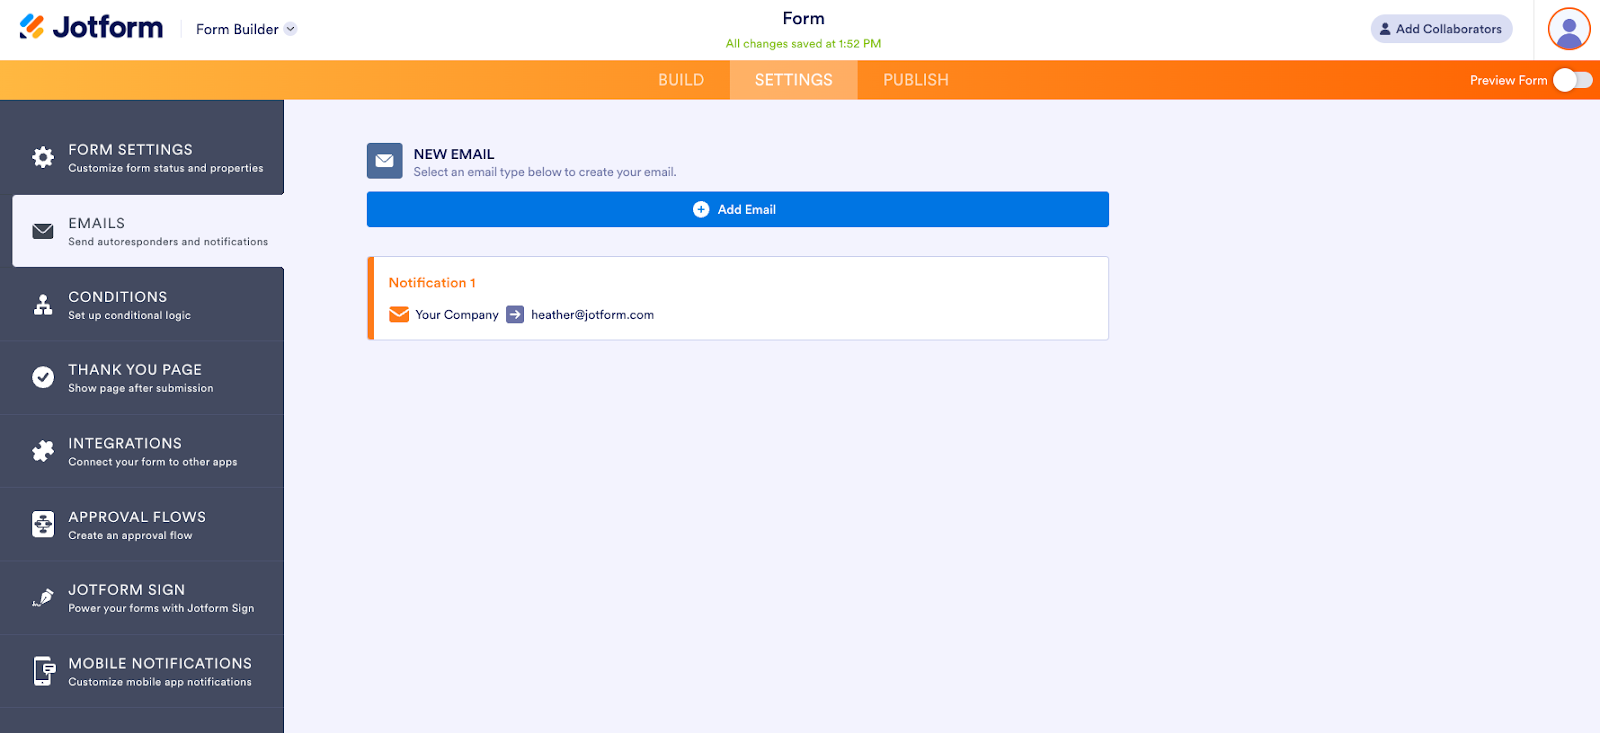
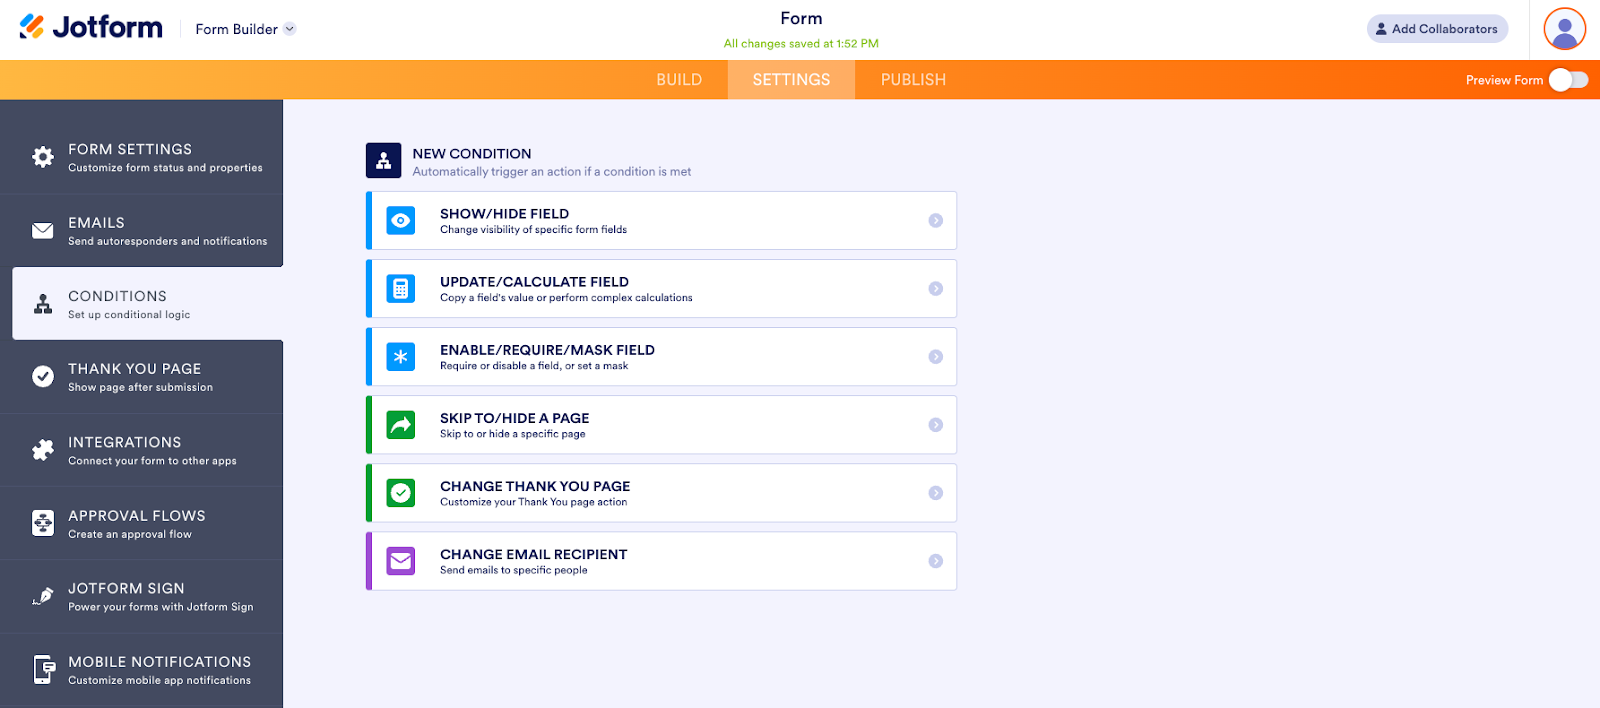
9. Configure general quiz settings
Update the quiz settings — like setting up email notifications, adding a thank you page, or creating approval flows. There are lots of different ways to customize your quiz to fit your needs. Conditional logic is one customization that will make your quiz more interactive and personalized for those taking it.
10. Preview your quiz
Before publishing your quiz, preview it to make sure everything looks and works as expected. Click on the Preview Form toggle in the top right corner of the page.
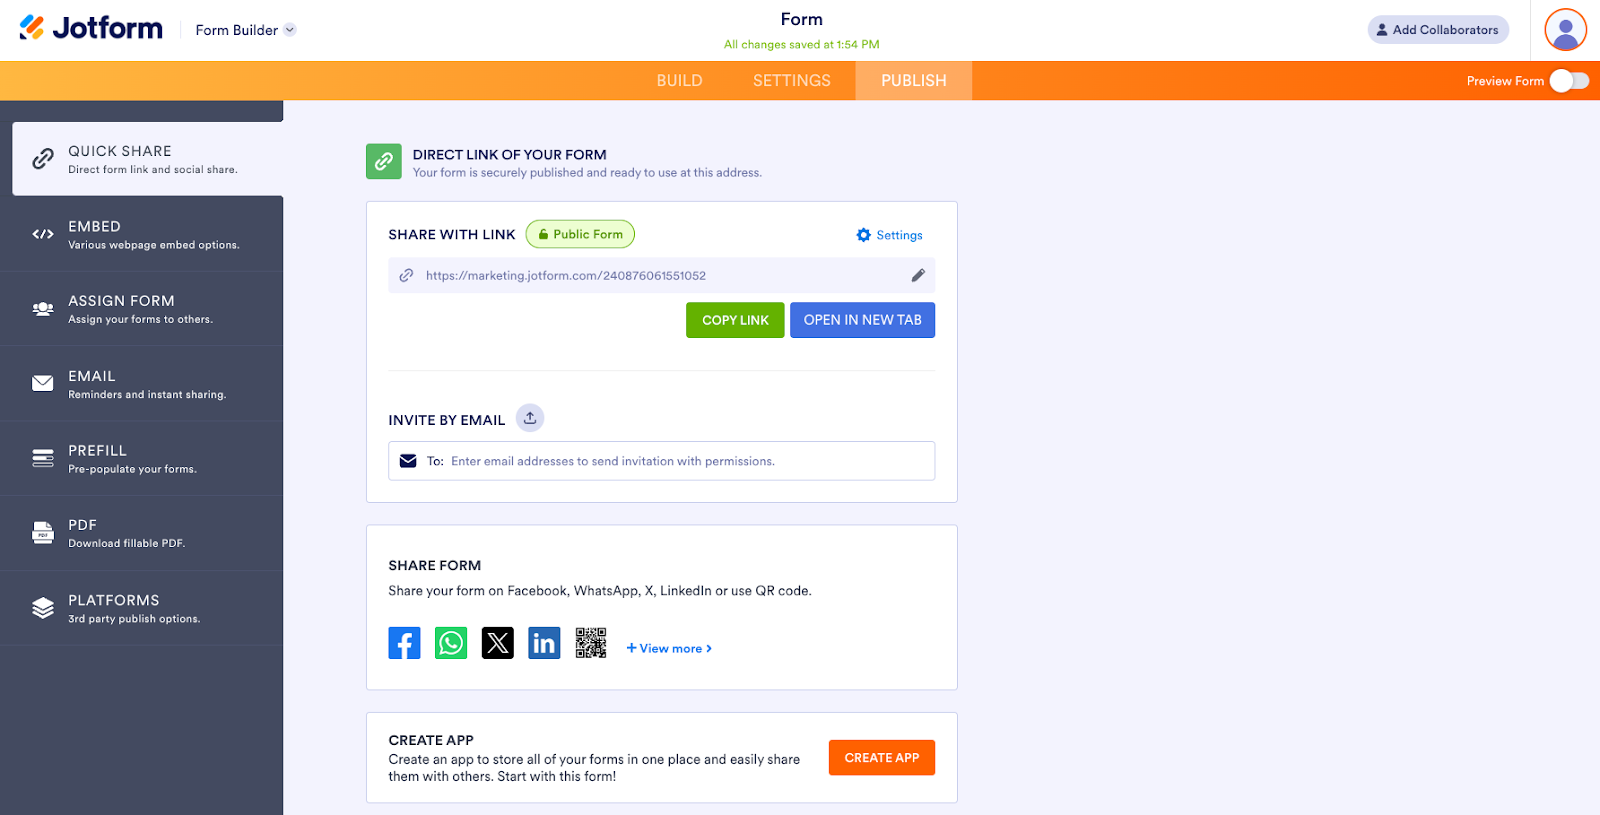
11. Publish your quiz
Jotform has an auto-save feature to ensure your work is up to date, so once you’re satisfied, go to the Publish tab.
12. Share your quiz
In the Publish tab, you’ll get a link to your live quiz that you can share. Distribute the link to your quiz through email or social media, or embed it on your website. You’ll also have the option to create an app to store your forms and share them easily.
Easy steps for adding a QR code to your quiz
Once you’ve created and customized your quiz, adding a QR code is a very straightforward process. First, go to the Publish tab and find the Quick Share options. Beneath the link to share and invite by email fields, you’ll see a box titled Share Form, which includes popular social media icons. Click on the last icon, which is a QR code.
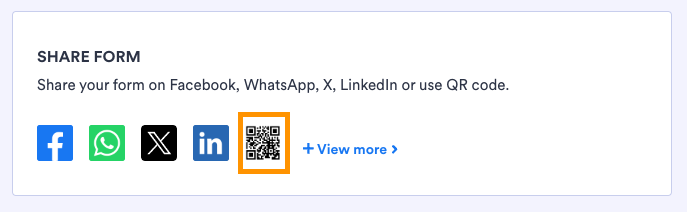
Jotform will automatically generate a QR code for your quiz that you can embed in your website. All you have to do is copy the provided HTML code. You can also download a PNG file of the QR code so you can easily add the image to any printed marketing materials.

And that’s it! You’ll be well on your way to getting your quiz results. And you don’t have to worry about accessing them — you’ll find them securely stored in your Jotform account whenever you’re ready to review them.
Photo by Artem Podrez


Send Comment: