
4 steps to create a QR code sign-in sheet
- Pick one of Jotform’s sign-in sheet templates
- Include the right fields to collect attendance data
- Generate a unique QR code for your form
- Display your QR code
If you’ve ever thought about how you were going to keep attendance for an event, class, or employee workshop, you’ve likely realized that it can be complicated. But what if you could track attendance automatically by allowing attendees to easily sign themselves in instead?
That’s the promise behind QR code sign-in sheets, and it doesn’t take much work to set one up. Introducing technology like QR codes into something as simple as attendance tracking may seem unnecessary, but the truth is, QR code sign-in sheets might be the easiest way for even the most tech-challenged attendees to mark themselves present.
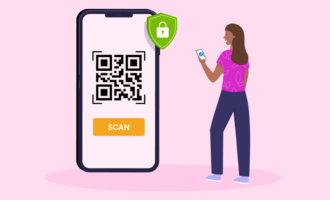
If you can take a picture with your smartphone, you can scan a QR code to sign in. As the person keeping attendance, just imagine how much time and effort you can free up to focus on more important event responsibilities if you use this method.
Create QR Codes in Minutes
What is a QR code?
The actual science behind QR codes is fairly complex, but they essentially function like powerful barcodes. QR codes pack digital data into an image that can be scanned and read by a suitable device (usually a smartphone).
Unlike barcodes, though, QR codes can encode data both left to right and up and down, meaning they can hold much more information than your standard barcode. That’s why you’ve likely seen restaurants use QR codes for customers to easily scan and access links to their menus.
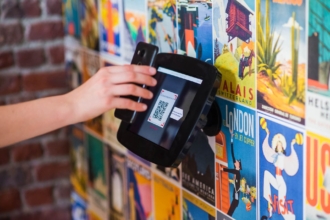
The objective with QR code sign-in sheets is to use that same technology to allow attendees to sign in on their own. And, as QR codes become increasingly popular, more and more of your attendees will likely know exactly what to do when presented with a QR code and simple instructions.
Why should you use QR codes for sign-in sheets?
The answer to this is simple: It automates an important aspect of your job and leaves it up to your attendees to mark themselves present instead of requiring you to actively check them in. This allows you to focus on the bigger picture when hosting a paid event, for example. If your main objective in tracking attendance is to know who actually showed up, QR codes allow you to gather data on who attended (without directly requiring your attention during the event) and guide your attendees to any important information they may need.
Once you establish that QR codes are a portal to vital resources at your events, your attendees will be able to help themselves with ease. Teachers often use this method in class, as well, requiring students to scan a QR code to mark themselves present.
For both event coordinators and teachers, however, increased productivity and efficiency are the main goals behind QR code sign-in sheets. It makes your job easier, and it helps your customers, students, and clients have a smoother experience.
How to create a QR code sign-in sheet with Jotform
One of the best ways to quickly create and customize your own sign-in sheets is by using a service like online form builder Jotform. Through Jotform’s drag-and-drop editor, you can generate QR codes to any sign-in sheet and track the responses you receive from attendees as you go along.
Here’s how.
1. Pick one of Jotform’s sign-in sheet templates.
Jotform offers thousands of free templates for any kind of form you might need — including sign-in sheets. You can choose a premade sign-in sheet template and customize it with your own fields, colors, and branding. Jotform offers templates for virtually any industry, including a class sign-in sheet, a visitor sign-in sheet, and even a patient sign-in sheet.
You can also easily build your own sign-in sheet from scratch with Jotform’s drag-and-drop form builder.
2. Include the right fields to collect attendance data.
Think about the data you want to collect in your sign-in sheet. You can have fields for details like name, email address, company, contact information, and time of arrival, to name a few. Include fields for all the information you might want to gather, and Jotform will collect all the responses in one place for later review.
3. Generate a unique QR code for your form.
Once your form is ready to go, click on the Publish tab in the Jotform Form Builder. This will take you to a page where you can choose how to share your form. Under Share Form, you’ll see an image of a QR code.
Click the QR code icon, and you’ll see the option to download a unique QR code that will link attendees to your form. Anyone who has the link can fill out the form, but they won’t be able to edit your forms without permission.
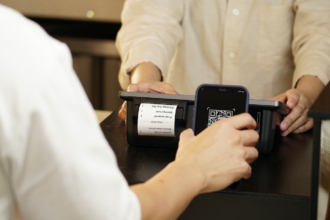
4. Display your QR code.
How you display the QR code is up to you. You’ll want to share it with your attendees as painlessly as possible. You could post it on a big screen where everyone can see it, print it out, display it on a tablet, phone, or laptop, or even embed it in another online form with Jotform’s QR code widget.
Keeping track of attendance can be a hassle for both you and your attendees, clients, or students. Try using QR code sign-in sheets instead of just a pen and paper and free yourself up for more important tasks, even if that’s just enjoying the event you worked so hard to put together.


Send Comment:
1 Comment:
November 27, 2024
Good day,
This is my situation. I an a health and safety coordinator and I am in charge of getting guys training. I want to set up an electronic document for them to access with a QR code. My question is, is there a way to set up a QR code so I can keep track of who has and who hasn't completed the required training I assigned them ?
Thank you in advance