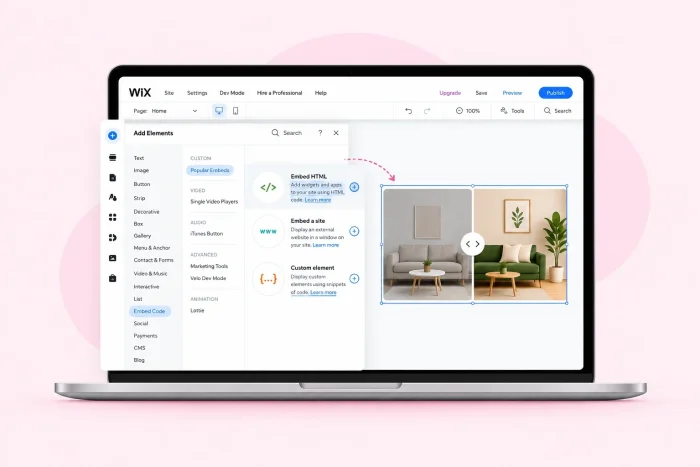
Helping potential buyers instantly see your product’s benefits is a huge advantage, especially when selling online. Here, there’s no salesperson — so your branding, messaging, and visuals must do the heavy lifting. This is the power of the before-and-after slider.
While Wix has a massive library of design elements, the standard editor doesn’t include a customizable before-and-after slider. But that doesn’t mean you’re without options. You can install a third-party app from the Wix App Market, embed a free external widget, or build one from scratch with Velo by Wix. Here’s how each one works, and why the free widget is the one most people should reach for.
Option 1: Install a Wix App Market extension
The most obvious route is the Wix App Market. Search “before and after slider,” click once, and you have a working comparison slider on the page. No embed codes, no dev mode.
It’s after installation that the catch shows up. Most of these apps run on a freemium model, and you’ll have to compromise on the free tier. The PURPLE Before & After Slider, one of the better-reviewed options at 4.7 stars, puts a watermark on the free plan. Removing it, along with unlocking custom arrow styles and layout shapes, costs $2.50 per month. Not much at first, but it stacks with every app subscription on your site.
The bigger risk is maintenance. These are small third-party developers, and when one stops shipping updates, your slider breaks. Your portfolio or product page is the last place you want a broken element.
If you still want to try a third-party app, here’s how to install one:
- Open your site in the Wix Editor and click Apps in the left sidebar, then click App Market. Search for “before and after slider.”
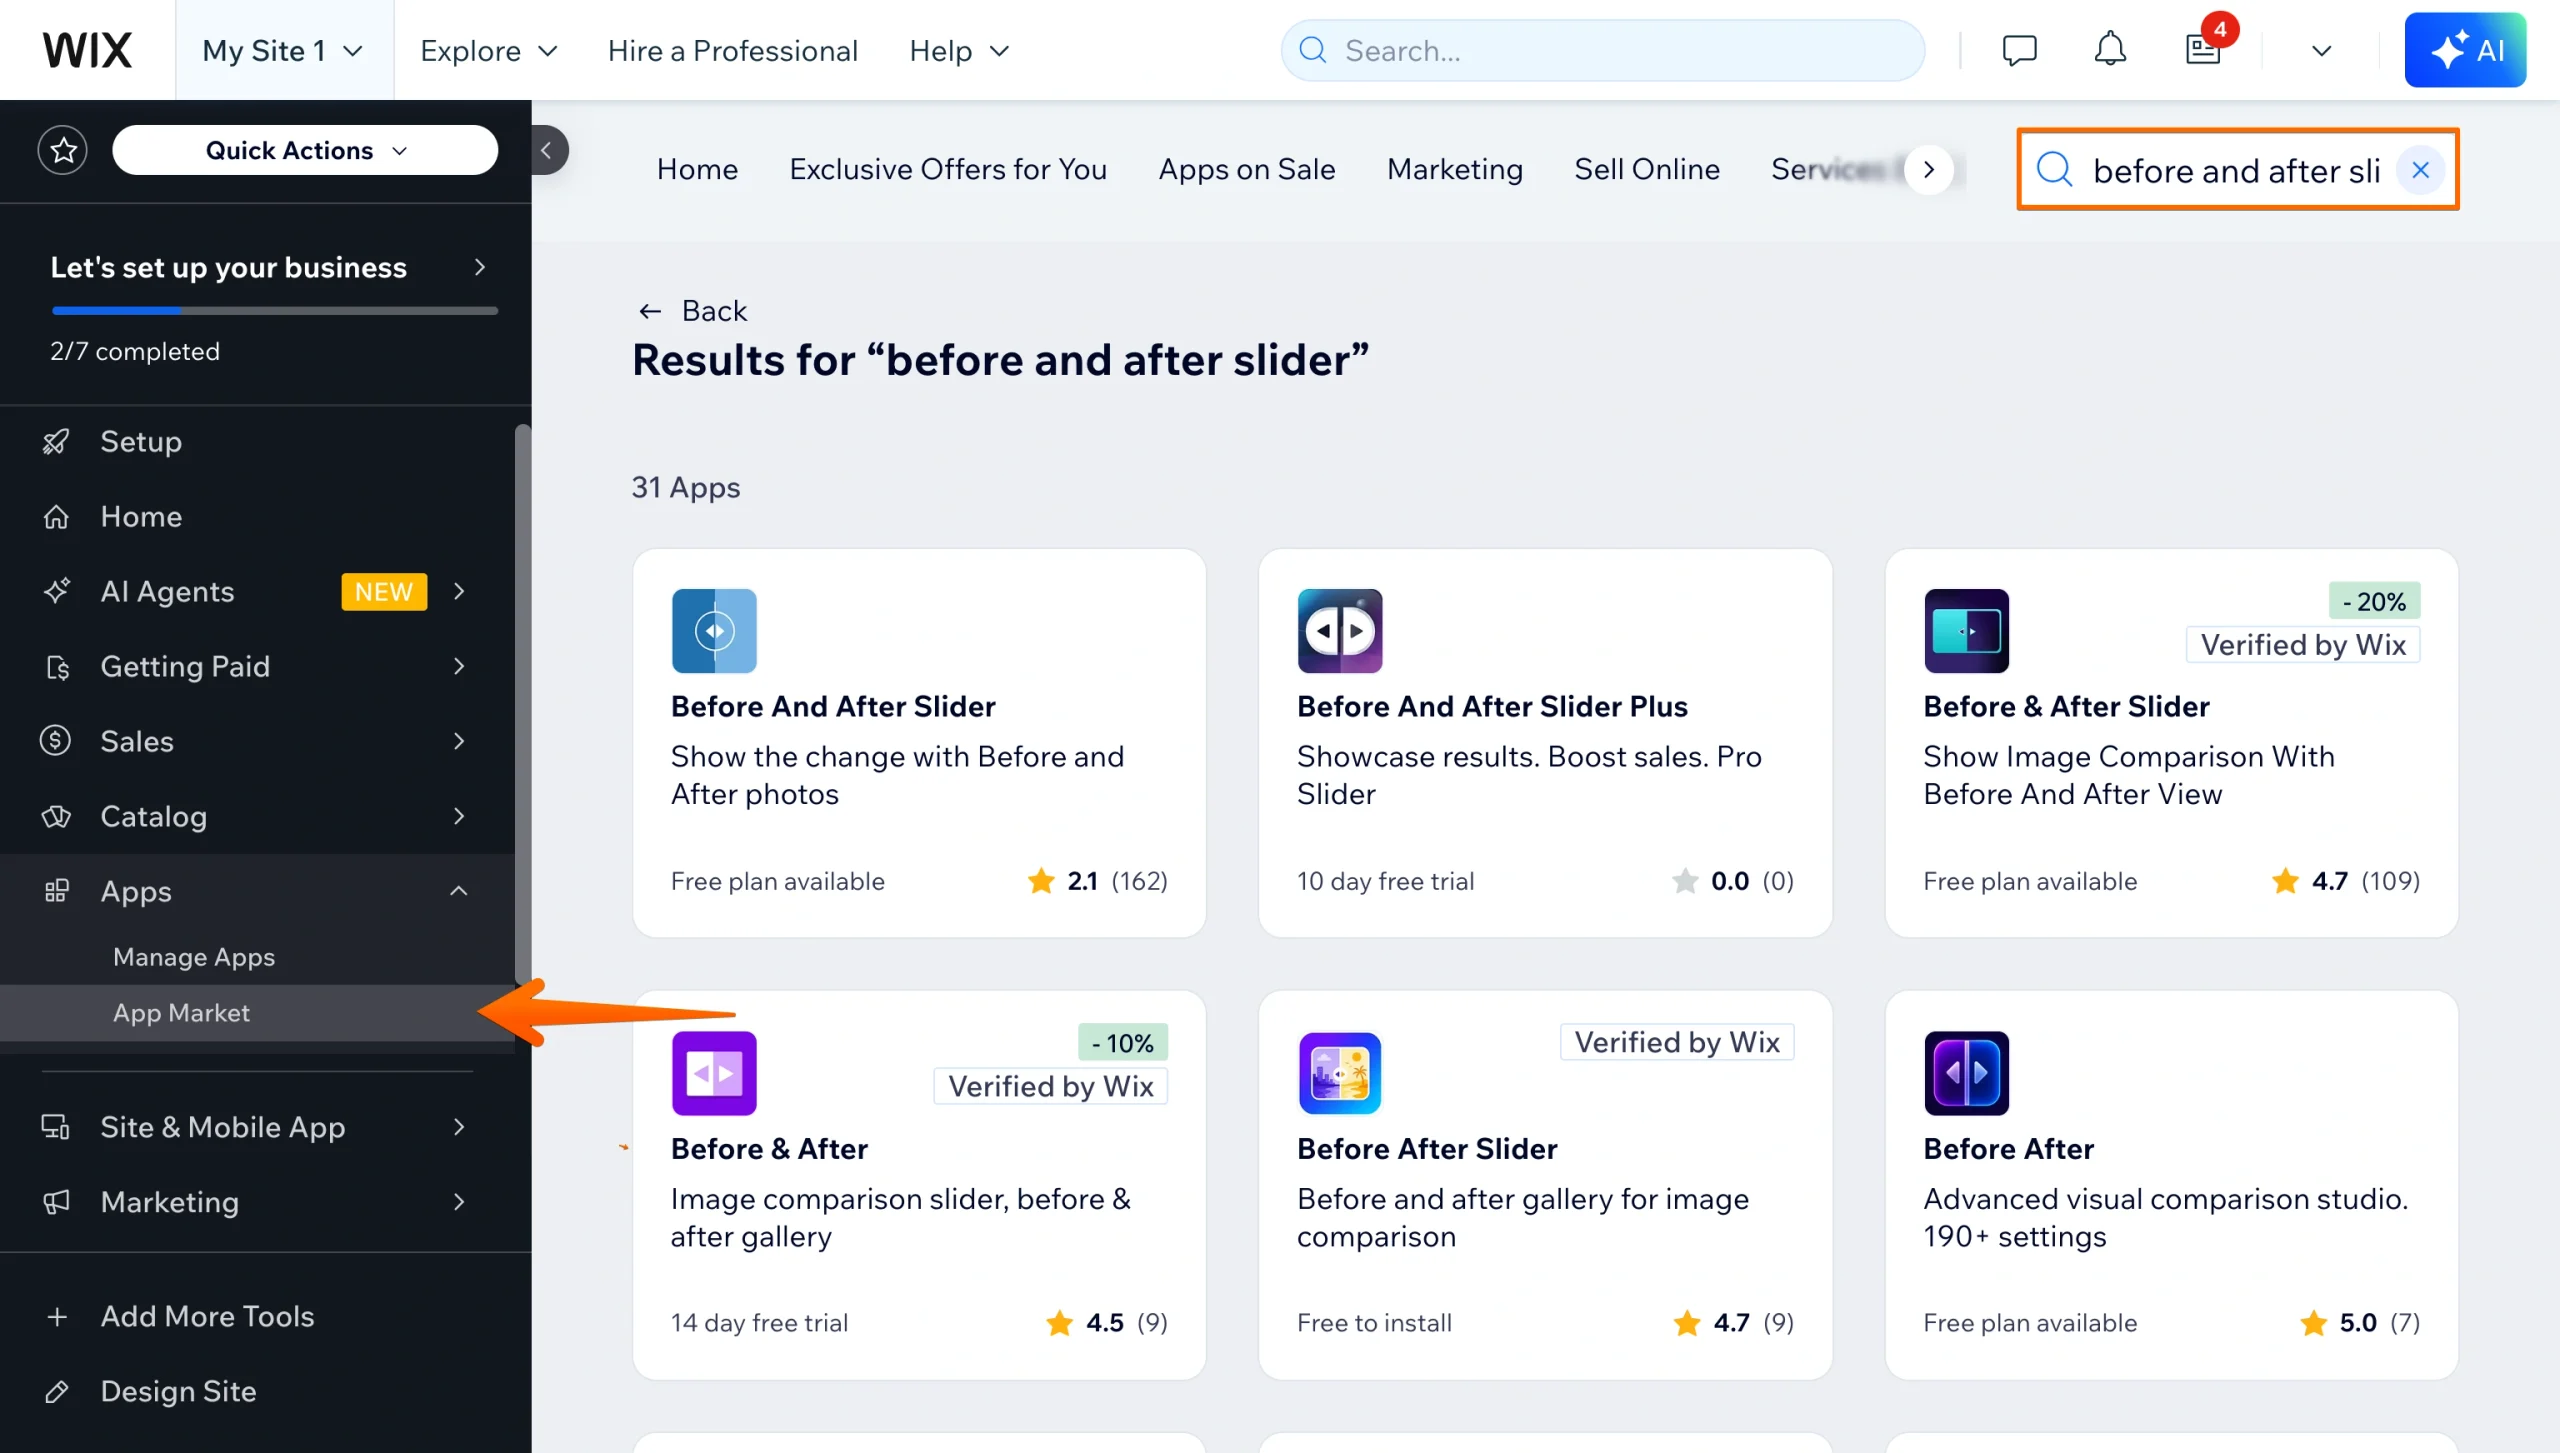
- Click the app you want, then click Add to Site. Confirm with Allow and Add.
- The slider drops onto your page. Click it, open Settings, add your before and after images, adjust the handle and labels, and then click Publish.
Wix documents the full install flow in its Help Center guide to adding an app to your site.
Option 2: Use a free, no-code slider widget (recommended)
If you want full control over the slider without a monthly subscription, skip the App Market and embed a free external widget instead. You get the same drag-to-reveal effect, more customization than the paid app tiers offer, and no renewal.
The Jotform Before and After Slider Widget is built for exactly this. You configure it in a visual editor, copy a short embed code, and paste it into Wix. Jotform Website Widgets are free to use, with no usage limit and no plan requirement, so no upgrade prompt appears once your slider goes live.
It also does more than the App Market options. You can reveal horizontally or vertically, which matters if you’re showing a full-length room or a before-and-after of a person. You can set the divider’s starting position so visitors land on the framing you want. You can also add up to three comparison pairs with built-in navigation, turning one element into a compact case study gallery rather than a single static comparison. For a dentist showing three patient outcomes or an interior designer walking through a phased renovation, that’s the difference between one embed and three.
Follow these steps to add Jotform’s widget to your Wix site:
- Open the Jotform Before and After Slider Widget and add your image pair by uploading your files or pasting image URLs. Add before and after labels as well as a caption for each comparison.
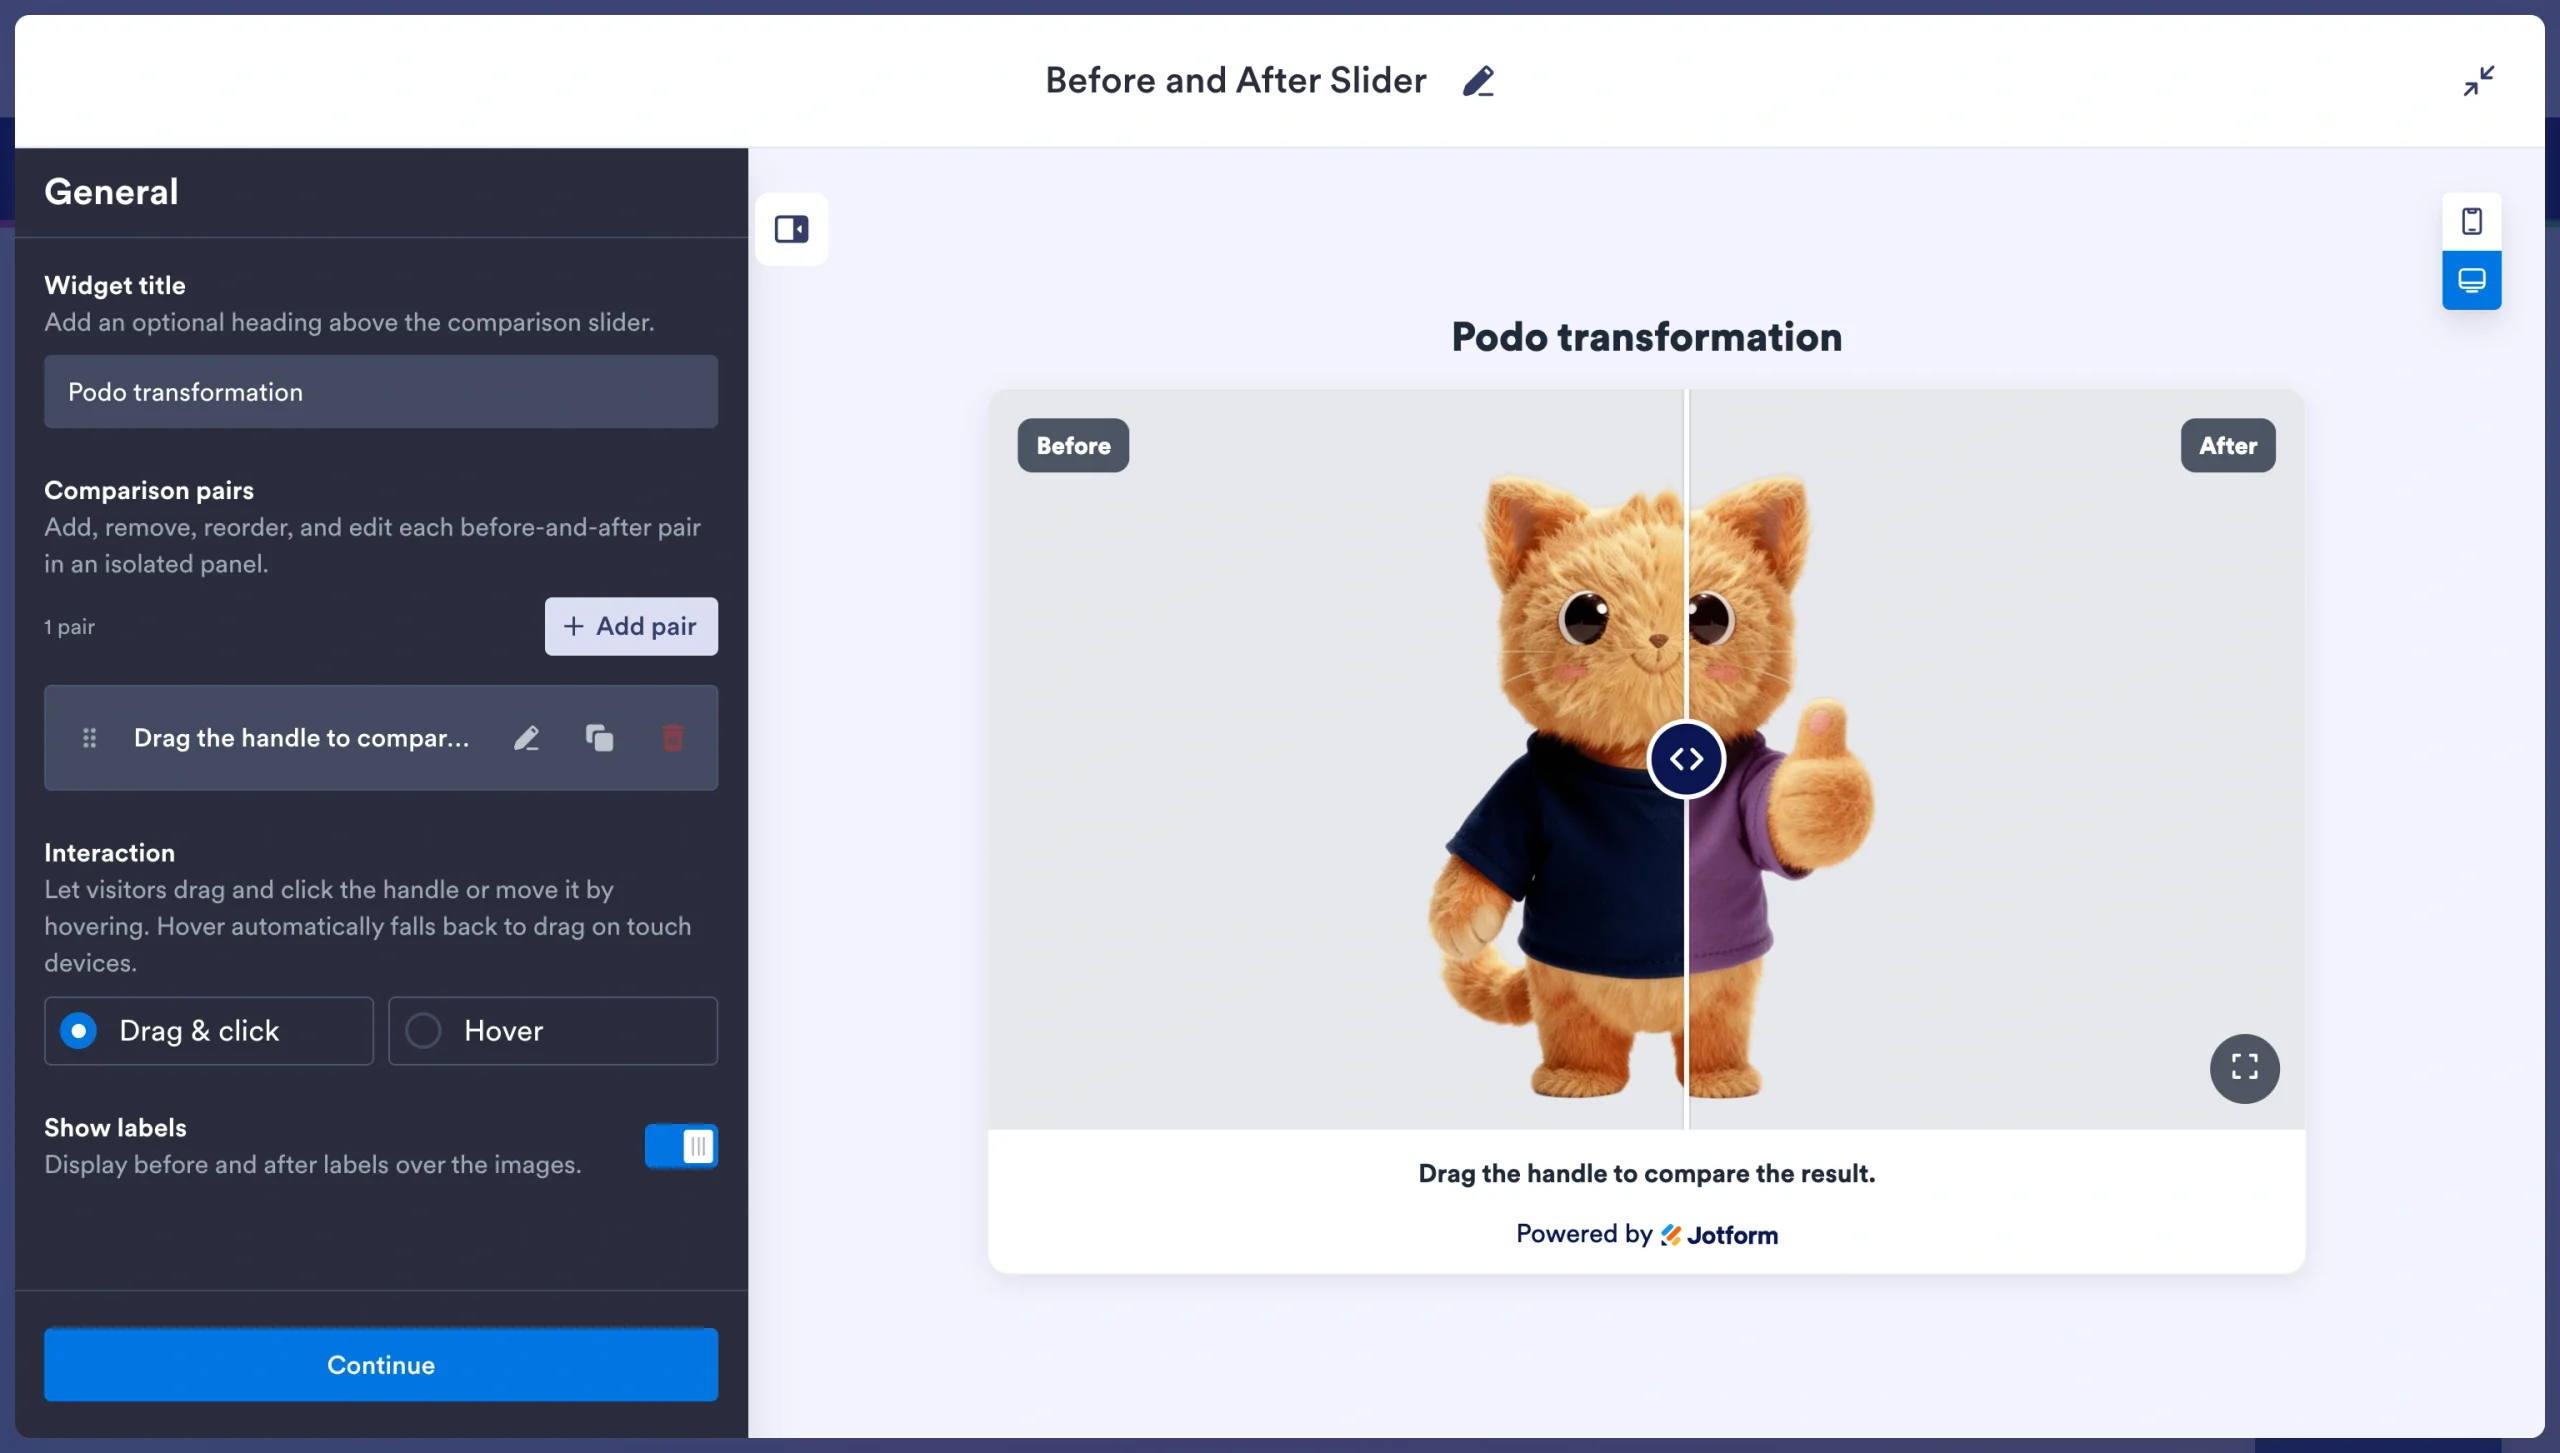
- Set the reveal direction, starting divider position, and interaction style (drag, click, or hover). Adjust width, image ratio, corner radius, divider size, and colors to match your site. Enable fullscreen if visitors need to inspect detail.
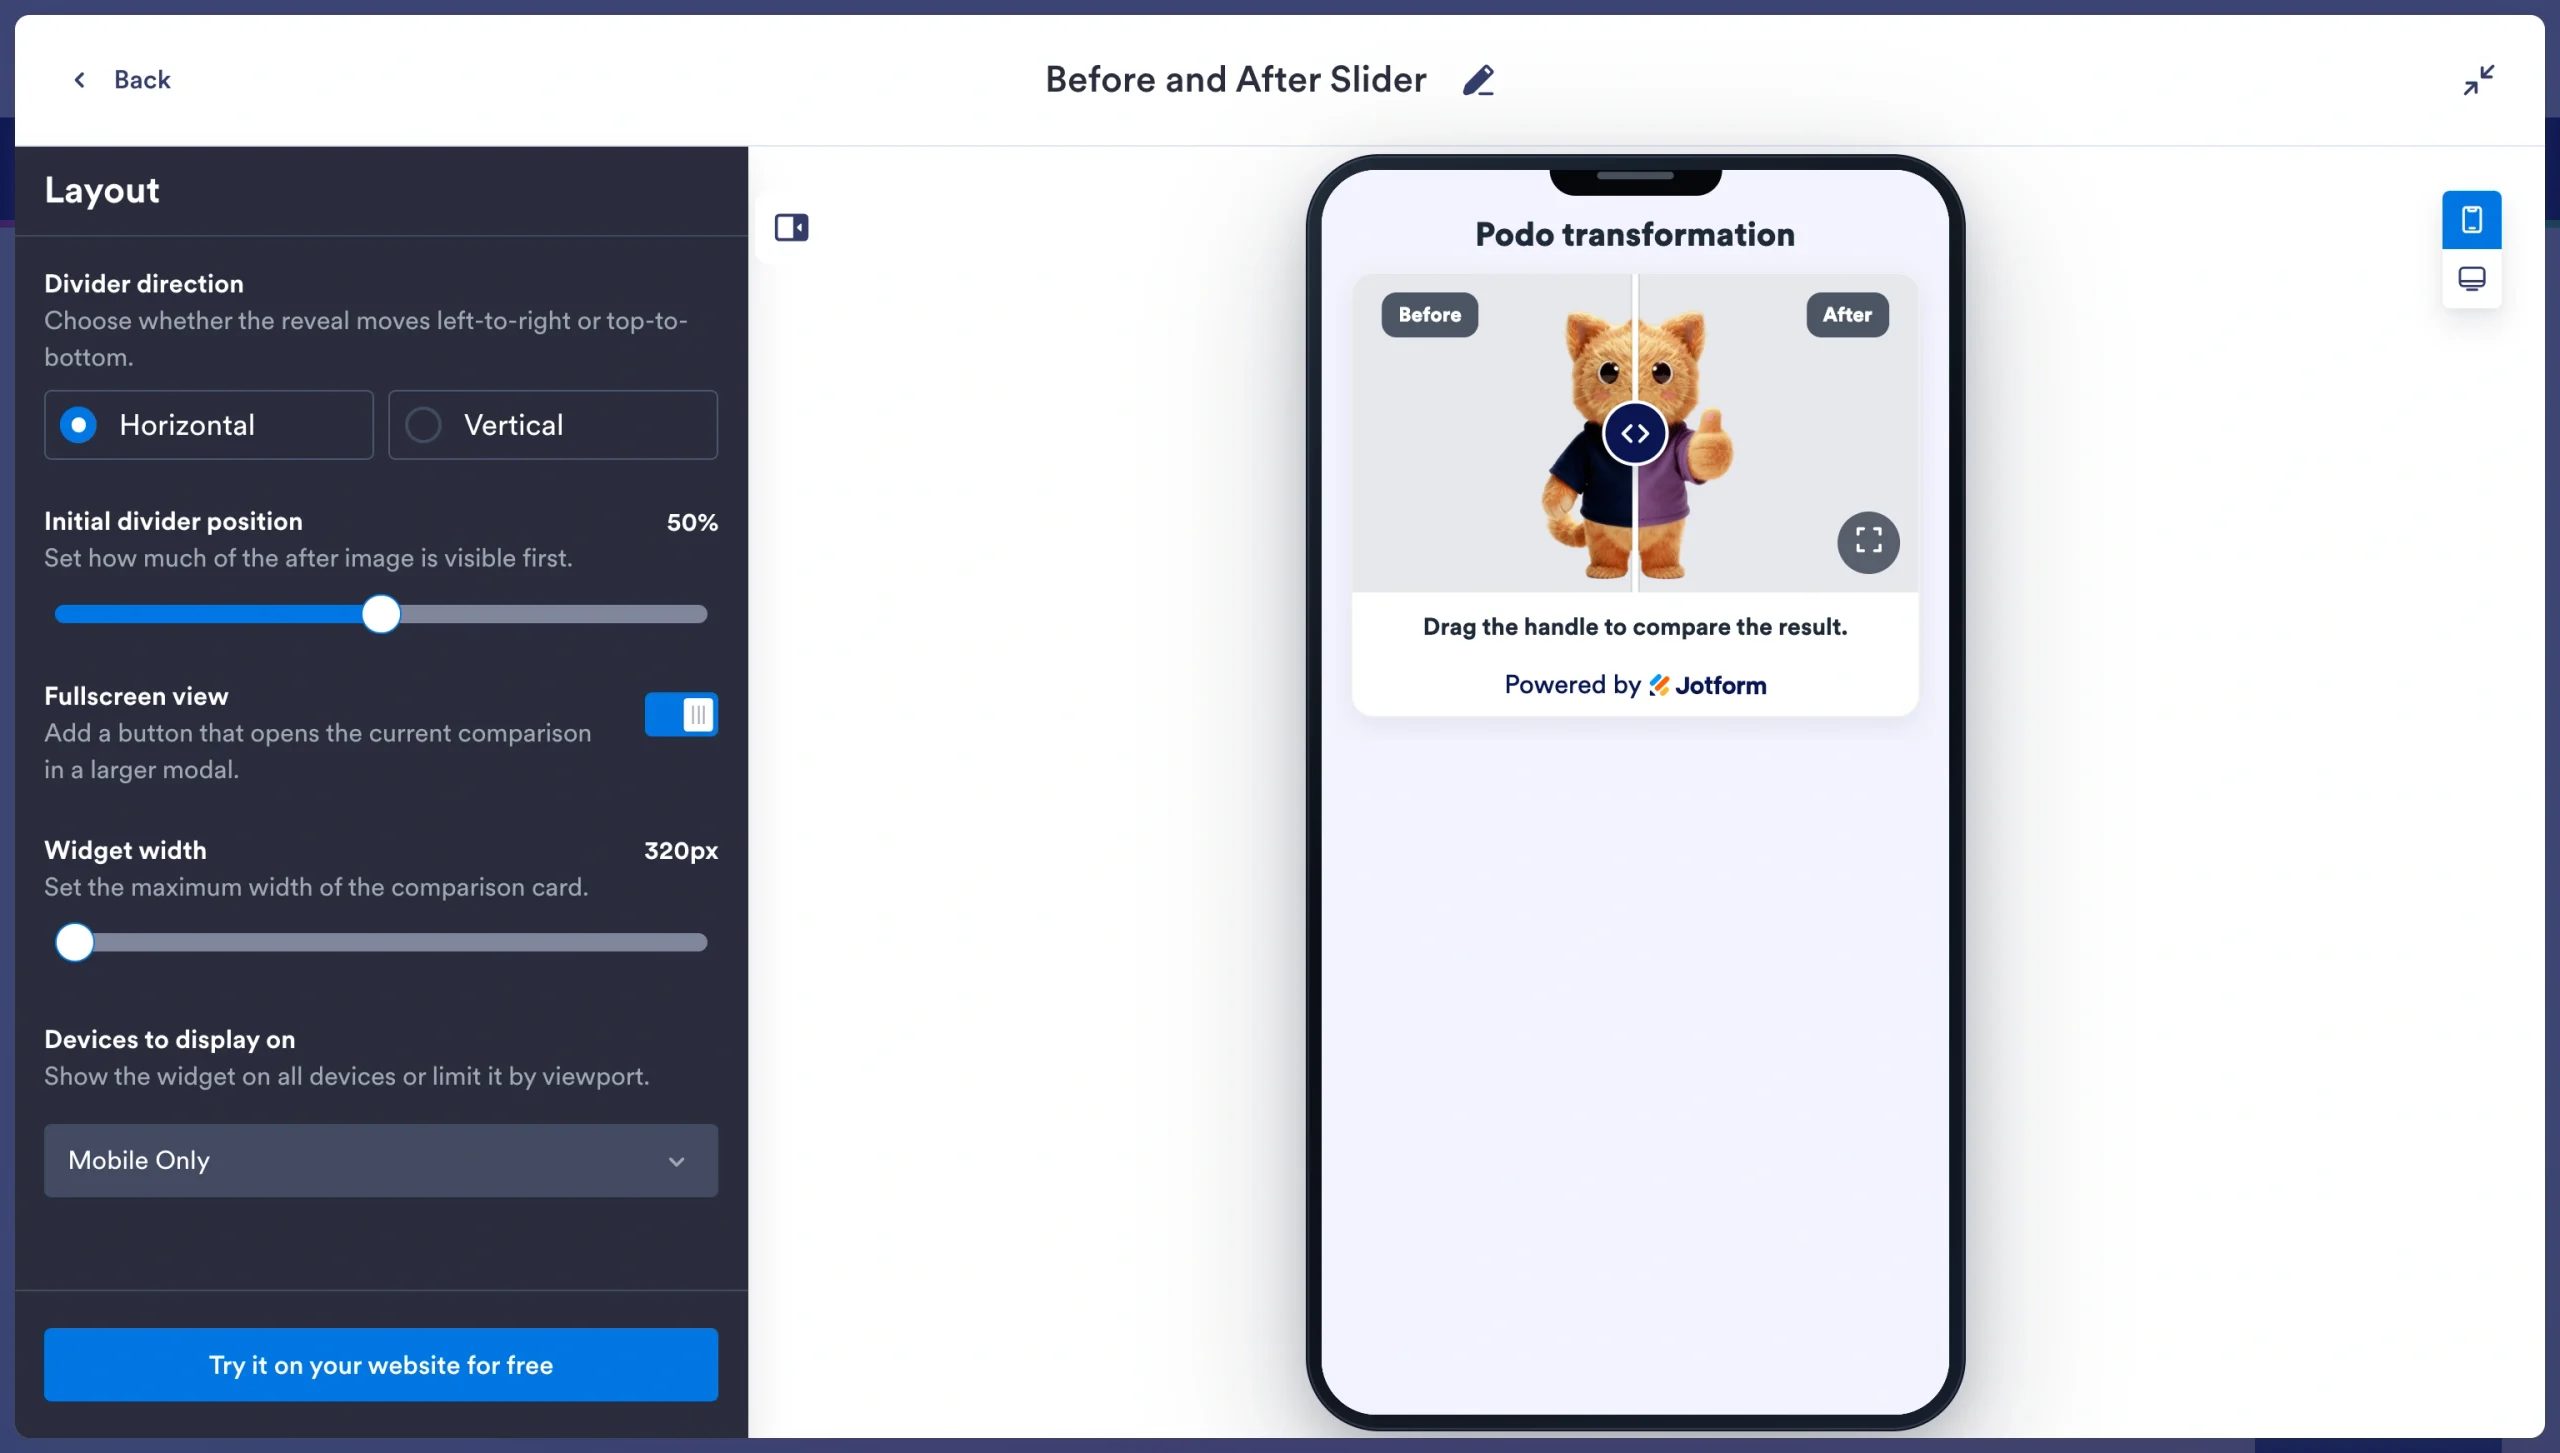
- Copy the embed code.
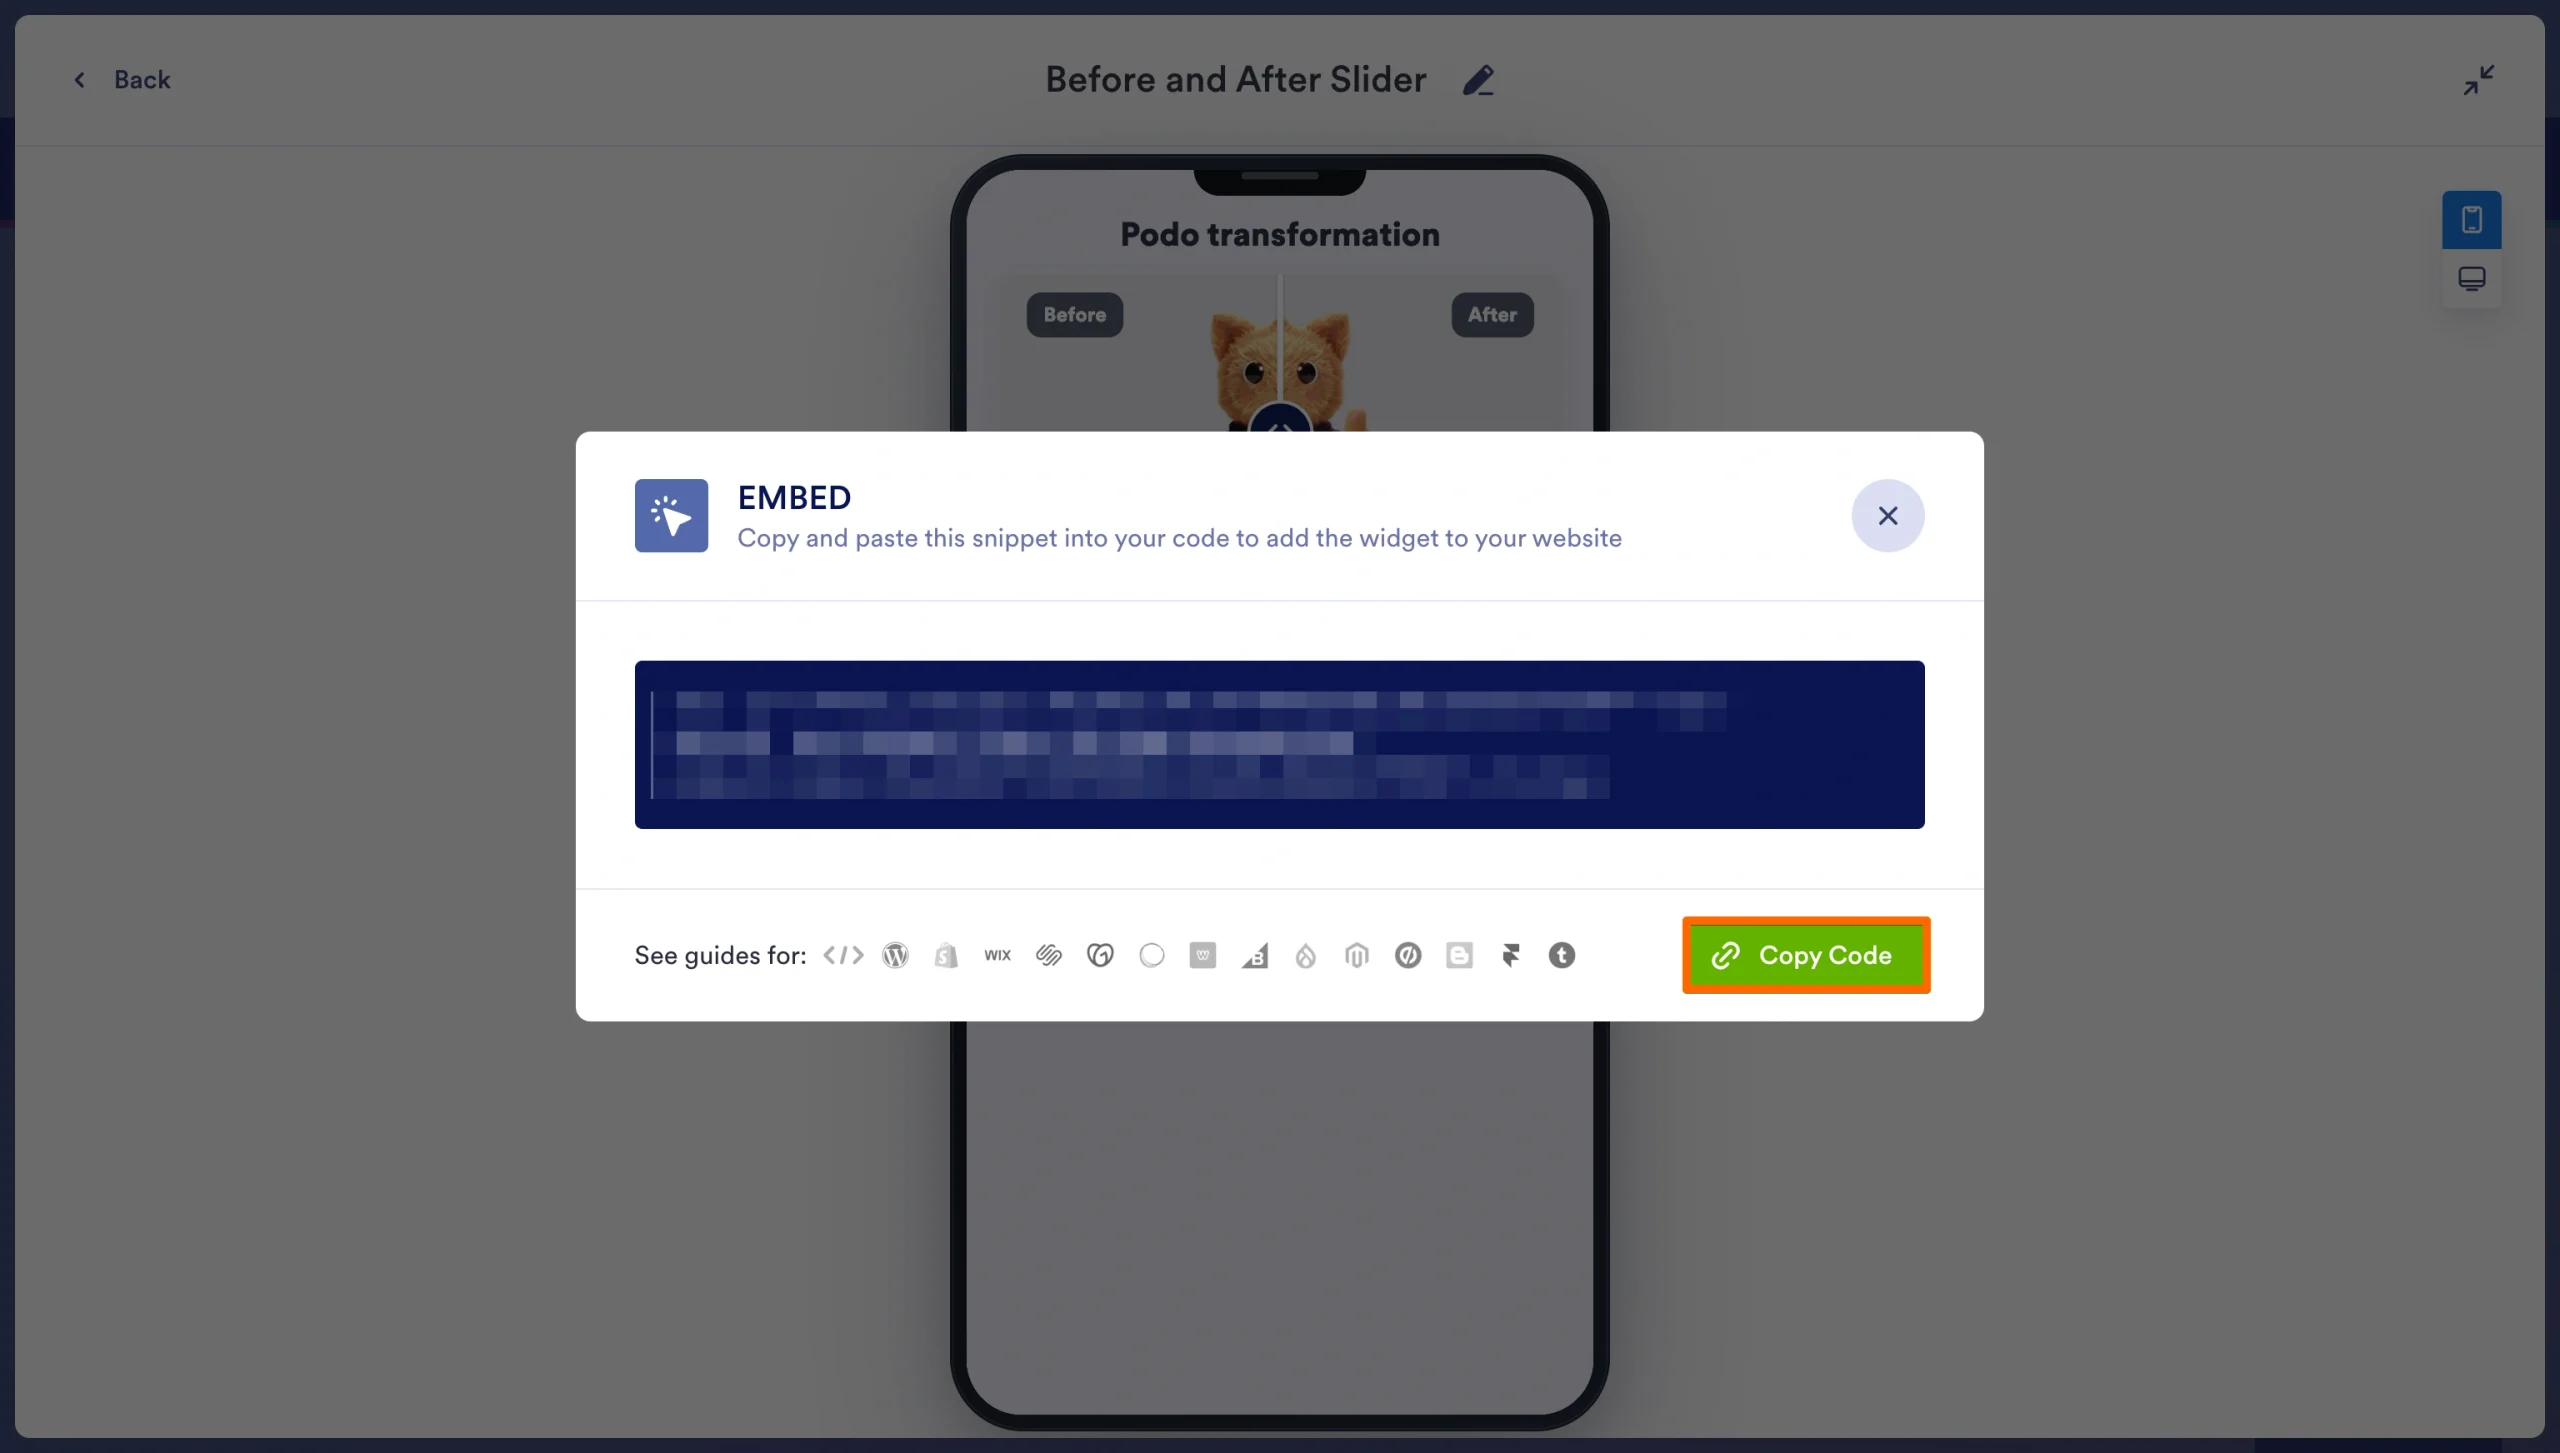
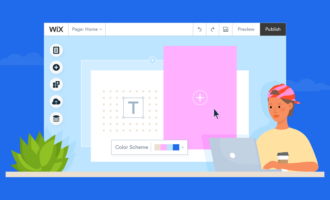
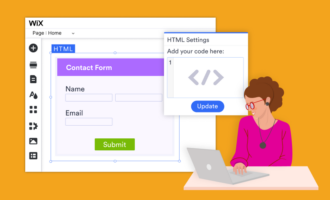
- In the Wix Editor, click + Add and select Embed Code. Paste your snippet, resize the element, and click Publish.
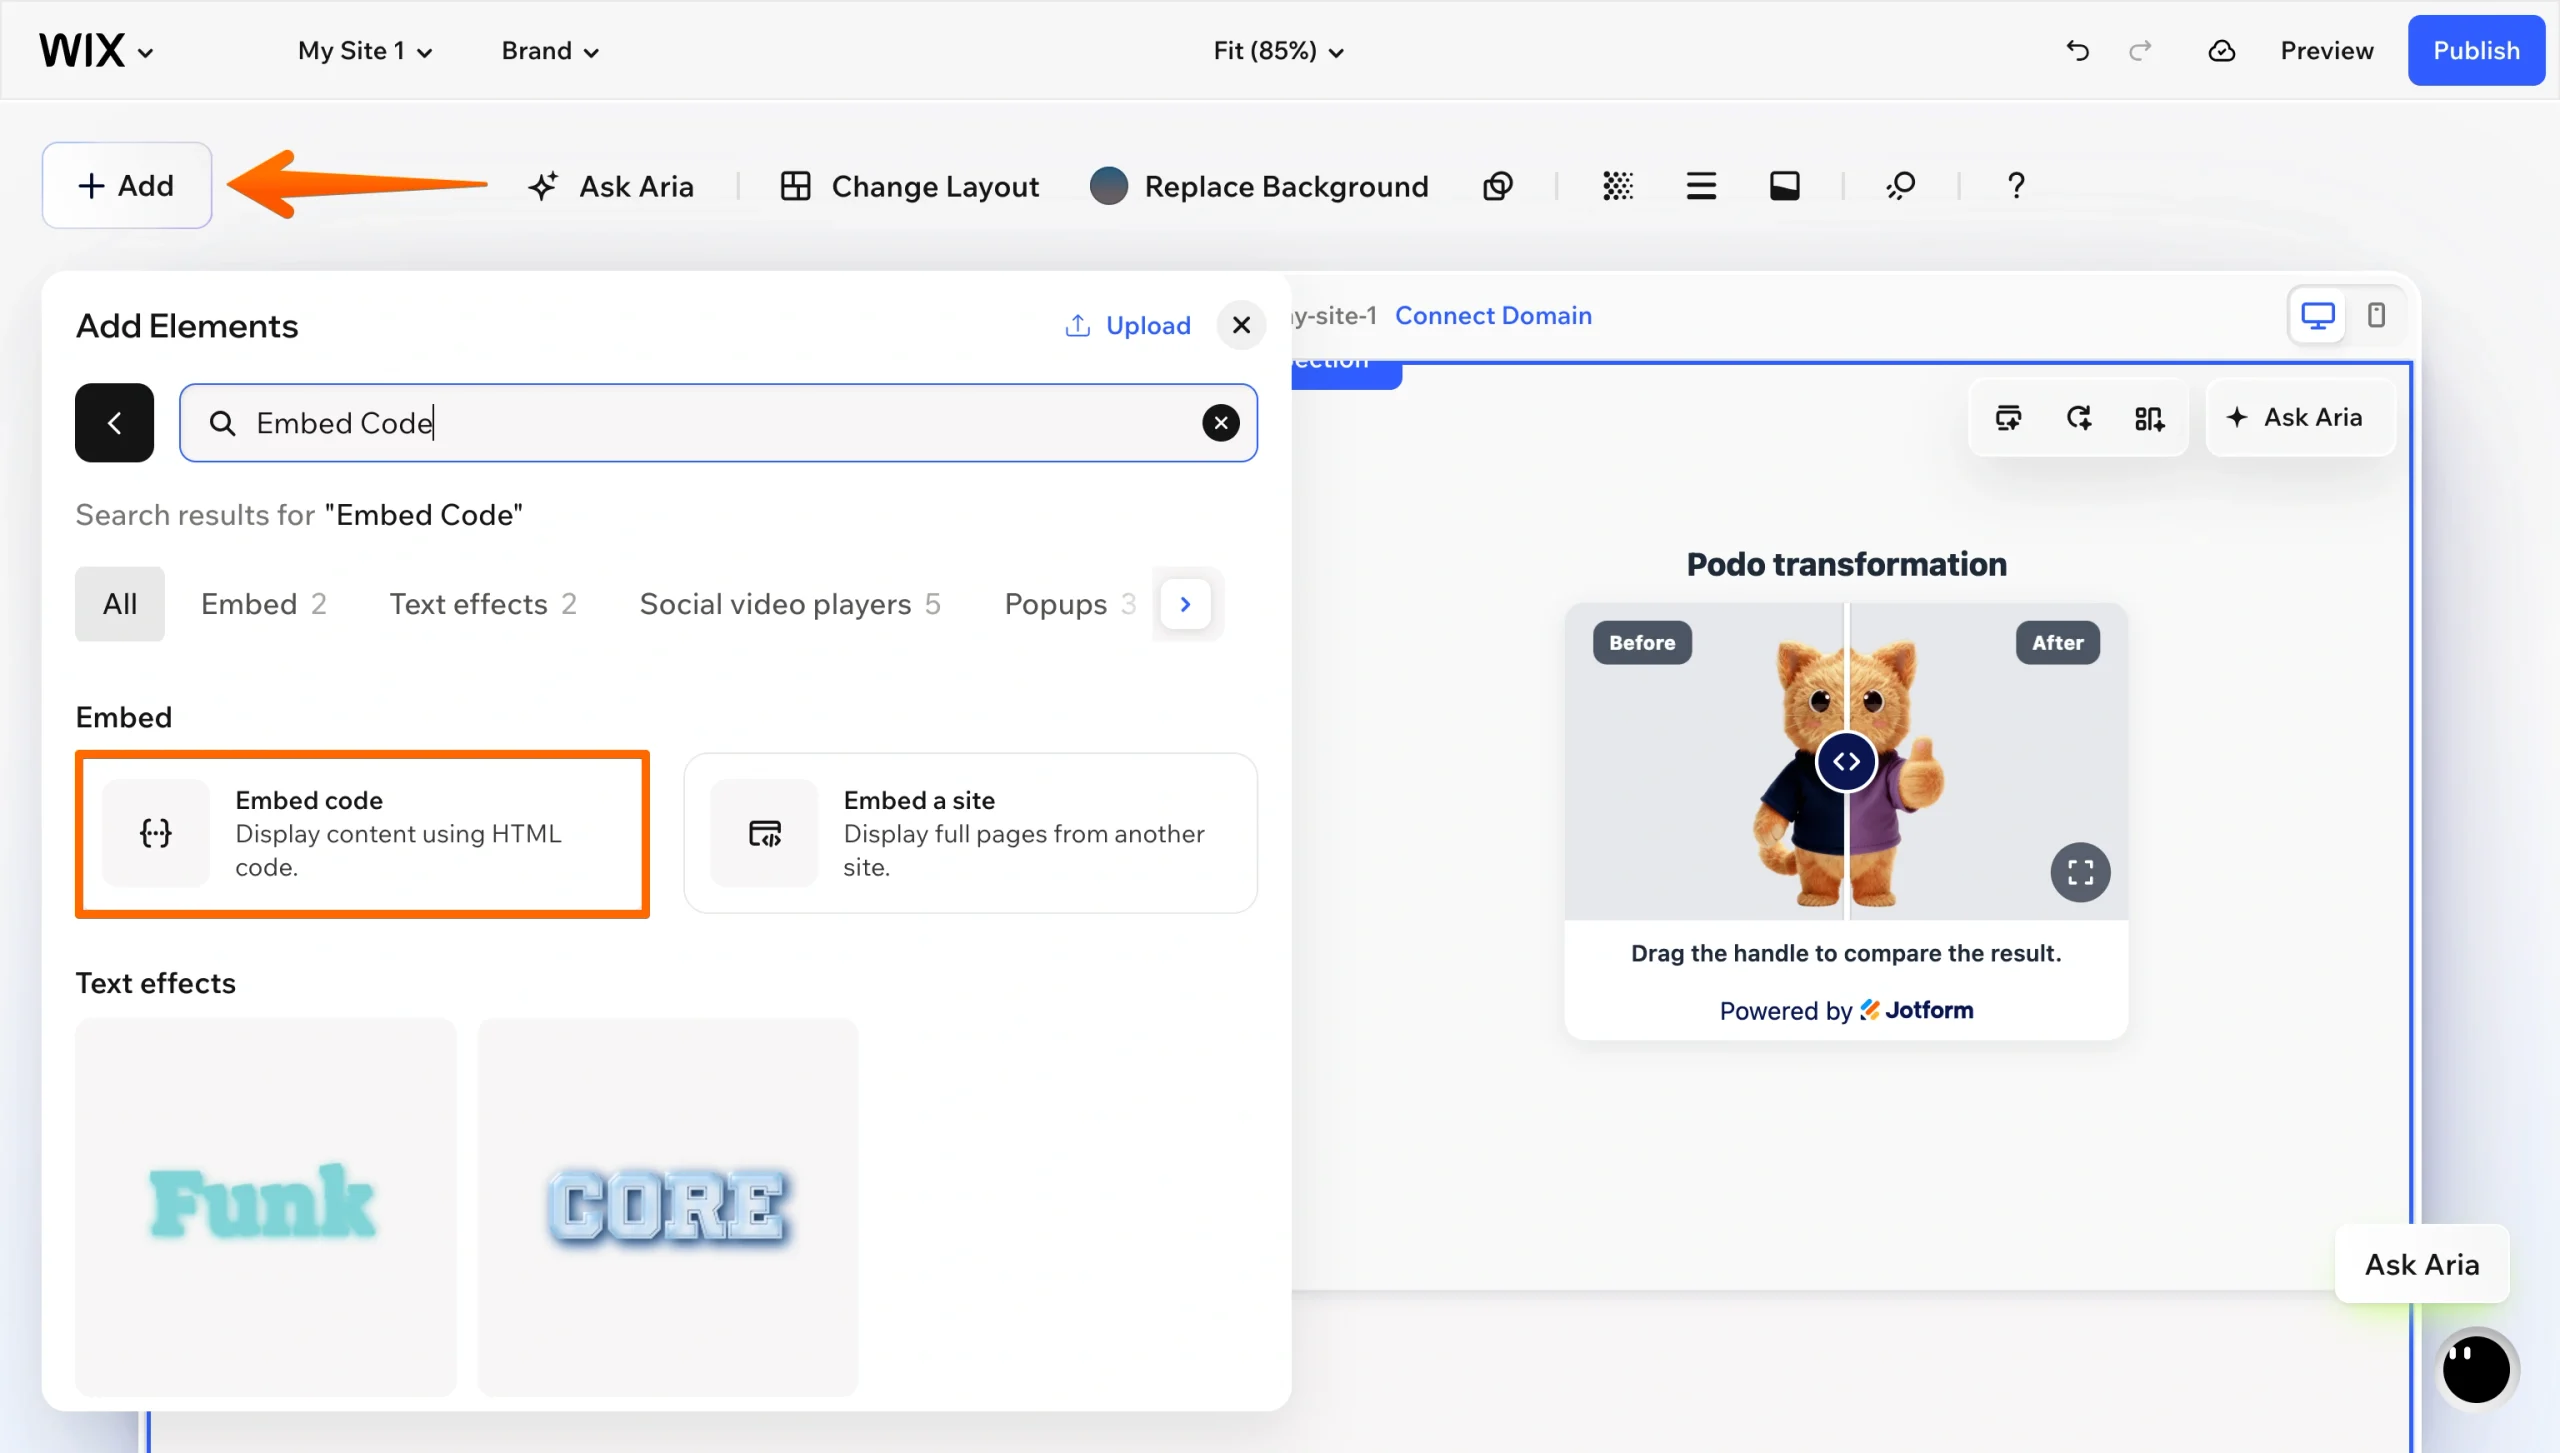
Wix’s guide to embedding a site or widget covers the element’s limitations, including the requirement that your embed code use HTTPS.
Option 3: Build a custom slider using Velo by Wix
If you’d rather not rely on a third-party app or an external embed, you can code the slider yourself with Velo by Wix. The approach is to stack your two images in the editor, add a line or box element as the drag handle, turn on Dev Mode, and write JavaScript that reveals more or less of the top image as the visitor drags.
Here’s the catch. Velo’s page code can’t track a pointer as it moves across an element. The event handlers available on standard Wix elements cover clicks, focus, entering and leaving an element, and viewport visibility. There’s no mouse-move handler and no touch event support. A drag slider needs both.
The ideal path is to write ordinary DOM JavaScript inside an HTML iFrame element and use Velo only to pass data in. At that point you’re using the same embed mechanism as Option 2, except you own the code, the responsive behavior, and every bug.
If you want to try it, follow these steps:
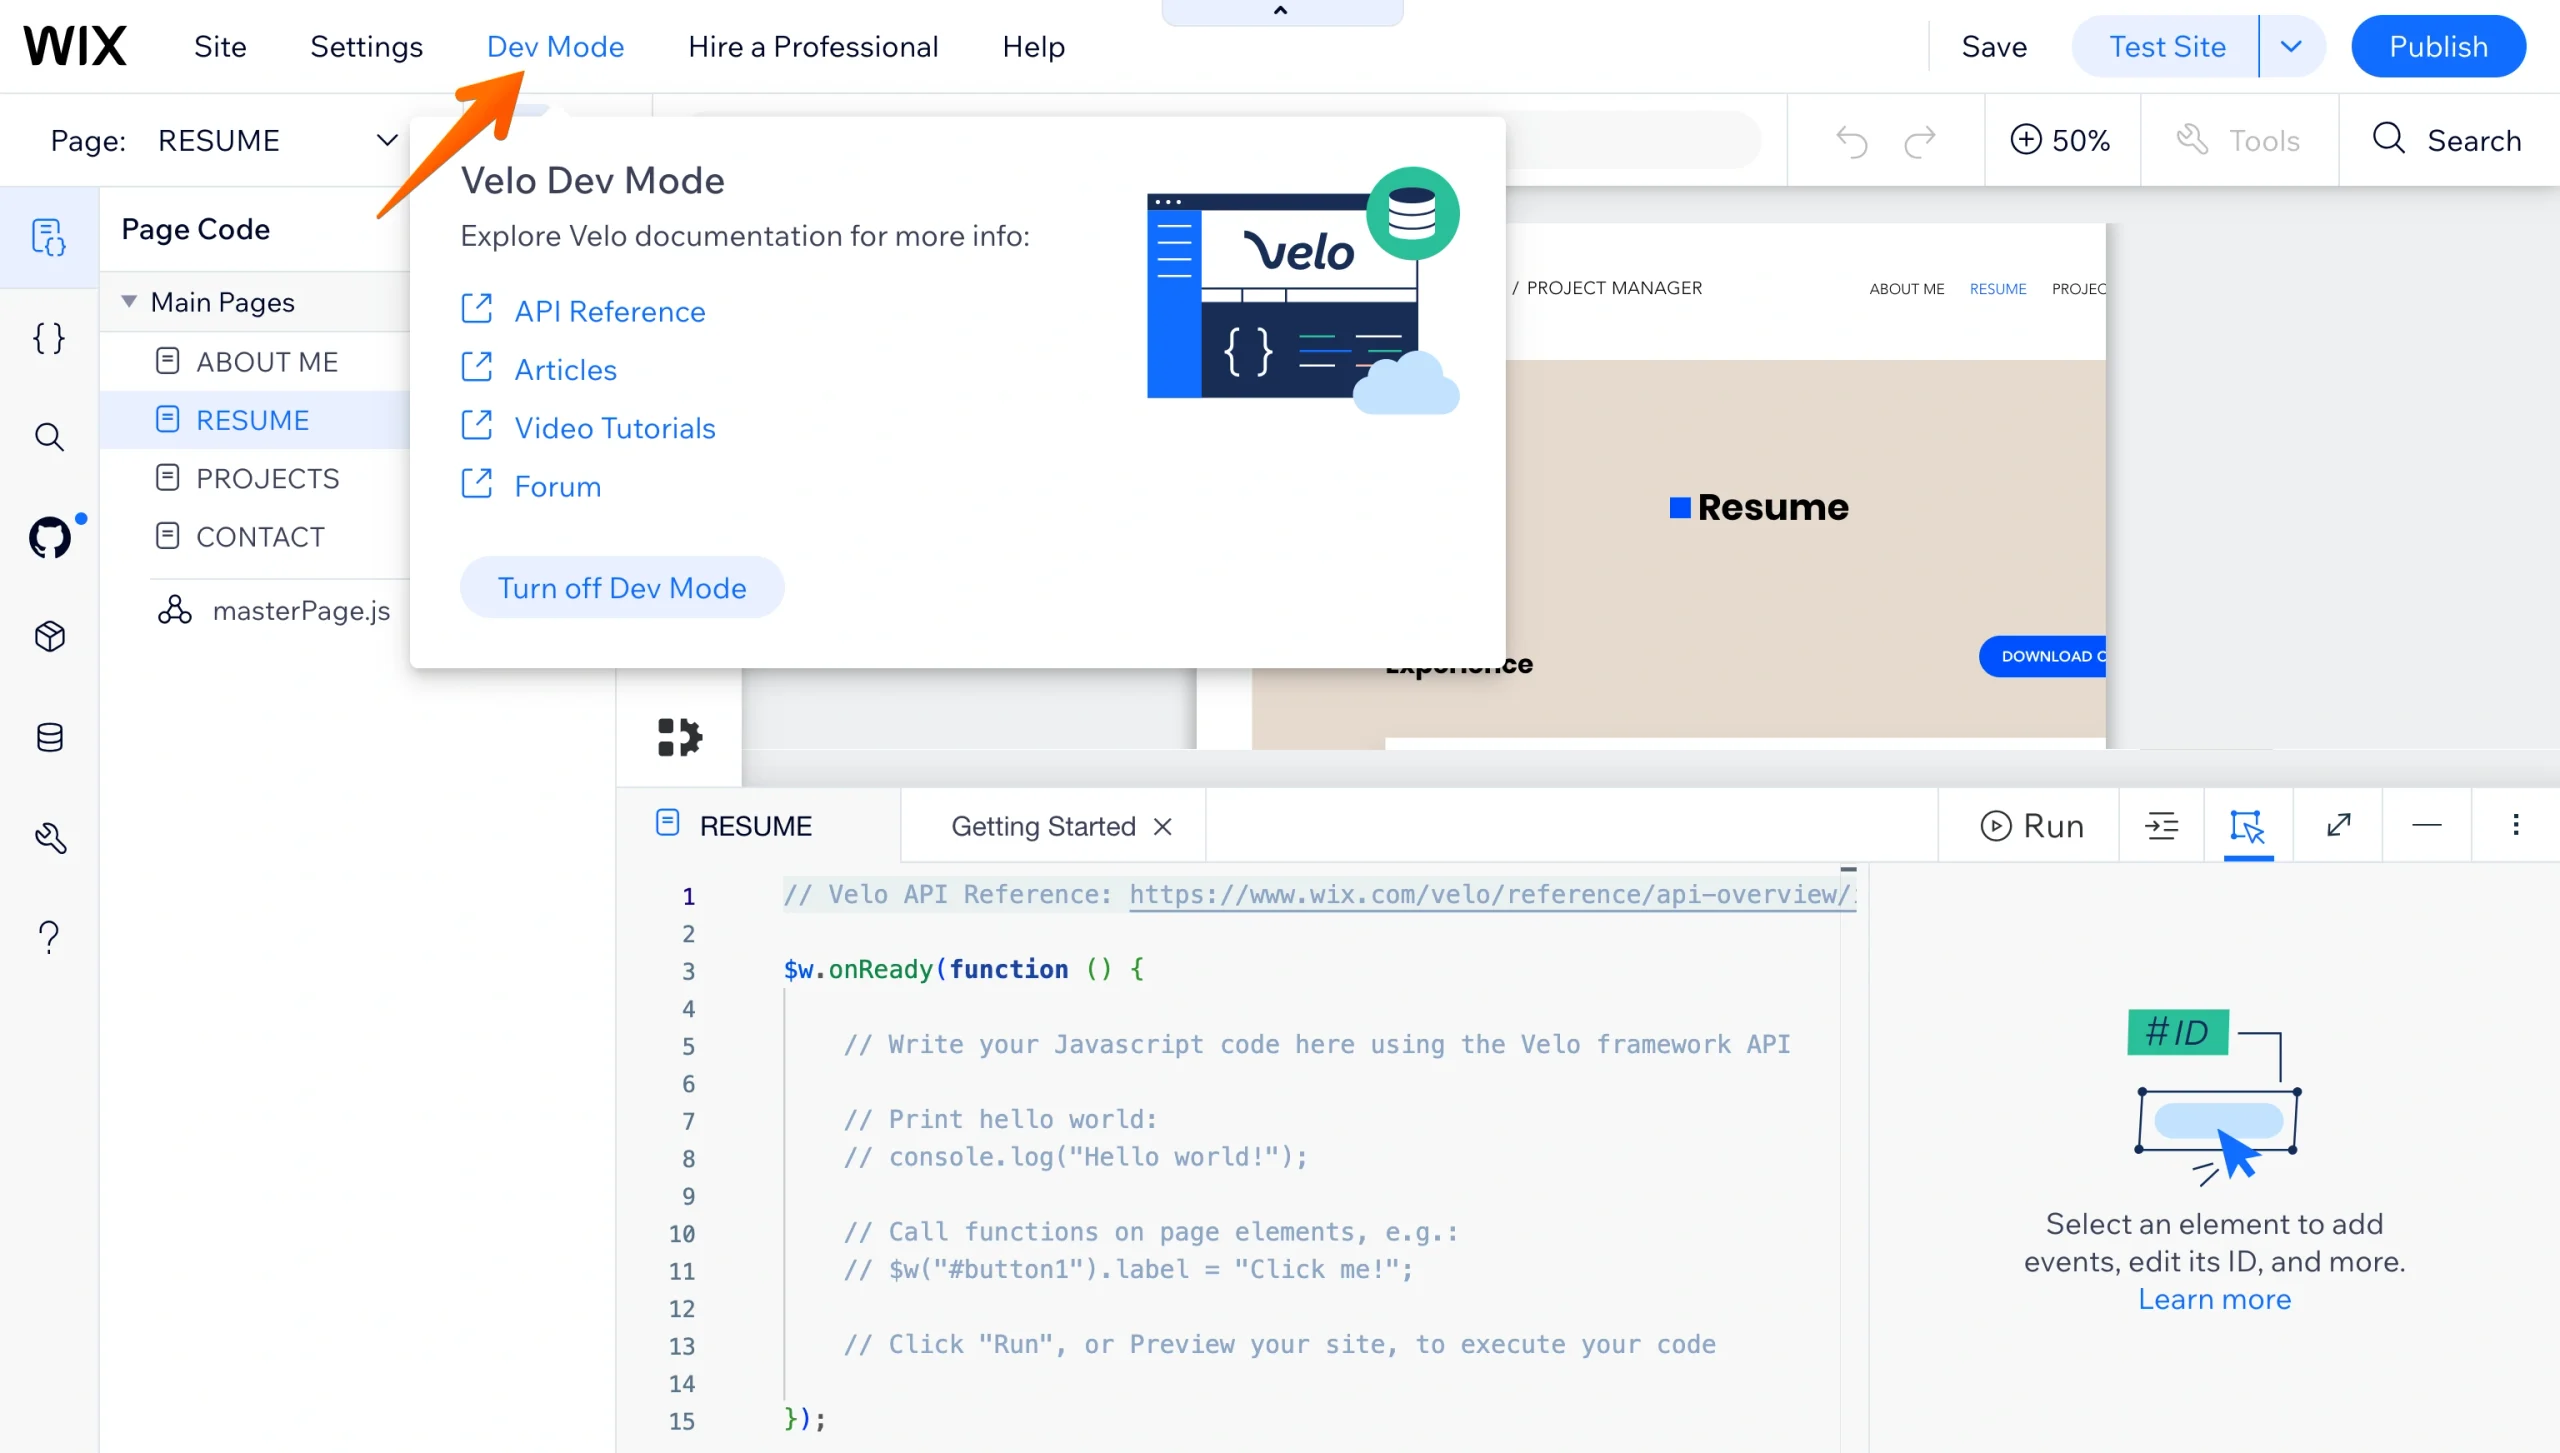
- In the Wix Editor, click Dev Mode in the top bar and turn on developer mode. In Wix Studio, click Start Coding in the left sidebar.
- Add an Embed HTML element where you want the slider, sized to your image dimensions.
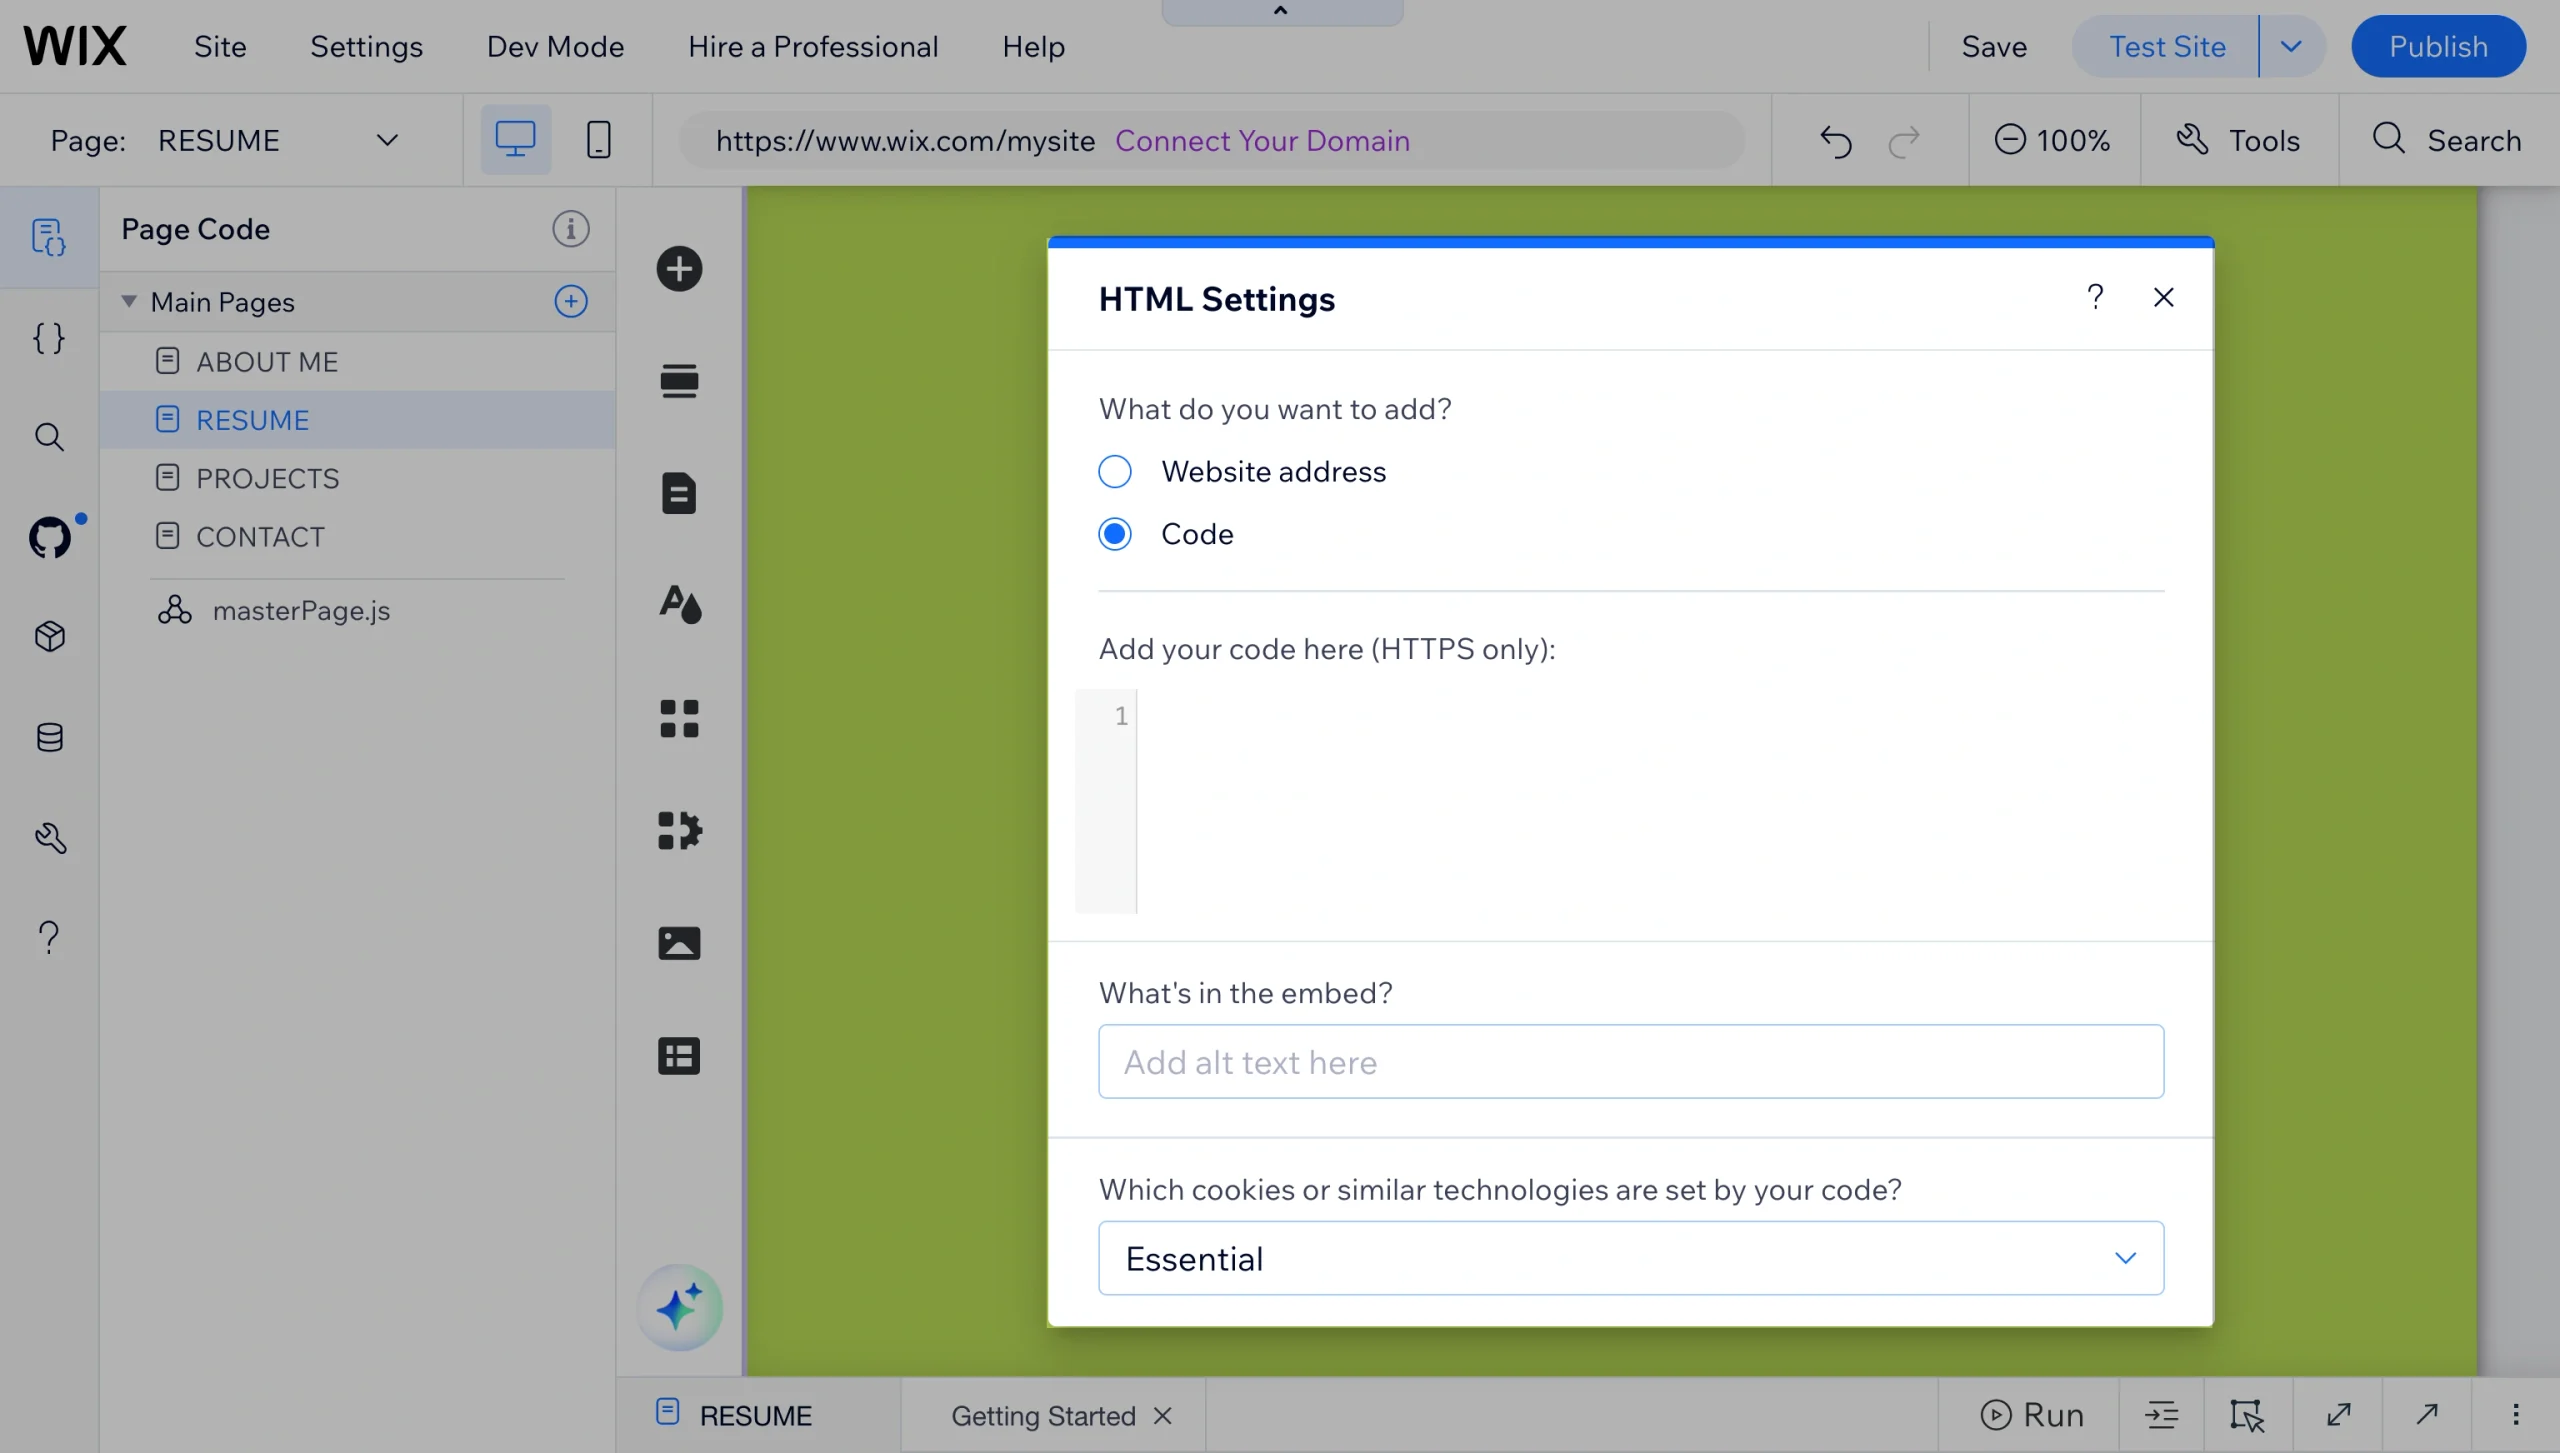
- Write your comparison slider markup, styling, and pointer-event handling inside that element, testing both mouse drag and touch swipe at every breakpoint.
Pro Tip
Once your slider has shown visitors the results you can deliver, give them an easy way to take the next step. Add a customizable Jotform contact, booking, or quote-request form to your Wix site to collect inquiries directly from interested visitors. Add Jotform Wix App to your site.
Enhance your Wix site with smart, no-code widgets
The Jotform Before and After Slider Widget is the fastest way to show your transformations without adding to your monthly software bill or debugging touch events in Velo. Configure it once, paste the code, and move on.
It’s also one of more than 150 free website widgets that Jotform offers. A few others that pair well with a portfolio or service site include
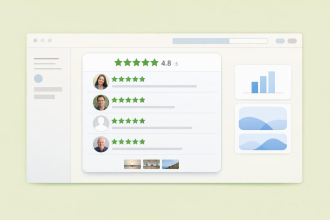
- Google Reviews: Put client ratings next to the work itself, so the proof and the praise live on the same page.
- FAQ: Answer the “how long does this take” and “what does it cost” questions before a visitor leaves to email you.
- Popup: Capture an email from someone who scrolled your whole gallery but wasn’t ready to book.
- Back to Top: This one is worth adding once your portfolio page runs long enough that scrolling back up becomes a chore.
Each installs through the same Embed HTML element you used for the slider, so adding a second or third one takes minutes.
If you’re still building your site, our guide to making a Wix website covers the platform end to end, and the Jotform-Wix integration page walks through adding contact and booking forms. Browse the full widget directory and see what your site is missing.
This article is for Photographers, interior designers, dentists, and agencies using Wix who want to visually showcase their work transformations without paying monthly app subscriptions or dealing with custom code.






















Send Comment: