
How do you search the internet? Chances are, on your phone. As of July 2026, StatCounter reports that mobile browsing accounts for 52.57 percent of global web traffic, ahead of desktop’s 45.93 percent. But mobile browsing has challenges, including long pages squeezed into cramped screen space.
Forward-thinking web developers have used a back-to-top button to alleviate this. But if you’re managing your own website on a service like Wix, you may not be familiar with all critical usability features.


Adding a back-to-top button doesn’t have to be a challenge. Wix gives you three practical routes: Build one by hand from native Editor elements, install an app from the Wix App Market, or embed a free, smart HTML widget. We’ll walk you through all three options step-by-step and explain why the widget approach is usually best.
Worth knowing before you start
The Nielsen Norman Group recommends a back-to-top button for pages longer than about four screens, placed in the lower right and labeled with text rather than an icon alone. On a long blog post or portfolio, it’s a genuine time-saver.
Option 1: Use a native Wix pinned button
You can build a back-to-top button yourself in the Wix Editor in about two minutes, with no apps and no code. The approach is simple: Add an arrow or icon element, link it to the top of the page, and pin it to the screen so it travels with the visitor as they scroll. Wix documents this workflow in its help center.
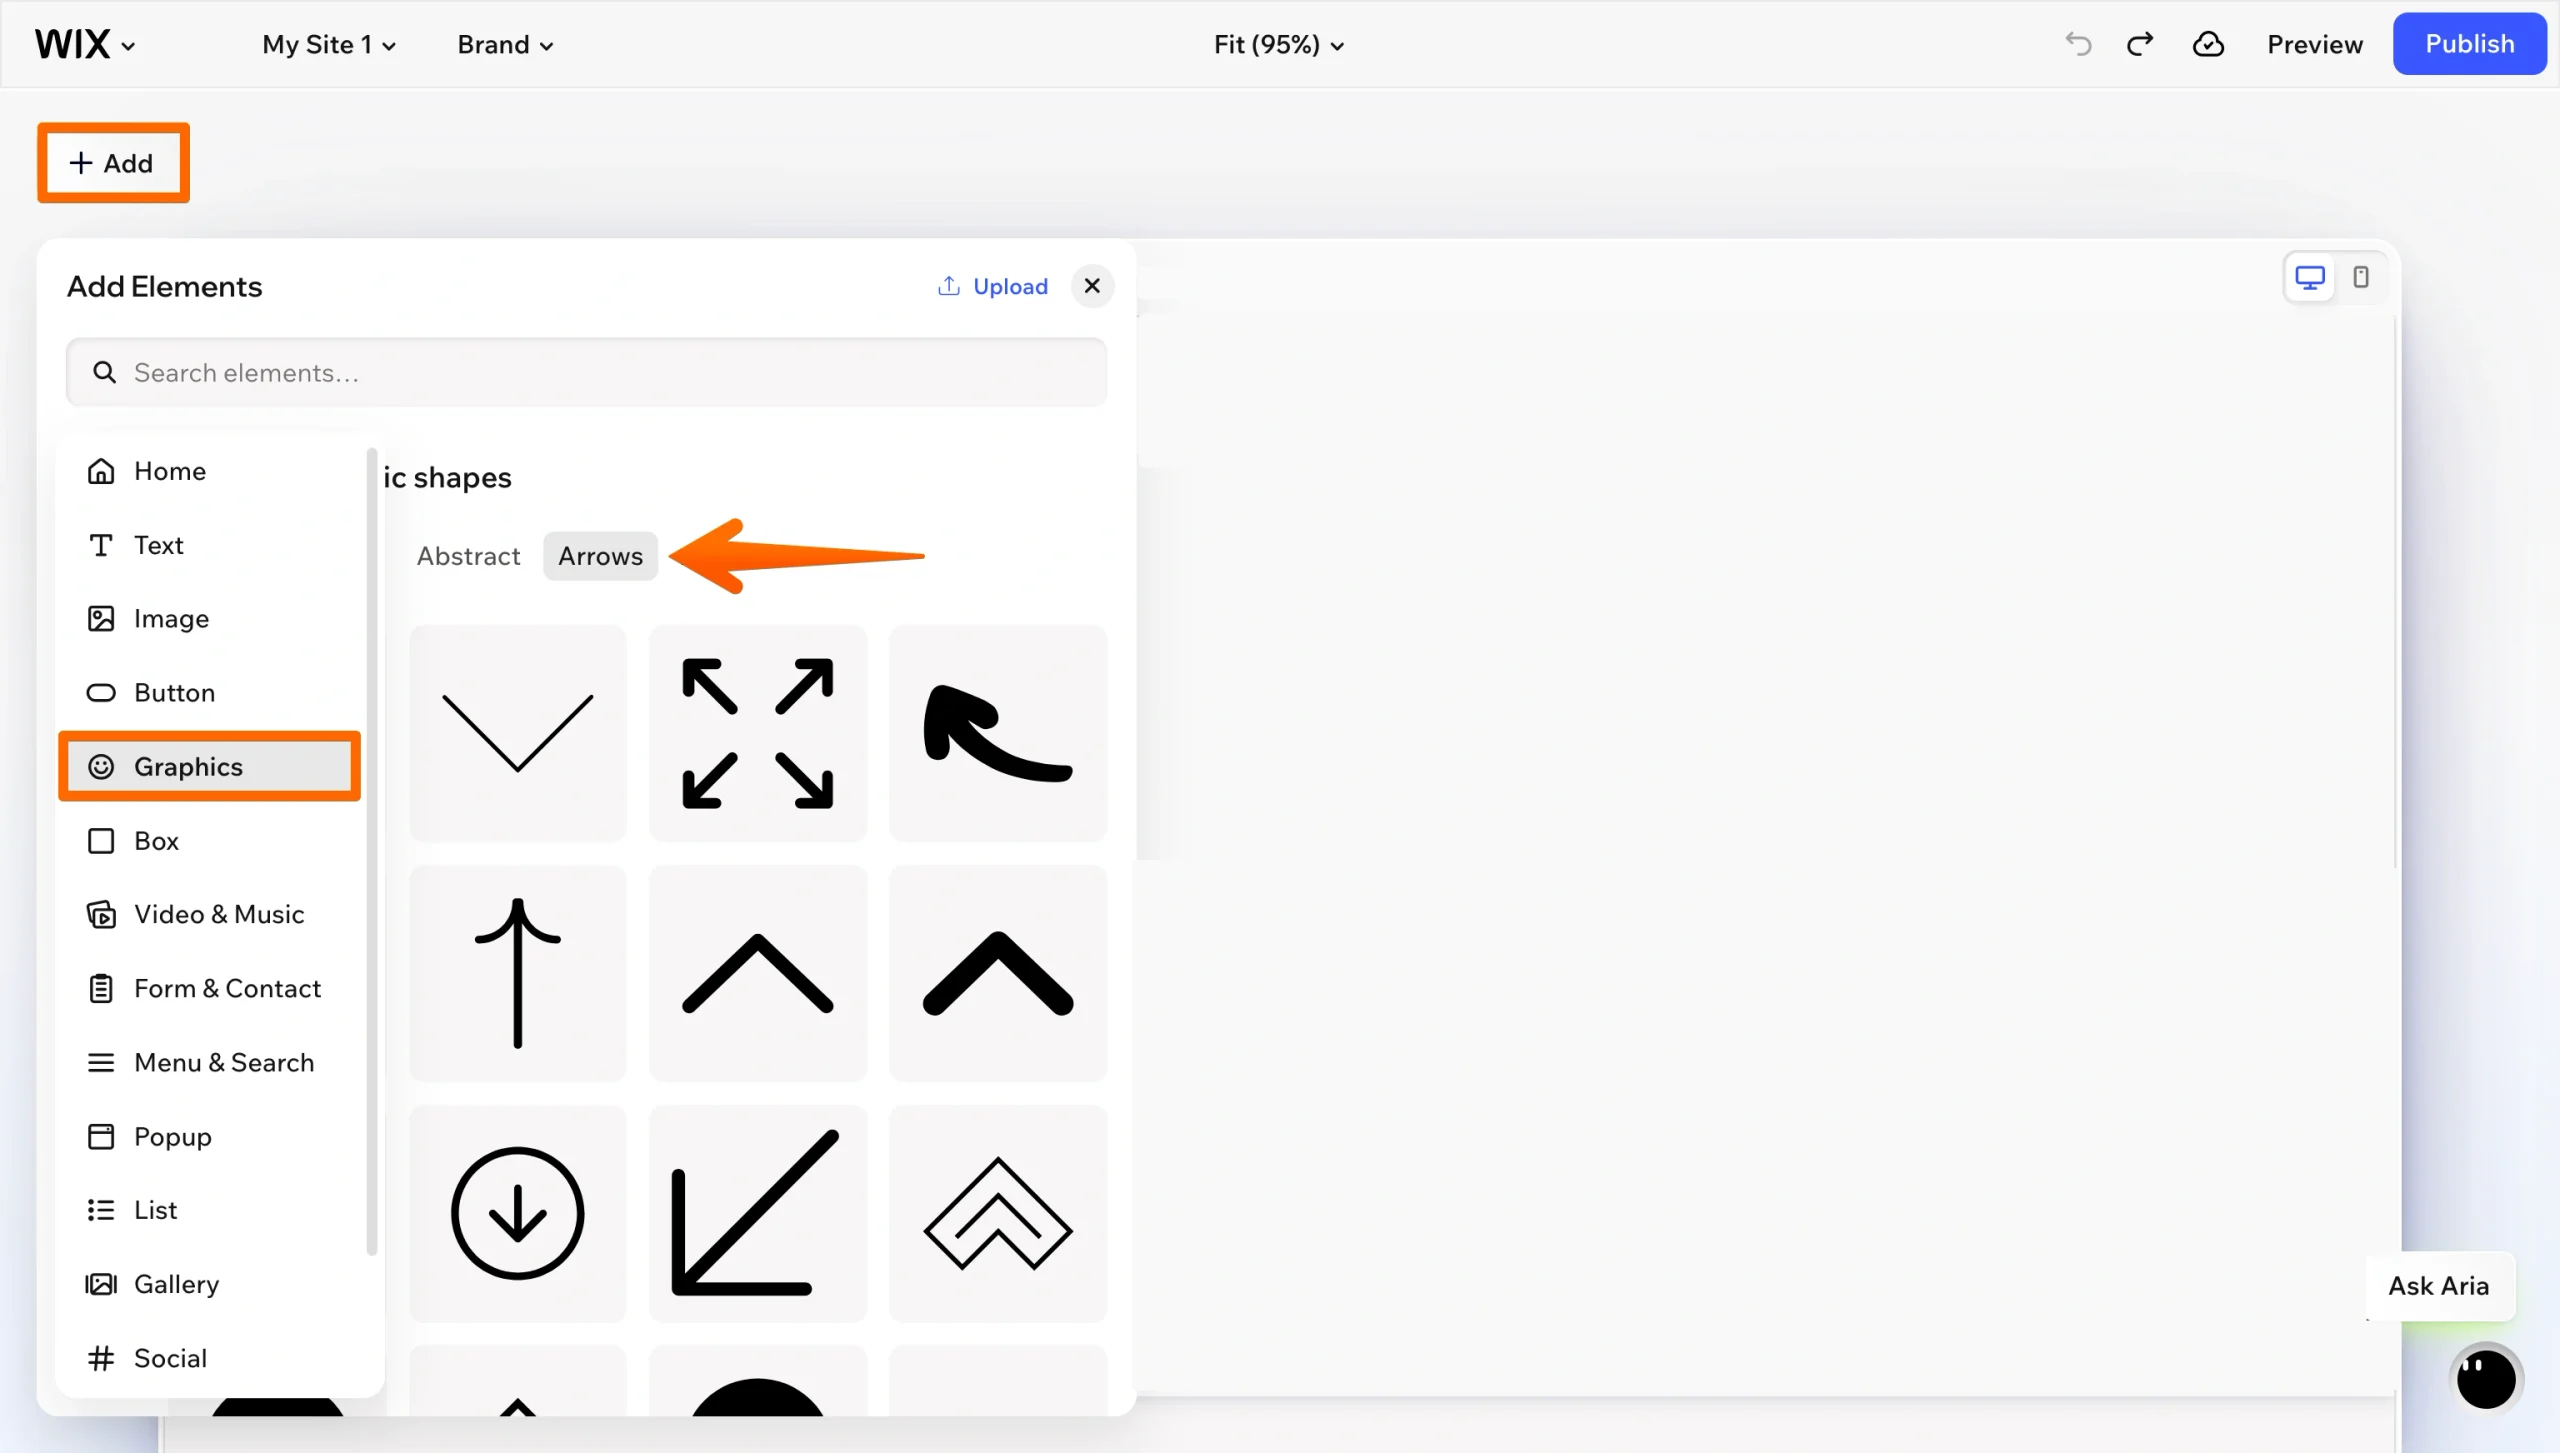
1. Add the element: In the Wix Editor, click Add Elements, open Graphics, then Basic shapes, select Arrows, and drag an arrow onto your page. Icon buttons and vector art work just as well if you want something more branded.
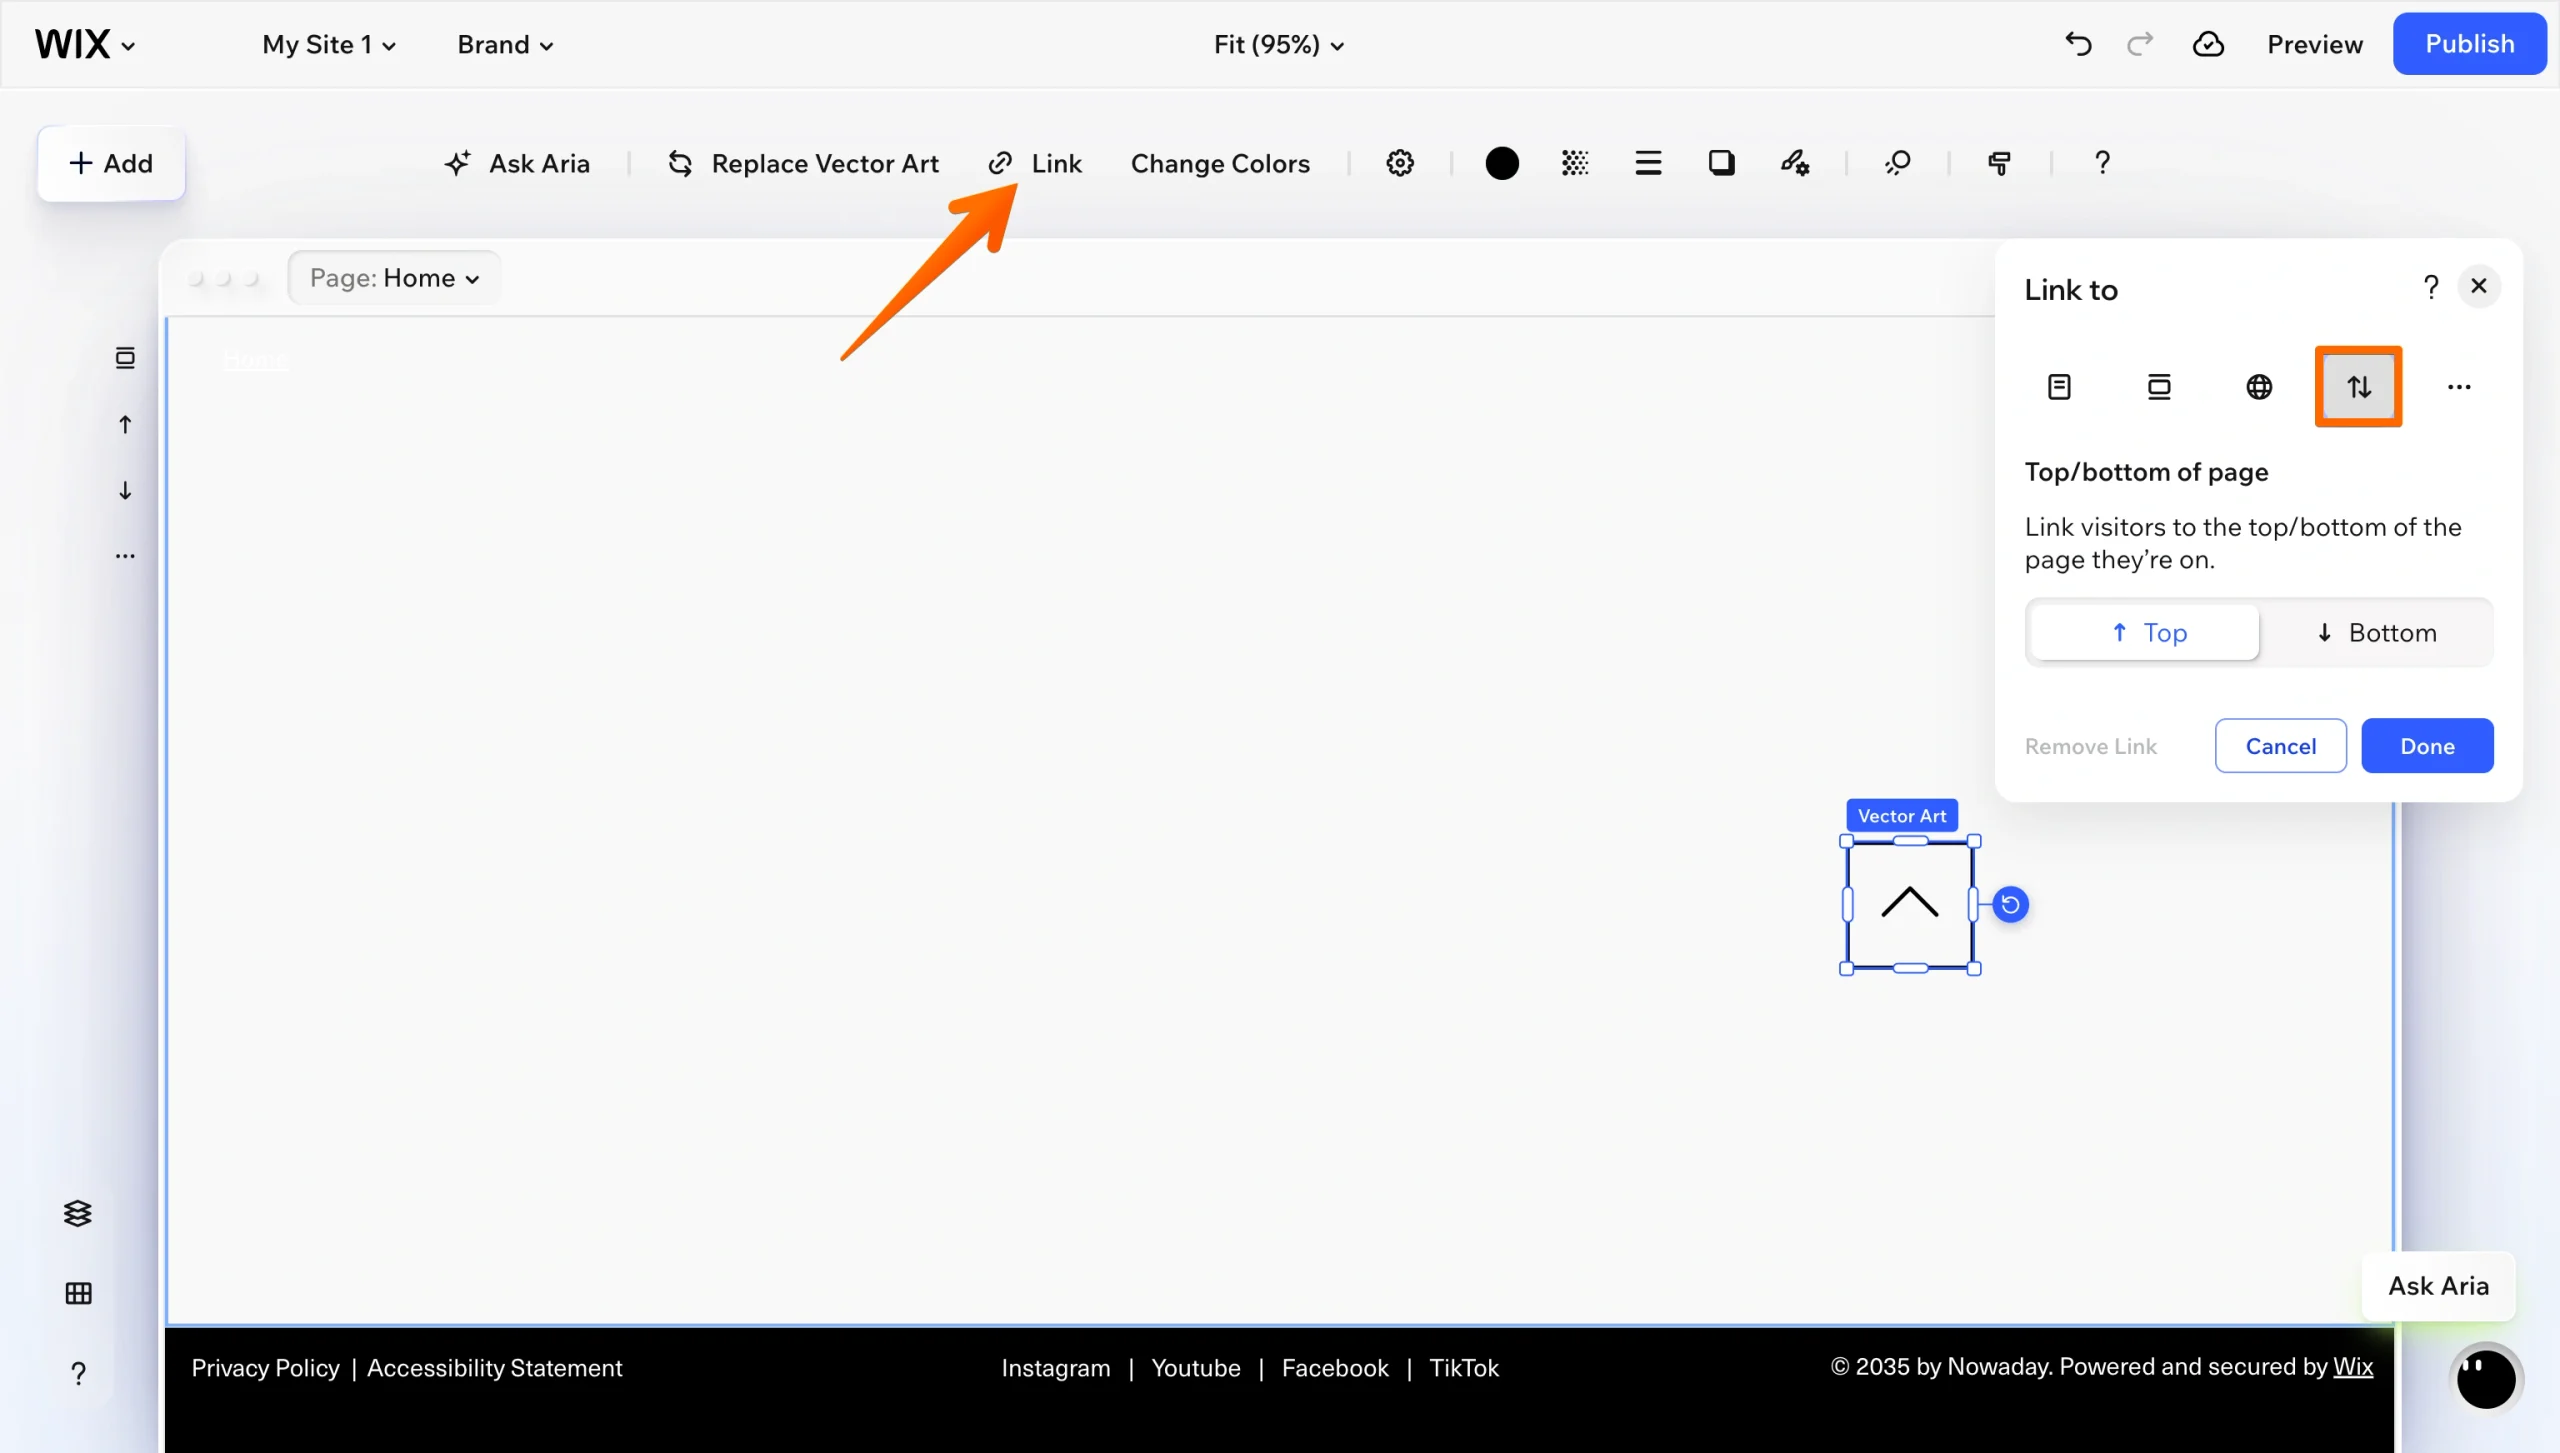
2. Link it to the top of the page: Select the element, click the Link icon, choose Top/Bottom of Page, select Top, and click Done.
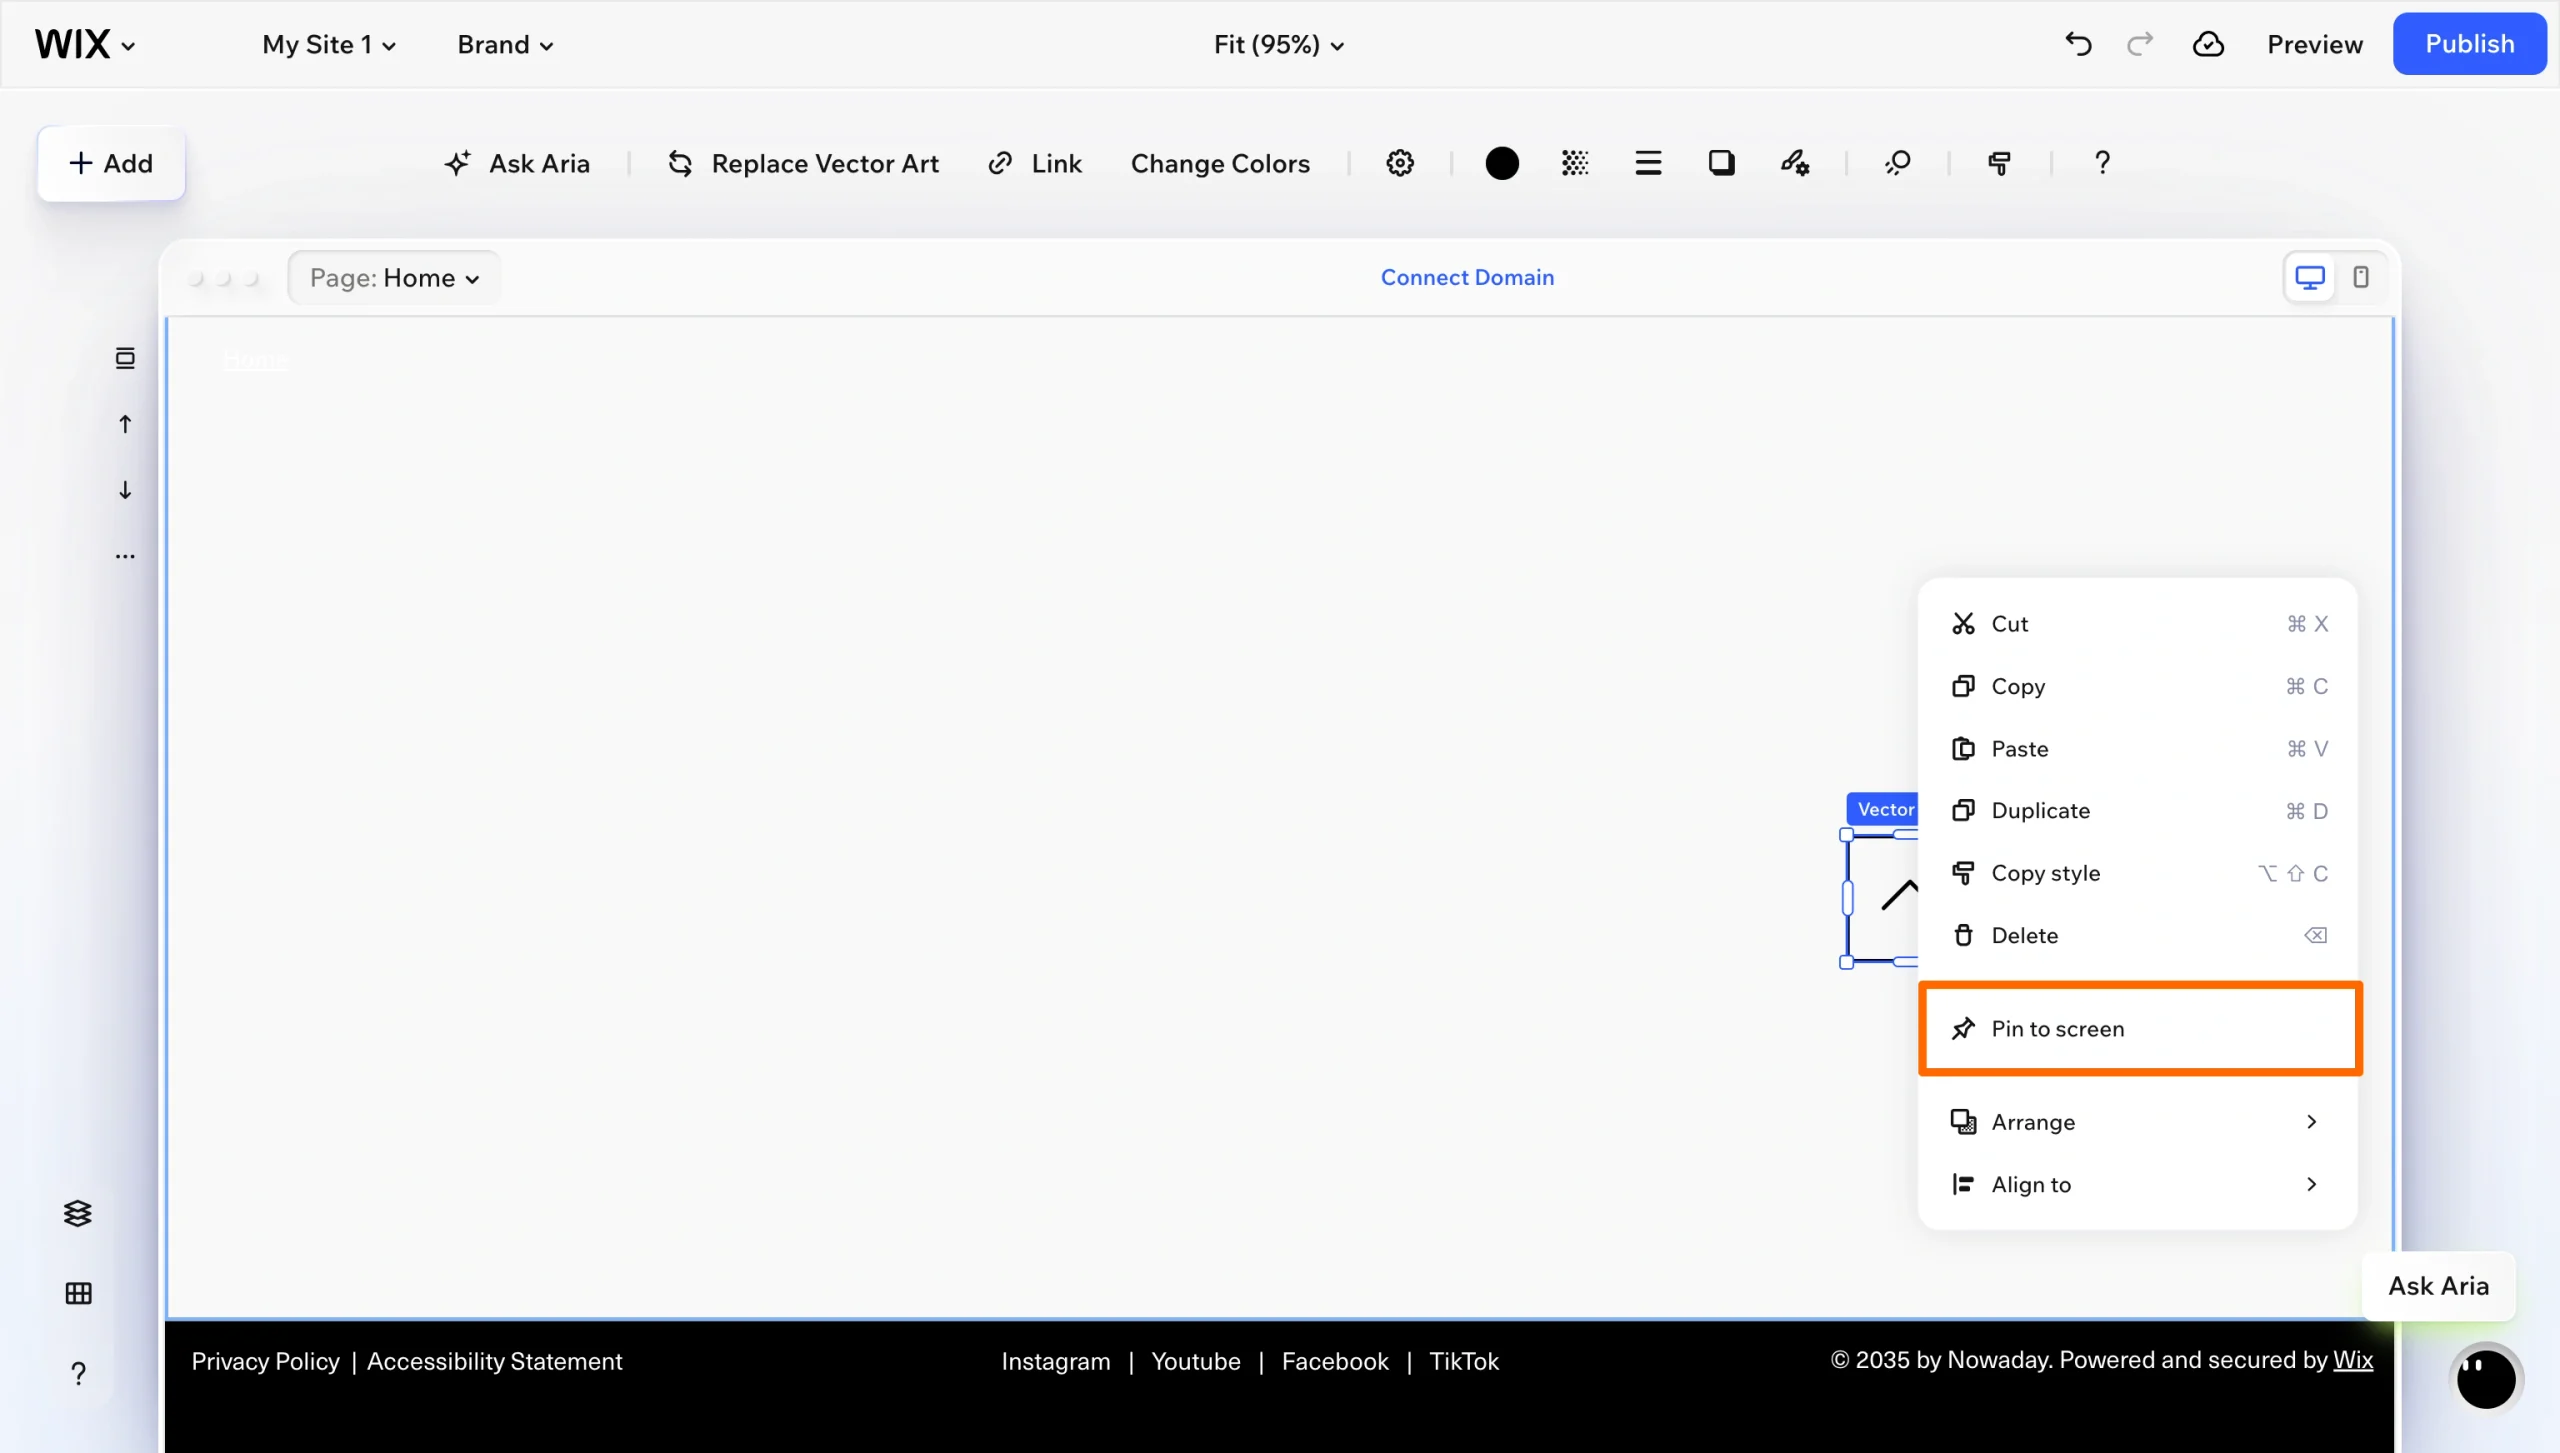
3. Pin it to the screen: Right-click the element and choose Pin to Screen. Select the bottom-right cell on the position grid, then use the horizontal offset and vertical offset sliders to nudge it clear of your content. Turn on Show on All Pages so it appears sitewide.
This is a solid free option, but it has a major drawback: The button is always visible. Wix’s pinned elements have no scroll threshold, so your arrow sits there, pointing at nothing, even when the visitor is already at the top of the page. Wix’s documentation warns that pinned elements can cover content on smaller screens, where you can least afford clutter.
Getting the button to appear only after a visitor scrolls means writing custom code in Velo by Wix, the platform’s developer environment. That involves JavaScript, event handlers, and a debugging session, which is a long way from the no-code experience most Wix owners signed up for.
Two things to note before you rule this option out:
- On mobile, Wix has a free built-in tool: The mobile editor includes a dedicated Back to Top button under Mobile Tools. It appears only on pages using the Standard layout that are at least 1,380 pixels long, and it works only on mobile.
- Wix Studio users have a partial workaround: Wix suggests adding an entrance animation with a delay so the button fades in shortly after a visitor starts scrolling.
Option 2: Install a Wix App Market extension
To solve the problem of the always-visible button, many Wix owners head to the App Market and search for tools such as “Scroll to Top.” These apps include scroll-depth triggers, so the button stays hidden until a visitor has traveled a set distance down the page, and most offer separate settings for desktop and mobile.
The catch is that the settings you want are often behind a paid tier. Here’s how the two most visible options compare:
| App | Developer | Free tier features | Paid tier features |
|---|---|---|---|
|
Scroll to Top Button |
Tornado |
Unlimited views and clicks, customizable design and layout, scrolling settings |
Pro from $2.20/month (billed yearly); extended icon library and custom uploads, scroll progress indicator, advanced animations, device display settings |
|
Back to Top |
PurpleBear |
Free to install, 3-day free trial |
Usage-based pricing from $6/month |
On Tornado’s app, custom icon uploads and device-specific display settings, two of the things you’d most likely want to change, are on the Pro plan. PurpleBear’s app is free to install but moves to usage-based billing after a three-day trial. Neither is expensive on its own. The problem is that it’s one more recurring line item and third-party script loading on every page of your site.
1. Open the App Market: In your Wix Editor, click Apps in the left sidebar, then Visit App Market, and search for “scroll to top.”
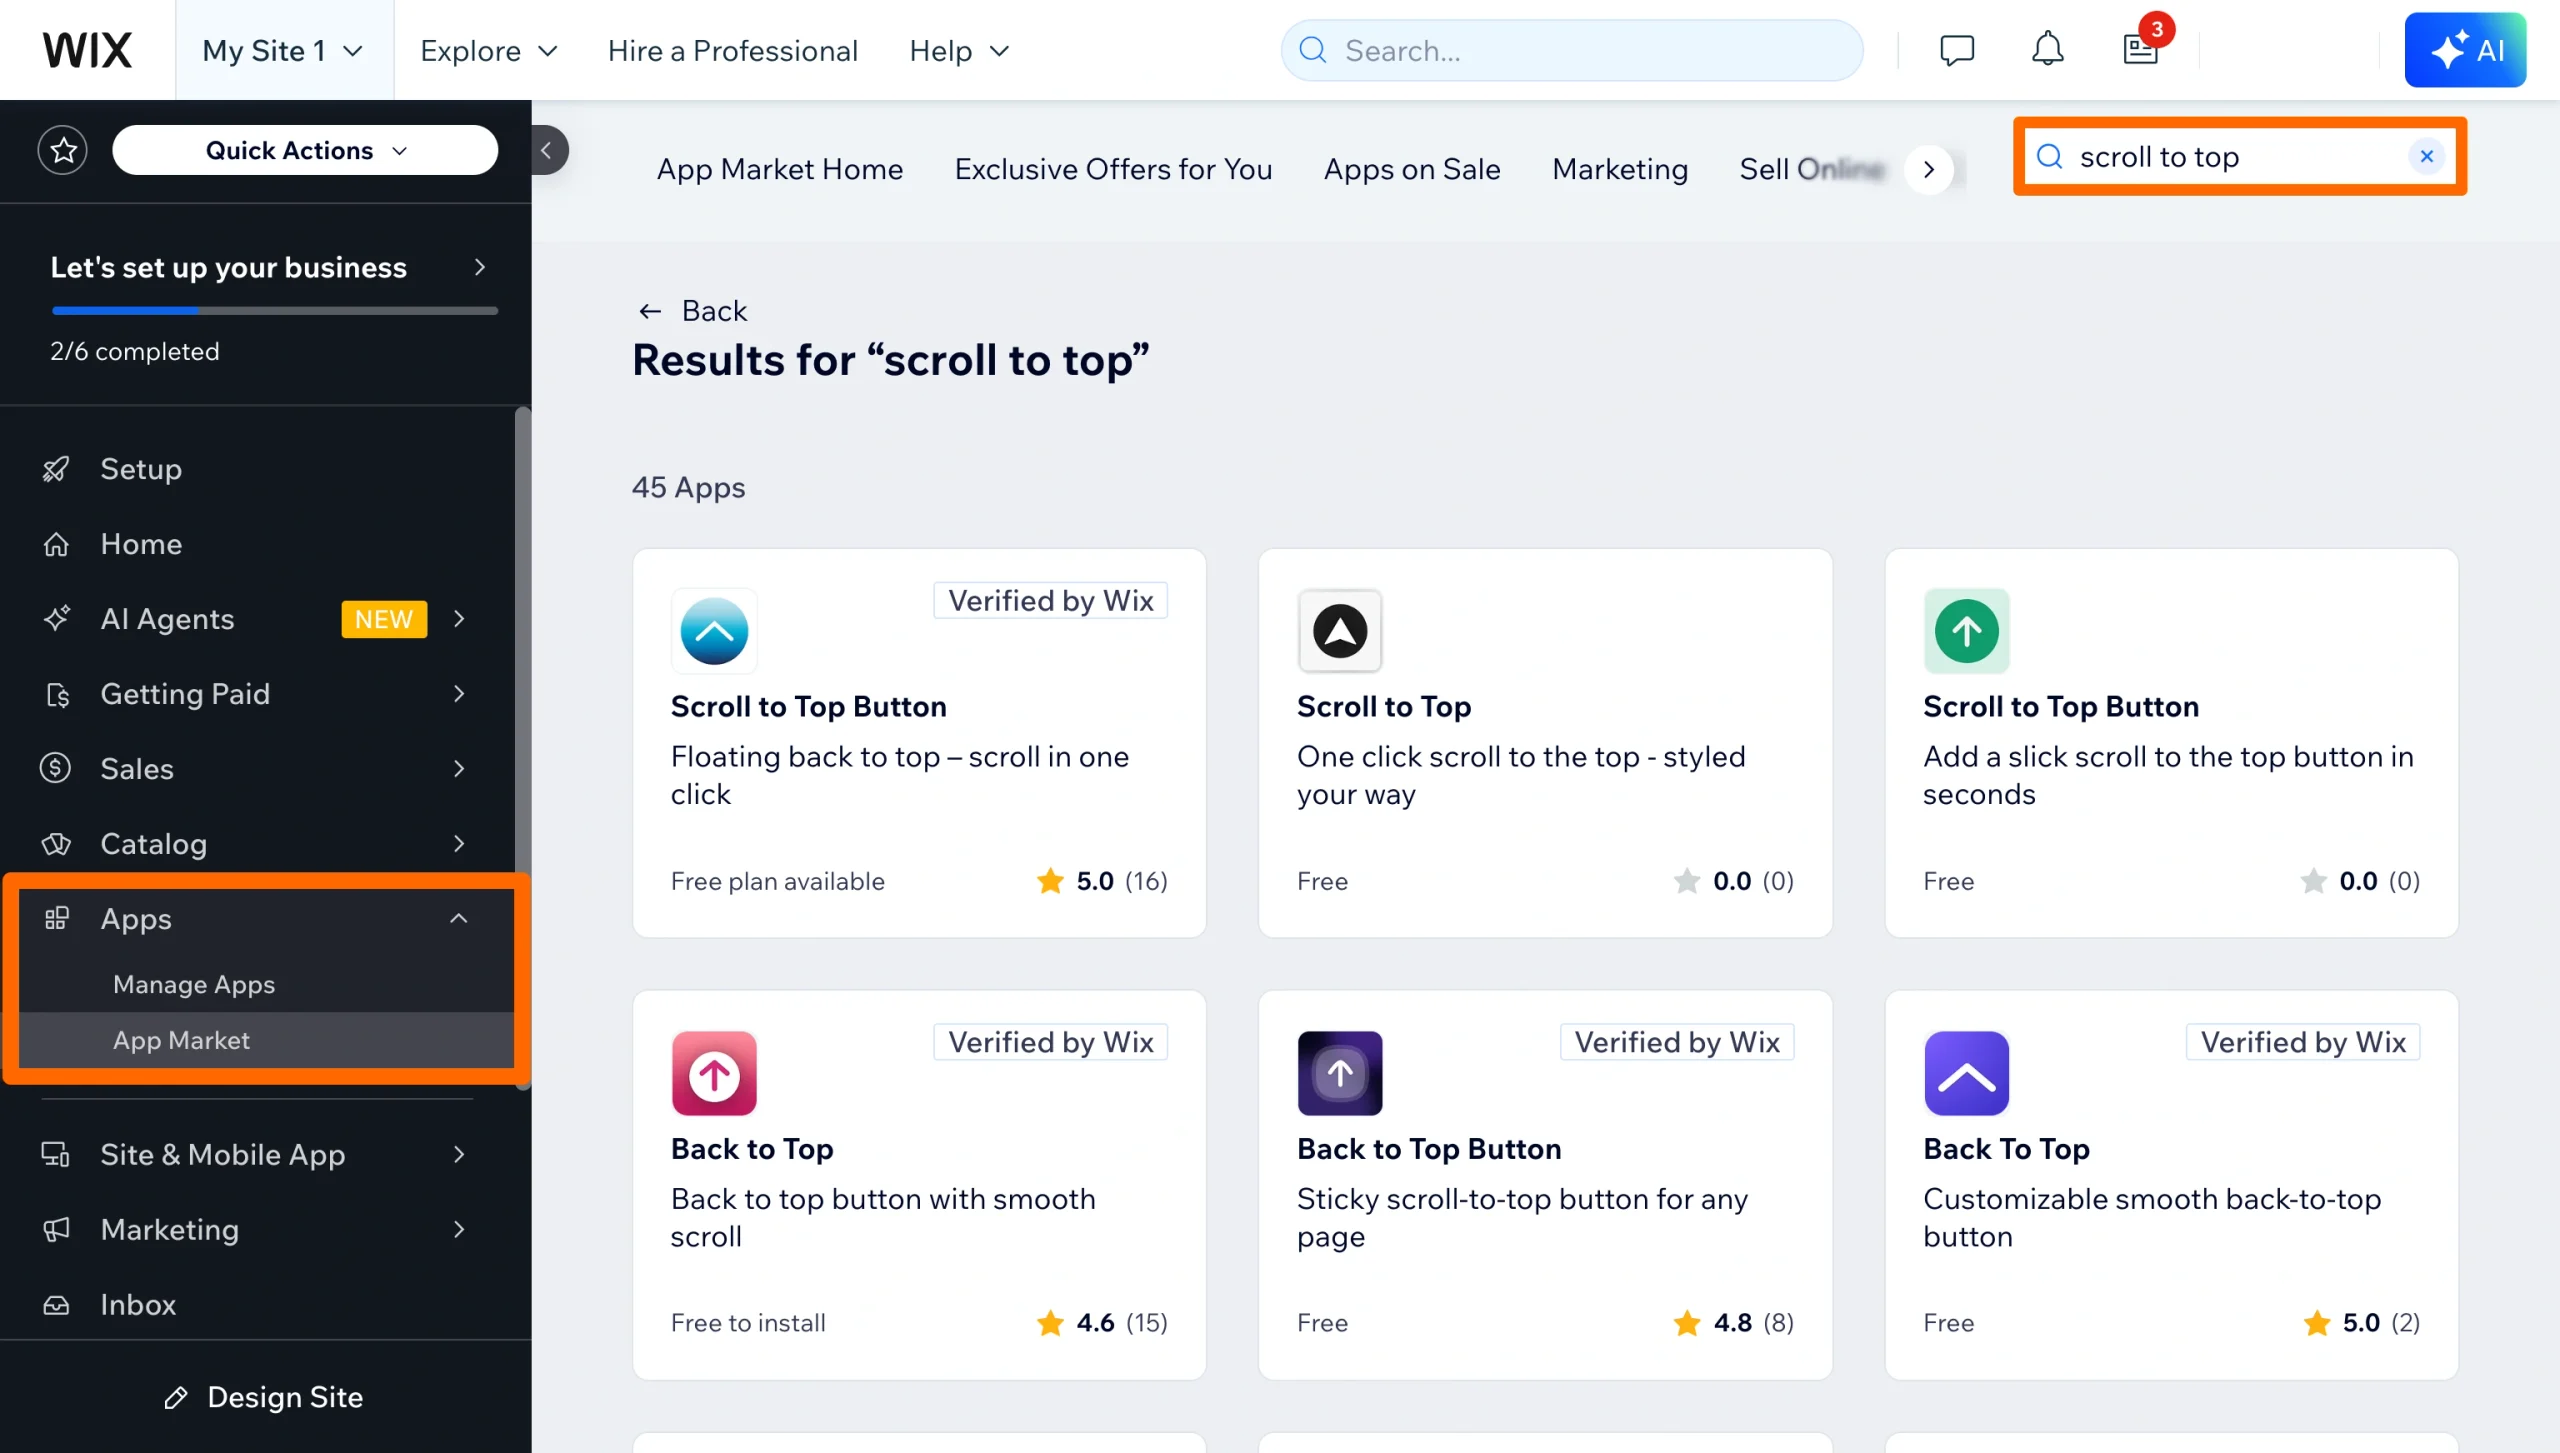
2. Add the app to your site: Open the listing, review the Pricing & Plans section to confirm the plan includes the features you want, then click Add to Site.
3. Configure the button: Open Settings and set your scroll depth threshold, screen position, icon, and any device-specific rules. Publish your site and test the button on both a desktop browser and a phone.
Option 3: Use a free back-to-top widget (recommended)
If you want a threshold-based floating button without a monthly app subscription or Velo code, the best option is a free external embed. The Jotform Back to Top Widget is built for this. Configure the button in your browser, copy the embed code, paste it into a Wix HTML element, and pin it to the screen.
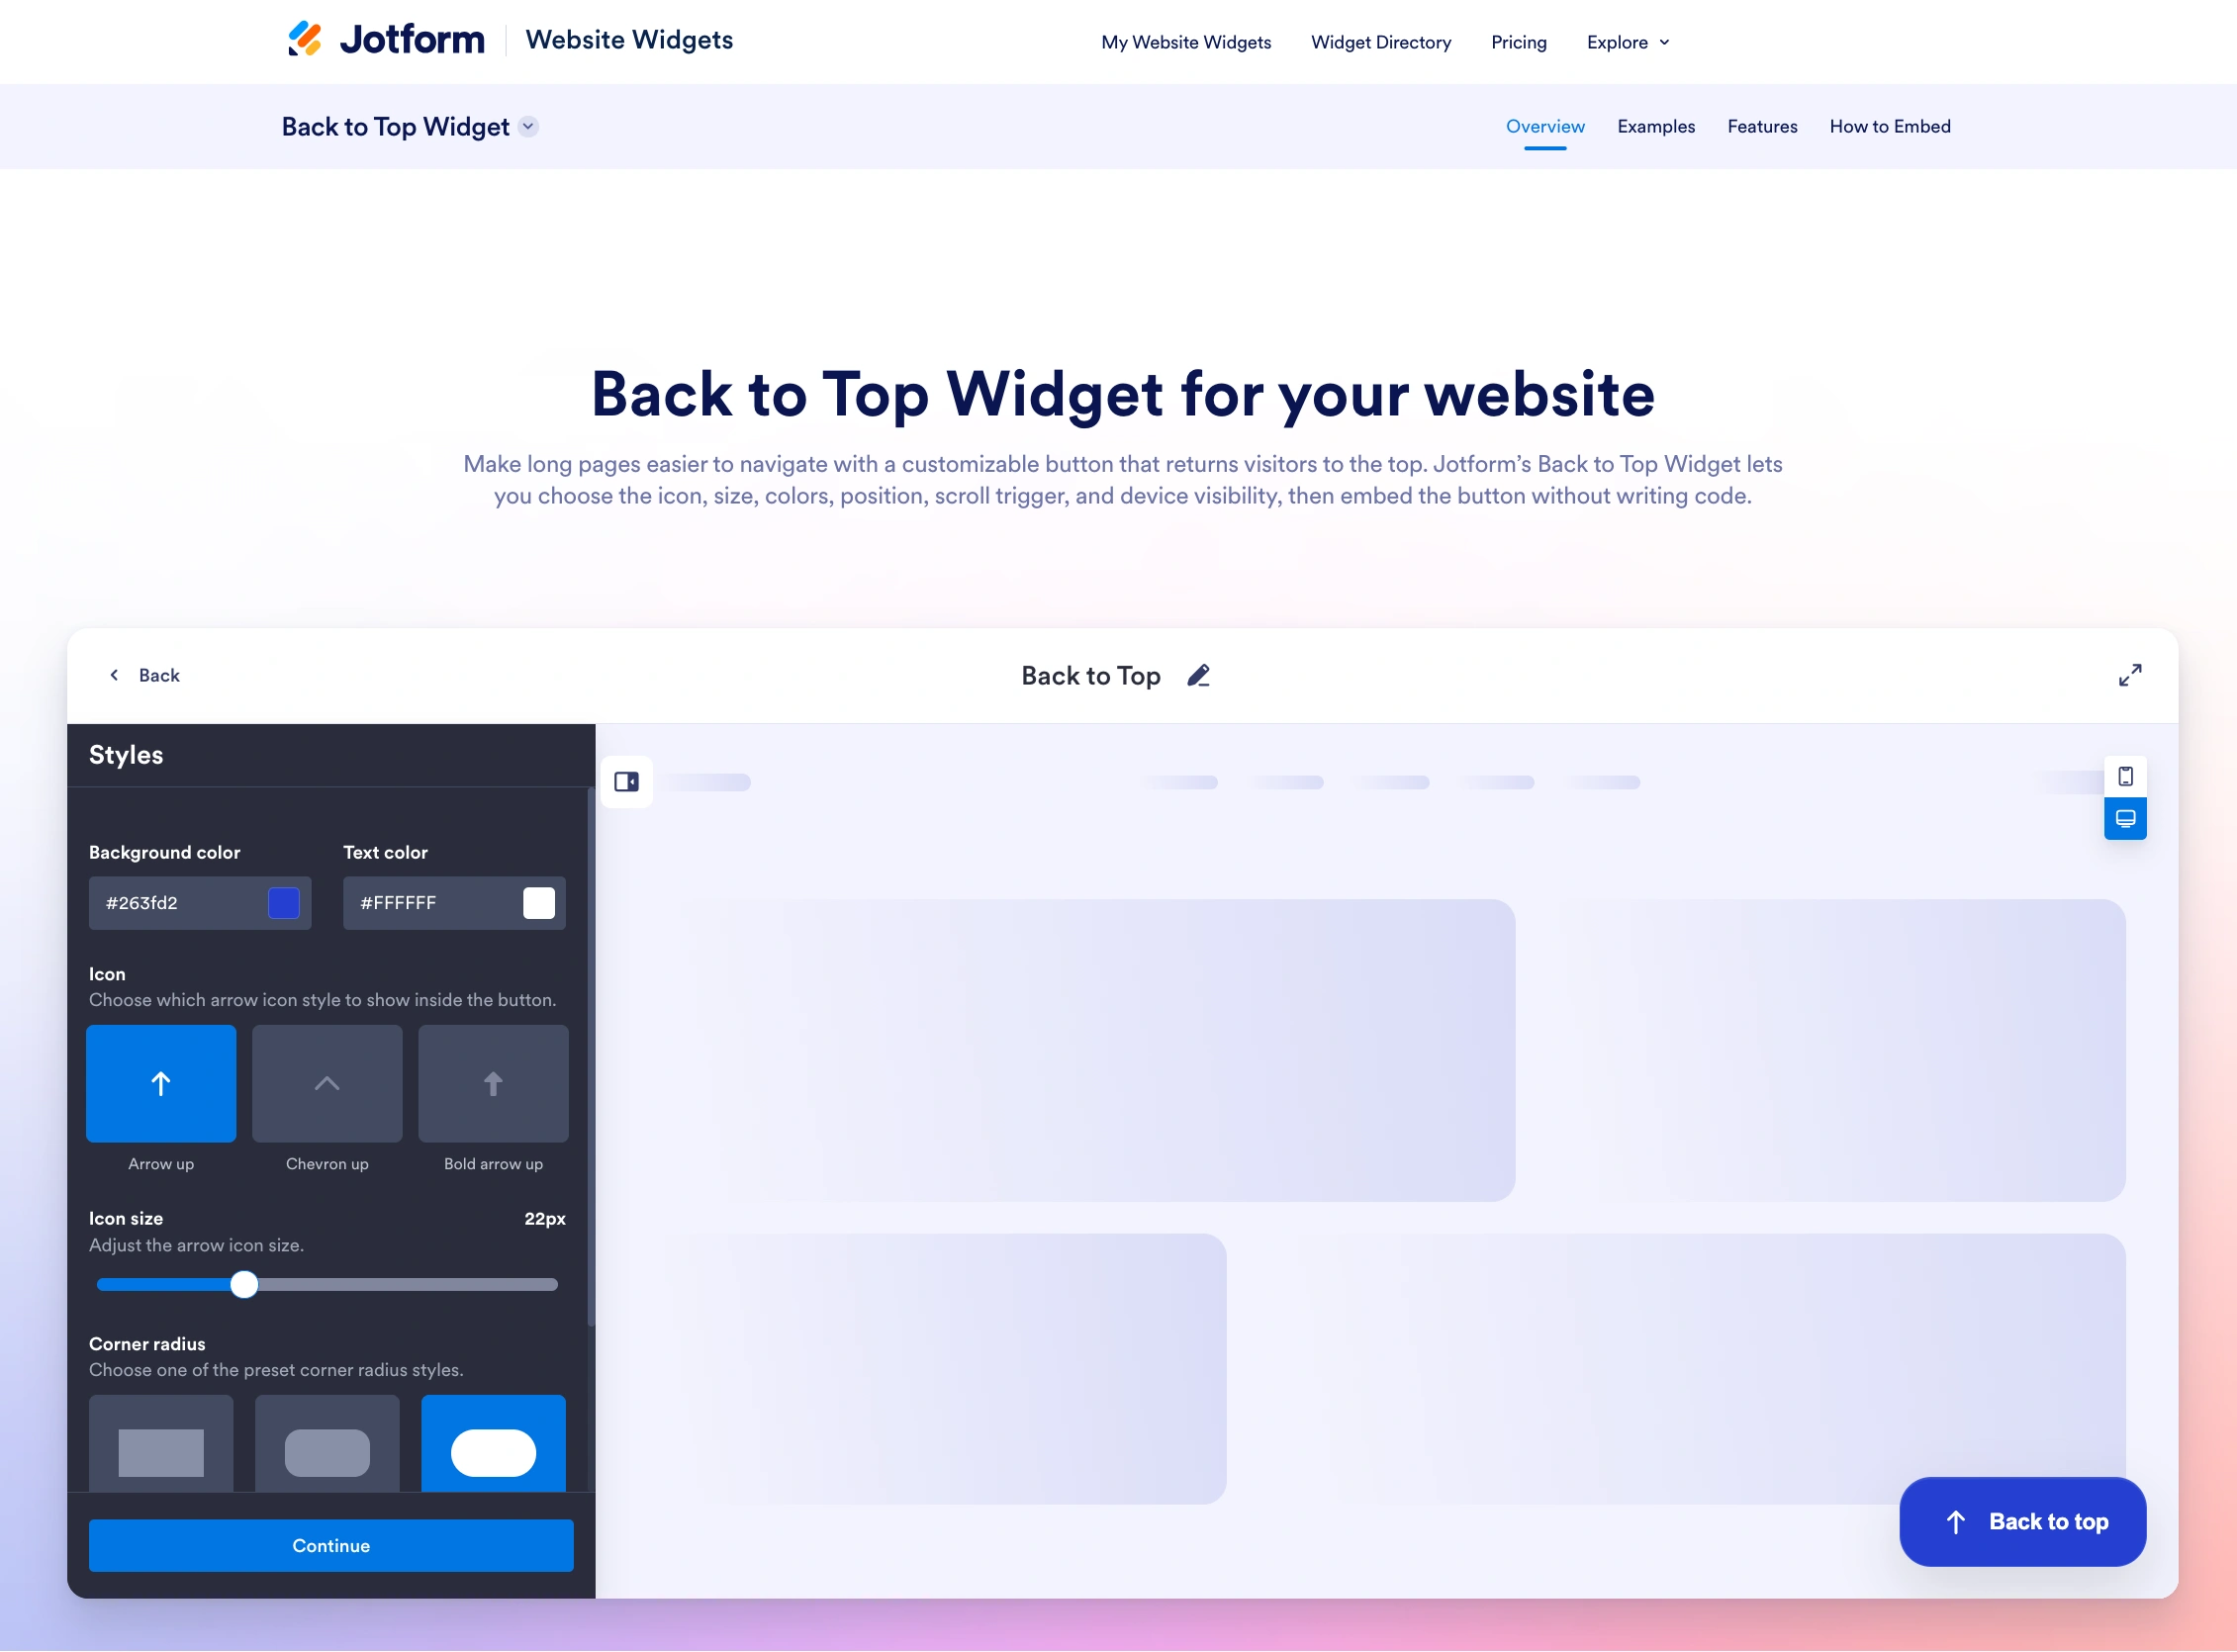
1. Build your button: Open the Back to Top Widget page and click Create new website widget. In the General panel, toggle Show label on if you want text alongside the icon, set Show after scrolling to control when the button appears, and choose a Scroll animation.
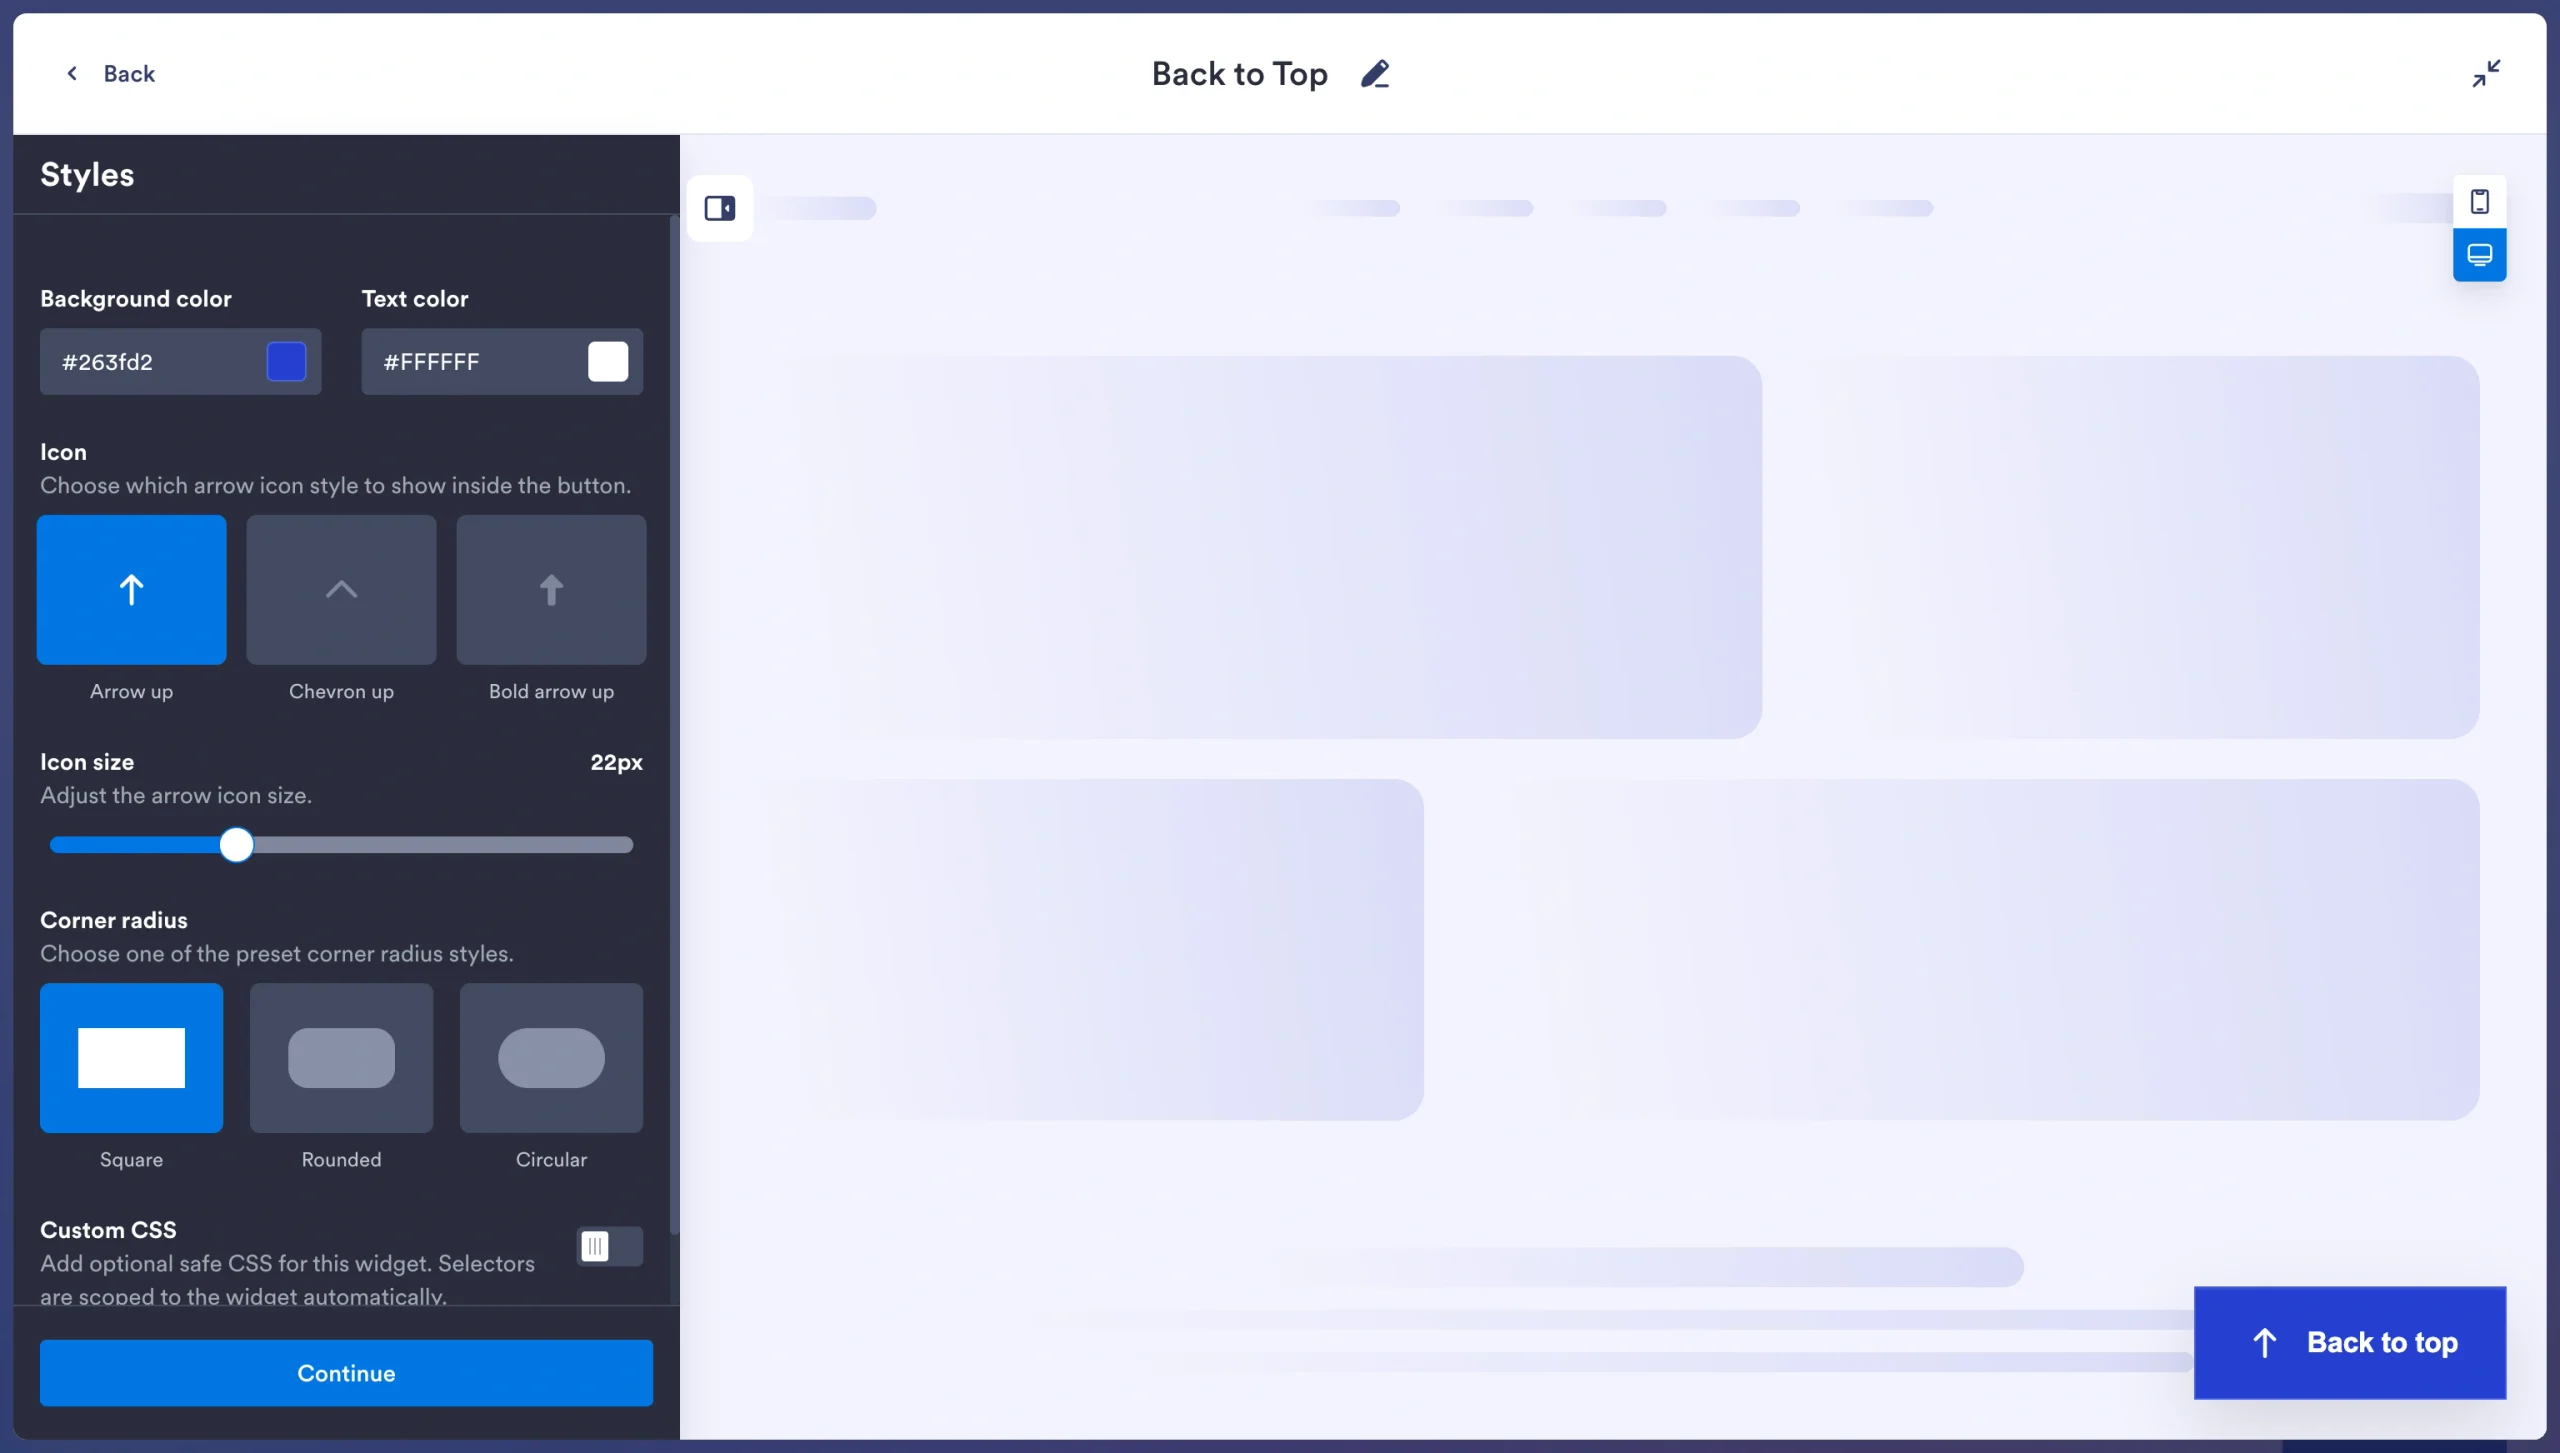
Pro Tip
Use the Styles and Layout panels to customize the colors, icon, corner radius, button position, size, spacing, and the devices where the widget appears.
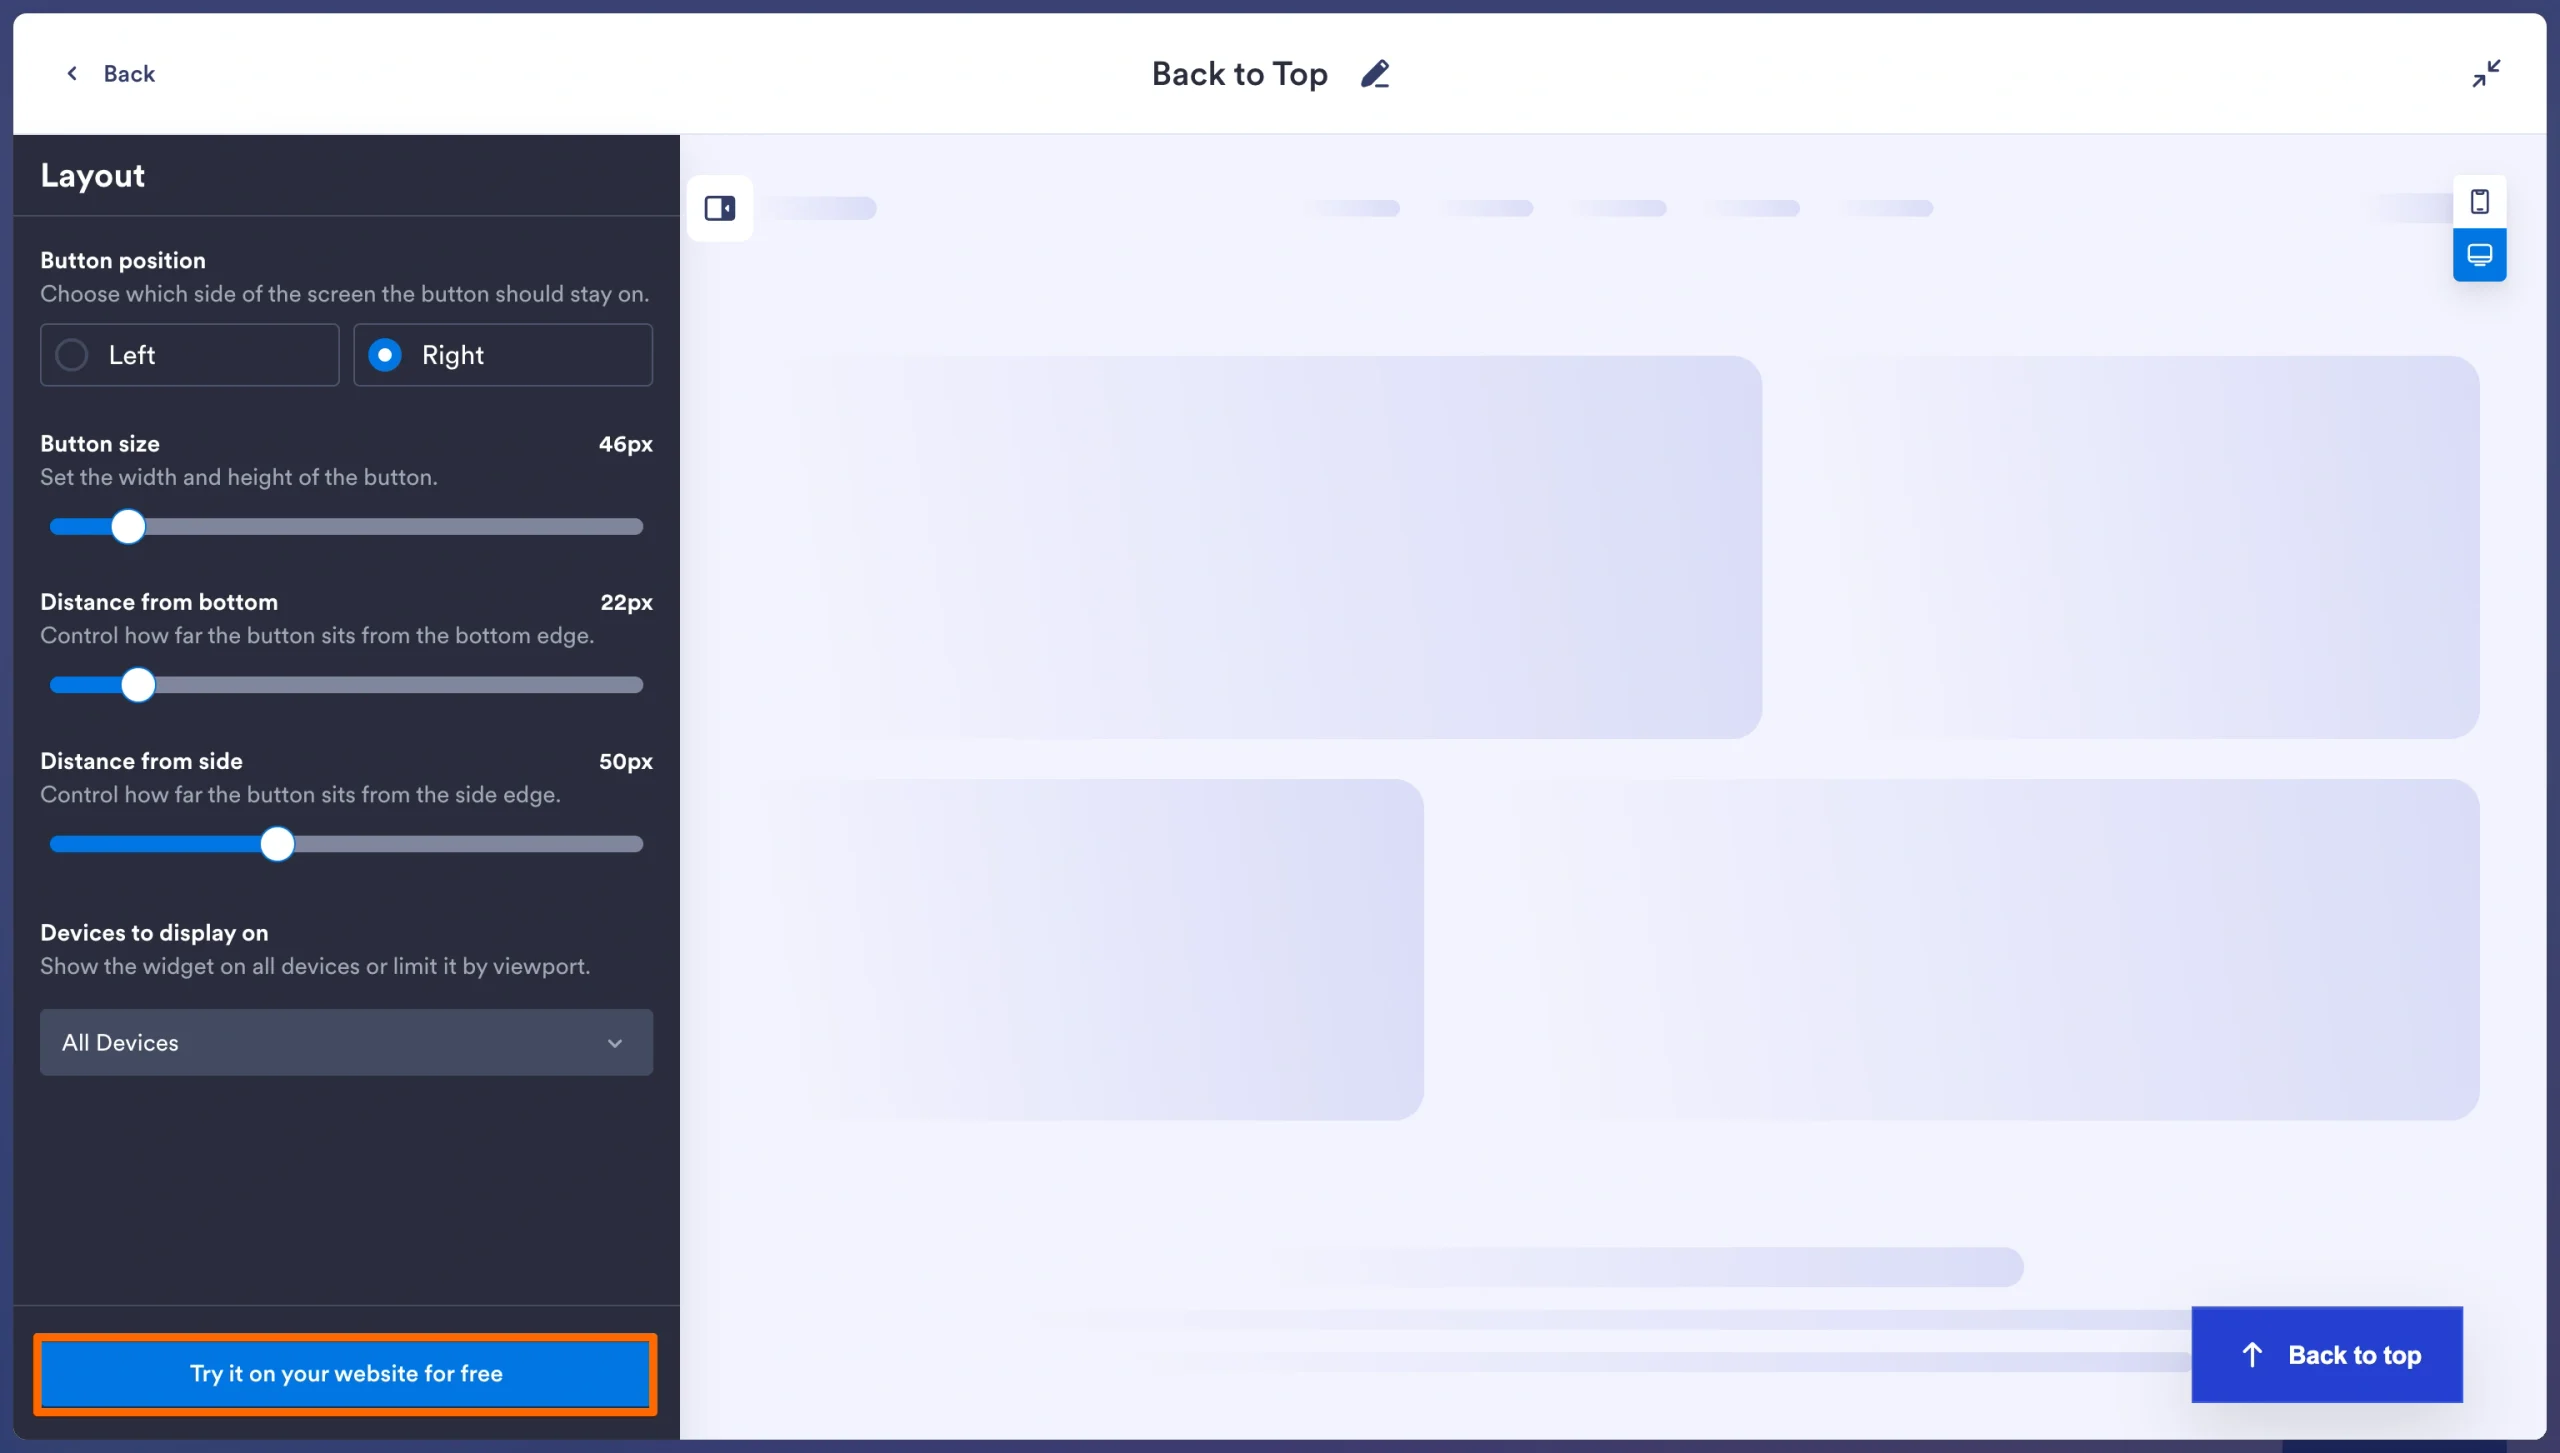
2. Copy the embed code: Click Try it on your website for free and copy the generated code.
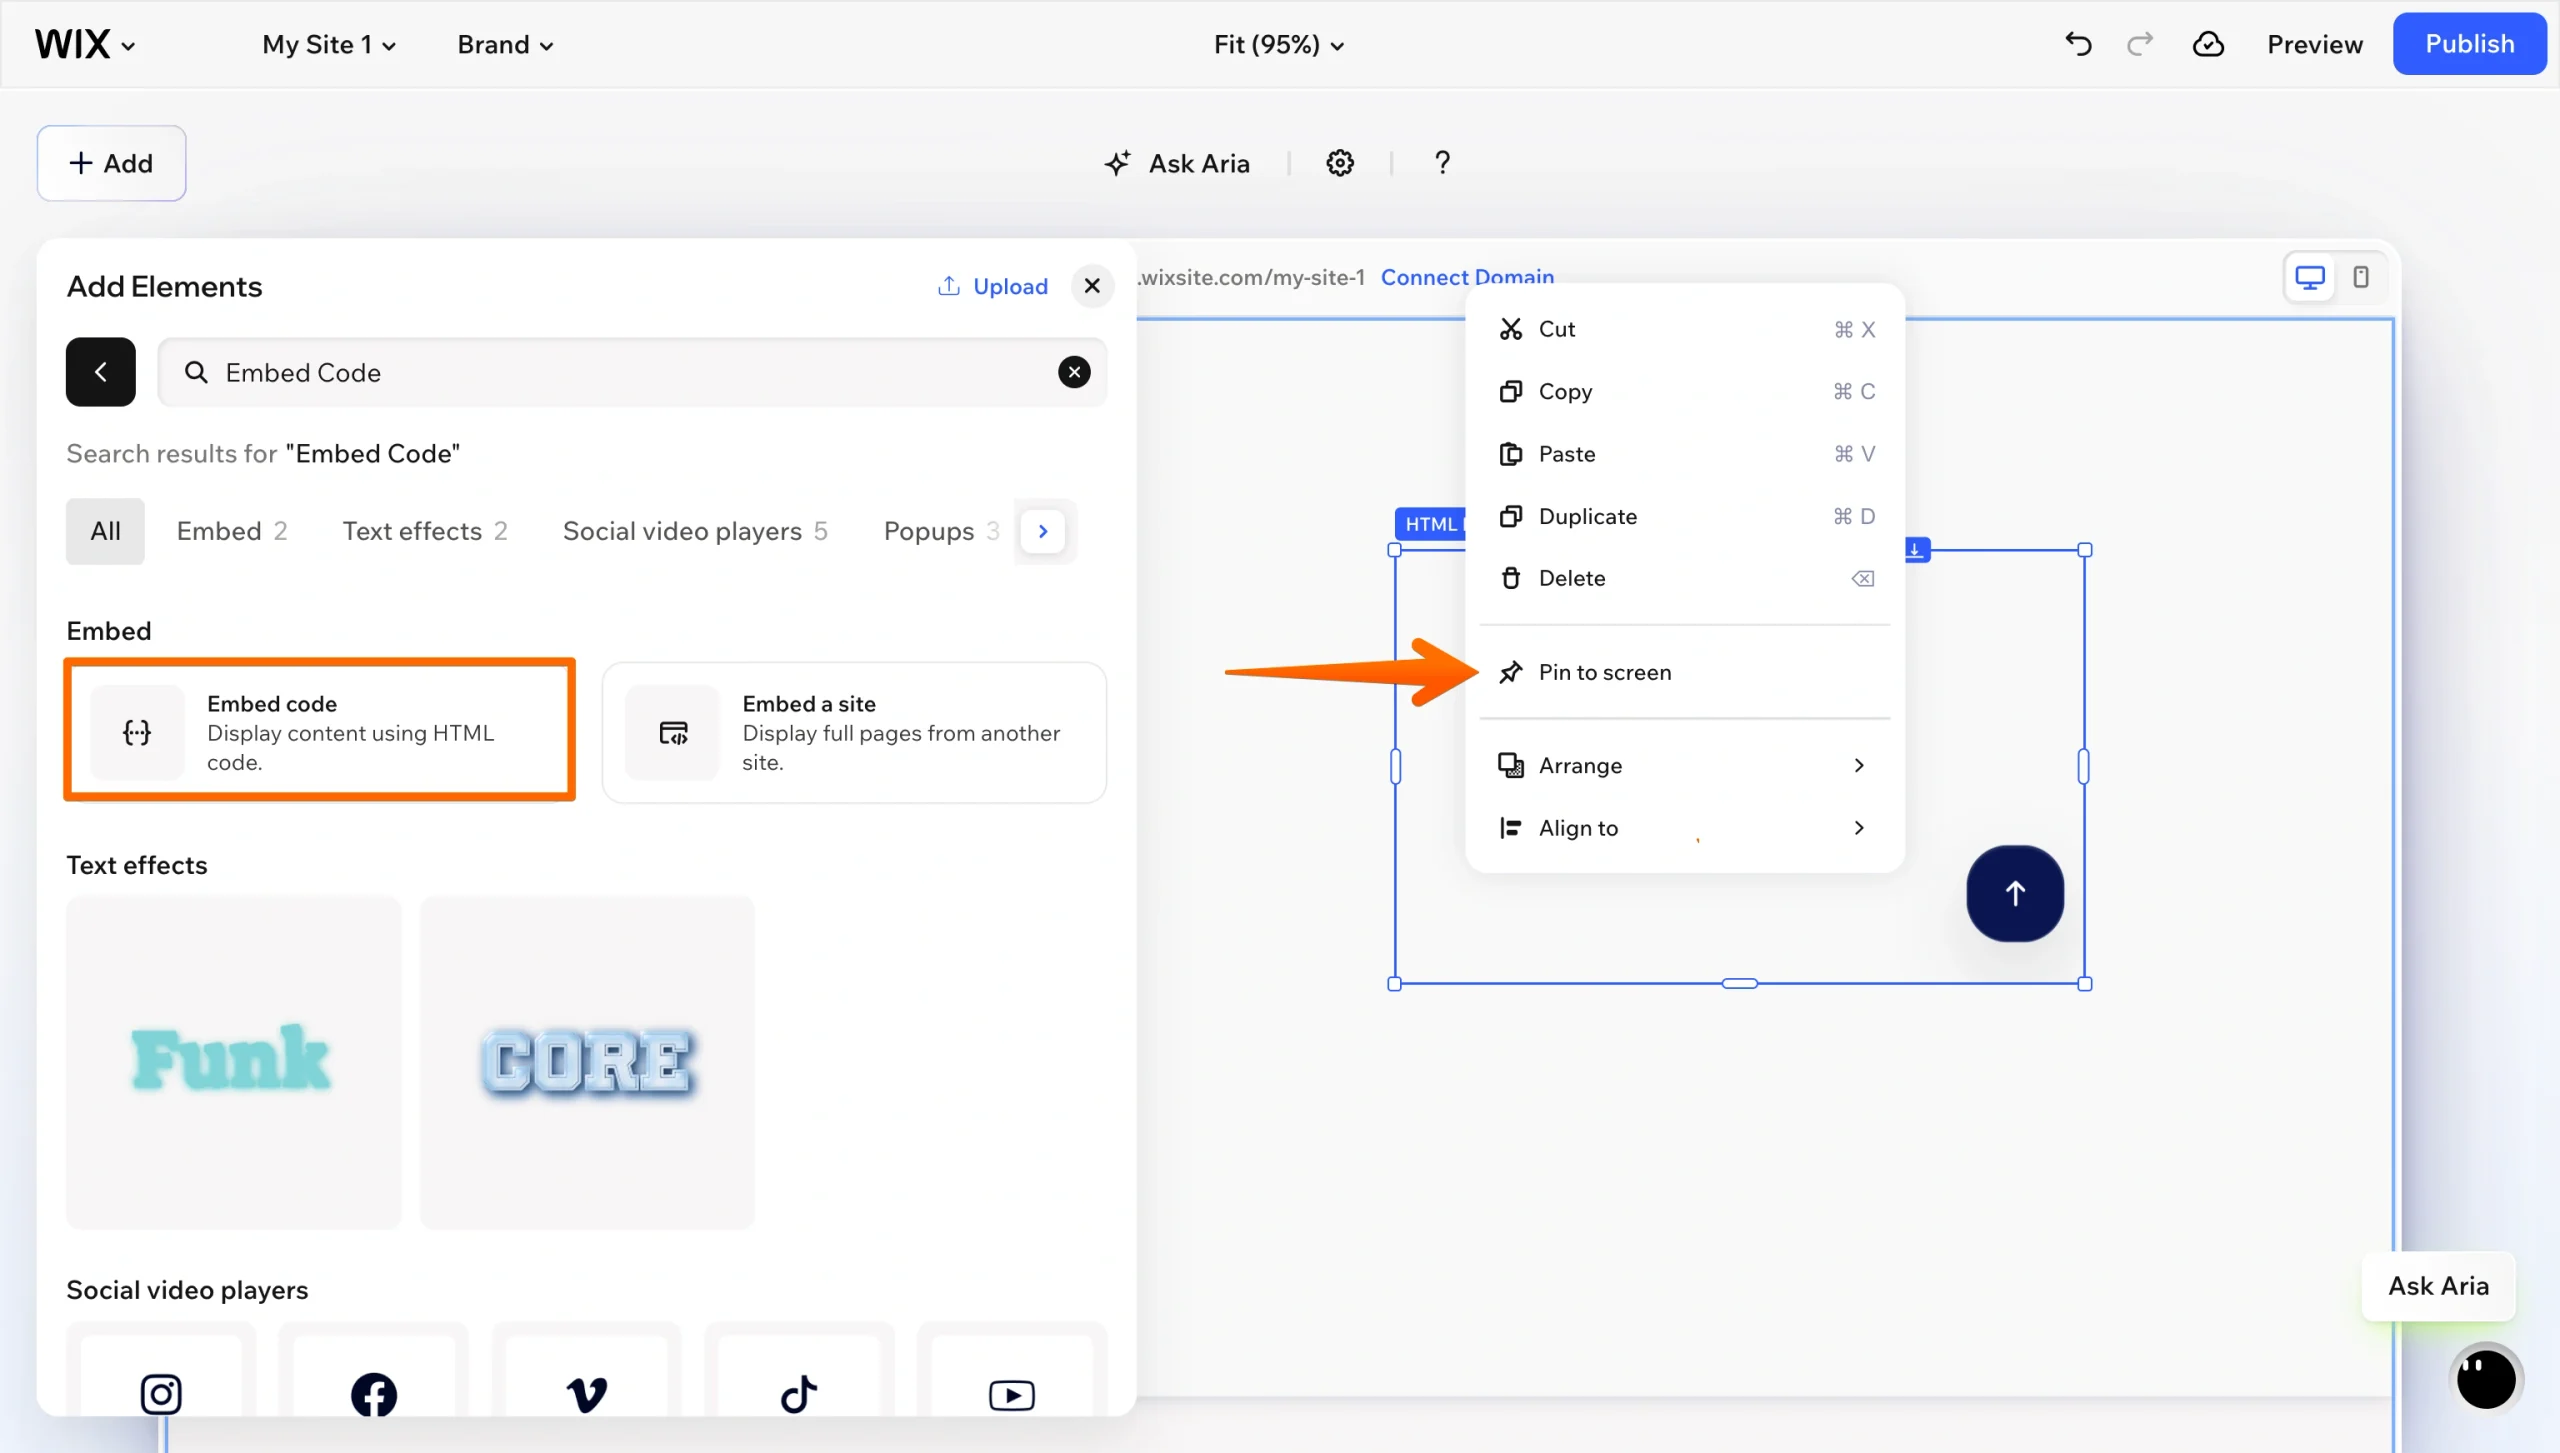
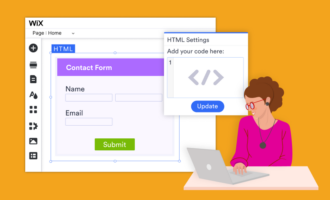
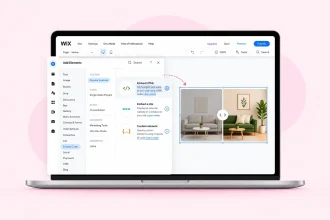
3. Embed it in Wix: In the Wix Editor, click Add Elements, choose Embed Code, then Embed HTML. Paste your code into the HTML field and click Update. Right-click the HTML element, select Pin to Screen, and place it in the bottom-right corner. Publish your site and test the scroll behavior on desktop and mobile.
This option gives you everything at once: a real scroll threshold, complete design control, and no recurring cost. You set the scroll distance, so it appears only when the button is useful. You choose the style and screen position, rather than accepting an unstyled default. And you can control whether the button appears on desktop, mobile, or both.
There’s also a portability benefit. Because this is an embed rather than a Wix app, the same widget configuration works on WordPress, Shopify, and any site that accepts custom HTML. If you ever migrate off Wix, your button goes with you. If you want the full setup walkthrough with screenshots, see our guide on how to add a back-to-top button to your website.
Pro Tip
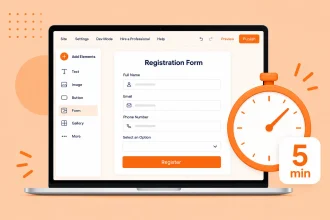
Jotform Wix App makes it easy to add customizable forms to your Wix site without coding. Create contact, booking, registration, payment, survey, or order forms, match them to your branding, and manage submissions through Jotform. Add Jotform Wix App to your site.
Enhance your Wix site with smart, no-code widgets
The Back to Top Widget is one of more than 150 free website widgets in Jotform’s directory, and each setup is the same: Configure it in your browser, copy the embed code, and paste it into a Wix HTML element. No app subscription, no Velo, no developer needed, which matters for a Wix site. Every App Market install adds another script and, often, another monthly charge. Widgets let you add real functionality without either, which is the difference between a site that stays fast and one that doesn’t.
Here are a few widgets worth pairing with your back-to-top button on a long-scrolling site:
- Accessibility Widget: This lets visitors adjust contrast, text size, spacing, and motion, and it remembers their preferences.
- FAQ Widget: This searchable accordion collapses long support content into a compact block.
- Countdown Timer: It’s useful on a launch, sale, or event registration page where urgency drives the action.
- Popup Widget: This is good for newsletter signups, announcements, and exit offers, with no need to install a dedicated popup app.
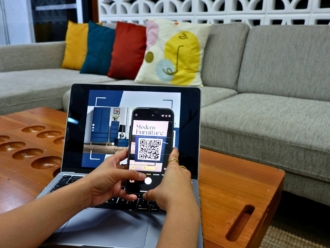
- QR Code Widget: It’s helpful for restaurant menus, event check-ins, and anything you want visitors to access.
If you’re still building out your site, our guide to making a Wix website covers structure, templates, and design decisions. And when you’re ready to collect leads, bookings, or payments, the Jotform + Wix integration helps you embed a fully customized form using the same Embed HTML element you just used.
Explore Jotform’s free widget directory to see what else you can add to your Wix site without sacrificing performance.
This article is for Wix website owners, bloggers, and portfolio creators with long scrolling pages who want to improve user navigation and UX without slowing down their site or paying for apps.













Send Comment: