
Google Forms is great for collecting information and storing it in a Google Sheet. But when you need an official agreement — whether for sales contracts, onboarding documents, NDAs, or consent and waiver forms — the real work starts after someone clicks the “submit” button.
Turning a form submission into a document that can be signed isn’t a native capability in Google Forms. Instead, you’ll have to create and send a separate file for e-signature, which is where tools like SignRequest come in.
Follow along to learn how to connect Google Forms to SignRequest so you can go from “responses collected” to “documents signed” with less manual work. We’ll also cover off a way you can further simplify the process of collecting e-signatures on your forms with Jotform.

Looking for the best alternative to Google Forms?
Jotform’s full-featured form-building solution is mobile-friendly and has the most integrations in the industry. Use it to collect payments, automate workflows, gather leads, and more.
How to connect Google Forms to SignRequest
Since there’s no direct integration between Google Forms and SignRequest, the easiest workaround is to use Zapier. Zapier checks your form for new submissions and then automatically sends a SignRequest document when someone responds.
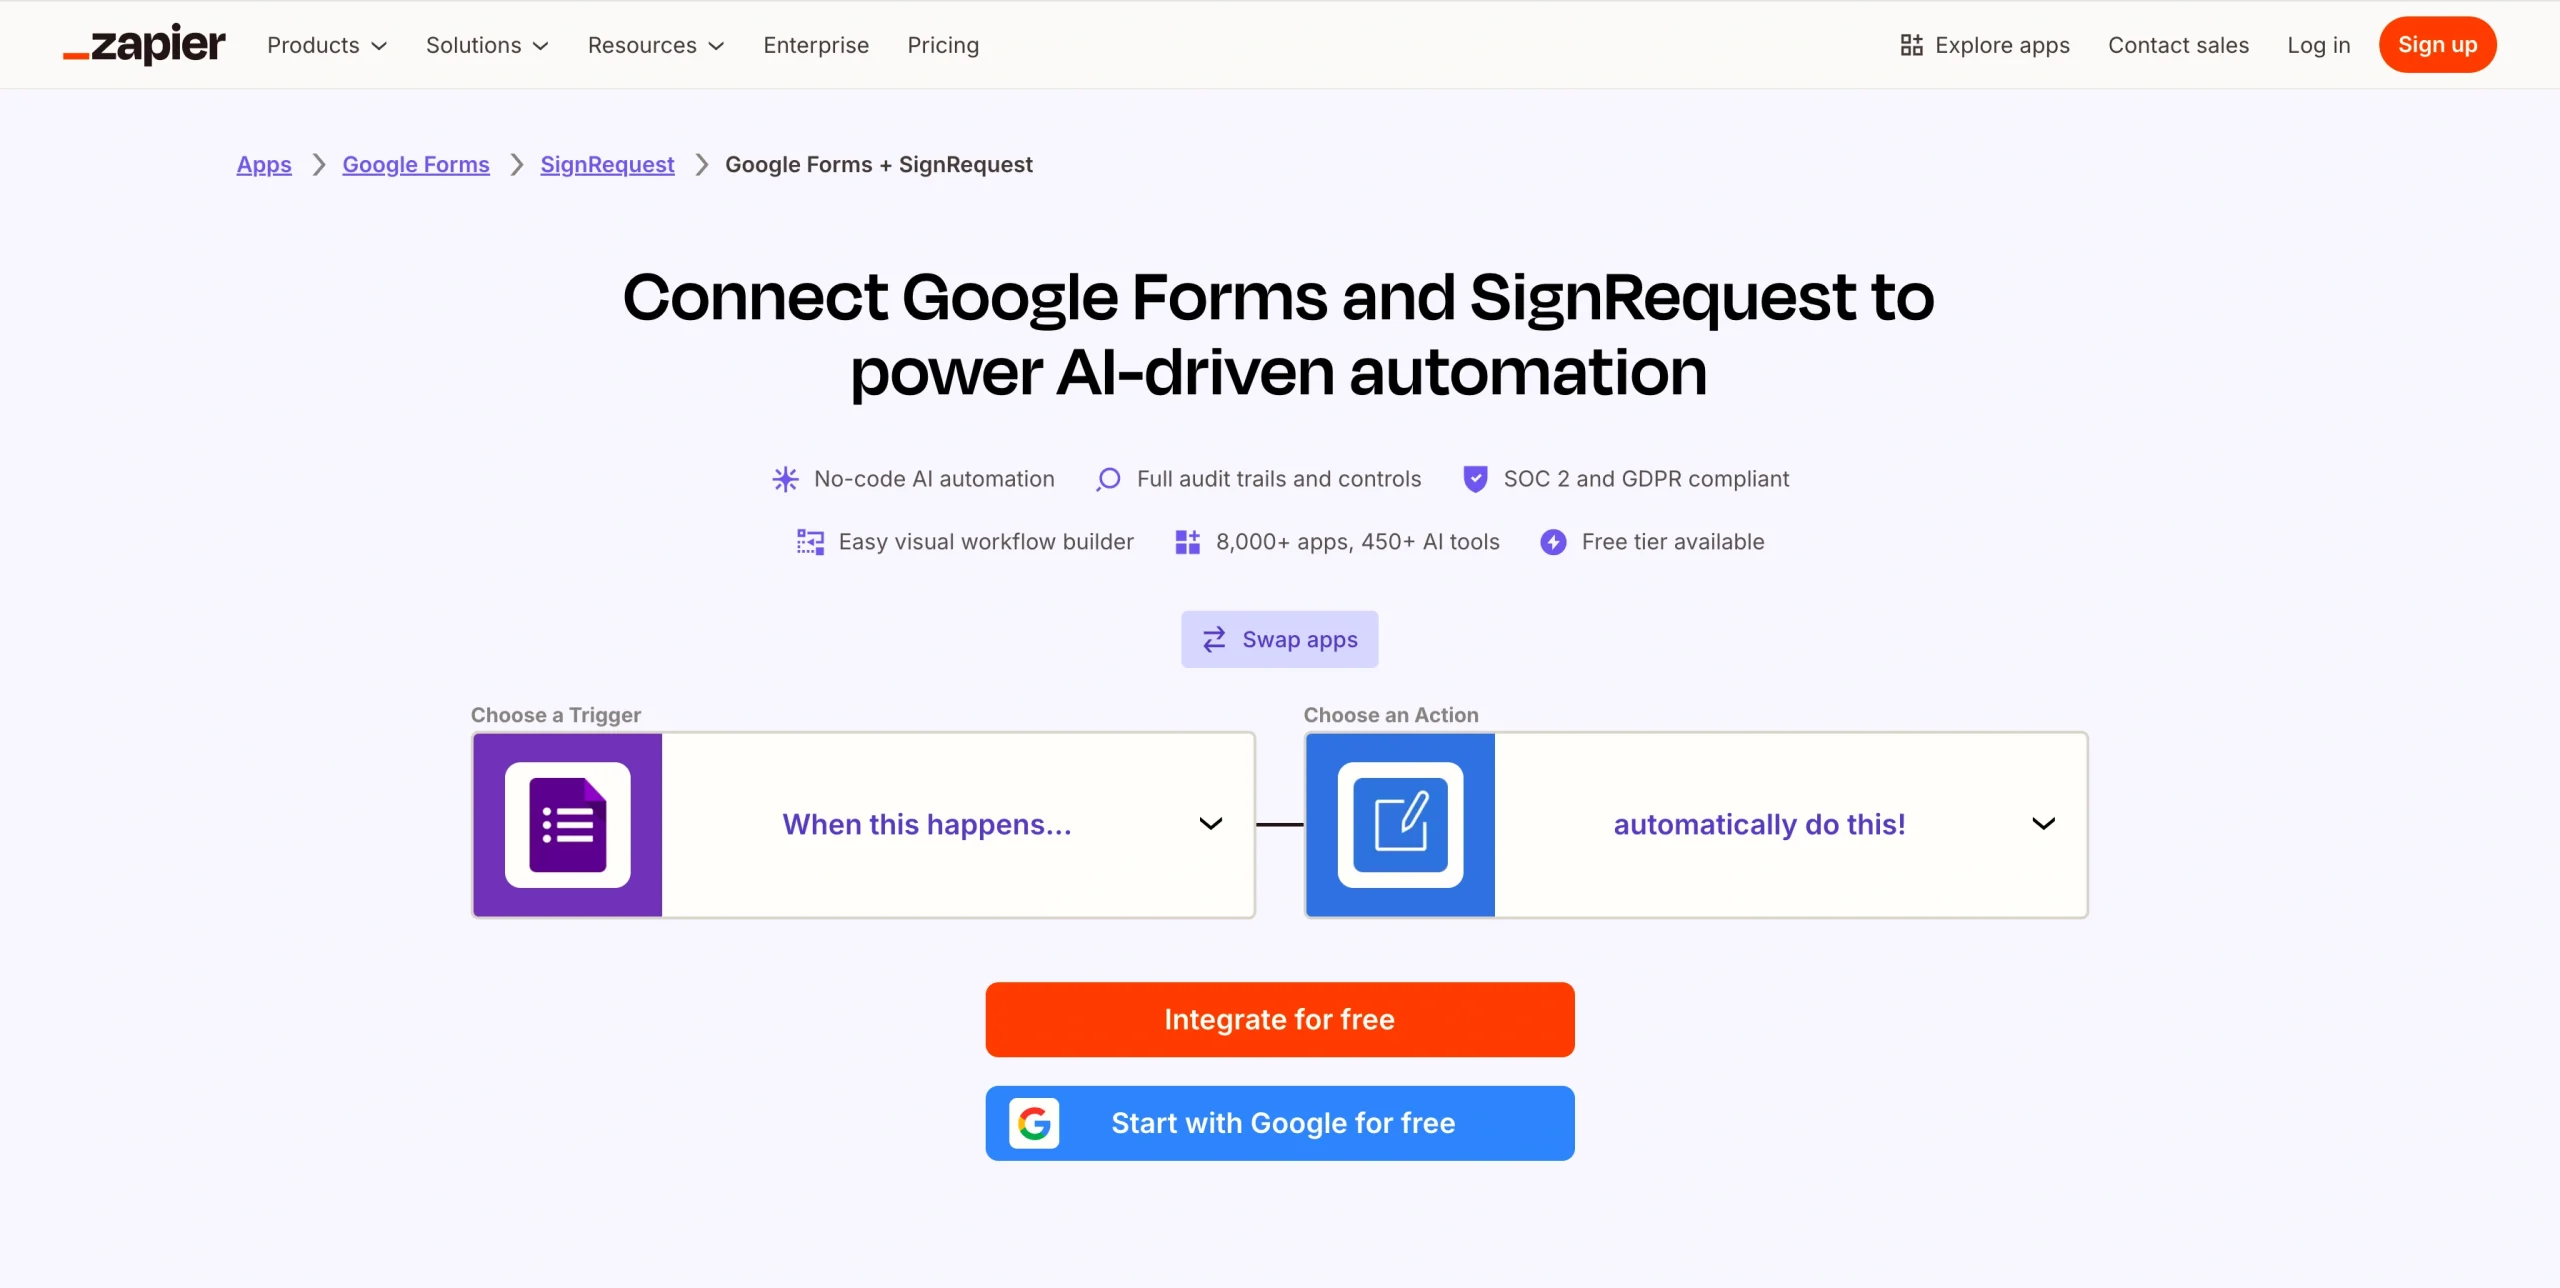
Follow these steps to connect the tools:
- Open Zapier.
- Click the sidebar or hover over the orange ‘+’ sign.
- Click the Create button, then click Zaps.
- Search for Google Forms and choose it as your trigger app.
- Select New Form Response as the trigger event, then connect your Google account and pick the form you want to use.
- Click on Action.
- Search for SignRequest and choose it as your action app.
- SelectSend SignRequest or Send SignRequest From Template as the action event.
- Connect your SignRequest account.
- Type the signer’s email or map the signer’s email and any other fields from your Google Forms response, then click Continue.
- Click the Test step button to make sure everything works.
- Publish your Zap so that every new Google Forms submission automatically triggers a SignRequest.
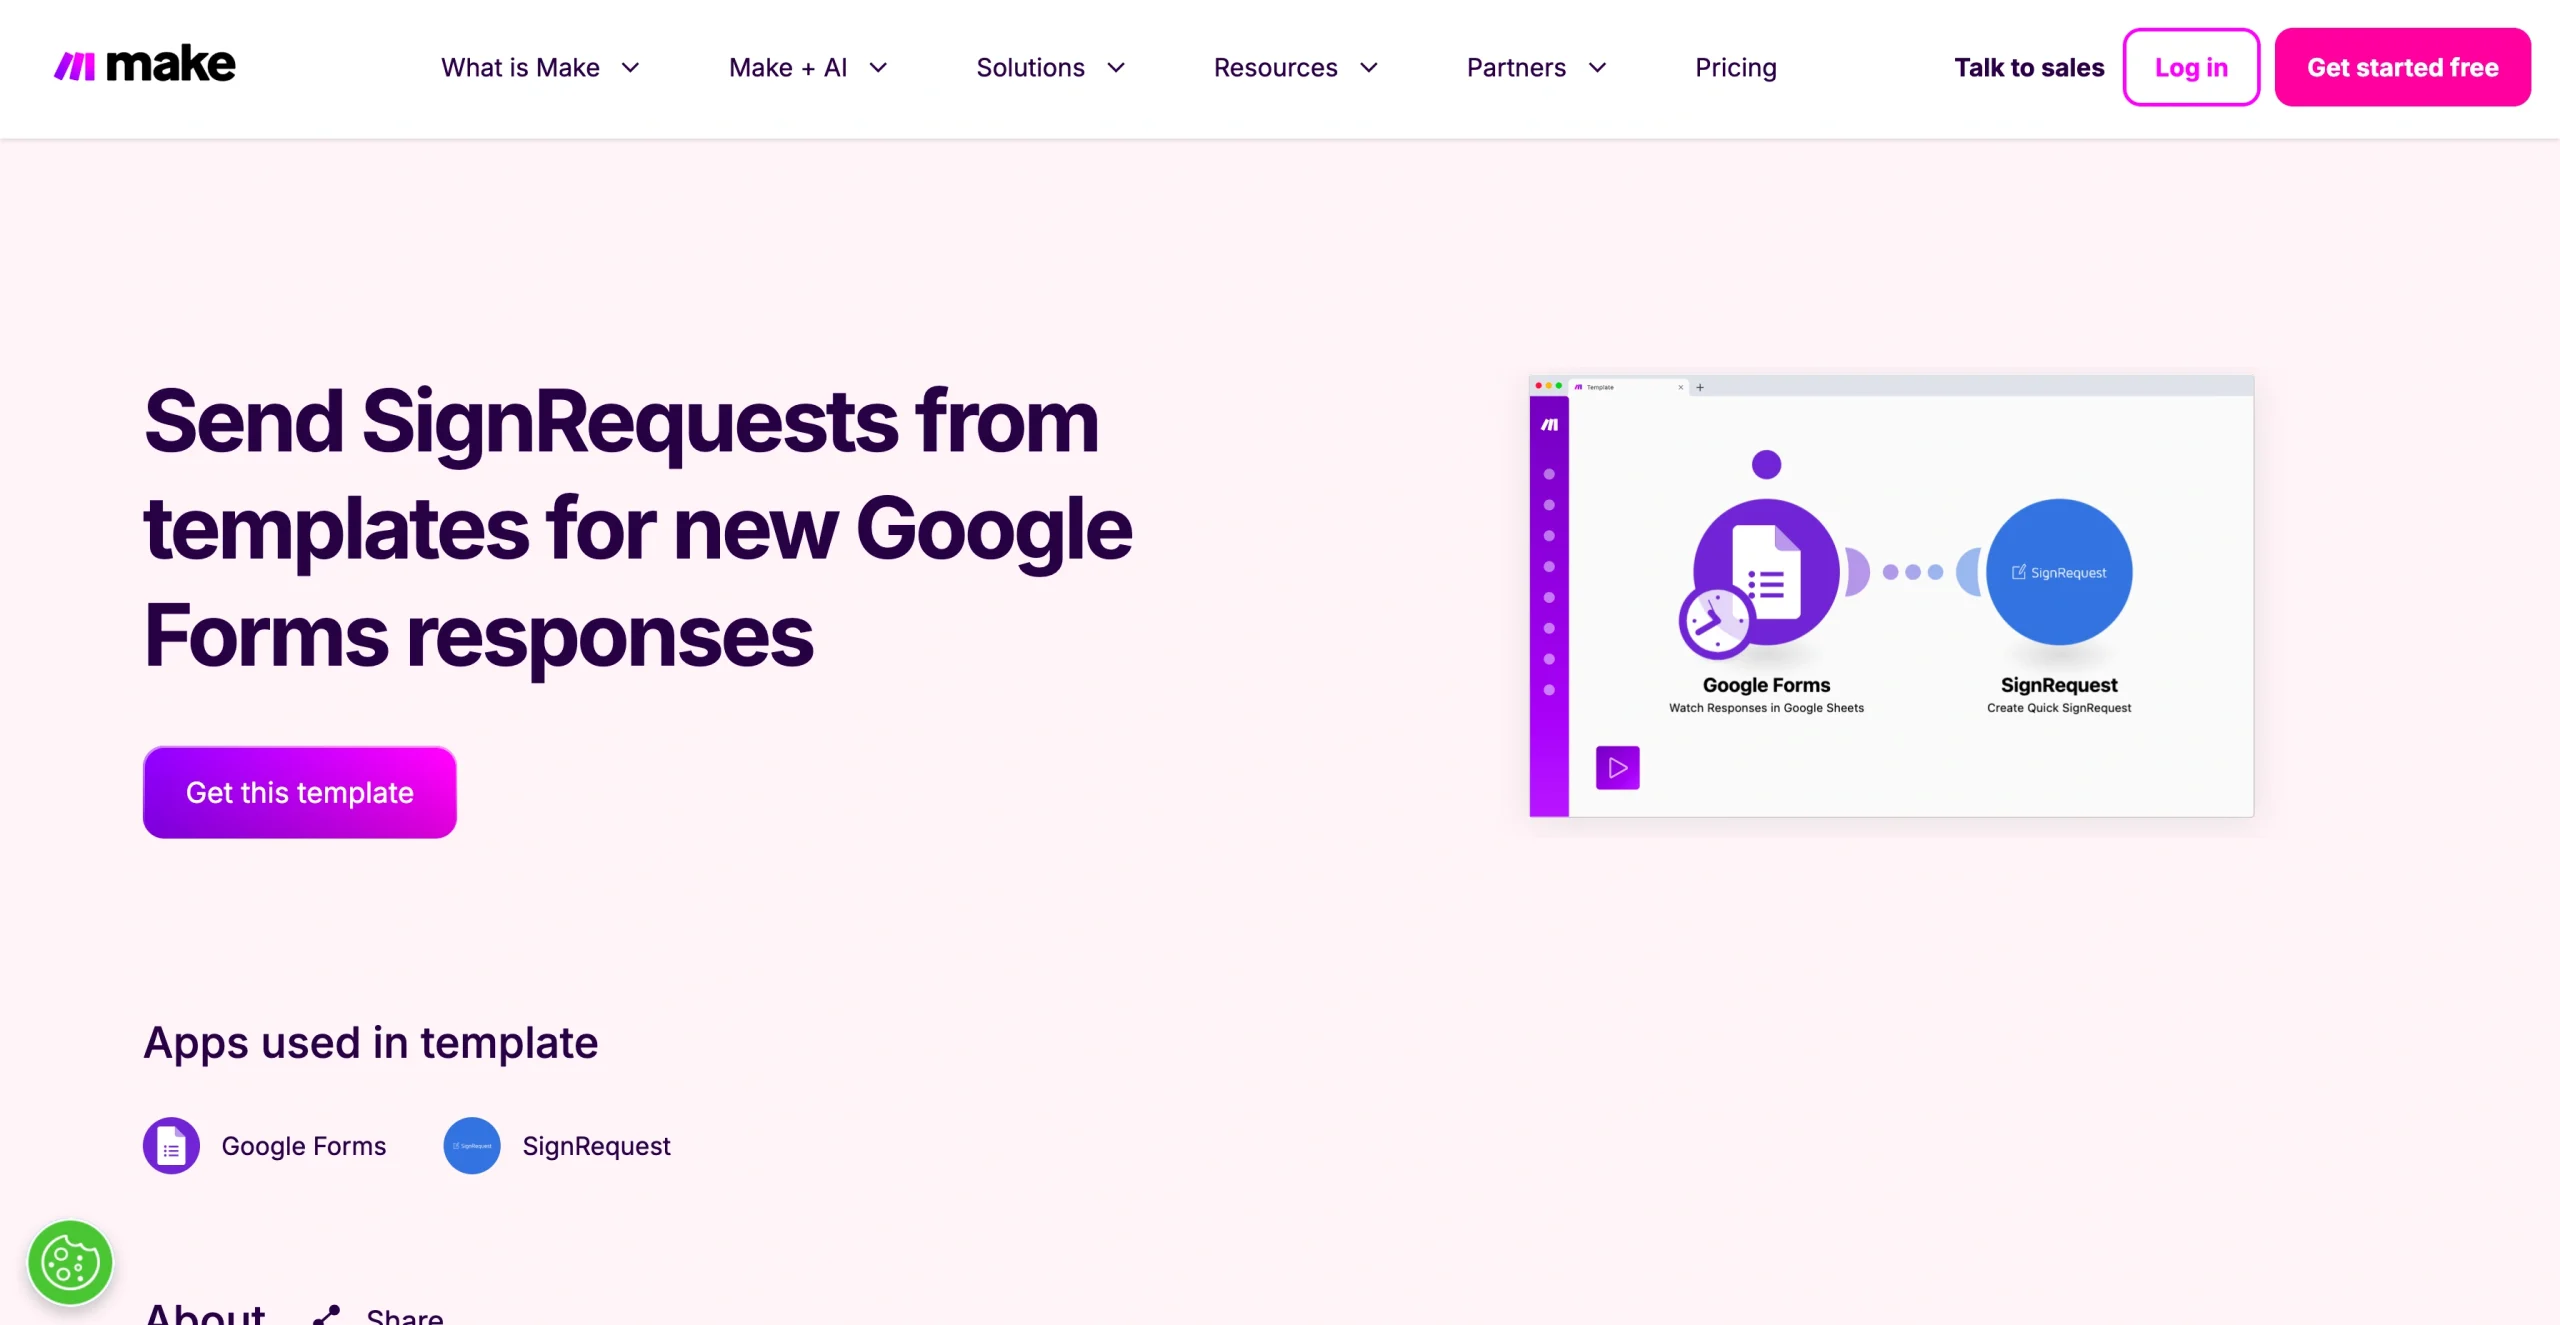
How to connect Google Forms to SignRequest via Make
Make offers a ready-made template that connects new Google Forms responses to SignRequest, so you can send out signature requests automatically without building the workflow from scratch.
Follow these steps to set it up:
- Open Make and log into your account or create one.
- Click on the Templates tab.
- Search for Google Forms and SignRequest.
- Click on the template.
- Click Start guided setup for an easy, step-by-step walkthrough, or click Create new scenario from template.
- Click the Add button to connect your Google account and select the spreadsheet containing the responses you want to watch.
- Click Add to connect your SignRequest account.
- Fill in or map the signer’s email and any other fields from your Google Forms response to the SignRequest fields.
- Click Continue.
- Select Run your scenario so Make can start running it when new responses come in.
Ditch the workarounds with Jotform
If you need to collect signatures from form responses but don’t want to rely on extra integration tools, Jotform gives you everything in one place.
With Jotform’s built-in e-signature solution, Jotform Sign, you can turn forms into signable documents and collect signatures in the same workflow. Best of all, you can start from more than 1,000 templates, including lease agreements, employment applications, and consent documents, so you don’t have to build every document from scratch.
Once built, Jotform Workflows helps you route these forms and documents to the right people for approvals and signatures, while Jotform Tables keeps all your submission data organized and secure. And because Jotform also works on any mobile device, you can create, send, and sign documents from anywhere.
How to collect e-signatures with Jotform
Once you decide to streamline your signature process with Jotform, you have a couple of flexible setup options, depending on how you like to work. You can start from a Jotform Sign template for common documents, or you can add a signature field right into an existing form you already use.
Method 1: Using a template
You can use Jotform Sign templates to create a signable document in just a few clicks. Here’s what you need to do:
- Log into your Jotform account.
- Hover over Templates and click Sign Templates.
- Browse the e-sign templates, then click the Use Template button for the one you want.
- When the template opens in the Sign Builder, click on any field to edit the text, labels, or formatting.
- Click Add Element to bring in extra elements like text, headings, images, or signature fields if you need them.
- Click Form Designer to adjust colors, styles, themes, and layout.
- Click Settings to adjust the document title and email message, and make other preferred changes.
- When you’re satisfied with your changes, click the Publish tab to explore the various ways you can share your form.
- Share your form through your preferred method.
Method 2: Adding an e-signature to your forms
You can also add an e-signature field to any existing Jotform form. This is helpful for approvals, consent forms, and simple agreements that don’t need a separate signature document.
Here’s how:
- Open Jotform and hover over the form you want to add an e-signature to.
- Click Edit Form.
- In the Form Builder, click the Add Element button on the left side.
- Select the Signature element on the Basic tab and drag the element to your form.
- Click the signature field, then click Properties. Change the label to something clear, like “Please sign below.”
- If you want to make the signature required, toggle the Required option to On.
- Click the Publish tab and choose how you’d like to share your form.
Once people start submitting the form, you can view their signatures in your form inbox or Jotform Tables along with all other responses.
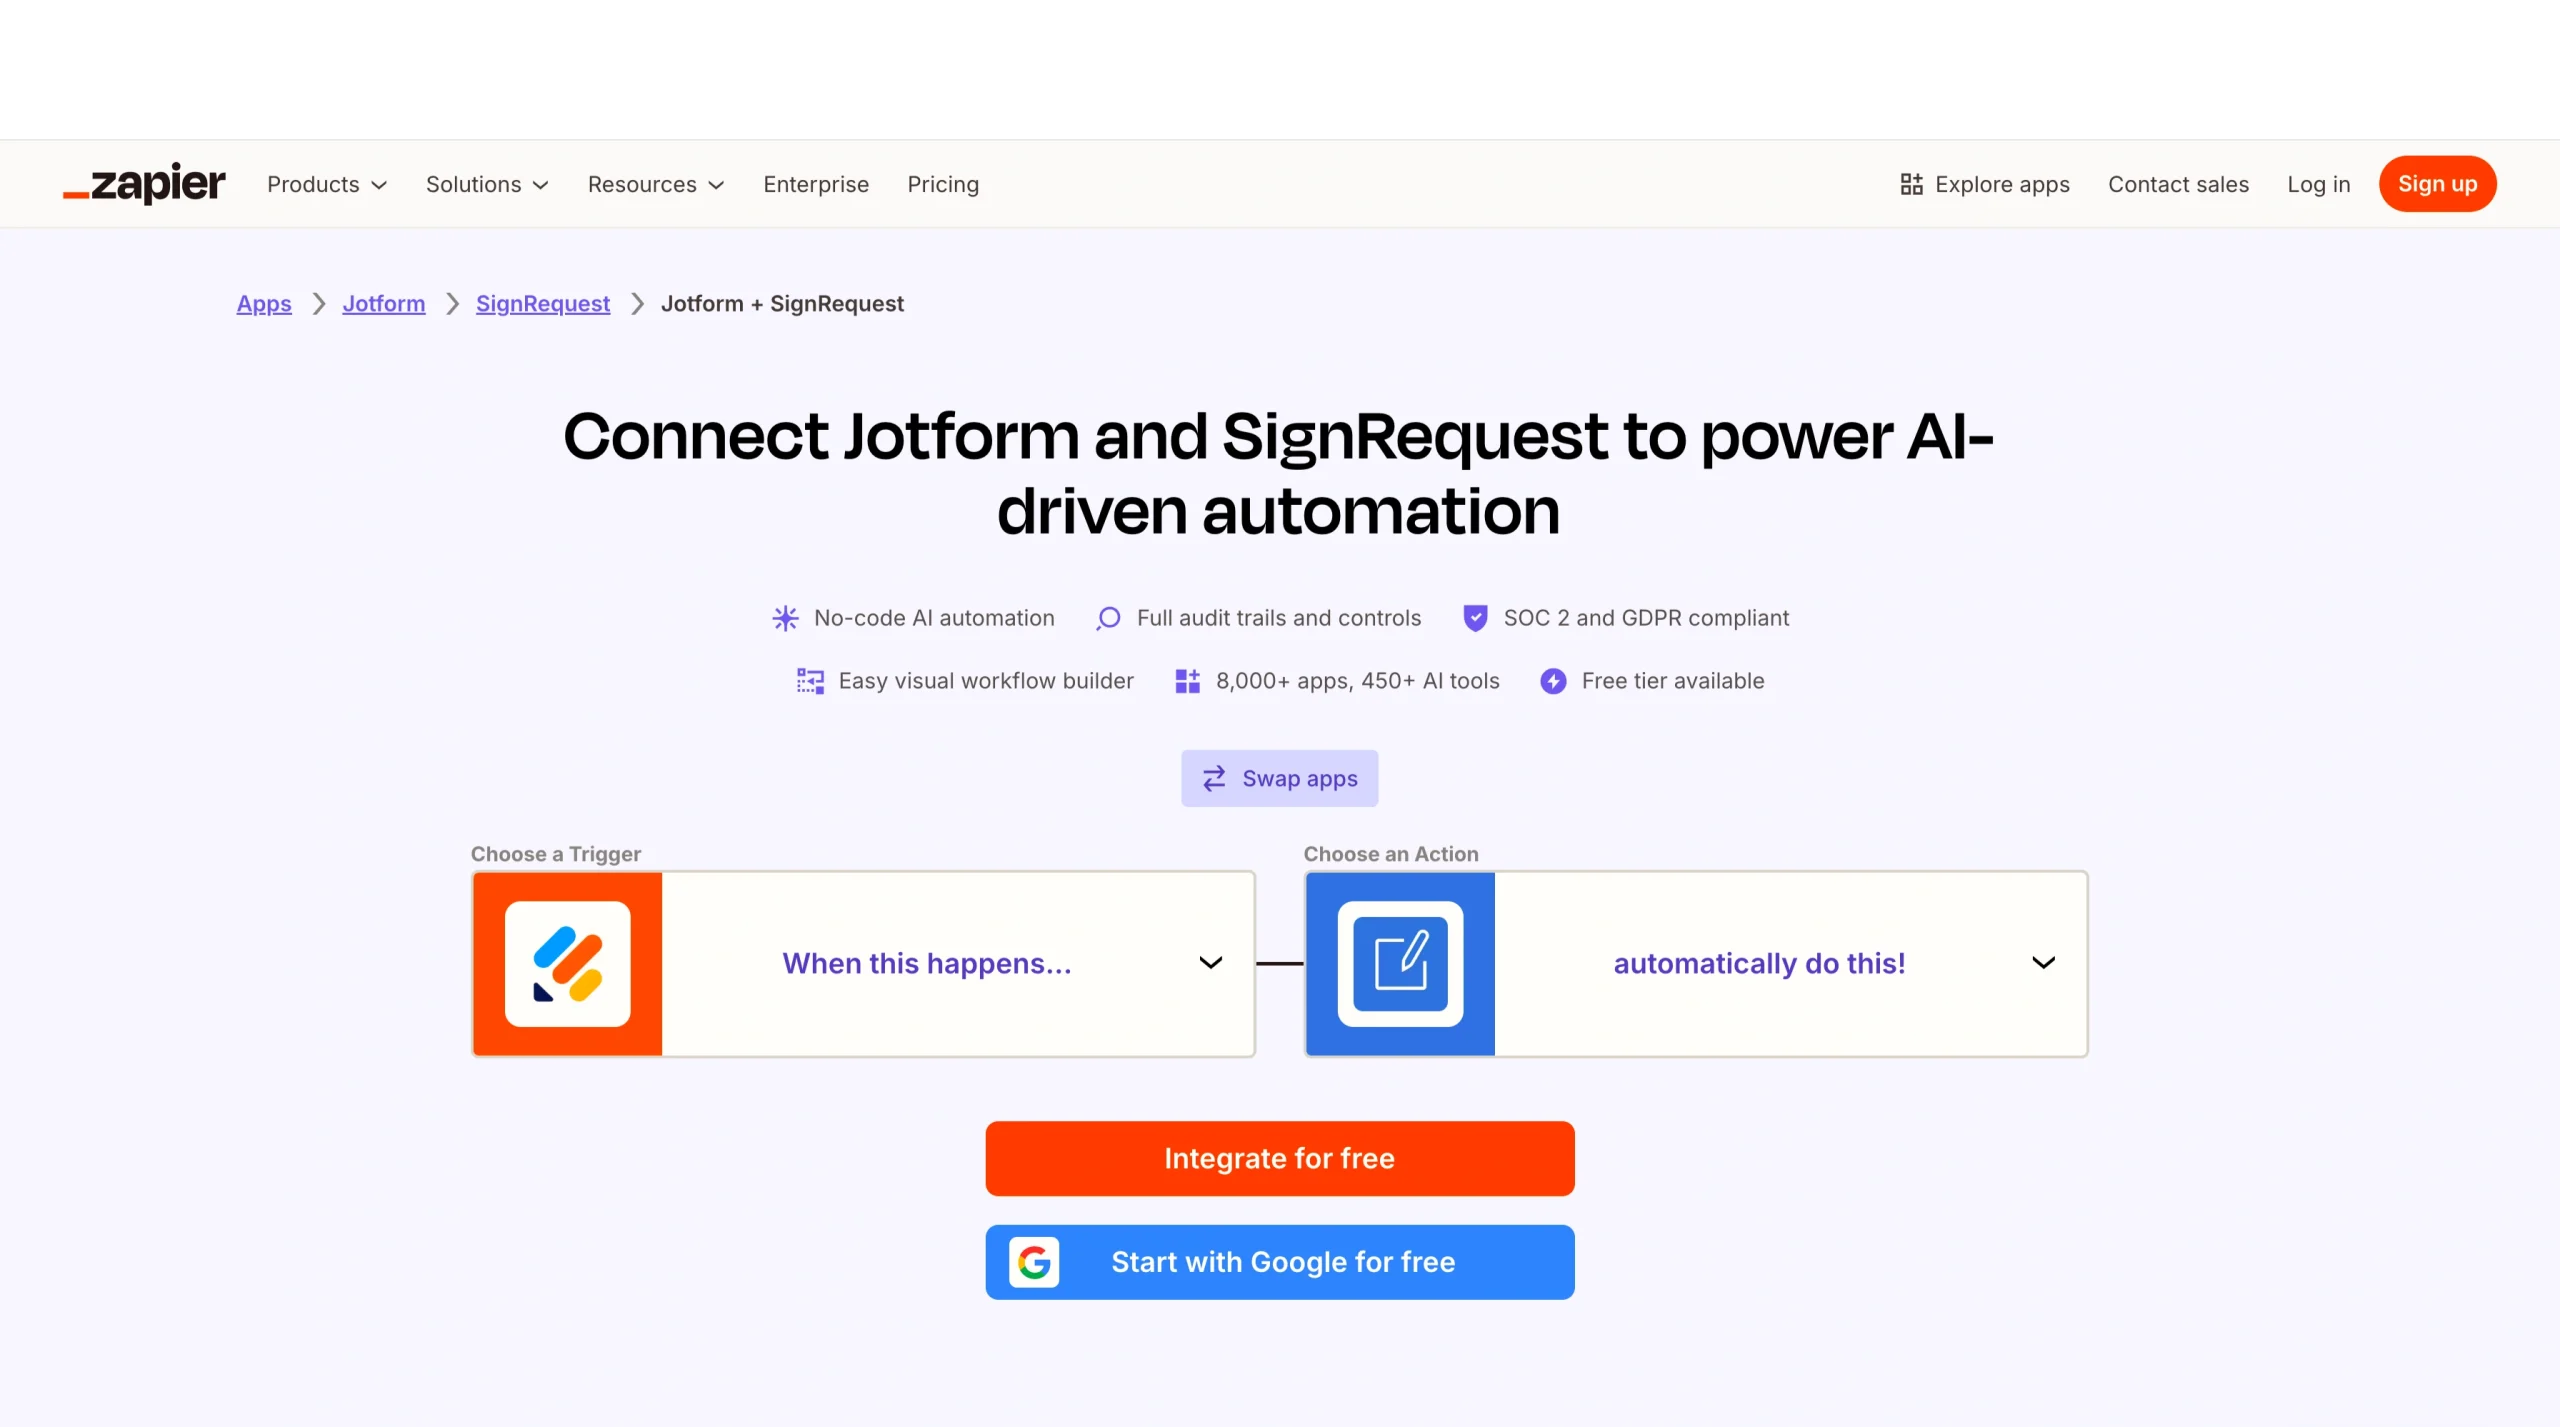
How to integrate Jotform to SignRequest
If you prefer to build your forms in Jotform and still use SignRequest for e-signatures, you can connect them with Zapier. Zapier will create or send a SignRequest document whenever someone submits your Jotform.
To set up this integration, you will need to
- Open Zapier.
- Click the sidebar or hover over the orange ‘+’ sign.
- Click the Create button, then click Zaps.
- Search for Jotform and choose it as your trigger app.
- Select New Submission as the trigger event.
- Connect your Jotform account.
- Choose the form you want to use.
- Click on Action.
- Search for SignRequest and select it as your action app.
- Choose the action you want, such as Send SignRequest or Send SignRequest From Template, and connect your SignRequest account.
- Click Continue.
- Fill in or map the signer’s email address and any other fields from your Jotform submission to the SignRequest fields, and click Continue.
- Click Test step to make sure everything works.
- Publish your Zap so that every new Jotform submission automatically triggers a SignRequest.
Simplify your e-signature workflow, no matter where you start
Connecting Google Forms to SignRequest can help you bridge an important gap, turning simple form responses into signable documents without starting from scratch. With tools like Zapier or Make, you can automate the process and save time — especially if you’re already invested in the Google ecosystem.
That said, it’s worth thinking about how many steps your current workflow requires. If you’re constantly moving between tools to collect data, generate documents, and request signatures, those extra handoffs can slow things down and increase the chance of errors.
This is where an all-in-one solution like Jotform can make a noticeable difference. Instead of stitching together multiple tools, you can build forms, create documents, and collect e-signatures in a single, streamlined flow. For teams handling contracts, approvals, or onboarding paperwork, that simplicity can translate into faster turnaround times and a better experience for everyone involved.
In the end, the right setup depends on how your team works today and how much you want to simplify moving forward.
This article is for website operators, workflow automation specialists, operations teams, and anyone who wants to streamline the process of turning form submissions into signed documents with minimal manual effort.


")


")


")


")


")


Send Comment: