

With the right setup, you can use Google Forms to create polls. In this article, we’ll give you a step-by-step guide on how, plus we’ll point you to Jotform, a more intuitive and powerful alternative for conducting polls.


Interactive step-by-step tutorial
Making a poll in Google Forms is super straightforward:
1. Open Google Forms
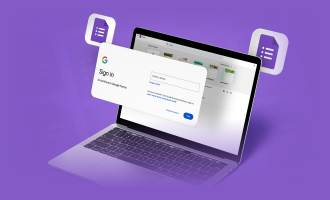
Go to Google Forms and sign in with your Google account. You’ll need an account to build a form, but the people responding to your poll won’t.
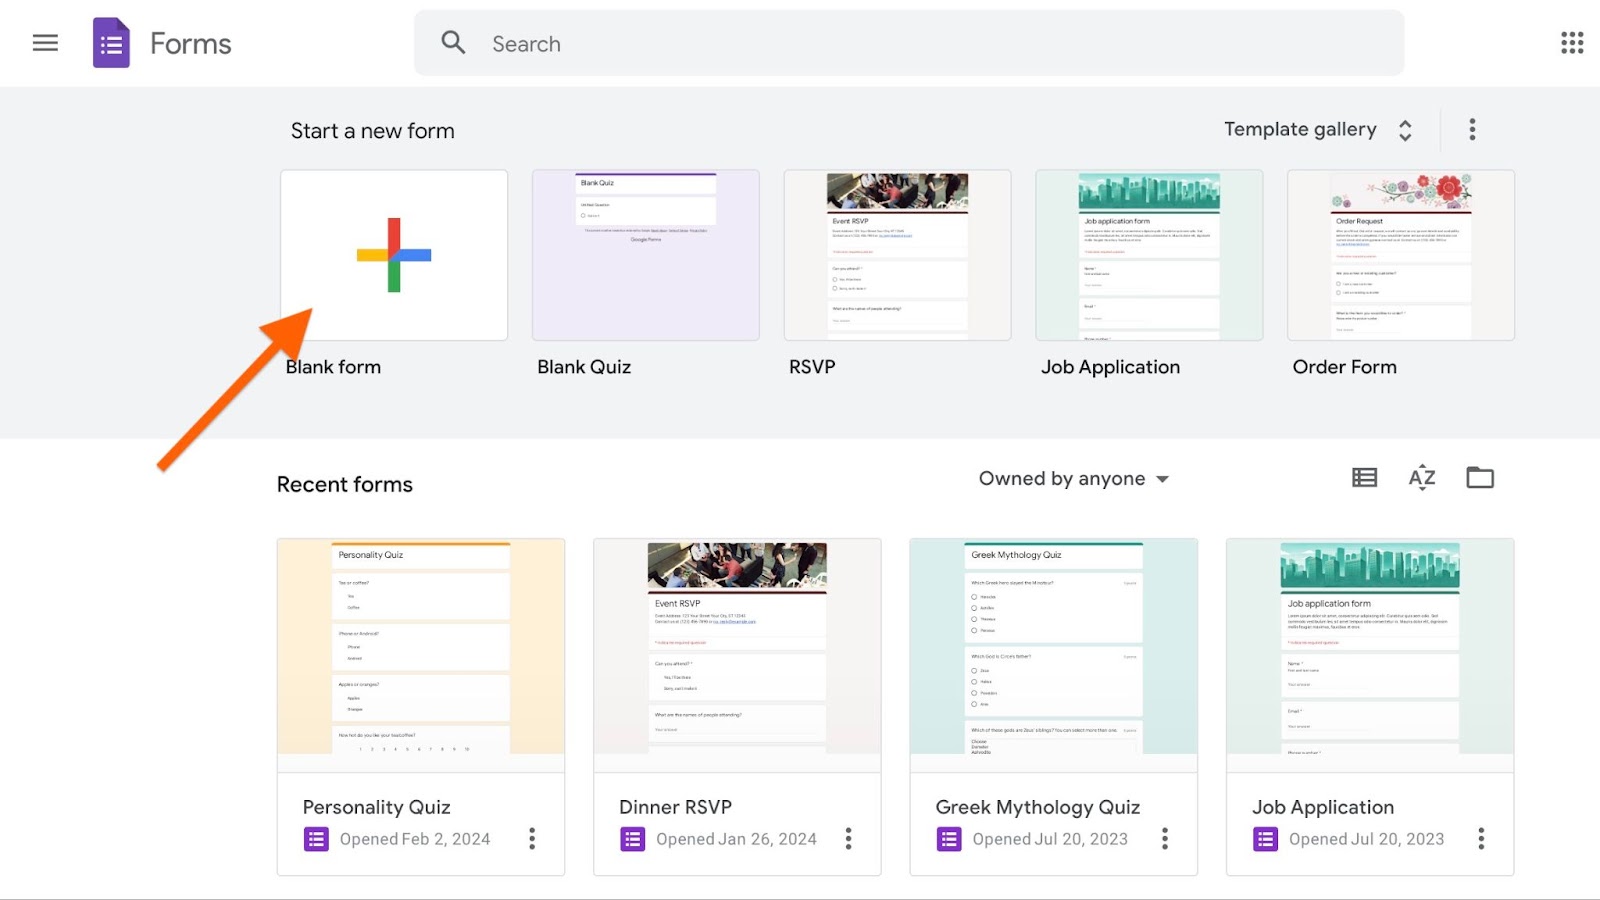
2. Create a new blank form
Click Blank form to start from scratch. Click Untitled form at the top to add a title, and use the line underneath to add a short description, instructions, or a deadline.
3. Add poll questions
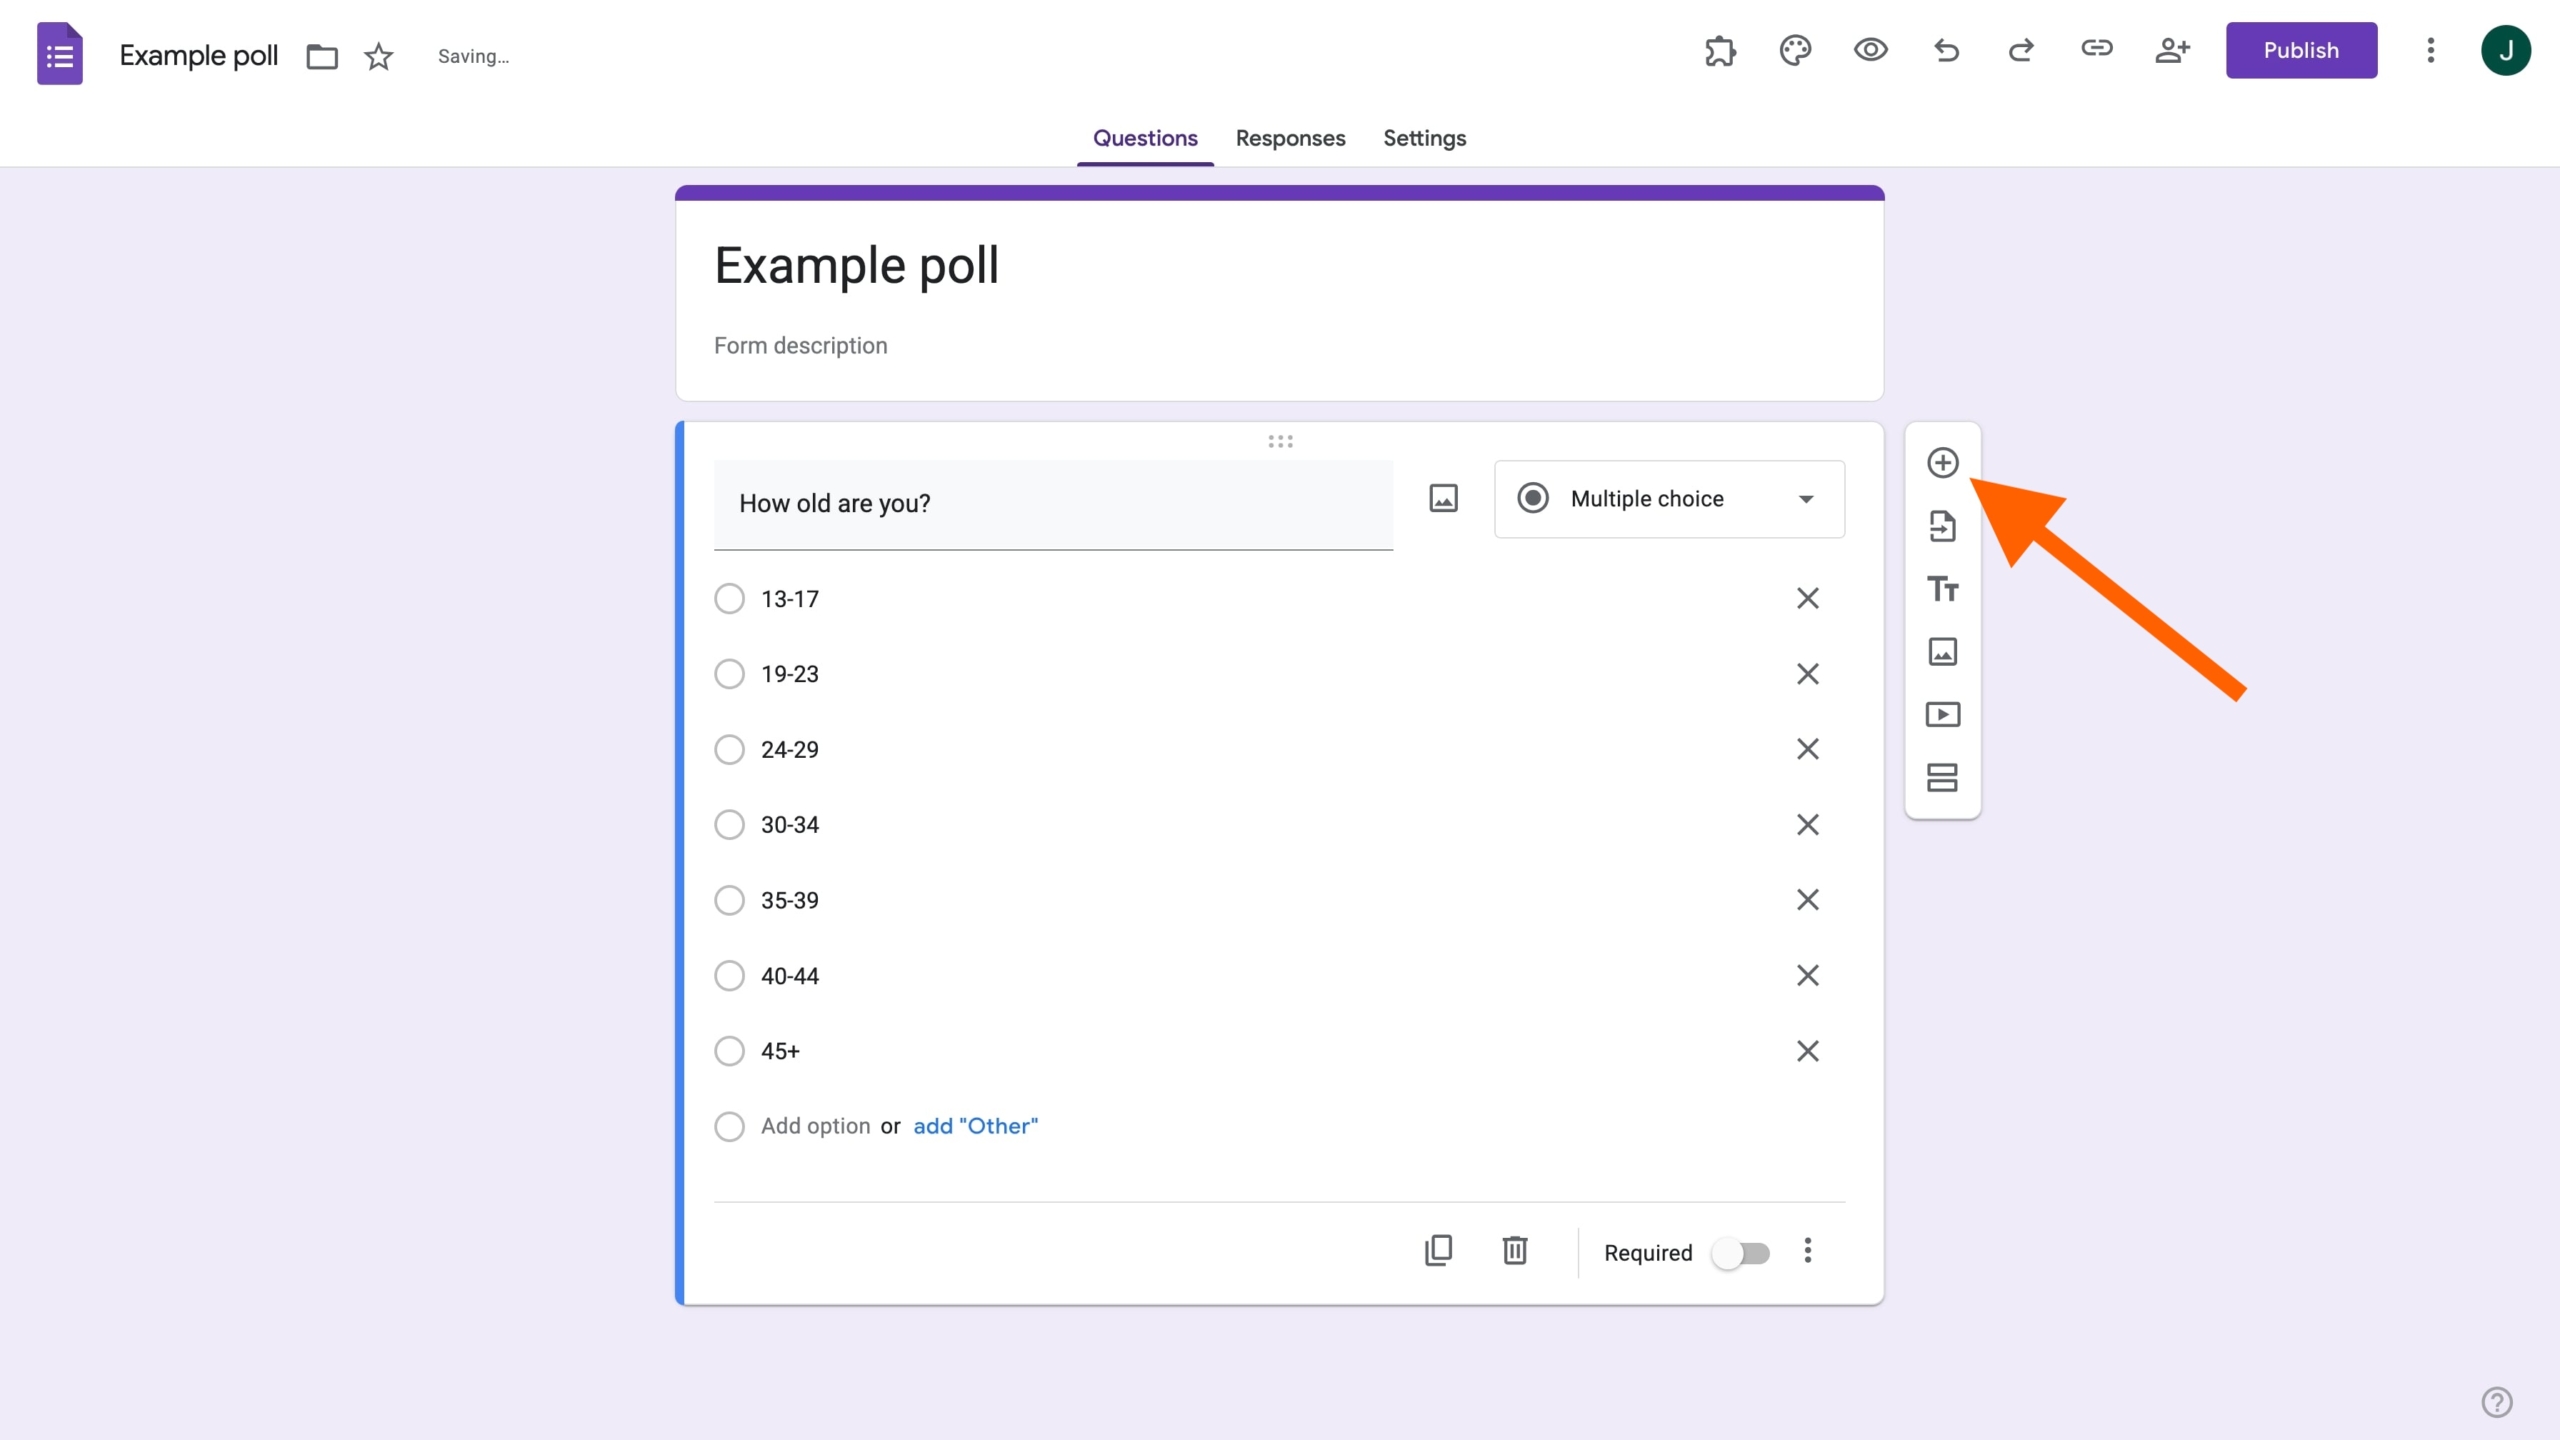
Type your first poll question into the question field. To add more, click the + (Add question) icon in the floating toolbar to the right of your question.
4. Add response options
Providing preset answer options makes it easier to track, manage, and report on your poll’s results.
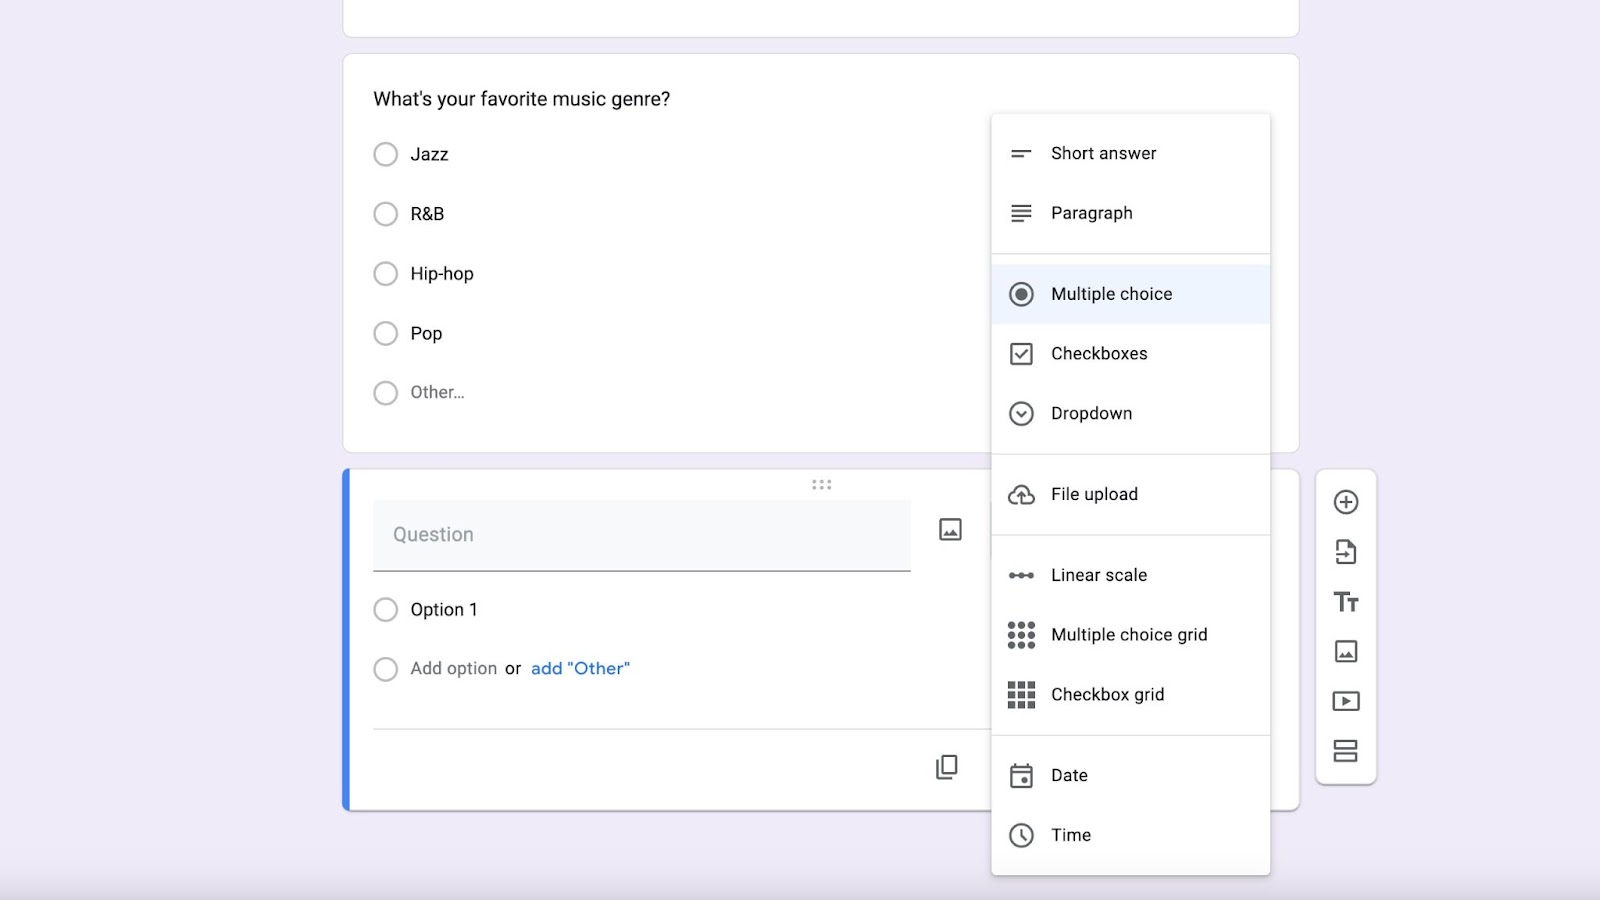
Use the dropdown menu to the right of each question to choose how your answer options appear. Multiple choice works well for most polls, or you can use Checkboxes if you want the option of selecting more than one answer. You can also use Dropdown for a long list.
Type in each answer option, clicking Add option as needed. If you need respondents to rank their preferences instead of picking one, see how ranked choice voting in Google Forms works.
5. Customize your poll
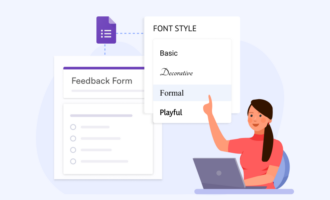
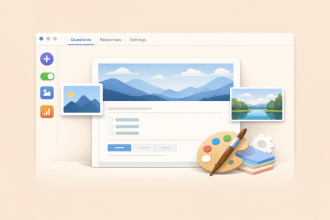
Click the Customize theme icon (the palette) in the upper right to open the Theme panel. From there, you can pick a theme color and background color, change the fonts, or add a header image to make your poll more engaging.

6. Adjust settings
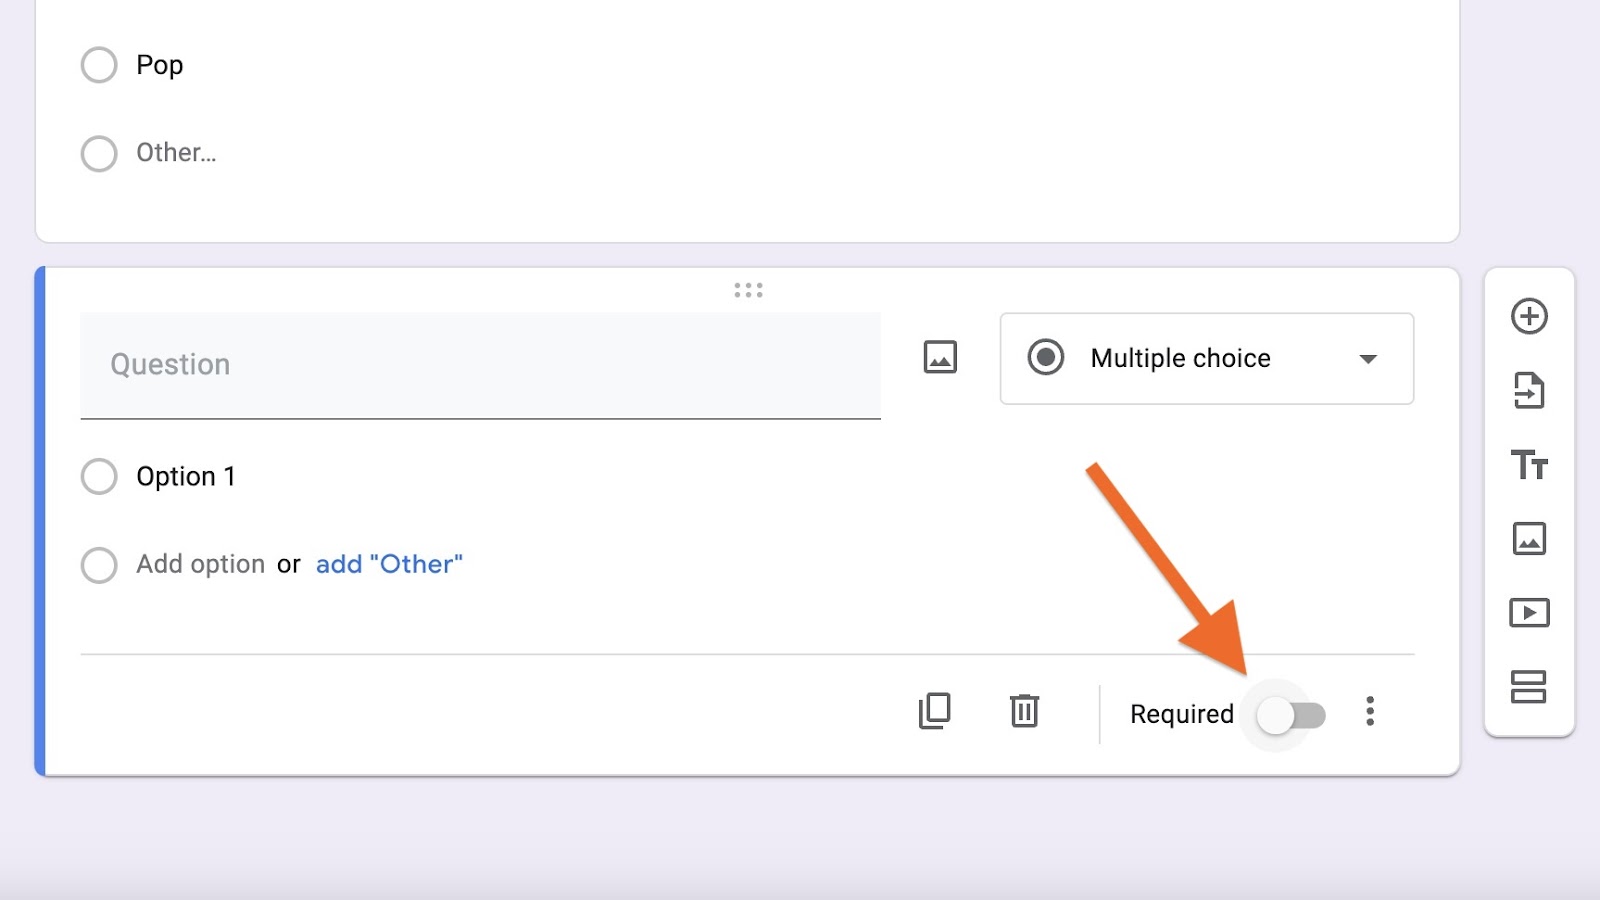
There are two settings in particular you may wish to change when creating a Google Forms poll. The first is to make every question mandatory. Toggle on Required in the bottom right corner of each question to make sure respondents can’t submit your poll without answering it.
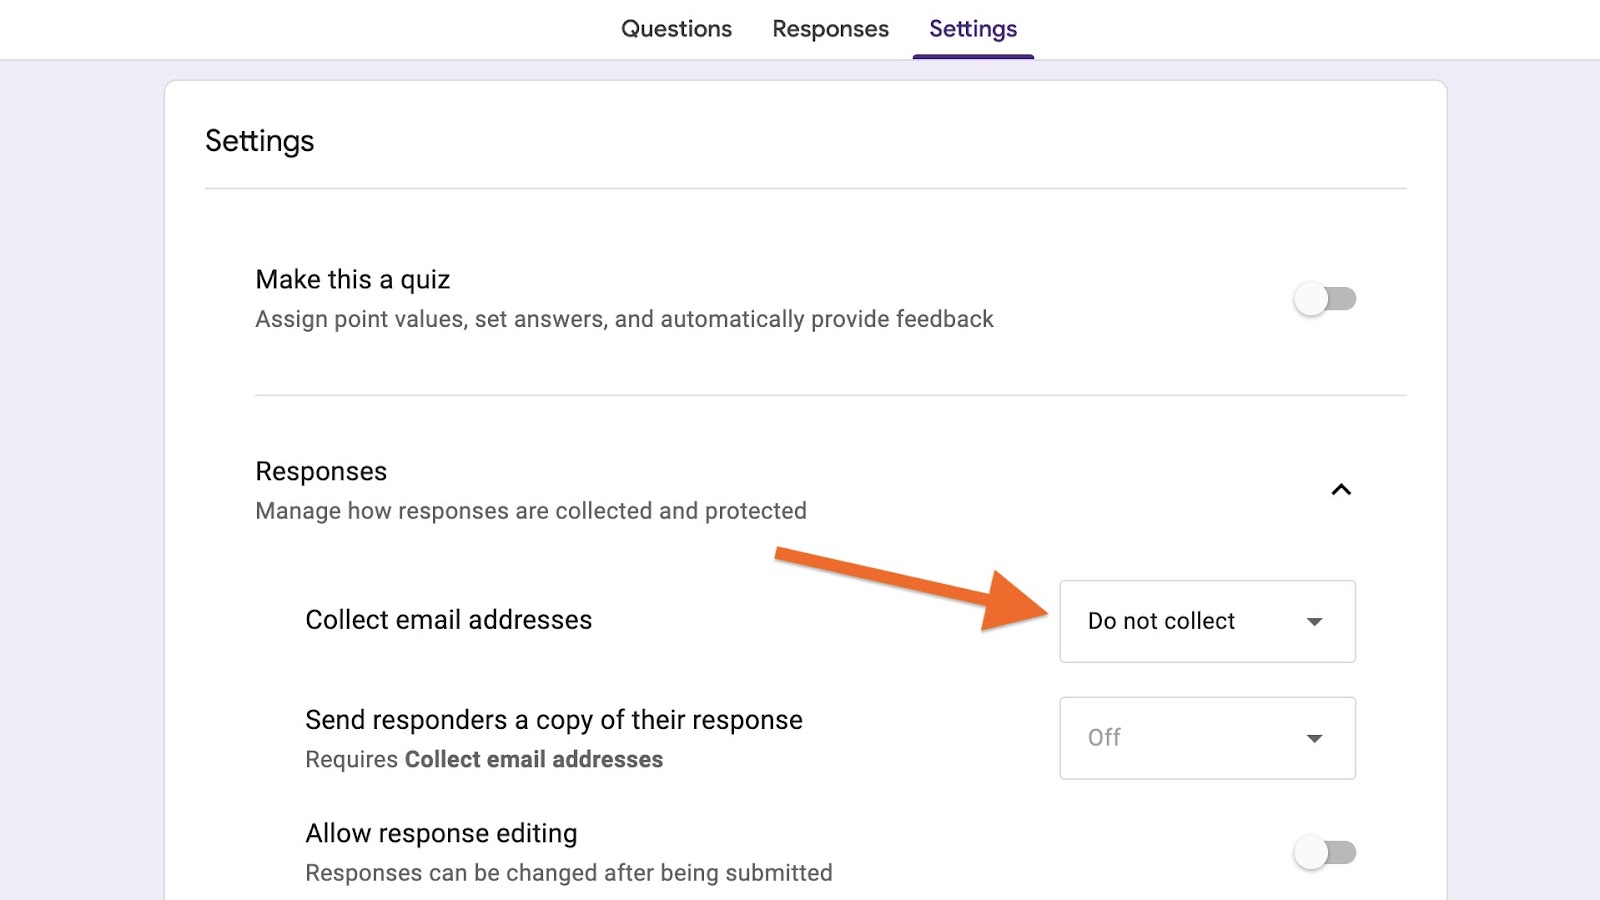
You may also want to make your poll anonymous by not collecting email addresses. To do this, click the Settings tab at the top, expand the Responses section, and select Do not collect from the Collect email addresses dropdown. Avoid asking for other identifying information if you want responses to remain anonymous. Check your access settings, as some restrictions require respondents to sign in.
7. Preview and share your Google Forms poll
Before sharing your poll, preview it to make sure everything looks and works as expected. Click the Preview icon (the eye) in the upper right to see how your poll will appear to respondents. Check your questions, answer choices, and overall layout, and return to the editor to make any necessary changes.
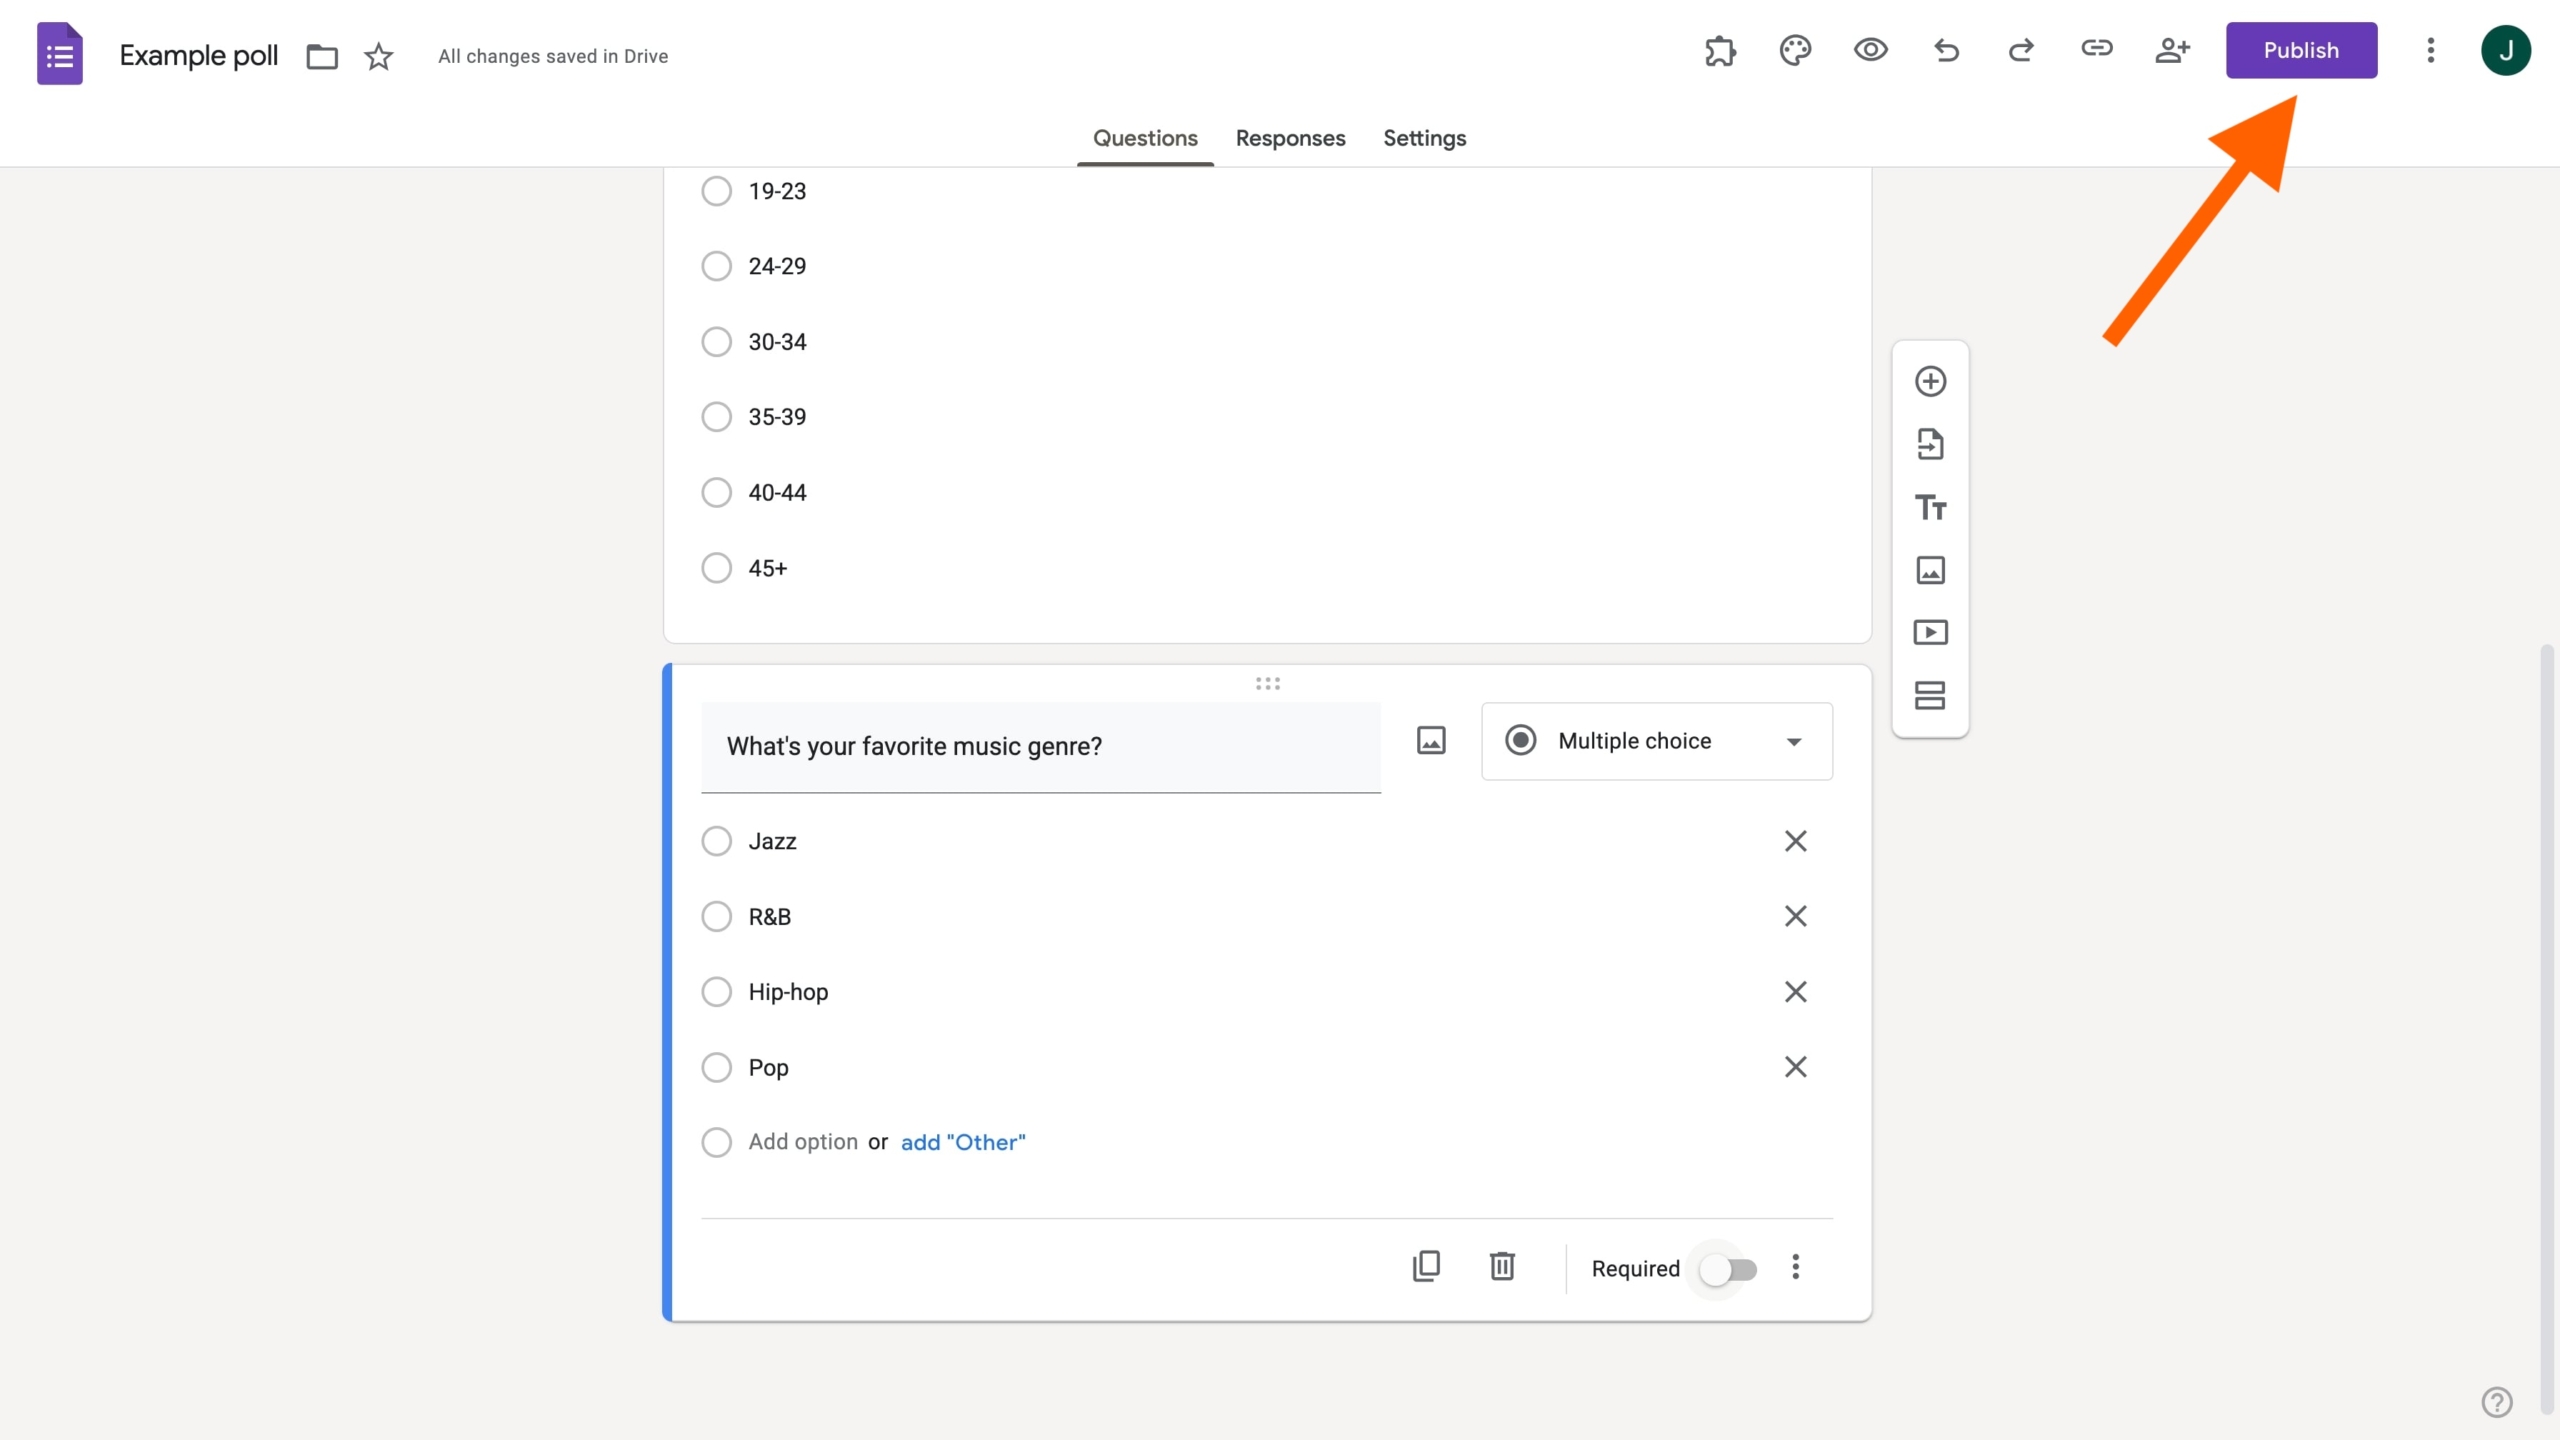
When your poll is ready, click Publish in the upper right. Review the responder-access settings to decide who can participate. If you want anyone with the link to respond, select the appropriate general-access option. Then click Publish to make your poll accessible.
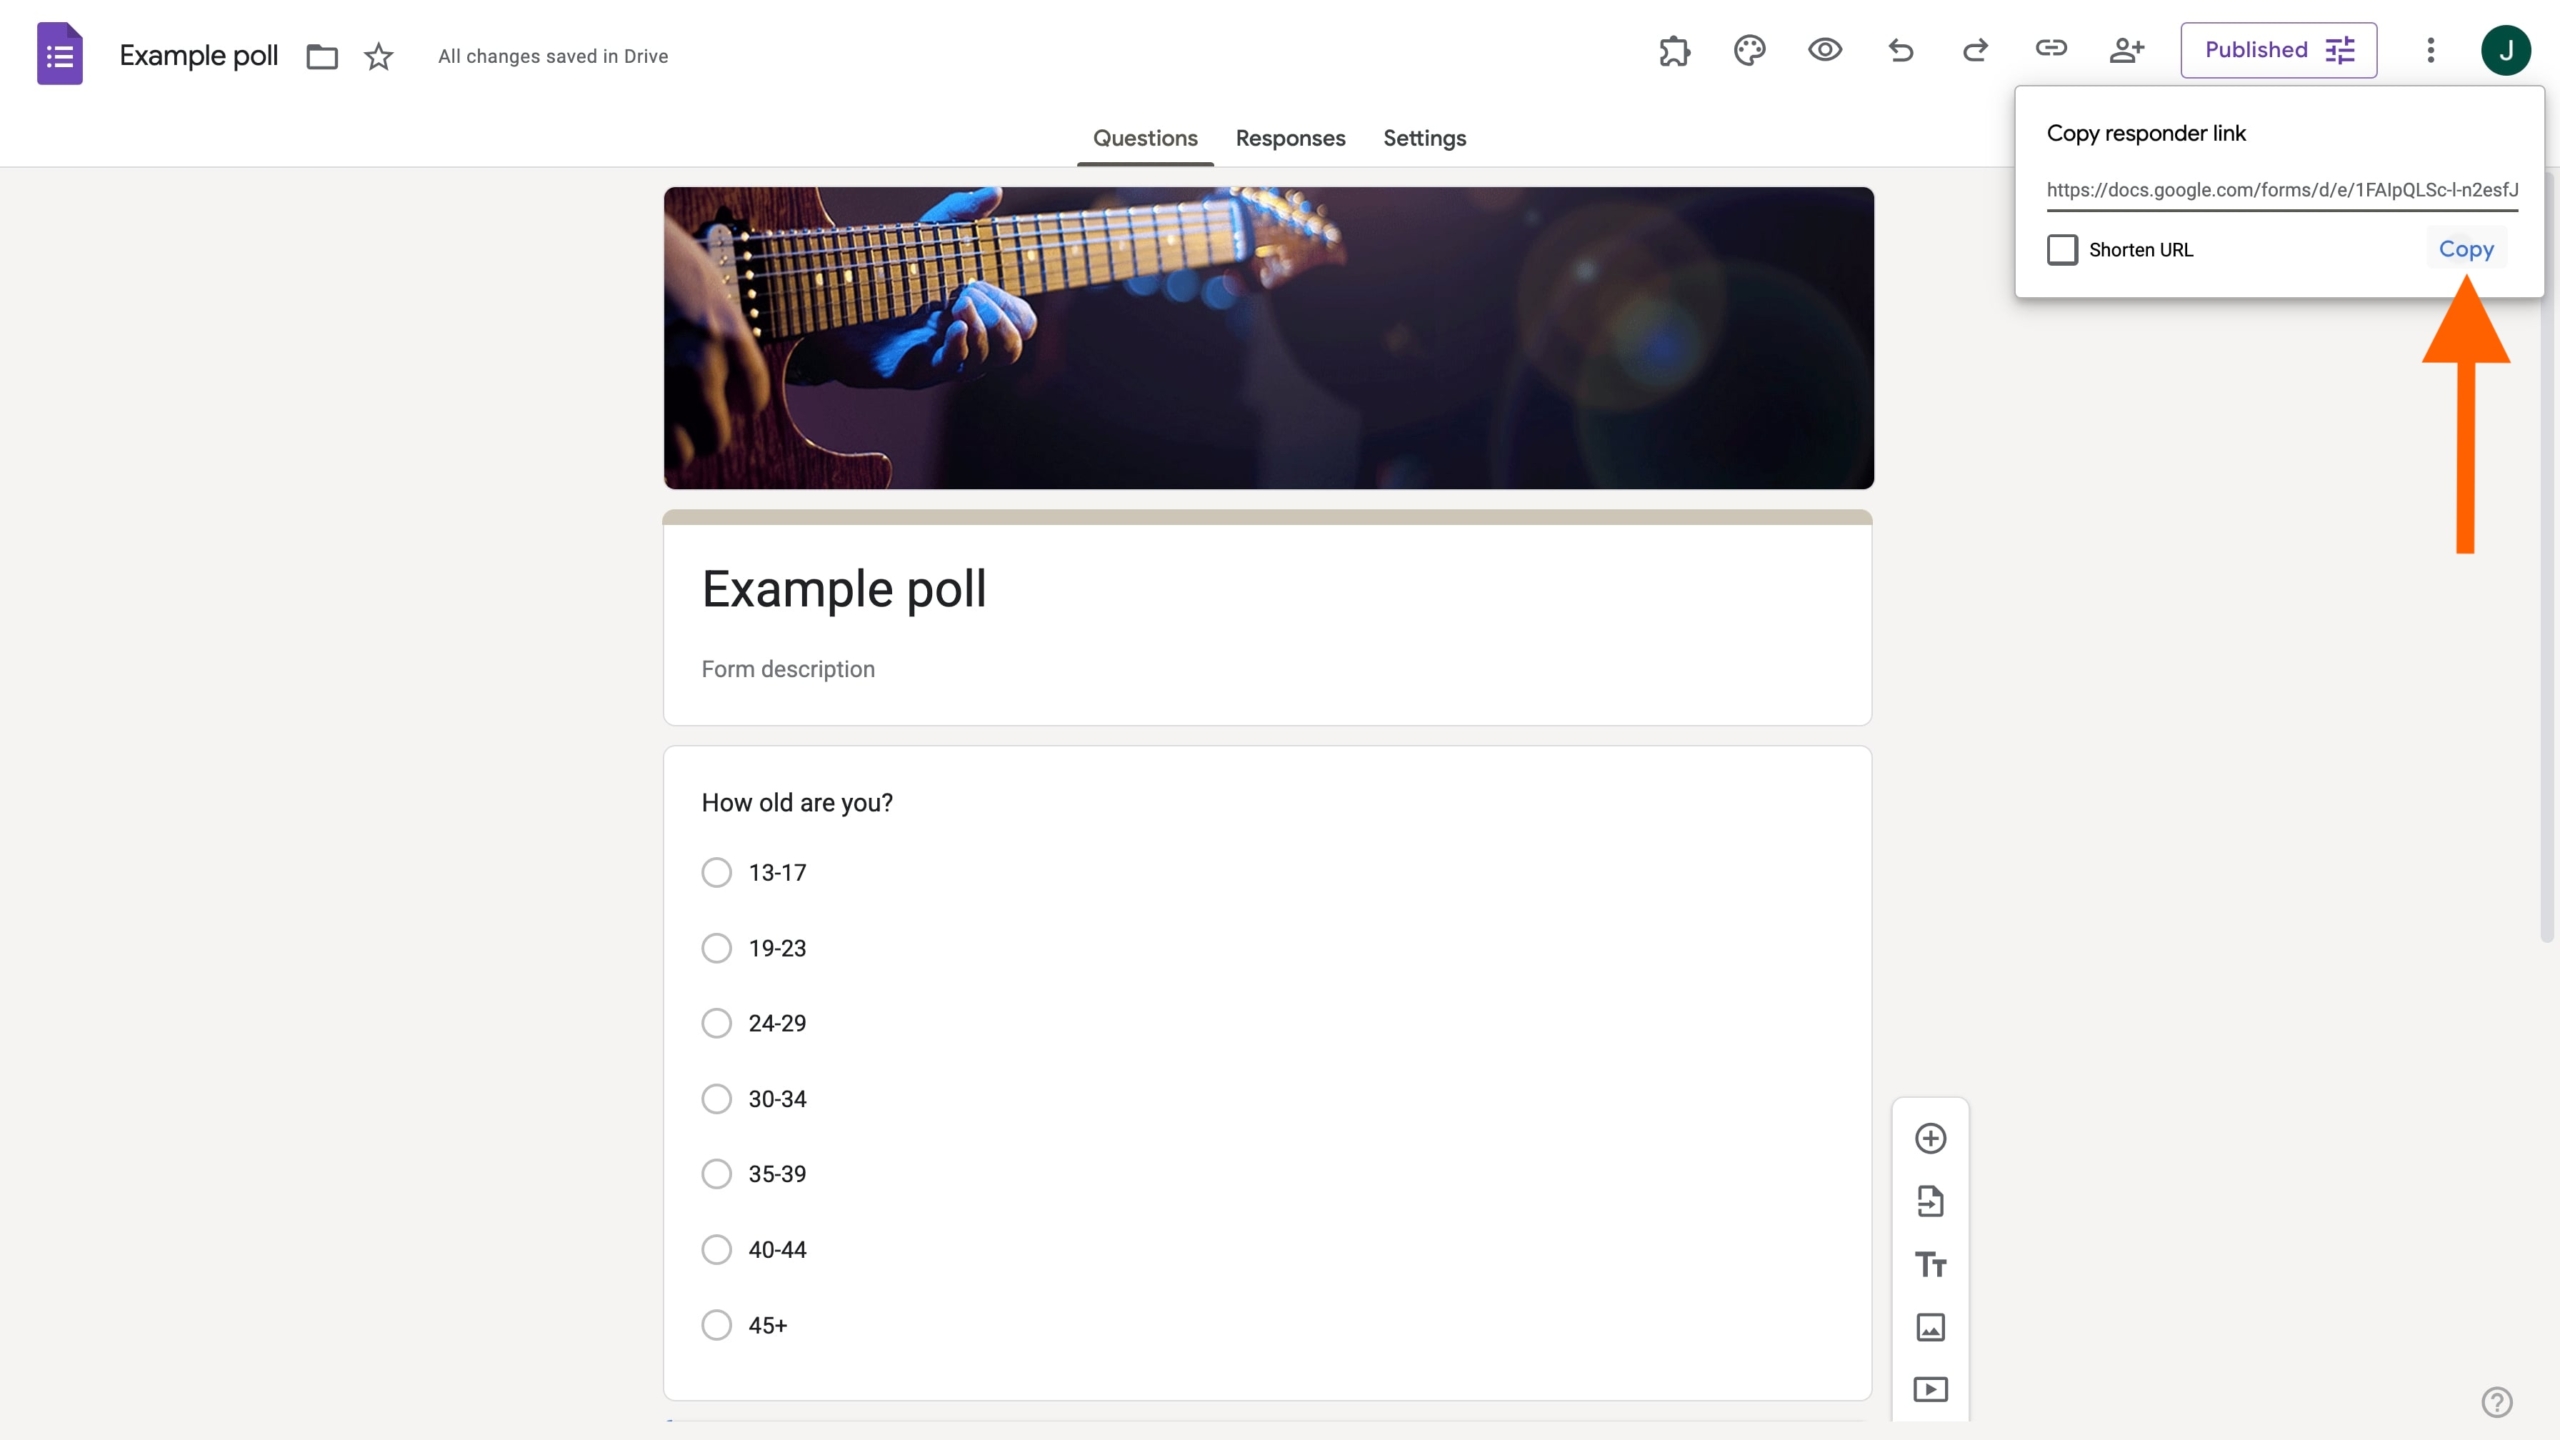
To share your poll, click Published or Share and select Copy responder link. You can distribute the link by email, on social media, or through another channel. You can also embed your poll on a website or blog using the More menu and its Embed HTML option.
8. View your poll responses
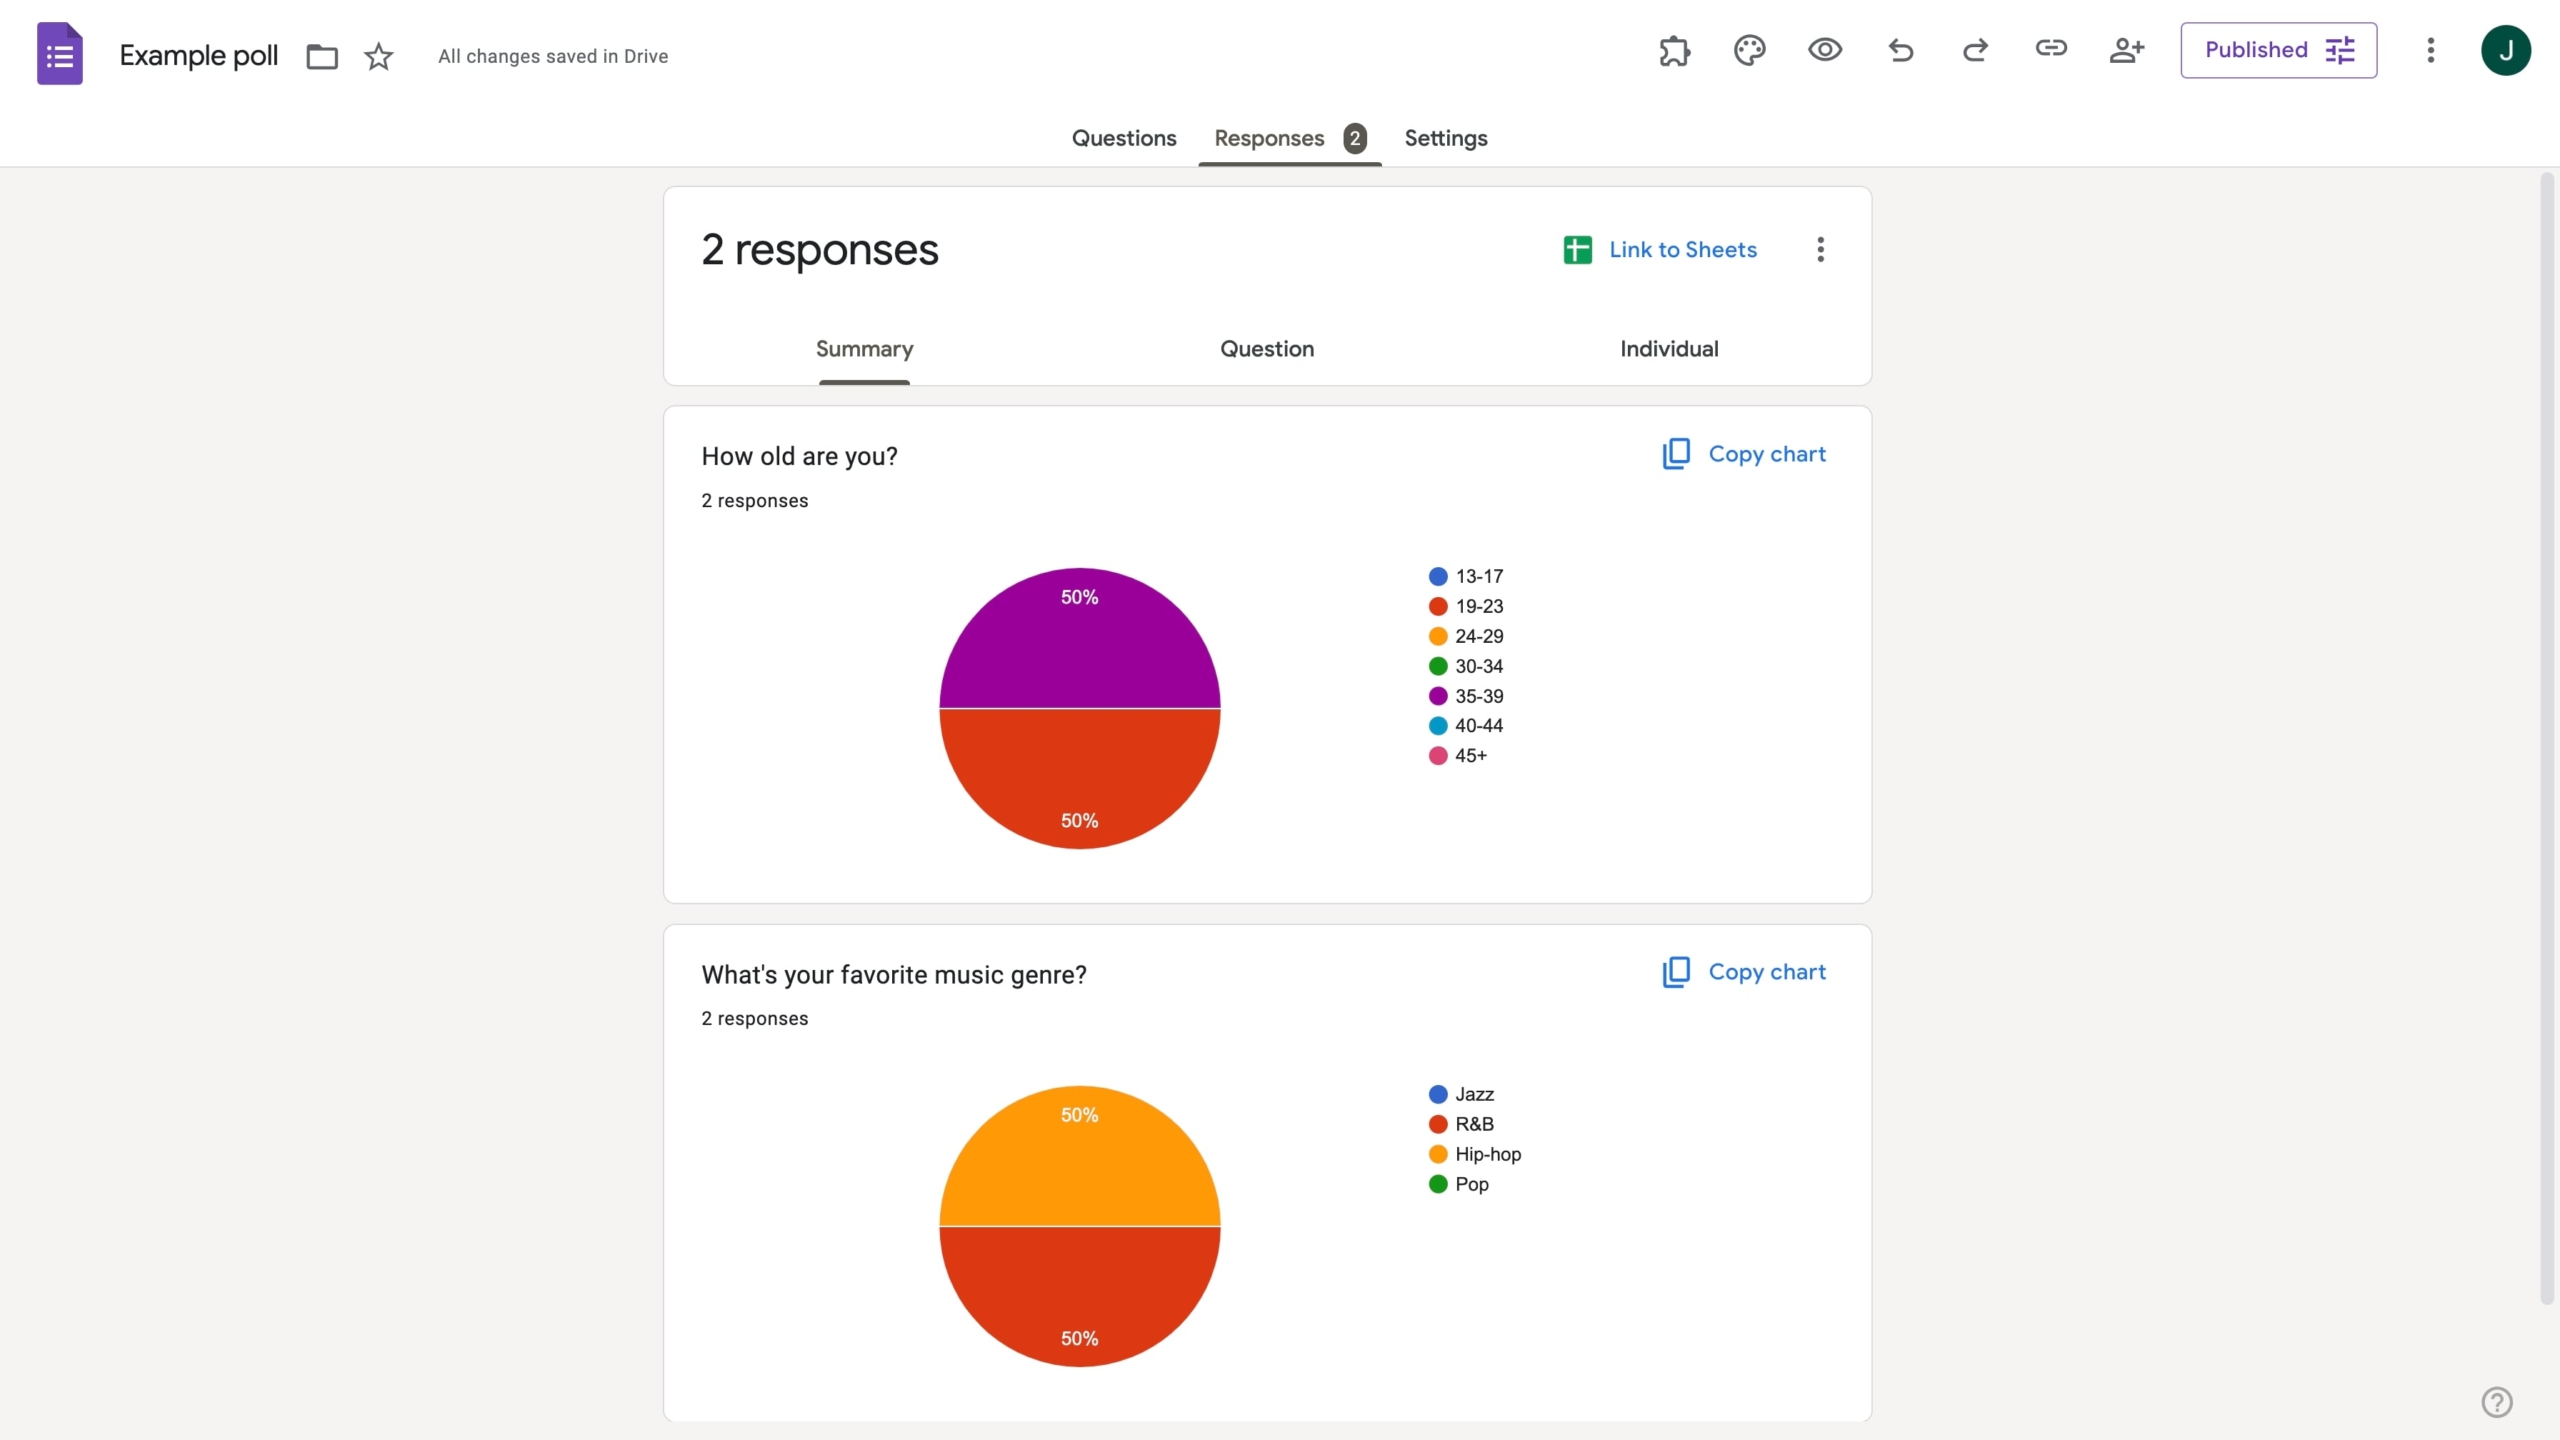
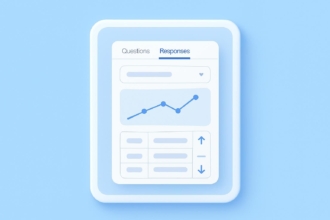
Once people start responding, open your Google Form and click the Responses tab. Select Summary to see an overview of responses, including charts for questions with preset answer options. You can also select Individual to review one respondent’s answers at a time
Why Jotform is a great alternative to Google Forms
Google Forms is a convenient way to create a basic poll, but it’s not your only option. If you’re looking for more ways to customize your poll, streamline the creation process, and make the experience more engaging for respondents, Jotform is an alternative to Google Forms worth considering.
With one of Jotform’s 200-plus free poll templates, you don’t have to start from scratch. Just choose a template, customize it with your own questions and branding, and share it with your audience.
Here are a few examples of what you can create with Jotform:
- Straw Poll: Get a quick read on what people think about a particular topic, from everyday preferences to public opinion.
- Class Poll: Give students a chance to share their opinions or provide quick feedback in the classroom.
- Political Poll: Gather opinions about political issues, candidates, or current events.
- Scheduling Poll: Find a meeting time that works for everyone without endless back-and-forth messages.
- Social Media Poll: Learn more about your audience’s social media habits, preferences, and content interests.
- Anonymous Poll: Collect opinions without asking respondents to identify themselves.
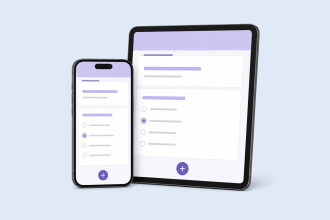
Jotform gives you greater control over the look and feel of your poll. Its drag-and-drop form builder lets you add and rearrange questions, customize colors and fonts, and incorporate your own branding without writing code. You can share polls through a direct link, email, social media, or an embedded form on your website. They’re also mobile-friendly, so respondents can participate while on the go.
Once responses start coming in, Jotform Tables organizes and manages responses, while Report Builder lets you turn your data into shareable reports. For those times when you need to create a complex poll, conditional logic can tailor questions to respondents’ answers, while integrations connect your data to other tools.
How to create a poll using Jotform

Creating a poll with Jotform is simple:
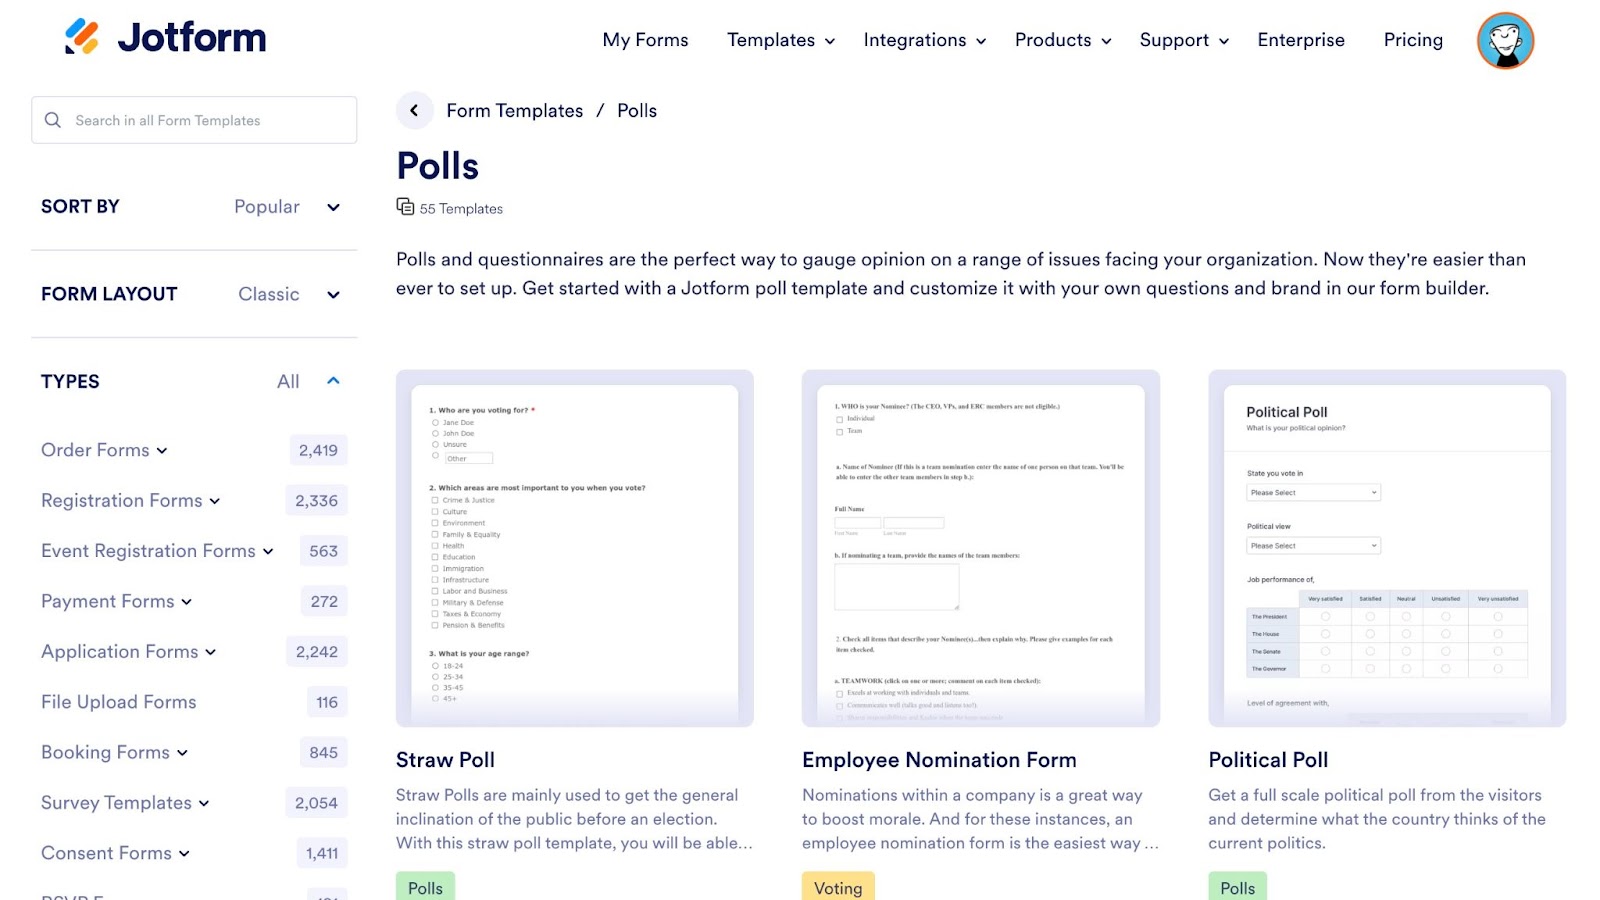
- Create a new form and select a template.
From your My Workspace page, click Create, then select Form. Choose a poll template or click Start From Scratch to build your own. Next, pick a layout: Classic Form shows all your poll questions on one page, while Card Form shows one question at a time.
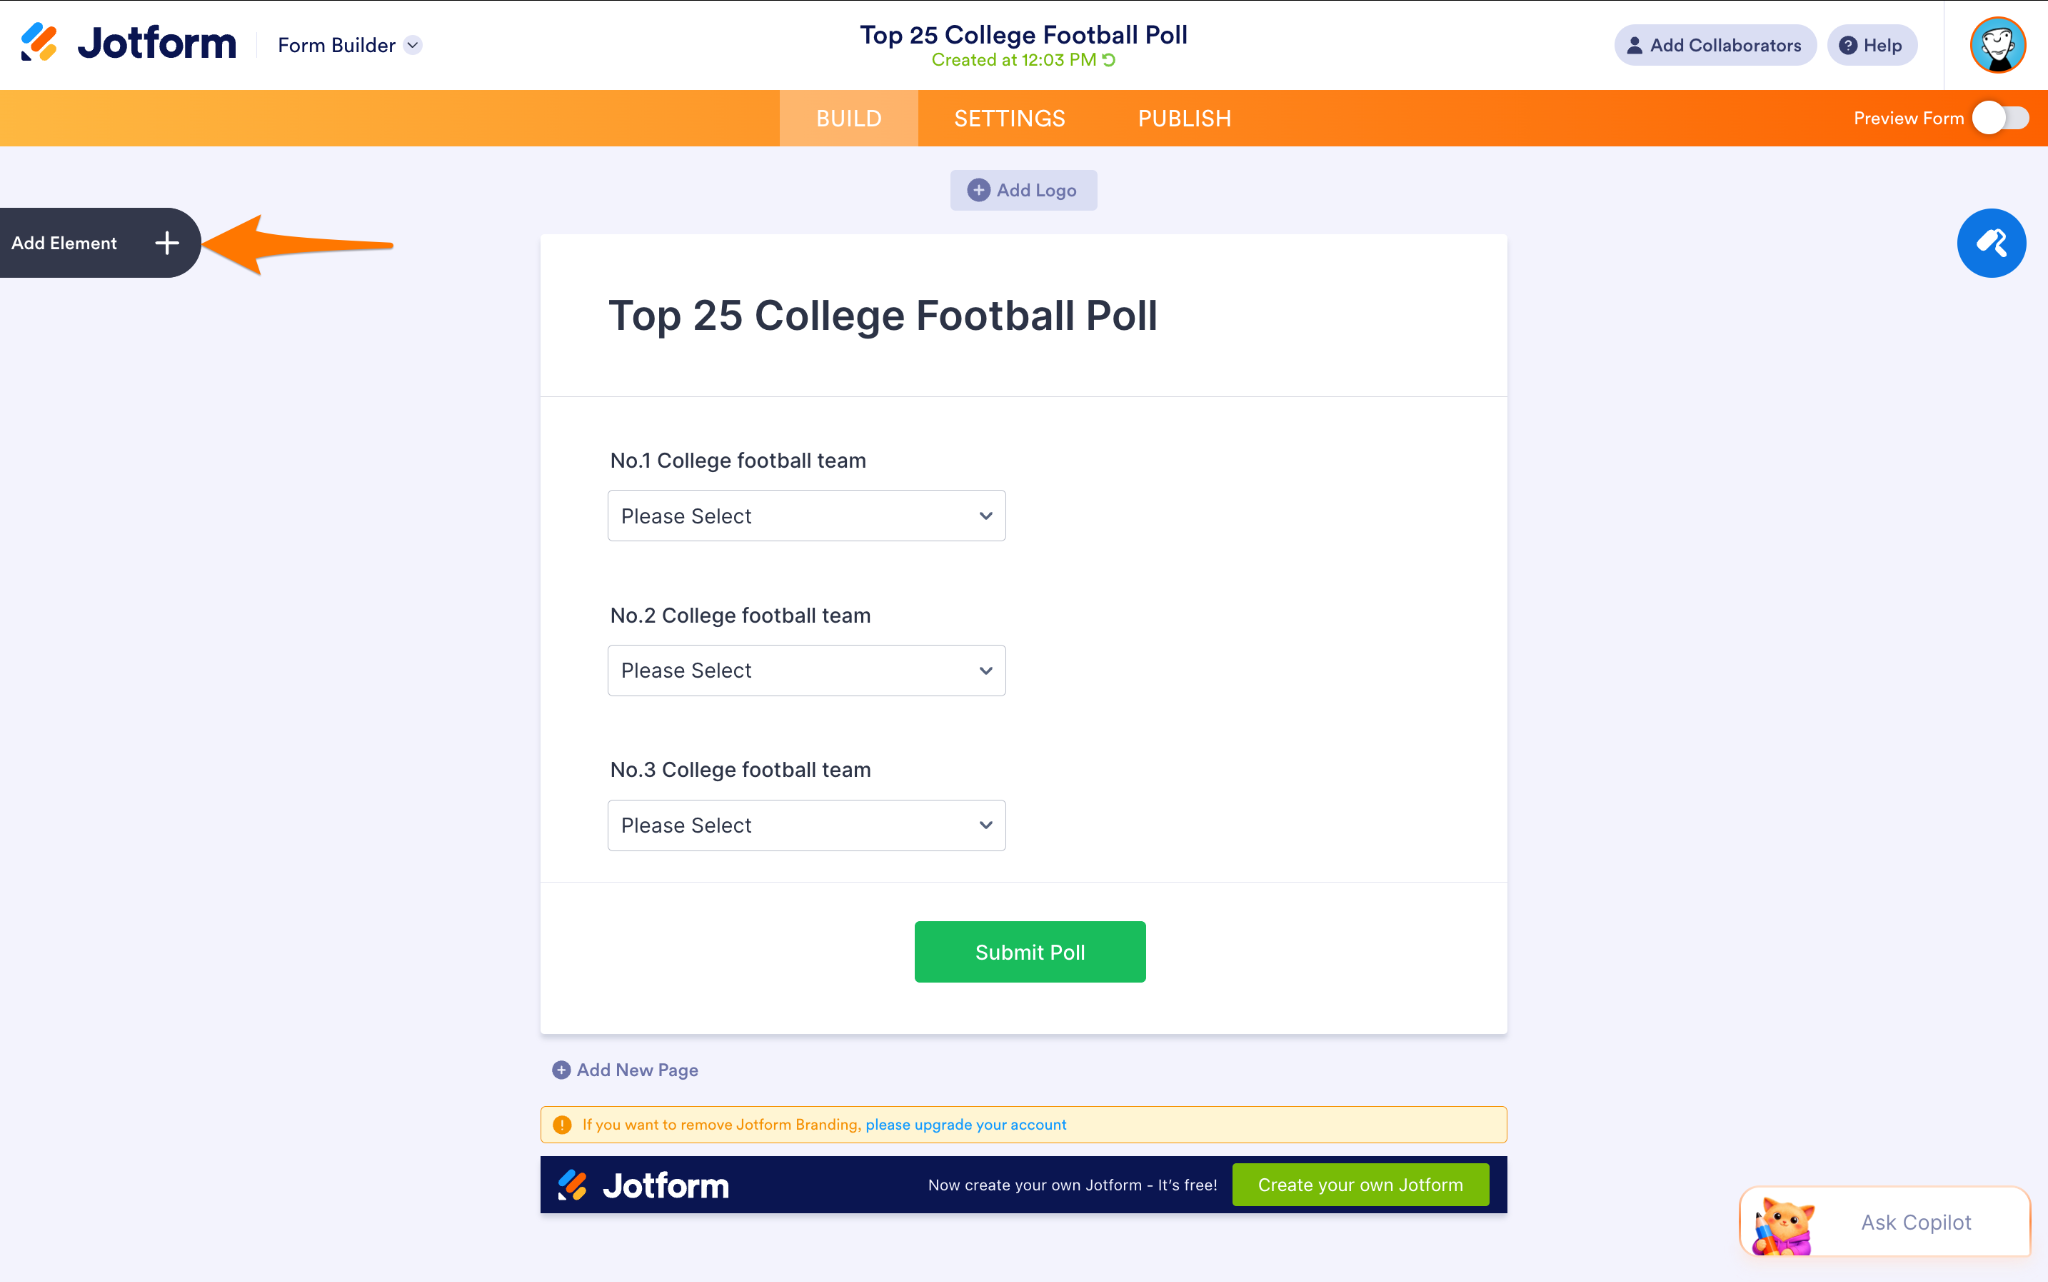
- Add your poll questions.
Click Add Element on the left side of the Form Builder; then drag and drop elements, like Single Choice, Multiple Choice, or Dropdown, onto your form. Click any element to edit its label and answer options.
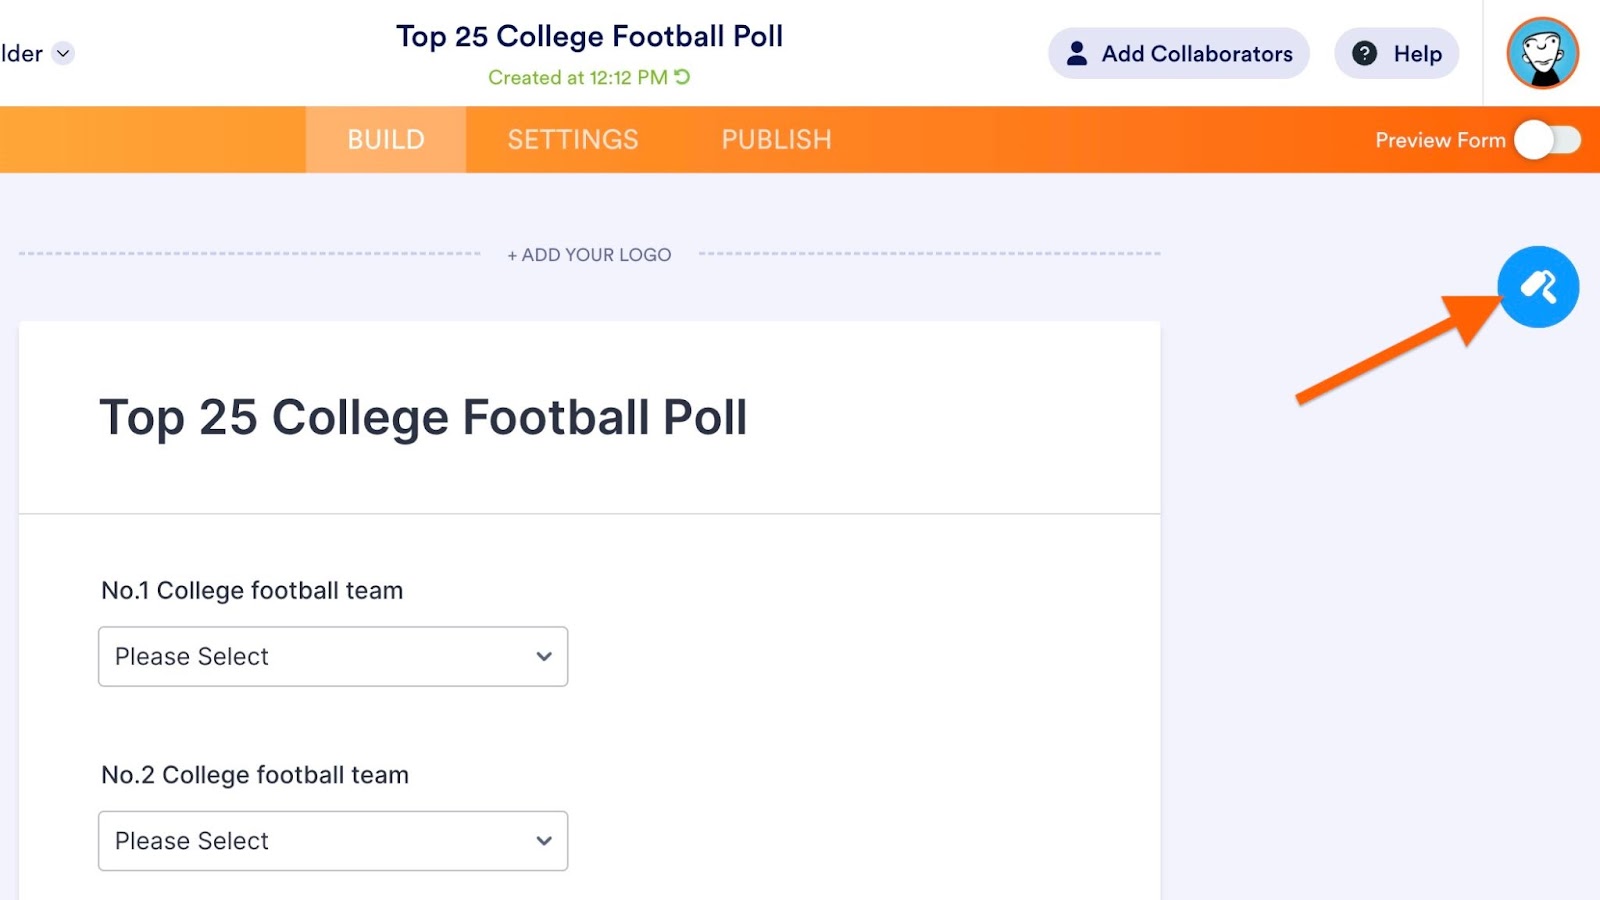
- Adjust the form’s appearance.
Click the paint roller icon in the upper right to open the Form Designer, where you can change colors, fonts, and themes, and add a logo or other brand elements.
- Select a title.
Add a descriptive title to your form using the form’s title or form settings controls, depending on the interface for the specific form and template you’re using.

- Review your form.
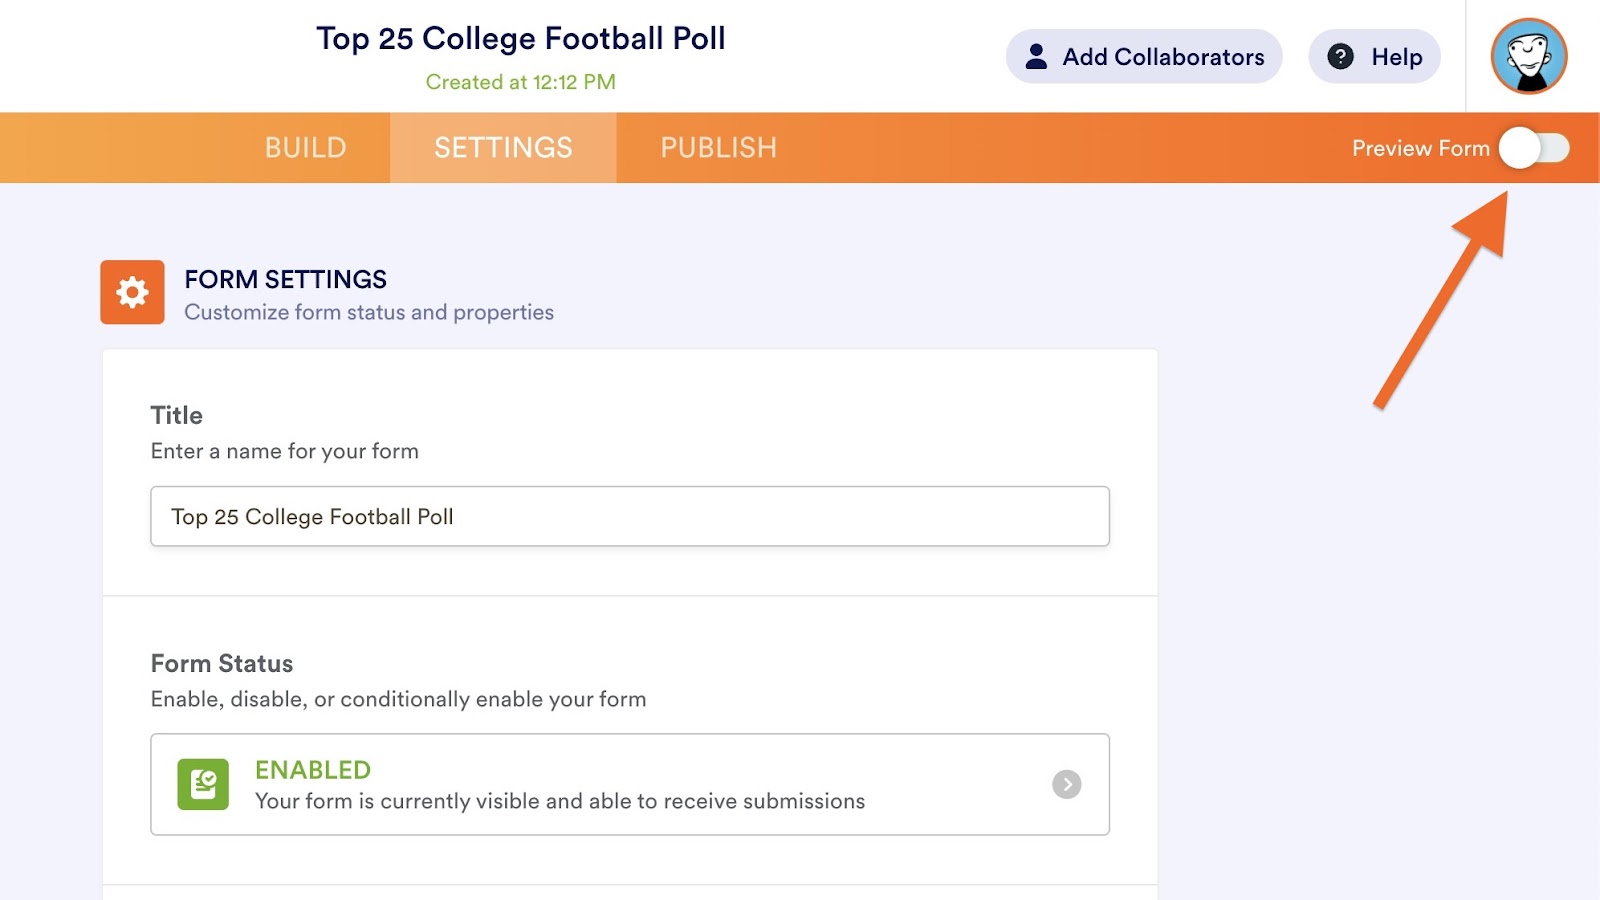
Toggle the Preview Form option in the upper right corner of the screen to see what your published poll will look like.
- Send your form to respondents.
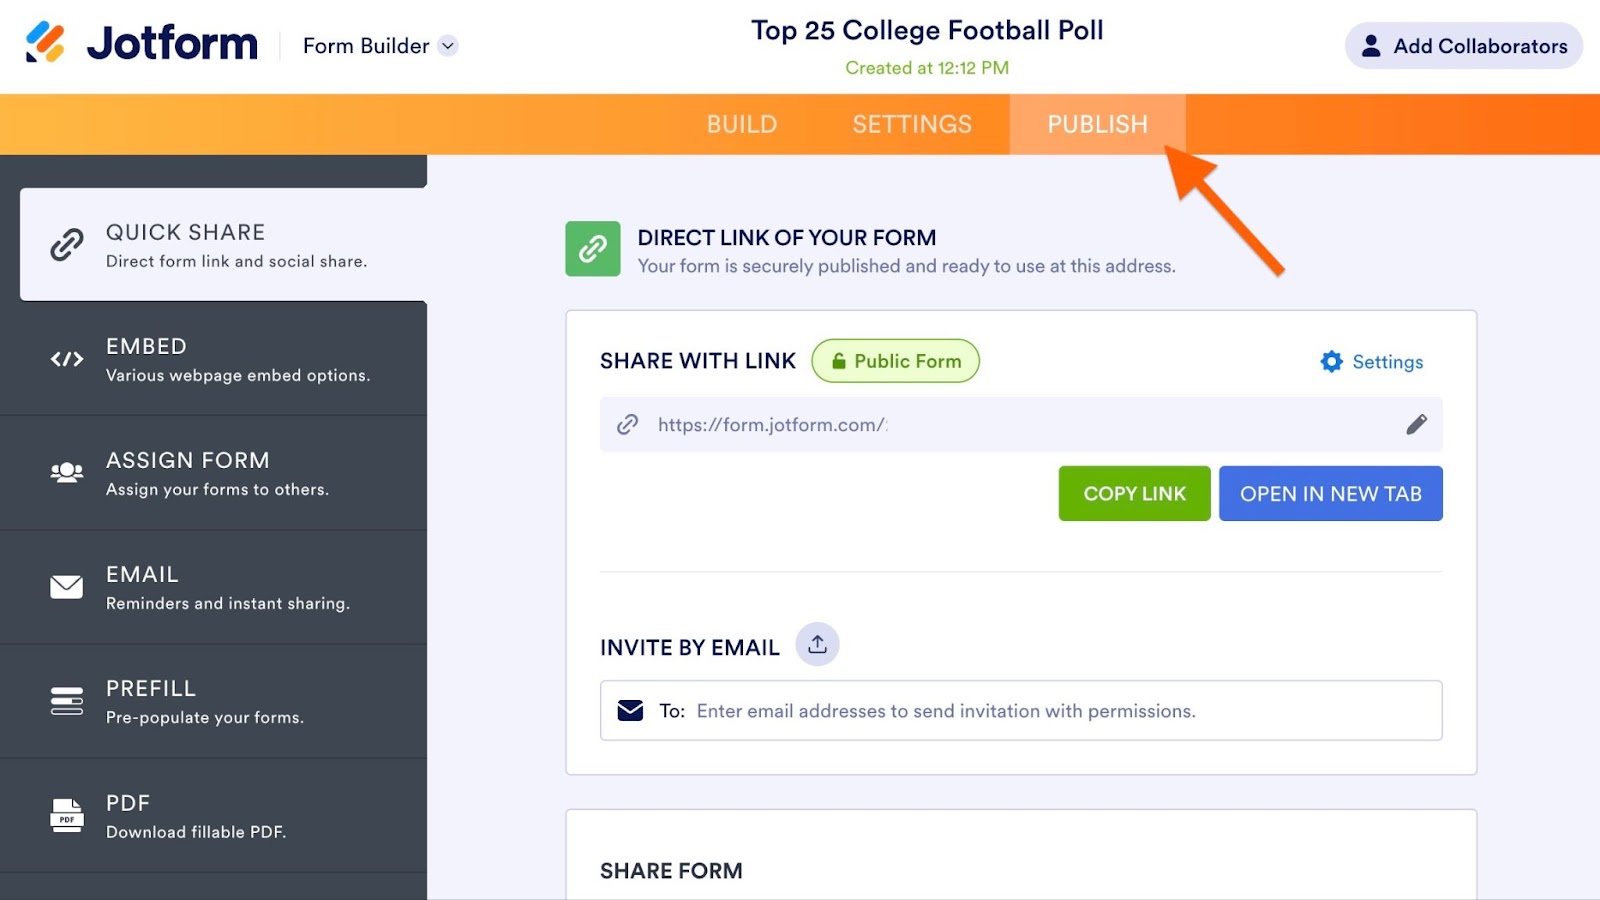
Share the poll with users by clicking the Publish tab. From there, you can copy a link, email the poll directly, create a QR code, or share it through social media.
In addition to the free, ready-to-use poll templates, Jotform offers a powerful drag-and-drop form builder, so it takes only a few minutes to create a poll. Jotform makes completing a poll convenient for your respondents, who can access and complete it on any desktop or mobile device.
Migrate your Google Forms to Jotform for a better poll experience
Google Forms is a quick, free way to put together a basic poll, but it can start to feel limiting when you want more control.
Jotform gives you 200-plus ready-made poll templates, a drag-and-drop builder, and more design flexibility, so your poll looks and works the way you want. Conditional logic lets you give follow-up questions based on earlier answers. That keeps polls short for the people taking them. And whether you’re running a straw poll, a classroom vote, or a customer feedback poll, your audience can respond on any device.
You can share polls many ways, from embedding on your website, to link, email, QR code, or social media. As people start to respond, you can organize their answers in Jotform Tables and create shareable reports with Report Builder, with no need to copy anything into a separate spreadsheet. You can also let respondents see the overall results after they submit.
Ready to give it a try? You don’t have to rebuild your forms from scratch. Migrate Google Forms to Jotform today and start creating better polls.
This guide is for educators, marketers, event organizers, community managers, researchers, and anyone who wants to create and share a simple online poll using Google Forms. It’s especially useful if you need help setting up questions and response options, adjusting privacy and sharing settings, reviewing results, or comparing Google Forms with a more customizable polling solution like Jotform.

































































Send Comment:
1 Comment:
September 15, 2024
If a voting poll has been created and sent to individual members of an organization via email, can any individual vote twice? Or does the google form "know/recognize" the email address and block the second submission?