
Creating a PDF from scratch can be a time-consuming and challenging process. Adobe Acrobat is a solid tool for the job, but it’s also bare-bones.
Acrobat gives you complete control over every aspect of document creation. And it’s easy to get bogged down in all of the details. It’s like building a piece of furniture from scratch vs assembling an Ikea flatpack.
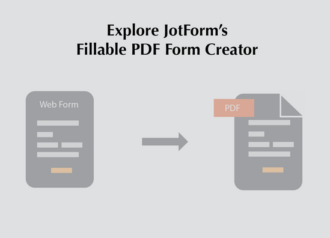
How would you like a tool that streamlines the PDF creation process without making it so minimal that it lacks basic functionality? Jotform has made that tool for you.


Using a template
Jotform provides hundreds of PDF templates to help you get started. Once you’re there, you can search for a template that meets your needs or browse through categories in the menu on the left. You can also sort the categories by type or industry.
As an example, we’re going to use the restaurant gift certificate template.
You can click on the template name to see a preview. Because Jotform is a form tool, any PDF you create will be tied to a form. That’s true of the templates as well. The preview lets you see the PDF and the form it comes from.
If you want to use the template, you can directly click the Use Template button.
You’ll then have the option of attaching the PDF to an existing form or using a new one. Let’s keep things simple and create a new one.
Next, you’ll see a popup that gives you the option to fill out the form. If you click Cancel, dummy data will fill the form automatically. This gives you an easy way to see the final result without any extra effort.
And that’s all there is to it. Anytime someone submits an entry to your form, Jotform will create an attractive PDF with that entry’s information.
Customizing a template to your needs
If you own a restaurant in Ashville, Alabama, called ABC, then you’re done. If not, you’ll need to make a few changes.
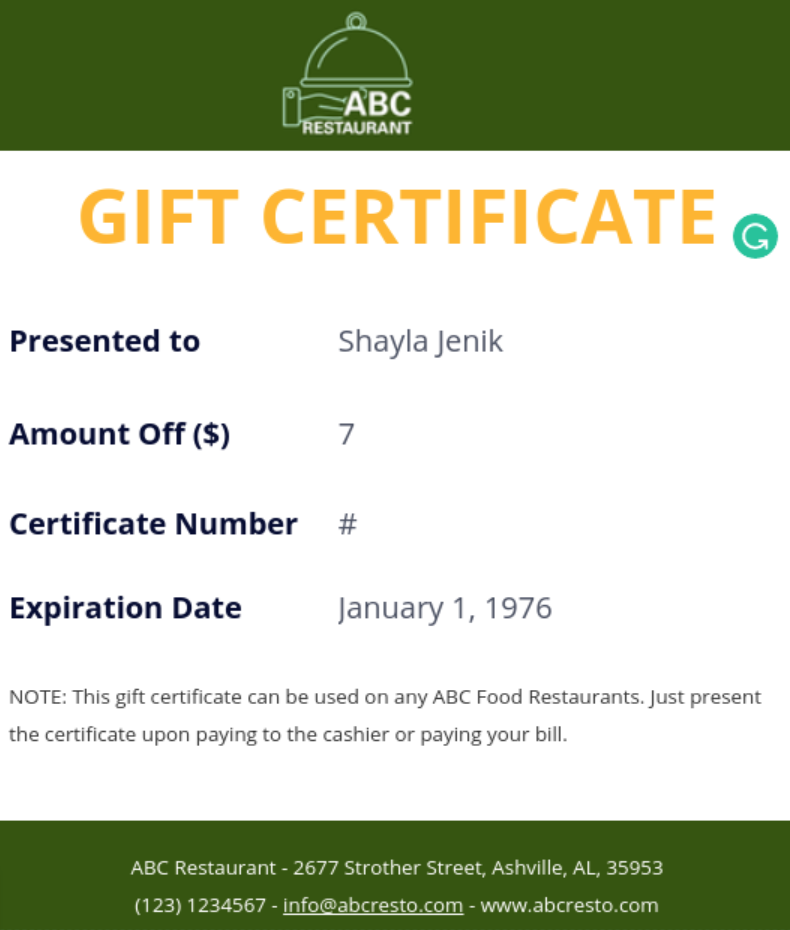
Let’s start by looking at all the elements in the PDF. You can hover over most elements and see the boxes they’re contained in. Just drag the elements to reposition them.
You can also drag the square in the lower-right corner to resize an element. And you can double-click to change settings like fonts and colors. You can undo any mistakes with the undo keyboard shortcut for your device.
First, let’s look at the green boxes on the top and bottom. They’re just that — boxes. You can find them in the element list on the left side of the screen. The yellow box with the eggs is another box element.
The page has margins on all sides. In order to select the green boxes, you’ll need to click in the margin area or on the thin blue border around the green boxes because they’re covered with other elements inside the page.
To edit the page settings, click on the paint roller icon on the right side to open the options. If they’re already open, click an area of the page with no elements.
You can double-click the box to view its settings or click the paint roller. If the settings area is already open, you can single-click the green box to view its properties. You’ll see options for things like background color, background image, and whether or not the box should extend into the margins.
Now let’s move down the page looking at each item. The logo inside the top box is from the form and there aren’t any options to customize it.
The large text that says “Gift Certificate” is a header. It has all the font and color options you’d expect to see.
The next element down that says “Presented to” comes directly from the form this PDF is linked to. If you click on the Form Fields tab on the left menu, you’ll see a list of all the elements that come from your form.
There are also quite a few options for this element. The same goes for the three elements under it as well.

The element below the form fields with the note is a text box. Double-clicking it opens a text editor popup instead of options. The text editor works just like every other web-based text editor. It even gives you the option to add the text from completed form fields.
Below the note is another text field. If you double click it, you won’t see the text because it’s white. But it’s still there, and you can edit it.
Pro Tip
Need a smarter way to handle PDFs? Try our PDF Tools to edit and manage your documents like a pro:
Starting from scratch
You can turn any Jotform into a PDF. From your list of forms, hover over the form you want and click More. From there, select Open PDF Editor from under the data column.
In the PDF Editor, you’ll have the options to name your PDF and choose a layout. You can change these options later.
And now you have a bare-bones PDF page. But you’re off to a good start. It already has a title, basic layout, and all of your form fields added.
We covered a few of the basic elements of customizing your PDF in the previous section, so now you’re ready to design yours to meet your needs.


Send Comment: