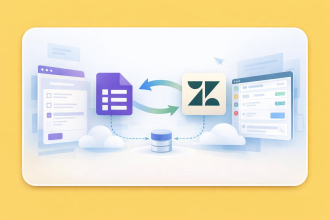
If you’re a Google Workspace user, you’re probably familiar with Google Forms and its ability to collect survey responses, feedback, and other data online. Dropbox, on the other hand, is a cloud storage platform that helps individuals and teams organize, store, and share files securely. Connecting the two is where the magic happens — you can streamline your workflow by automatically saving form responses or file uploads directly to Dropbox, rather than managing them manually.
Whether you’re gathering client documents, collecting project assets, or running internal surveys, a Google Forms Dropbox integration keeps everything organized in one place. Follow along as we walk through several ways to set up this connection, along with a powerful alternative worth considering.
How to integrate Google Forms with Dropbox
Unfortunately, there’s no built-in Google Forms Dropbox integration. This means there’s no native option in Google Forms’ settings to connect your form directly to a Dropbox account, so you can’t automatically send responses or file uploads to Dropbox from the get-go.
To bridge the gap, you’ll need to use a third-party automation tool. Third-party integration tools like Zapier and Make act as intermediaries between Google Forms and Dropbox, allowing you to create automated workflows that transfer data between them. Both tools work by detecting new form submissions and then performing an action in Dropbox. That action can be set to create a file, upload an attachment, or organize responses into folders.
We’ll walk through how to set up each one in the sections below.
How to connect Google Forms with Dropbox via Zapier
Zapier lets you build automated workflows called “Zaps” that connect Google Forms to Dropbox without any coding.
Here’s how to use Google Forms with Dropbox via Zapier:
- Go to Zapier.com and log in.
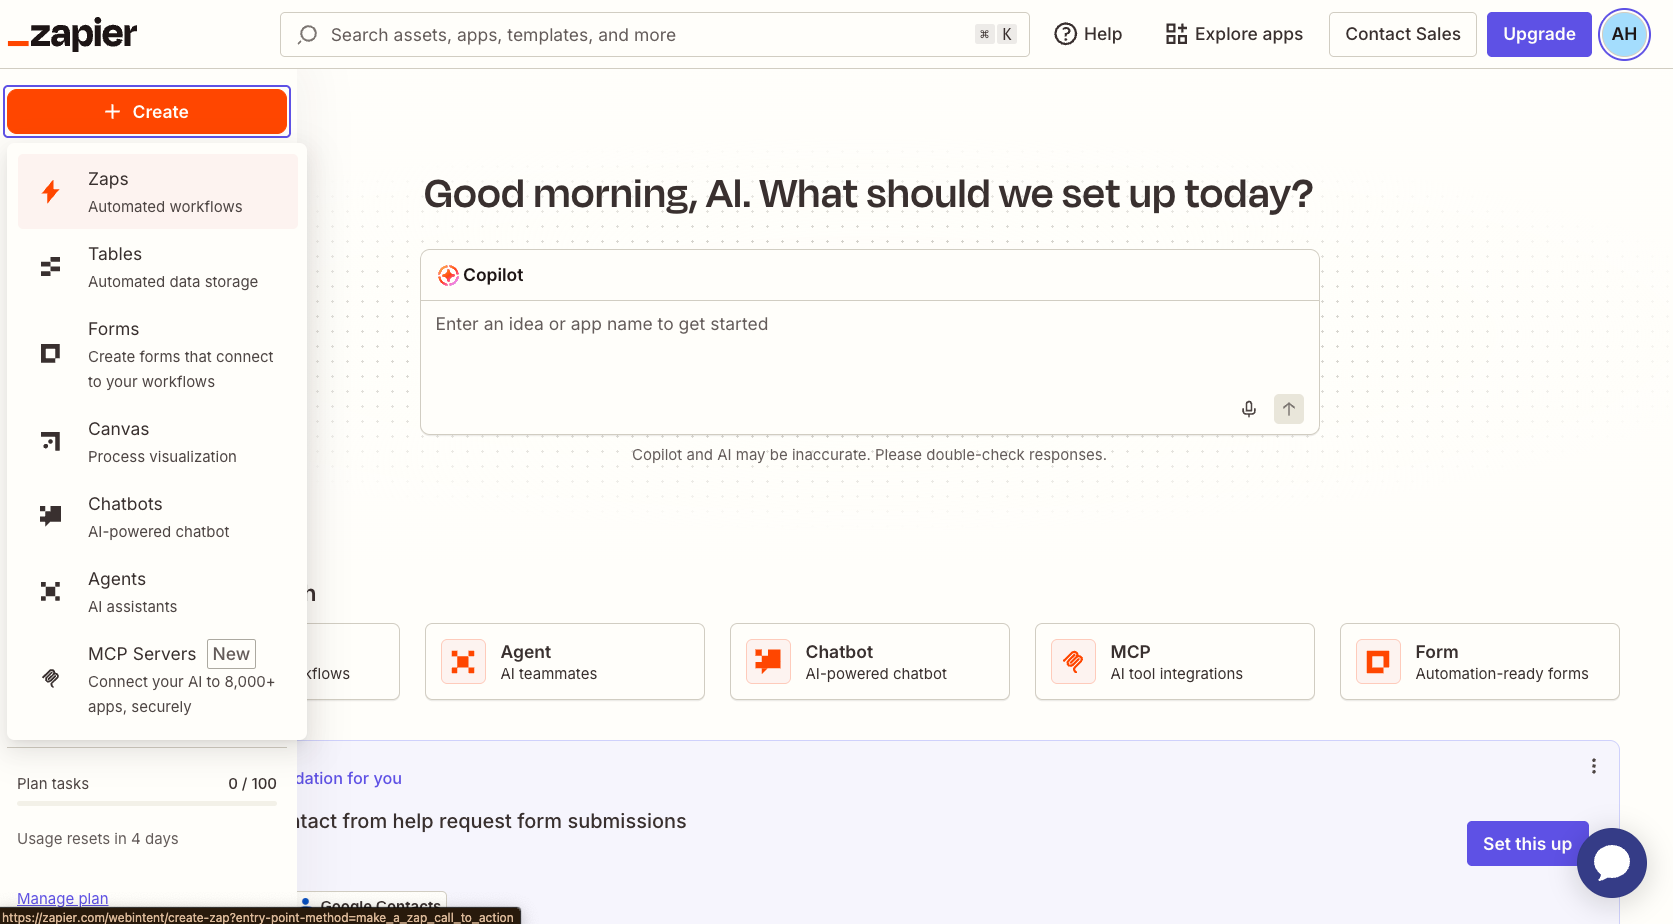
- Hover over the + button at the top left of the page, click Create, and then click Zaps.
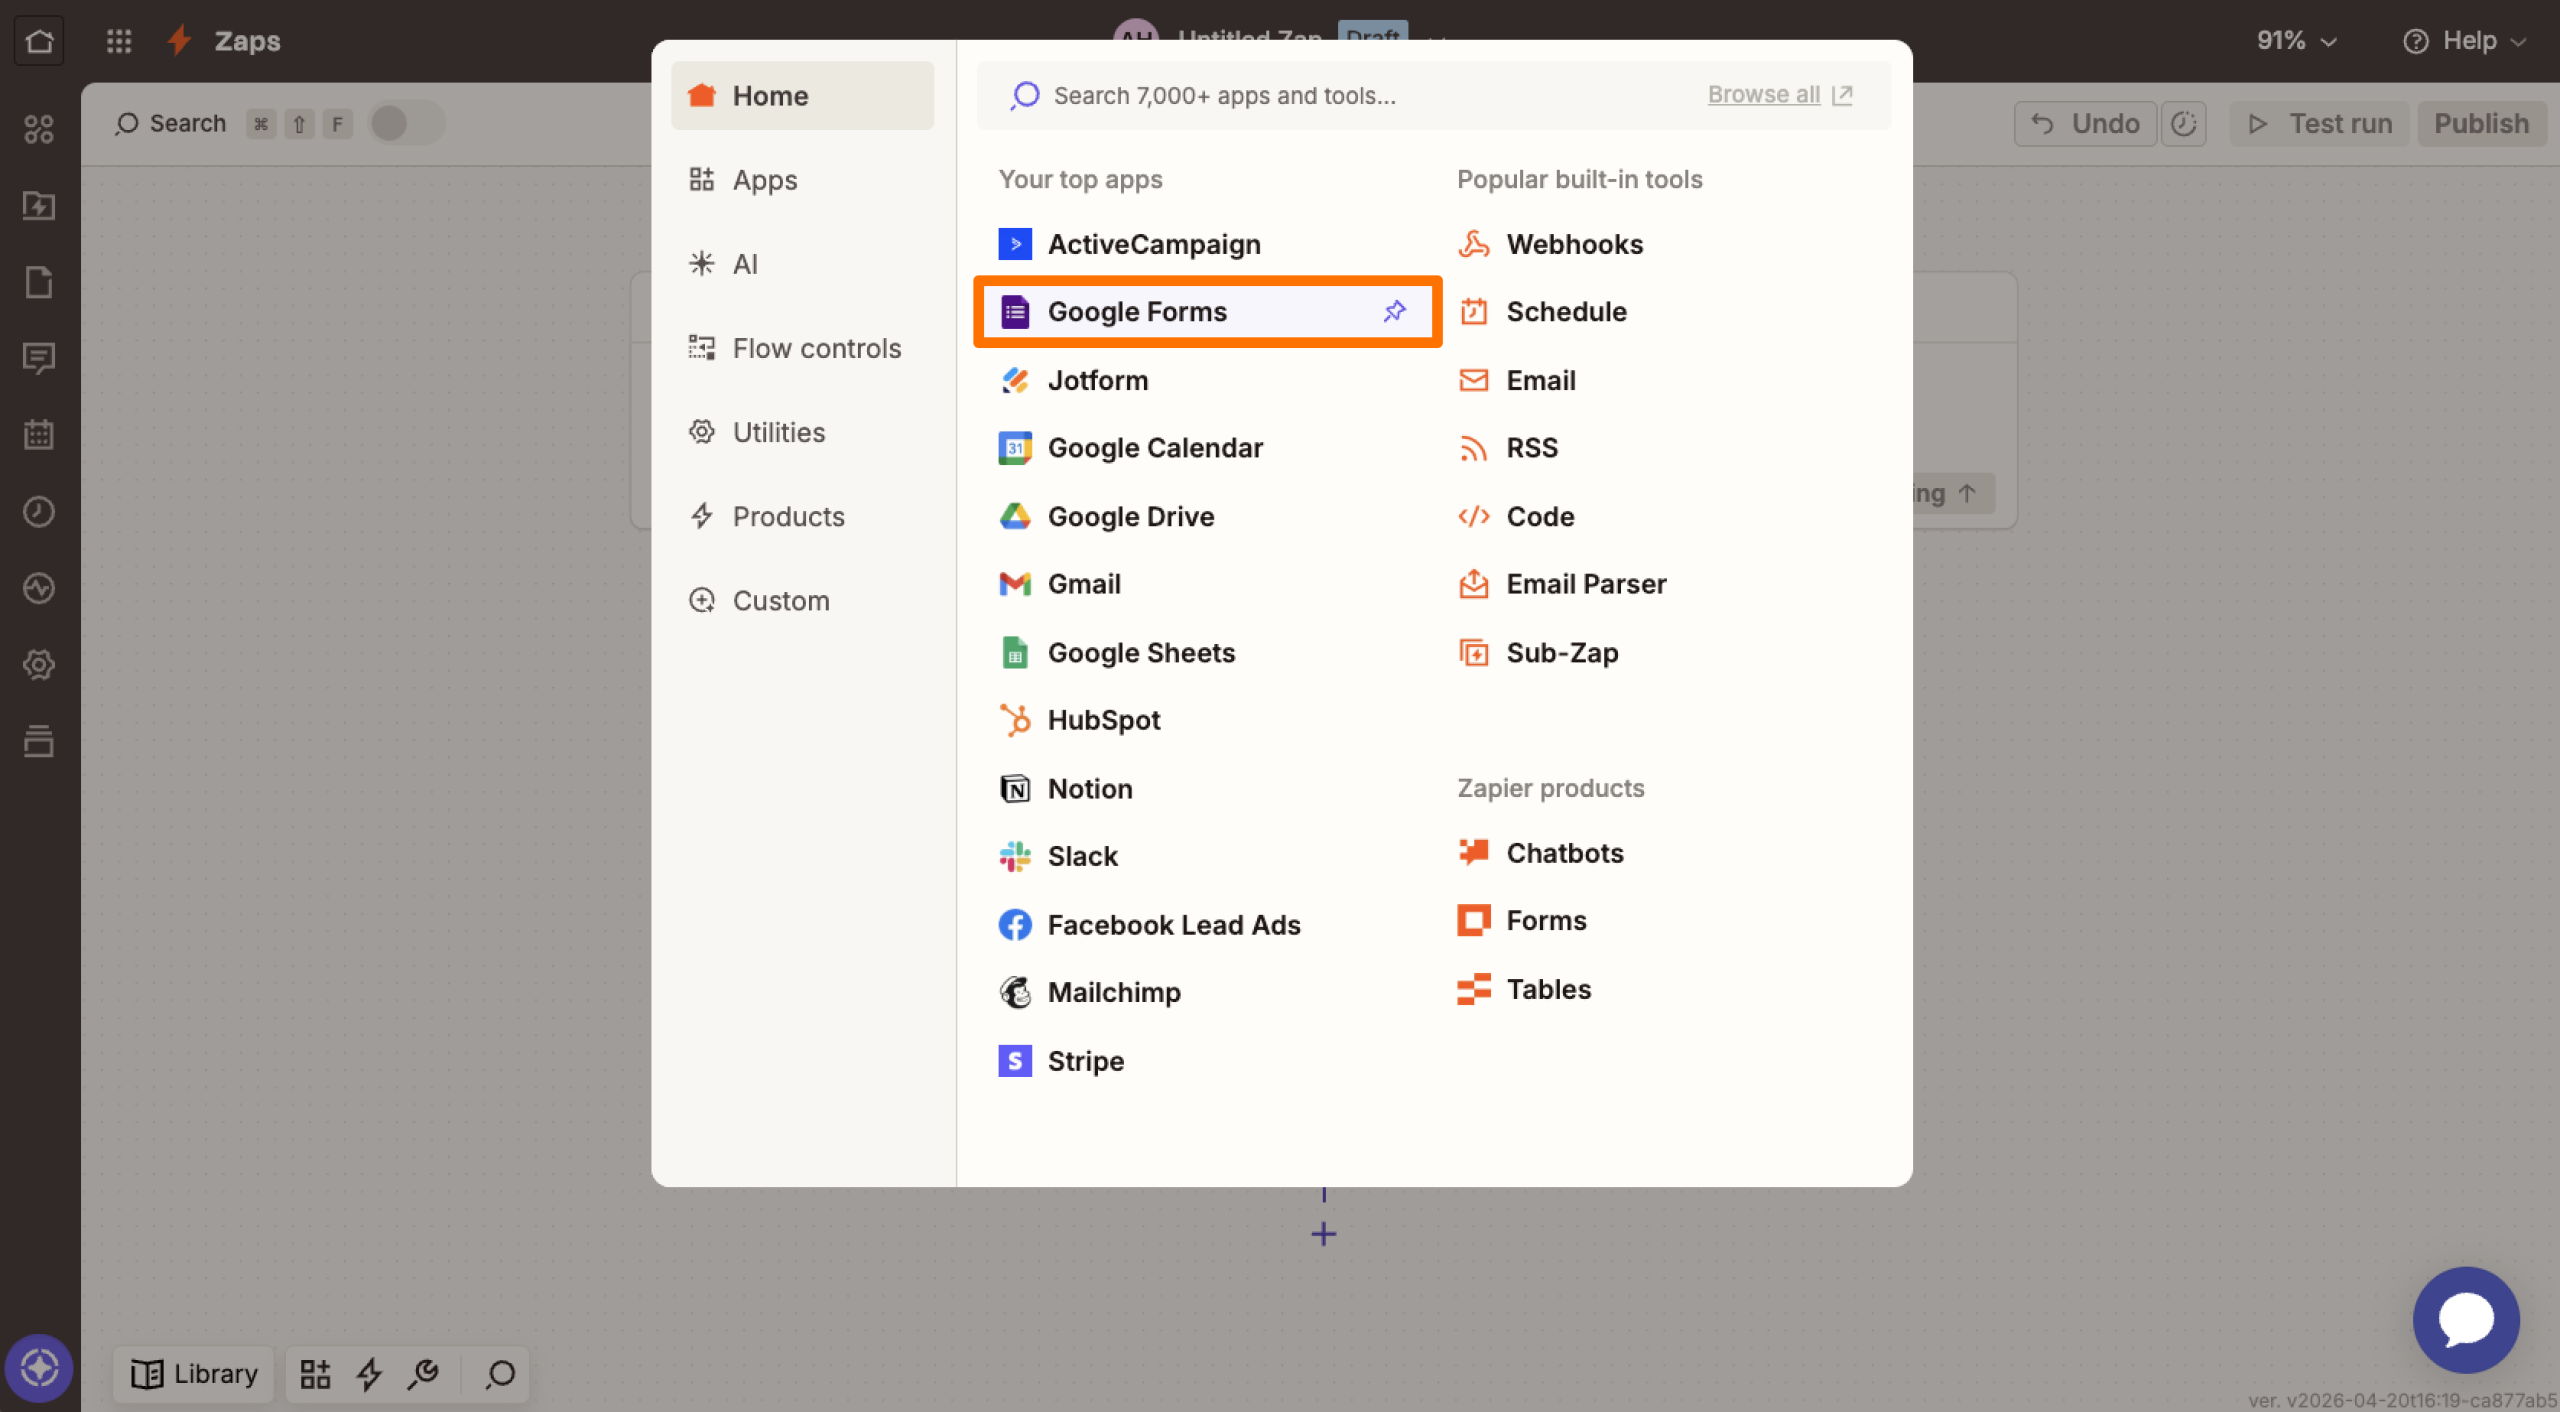
- Click Trigger. In the search box that pops up, type “Google Forms” and click the Google Forms app.
- Click on the Event dropdown and choose New Form Response or New or Updated Form Response. Click Continue.
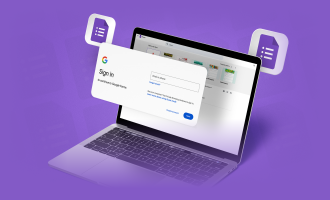
- Click Sign in to connect your Google account, and then click Continue.
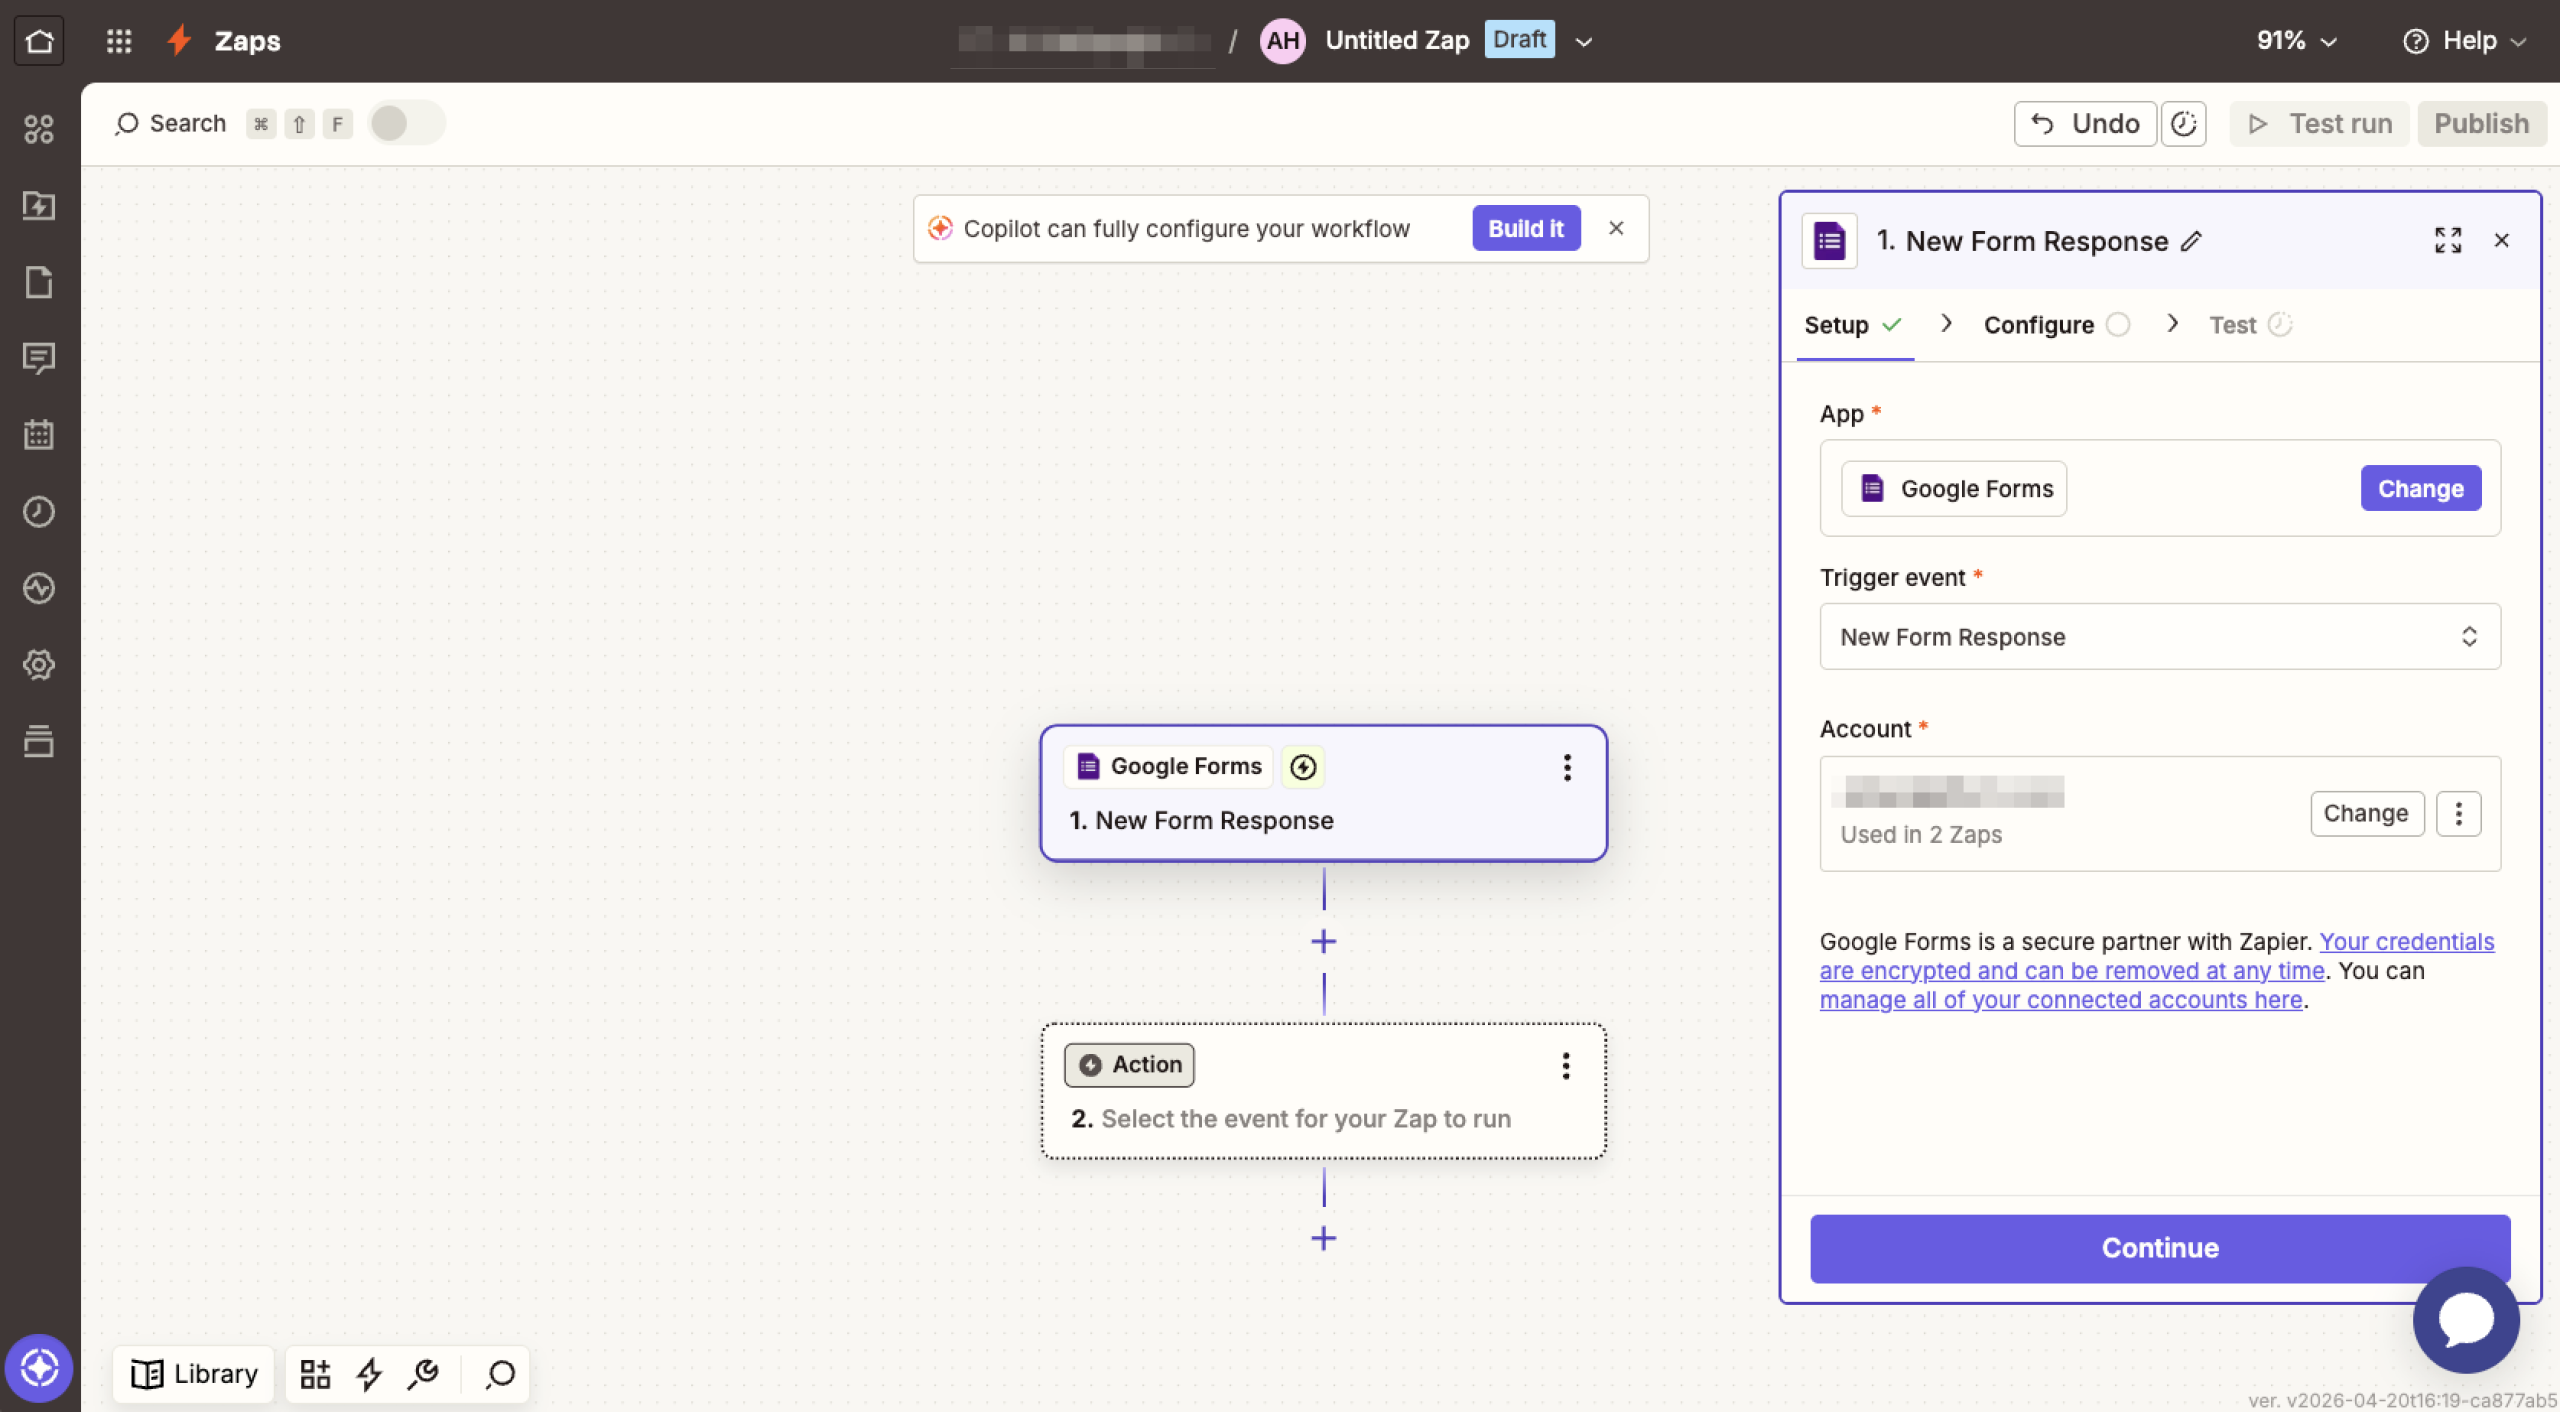
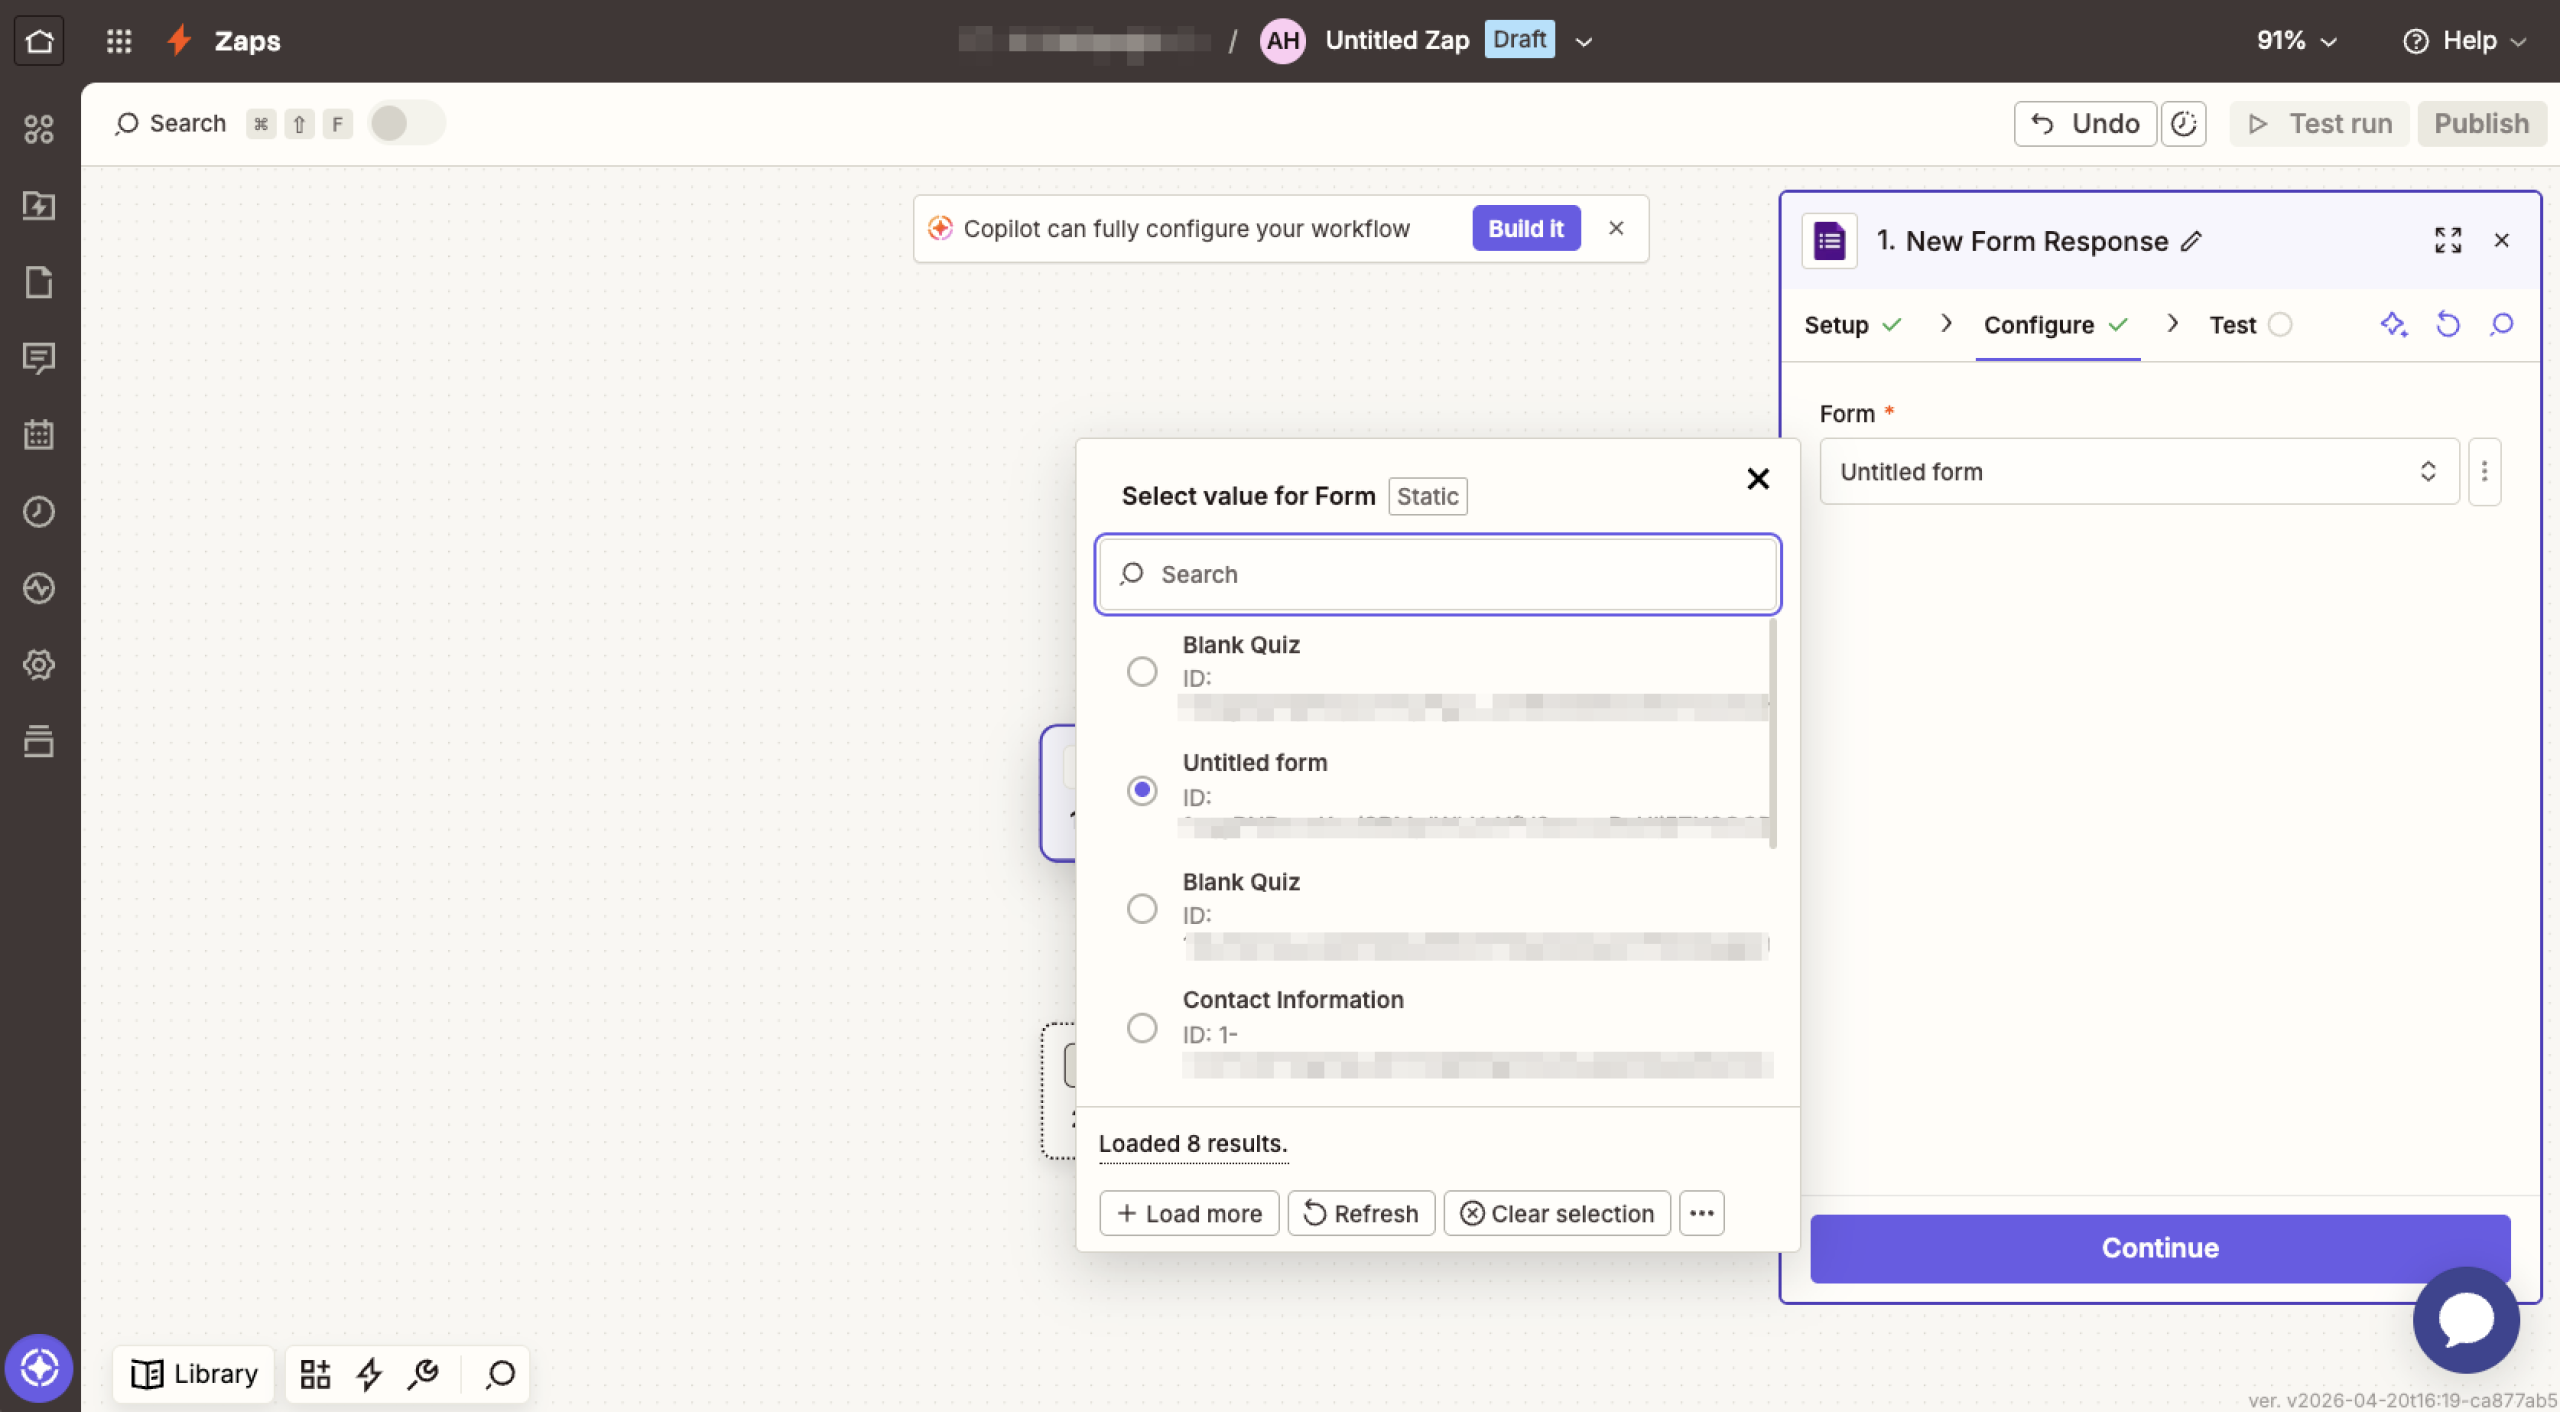
- Click on the Form dropdown, choose your form, and then click Continue.
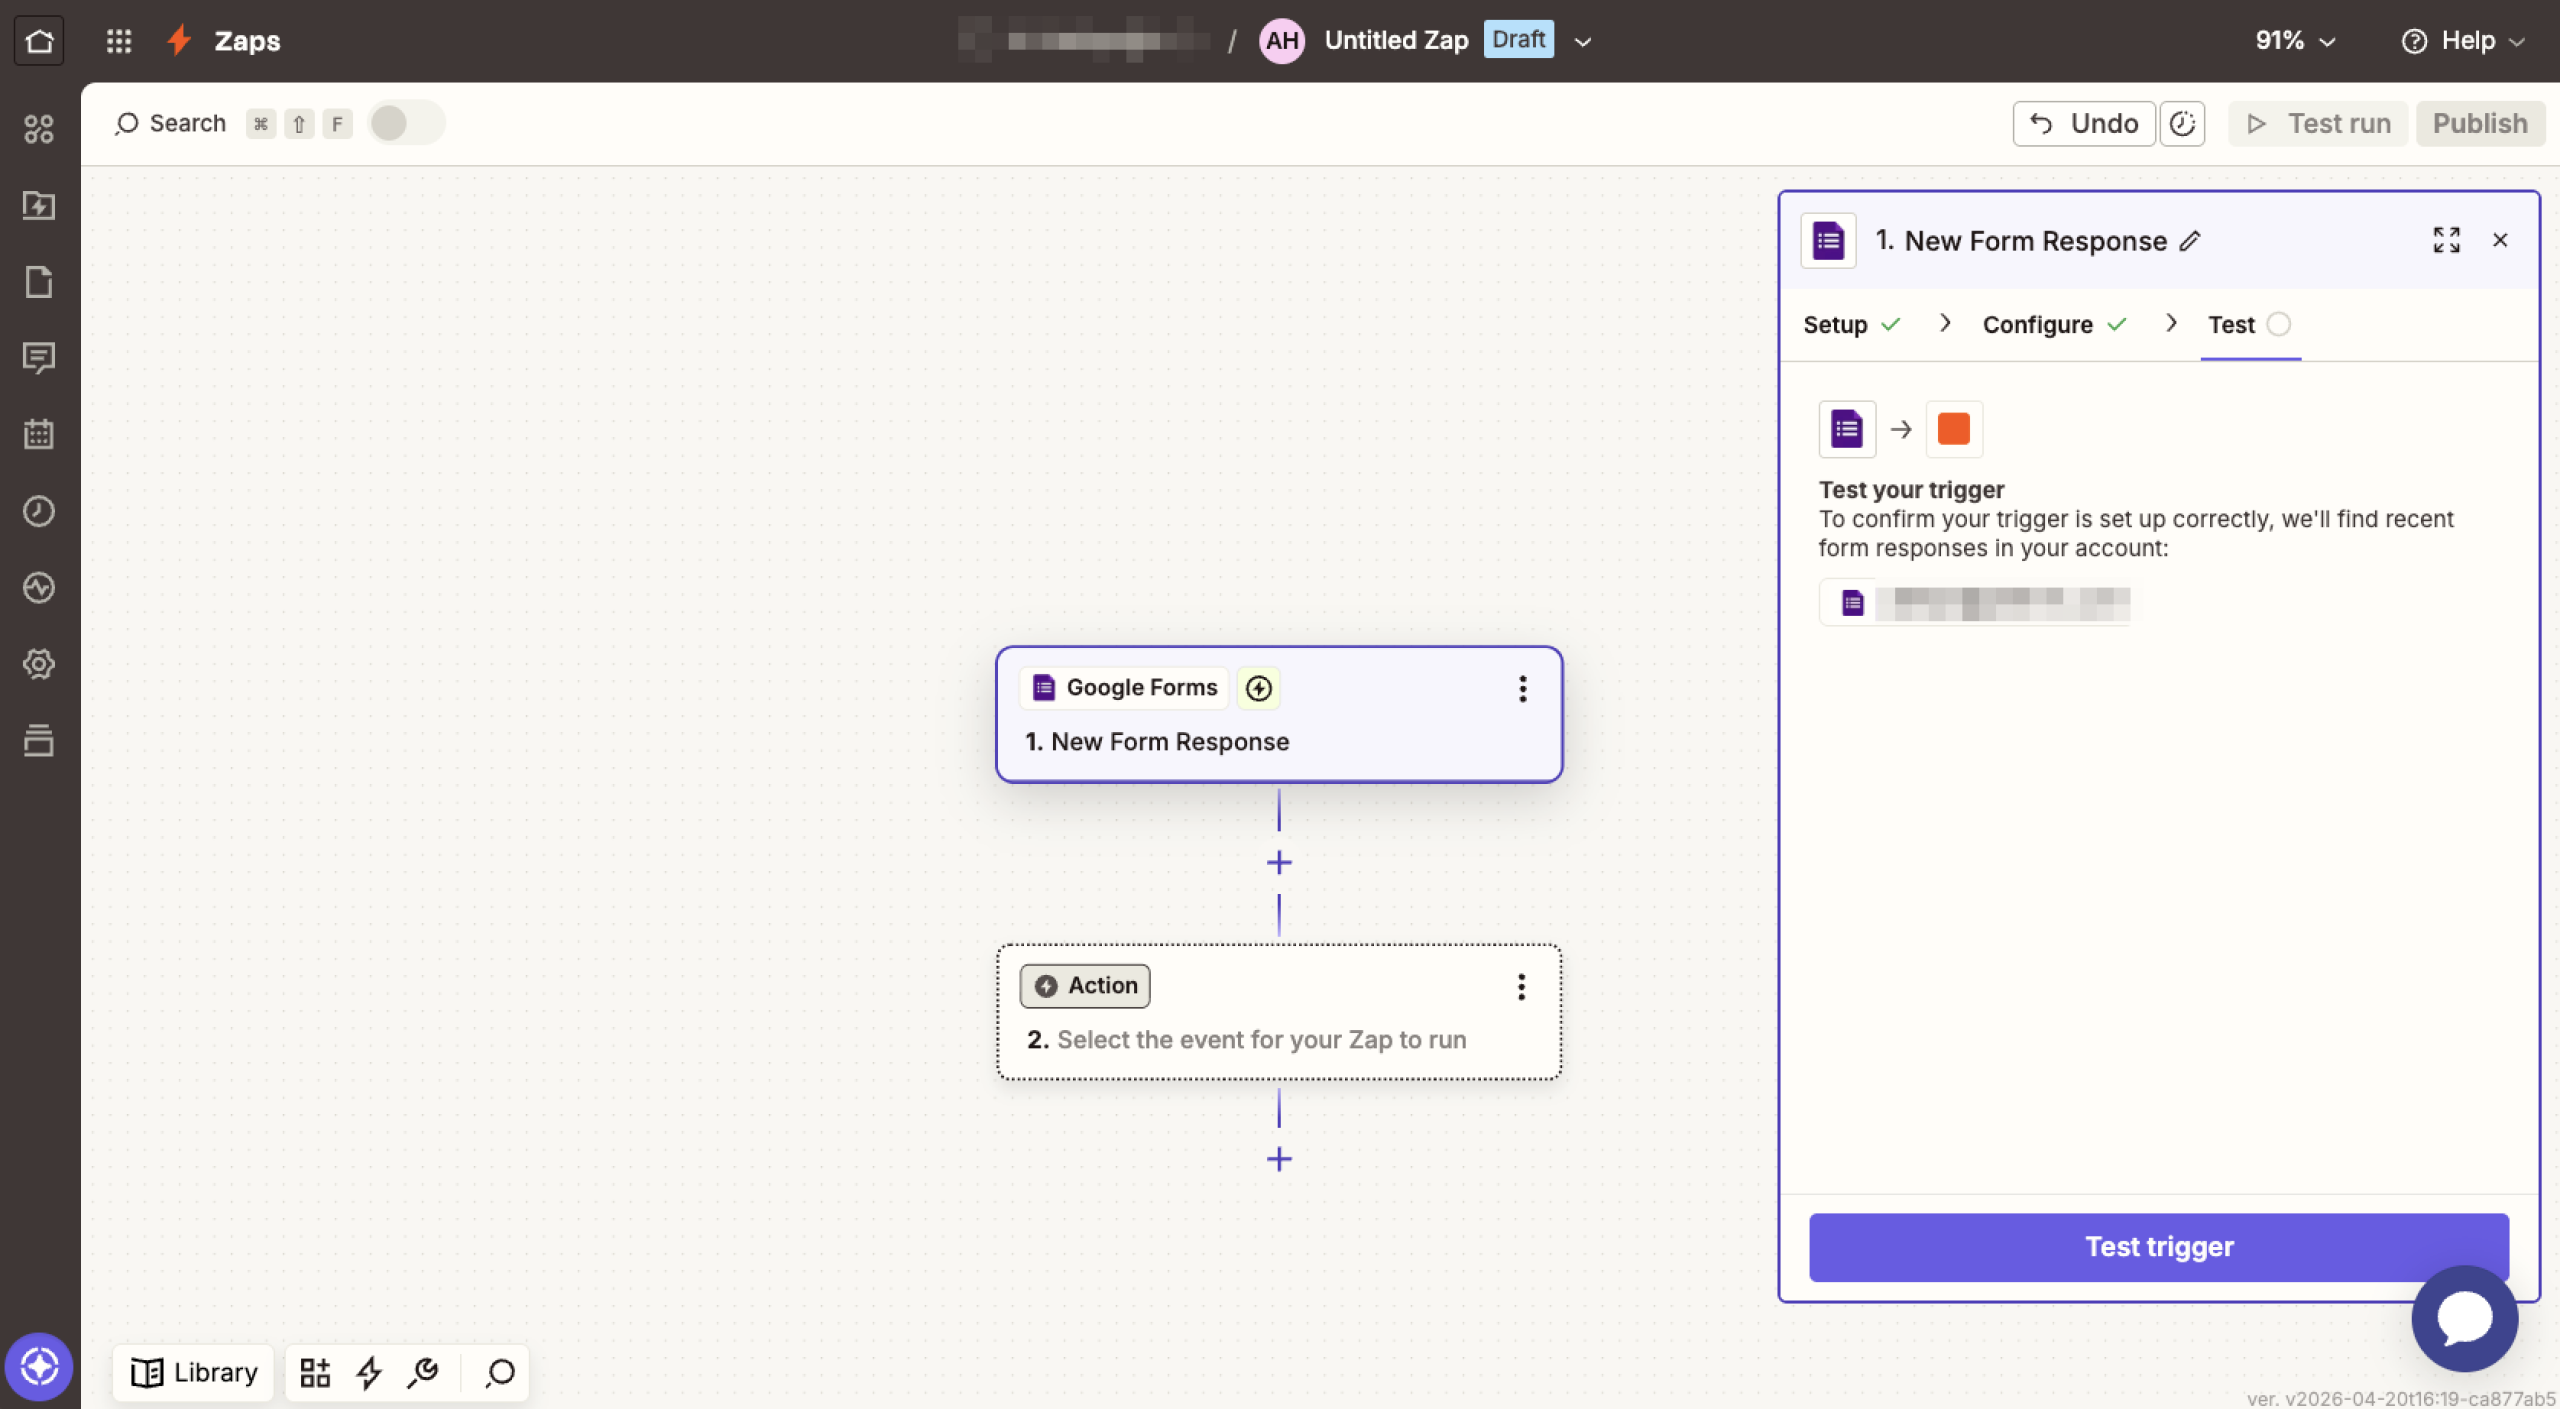
- Click the Test trigger to pull a sample response, and then click Continue.
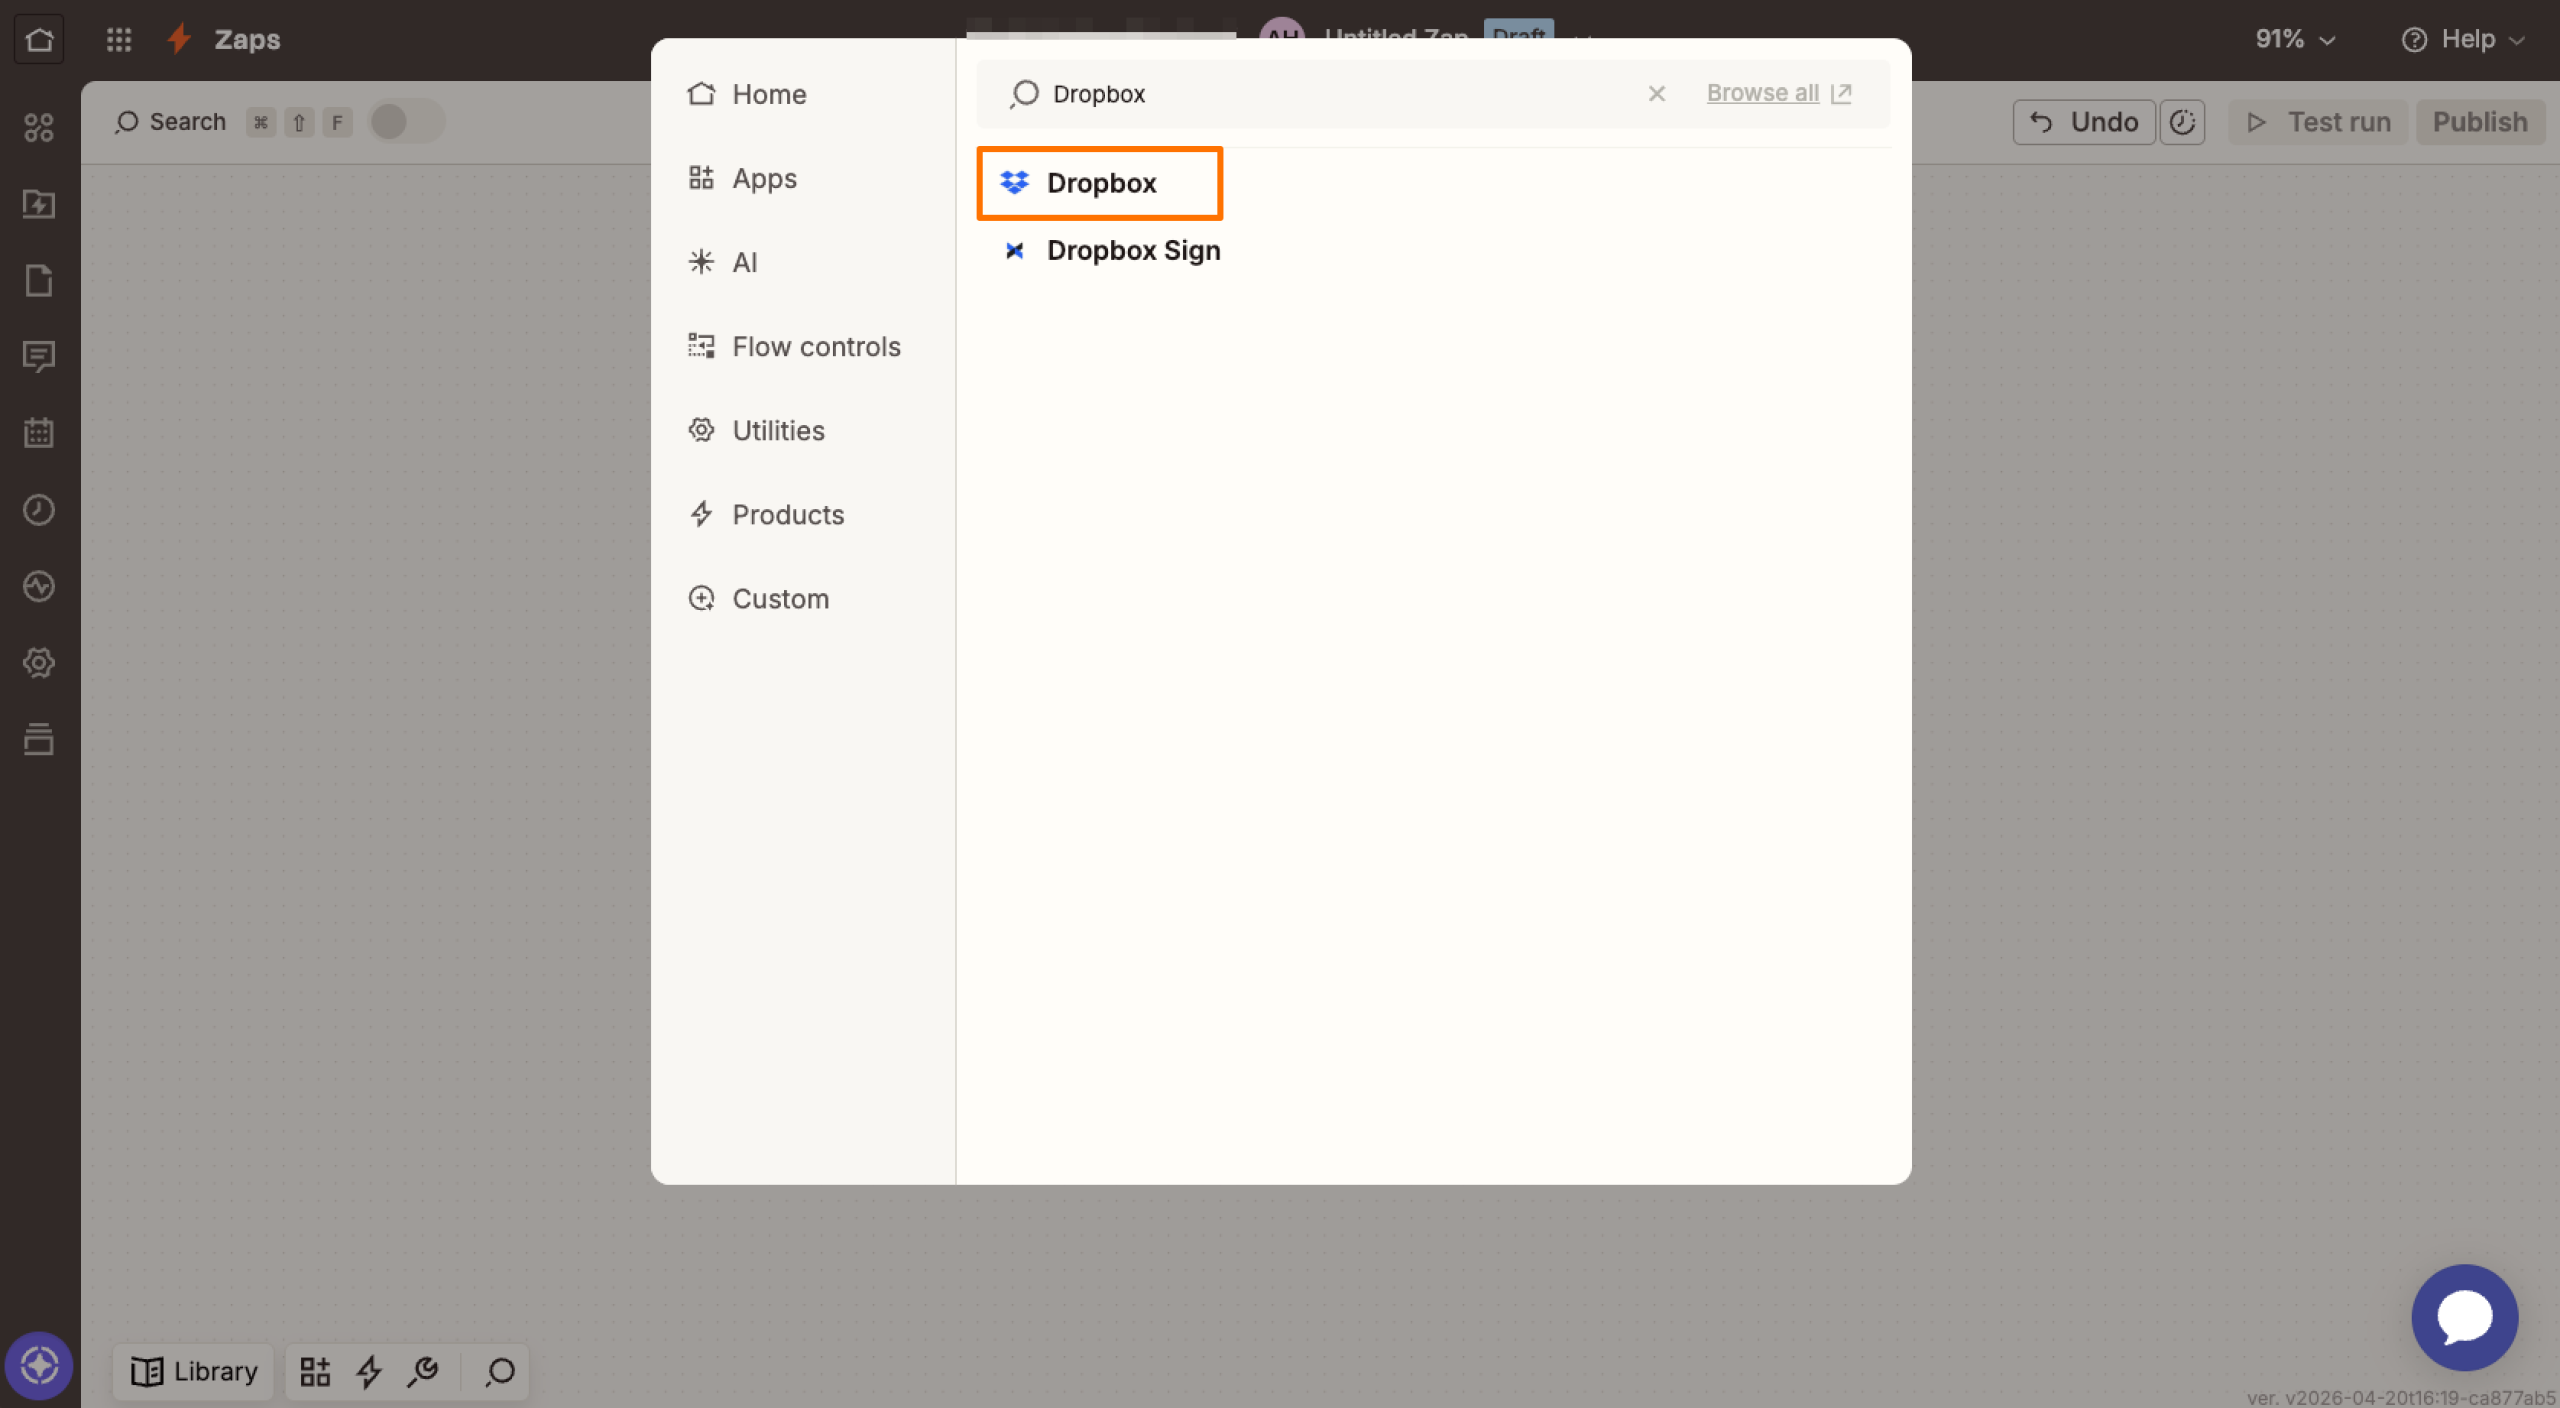
- Click Action. When the search box pops up, type “Dropbox,” and click on the Dropbox app.
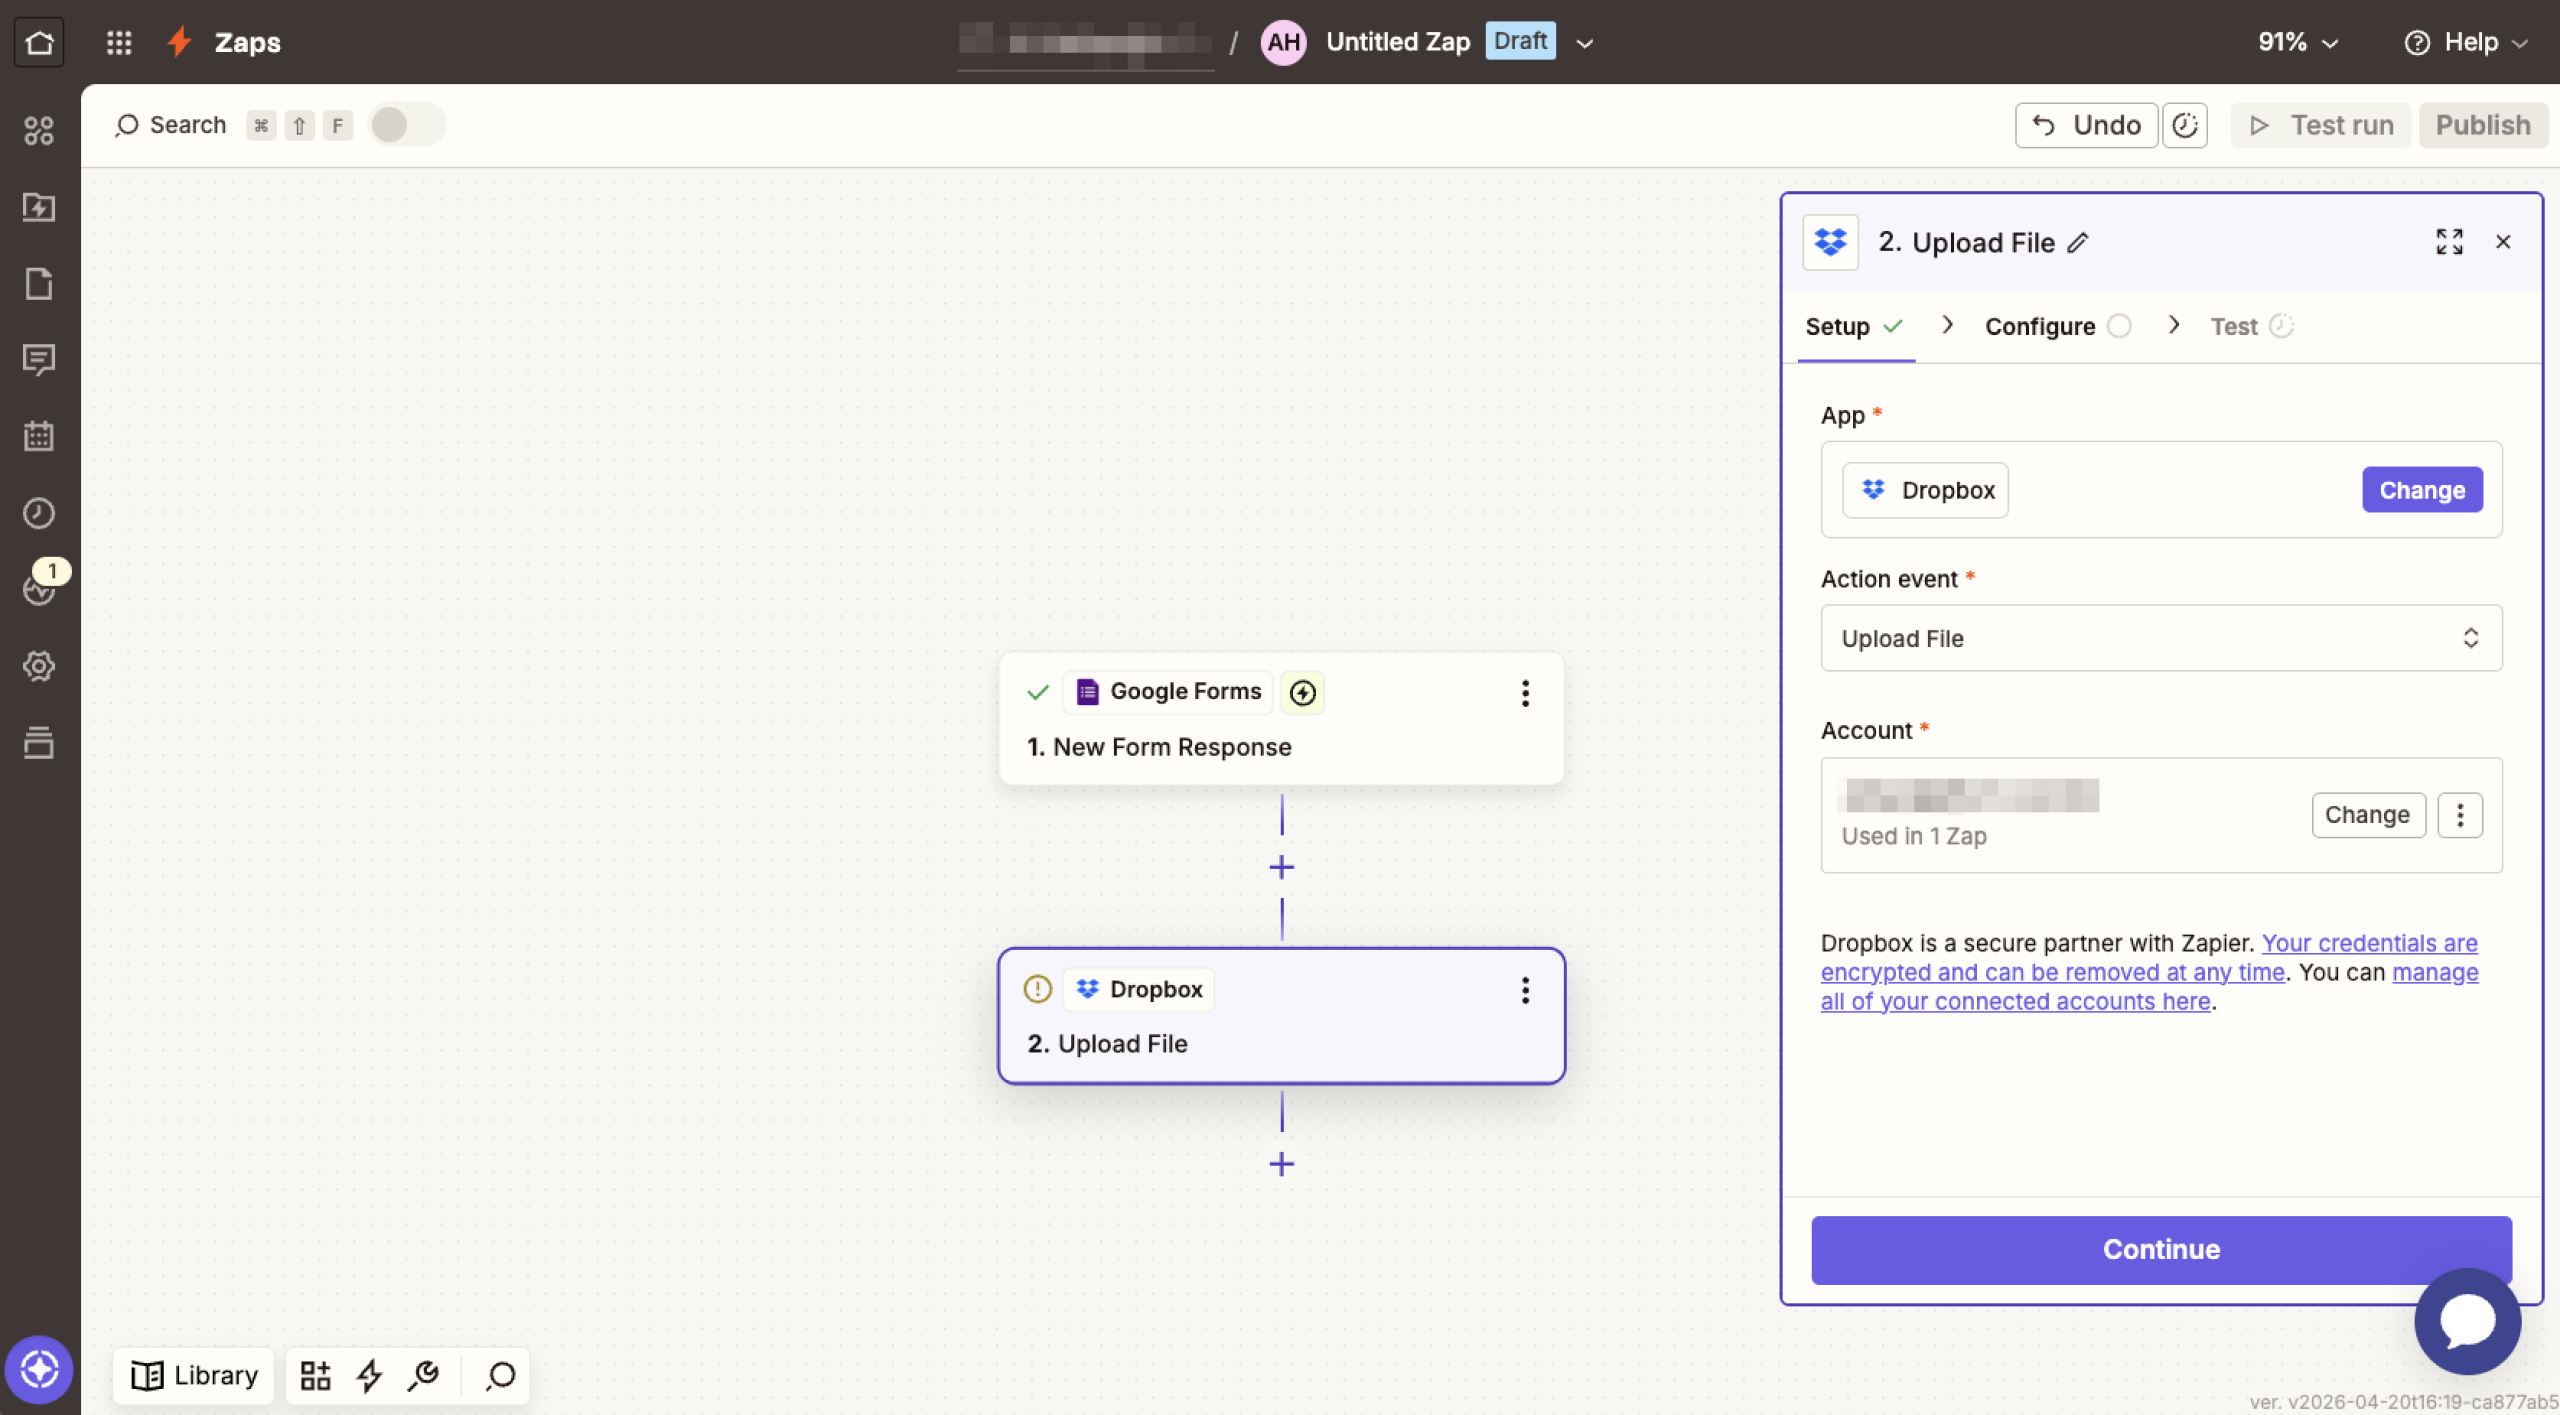
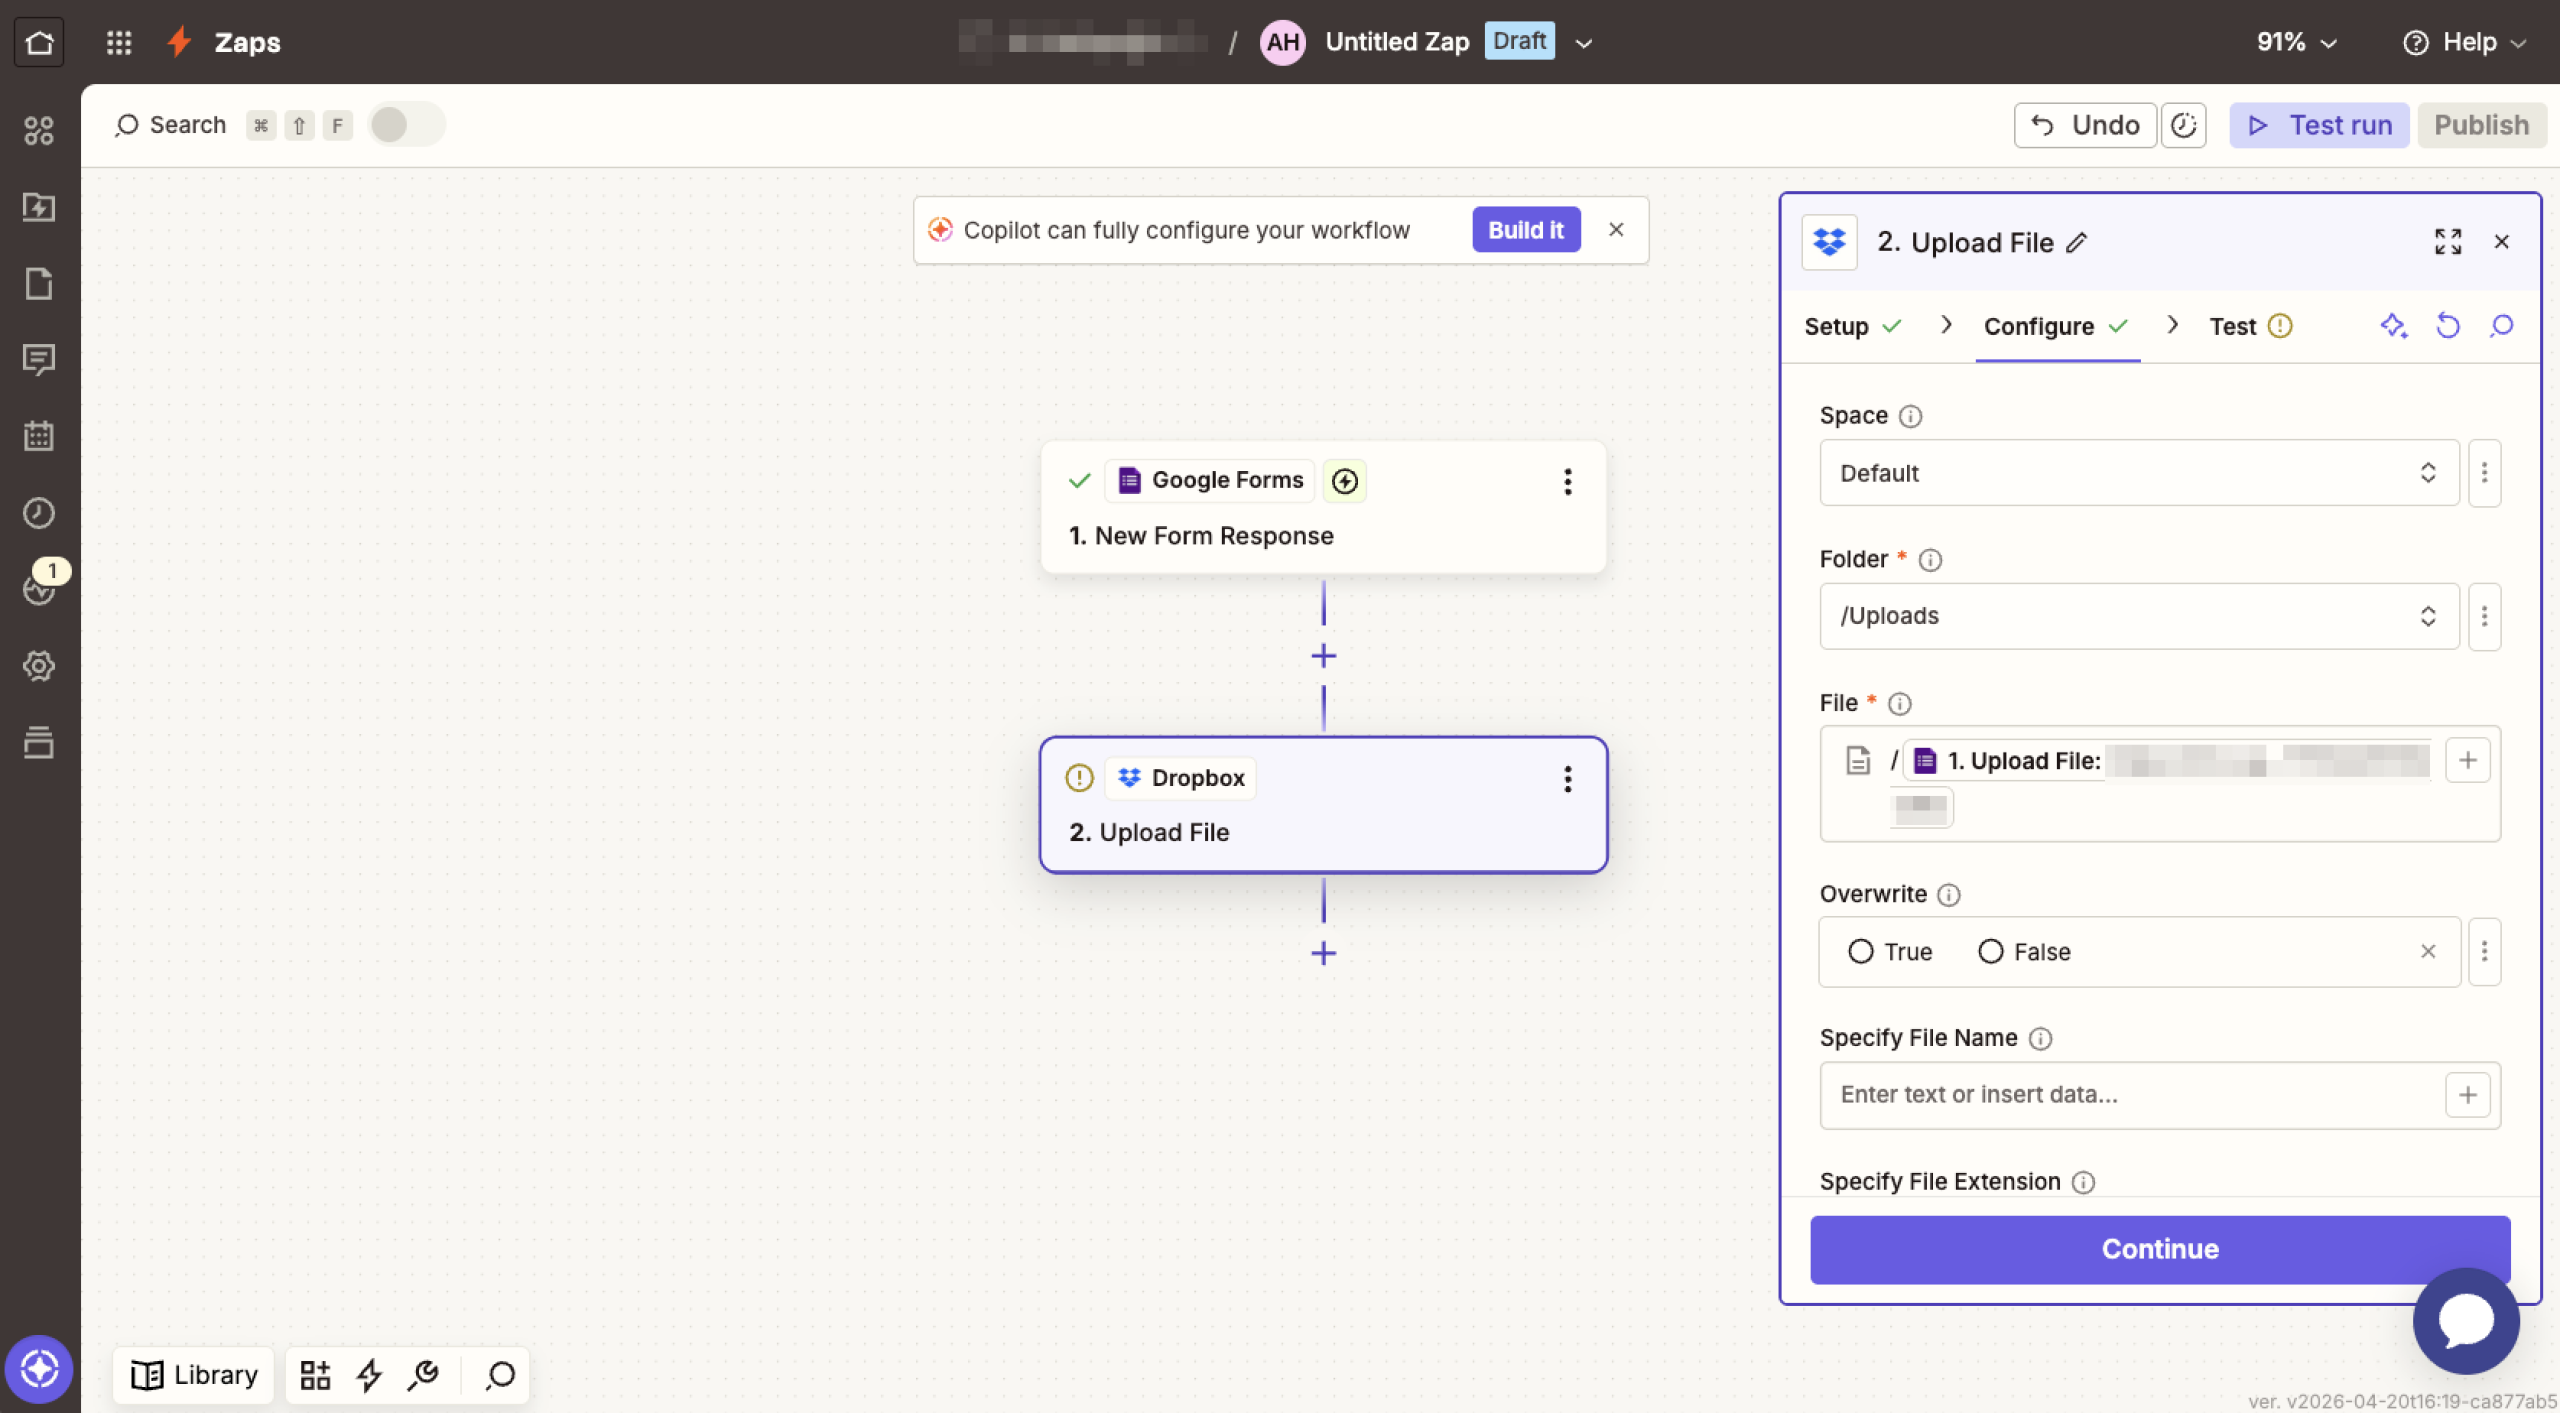
- In the Event dropdown, choose Upload File to take a file or public file link from your form response and upload it to a Dropbox folder of your choice. You can also select Create Text File if you only need a plain text file from your form responses. There are plenty of other options in the dropdown. Click Continue once you’ve made your selection.
- Click Sign in to connect your Dropbox account, and then click Continue.
- Click the Folder field and choose or type the name of the Dropbox folder where you want to save the files.
- Click the File field and select your file-upload question from the list.
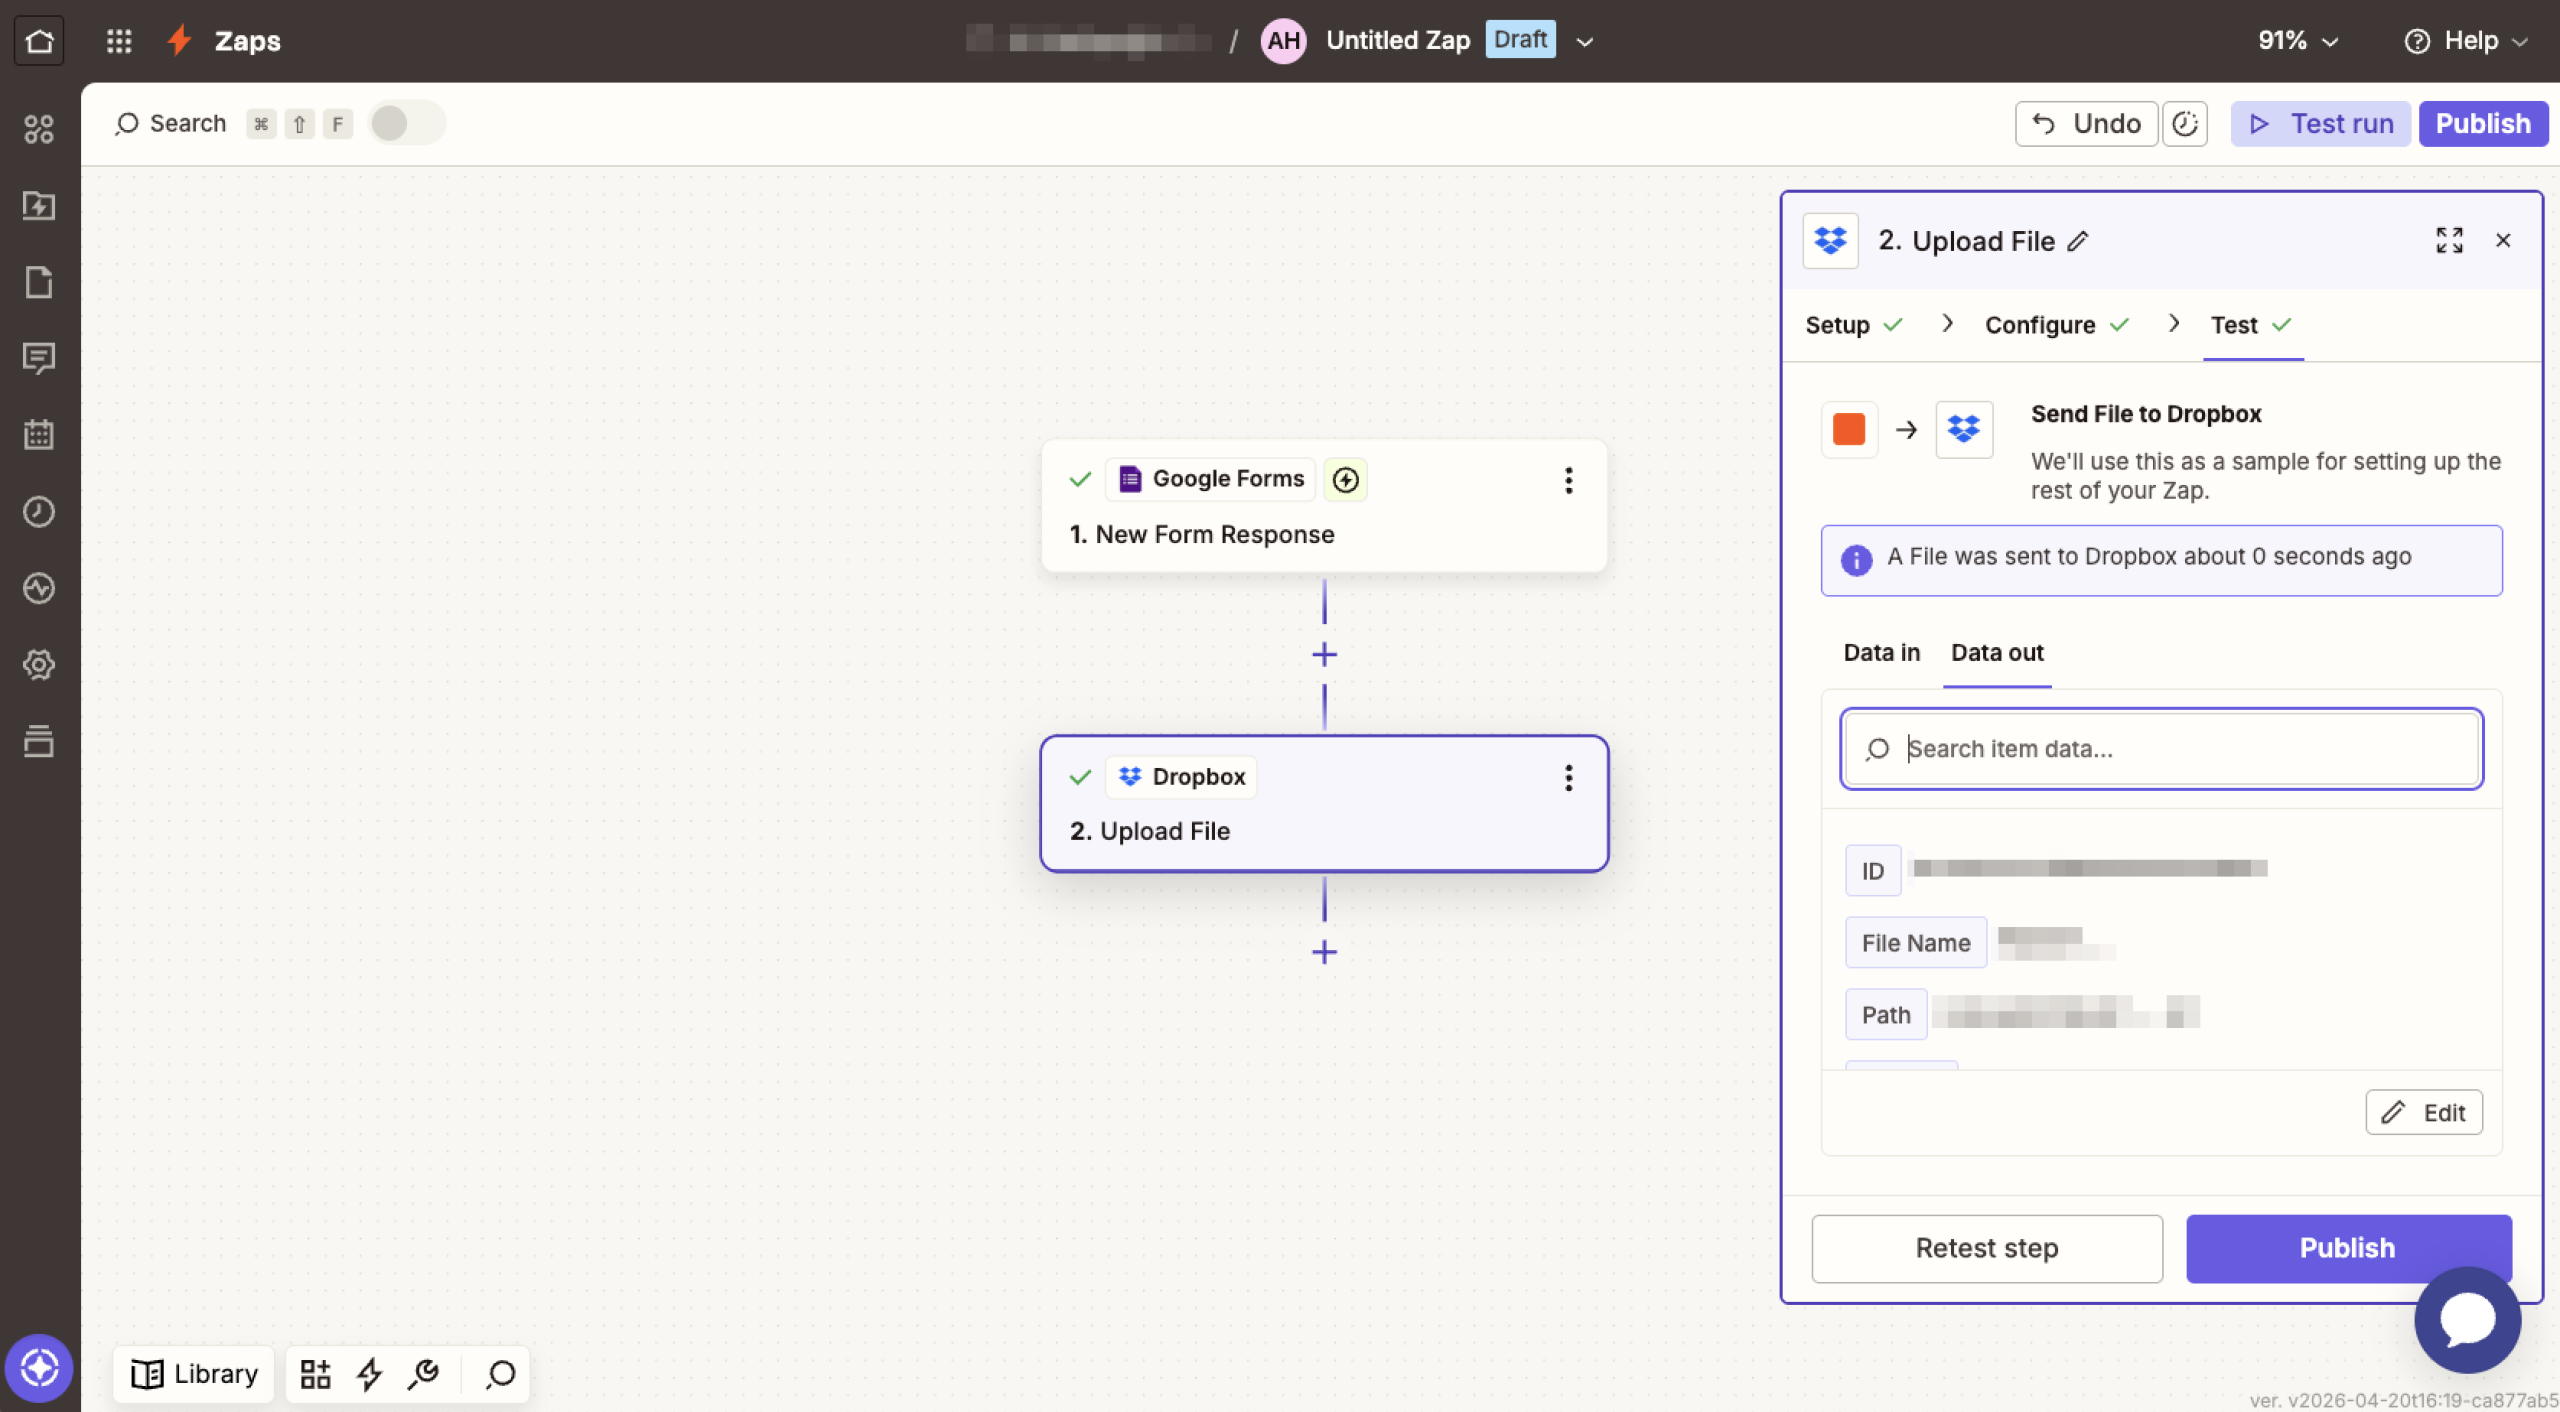
- Click the Test step and check that a file appears in the correct Dropbox folder.
- Click Publish to activate the Zap.
How to connect Google Forms with Dropbox via Make
Make (formerly Integromat) uses a visual scenario builder that lets you drag and drop modules to create automated workflows.
Here’s how to connect Google Forms with Dropbox using Make:
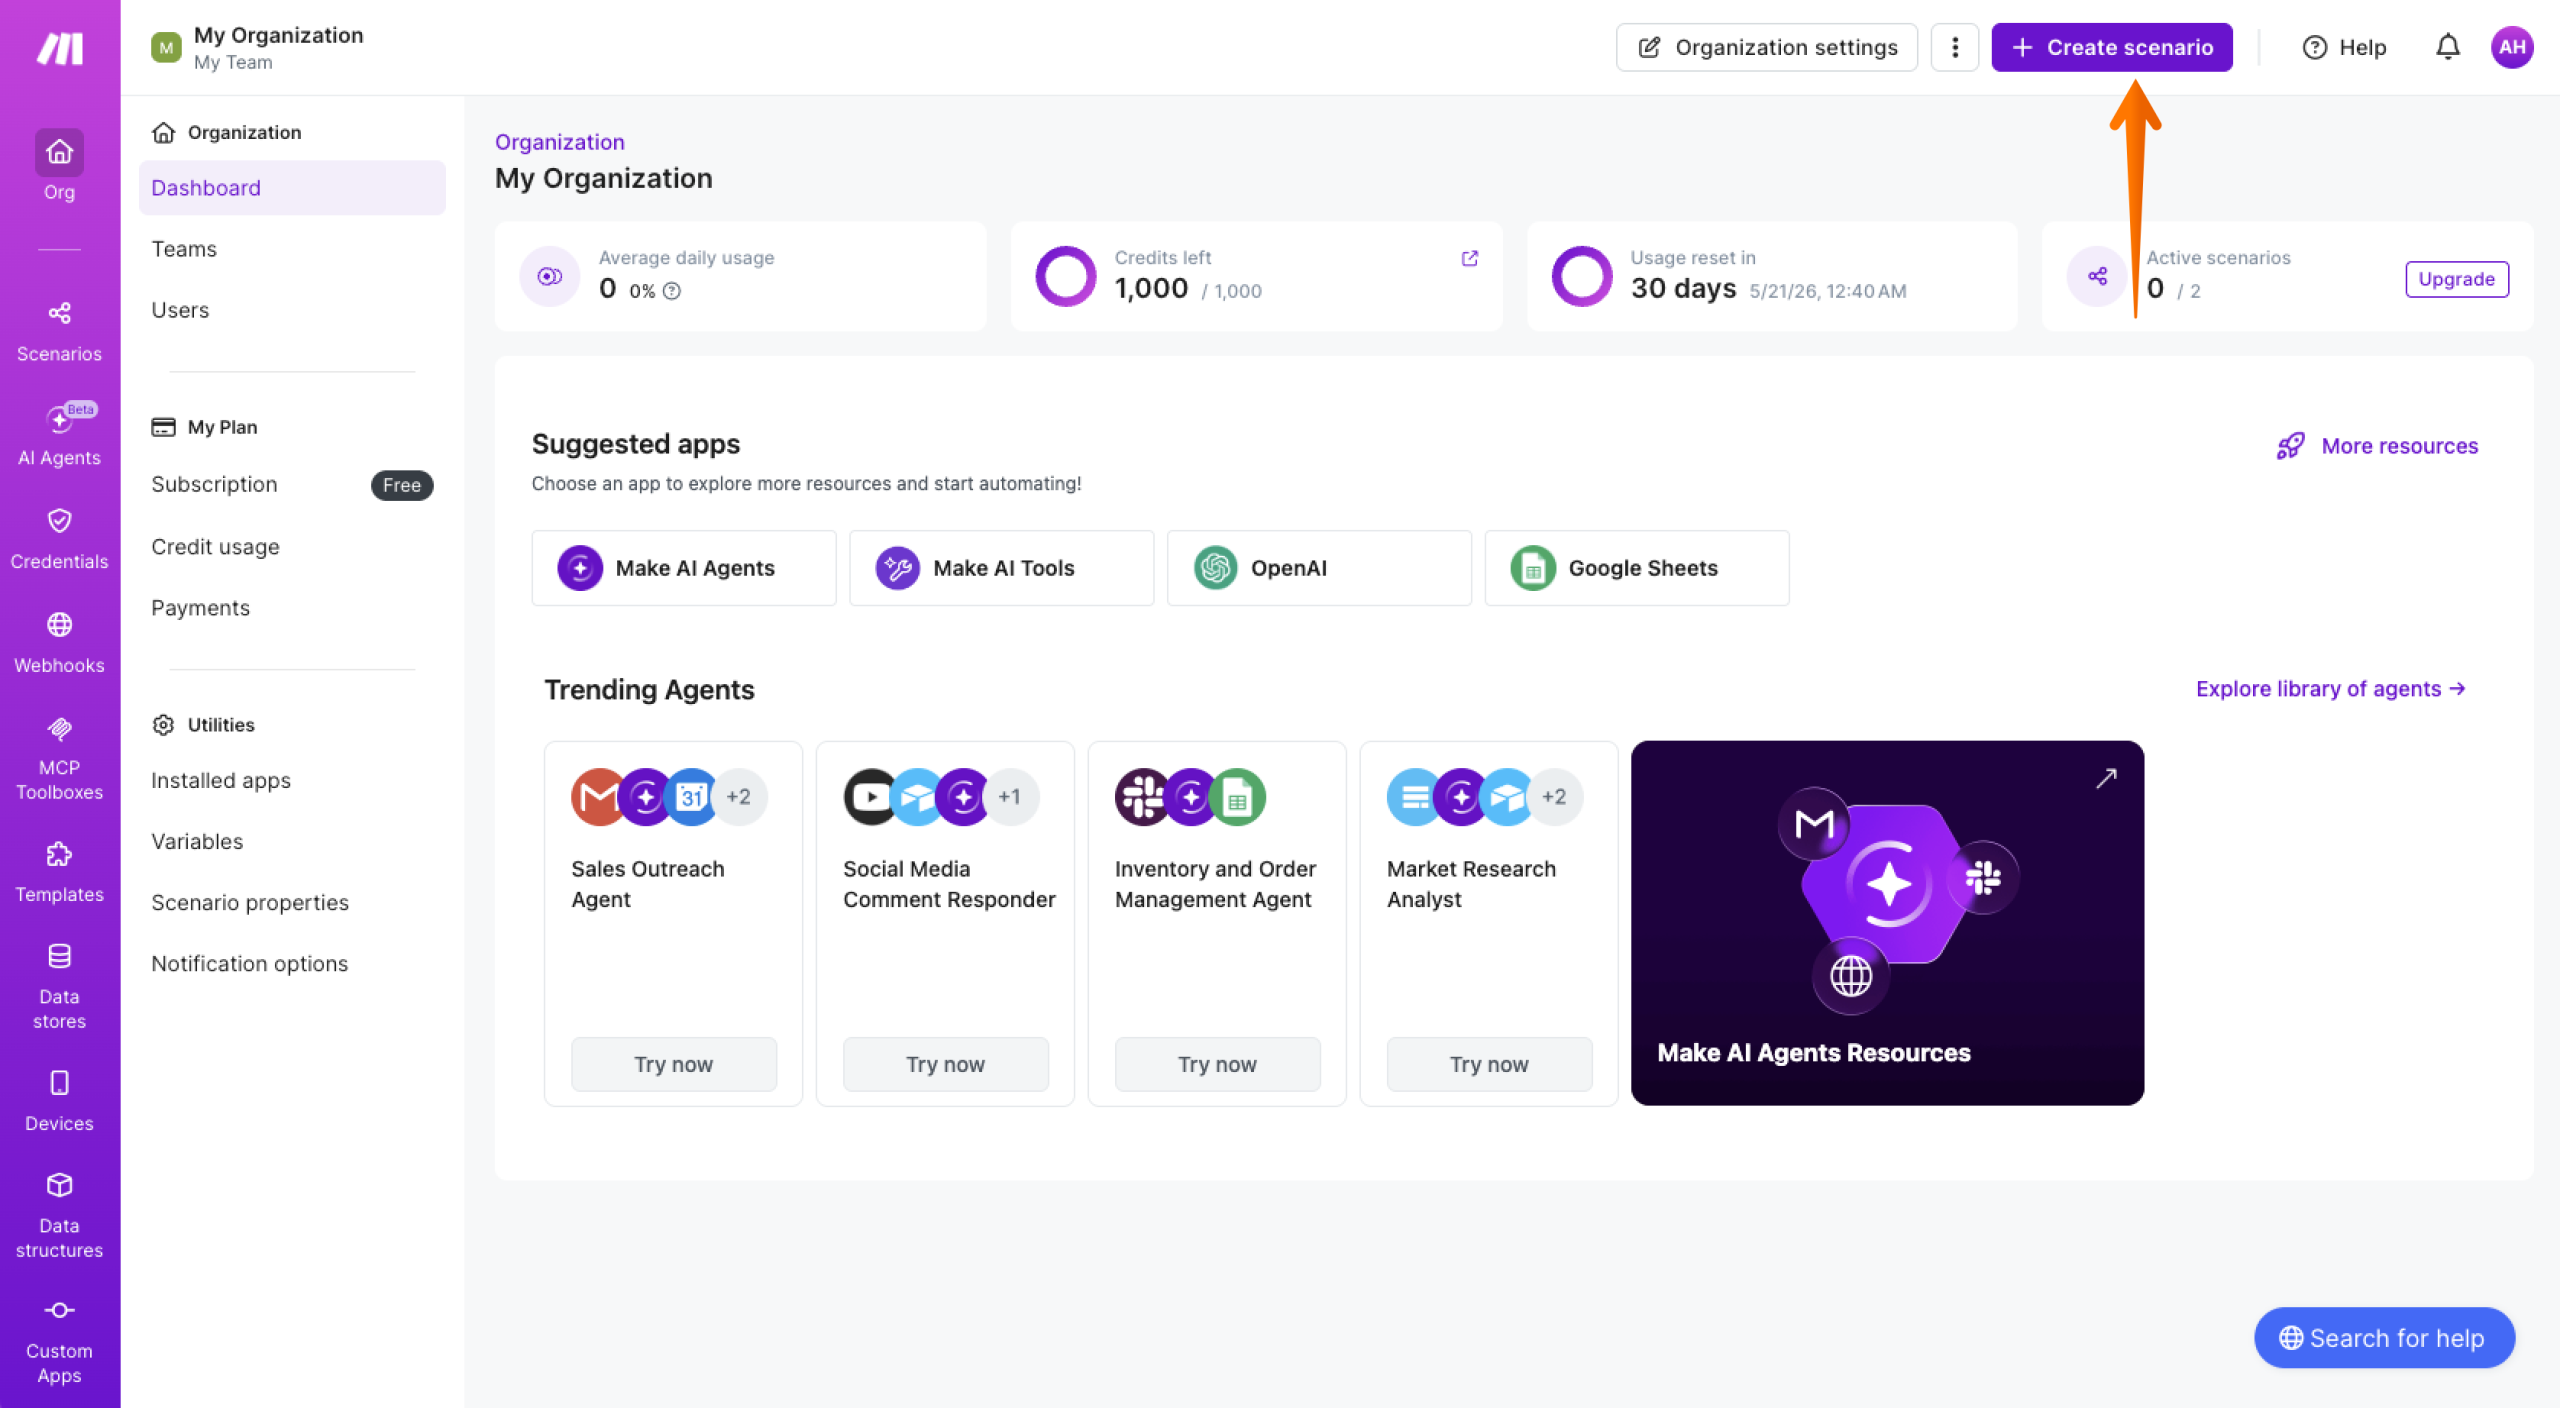
- Go to Make.com and sign in.
- Click the Create scenario button.
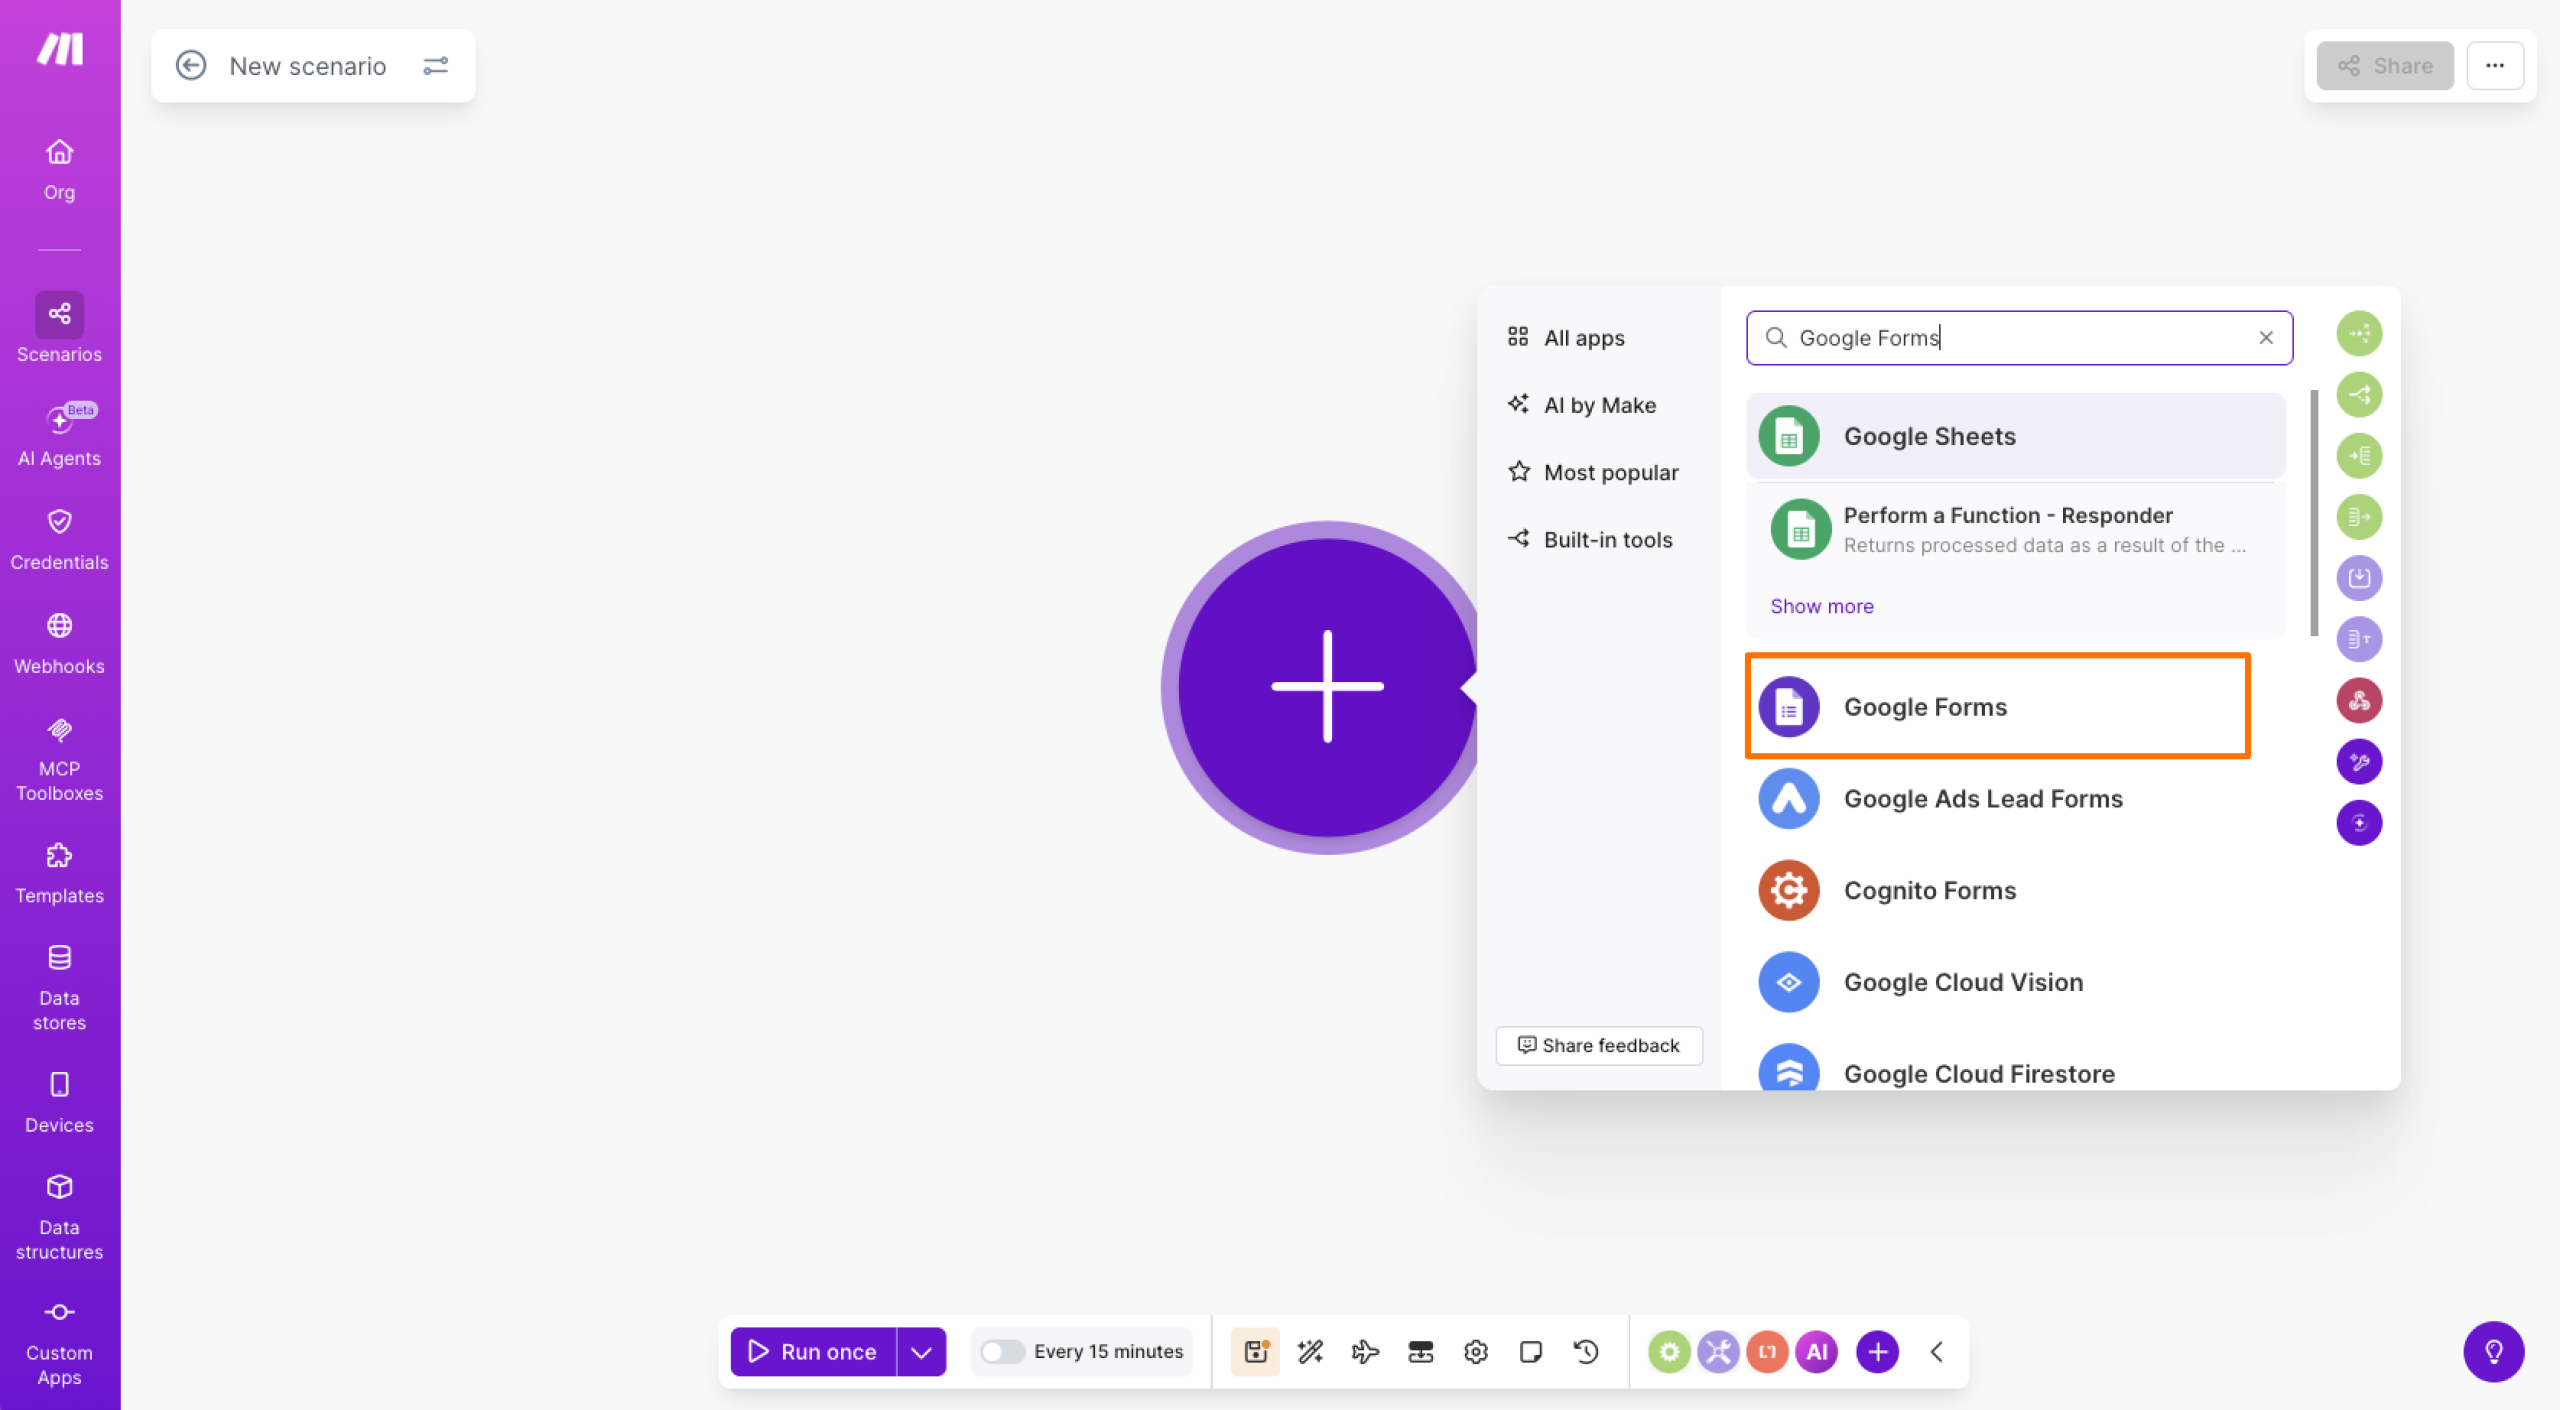
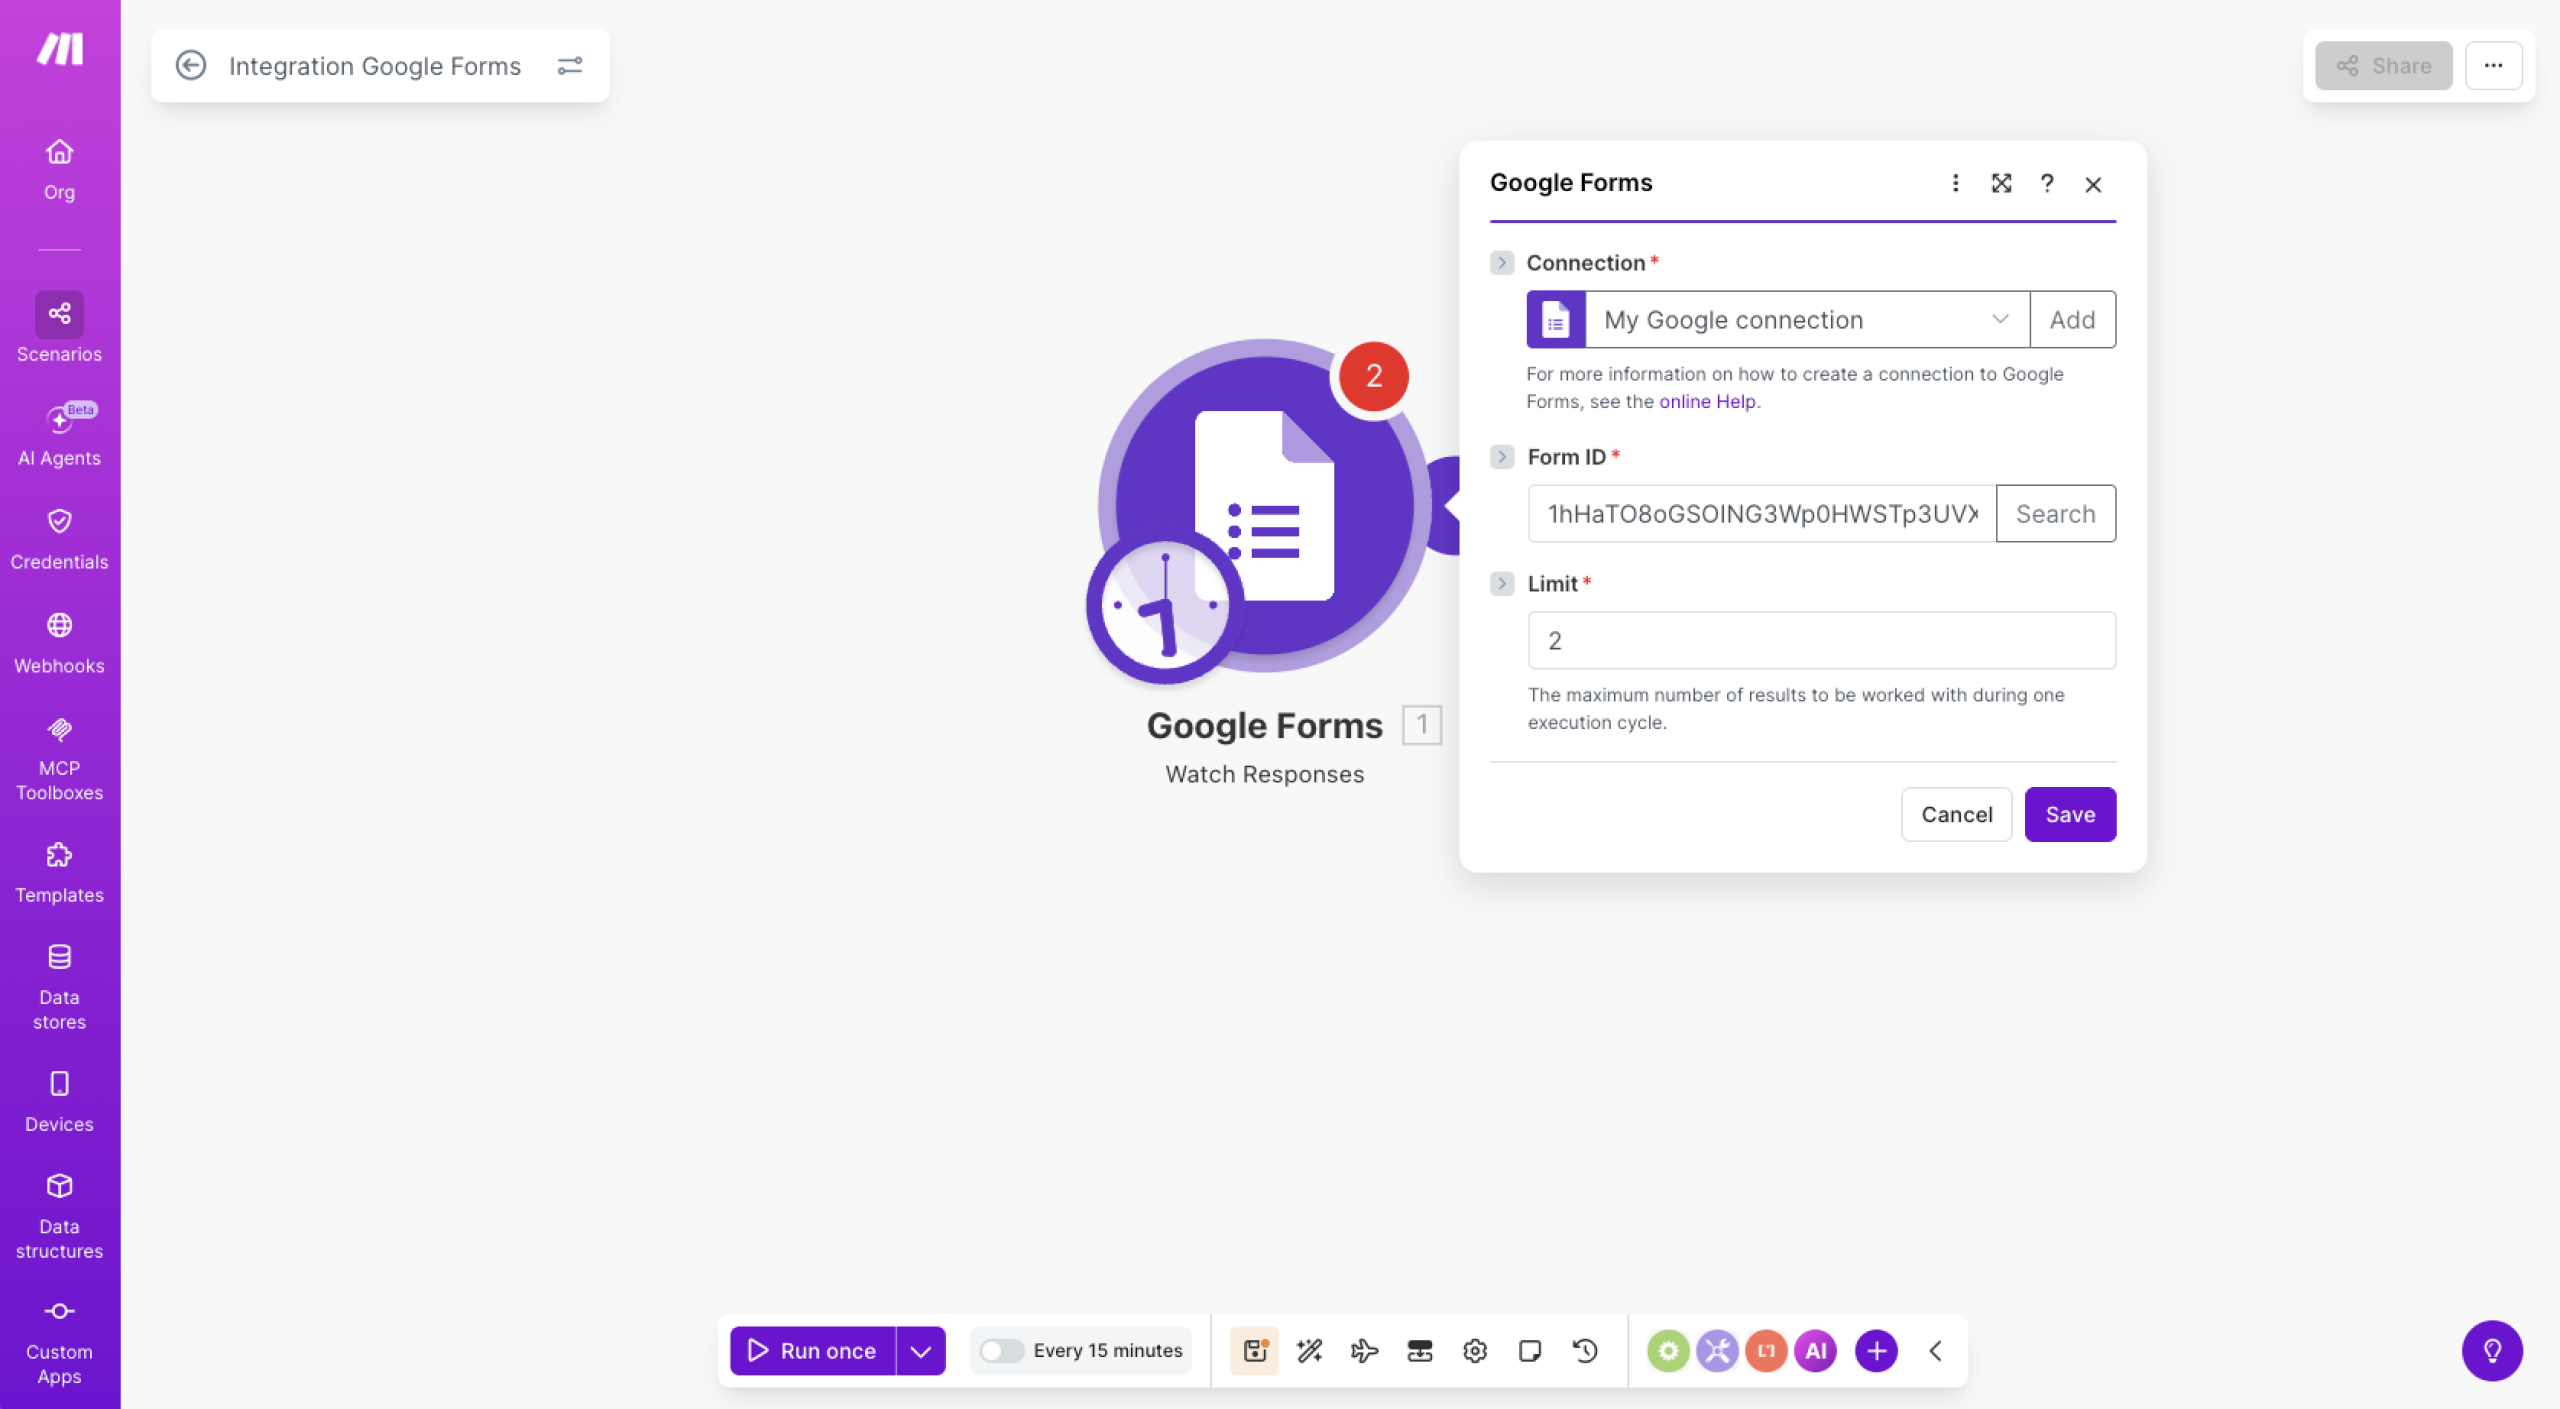
- Search for “Google Forms” and click on the Google Forms module.
- Choose a trigger, such as Watch Responses, and then connect your Google account.

- Fill in the required fields, such as Form ID and Limit, and select the point from which you want to start processing data once your scenario is running.
- Click the + button, search for “Dropbox,” and click on the Dropbox module.
- Select Upload a File (or Create/Overwrite a Text File if you only need text).
- Connect your Dropbox account, pick the destination folder, and map the fields that appear.

- Click Save, and then click Run once to test the scenario.
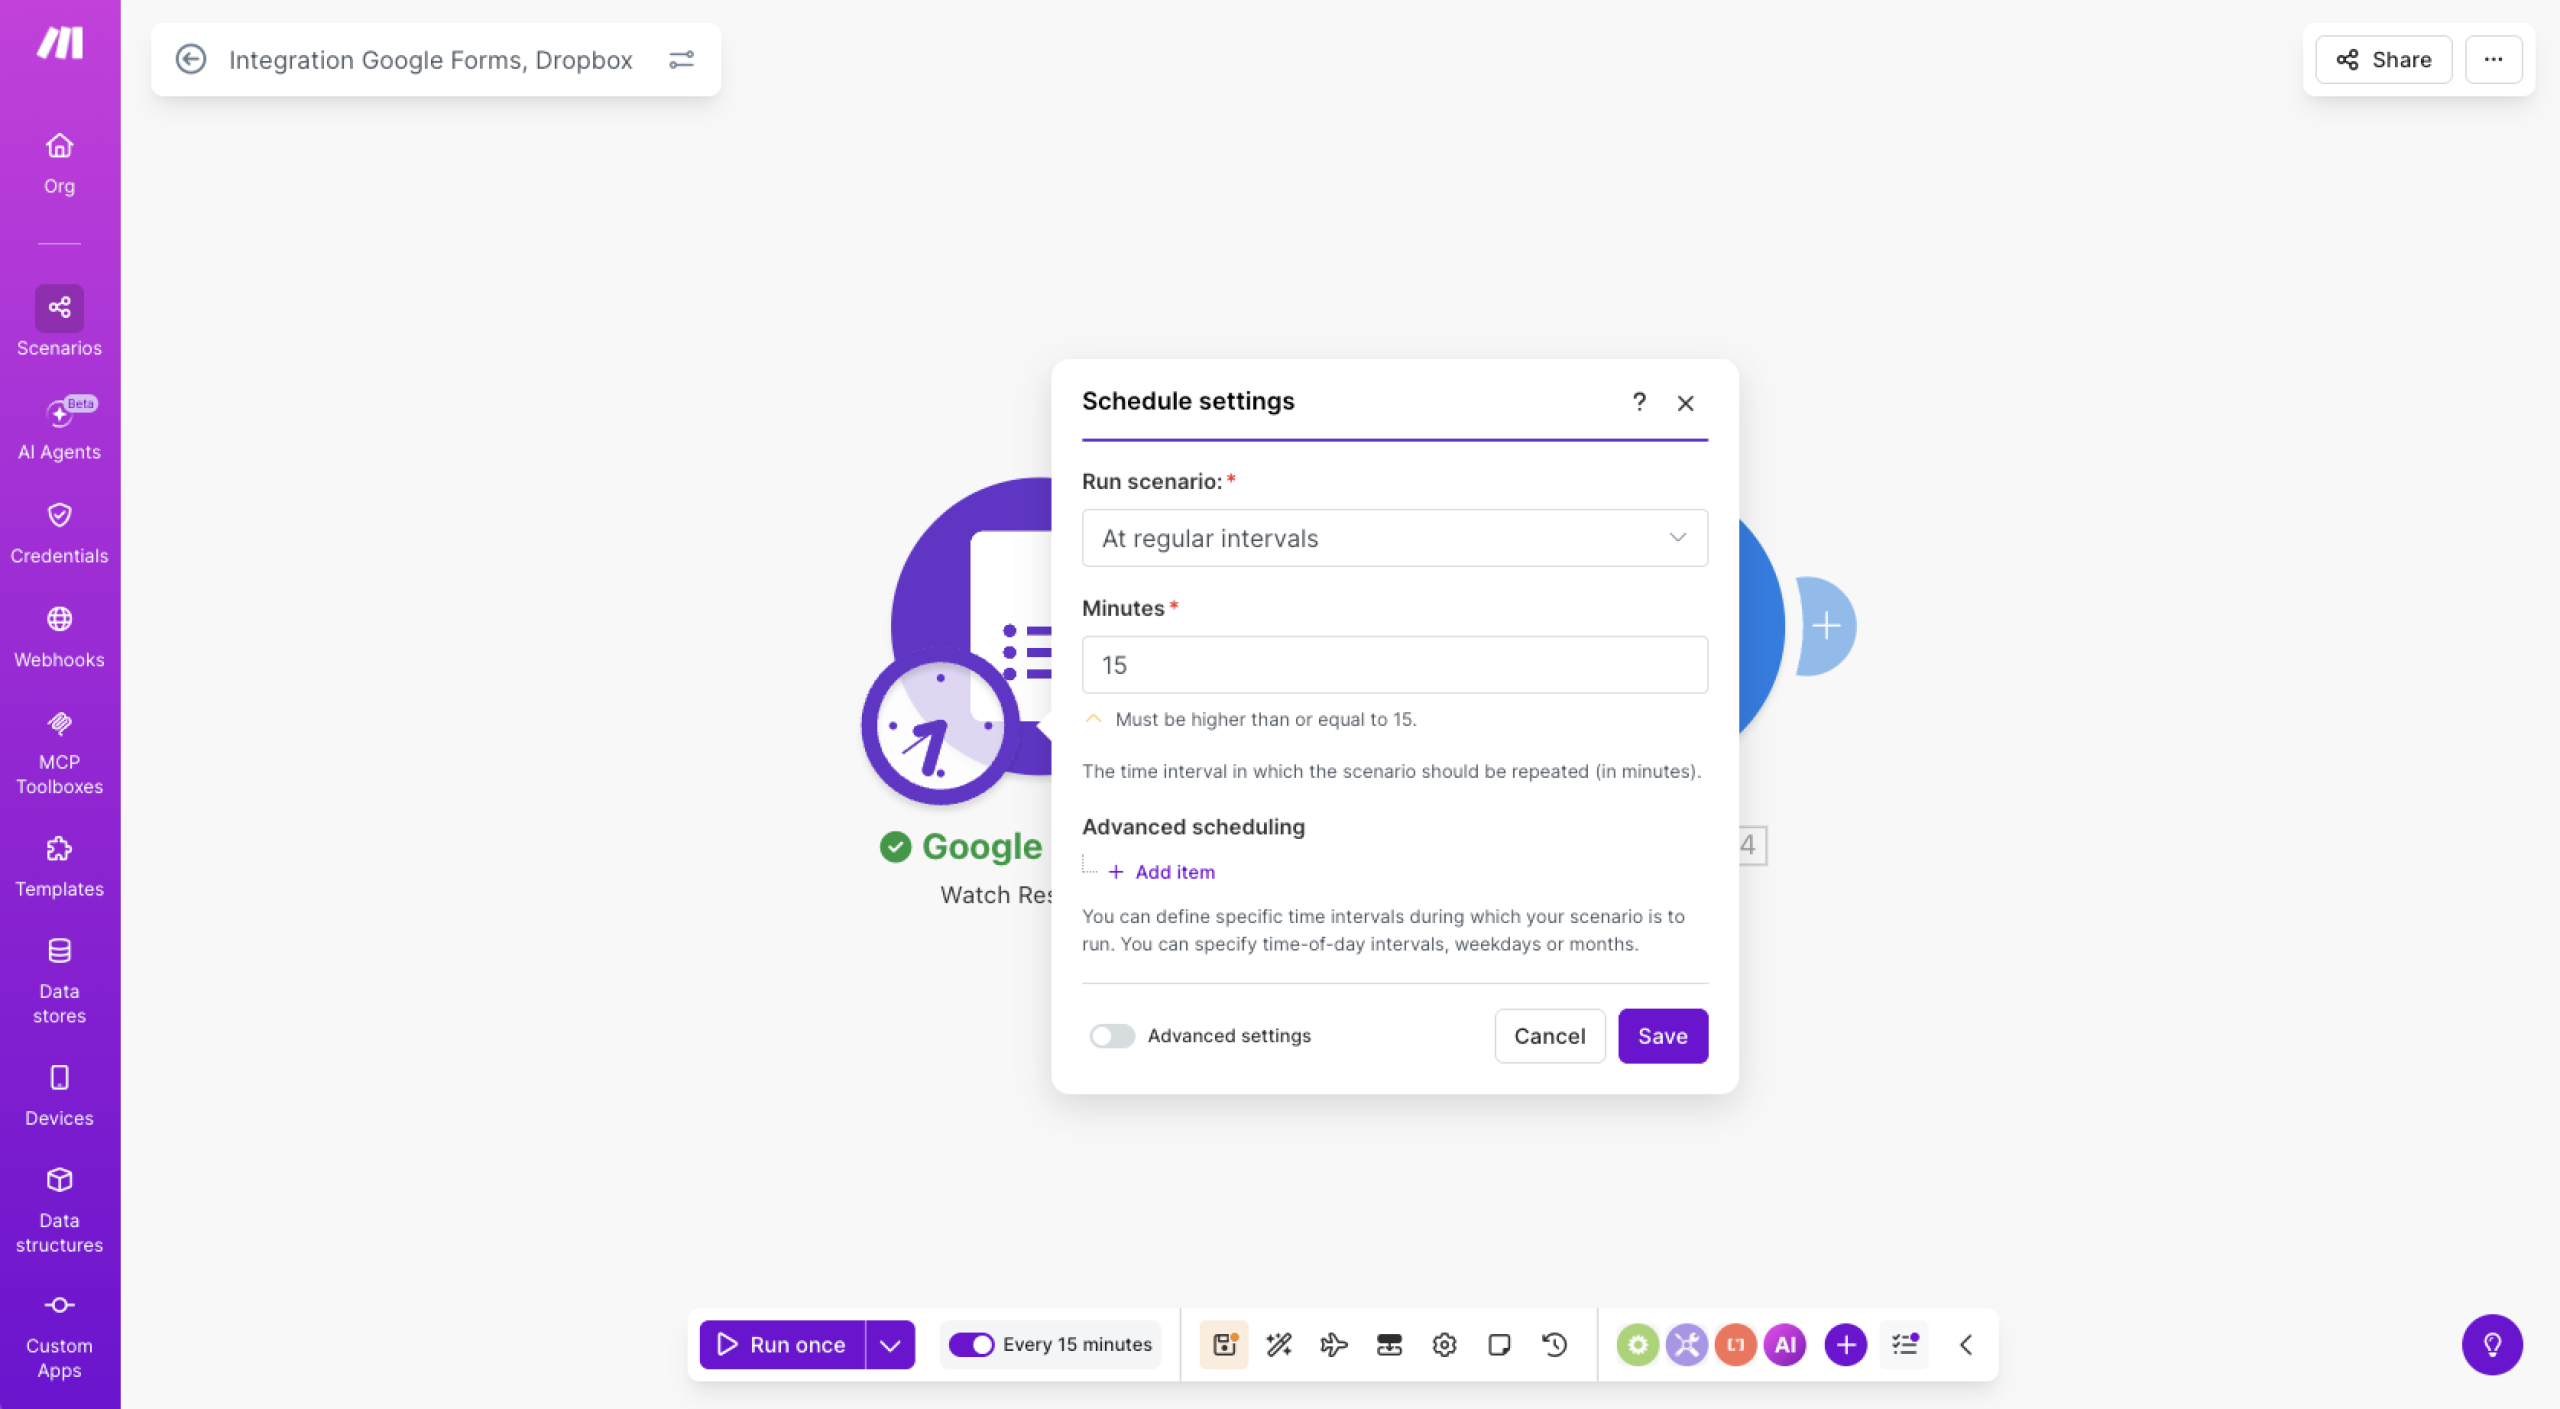
- If everything works correctly, click the On/Off switch to turn the scenario on and fill in the Schedule Settings fields to set how often it runs.
Jotform: A simpler way to connect
If you’re looking for a more seamless way to collect files and send them straight to Dropbox, Jotform is a strong Google Forms alternative. Unlike Google Forms, Jotform offers a built-in Dropbox integration without requiring a third-party tool.
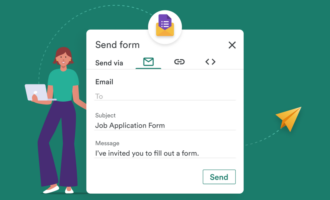
Jotform provides over 1,500 ready-to-use file upload form templates that you can customize with the drag-and-drop form builder to match your exact needs. Once your form is ready, sharing it is simple: Send it to your audience via email, share a direct link, or embed it on your website.
Managing submissions is just as straightforward. With Jotform Tables, you can track and organize every response in a spreadsheet-style view, making it easy to stay on top of incoming data.
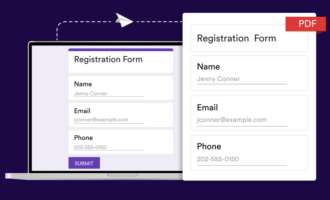
The Jotform and Dropbox integration goes beyond basic file uploads, too. You can automatically send form submission PDFs to Dropbox, create new folders in Dropbox based on submissions, and send file attachments from form responses directly to Dropbox. It’s a complete, hassle-free solution for anyone who regularly collects files through online forms and still wants to enjoy all the Dropbox benefits.
How to integrate Jotform with Dropbox
Unlike the Zapier and Make methods above, connecting Jotform to Dropbox takes just a few clicks. It happens all within the Form Builder, too — there’s no need to set up scenarios or create multi-step automations in a separate platform. Once the integration is active, your form submissions, file uploads, and PDFs will automatically flow directly into your Dropbox account.
Here’s how to use Dropbox with Jotform:
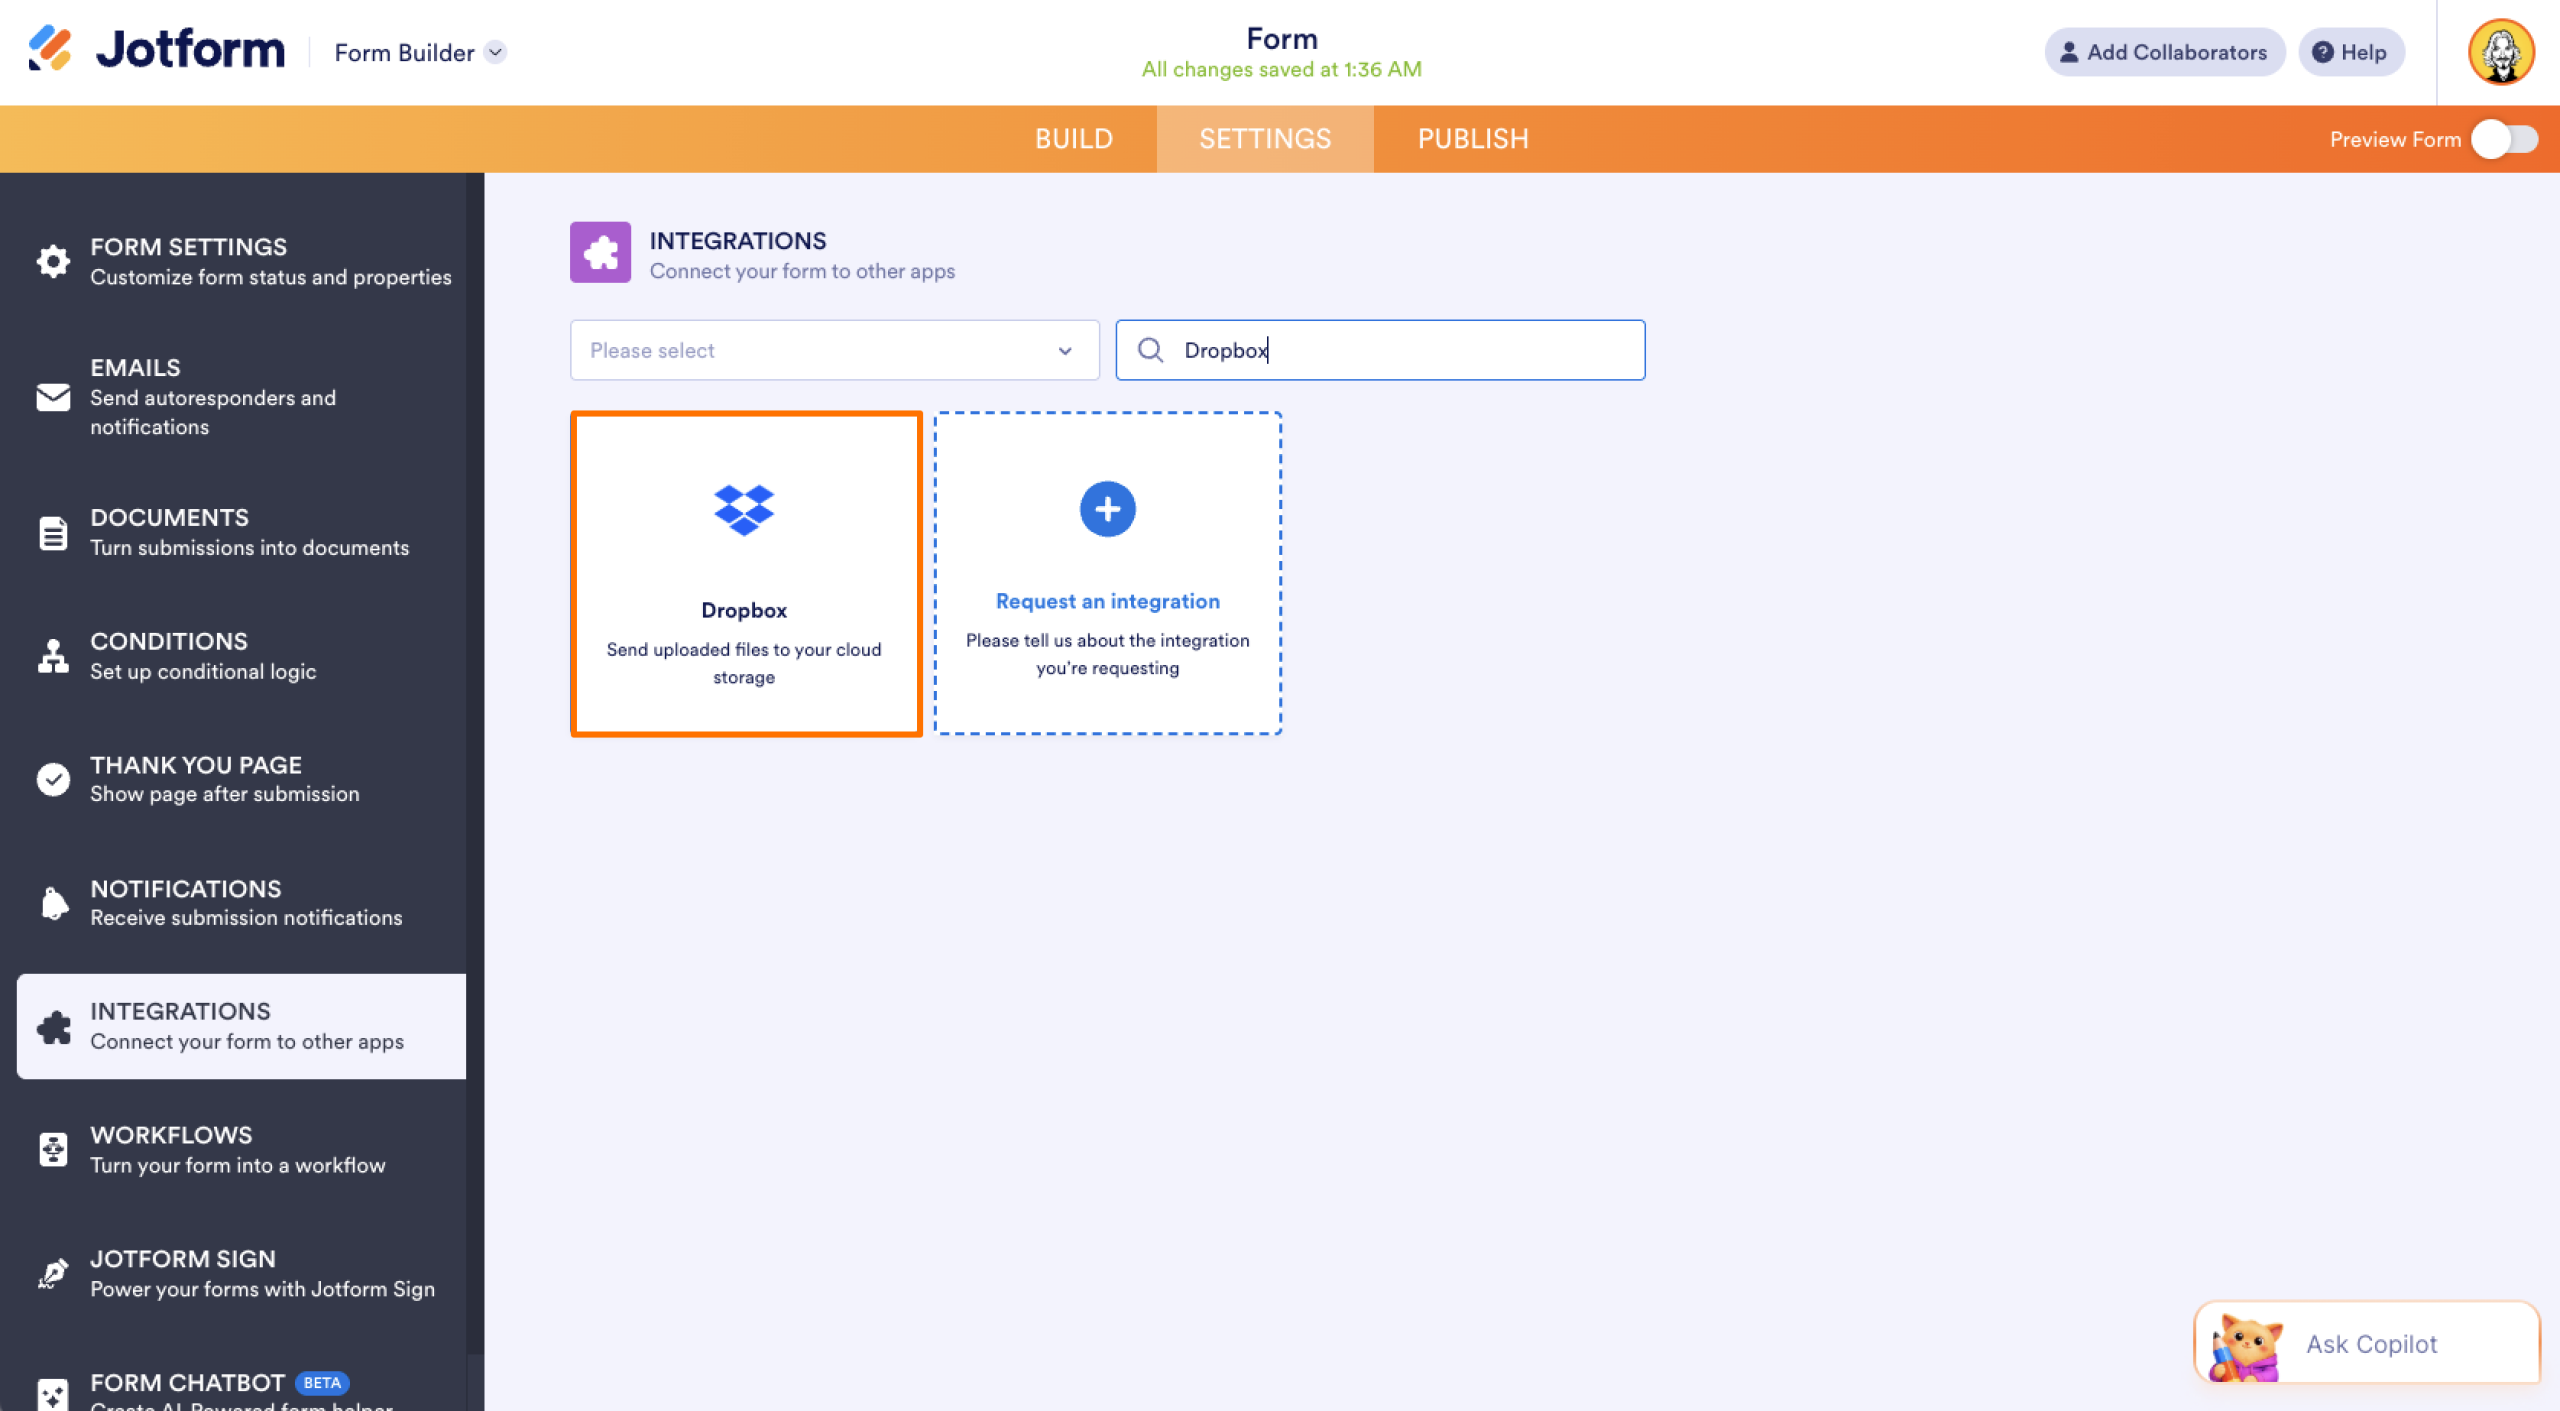
- In the Form Builder, go to the Settings tab.
- Select Integrations from the left panel.
- Search for and click Dropbox from the list of integrations.
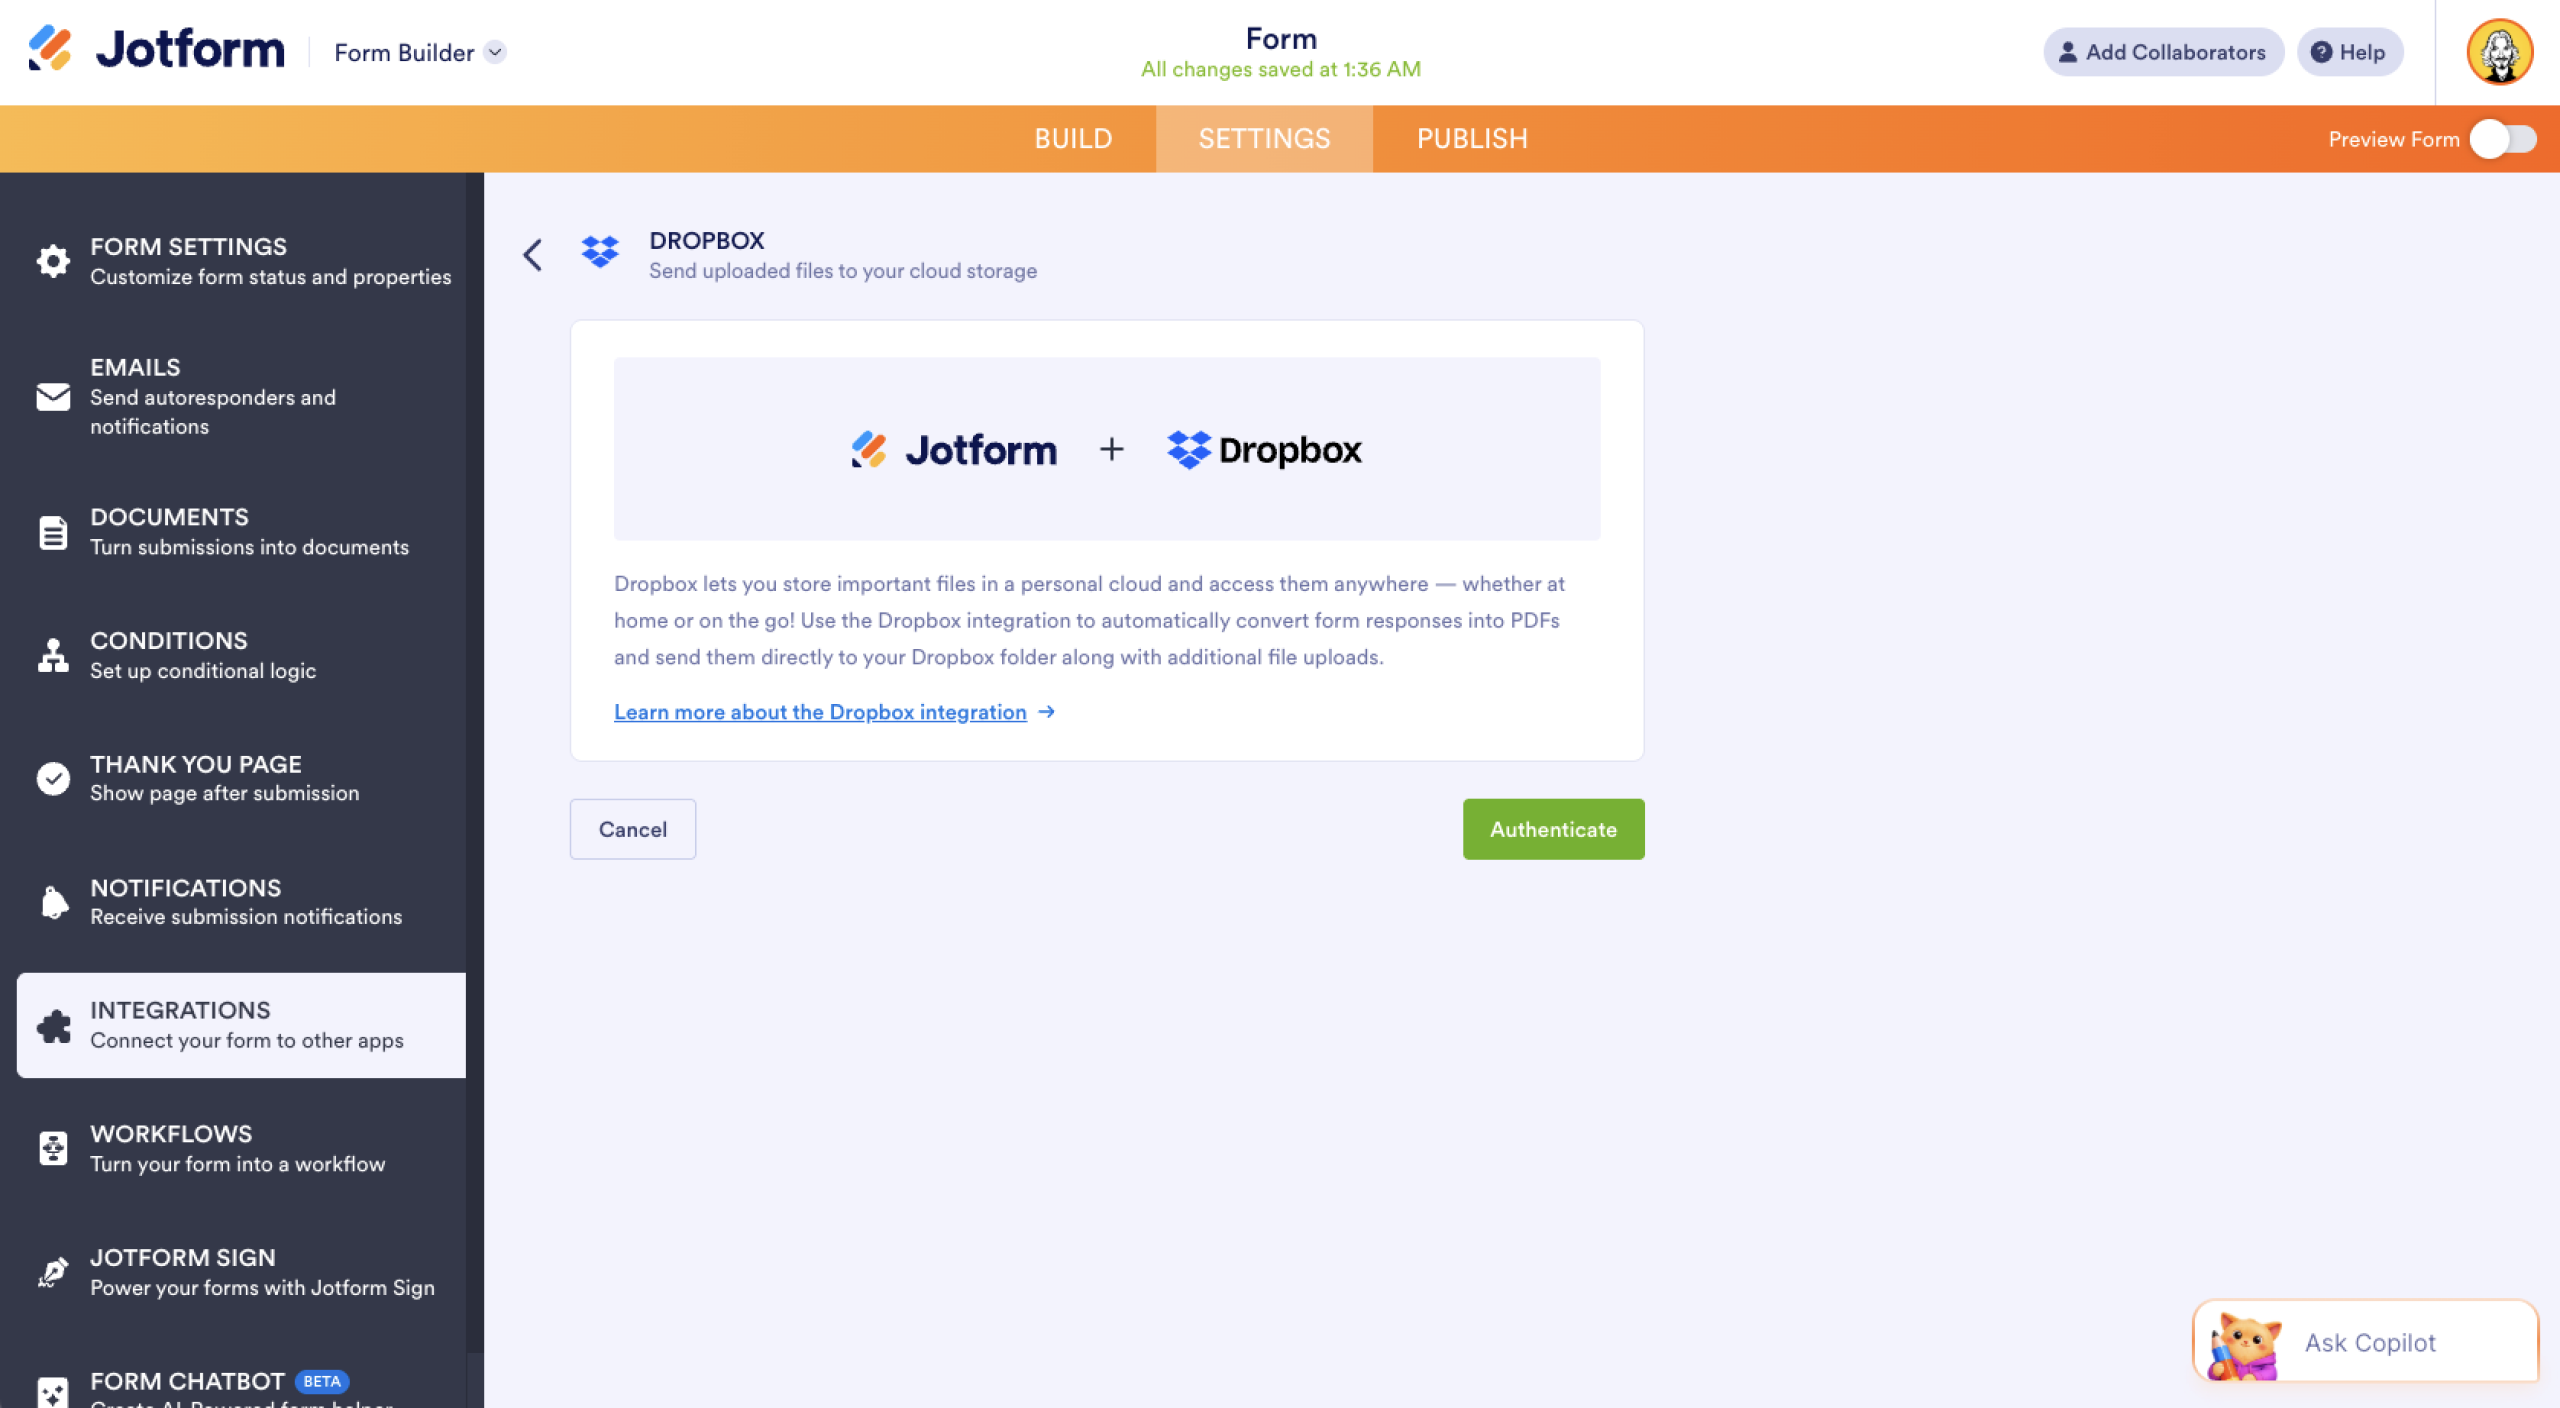
- Click the Authenticate button to connect your Dropbox account. Make sure you grant Jotform the necessary access permissions. If you’ve already connected a Dropbox account, simply choose it from the dropdown and click Add Action.
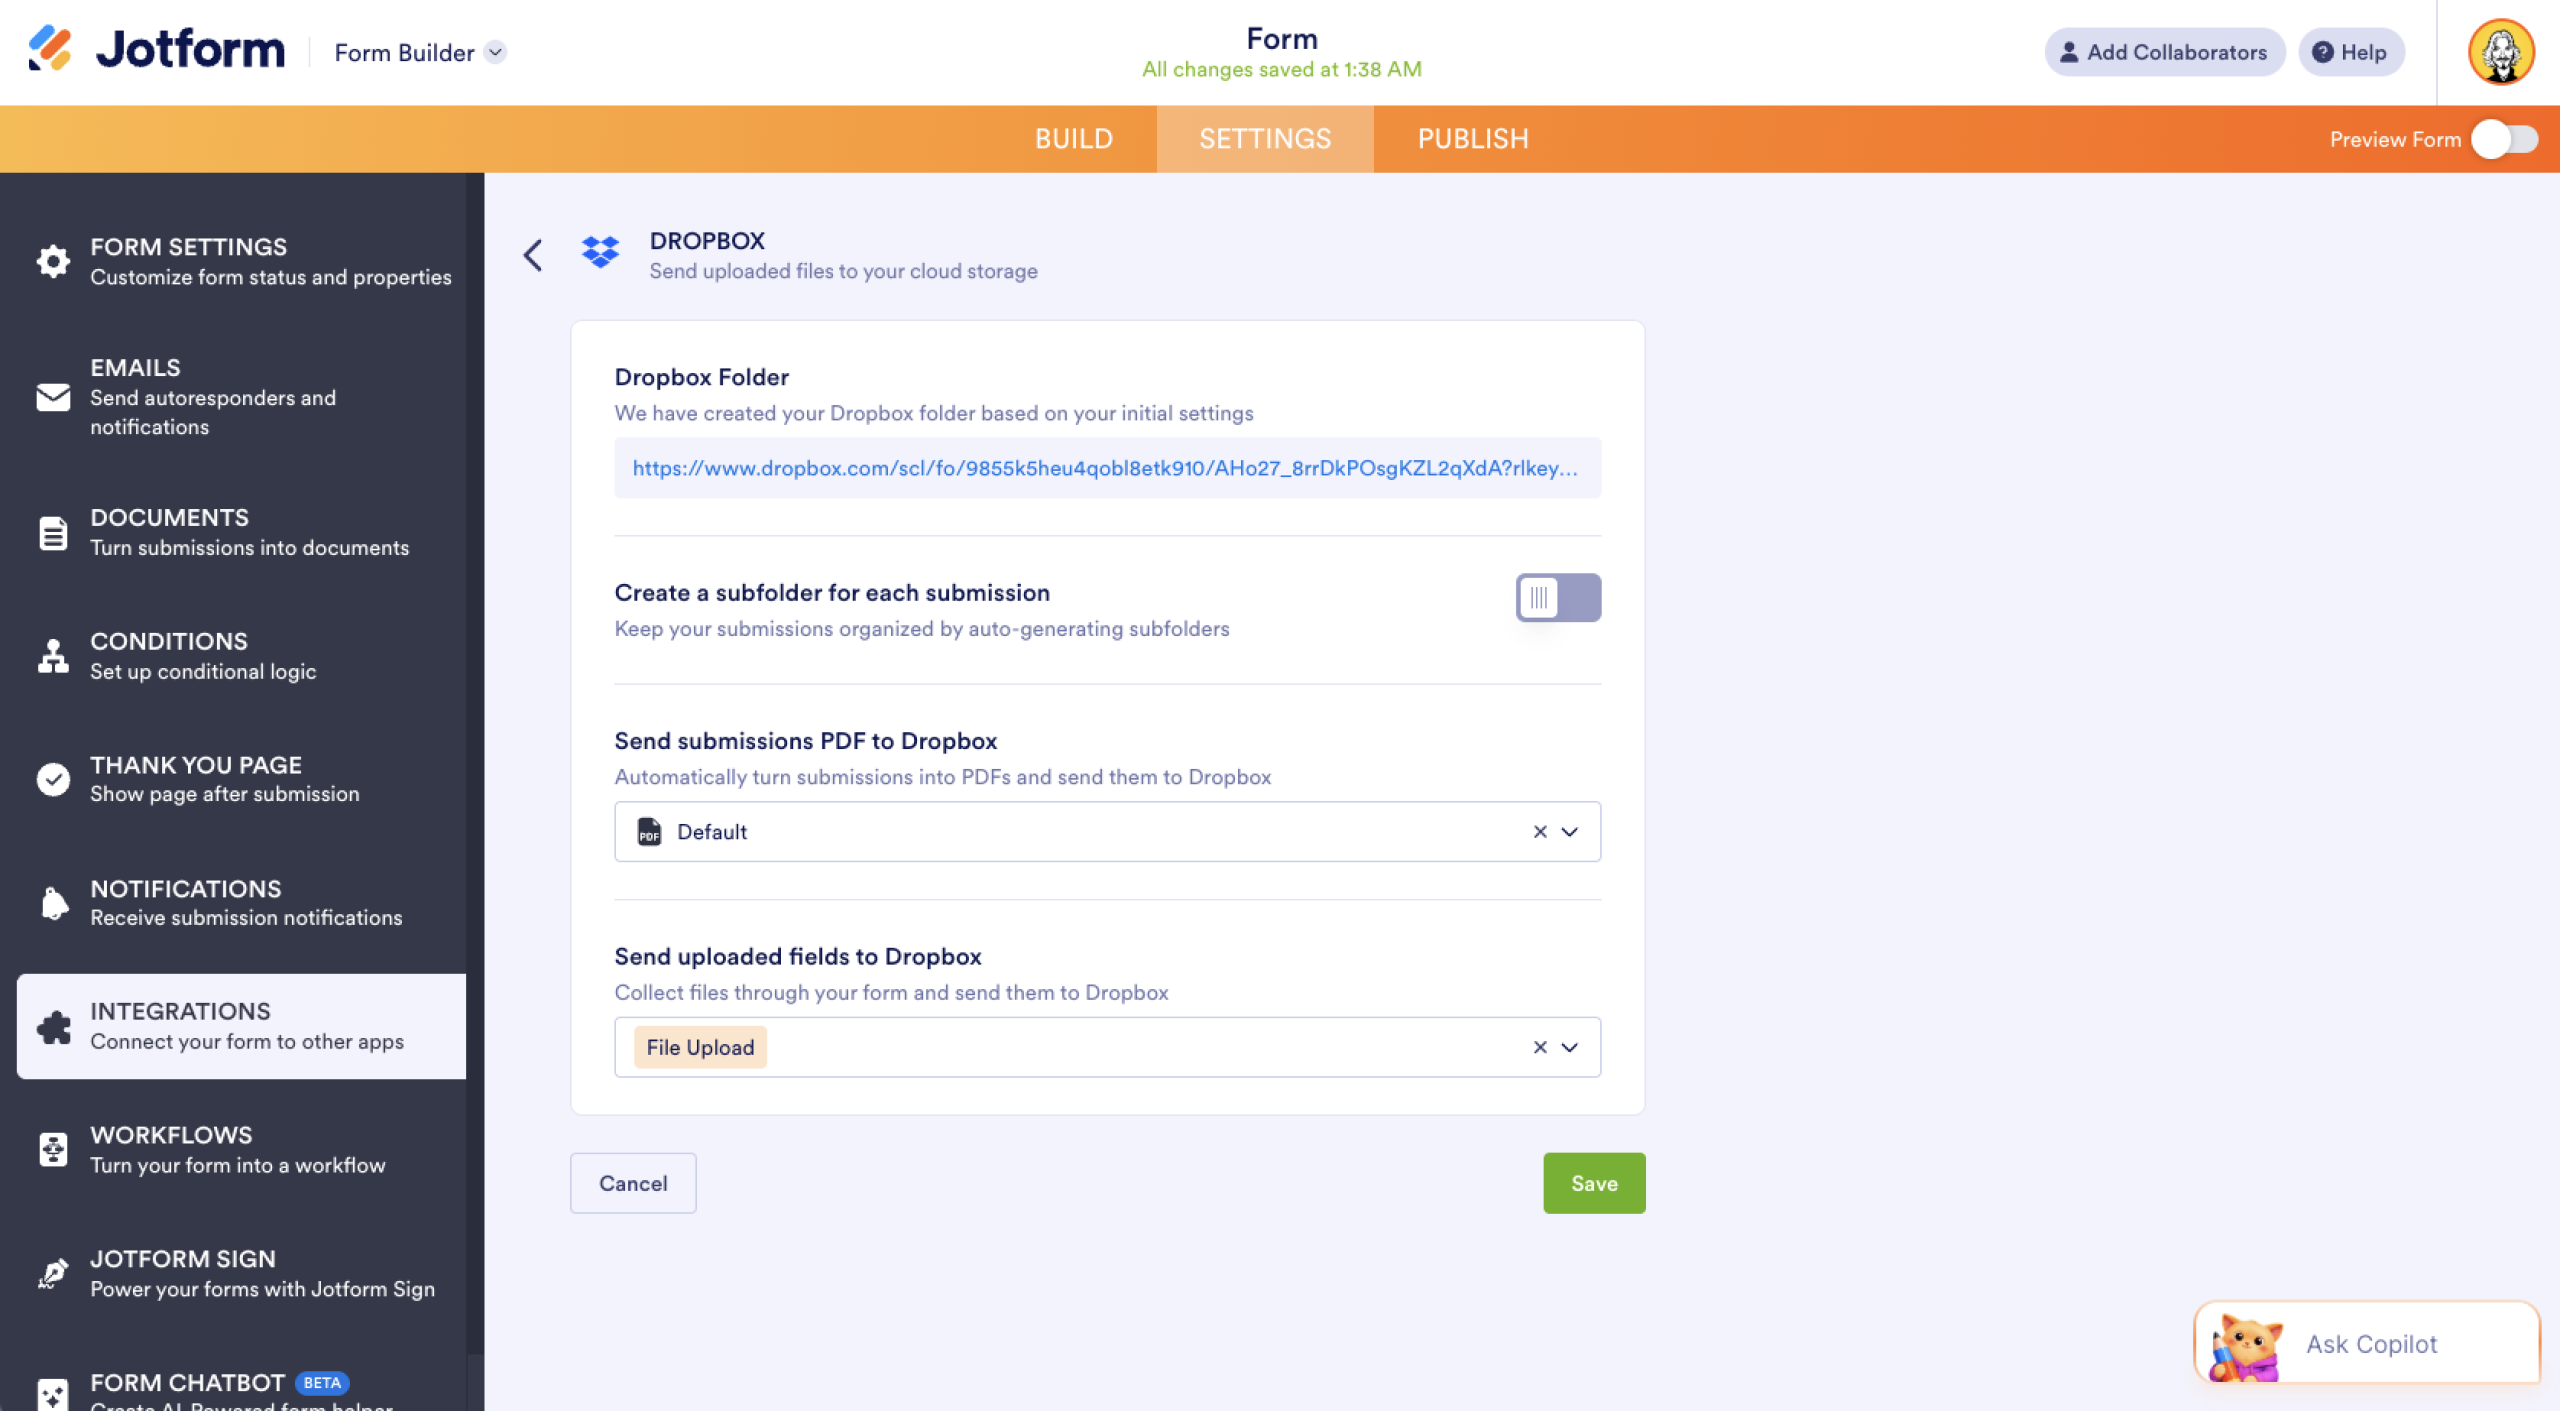
- Next, set up your folders:
- Enter a folder name: This will be your main Dropbox folder where submissions are stored.
- Create a subfolder for each submission: Toggle this on to create a separate folder for each submission. You can type a custom folder name or create one dynamically based on form field values.
- Configure your file settings:
- Send submissions PDF to Dropbox: Choose which PDF document to send. You’ll see “Default” if you haven’t created a custom PDF document yet.
- Send uploaded files to Dropbox: Select which file upload fields should send their attachments to Dropbox. You can choose multiple file upload fields here.
- Click Save to complete the integration.
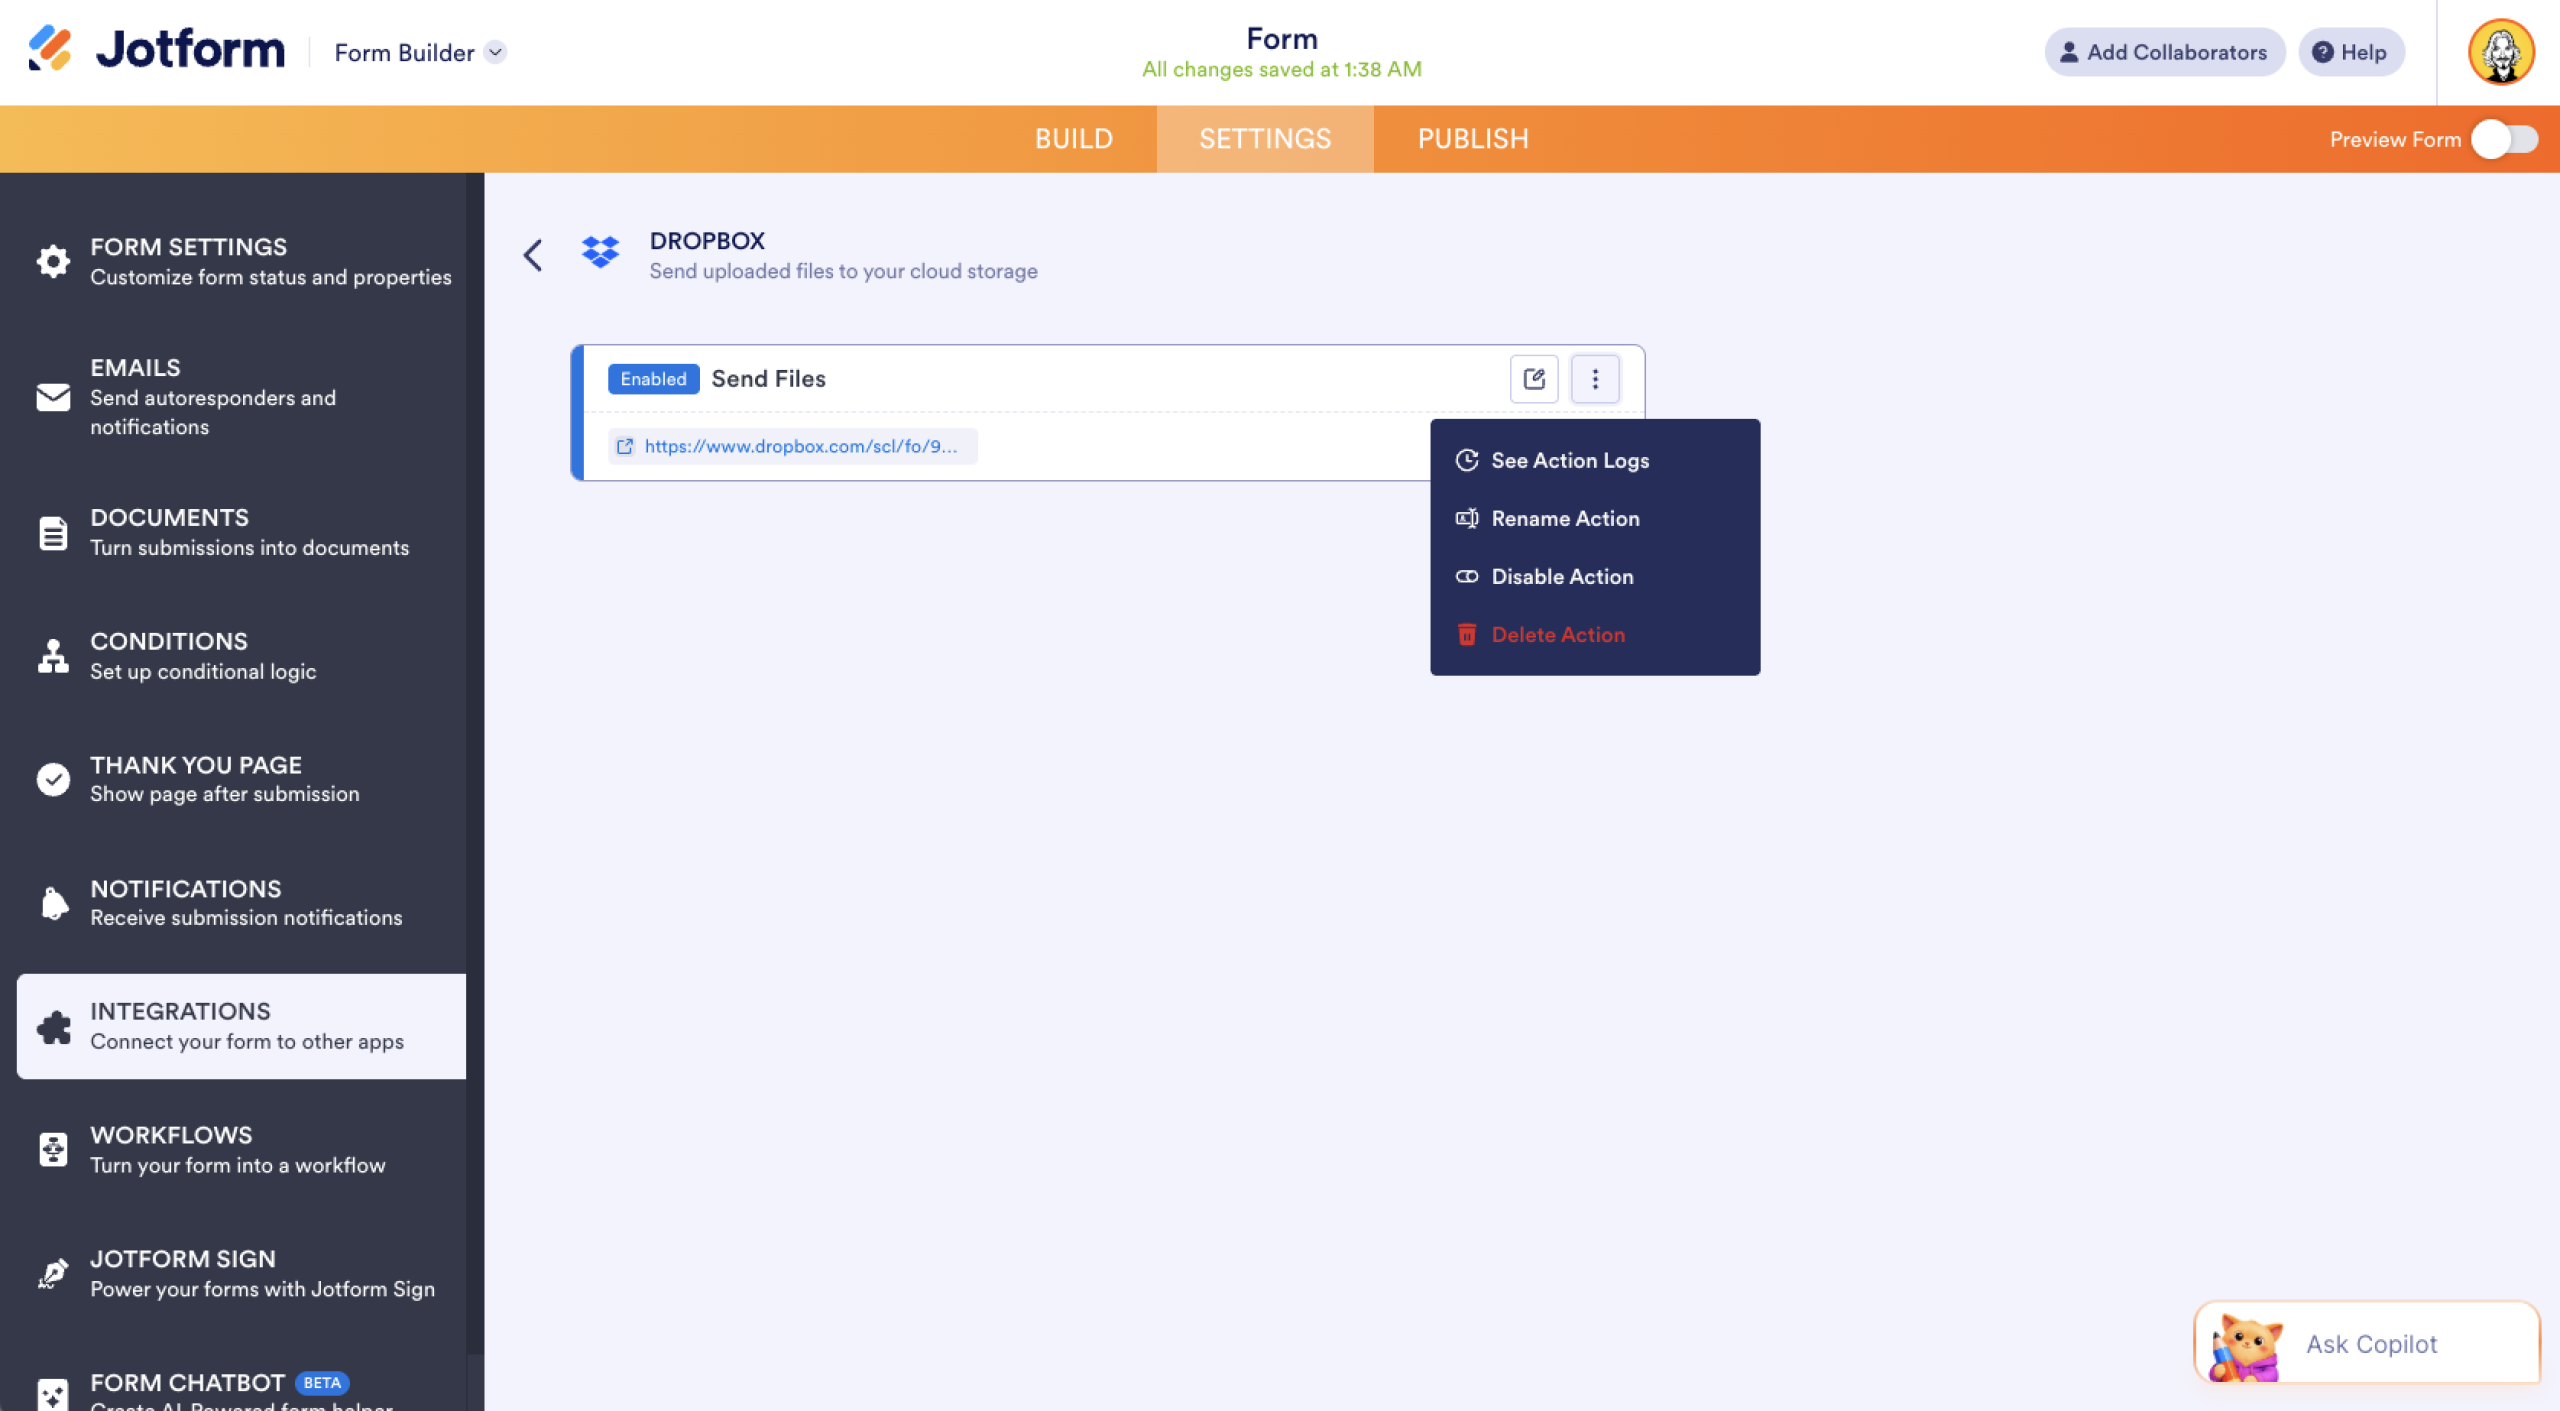
Once the setup is finished, you’ll see a link to your main Dropbox folder. If you hover over the created action, you’ll find the Edit Action (pencil icon) and More (three-dot vertical icon) options to the right. The More option includes the following:
- See Action Logs: Displays your Dropbox integration’s successful and failed runs. This is useful when troubleshooting issues.
- Rename Action: Lets you personalize the action’s title.
- Disable Action: Temporarily stops the integration from sending files without removing it entirely.
- Delete Action: Removes the integration from your form completely.
Effortlessly connect your forms to Dropbox with Jotform
Connecting Google Forms with Dropbox is possible through tools like Zapier and Make, but if you’re looking for a more streamlined experience, Jotform makes the connection effortless. With a built-in Dropbox integration, powerful file upload forms, and easy submission management, it’s the simplest way to collect and organize your files. Get started with Jotform for free and see the difference for yourself.
This article is designed for professionals, teams, and small business owners who rely on online forms to collect data, documents, or files and want a more efficient way to manage them.


Send Comment: