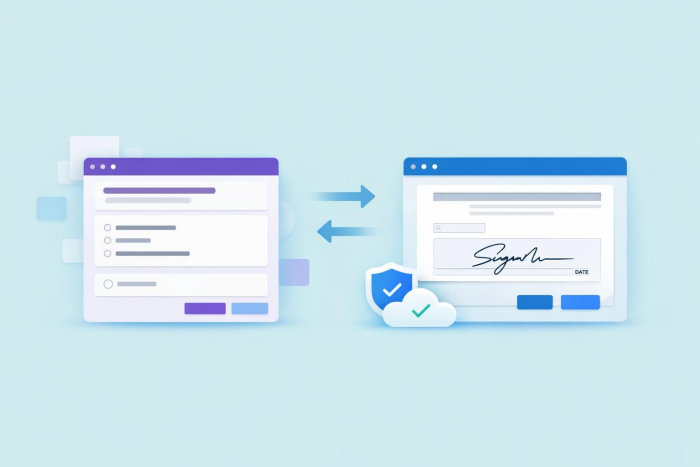
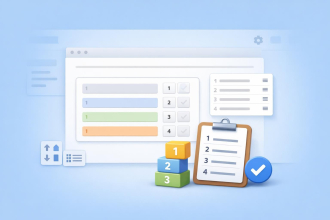
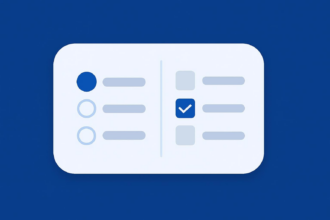
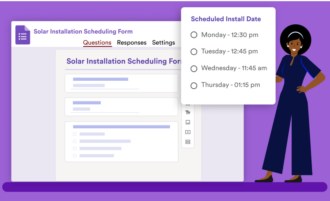
The basic data collection tool Google Forms helps users gather responses to surveys, forms, polls, and quizzes. It collects data in a structured format and automatically stores it in Google Sheets. SignNow, an e-signature tool, enables users to sign documents online and generates agreements and contracts.
Together, the two solutions create helpful workflows.
You can connect Google Forms to SignNow, and we’ll show you how in this article. Plus, we’ll introduce you to a form builder that has a built-in e-signature tool to streamline your workflow: Jotform.

Looking for the best alternative to Google Forms?
Jotform’s full-featured form-building solution is mobile-friendly and has the most integrations in the industry. Use it to collect payments, automate workflows, gather leads, and more.
How to connect Google Forms with SignNow
When you connect a form builder such as Google Forms and an e-signature tool such as SignNow, you can automate processes that require data collection and online signatures. For example, if an event attendee registers via Google Forms, their information can be sent to SignNow, which creates a liability waiver for them to sign. Similarly, if a customer completes a service request in Google Forms, SignNow can create a service agreement and send it to the customer for a signature.
However, Google Forms does not offer a native integration with SignNow. But this doesn’t have to prevent you from connecting the two tools. In the following sections, we’ll provide a few methods to do so.
Before you begin, be sure to set up a Google account and a SignNow account if you don’t have them already. Keep in mind that SignNow is primarily a paid tool, but it does offer a free seven-day trial.
Method 1: Using Google Form Signature by SignNow
SignNow’s Google Form Signature feature enables users to sign documents created in Google Forms. However, Google Forms doesn’t natively support electronic signatures, so you’ll need to first convert your form to a PDF. Once converted, you can upload that PDF to SignNow, where recipients can open it and add their signature before sending it back.
While this feature doesn’t automatically connect the full capabilities of SignNow with Google Forms, you can still use it to collect signatures.
Here’s how to use SignNow’s Google Form Signature feature:
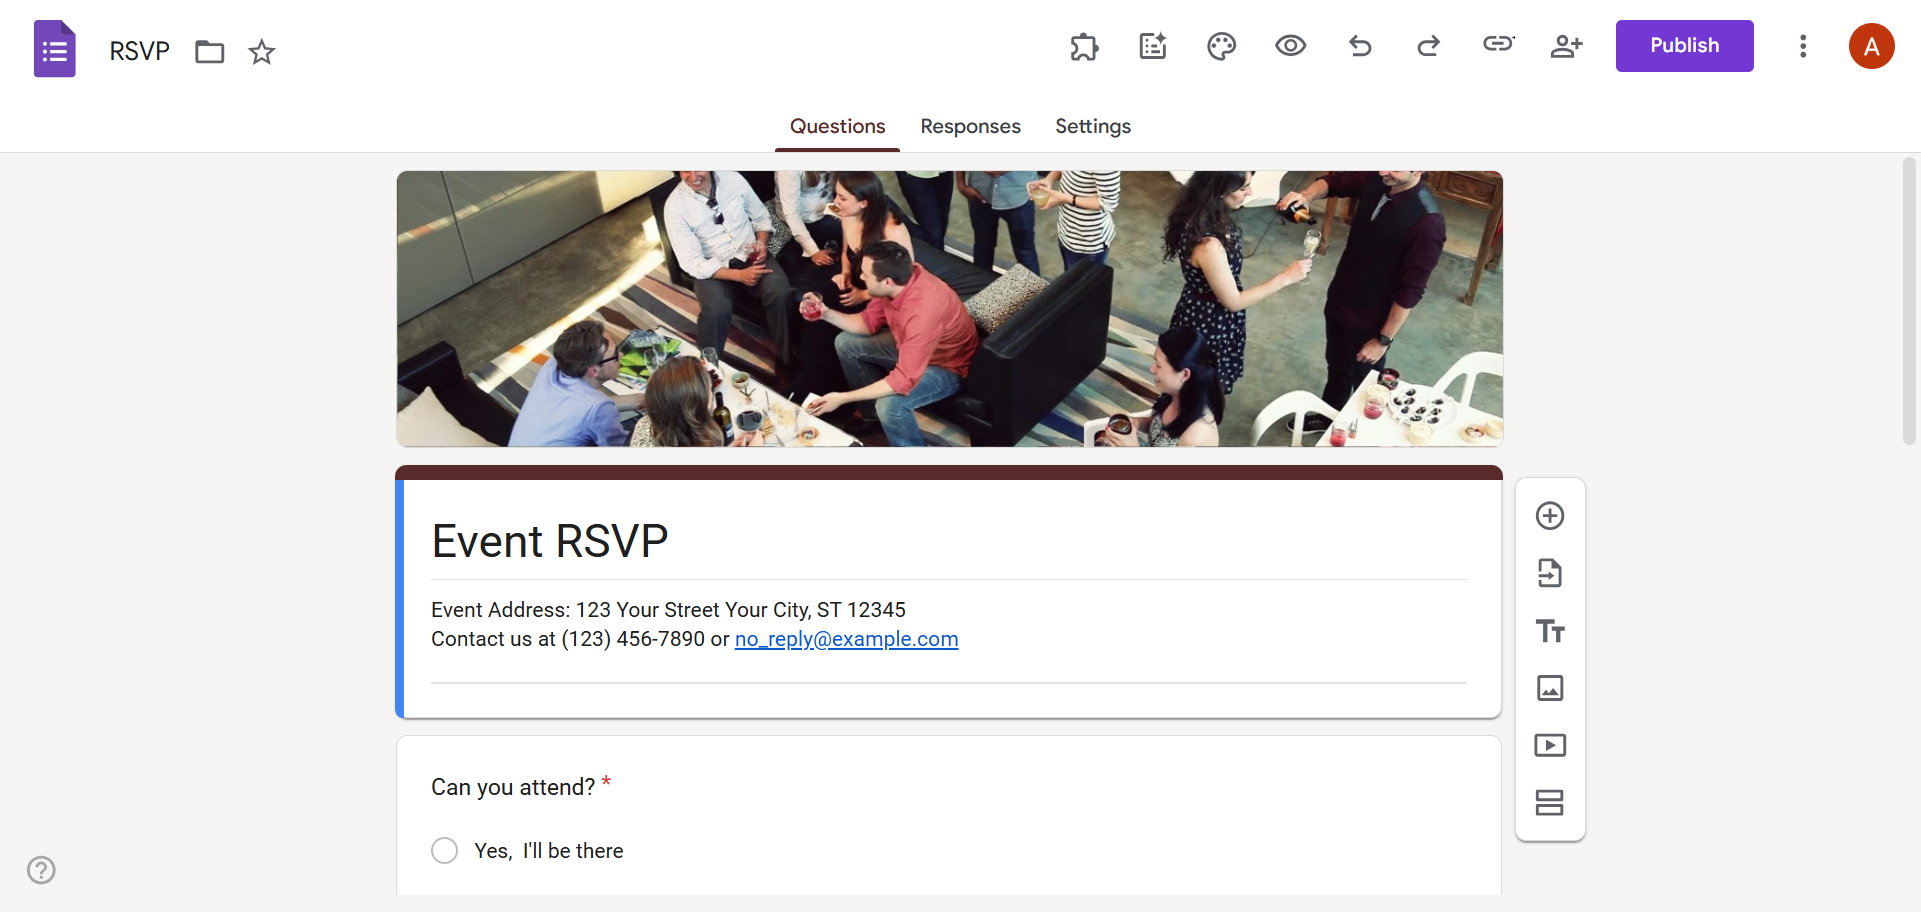
- Open the form that requires a signature.
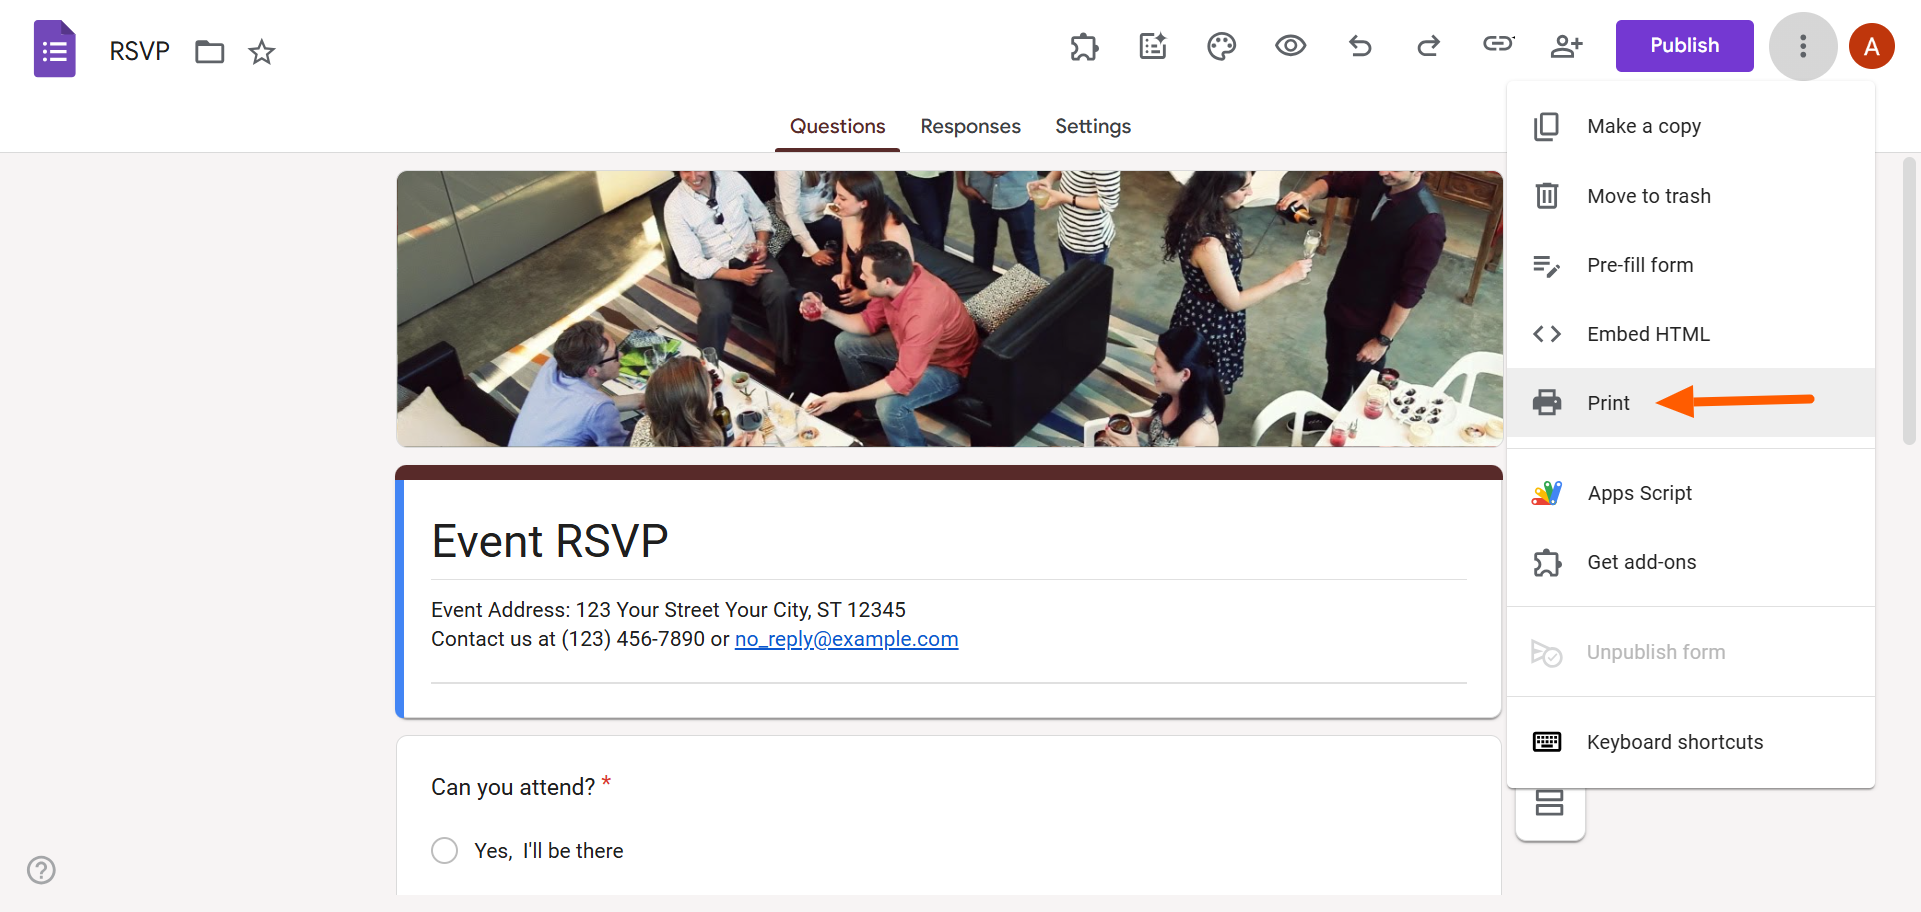
- Click the three-dot icon at the top right. Select Print.
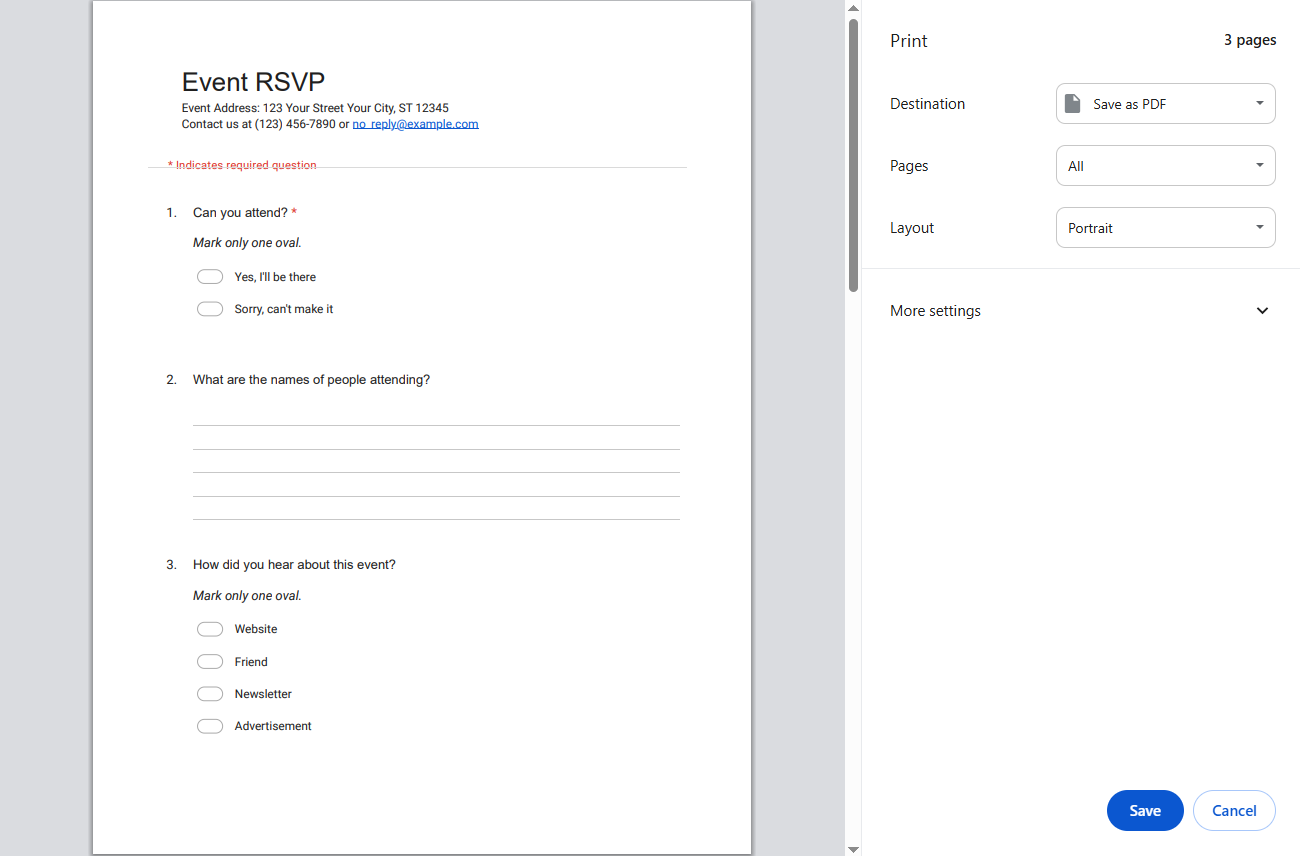
- Select Save as PDF. Click Save. Save the PDF file on your device.
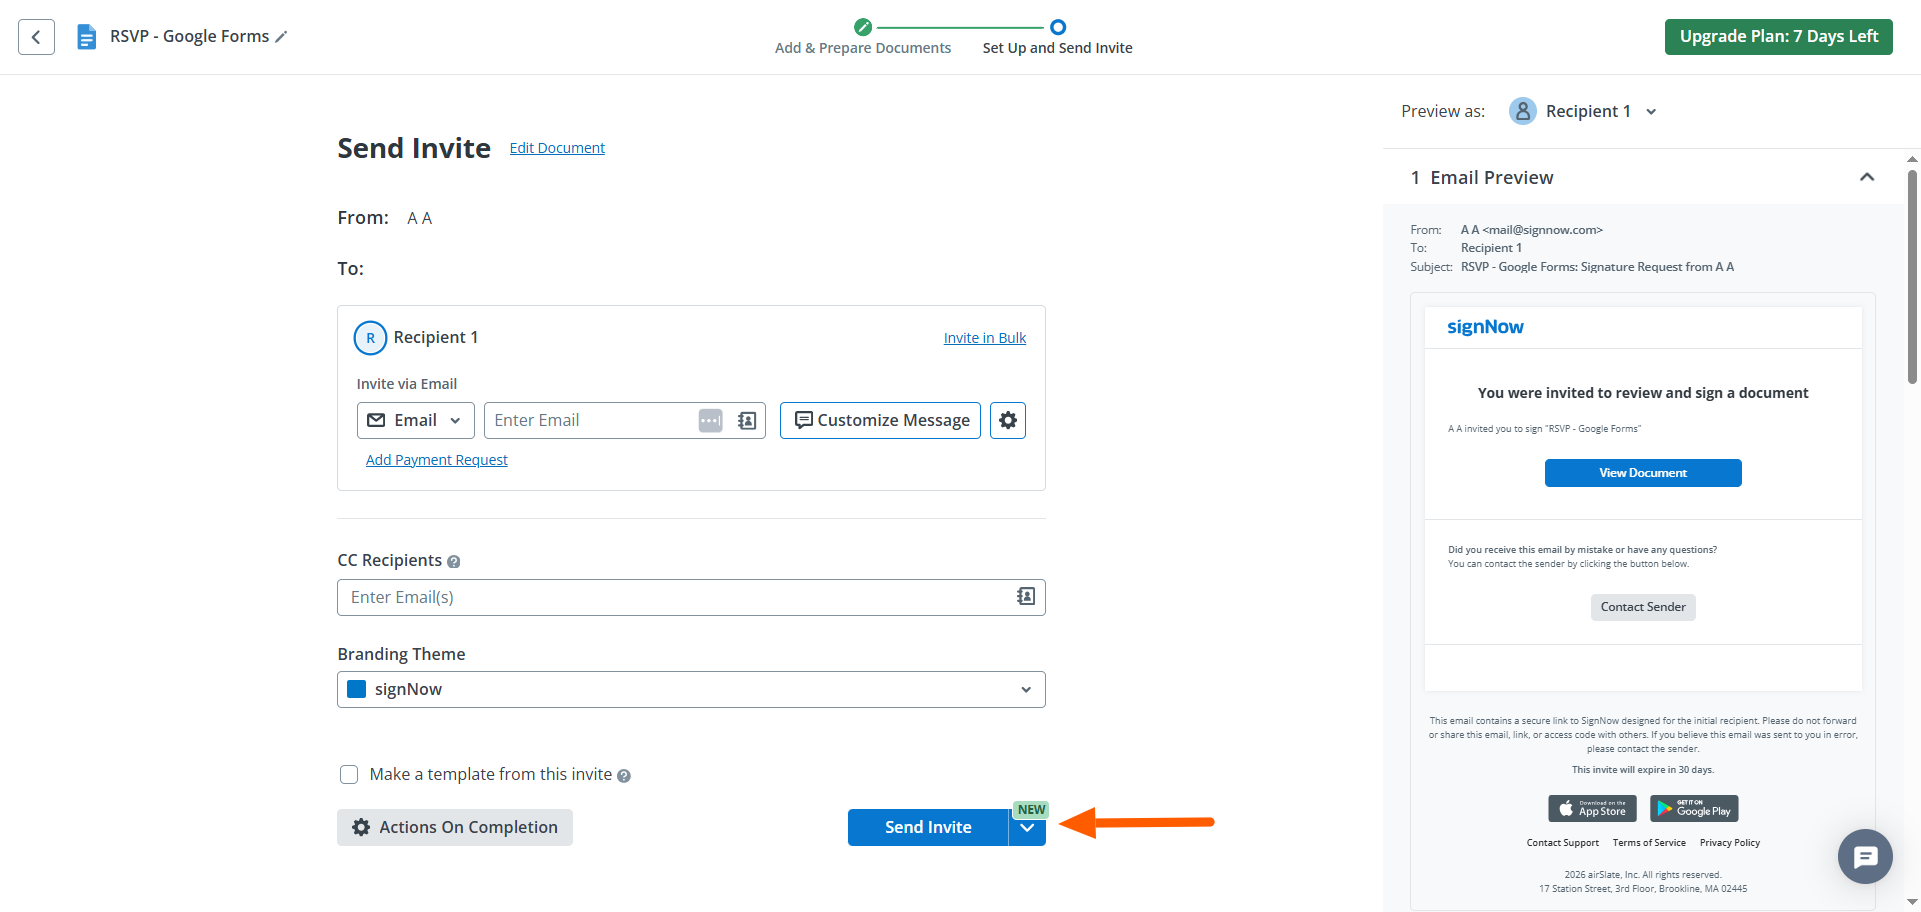
- In SignNow, go to Documents. Click Get Documents Signed.
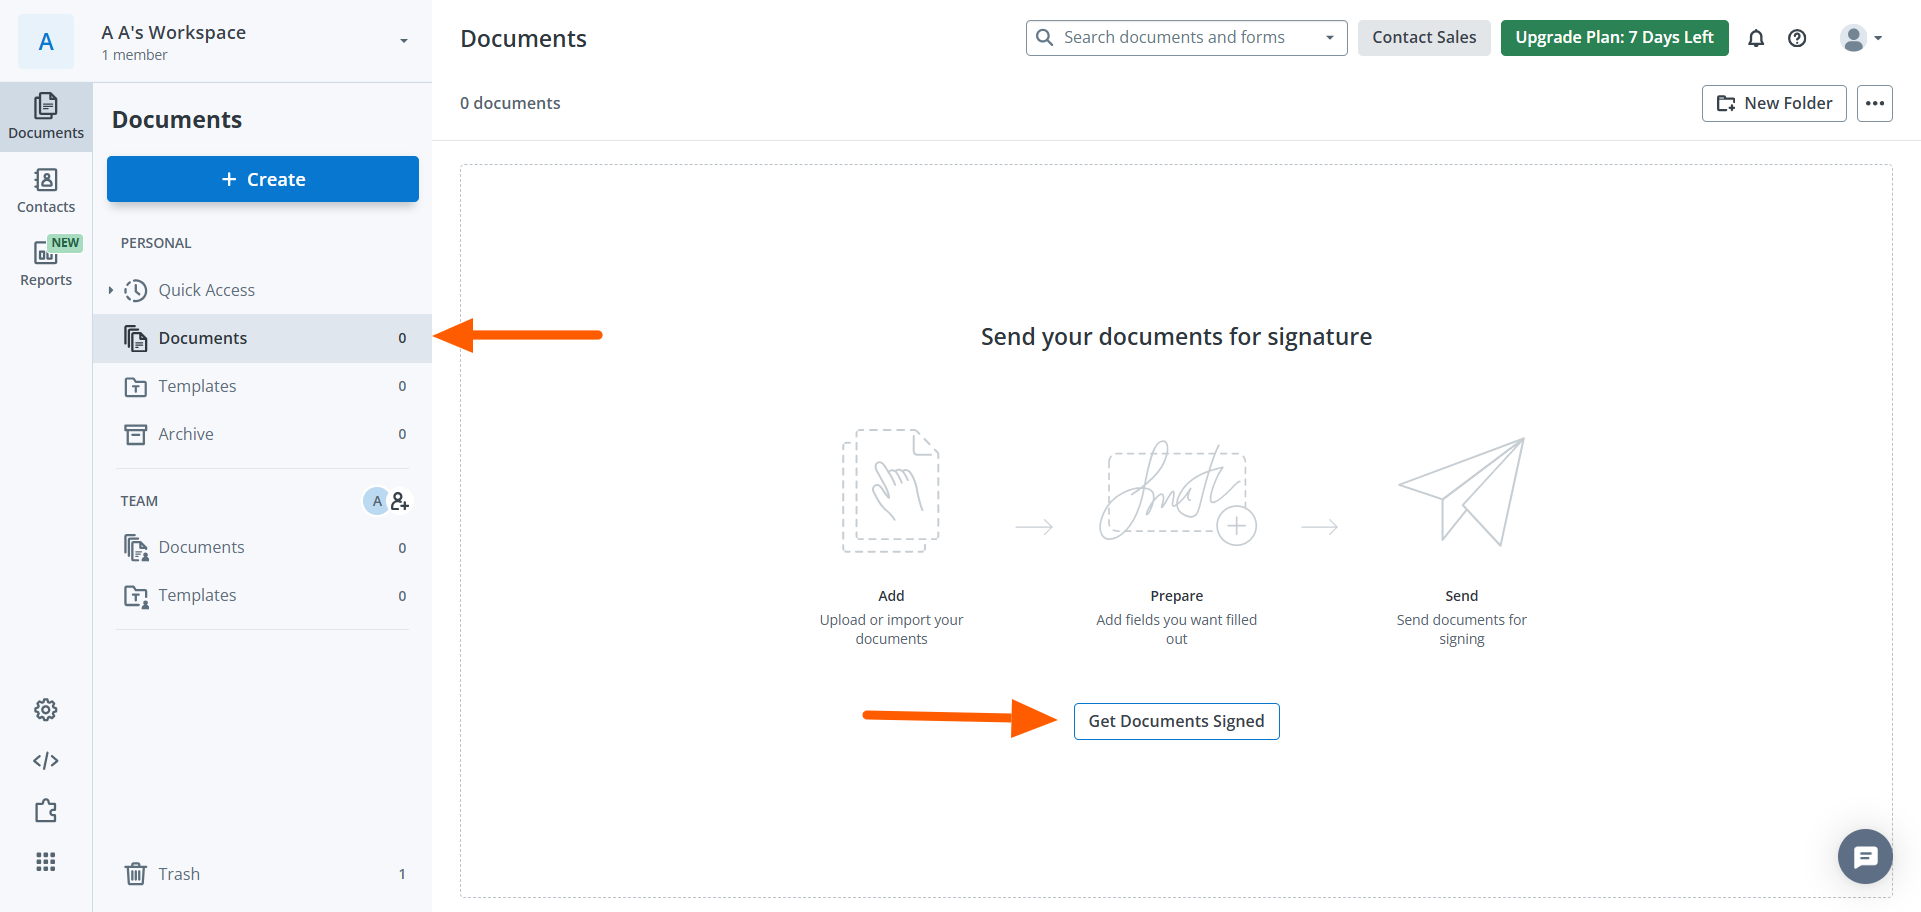
- Select Upload. Upload the PDF of your form. SignNow will then open the PDF file.
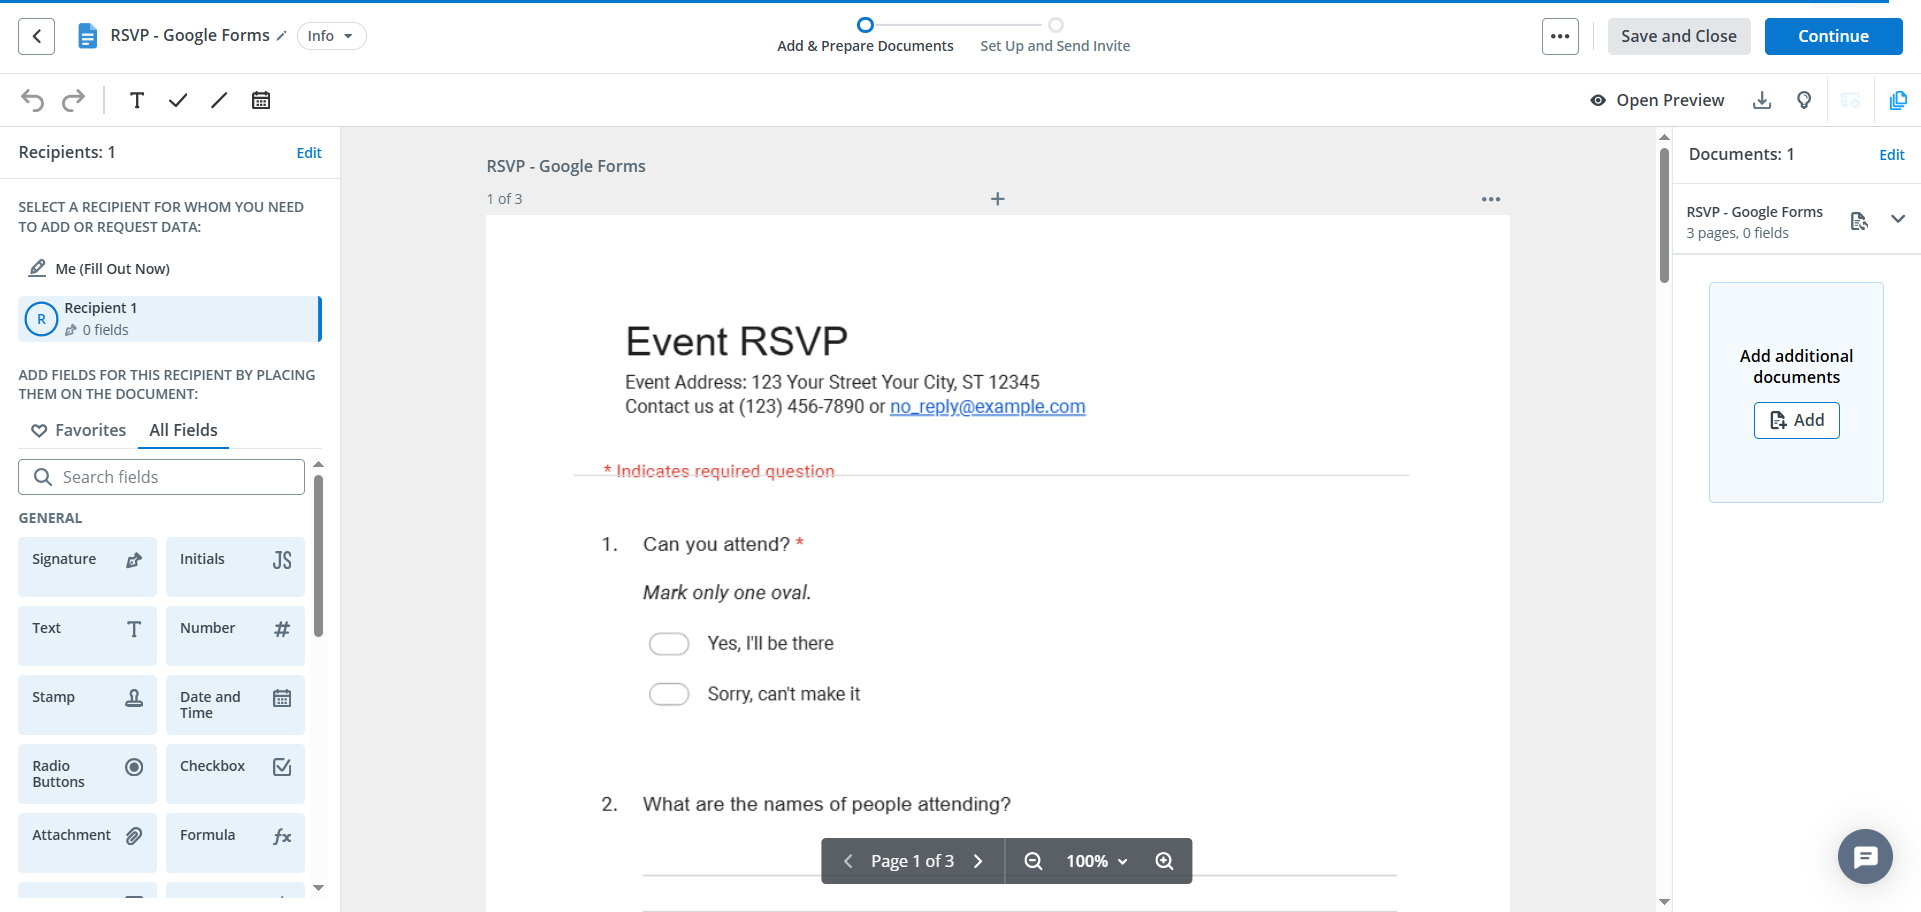
- Click Signature. Drag the Signature field to where you want it on the form.
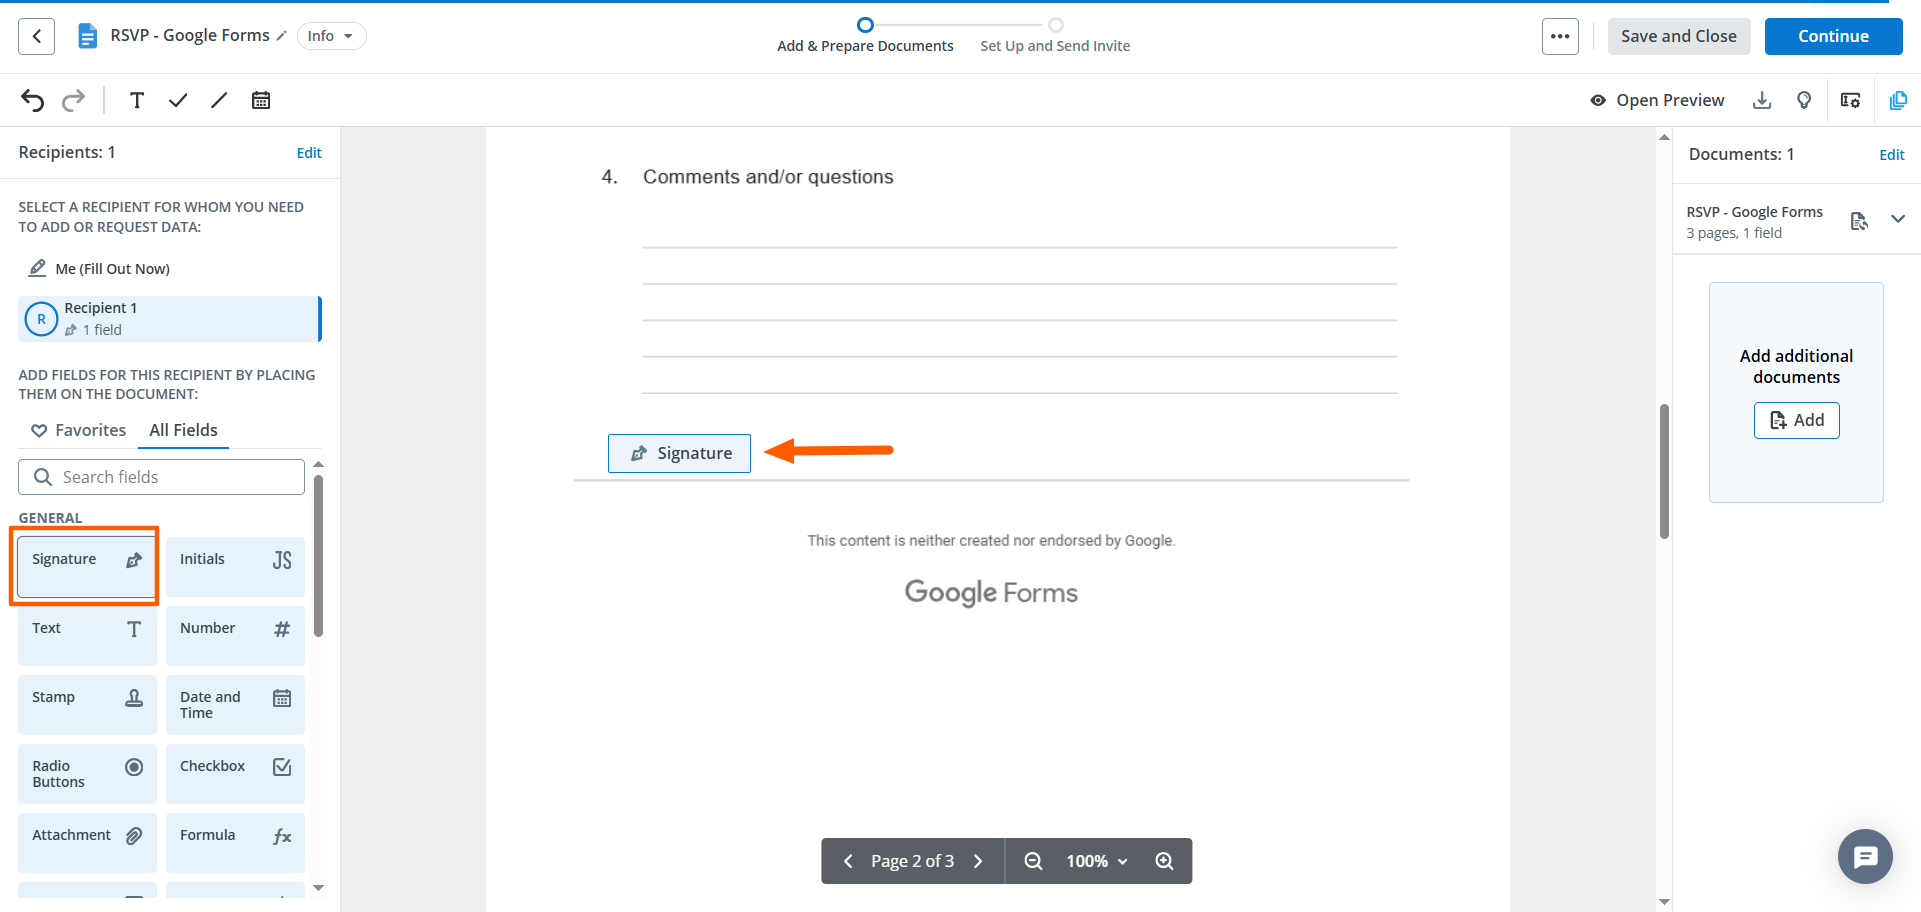
- Click Continue.
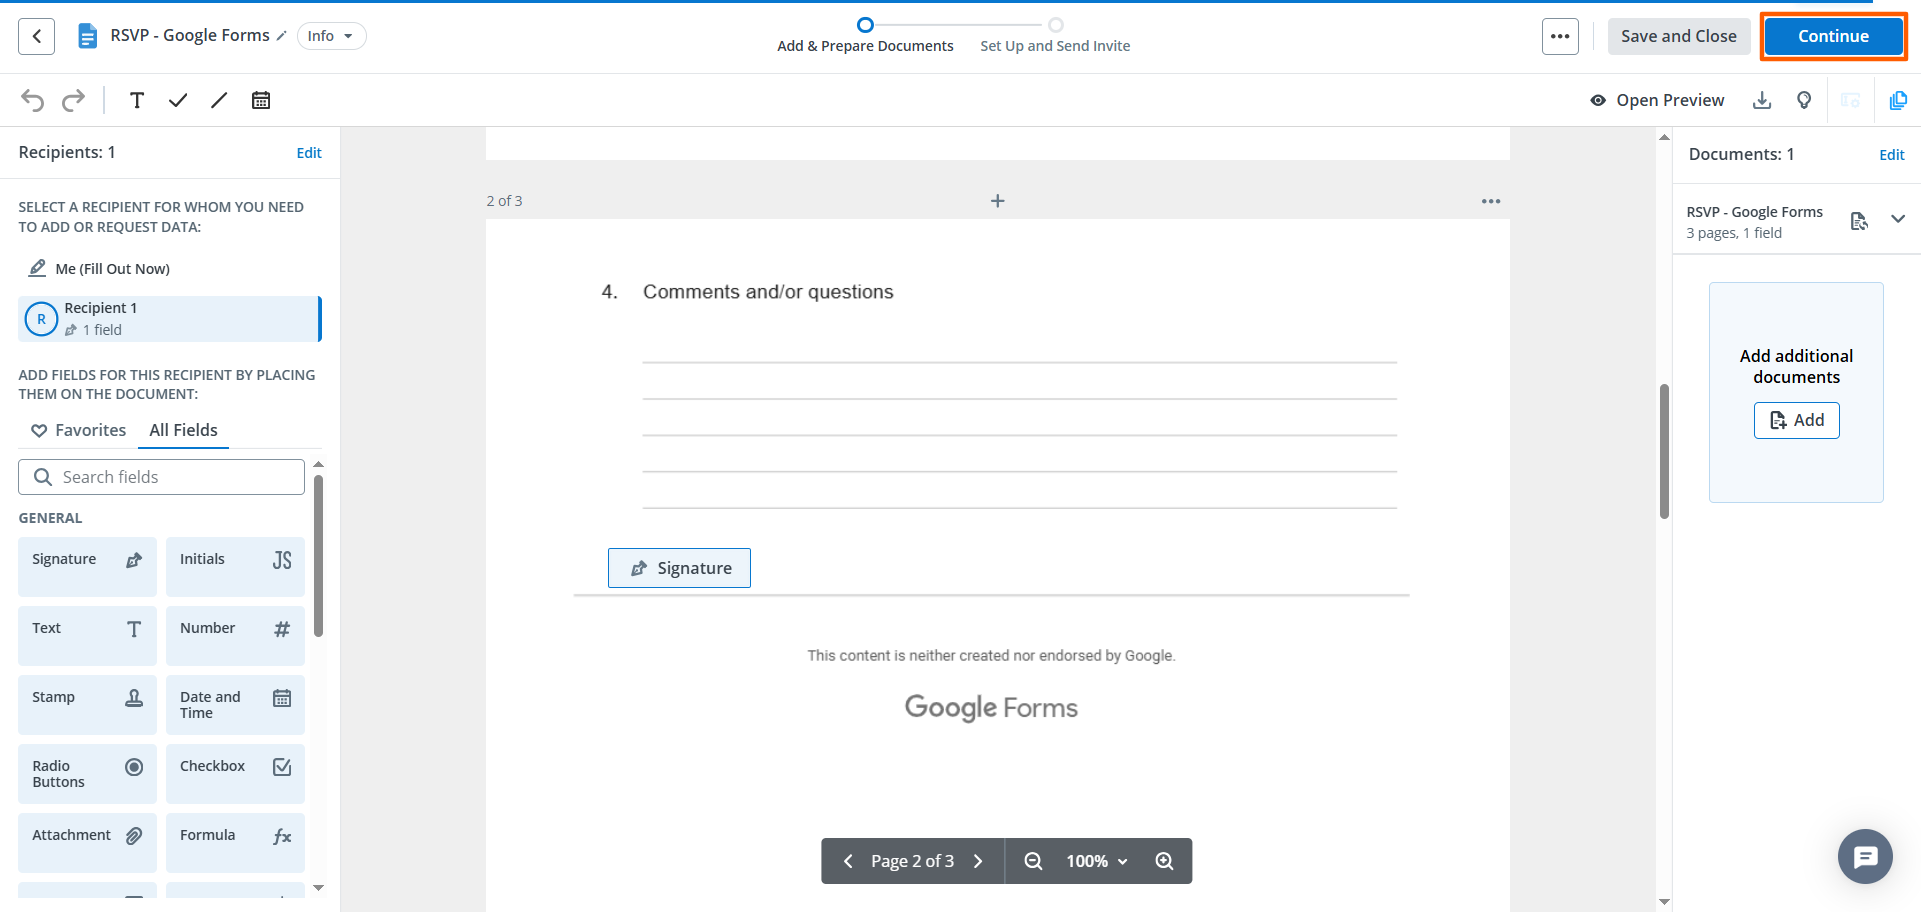
- Fill out the details under Recipient. Click Send Invite.
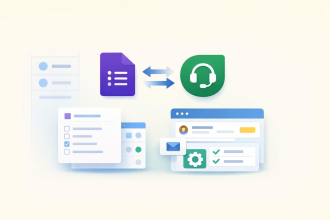
Method 2: Using a third-party integration tool
Third-party integration tools, such as Zapier and Make, streamline the process of connecting different applications (in this case, connecting Google Forms and SignNow).
Integration tools work on a trigger-and-action basis: You assign a specific trigger to the workflow (such as receiving a new Google form) and define a specific action that should happen as a result of the trigger (such as sending a document for signature via SignNow).
While they are no-code tools, third-party solutions do require some advanced technical knowledge. Sometimes, the integrations can be finicky, and you may need to troubleshoot to get them to function properly.
Here’s how to add an e-signature in Google Forms using Zapier; separate instructions follow for Make. You’ll need to set up a Zapier account first.
How to connect Google Forms to SignNow via Zapier
You’ll need a Google form that is connected to Google Sheets. You’ll also need a SignNow template.
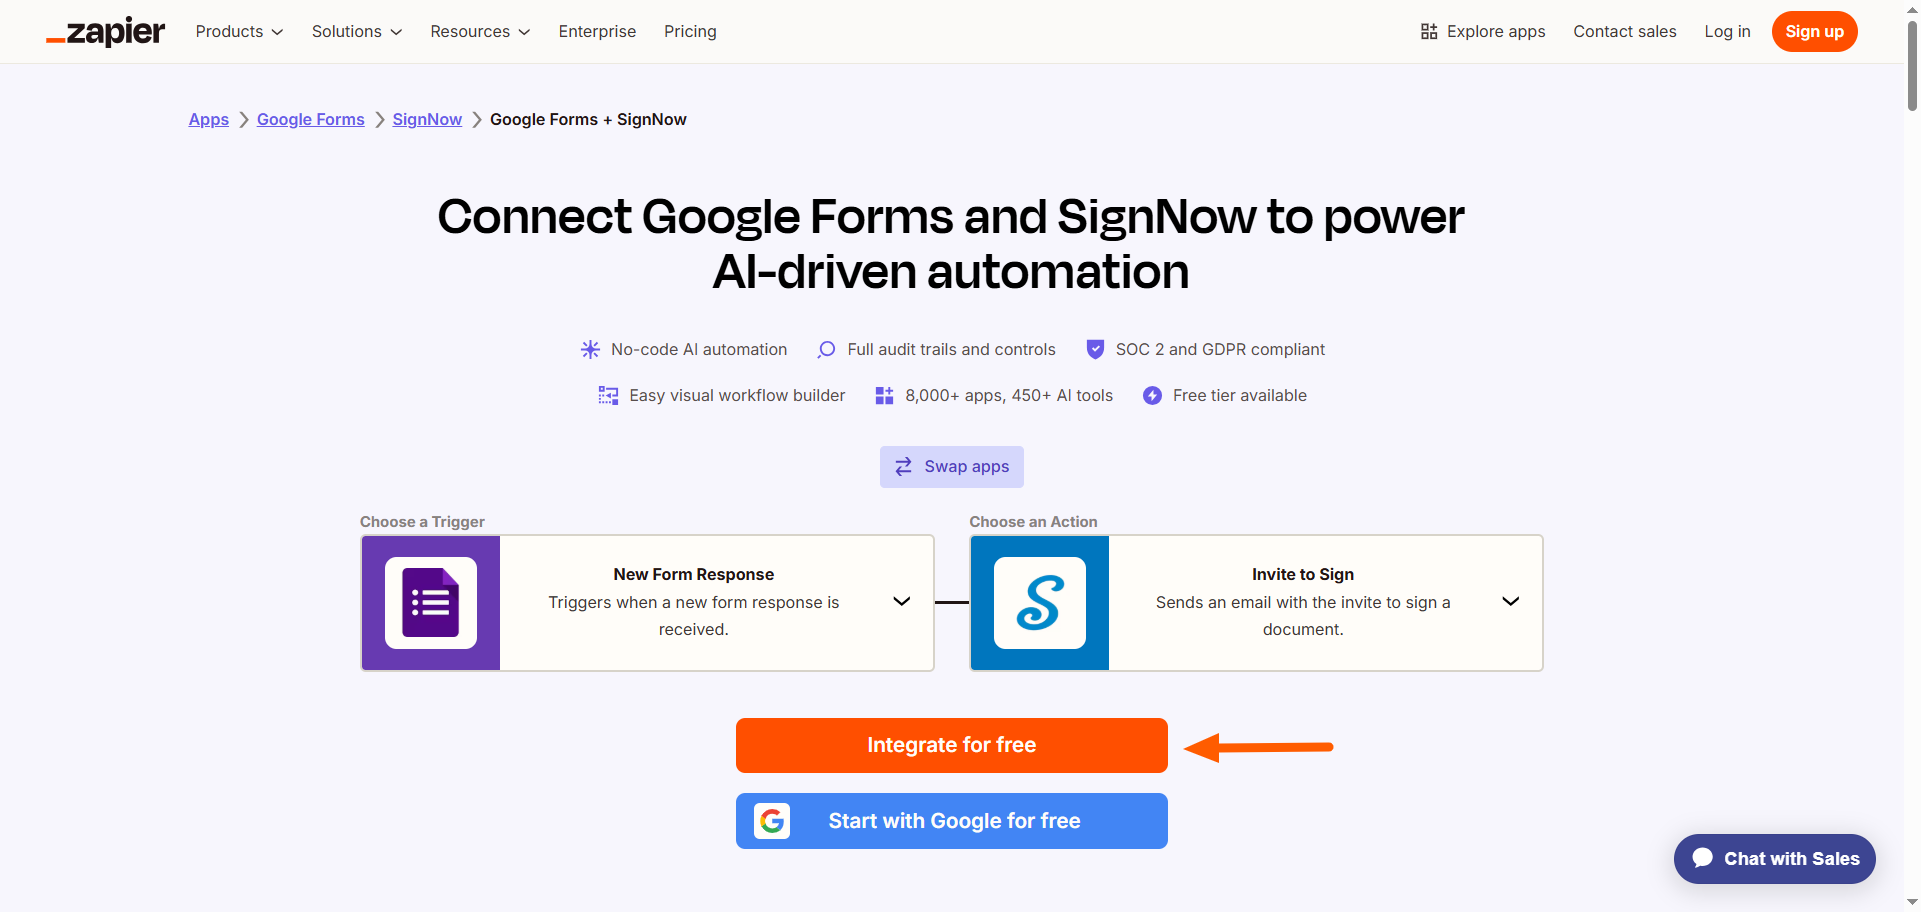
- Go to the Google Forms–SignNow integration page on Zapier.
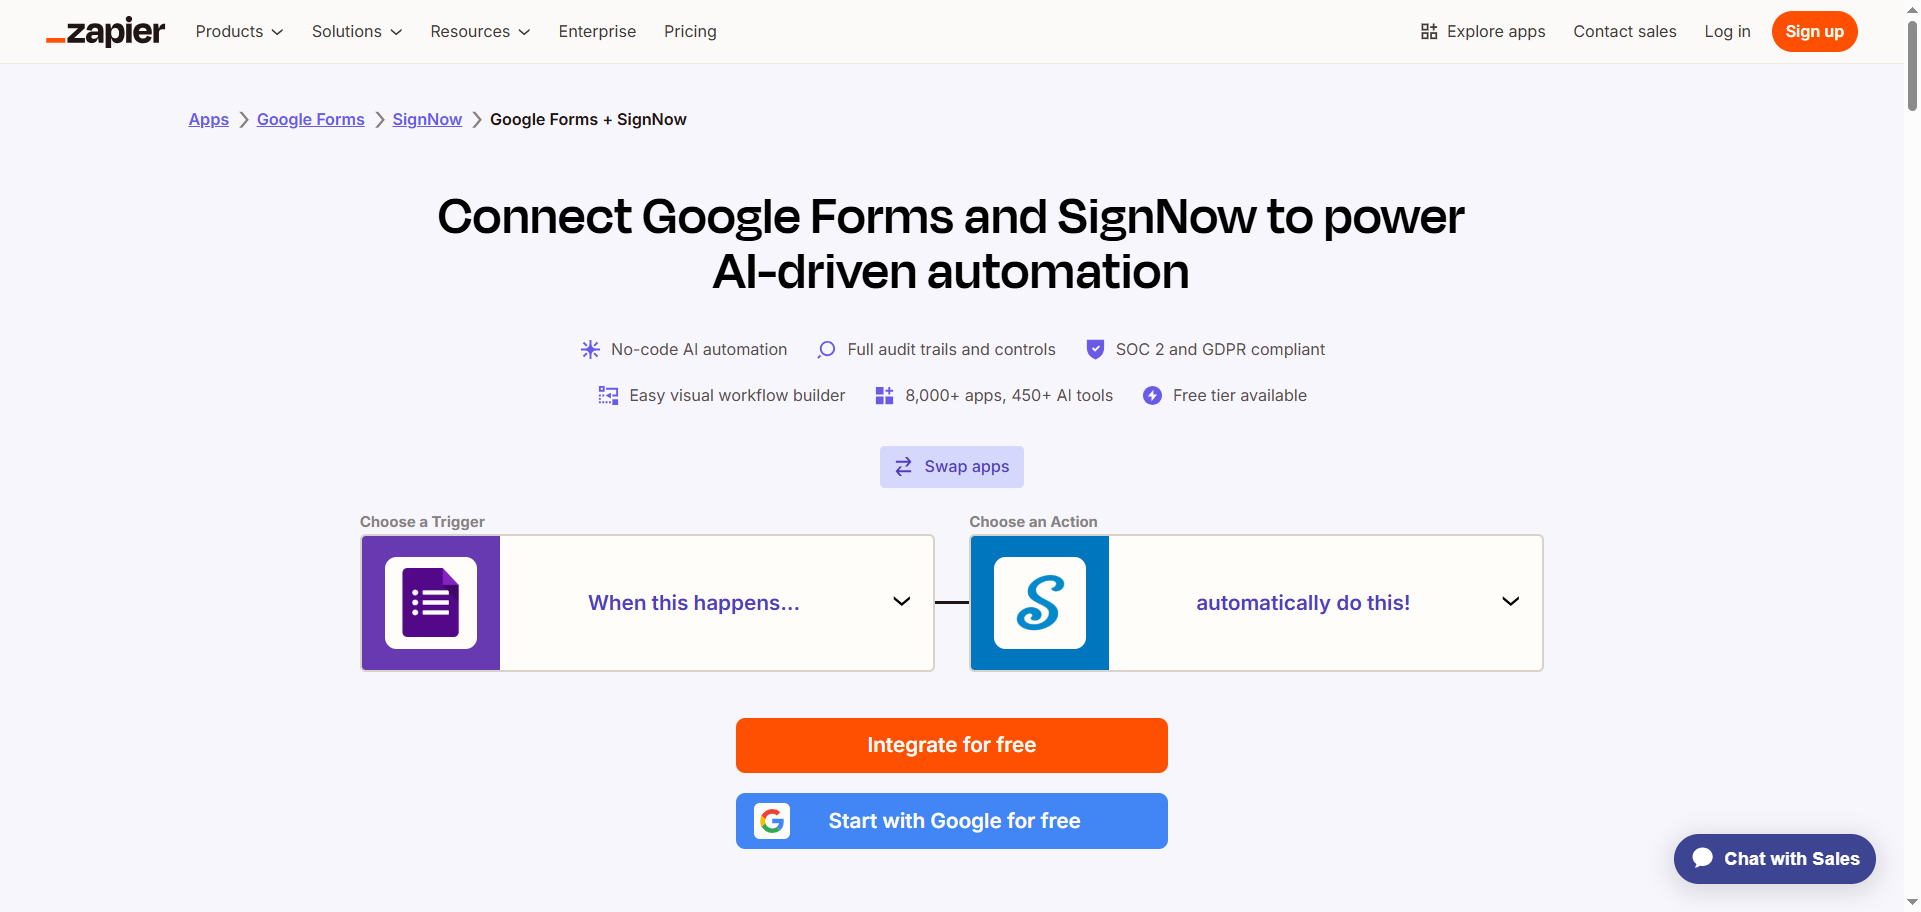
- Using the dropdown menu, select the trigger and action you want to configure. Zapier provides several built-in options. You can also click Swap Apps to switch where the trigger comes from.

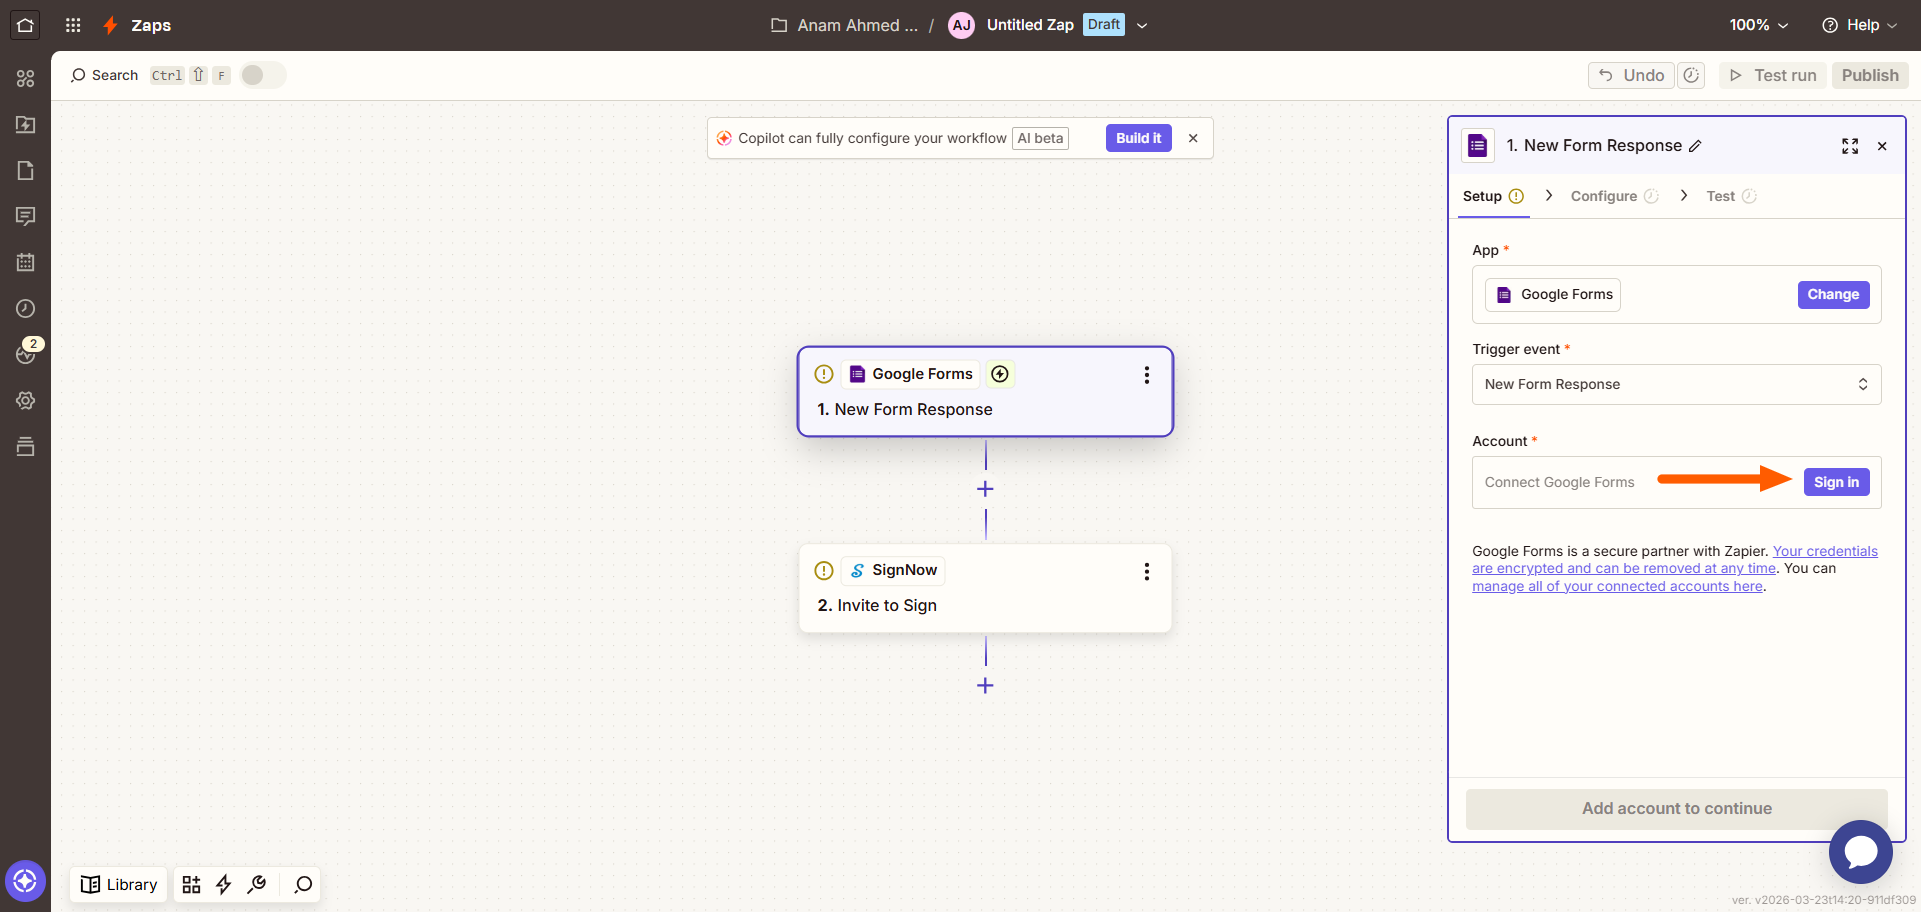
- Click Integrate for Free. Sign in to your Zapier account.
- Connect your Google Forms account to Zapier. Click Sign In and follow the prompts. Once you’re signed in, configure and test the connection. This step may take some trial and error to ensure the connection works correctly.
- Click SignNow.
- Connect your SignNow account to Zapier. Click Sign In and follow the prompts. Once you’re signed in, configure and test the connection. Again, this step may take some trial and error to ensure the connection works.
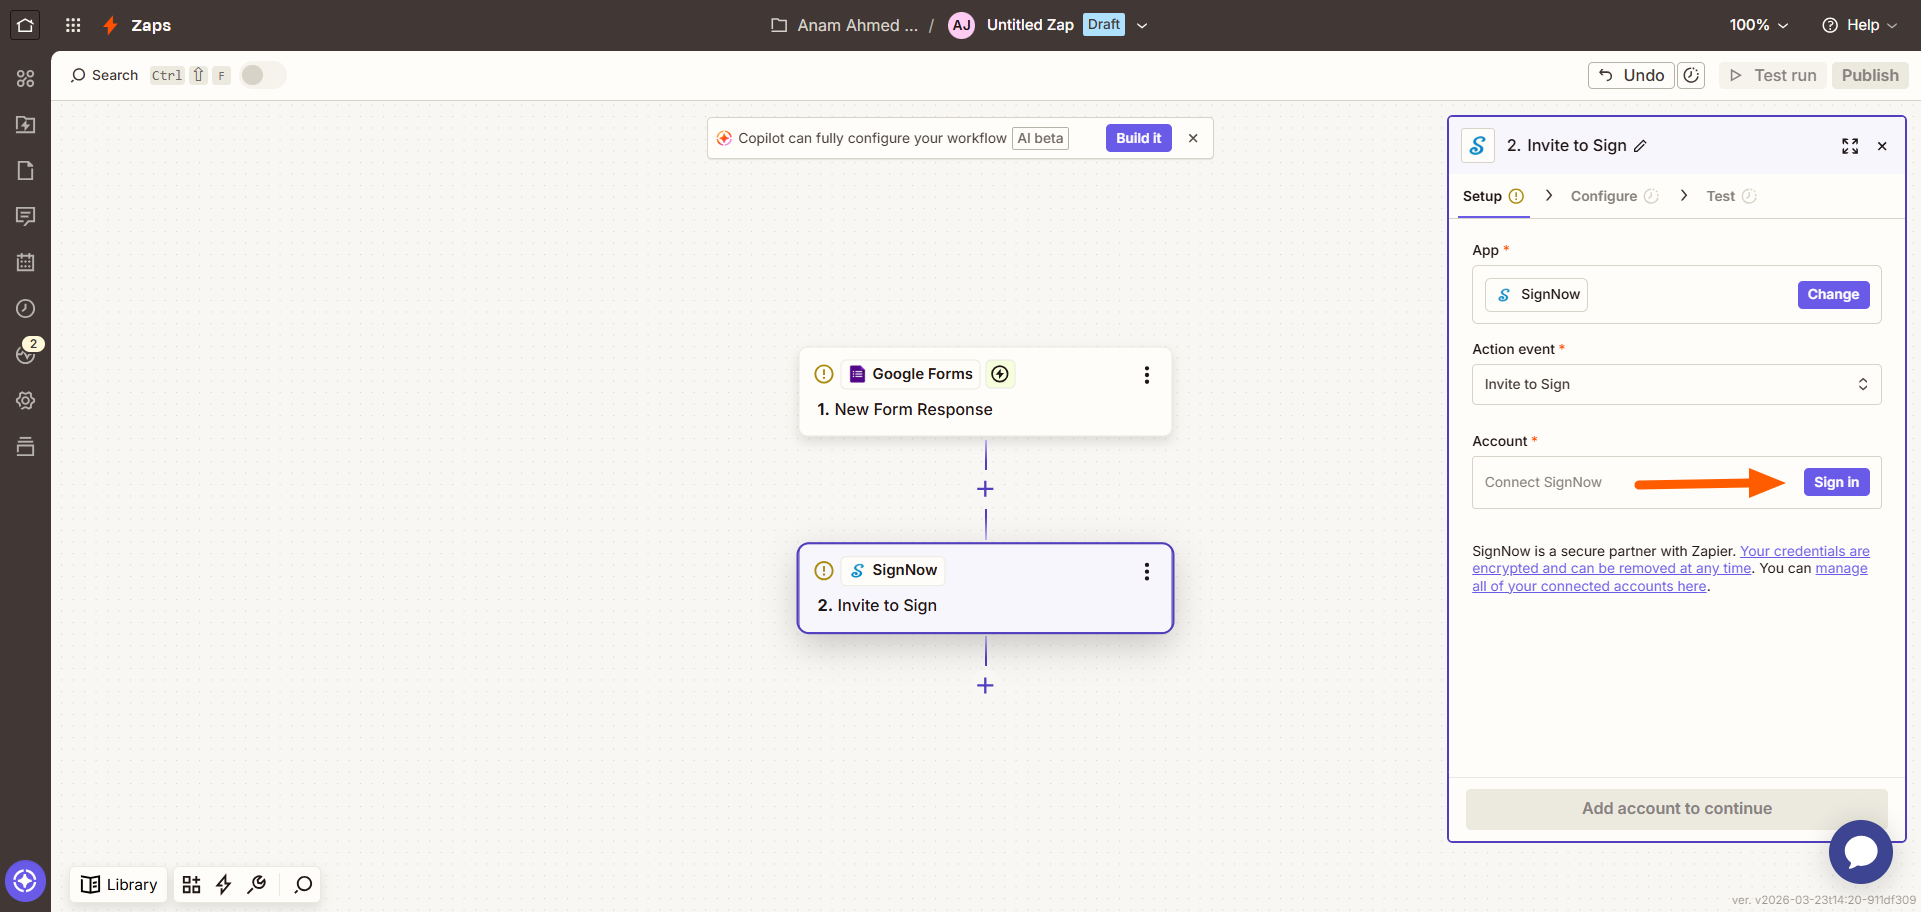
- Click Turn on Zap. The Google Forms trigger will now result in a SignNow action using Zapier.
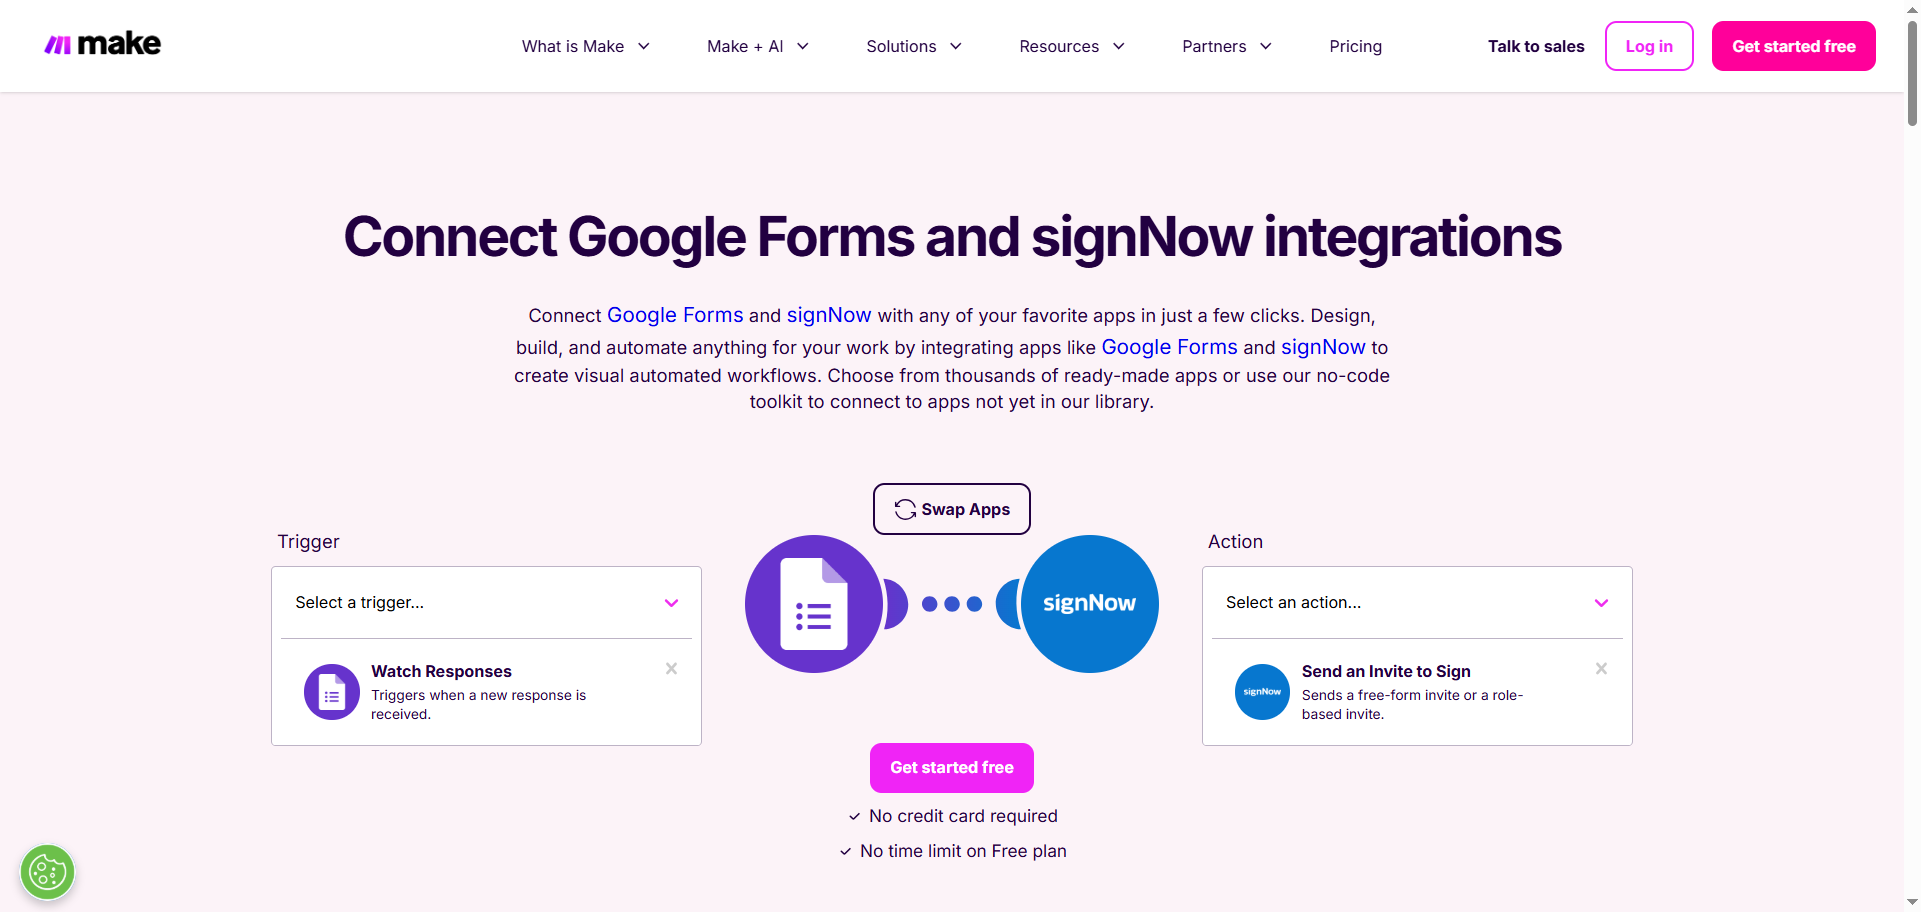
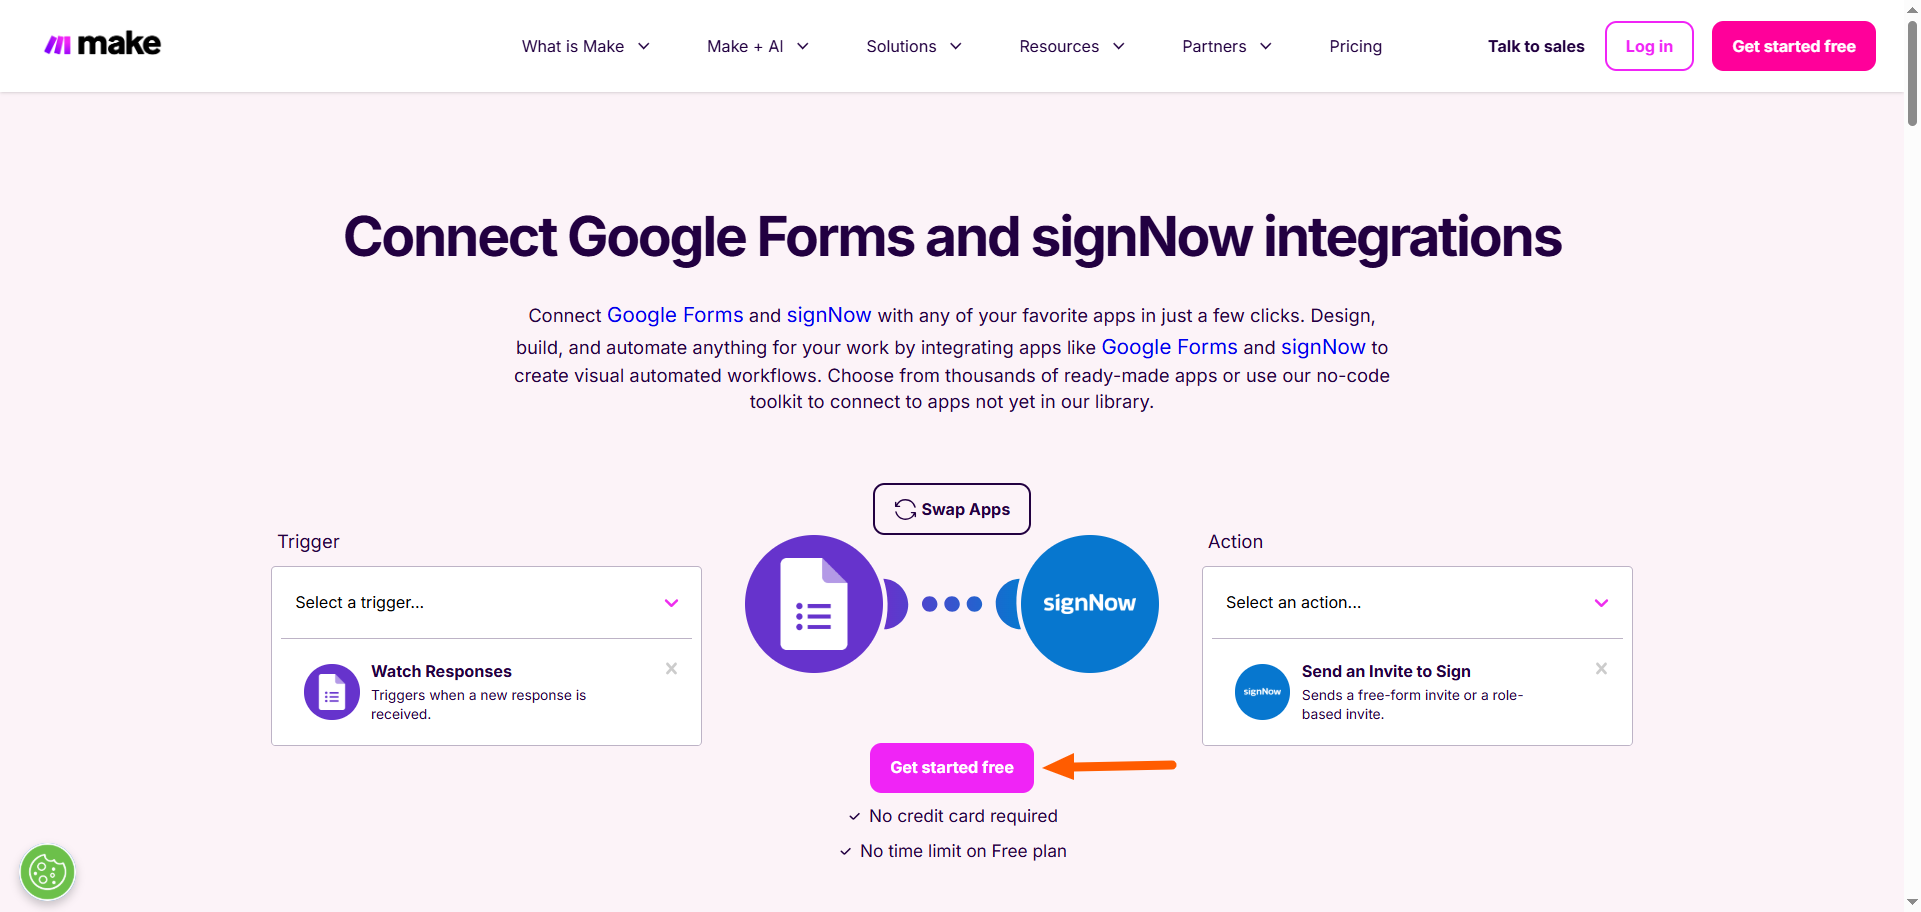
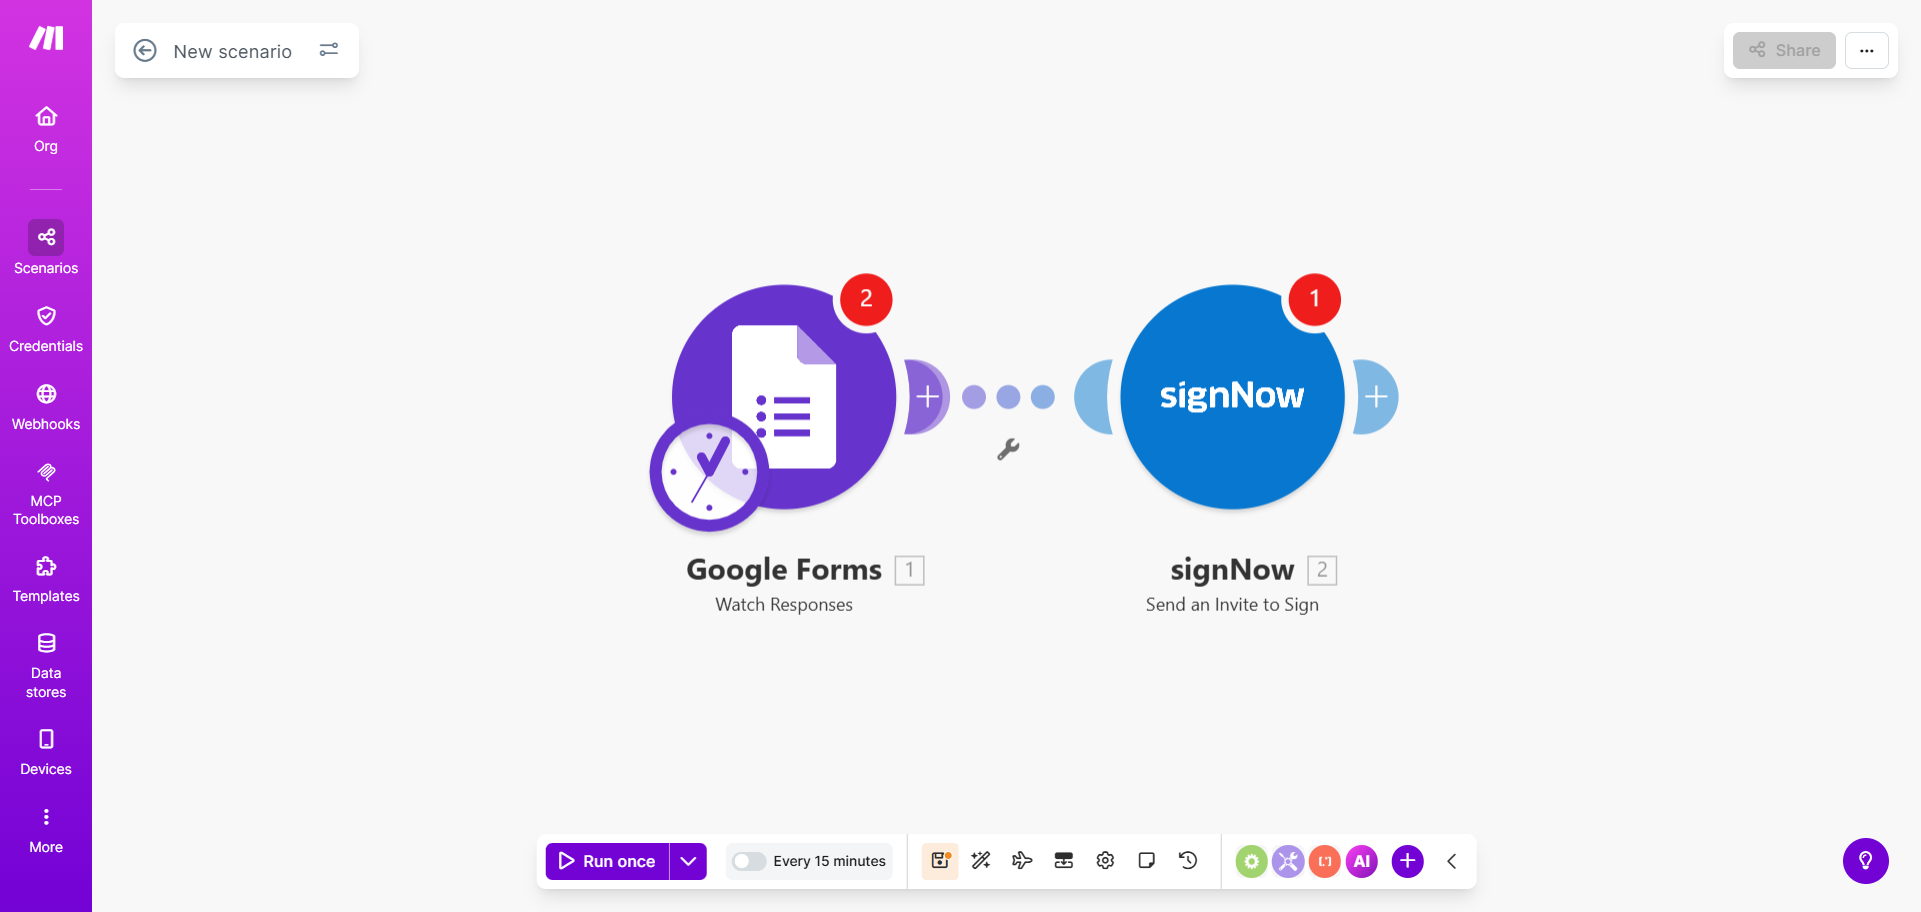
How to connect Google Forms to SignNow via Make
You’ll need a Make account, a Google form connected to Google Sheets, and a SignNow template.
- Go to the SignNow–Google Forms integration page on Make.
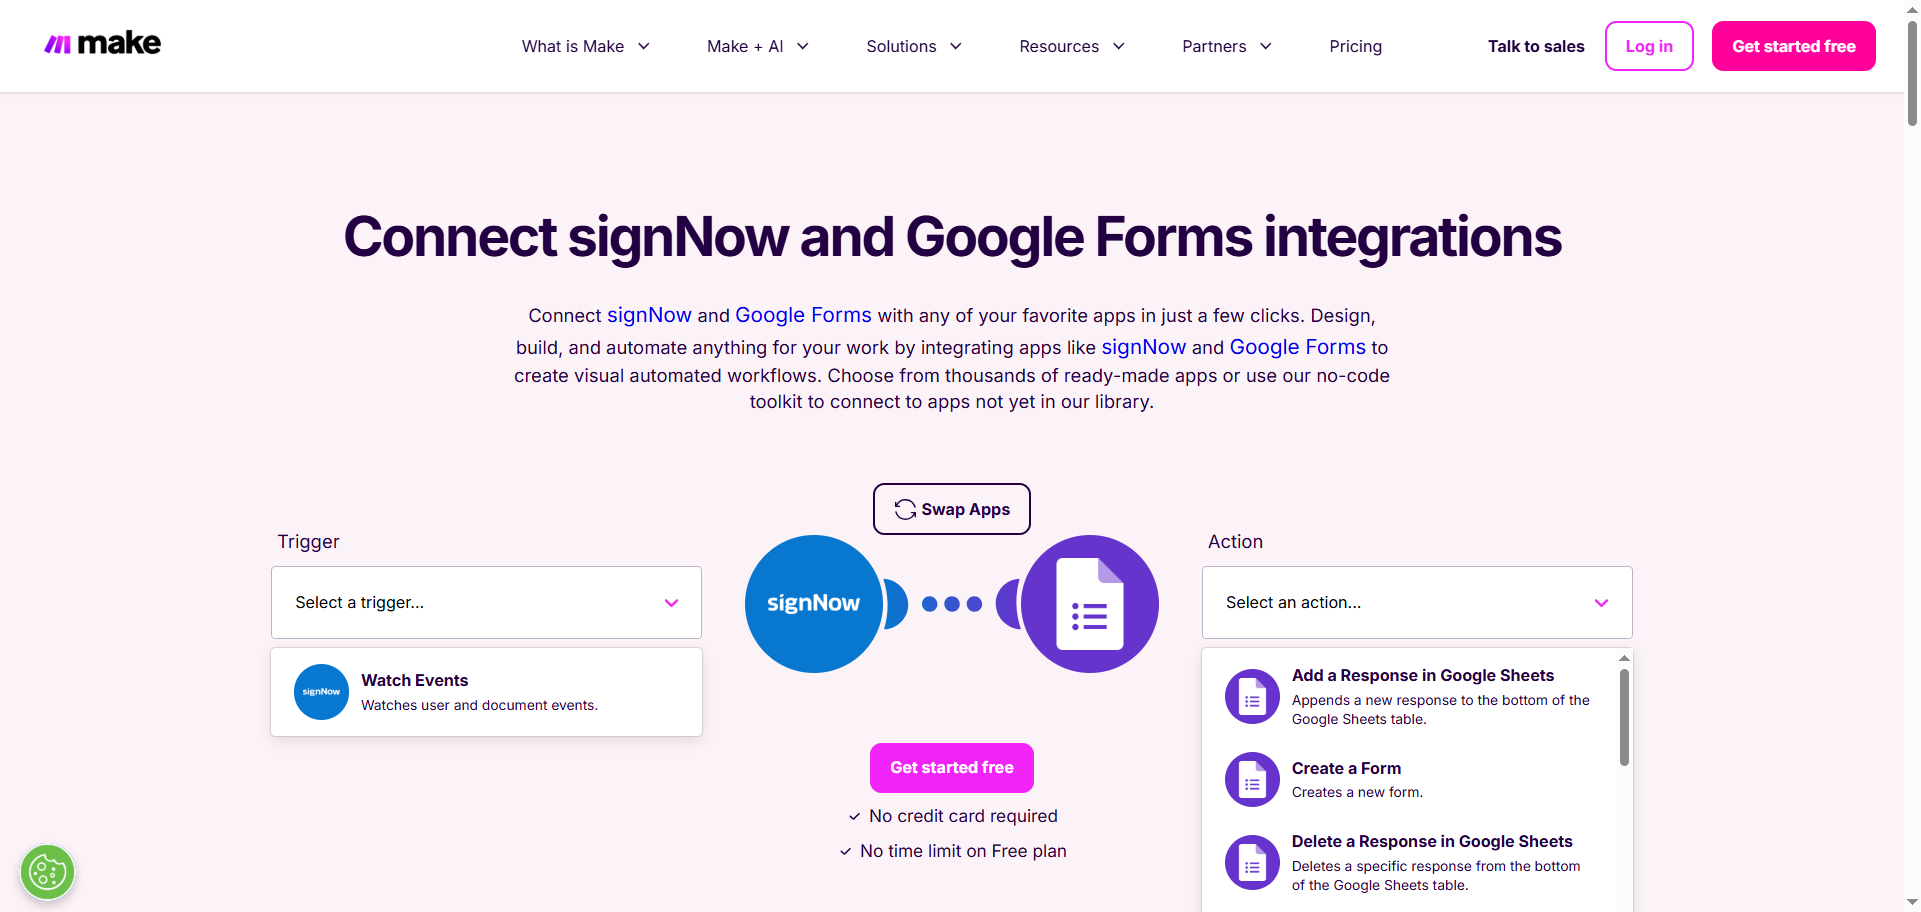
- Using the dropdown menu, select the trigger and action you want to configure. Make also provides built-in options. Click Swap Apps to switch where the trigger comes from.
- Click Get Started Free. Sign in to your Make account.
- Click Google Forms.
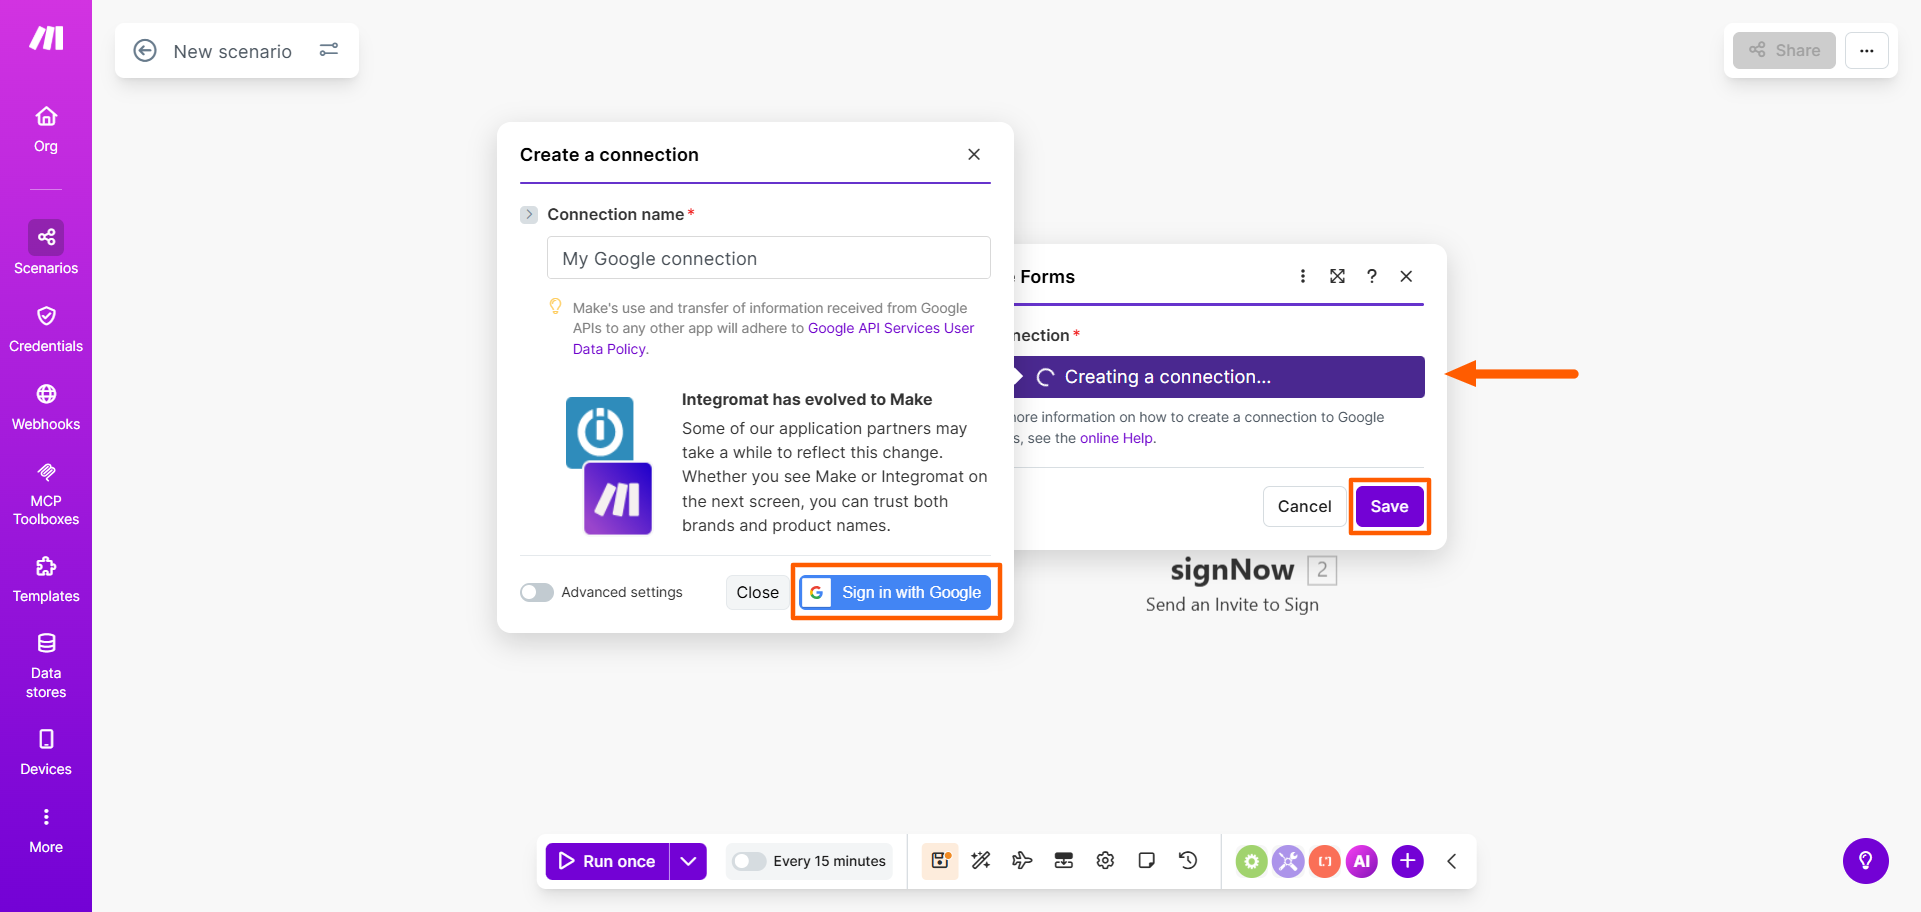
- Click Create a Connection. Click Sign In with Google. Once you’ve connected to your Google account, click Save. Note that Make will require you to enter your Google Forms ID, which is the URL of your Google form when it is in Edit mode.
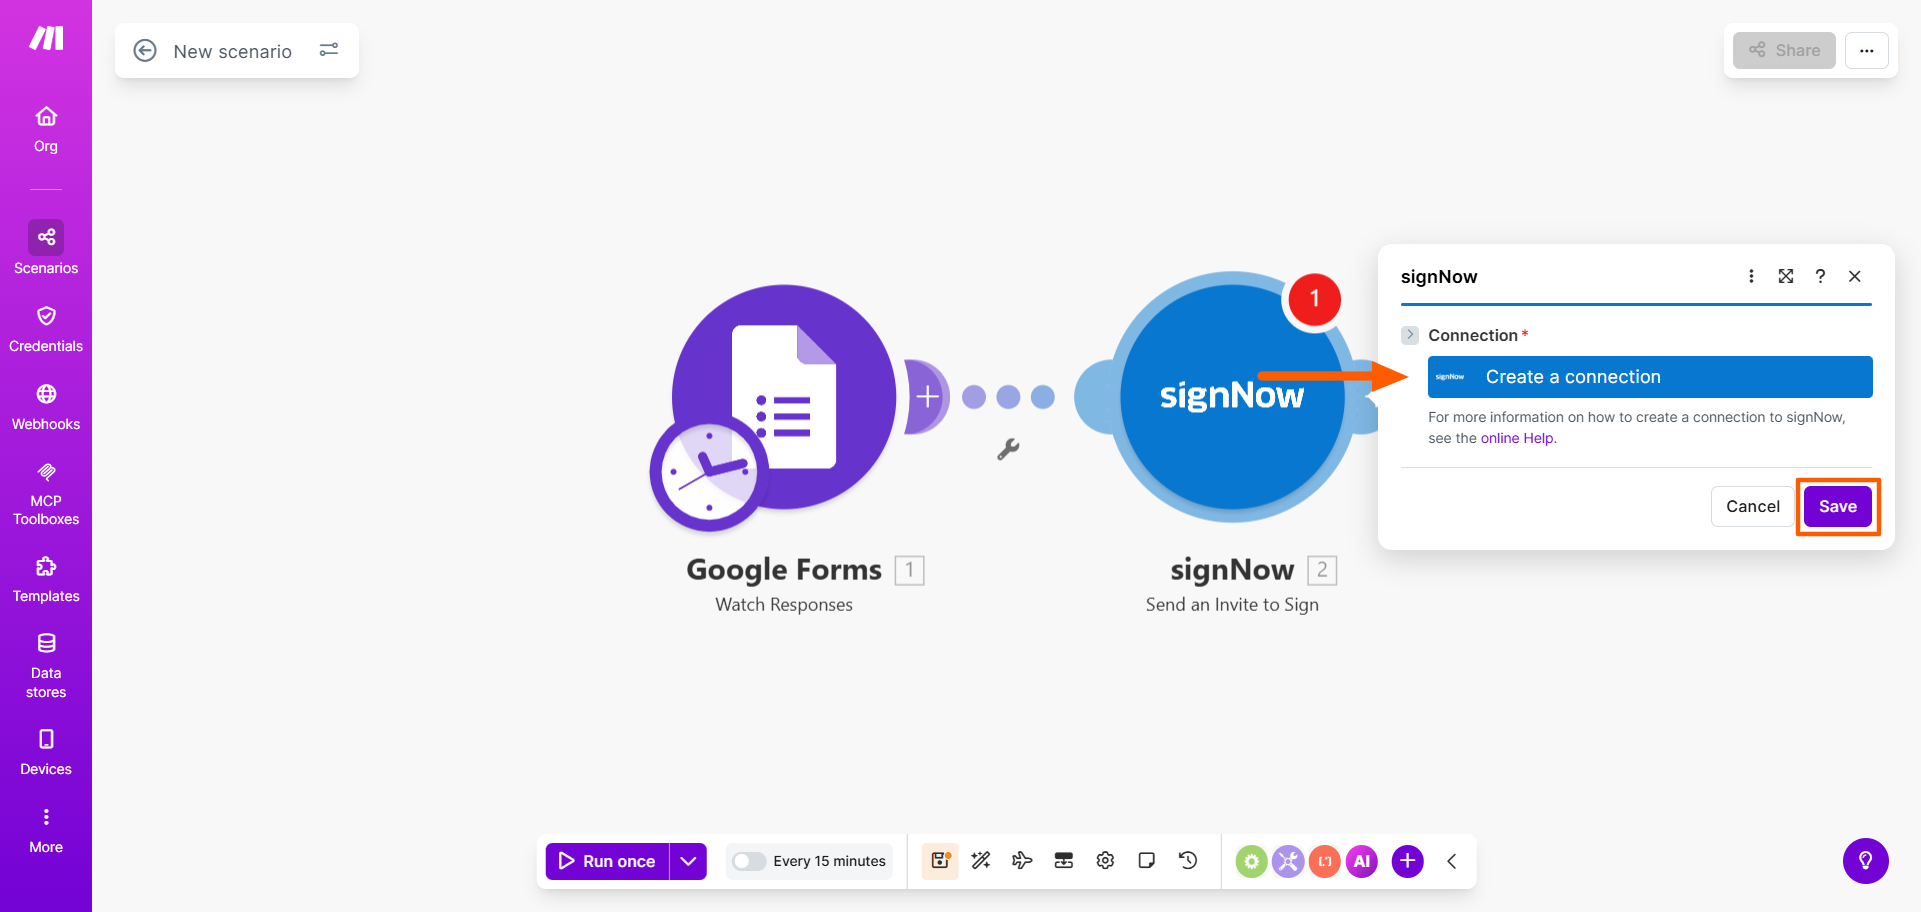
- Click SignNow. Click Create a Connection and connect to your SignNow account. Click Save.
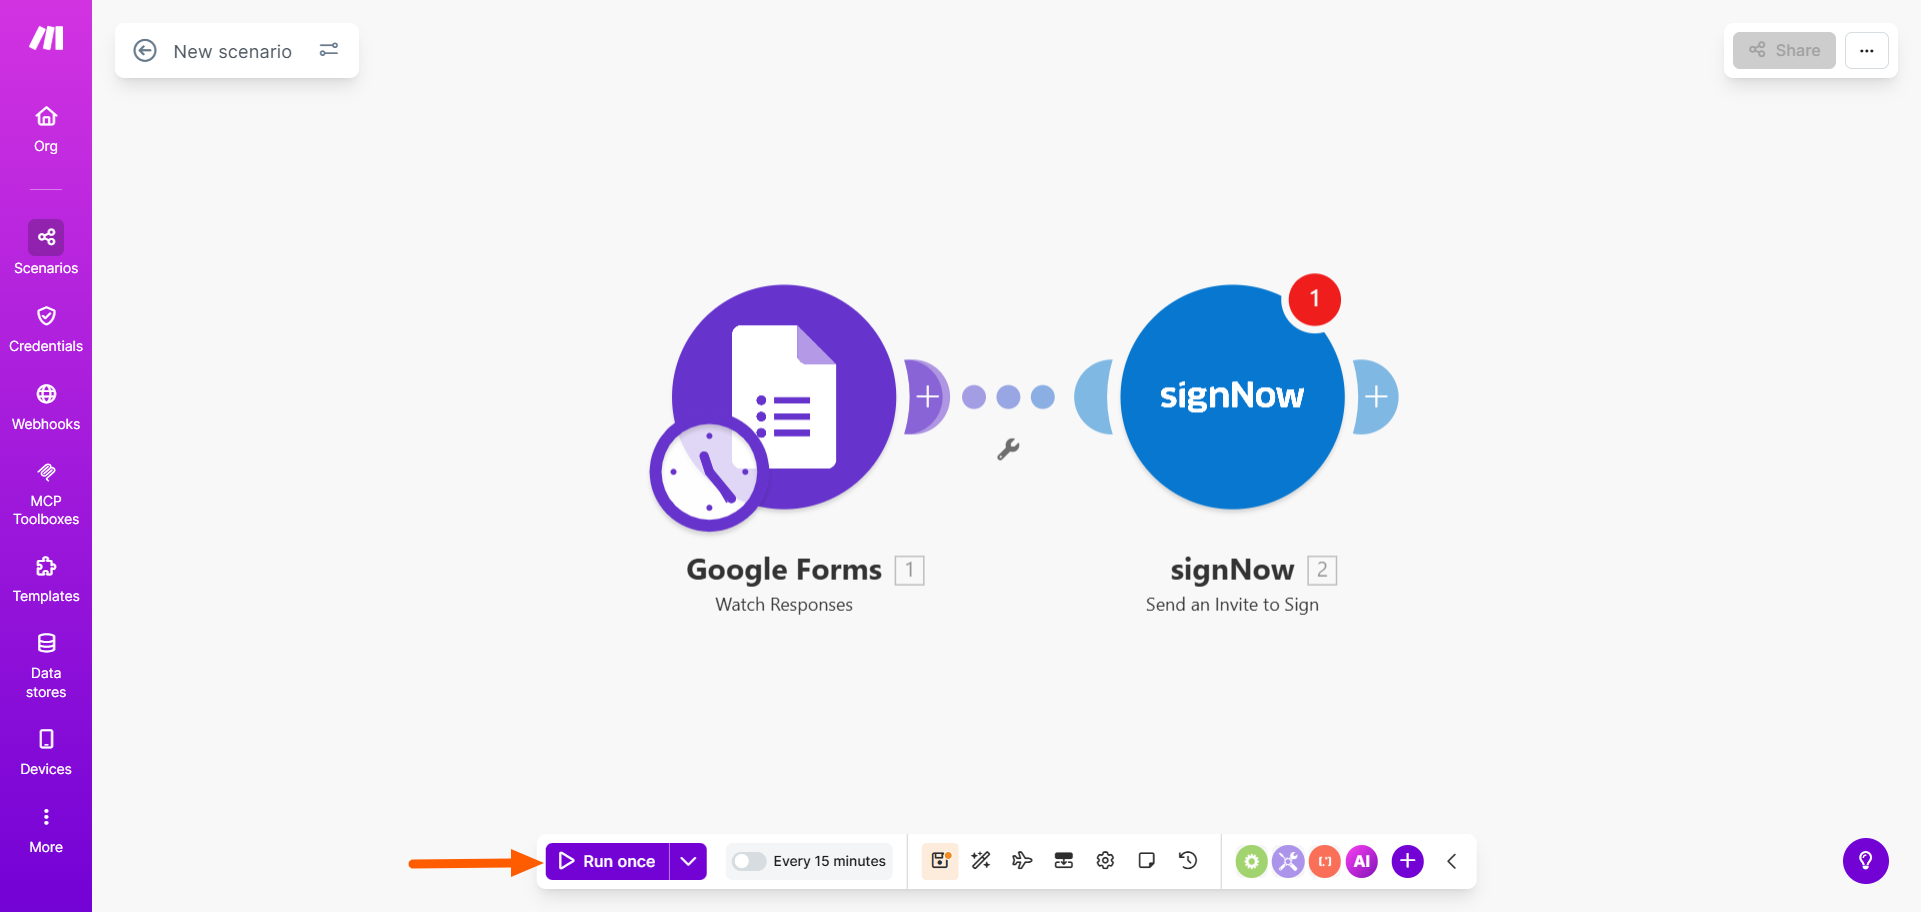
- Click Run Once. Edit as necessary.
- Once you’re satisfied with how the scenario runs, click Turn On. The Google Forms trigger will now result in a SignNow action.
How to add electronic signatures to your forms with Jotform Sign
Trying to integrate Google Forms with SignNow can leave you frustrated because there is no easy, streamlined solution. You’re limited to either using PDFs of your forms or learning how to work with third-party integration tools. Neither option is intuitive or quick.
Enter Jotform Sign, a leading e-signature software and SignNow alternative. It has e-signatures built in as native features, so you don’t need any workarounds or third-party tools.
Here’s why users choose Jotform Sign for their forms and e-signatures:
- Built-in e-signature functionality: Jotform Sign enables users to create, share, and electronically sign documents on any device in minutes.
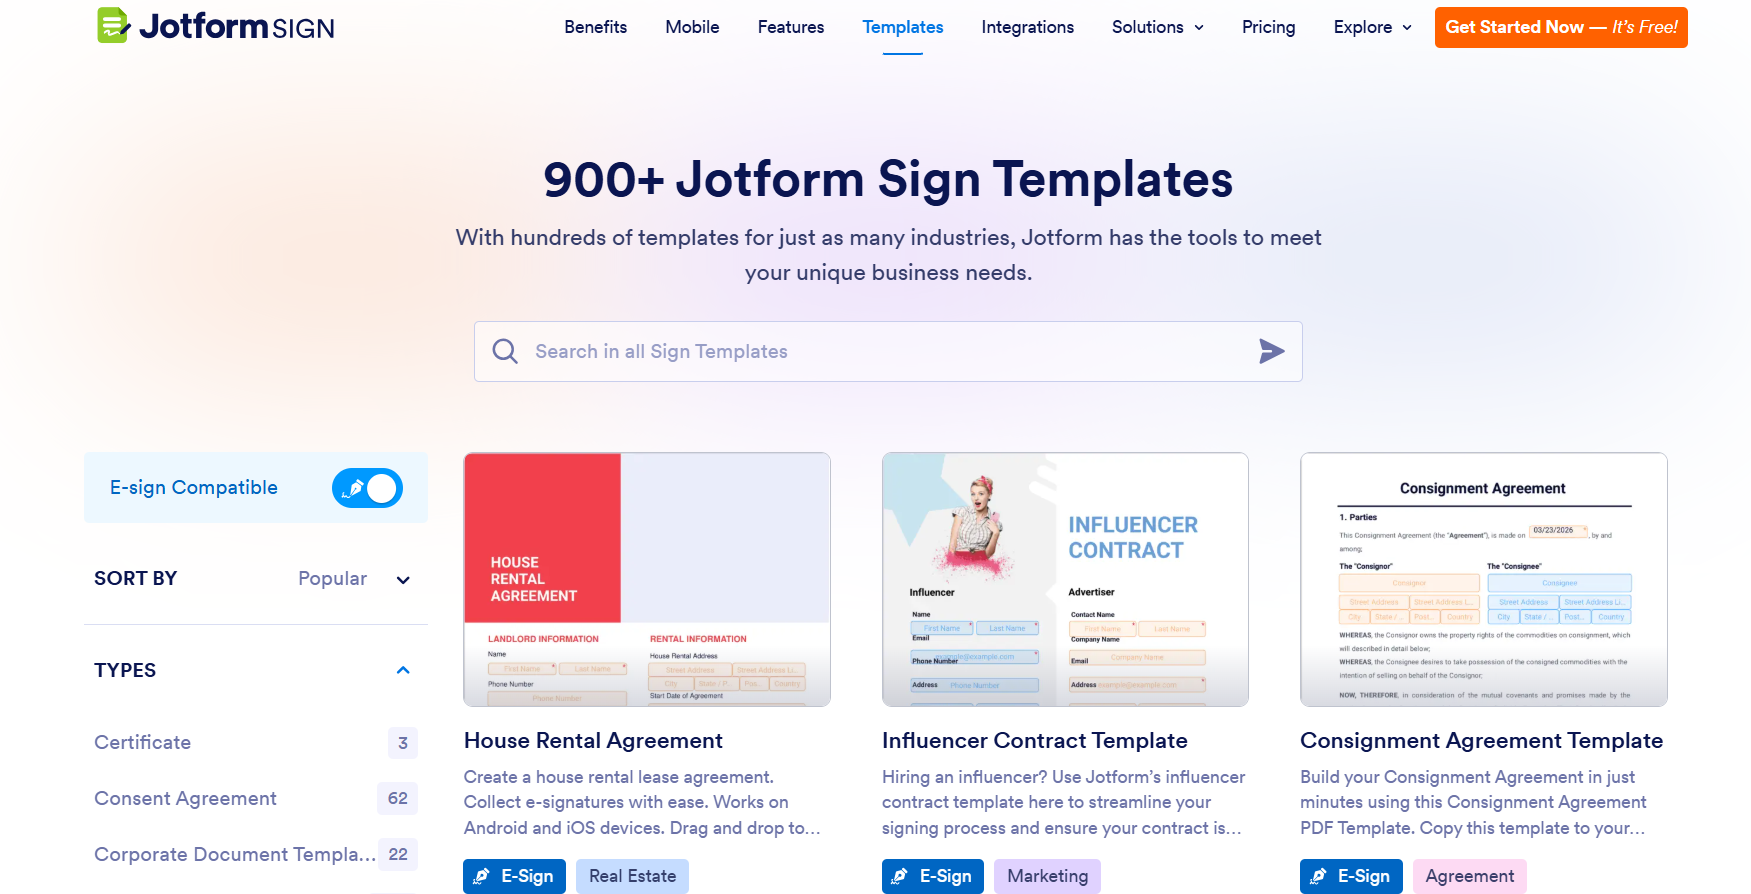
- Hundreds of document templates: Jotform Sign comes with over 1,000 document templates for scores of use cases, including leases, contracts, and invoices.
- Drag-and-drop user interface: Simply drag and drop signature fields wherever you need them in your form. You can also customize any of Jotform’s templates in the Form Builder.
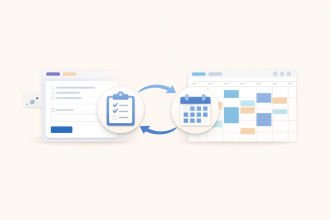
- Multiple workflows: You can send signable documents multiple times to multiple people with ease. Just build the workflow you need. You can also embed signable documents.
- Dozens of integrations: Jotform Sign integrates with several popular cloud storage solutions, so your signed documents will be easy to access.
- Data management solutions: Jotform Sign connects with Jotform Tables, where you can track, manage, and organize the data that comes in through your forms.
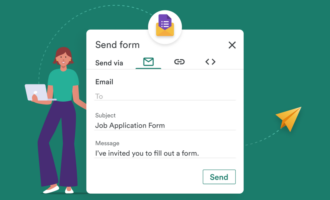
Want to see how it works? Just create a free Jotform account, and try either of these two methods to add e-signatures to your forms.
Method 1: Using a Jotform Sign template
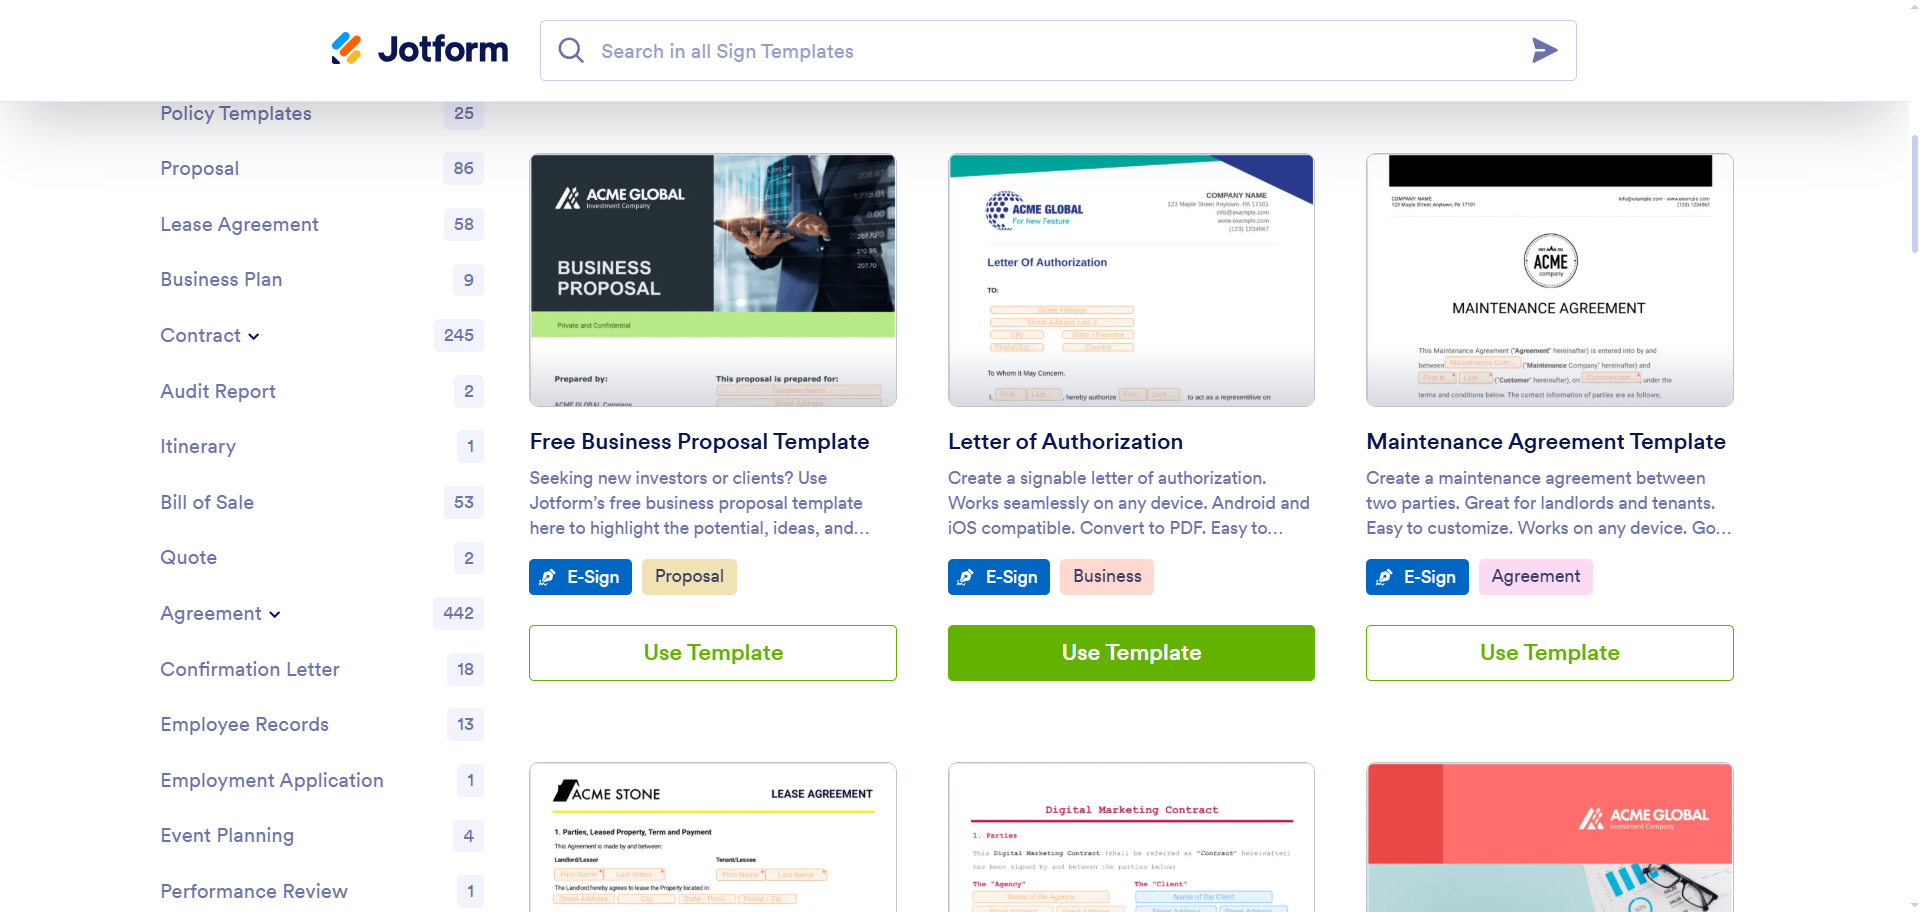
Jotform Sign offers hundreds of templates for signable documents. Simply choose the template you want to use, and customize it based on your needs. It’s significantly easier than connecting your form builder with any third-party tool.
Here’s what you need to do:
- Go to the Jotform Sign template gallery. Browse the templates, and choose the one you’d like to use.
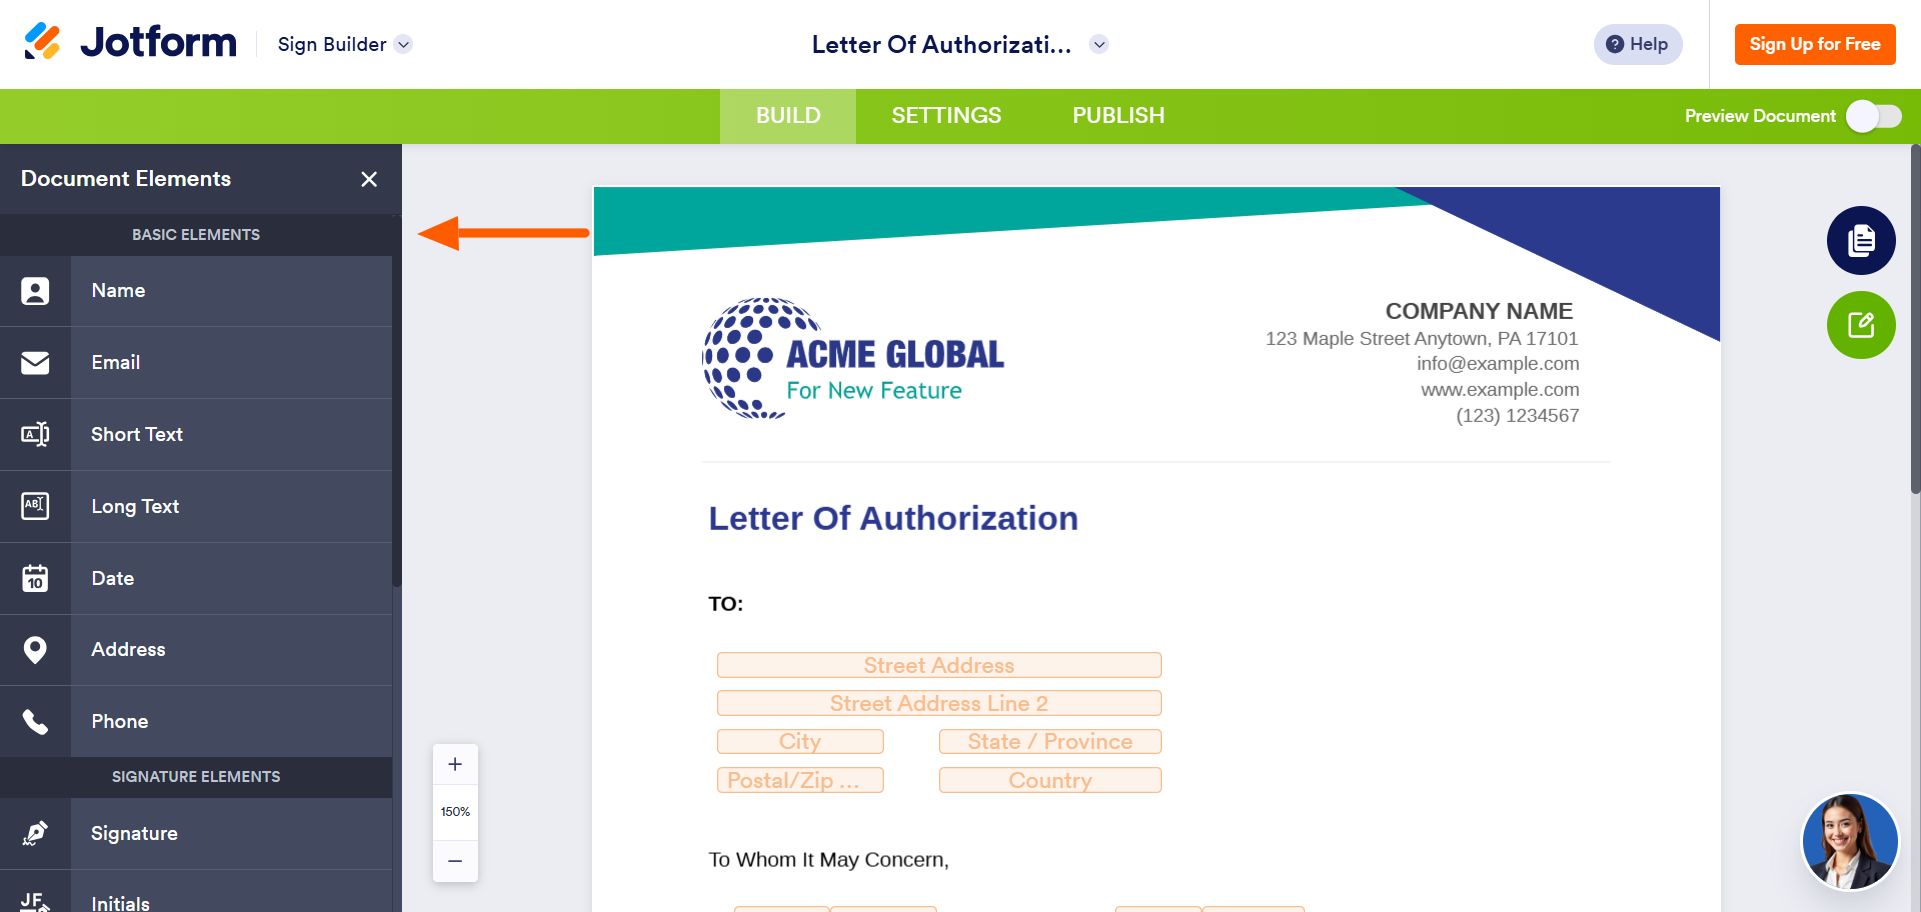
- Click Use Template. Jotform will open the template in the Sign Builder.
- Customize the template using the tools available in the Elements menu. You can edit the text, move sections around, add fields, and much more.
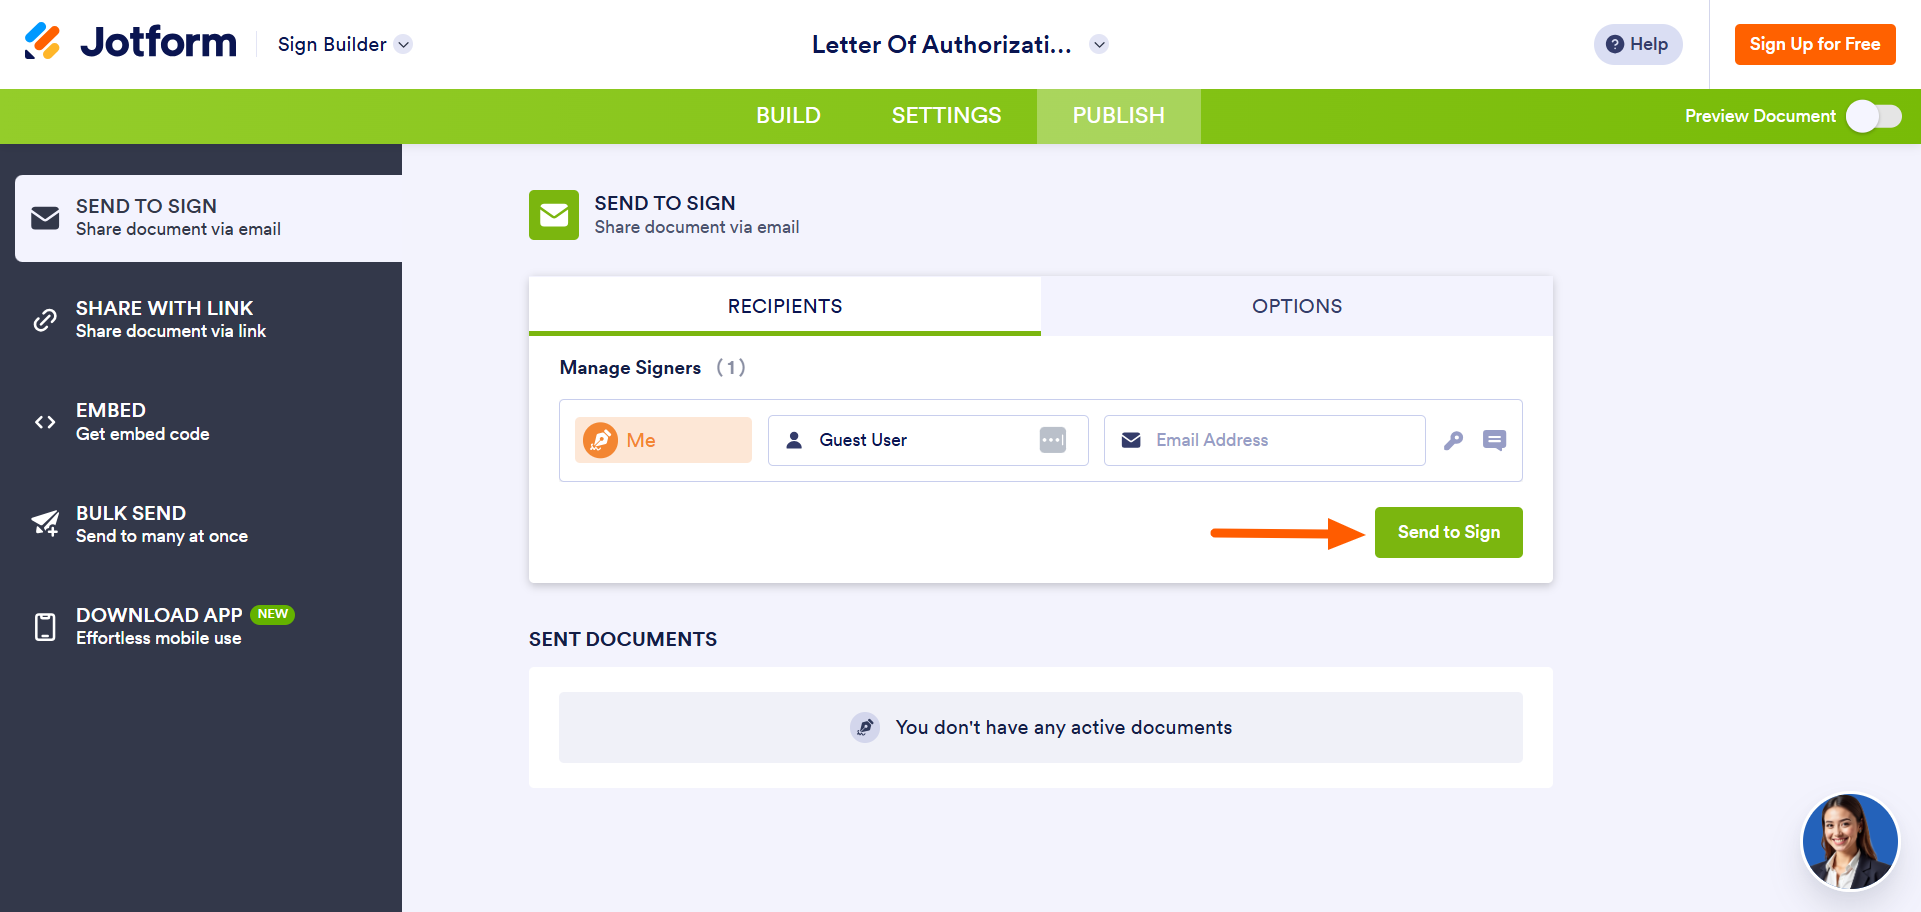
- Click the Publish tab. Fill out the details under Recipients.
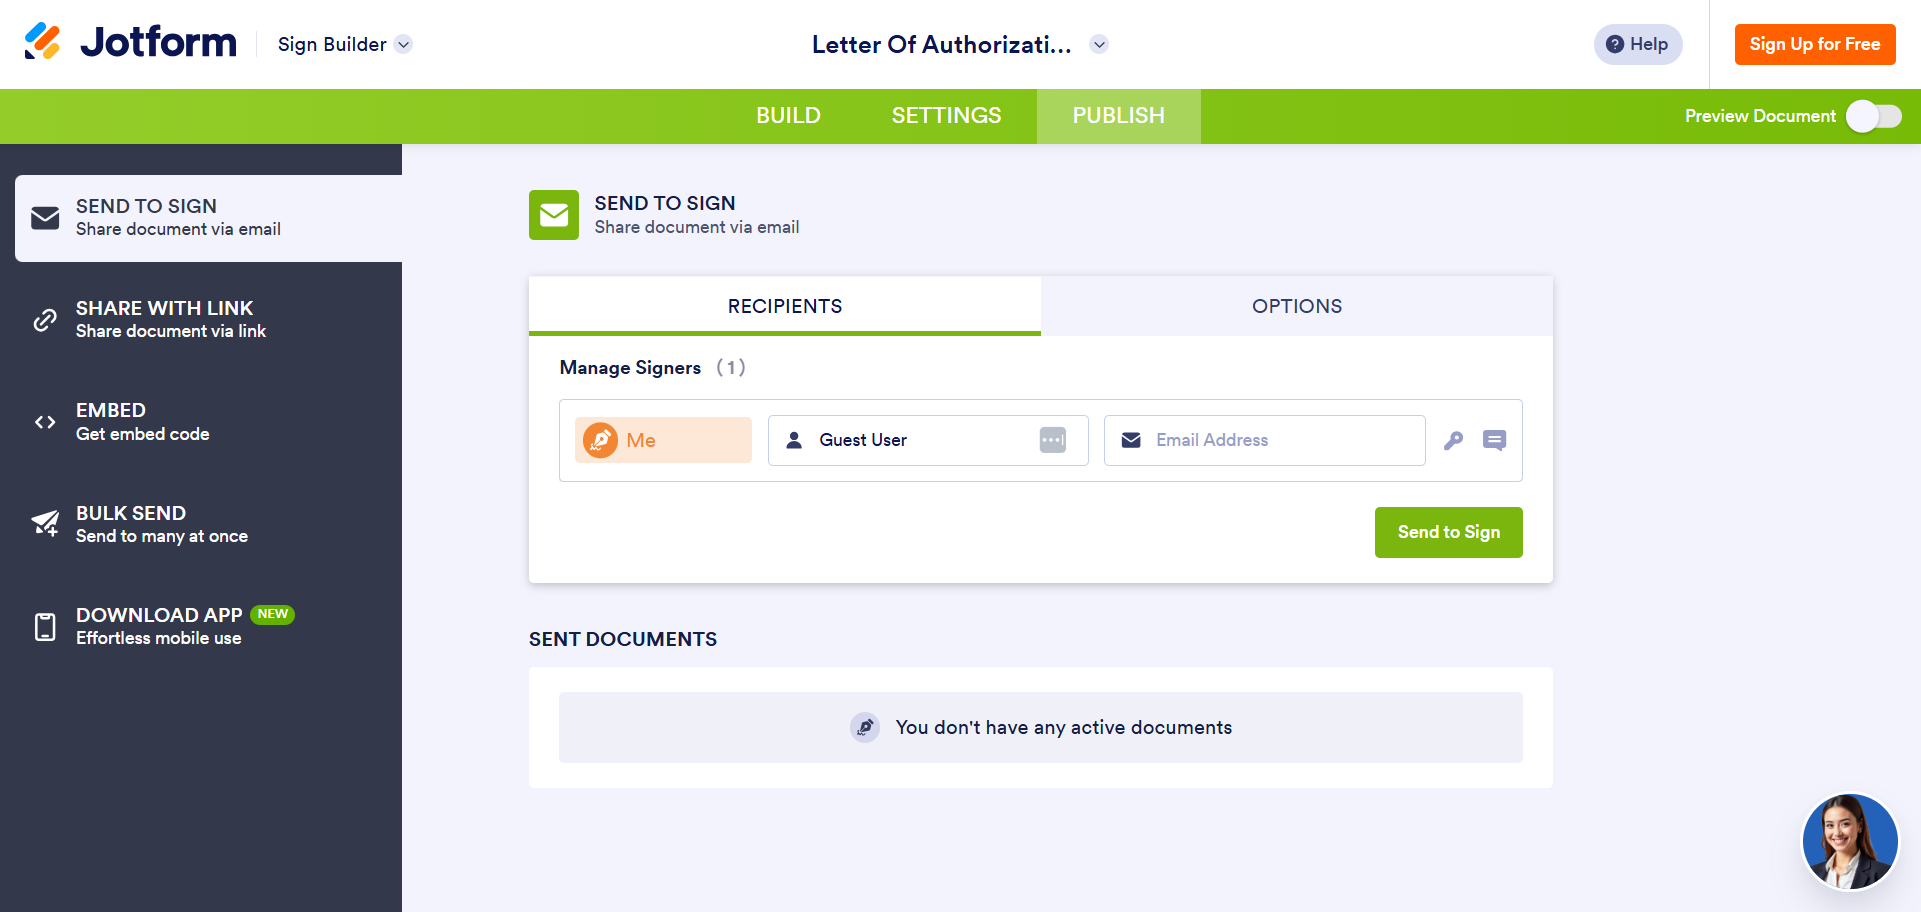
- Click Send to Sign.
Method 2: Adding an e-signature to your forms
If you don’t want to use a Jotform Sign template, you can create your own form in Jotform or use a form you’ve already created. Then, you can add an e-signature field to your form and enable sign automation.
Follow these steps:
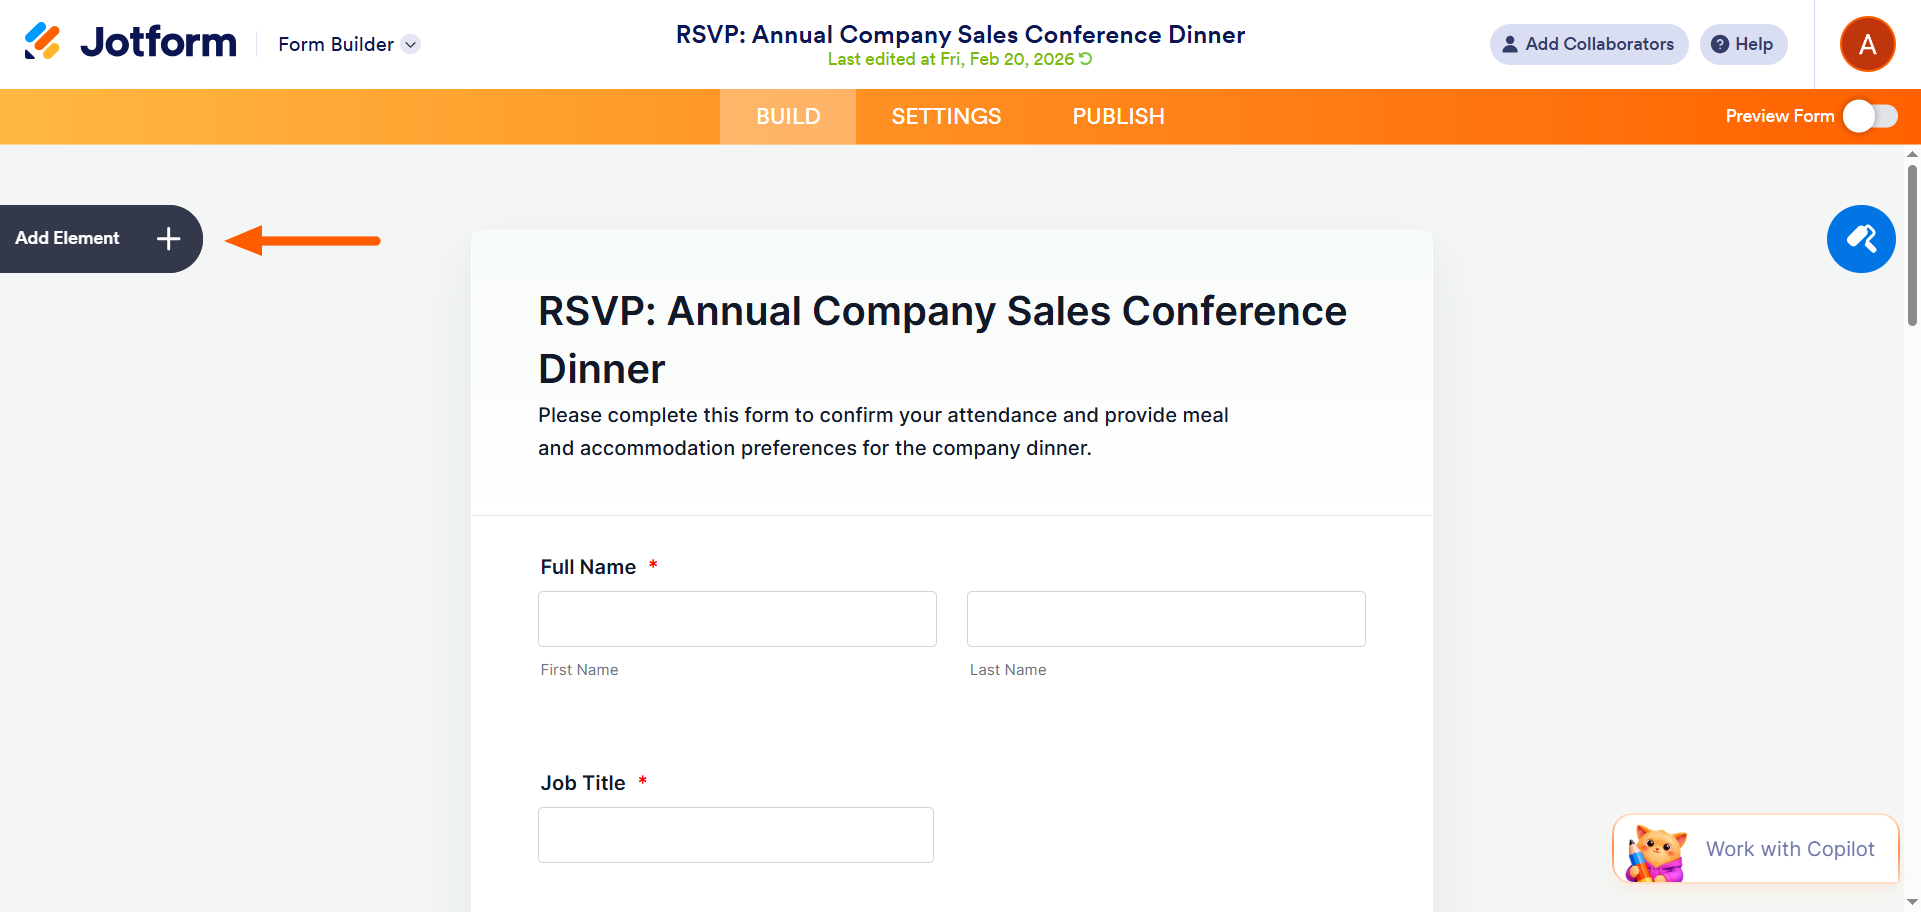
- Open the form that needs a signature field in Jotform.

- Click Add Element.
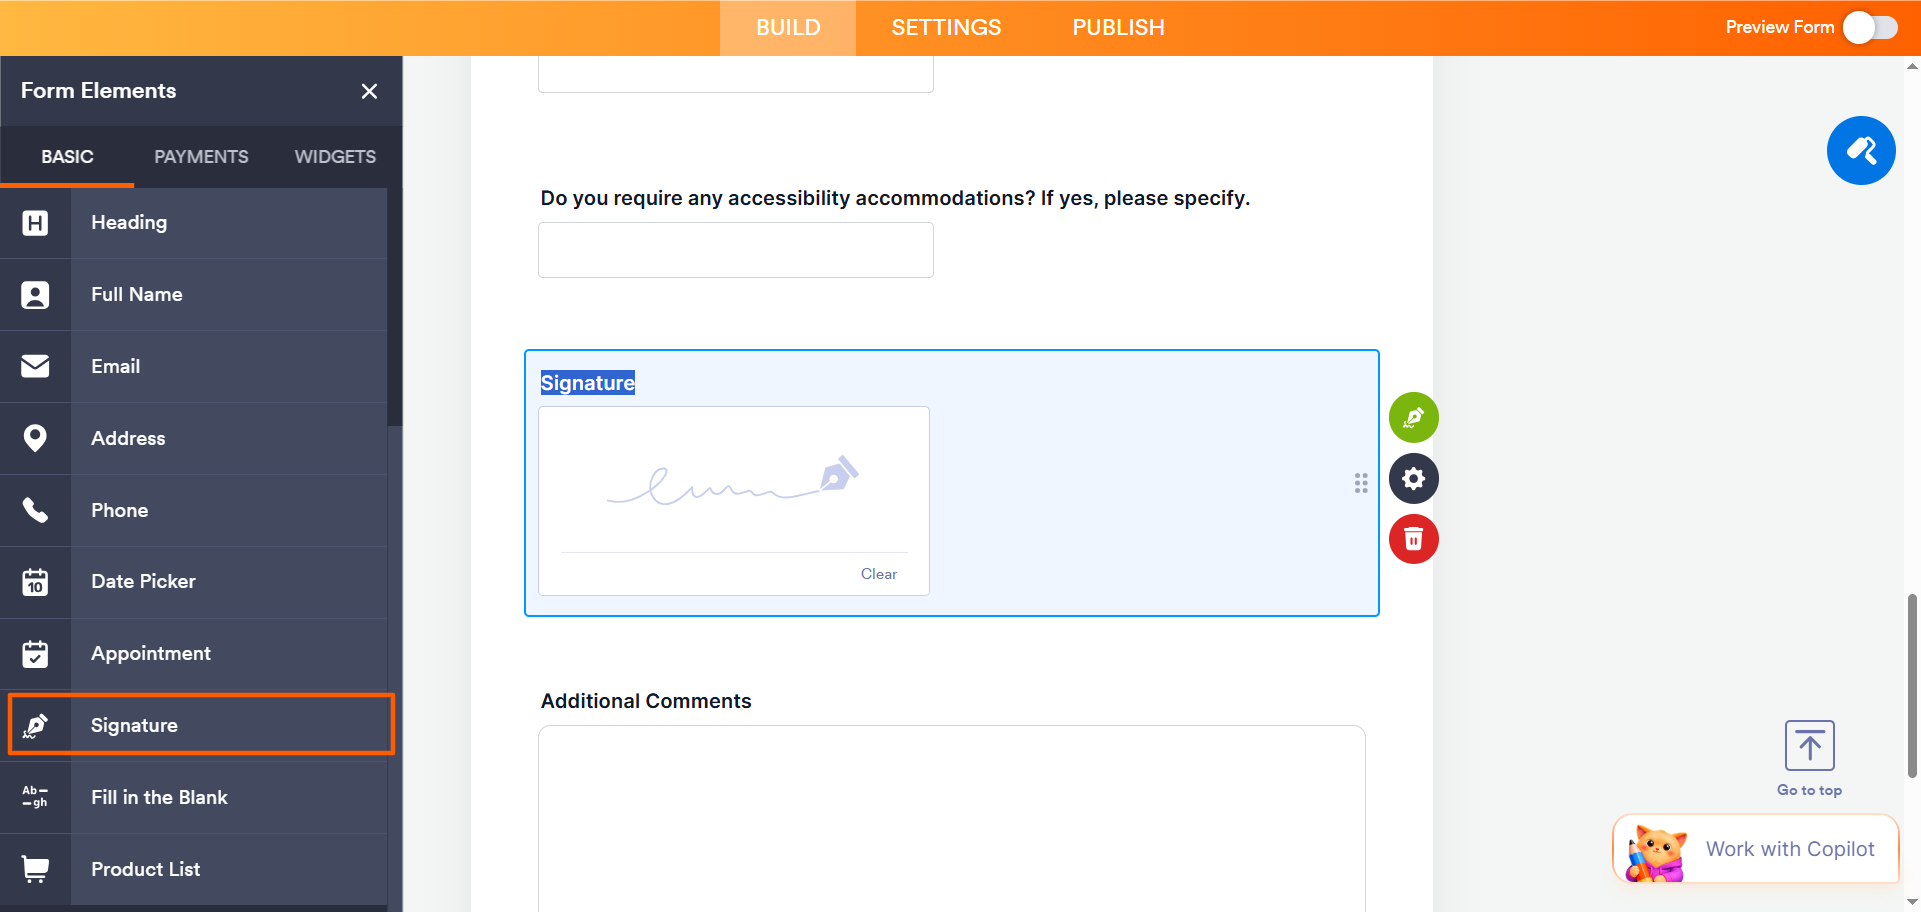
- Click Signature, and drag and drop the field to the desired place on your form.
- Click the Sign Automation icon (the green pen) next to the Signature field.
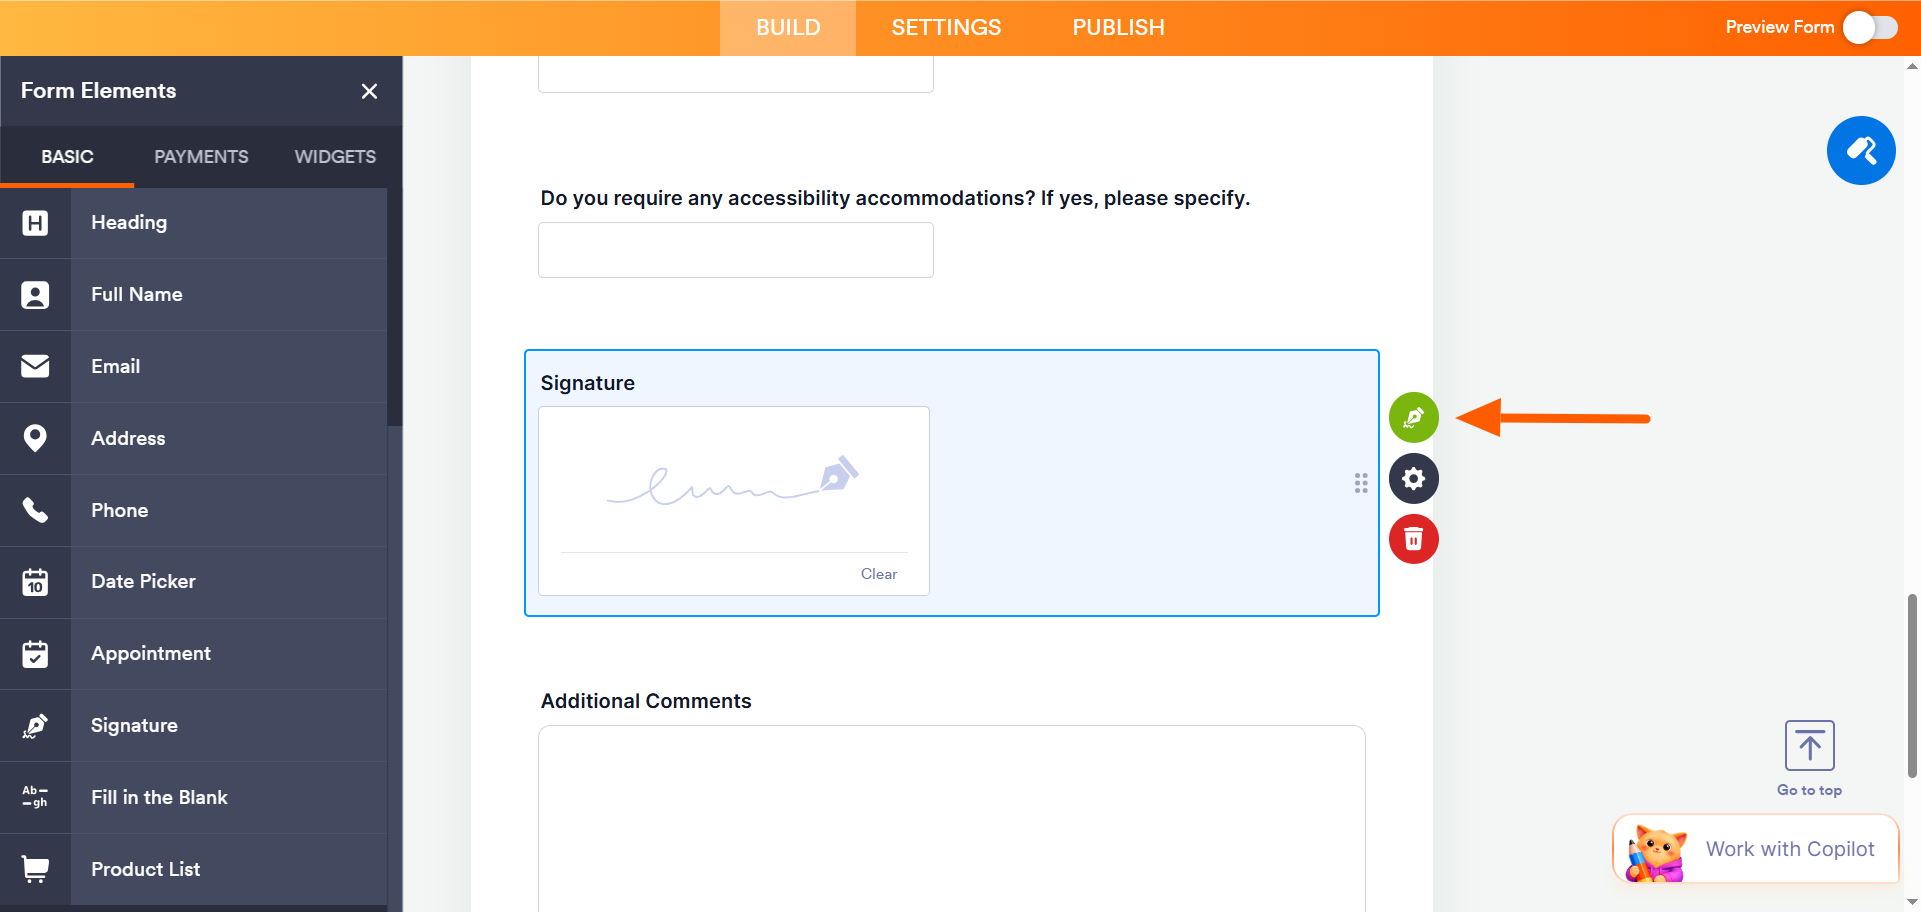
- Toggle Enable Jotform Sign Automation to On.
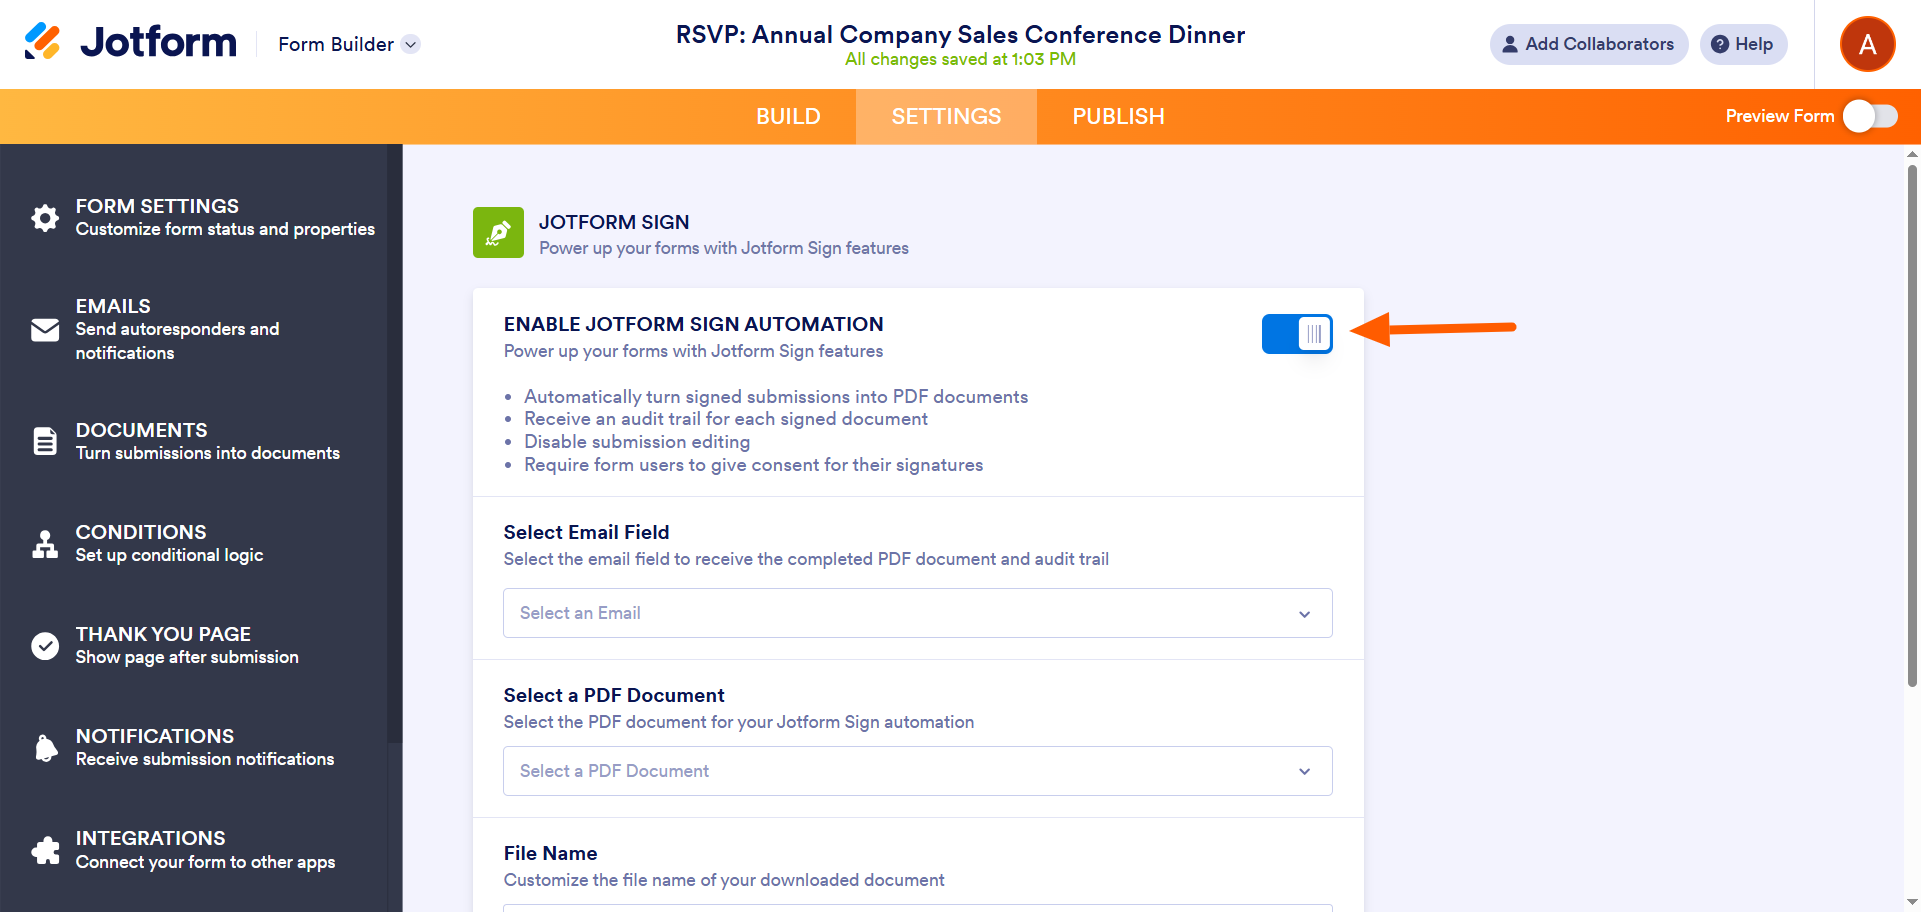
That’s it. As you can see, Jotform Sign is easy to use. Whether you work with a Jotform Sign template or add a Signature field with sign automation to a form, the process is simple, quick, and intuitive.
Integrate Jotform with SignNow
If you like Jotform’s advanced form-building features but want to continue using SignNow for your e-signatures, you can integrate Jotform with SignNow via Zapier. You’ll need a SignNow account and template before you begin this process:
- Go to the Jotform–SignNow integration page.

- Click Use This Integration.

- Select the type of form you’ll be using.
- Click Connect to Zapier. Authorize the connection.
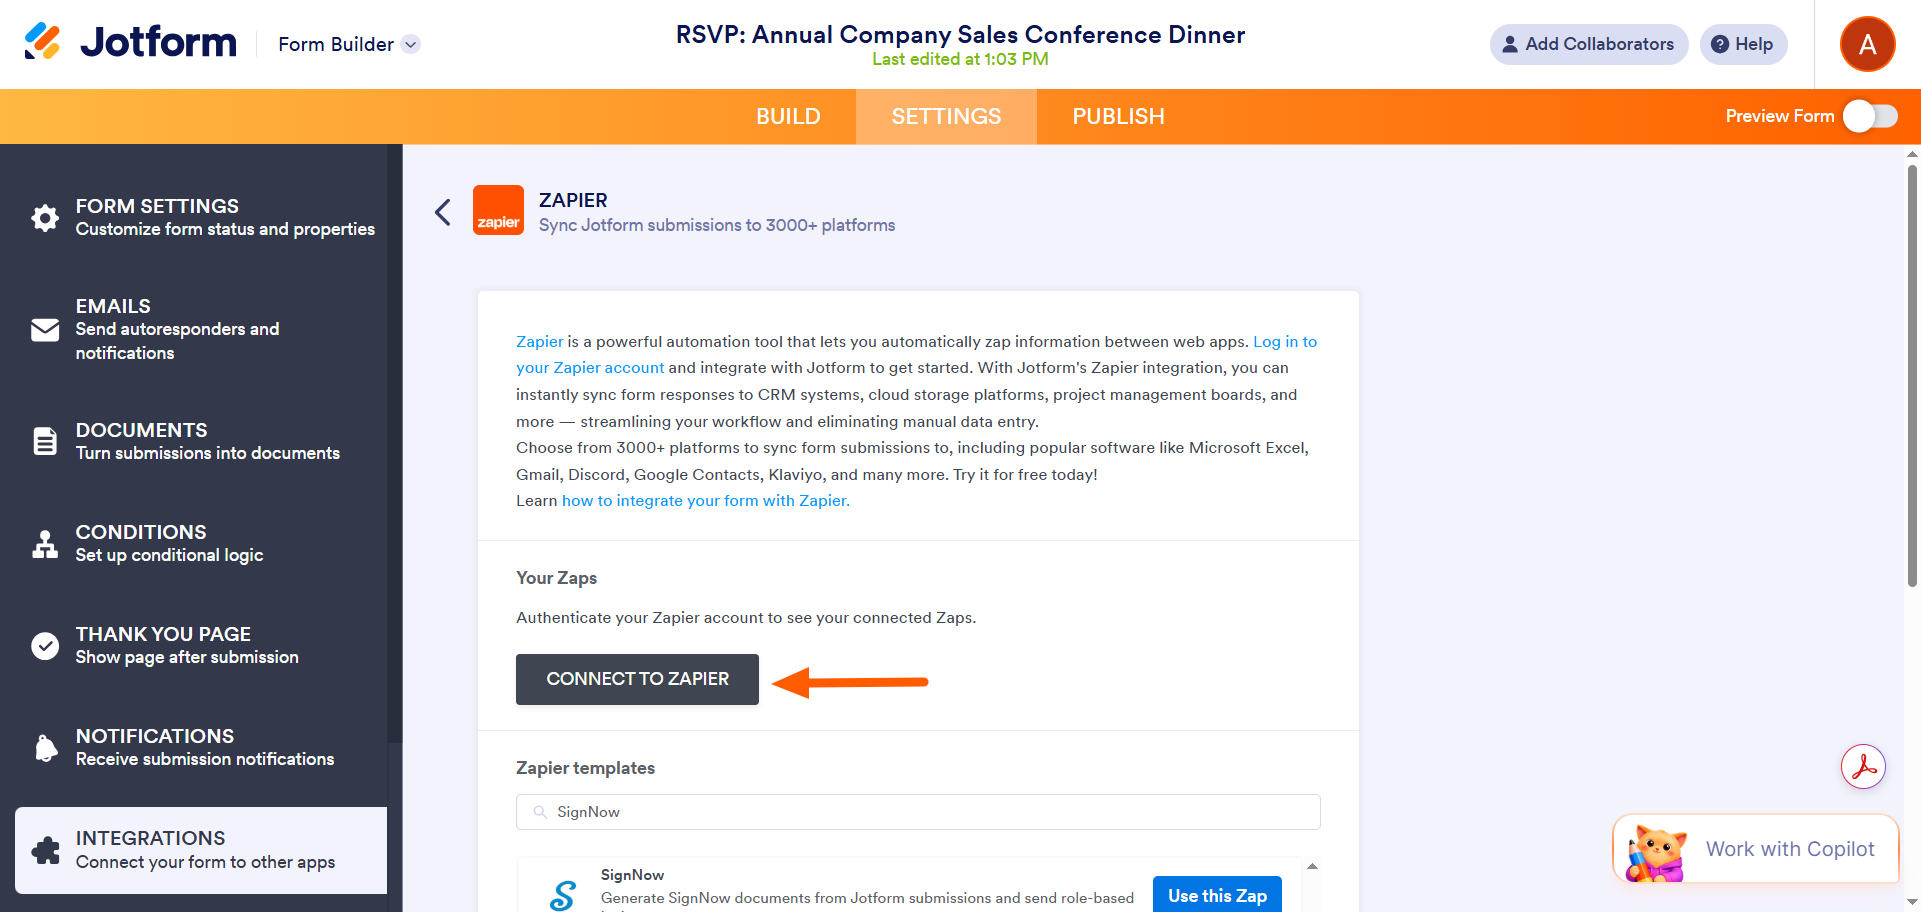
- Scroll down to view the Zapier templates for SignNow. Select the one you want, and click Use This Zap.
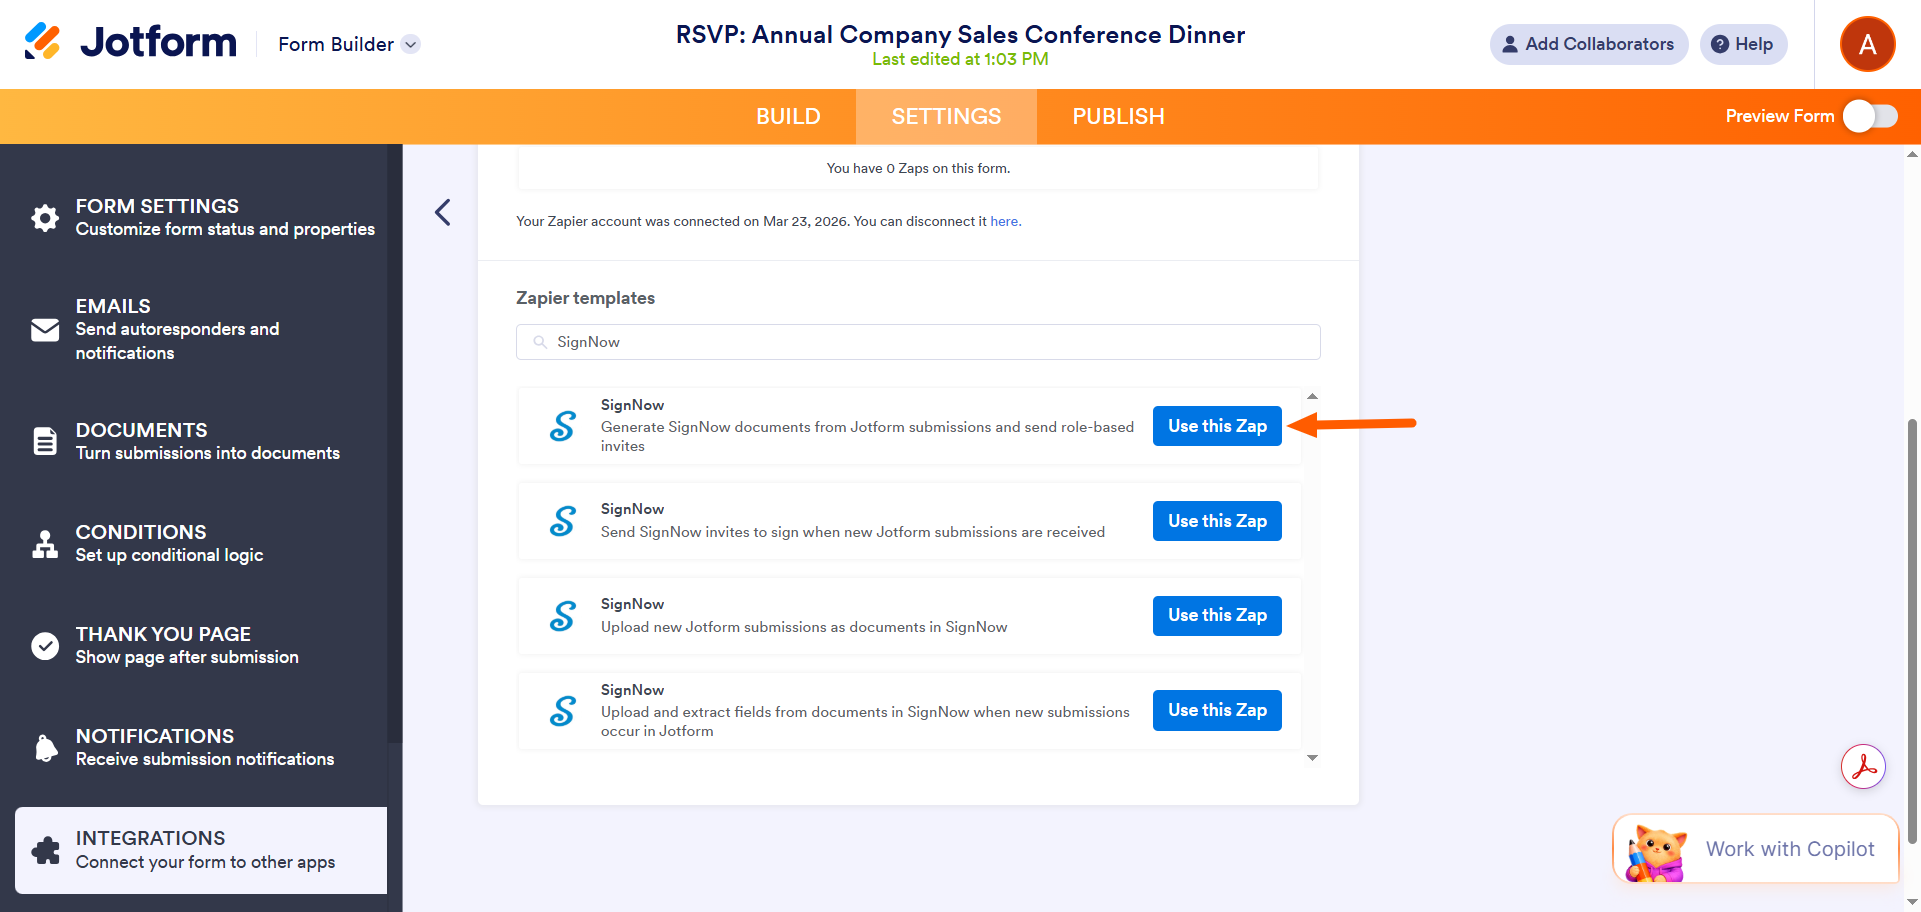
- Configure your Zap for the integration you want to create. You may be asked to sign into Jotform and SignNow. Provide the necessary authorization.
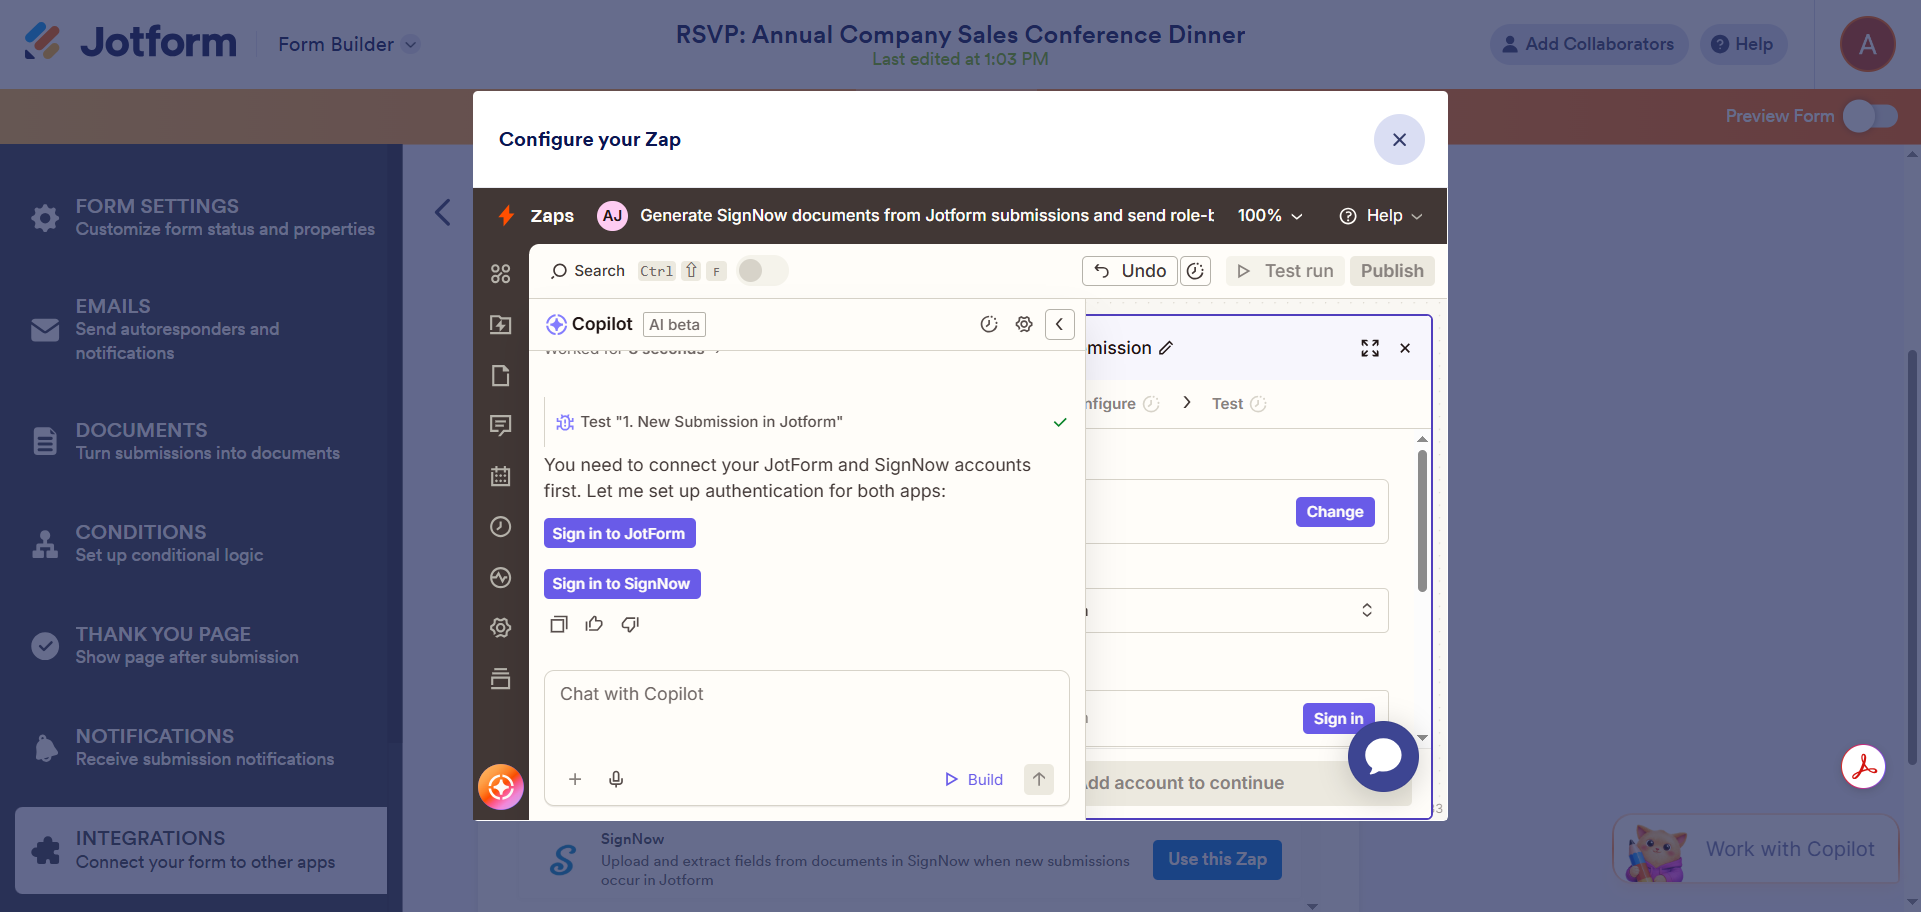
- Once you have successfully configured the Zap, click Turn on Zap. That’s it. You have connected Jotform to SignNow.
With all these e-signature form options, which should you choose?
If you use Google Forms, you don’t have any built-in solutions for integrating with SignNow. However, you can convert your Google form to a PDF, upload it to SignNow, and add a Signature field to the PDF. You can also use a third-party solution, such as Zapier or Make, to connect Google Forms and SignNow. The systems can be finicky, and the process may require some trial and error, but the connection can be made.
However, not everyone has the technical know-how or time to use workarounds and third-party tools. If you’re looking for a straightforward solution for adding e-signatures to your online forms, Jotform Sign is the way to go.
With an easy-to-use, built-in e-signature tool, you don’t need to worry about taking any extra steps. With Jotform Sign, you can use an e-signature document template and customize it with drag-and-drop tools, or you can add a Signature field with sign automation to any form you create in Jotform.
All it takes is a few clicks, and you get results without the headache. If you’re interested in using SignNow with Jotform, you can integrate the two tools using Zapier.
You’ve got a lot of options for adding e-signatures to online forms. Explore the possibilities, and see which ones work best for your needs.
Send my document for signature
File type is not allowed.
Maximum file size limit exceeded. (5MB)
Something went wrong.
AS ALWAYS, CONSULT AN ATTORNEY BEFORE RELYING ON ANY INFORMATION ON THIS PAGE. THE CONTENT ABOVE IS FOR INFORMATIONAL PURPOSES ONLY. JOTFORM IS NOT PROVIDING LEGAL, FINANCIAL OR OTHER ADVICE.
This article is for website operators, small business owners, and workflow automation enthusiasts who use Google Forms and SignNow, and anyone who wants to streamline collecting and managing electronic signatures across their forms.


Send Comment: