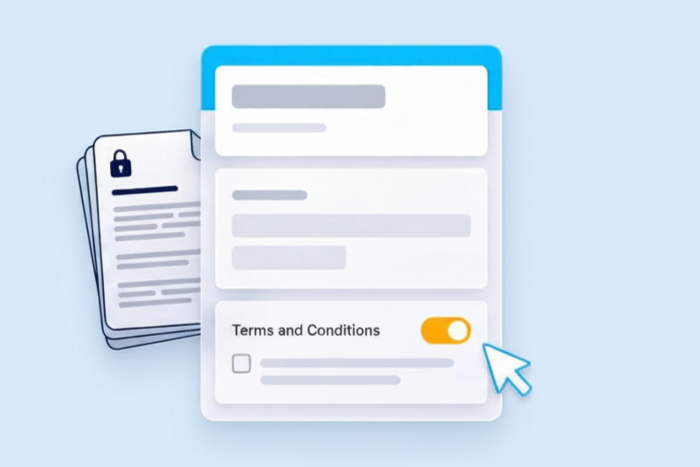
If you run a website or app, sell products and services, or handle user-generated content (or, basically, work in any situation that requires setting clear rules and expectations), you may need your customers to agree to terms and conditions on an online form. If you’re a Google Forms user, you may be wondering whether there’s an easy way to add terms and conditions inside the form builder.
Unfortunately, Google Forms doesn’t have a feature that creates this kind of legal agreement. However, all is not lost. Two work-arounds can help you get the job done: Either manually add terms and conditions directly in the form, or link to terms and conditions located elsewhere.
In this article, we’ll show you step-by-step directions for adding terms and conditions in Google Forms and introduce you to an excellent Google Forms alternative that has built-in functionality for terms and conditions: Jotform.
First, let’s take a closer look at the meaning of “terms and conditions” and when you may need to use them.

Looking for the best alternative to Google Forms?
Jotform’s full-featured form-building solution is mobile-friendly and has the most integrations in the industry. Use it to collect payments, automate workflows, gather leads, and more.
What are “terms and conditions,” and where do you need them?
Terms and conditions, which can also be called “terms of service” or “terms of use,” are an agreement between a business and its customers. The business sets specific rules and guidelines for engagement with its customers or users, and they must agree in order to interact further with the business.
Terms and conditions often outline
- What users can and cannot do in relation to product or service usage
- Who holds the rights to specific assets, such as intellectual property
- What the pricing, billing cycles, and late fees are
- What level of responsibility the business has regarding potential usage issues
- How conflicts and issues will be handled
- When and how the agreement may be terminated
Terms and conditions are not the same as a privacy policy or disclaimer, although the three things are often conflated. A privacy policy outlines how a business or individual handles personal data, while a disclaimer limits a company’s legal responsibility in certain areas (such as the accuracy of information provided on a website).
If you’re doing any of the following activities, you will likely find some use for terms and conditions as part of your engagement with users and customers:
- You run a website or mobile app.
- You sell physical products through an e-commerce store.
- You sell SaaS or digital products.
- You run user-generated content platforms.
- You run an online marketplace.
- You run a service-based business.
How to add terms and conditions in Google Forms (Step-by-step)
To add terms and conditions in Google Forms, try one of these methods:
- Add the terms and conditions directly in the Google form.
- Add a link to terms and conditions posted elsewhere.
(New to using a form builder? It might be helpful to read these articles first: “Google Forms tutorial: How to use Google Forms,” “How to create a Google Form,” and “How to make conditional questions in Google Forms.”)
Method 1: Add the terms and conditions directly in Google Forms
- Log in to Google Forms.
- Click Blank Form.
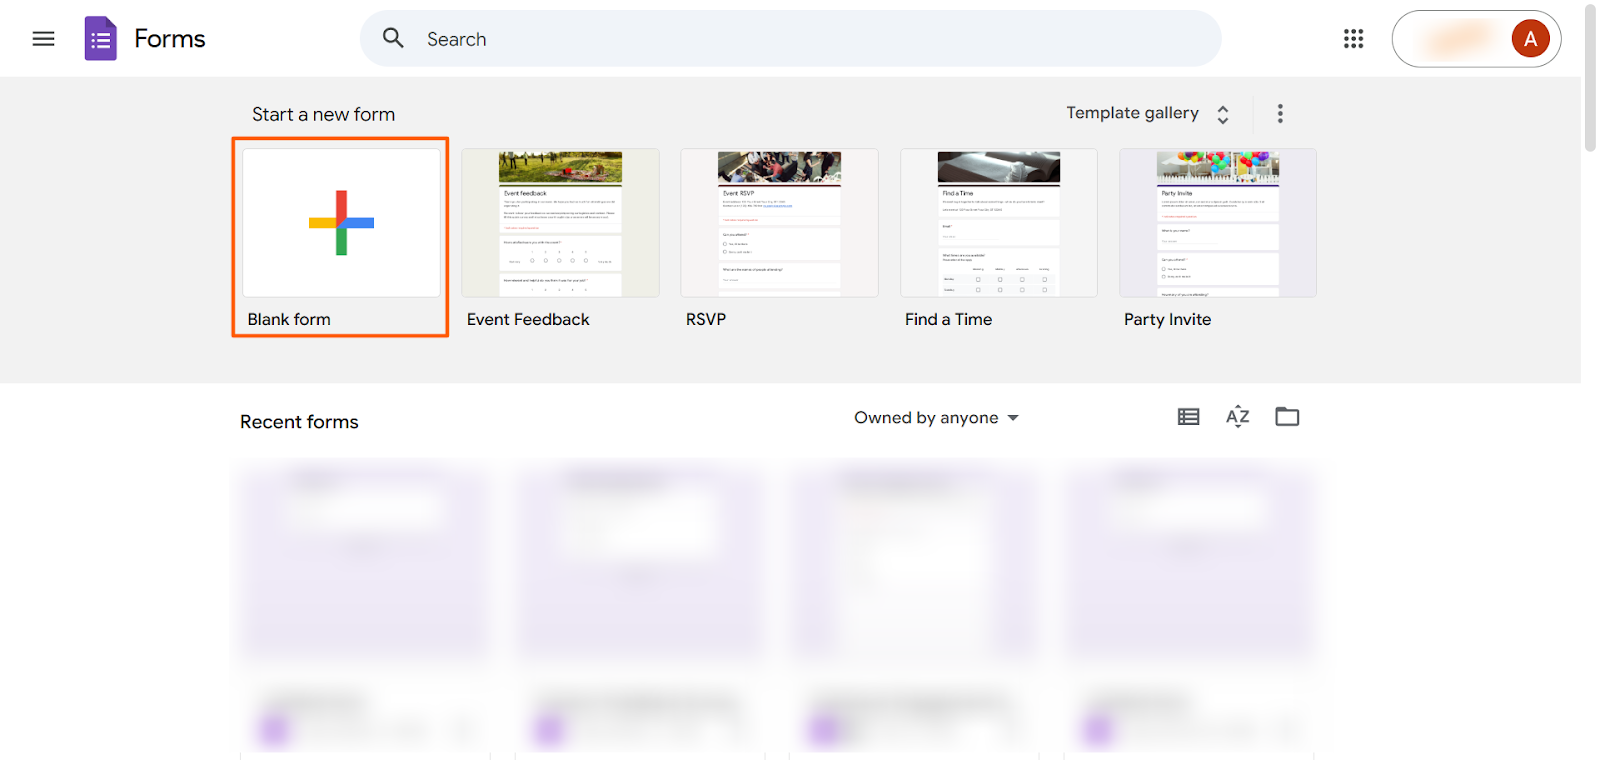
- Type in the form title.

- Click the TT icon in the toolbar to the right.
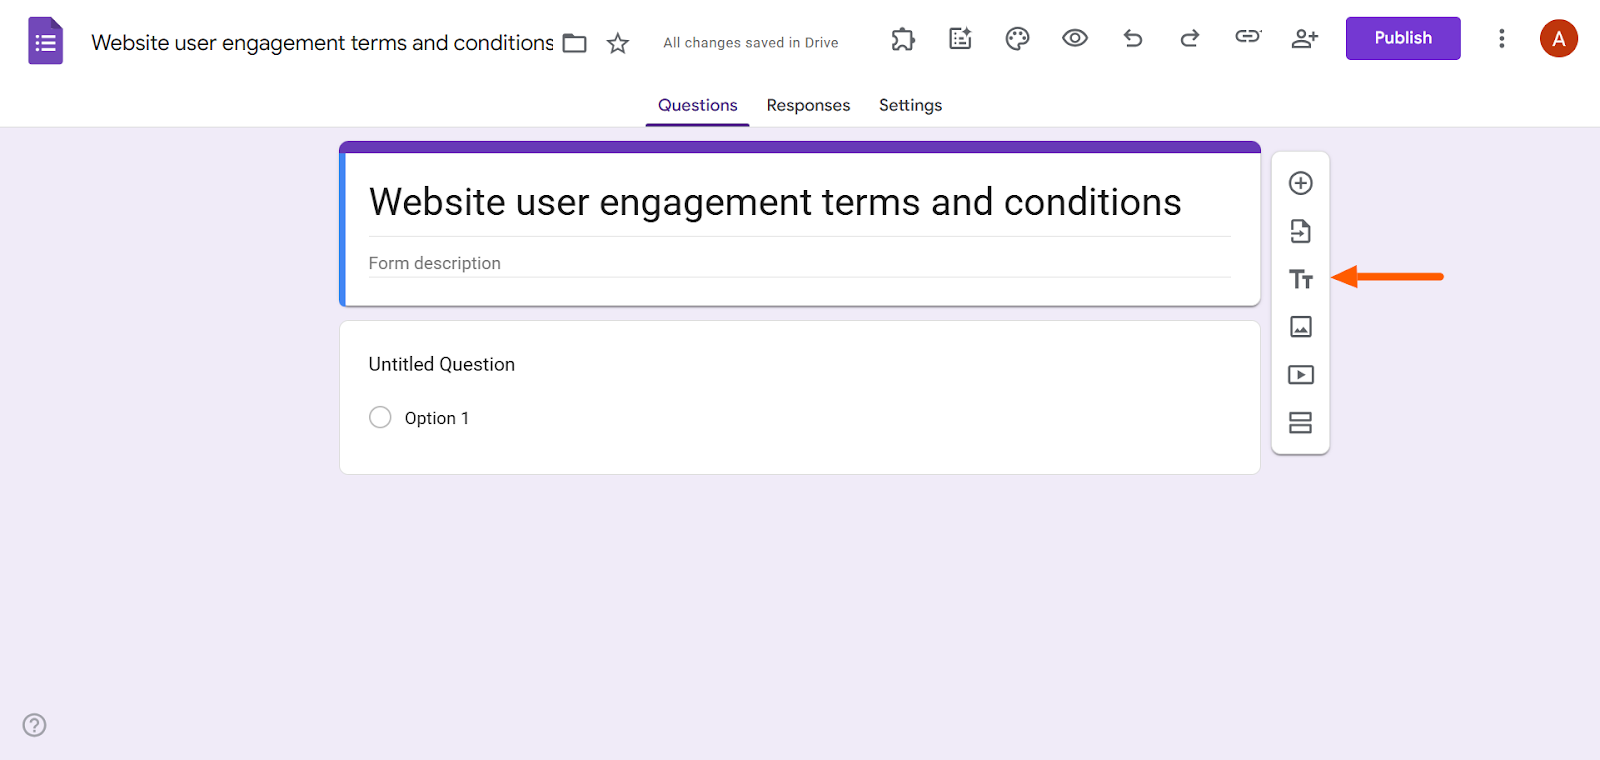
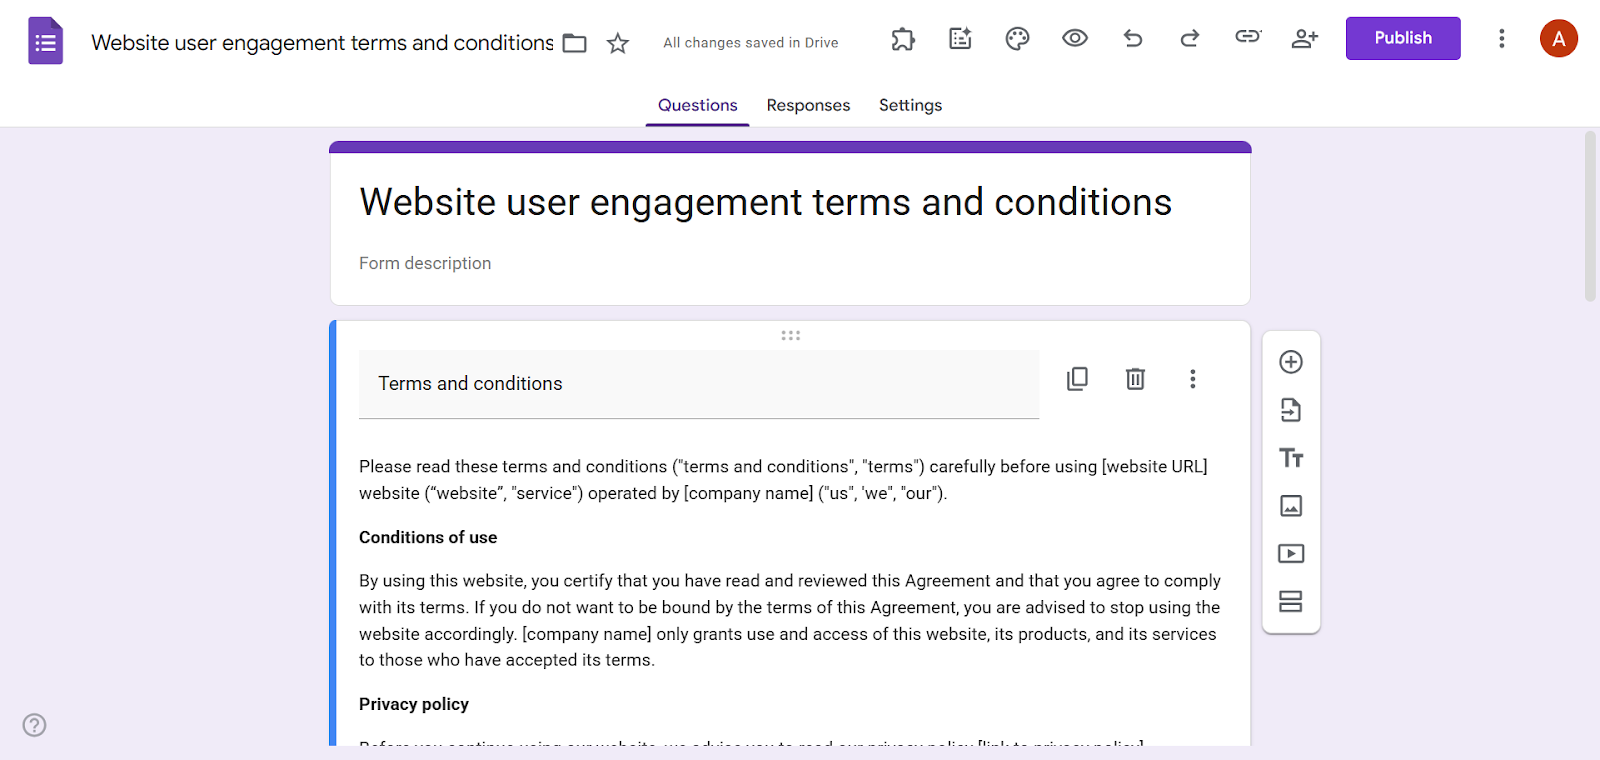
- Enter a title in the Title field, such as “Terms and conditions.” Enter the terms and conditions content in the Form Description field.
- Click the Add Question icon (a circle with a plus sign) in the toolbar.
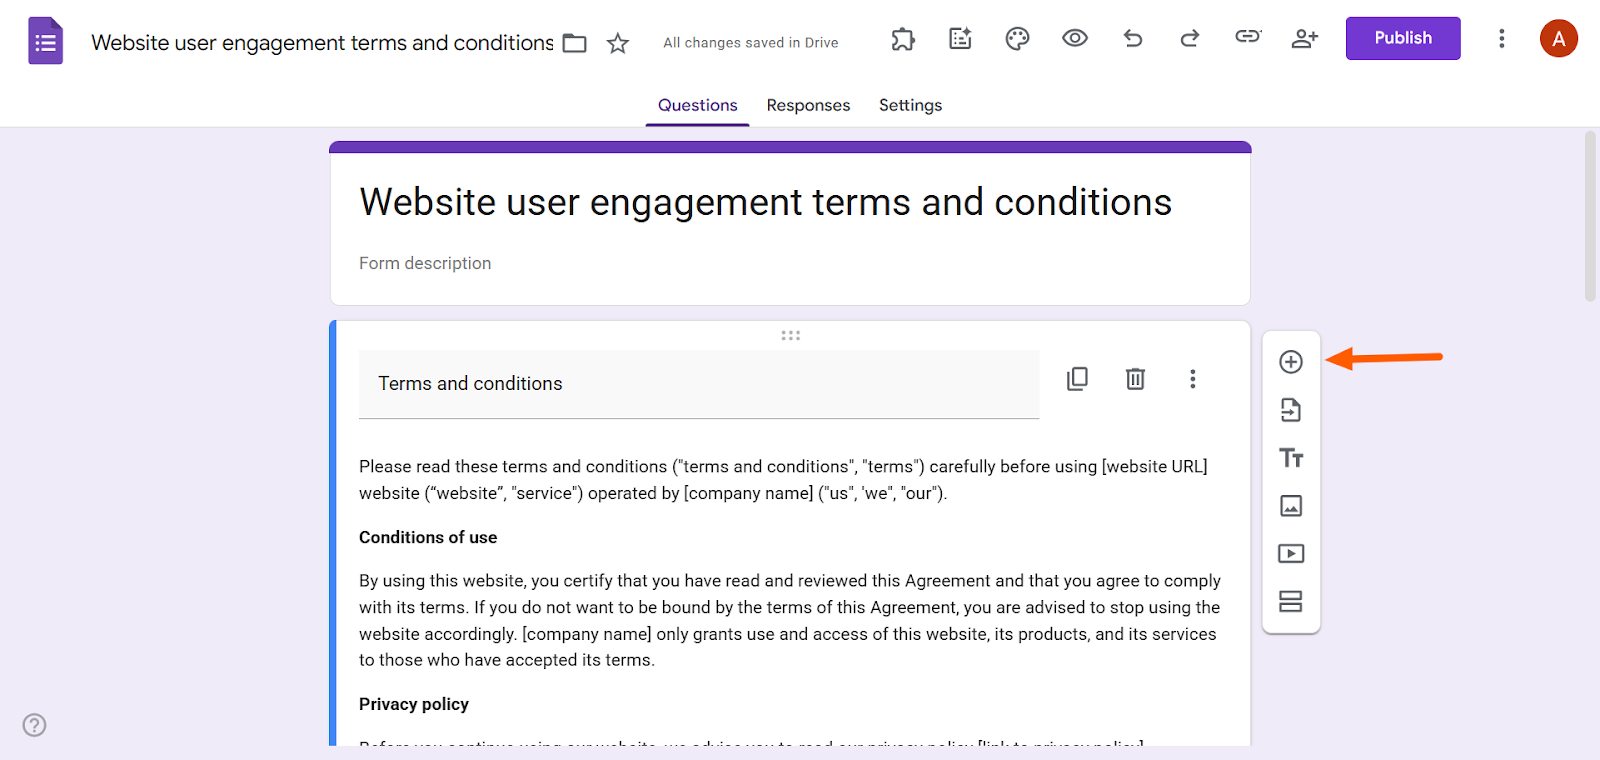
- Select Multiple Choice. In the Question field, type, “Do you agree to the terms and conditions?” Include one option as the answer: “I agree.” Toggle the Required button so that it is on.
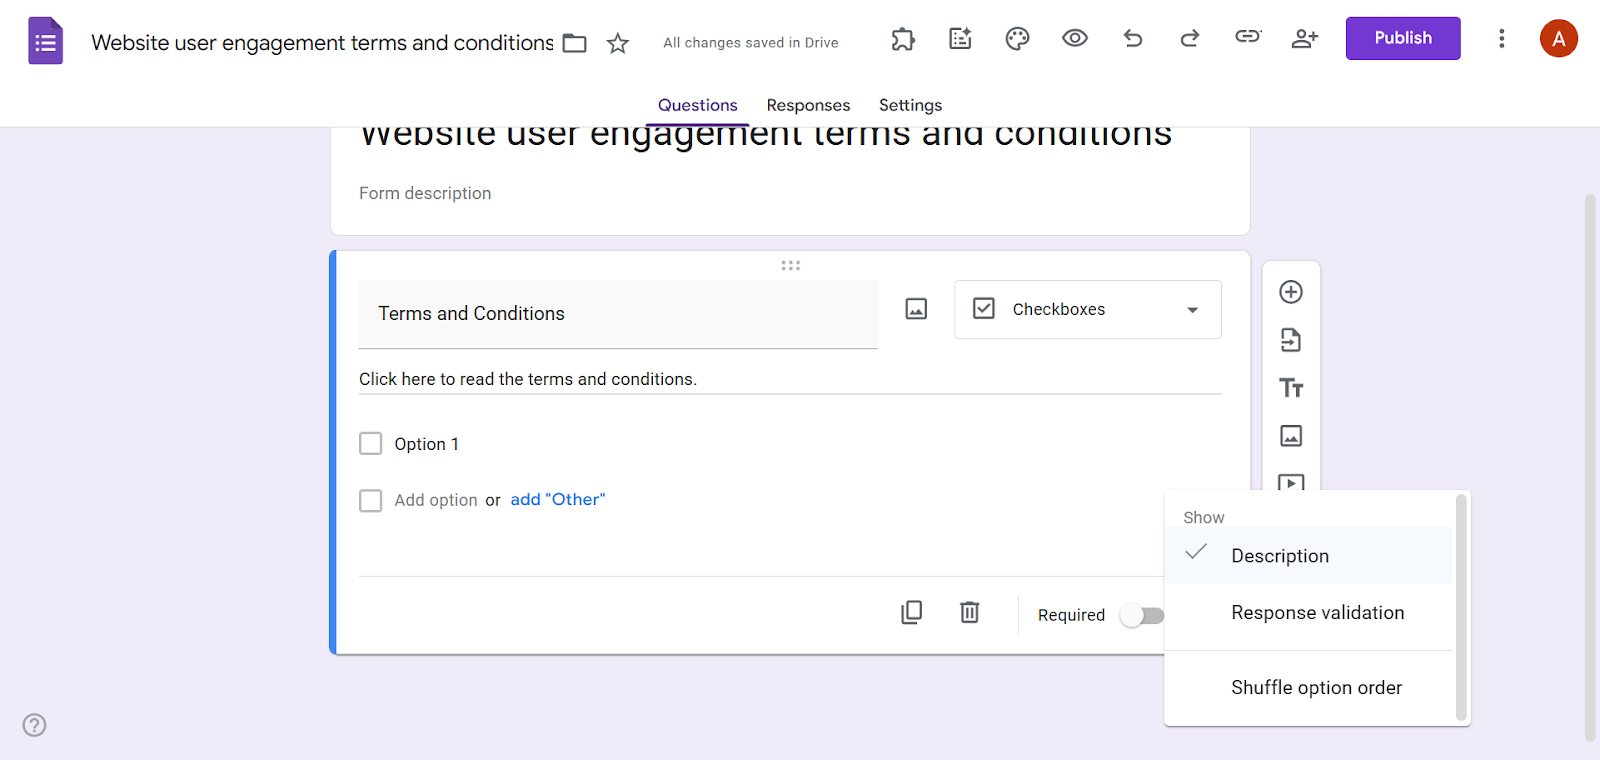
Method 2: Include a link to the terms and conditions
- Log in to Google Forms.
- Click Blank Form.
- Type in the form title.

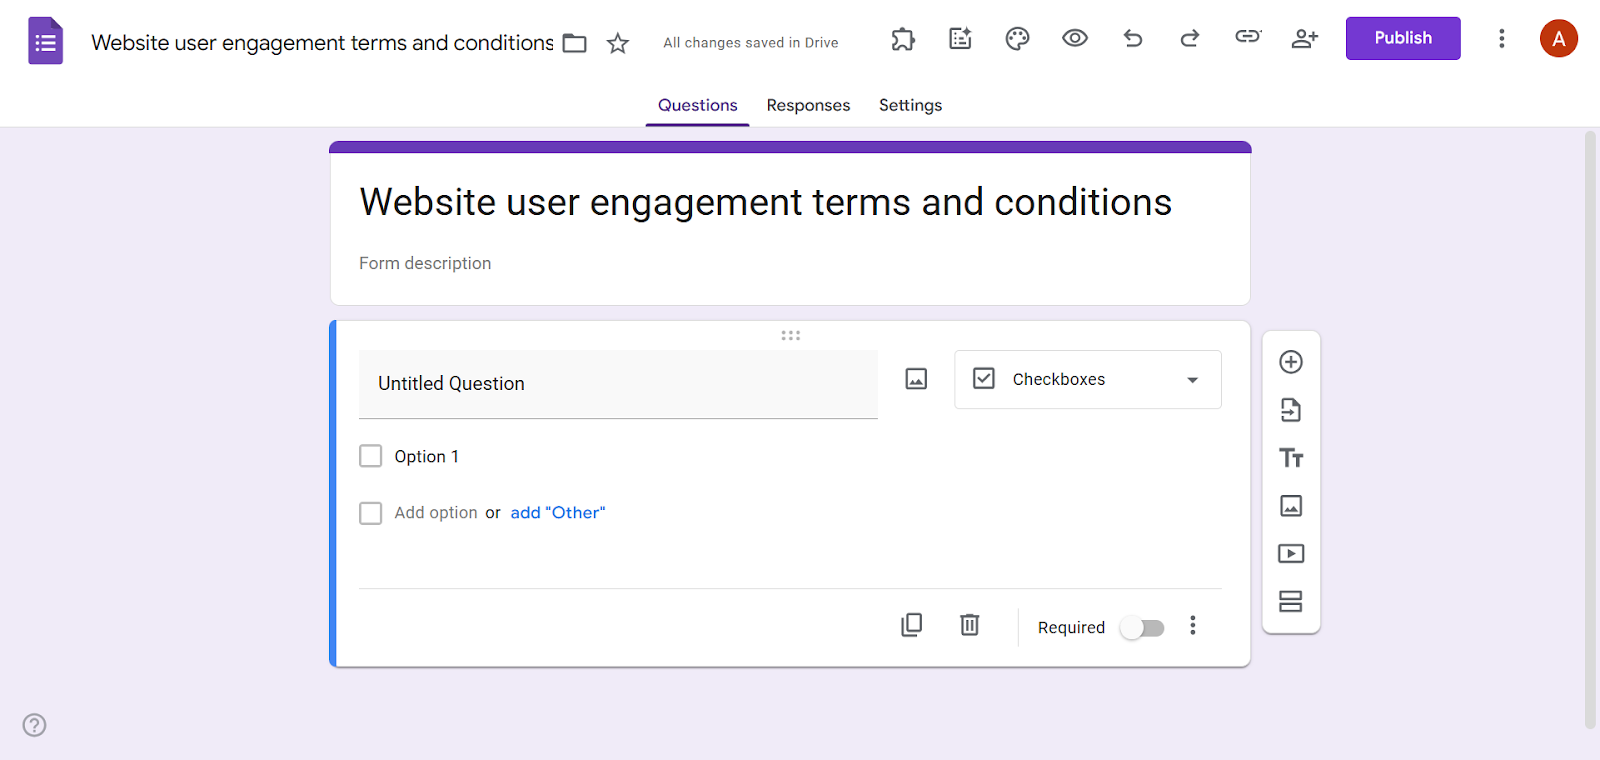
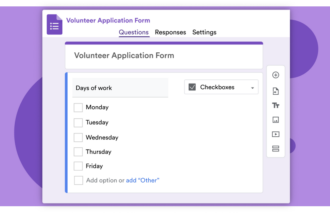
- Click Untitled Question. Select Checkboxes.
- In the Title field, type “Terms and Conditions.” In the Form Description field, type “Click here to read the terms and conditions.”
Note: If the Form Description field is not visible, click the More Options icon (the three dots) at the bottom of the question box and select Description.
- Link the Description text to the terms and conditions you have posted elsewhere. Select the text you want to link, and click the Insert Link icon. Type in the URL and click OK.
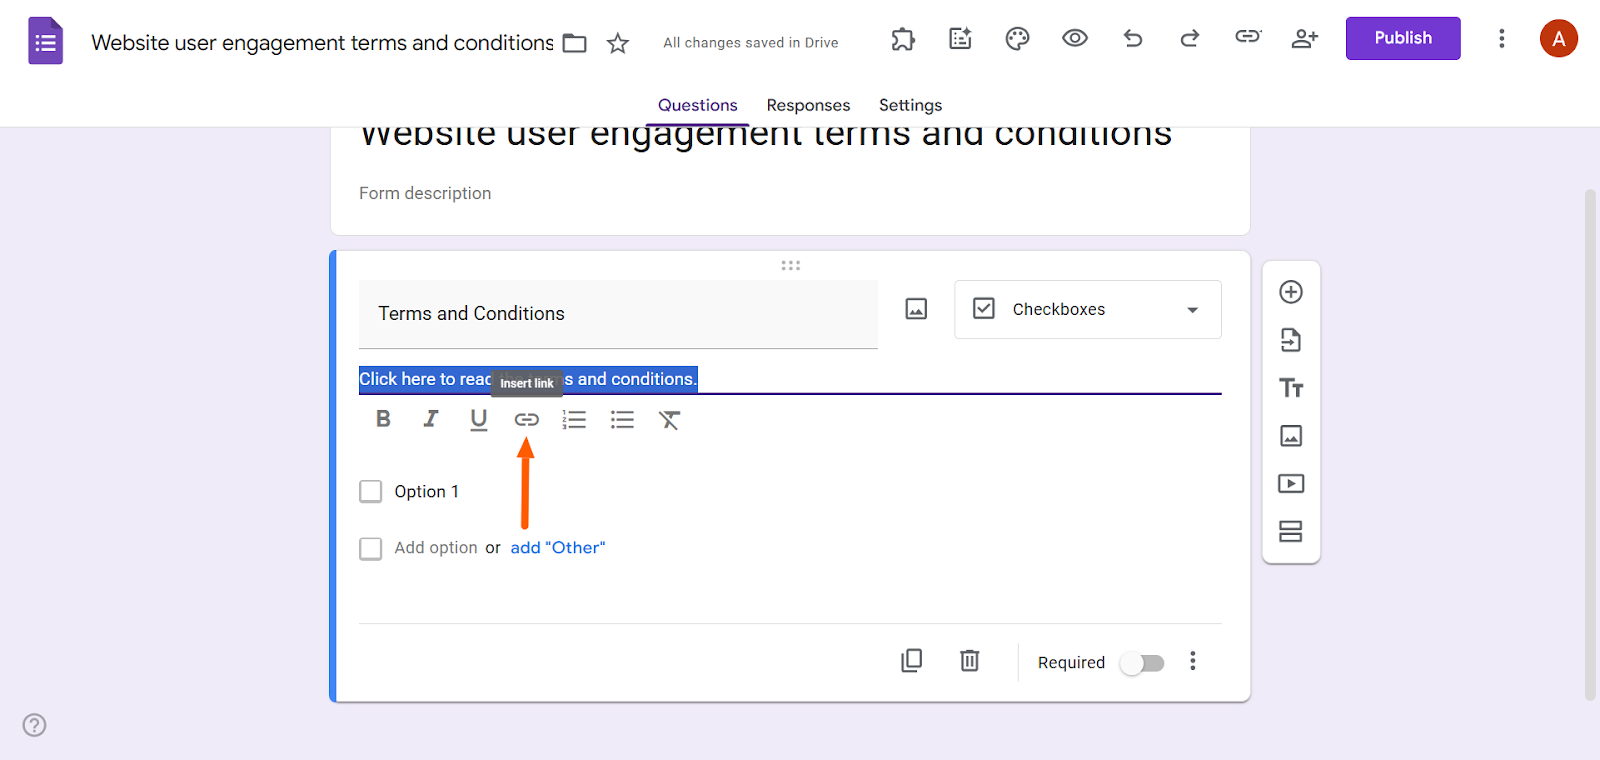
- In the first Option field, type “I agree to the terms and conditions.” Toggle the Required button so that it is on.
Step-by-step: How to create terms and conditions in Jotform
Google Forms doesn’t have a built-in solution for adding terms and conditions, and the work-arounds can sometimes be finicky. If you want to streamline the process, choose a Google Forms alternative: Jotform.
Jotform, a leading form builder, is just as easy to use as Google Forms, but it comes with highly advanced features that blow Google Forms’s basic capabilities out of the water. Jotform offers built-in widgets specifically for terms and conditions, so you don’t need to fiddle with work-arounds.

Pro Tip
If you’ve already created a form in Google Forms, you don’t have to start from scratch in Jotform. Simply migrate your Google form to Jotform in just a few minutes with our easy-to-use migration tool.
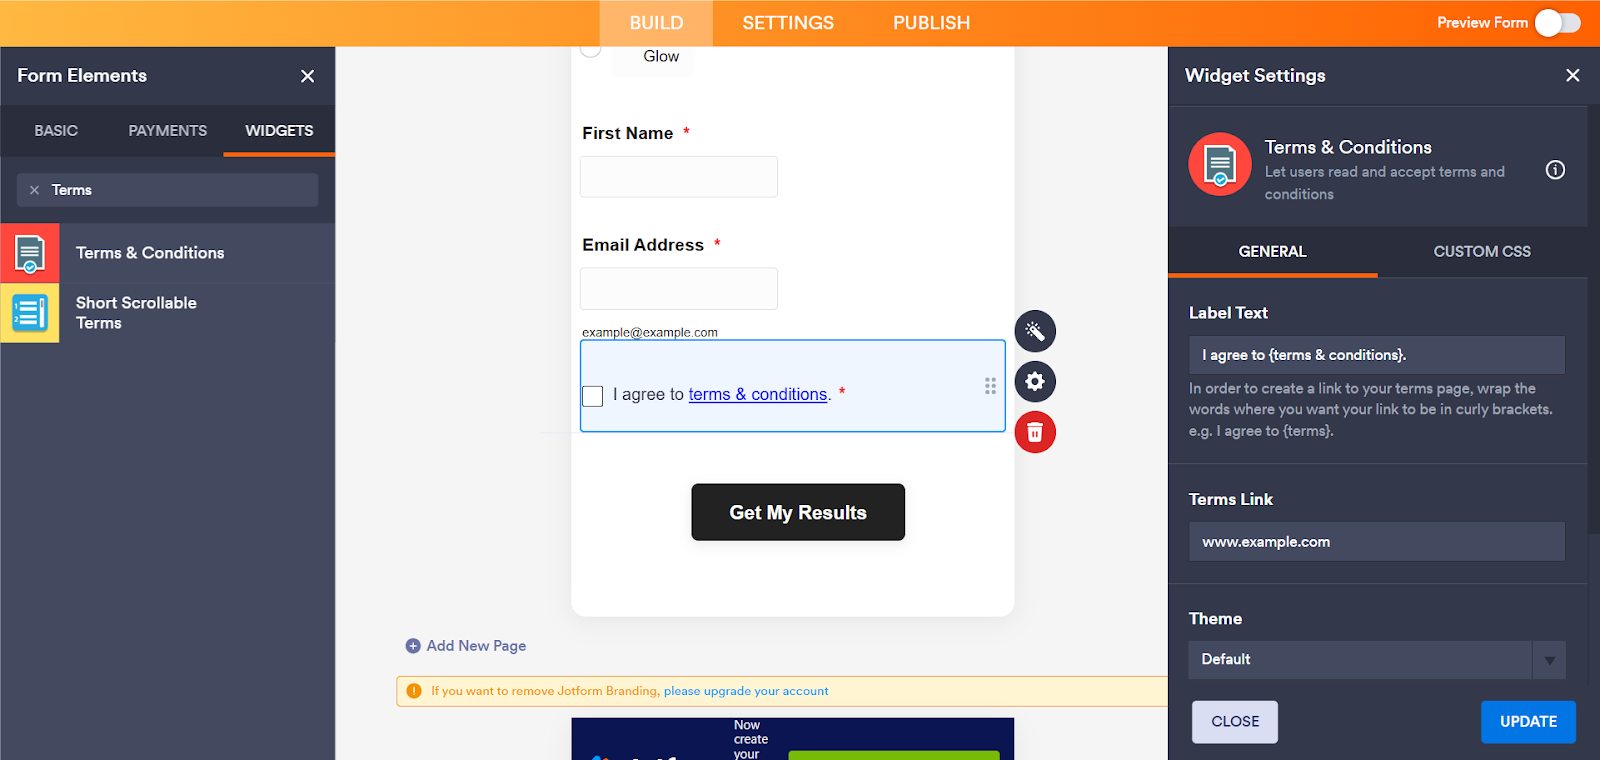
Here’s how to add terms and conditions in Jotform
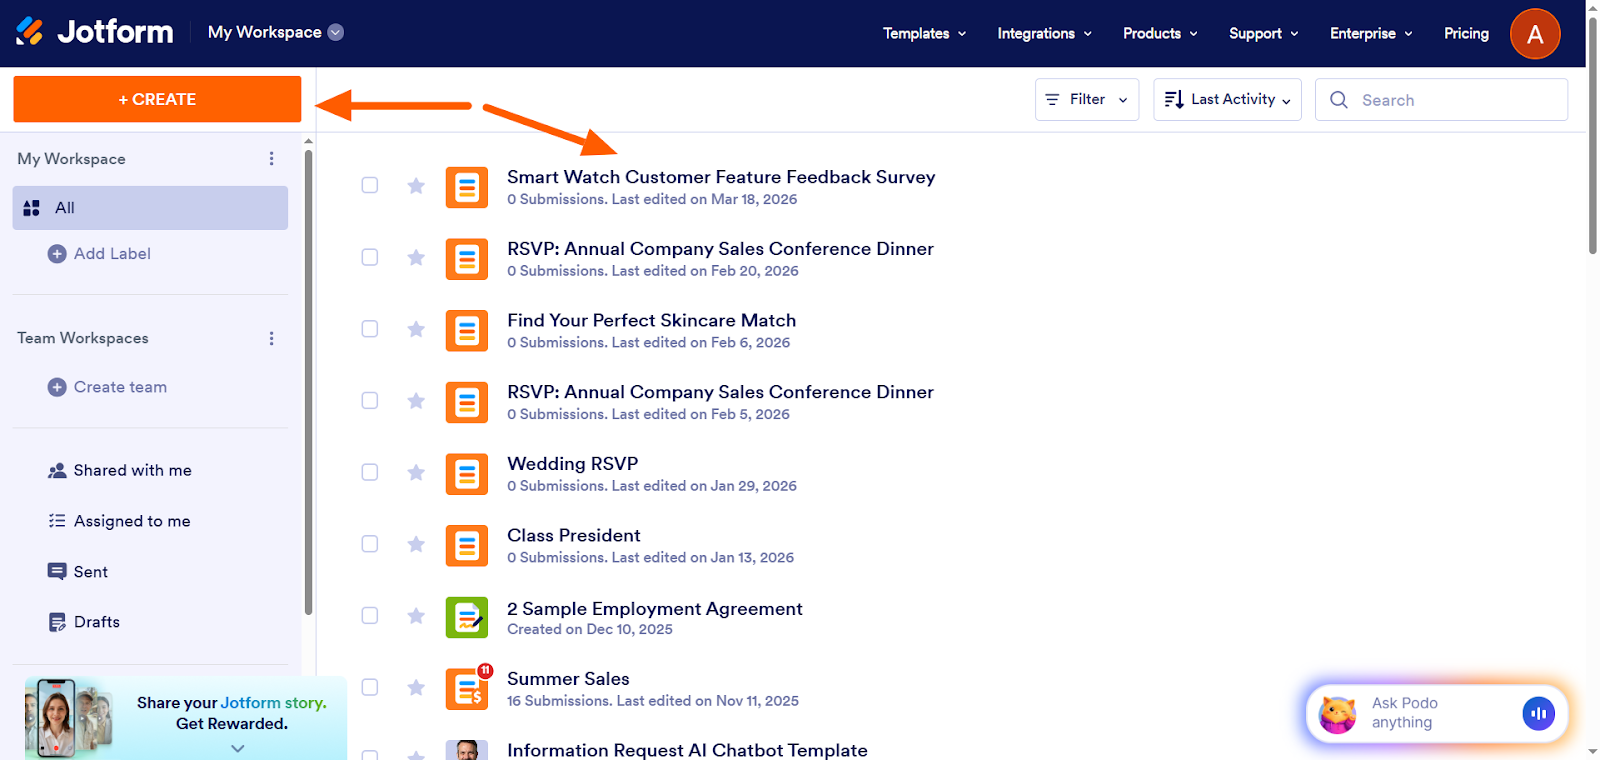
- Log in to Jotform.
- Create a new form or open an existing form.
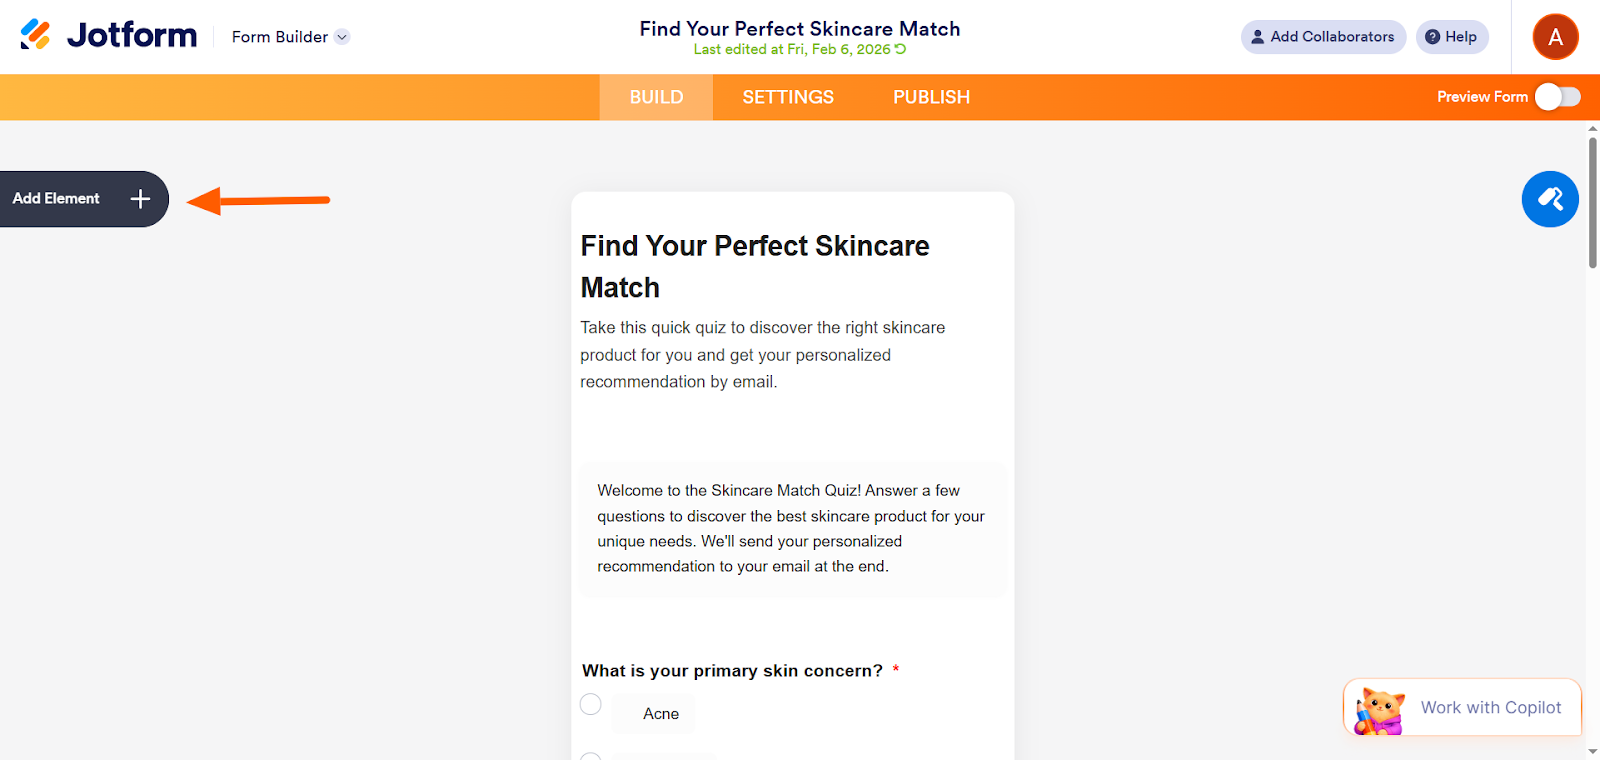
- Click Add Element.
- Click Widgets.
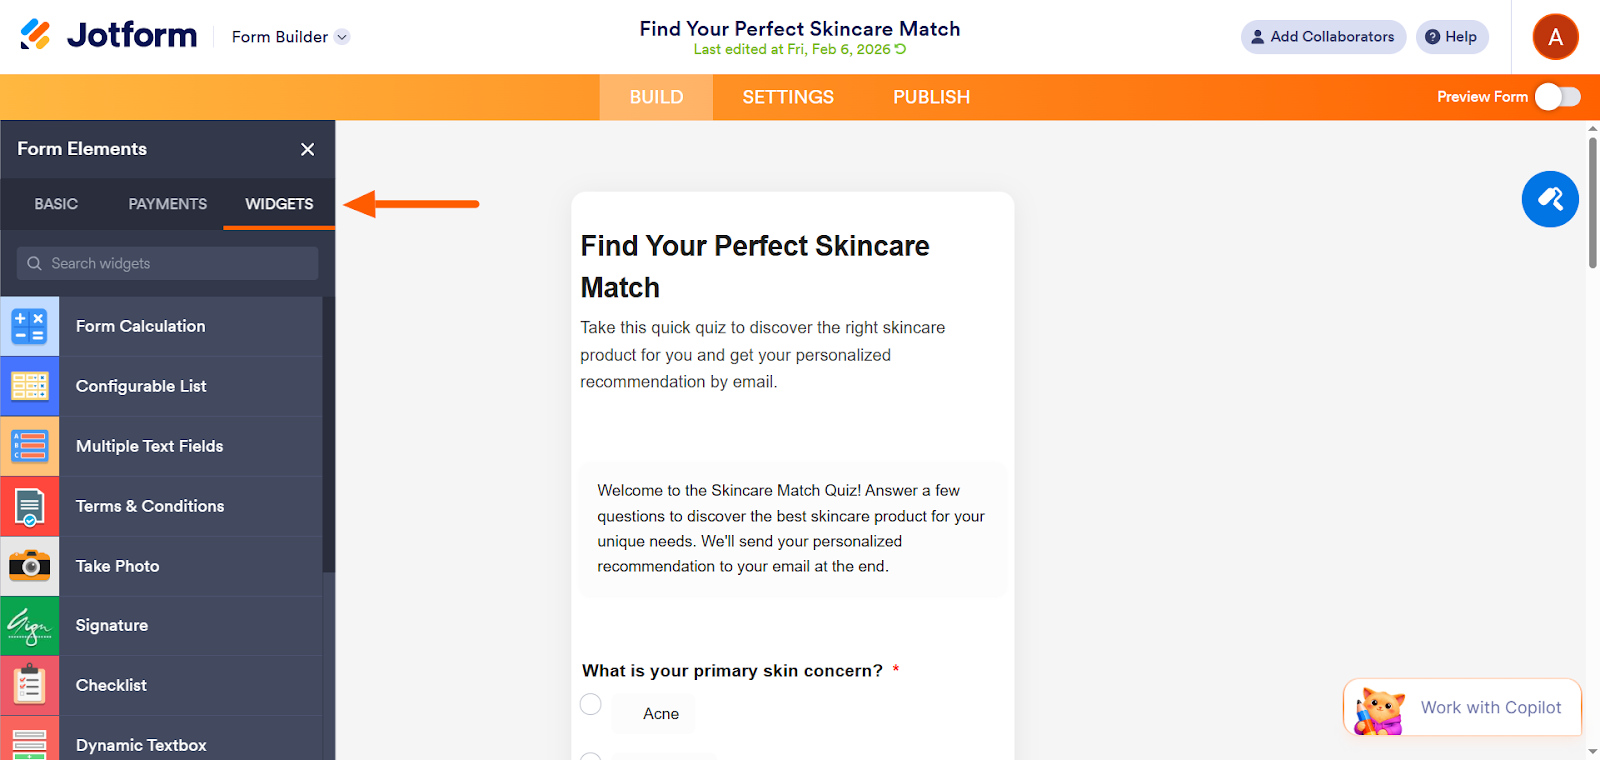
- Type “Terms.” You will see two search results for Terms and Conditions widgets.
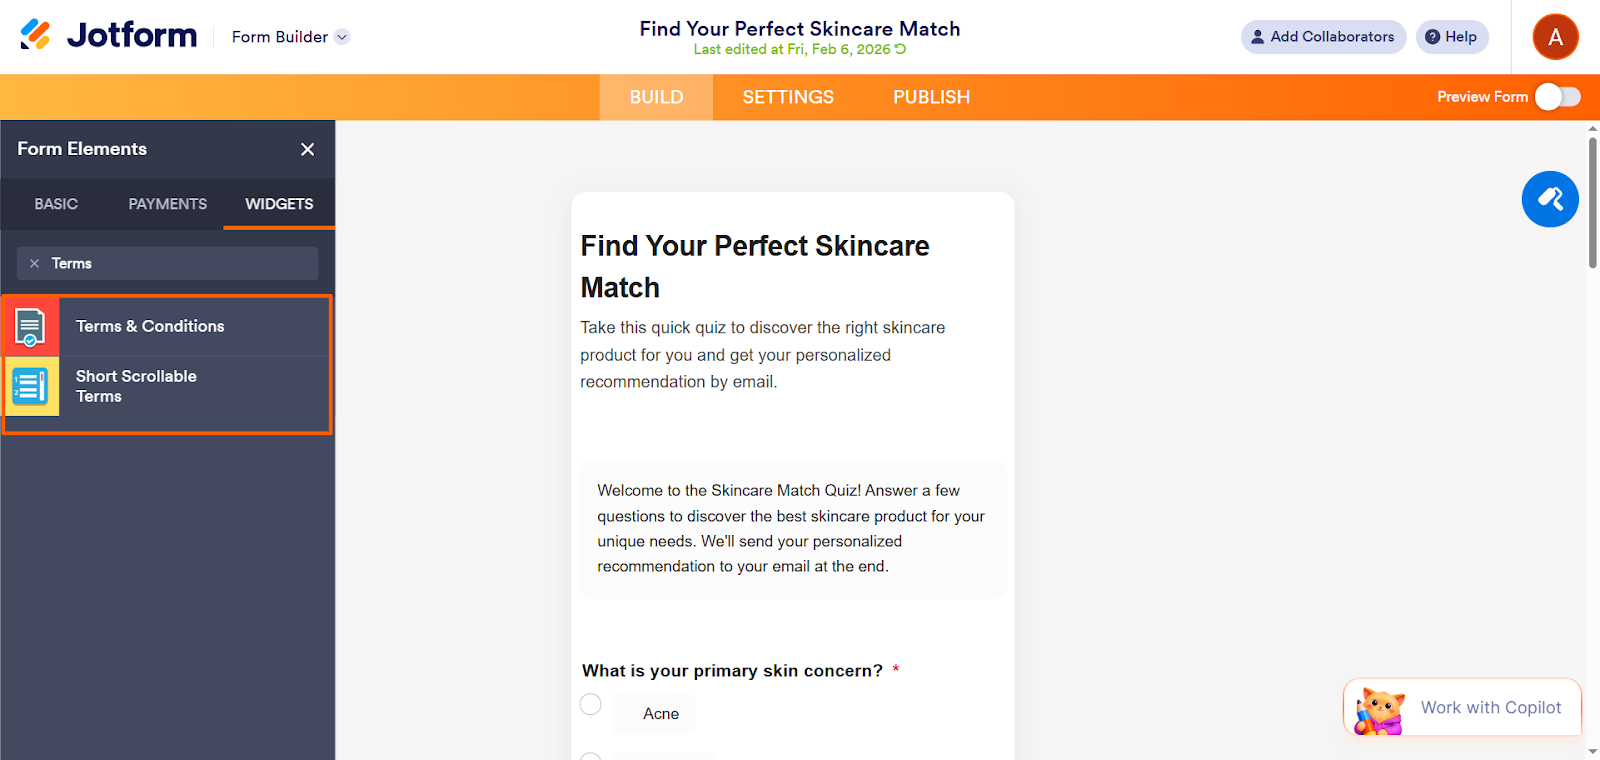
- Terms & Conditions Widget: Use this option if you want to link to your terms and conditions and let users agree to them by clicking a checkbox.
- Short Scrollable Terms Widget: Use this option if you want to enable users to scroll through the terms and conditions right on the form and then agree via a checkbox.
- Select the widget that works best for your needs. Configure the widget settings in the Widget Settings bar. Click Update.
Adding terms and conditions doesn’t need to be complicated
If you need to include terms and conditions for your users or customers, the process is easy with Jotform.
Unlike Google Forms, which doesn’t have built-in features for handling terms and conditions, Jotform offers two built-in terms and conditions solutions: the Terms & Conditions widget and the Short Scrollable Terms widget.
Simply select the widget you want in the form builder, configure the settings using the Widget Settings panel, and Jotform does the hard work for you. No work-arounds needed.
Explore Jotform today, and see how easy it is to add terms and conditions to your forms.
FAQs: How to add terms and conditions in Google Forms
You can use the Response Validation feature, which you can access from the More Options icon at the bottom of each question. The rule options available will depend on the type of question you have selected.
Use the Conditional Questions feature. In your Google form, click More Options > Go to Section Based on Answer. You will need to create separate sections for each possible answer.
You can use a work-around to create a contract in Google Forms. Use the TT icon to add a title and contract terms in Google Forms. Then use a Checkbox or Multiple Choice question type to ask users to agree to your terms. Toggle the Required button so that it is on.
This article is for website owners, app developers, e-commerce operators, and service providers who use online forms and want to add terms and conditions to ensure user compliance and protect their business.


Send Comment: