
There are many reasons why you may want to set an expiration date on a form, so that new respondents are prevented from submitting the form past the point when you’d like to stop receiving new responses. With Jotform, you can design forms that expire on a specific date or after a certain number of submissions is received.
Say you’re collecting submissions for a contest or sweepstakes, and the contest ends on a particular date. You can set an expiration date so that people cannot enter the contest after the cutoff point.
When you’re collecting project proposals that will be presented at a meeting, you can assign a time where the proposals are due to motivate employees to get their proposals over in a timely manner so that you can prepare for the meeting sufficiently in advance.


Setting an expiration date on a form is easy! Here’s how to set it up:
1. Select the Settings tab at the top of the Form Builder.
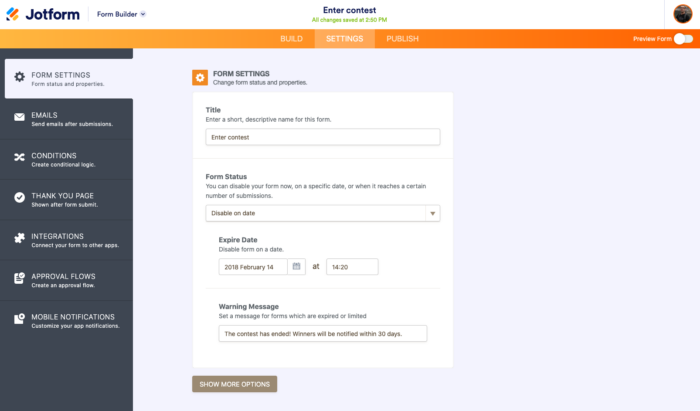
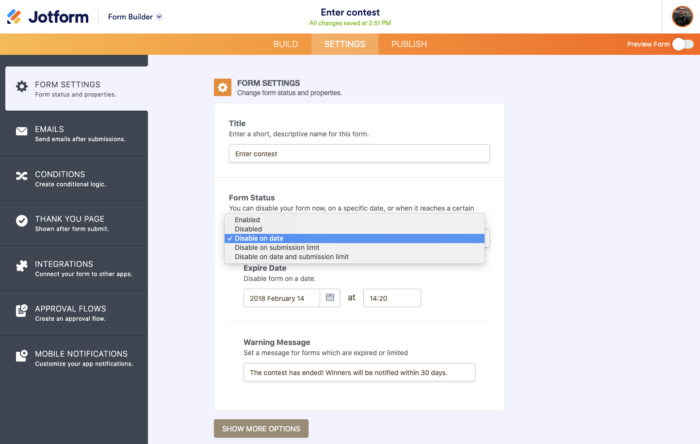
2. Under the Form Status dropbox, select your desired expiration type.
You can choose to expire your form after getting a set number of submissions, or on a certain date.
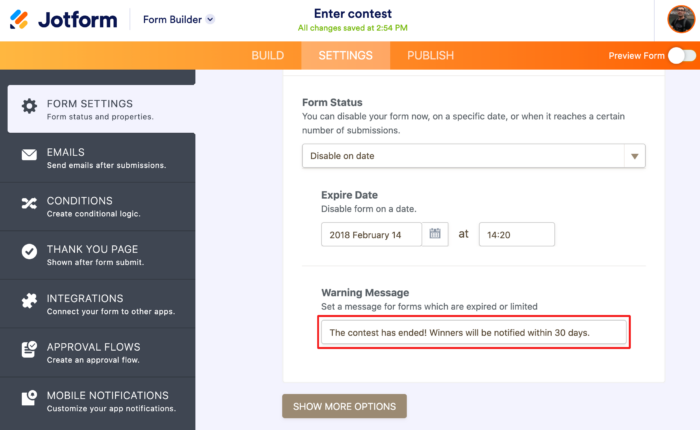
3. Customize your Warning Message.
The default is “This form is currently unavailable!” but you can also customize the message.
That’s it! Have you set an expiration date on a form? What did you need it for? Tell us by commenting below.


Send Comment:
2 Comments:
September 15, 2019
How about the timezone?
March 21, 2018
i need form