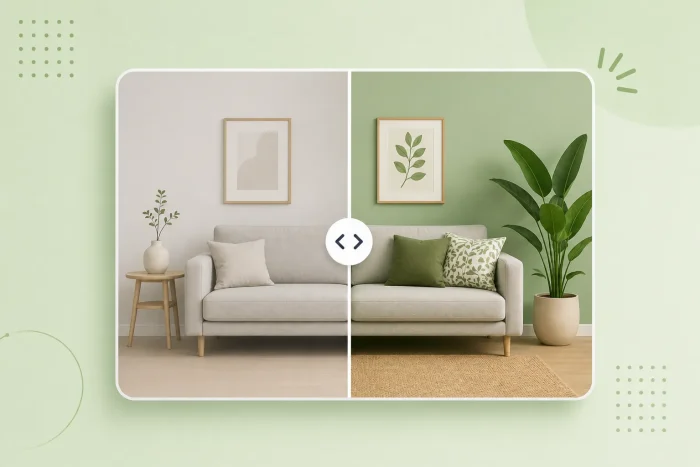
Imagine you’re selling a teeth-whitening kit, a car detailing service, or a set of Lightroom presets. What makes a potential customer pull the trigger? With products like these, people want more than your promises. They want to see the results.
A before-and-after slider lets shoppers visualize exactly what they’re paying for. Drag the handle, watch the transformation, and the value sells itself. It’s one of the fastest ways to build trust and set your product apart in a crowded market.
If you’re selling on Shopify, there’s a catch: Its default themes don’t include a before-and-after block out of the box. To add one, you’ve got three options: Install an app from the Shopify App Store, embed a free no-code widget, or custom-code a slider into your theme files. This guide walks through all three methods so that you can start turning browsers into buyers.
Option 1: Install a Shopify App Store extension
For most merchants, the first instinct is to open the Shopify App Store and search “before-and-after slider.” You’ll find plenty of options, and most install as a native app block. Once you’ve added the app, the slider shows up right inside your theme editor as a section or block you can drop onto a product page. That convenience is the appeal.
It comes with two costs, though.
The first is what store owners call the “app tax.” Almost every dedicated slider app runs on a monthly subscription — typically somewhere between $1 and $10 per month for a single interactive feature. A slider here, a countdown timer there, and a year later you’re paying real money for features that used to be one-time add-ons.
The second cost is speed. Front-end visual apps often inject their own third-party JavaScript into every page they touch. Install a few of them, and your product pages carry a load of external scripts, which can drag down page speed — directly affecting both your conversion rate and your SEO.
If you’ve weighed those trade-offs and still want the native-app route, here’s the setup:
- Navigate to the Shopify App Store, making sure you’re logged into your Shopify account. Search for “before-and-after slider.”
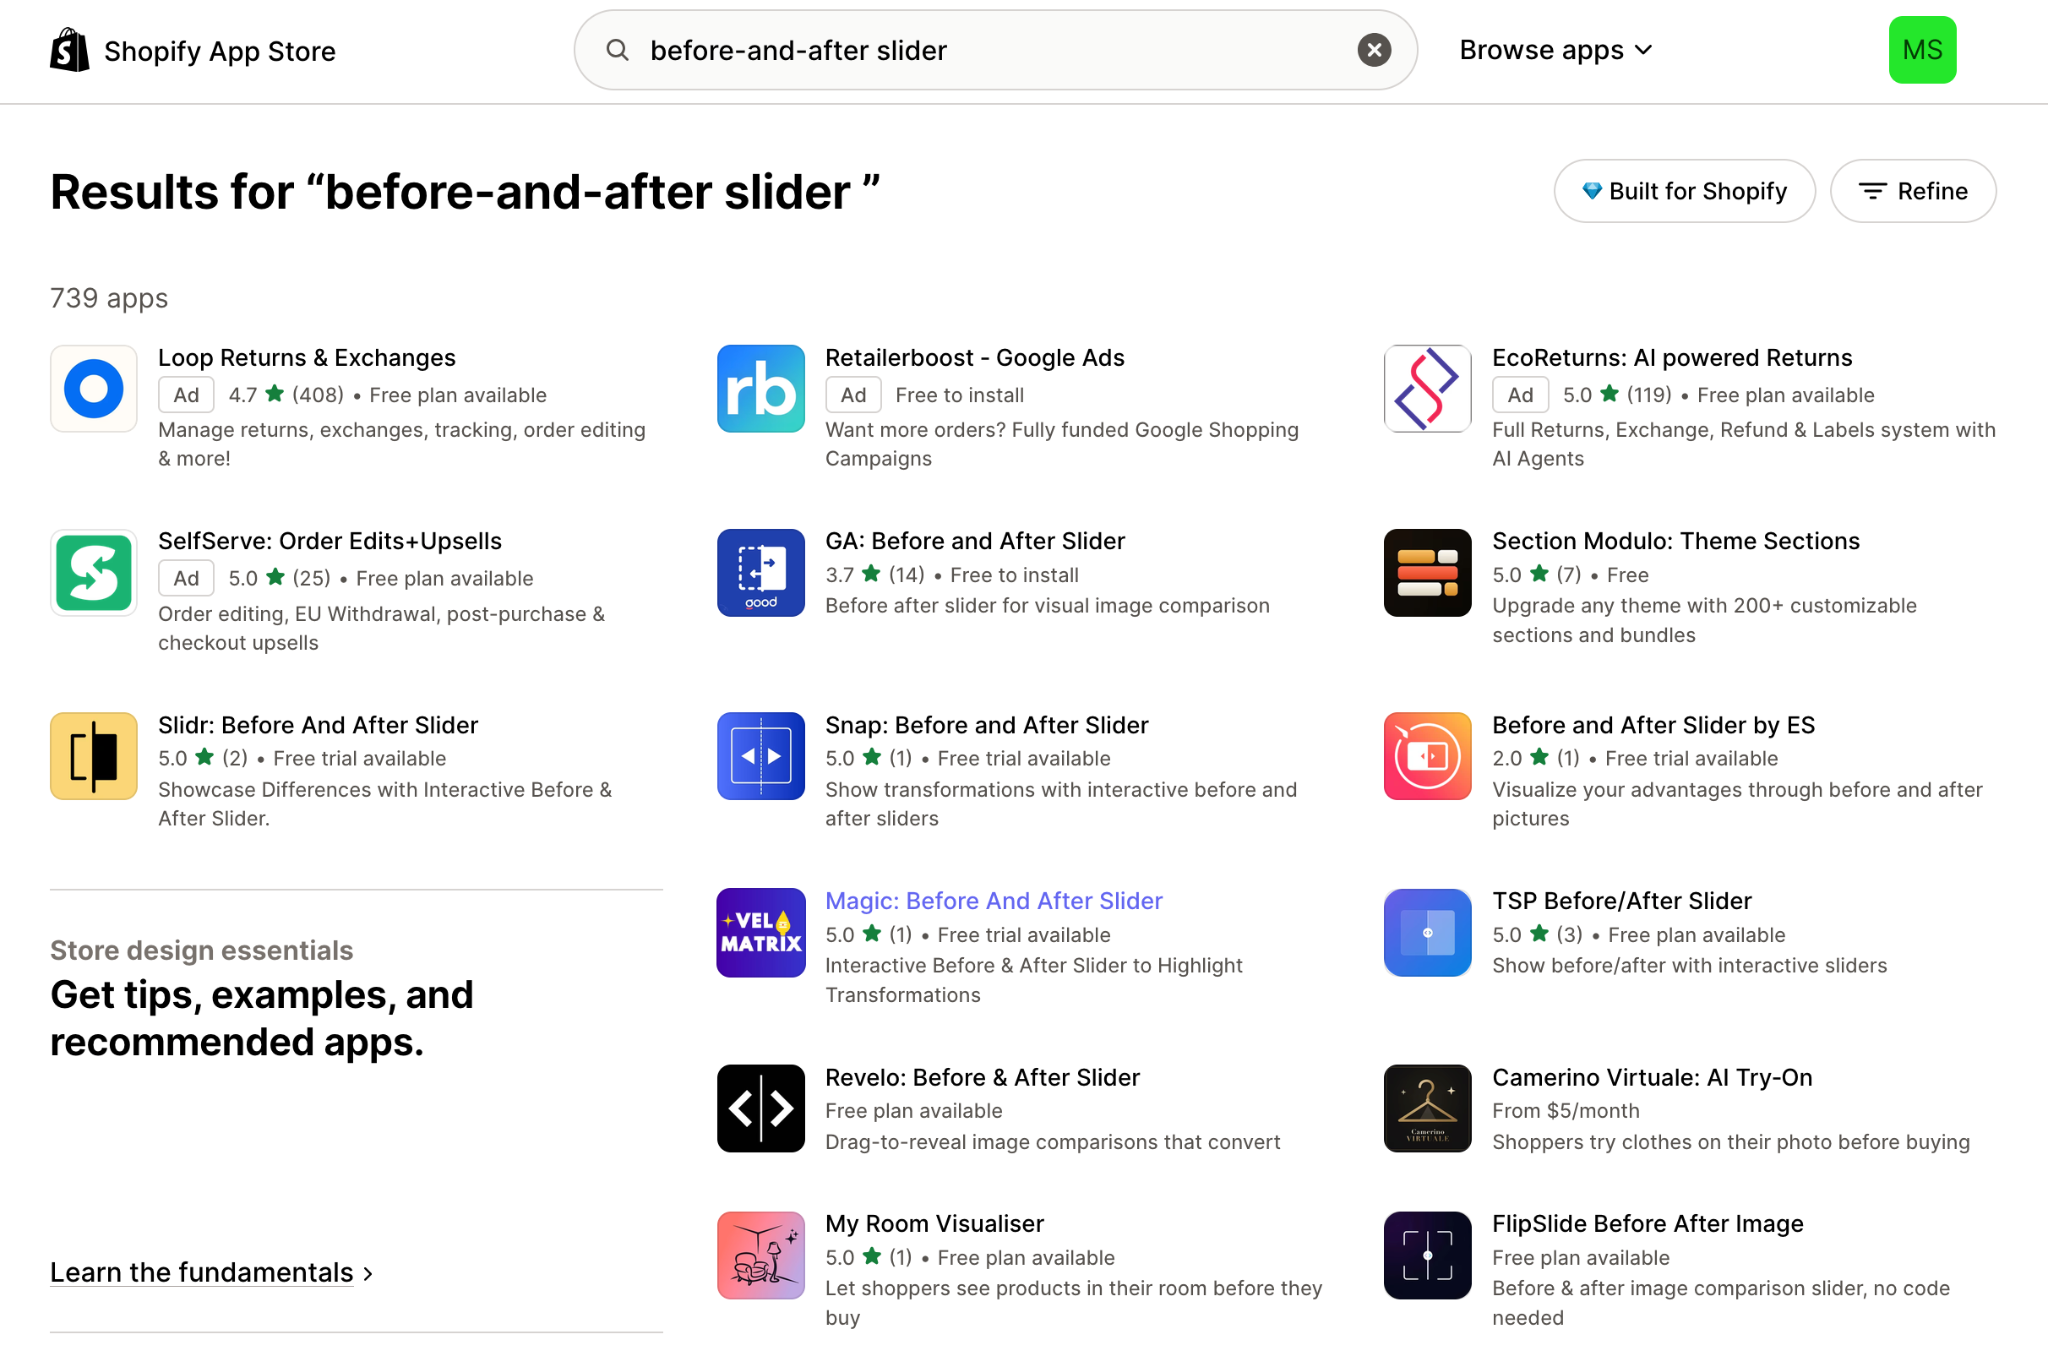
- Select an app and click Install to add it to your store.
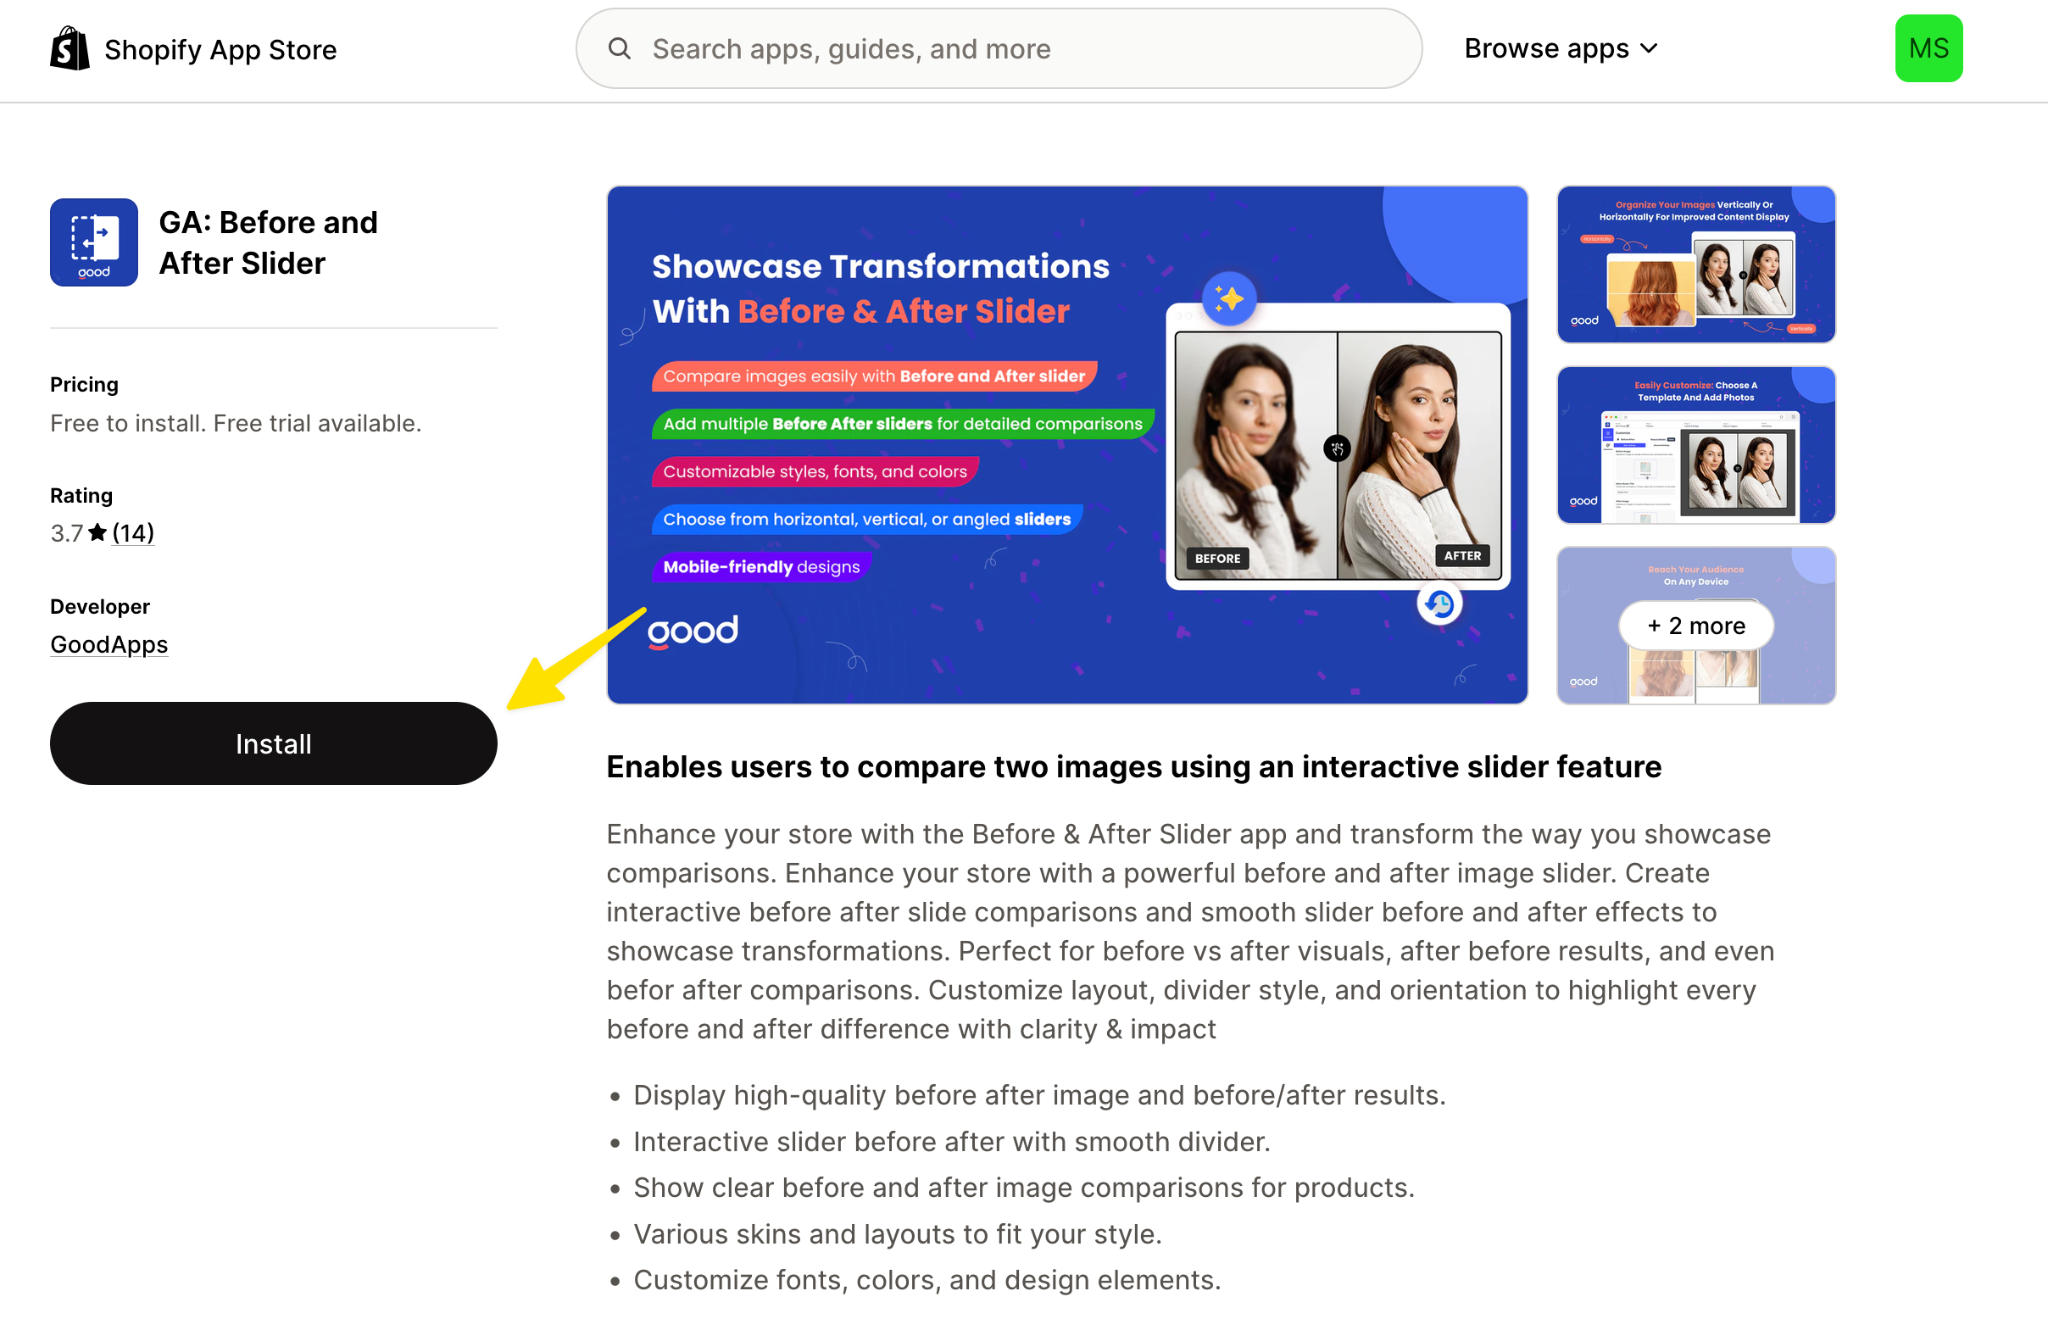
- Follow the app’s instructions to set it up. Most apps require you to set up payment before using them, so you’ll need to do this before adding them to your theme.
Option 2: Use a free, no-code slider widget (recommended)
If you want a customizable and responsive comparison slider without a monthly subscription, the best route is a free embedded widget. The Jotform Before and After Slider is built for exactly this. You configure it visually, copy one embed code, and drop it into your Shopify page. There’s no app to install and no recurring fee.
Because the widget loads from Jotform’s servers instead of injecting scripts into your theme, it keeps your store’s code lean, which helps protect page speed. You can set horizontal or vertical reveal; choose drag, click, or hover interaction; add labels and captions; and even stack up to three comparison pairs in a compact carousel.
Here’s how to add it:
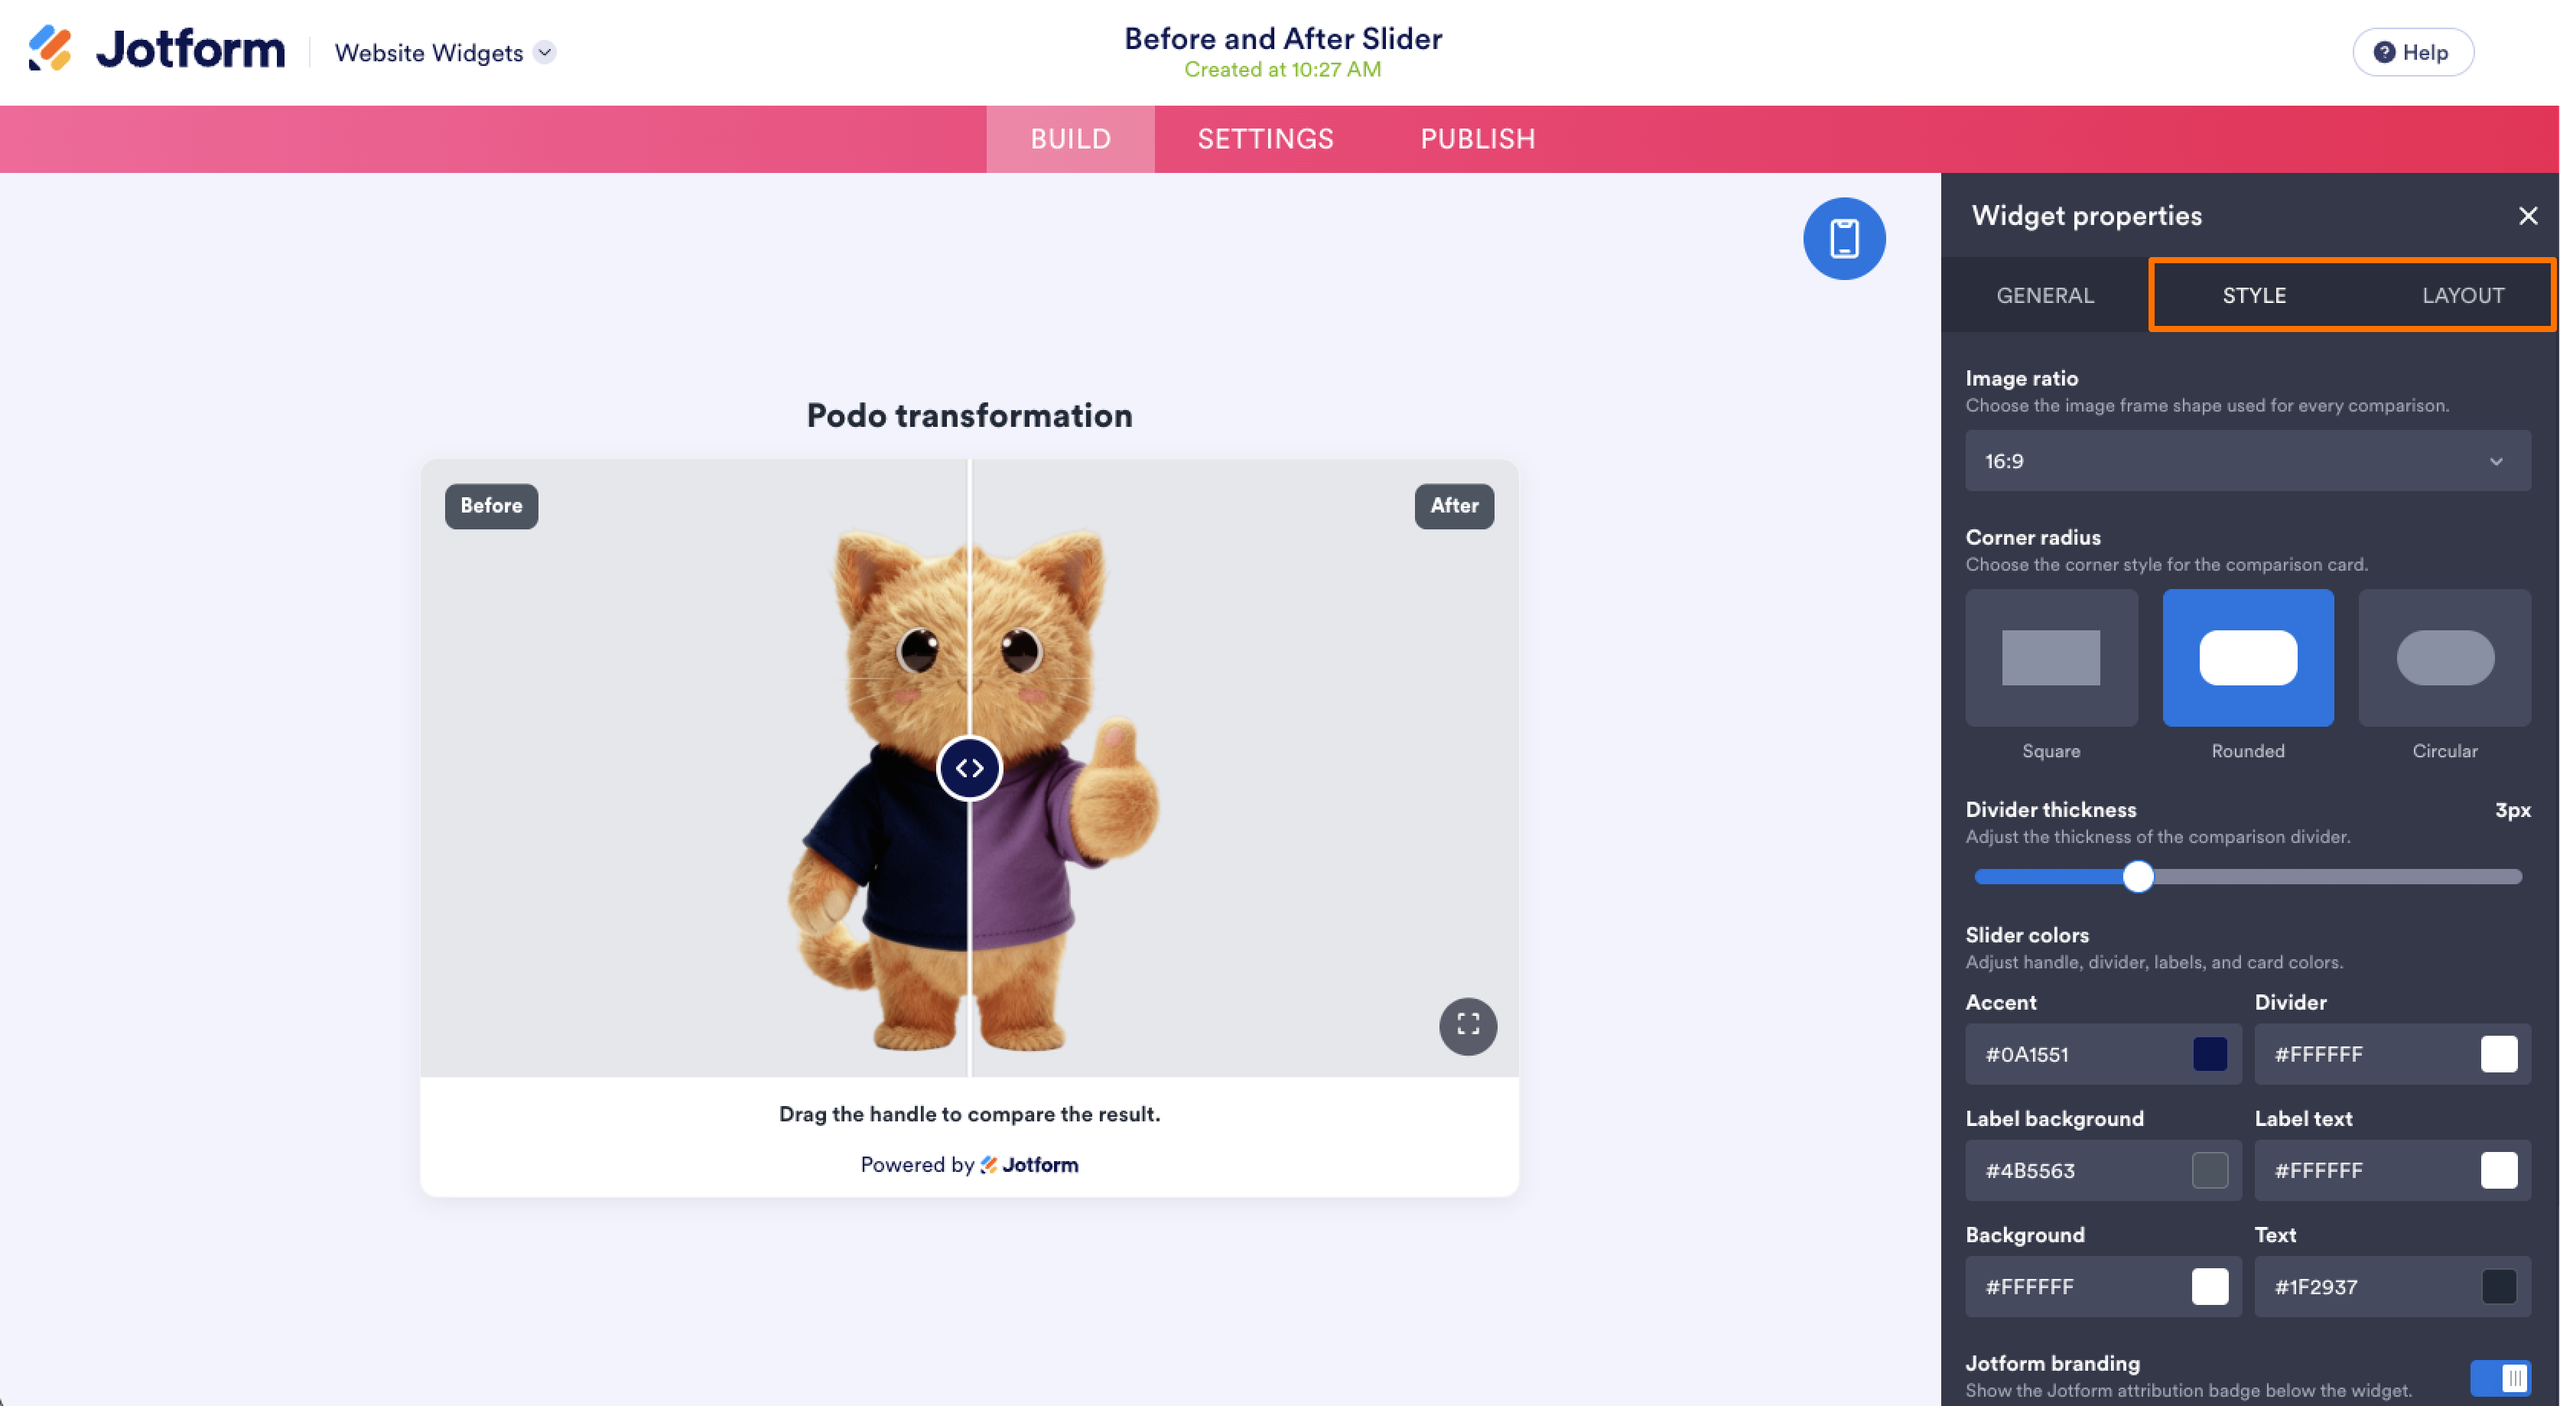
- On the Jotform Before and After Slider page, add your before and after images and write a label and caption for each pair. Jotform pulls images by URL, so if your photos aren’t online yet, upload them to Shopify under Settings > Files first and copy each image’s URL. You can also choose the upload image option if you prefer to add images directly on Jotform.
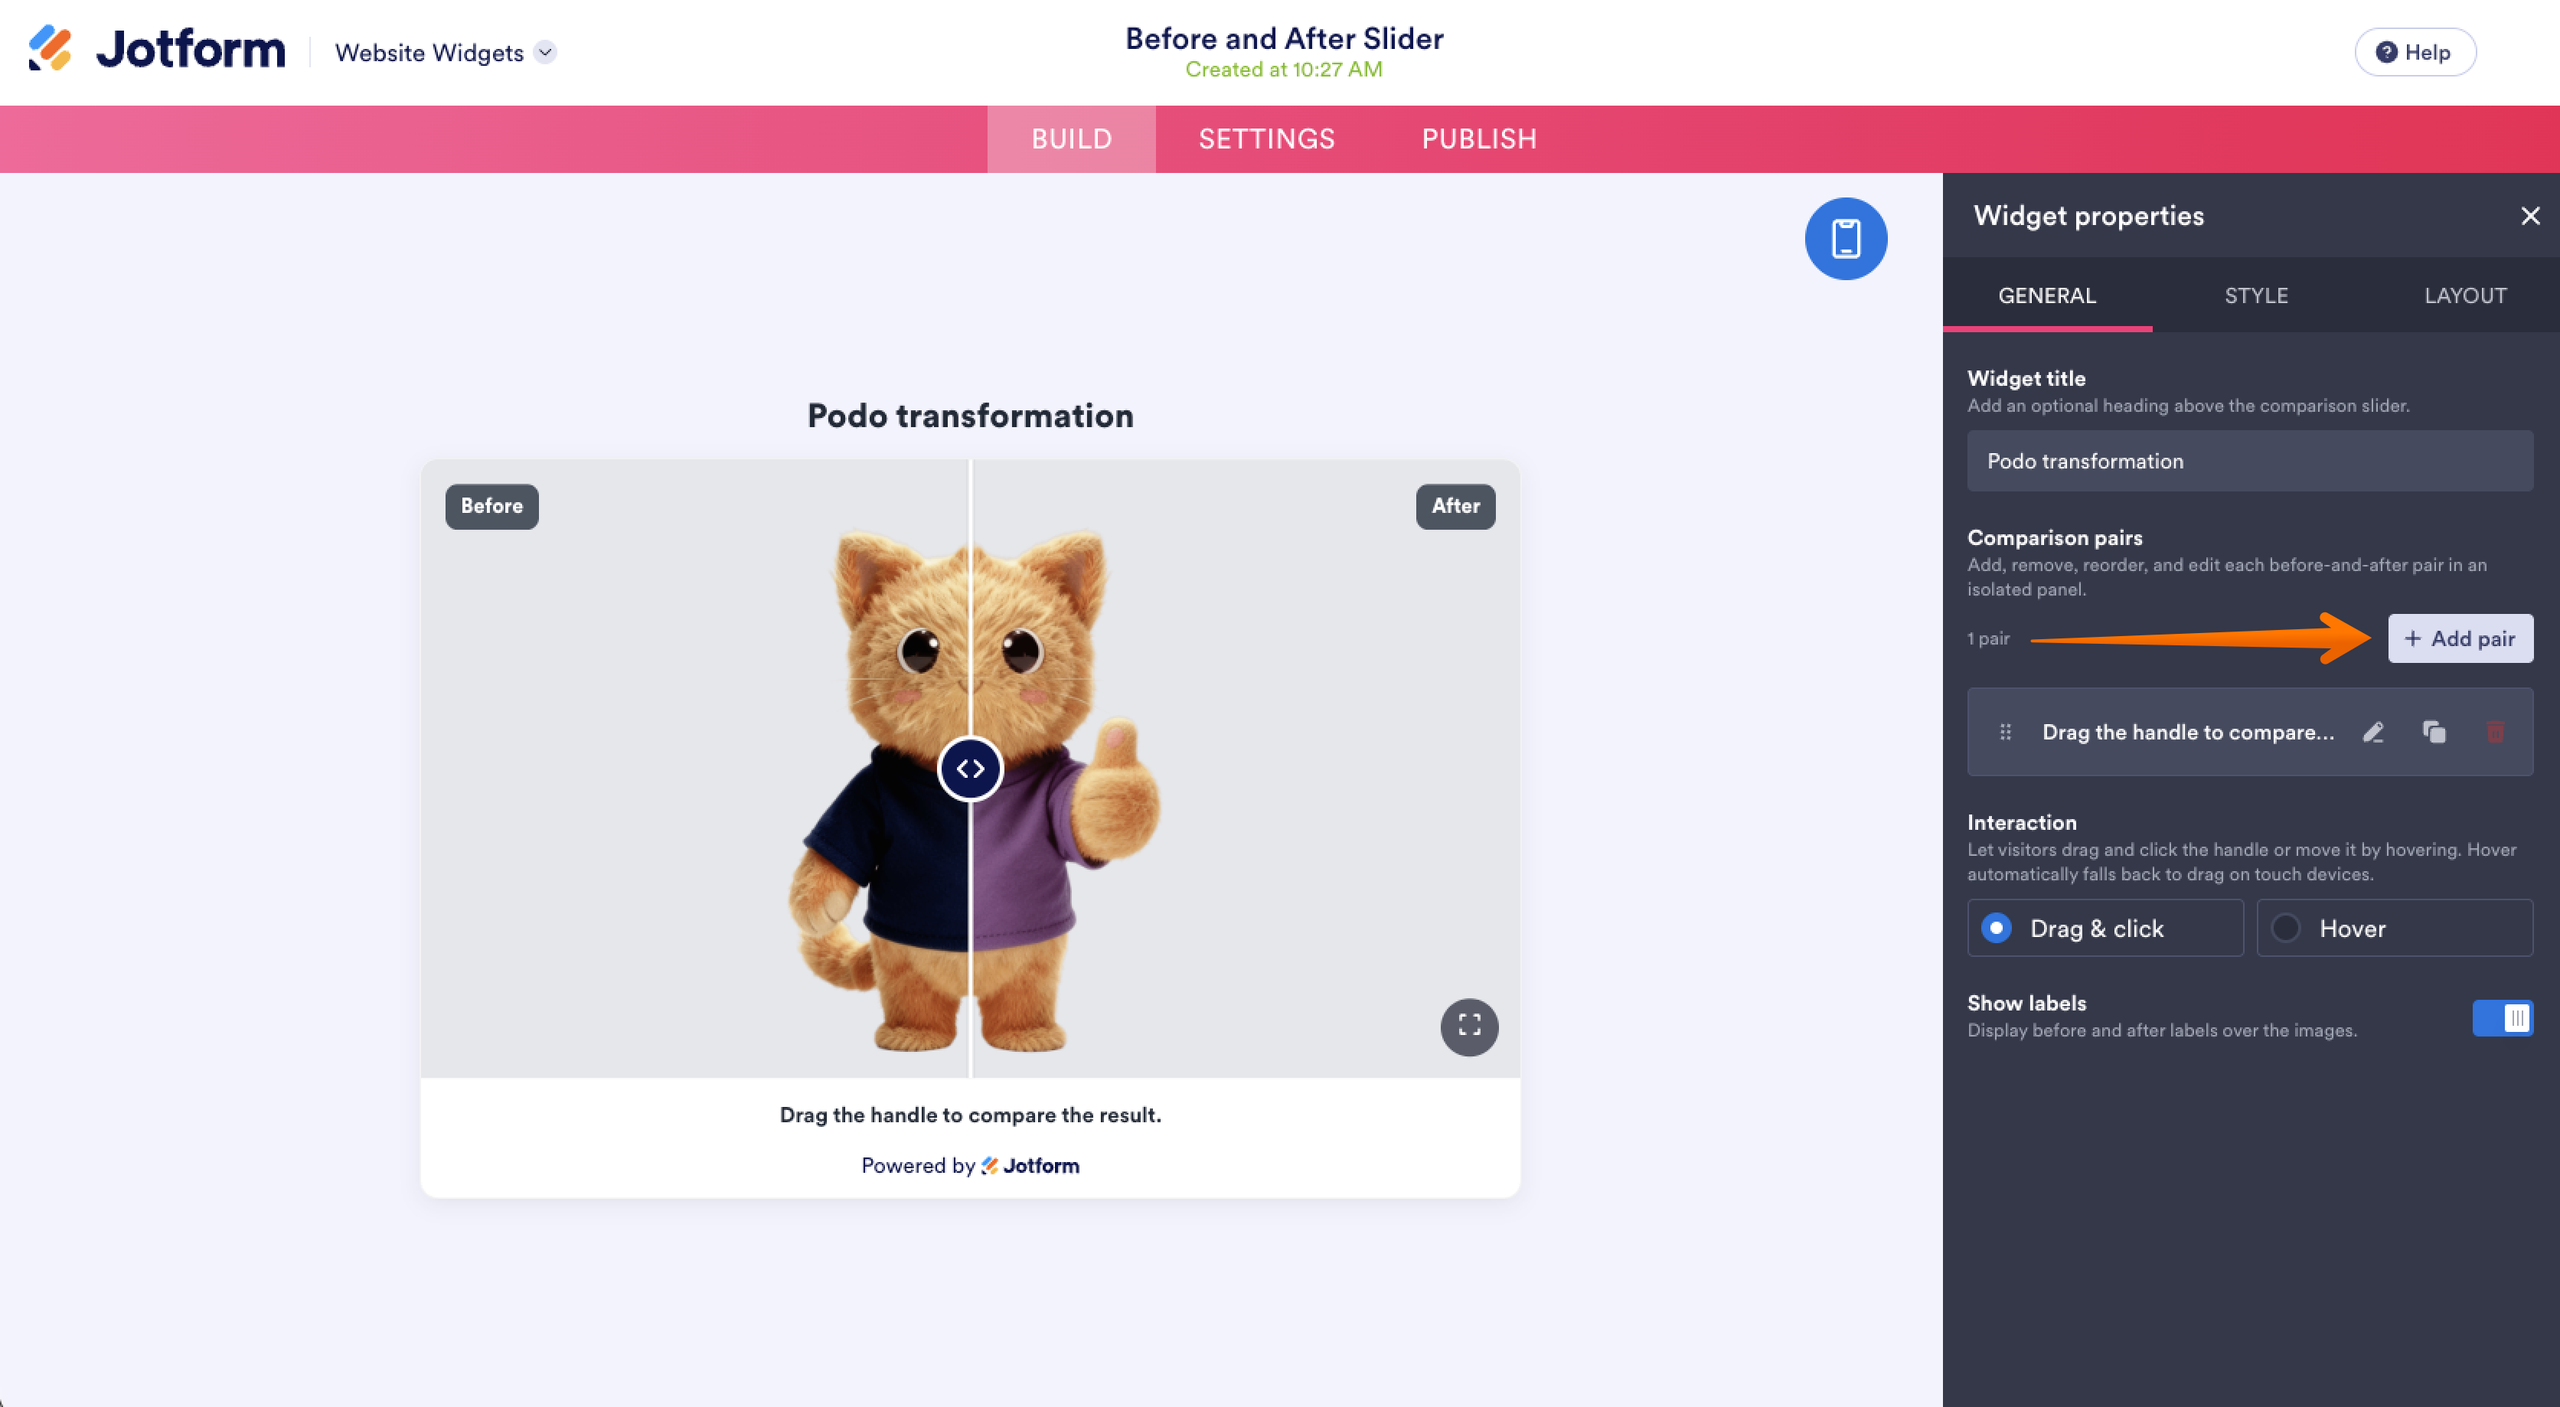
- Customize the reveal direction, divider position, colors, and size to match your store.
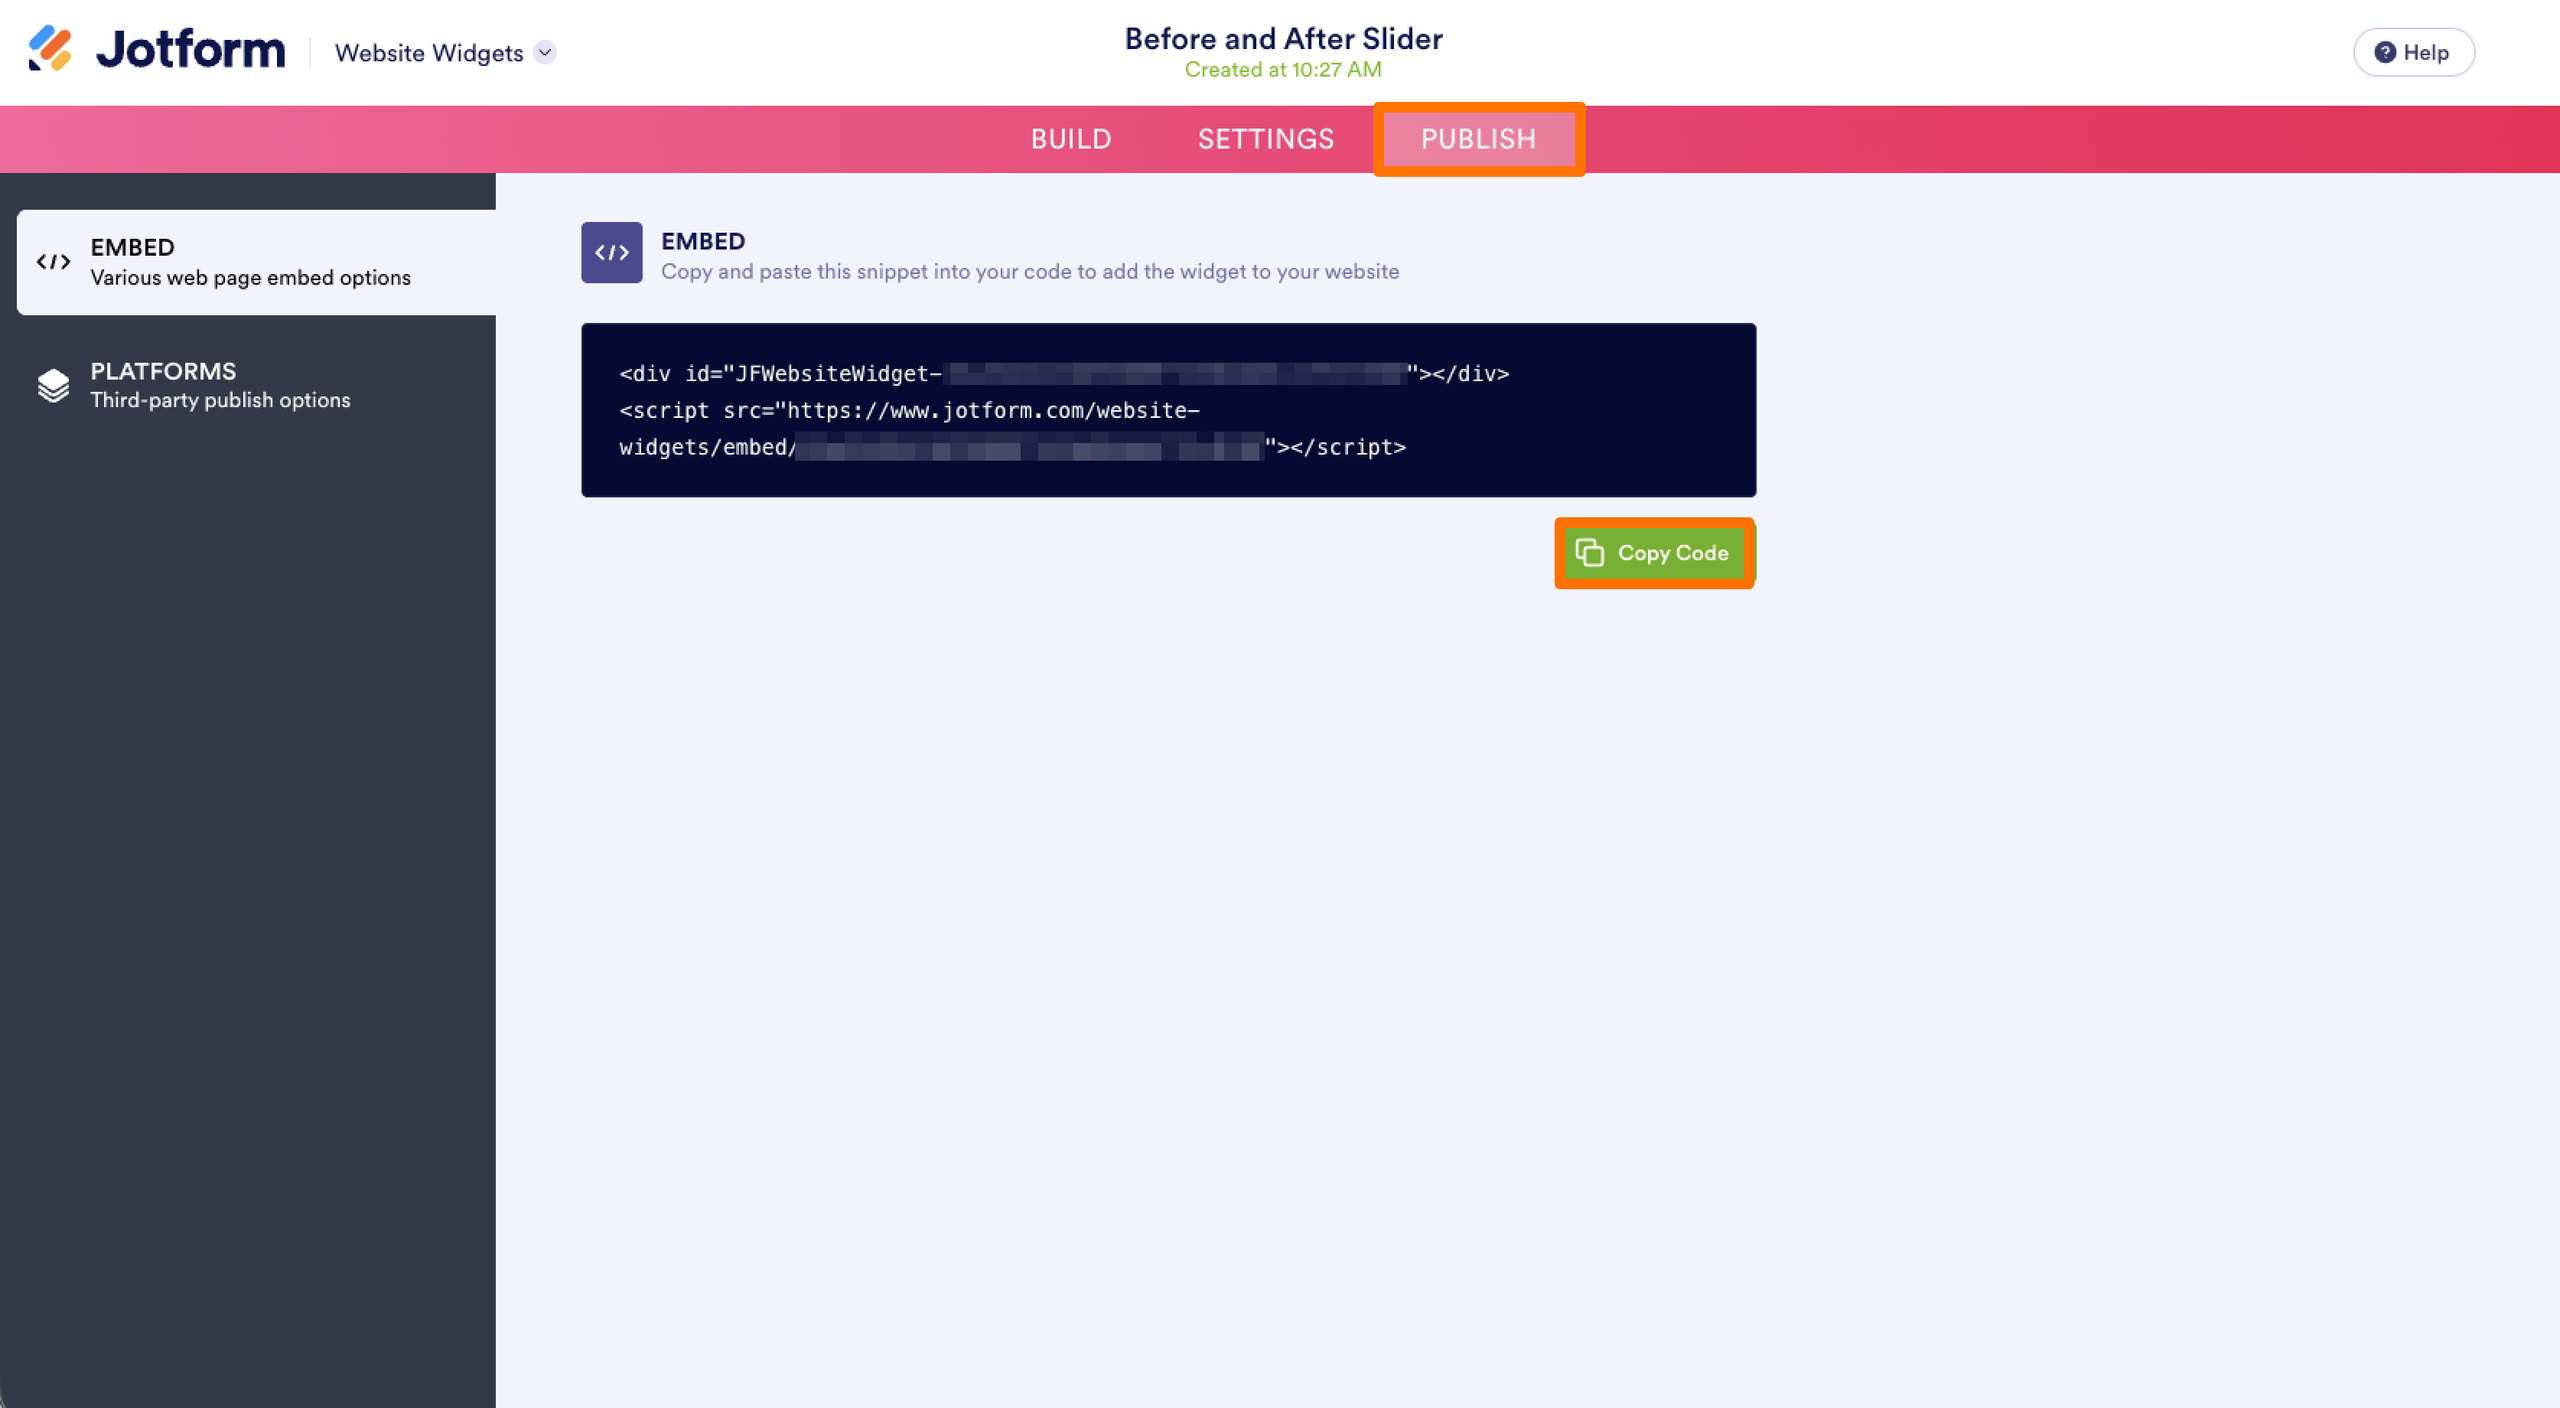
- Copy the embed code that Jotform generates. You can do this by clicking the Copy Code button in the Publish tab.
- In your Shopify theme editor, open the product or page template where you want the slider, click Add section (or Add block), and choose Custom Liquid. Paste the embed code and then click Save.
Option 3: Edit your Shopify theme code
If you’d rather not touch an external app or embed at all, you can build a comparison slider directly in your theme. It’s the route with the most control and the least overhead, but it’s also the easiest option to break.
The build has three parts: HTML to hold the two images, CSS to stack and clip them, and JavaScript to move the divider as the visitor drags. The simplest place to put all of it is a single Custom Liquid block, so you don’t have to edit your template files directly.
Here’s what to do:
- Add the markup with your two image URLs. The “before” image sits on top and gets clipped; the “after” image sits underneath.
html<div class="ba-slider" id="baSlider"> <img src="BEFORE_IMAGE_URL" alt="Before" class="ba-img ba-before" id="baBefore"> <img src="AFTER_IMAGE_URL" alt="After" class="ba-img"> <div class="ba-handle" id="baHandle"></div></div>- Add the CSS. Absolute positioning overlaps the images, clip-path reveals half of the “before” image at the start, and touch-action: none stops the page from scrolling while someone drags on a phone.
html<style> .ba-slider { position: relative; width: 100%; max-width: 600px; aspect-ratio: 3 / 2; overflow: hidden; touch-action: none; user-select: none; } .ba-img { position: absolute; inset: 0; width: 100%; height: 100%; object-fit: cover; } .ba-before { clip-path: inset(0 50% 0 0); } .ba-handle { position: absolute; top: 0; left: 50%; width: 2px; height: 100%; background: #fff; transform: translateX(-50%); cursor: ew-resize; } .ba-handle::after { content: ''; position: absolute; top: 50%; left: 50%; width: 36px; height: 36px; border-radius: 50%; background: #fff; transform: translate(-50%, -50%); box-shadow: 0 0 4px rgba(0,0,0,.4); }</style>- Add the JavaScript. Pointer events cover mouse and touch in one path, so the handle follows a cursor drag or a thumb swipe. Save, then test on a real phone.
html<script> const s = document.getElementById('baSlider'); const before = document.getElementById('baBefore'); const handle = document.getElementById('baHandle'); let dragging = false; function setPos(x) { const r = s.getBoundingClientRect(); let pct = Math.max(0, Math.min(100, ((x - r.left) / r.width) * 100)); before.style.clipPath = `inset(0 ${100 - pct}% 0 0)`; handle.style.left = pct + '%'; } s.addEventListener('pointerdown', e => { dragging = true; setPos(e.clientX); }); window.addEventListener('pointermove', e => { if (dragging) setPos(e.clientX); }); window.addEventListener('pointerup', () => { dragging = false; });</script>Fair warning: This is the option that bites. A stray bracket or a style that leaks into the rest of your theme can break your mobile layout or, worse, interfere with the checkout flow. Touch behavior has to be tested across real devices, not just your desktop browser, and you own every bug and every future fix yourself. If that trade-off sounds worse than a widget, we’d recommend Option 2.
Enhance your Shopify store with smart, no-code widgets
A before-and-after slider is worth adding, but it’s rarely the only interactive element a store needs. Shopify earns its spot among the best e-commerce website builders partly because it’s so easy to extend, and the right add-ons are what turn a functional store into a polished one. The trap is paying a separate monthly subscription for each one, since those fees quietly eat the margins you’re working to protect.
That’s the case for reaching for free, hosted widgets instead. Tools like the Jotform Before and After Slider keep your profit intact, your pages loading fast, and your shoppers engaged. And the same directory covers far more than image comparisons.
A few other Jotform widgets that are worth exploring for a Shopify store include
- A countdown timer to add urgency to a flash sale or product drop
- An FAQ widget to answer common product questions right on the page
- Age verification for age-restricted products
- A back-to-top button to make long product pages easier to navigate
Browse the full Jotform website widgets directory to see what fits your store. Additionally, you can connect your forms and data directly through the Jotform-Shopify integration. Try your first no-code widget for free and get set up in just a few minutes.
This article is for Shopify store owners, dropshippers, and e-commerce brands (especially in beauty, fitness, presets, and home decor) who want to visually showcase product transformations without paying a monthly app subscription.




















































Send Comment: