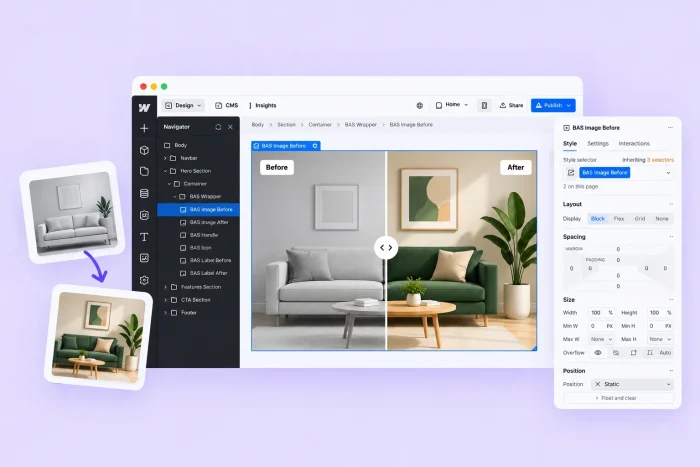
A before-and-after slider is one of the fastest ways to show the results of your work. All someone has to do is drag the divider to reveal the effect of your redesign, renovation, or retouch. They don’t have to stare at a side-by-side picture or play spot-the-difference — the results are right there in front of them.
Whether you’re running an agency or you’re a freelancer, designer, photographer, artist, contractor, or anyone else looking to show off some work, a before-and-after slider is a great way to do it. Unfortunately, despite being one of the most advanced website builders (and one that’s popular with designers), Webflow doesn’t have a native before-and-after slider. If you want to add one, you have three options: Install a “cloneable” from the community, embed a free hosted widget, or build one from scratch using Webflow’s native interactions (IX2) engine.
We explore each of these options below.
Pro Tip
If all this seems very advanced, check out our intro guide on how to make a website before coming back here.
Option 1: Use a Webflow cloneable
Your first instinct is probably to search the Made in Webflow showcase or a site like Flowbase for “cloneables.” While this can work, it isn’t without hassle.

The big downside is that you’re locked into someone else’s way of doing things. You have to strictly adhere to the cloneable’s existing architecture and naming conventions. This can include relying on custom attributes, CSS rules, and absolute positioning. Get any of this wrong, and it just won’t work. Add it at the end of your design, and you might have to rethink some of the other elements.
But if you’re set on going down this route, here’s how to add a cloneable:
- Find a before-and-after slider cloneable that’s actively maintained and has a license that allows you to use it. Clone it into your own project.
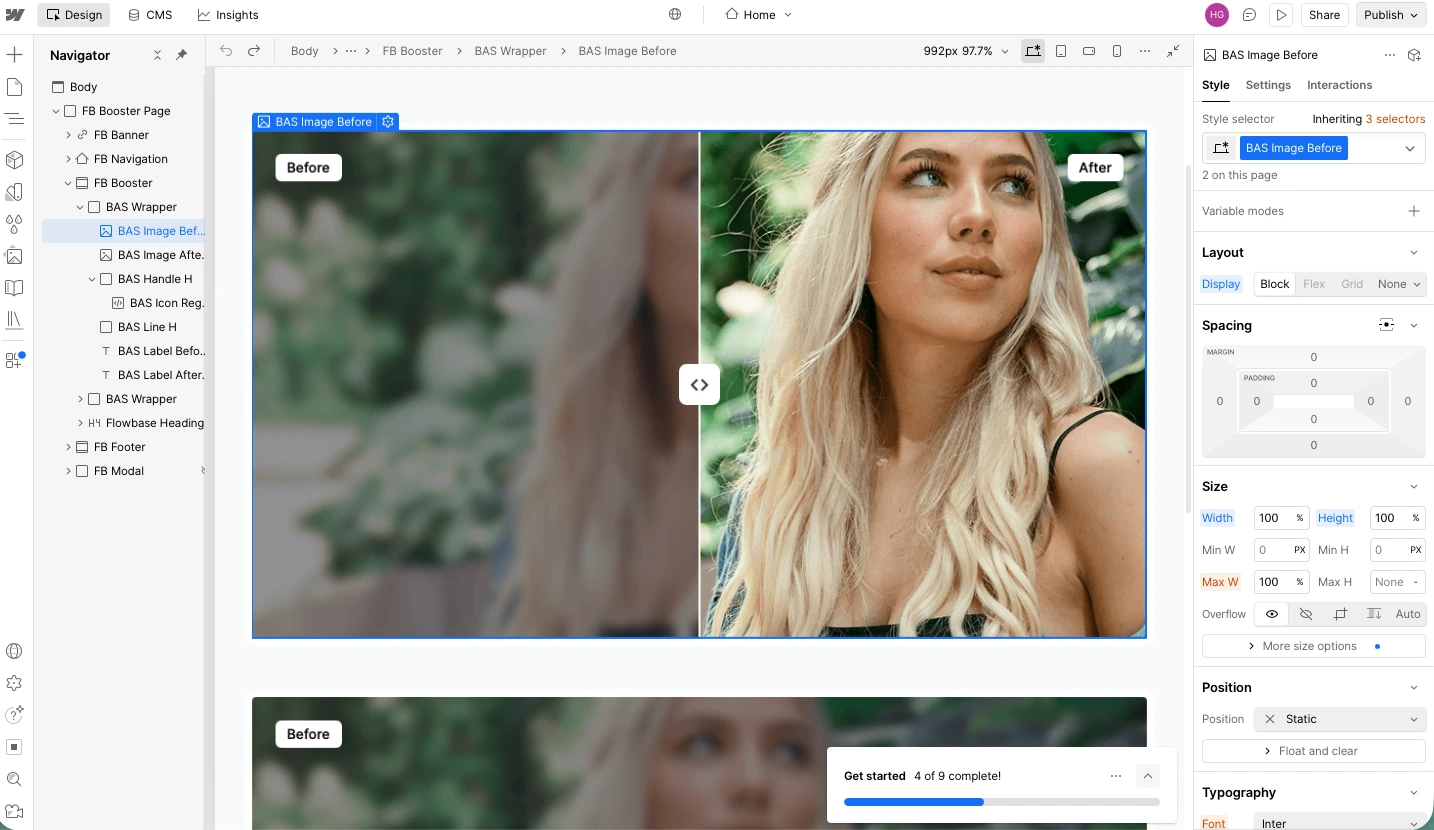
- Swap in your own images. Don’t rearrange the nested divs, change the name of anything, or try to tidy things up — that could break the slider.
- Publish your site and test it. Make sure it works on both desktop and mobile devices. If you’ve changed anything by mistake, the JavaScript might not fire under different circumstances.
All in all, this method works, but it’s very tedious for a simple visual component — and you’re not likely to get as much control as you’d like. Every redesign you make has to stick to the original wiring unless you want to rewrite the script that controls it.
Option 2: Use a free, no-code slider widget (recommended)
If you want to avoid wrangling nested div blocks, configuring custom attributes, and, if things go wrong, debugging JavaScript that somebody else wrote, the easiest way is to use a hosted embed like the Jotform Before and After Slider Widget. It’s super easy to set up and solves a lot of the issues with cloneables.
Here’s how to add a before-and-after slider to Webflow with Jotform:
- Head to the Jotform Before and After Slider Widget and log into your Jotform account. If you don’t already have one, you can sign up during the setup process. It’s free.
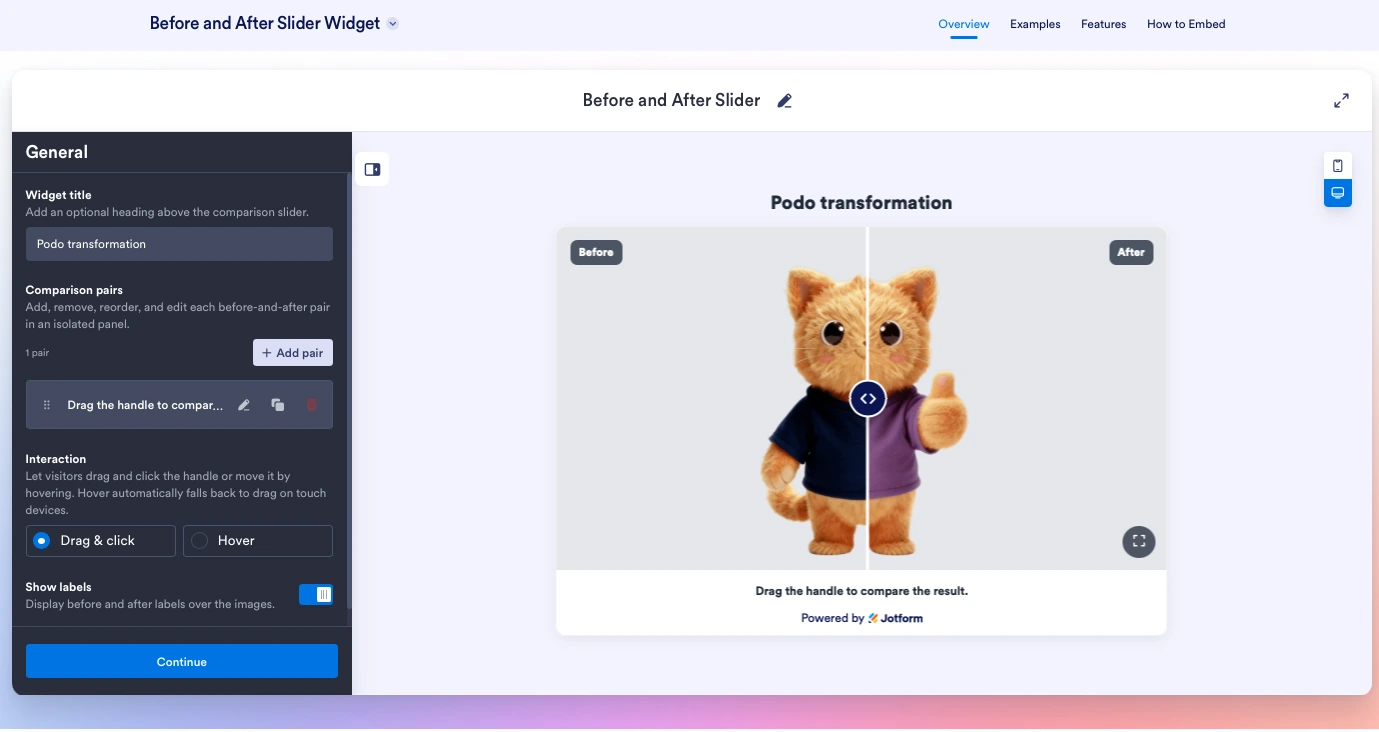
- Give your widget a title and add your comparison pairs. You can upload images directly or add them from a URL. If you want, you can also add a caption to each image pair and change their labels. Next, set whether your user needs to drag the handle to see the before and after, or if it triggers on hover. When you’re done, click Continue.
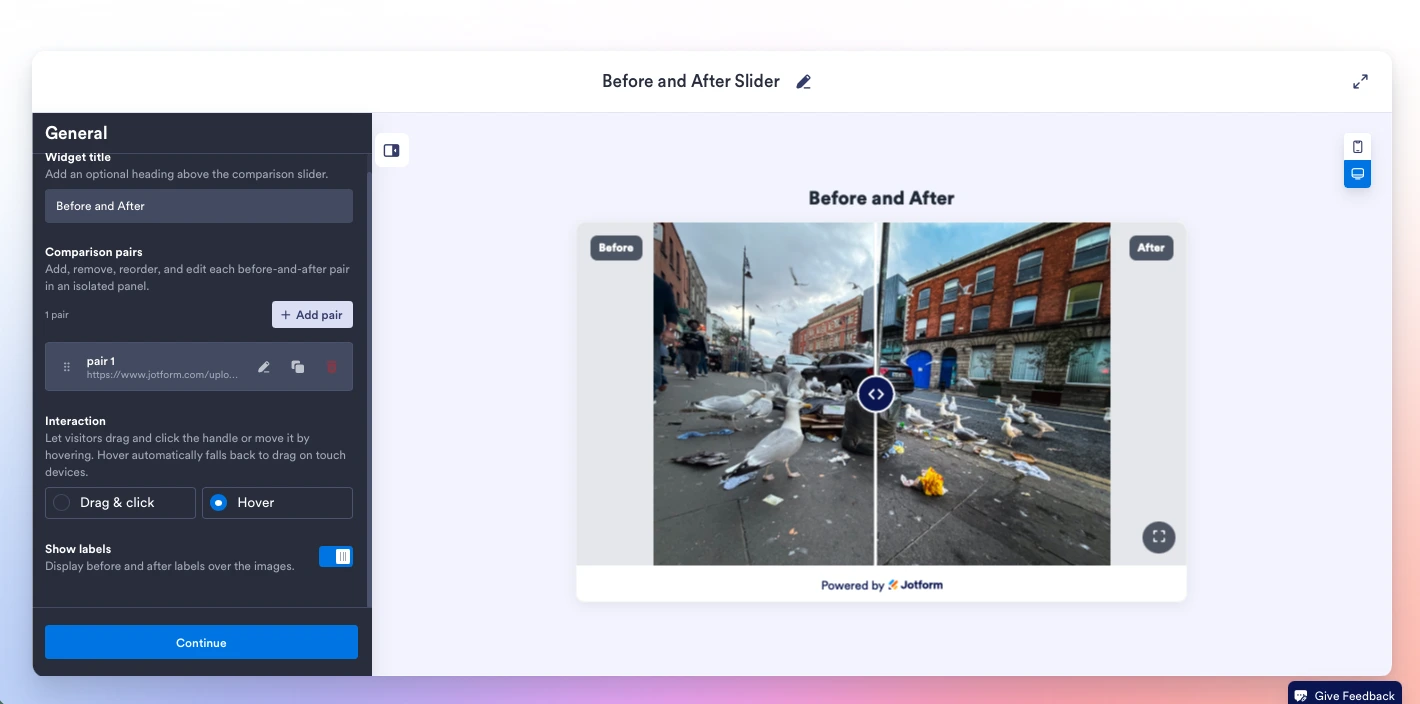
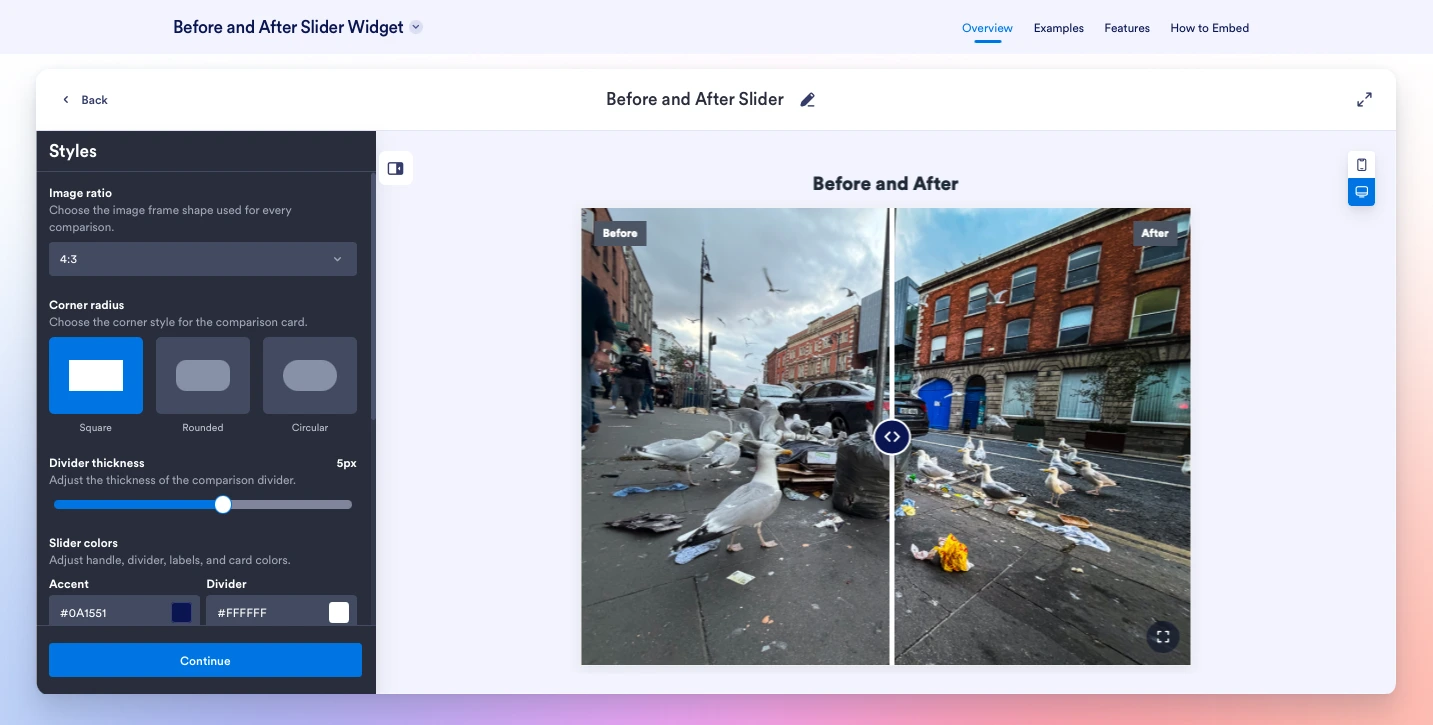
- Now it’s time to style your slider. You can set its colors, branding, font, and appearance. When you’re happy with it, click Continue again.
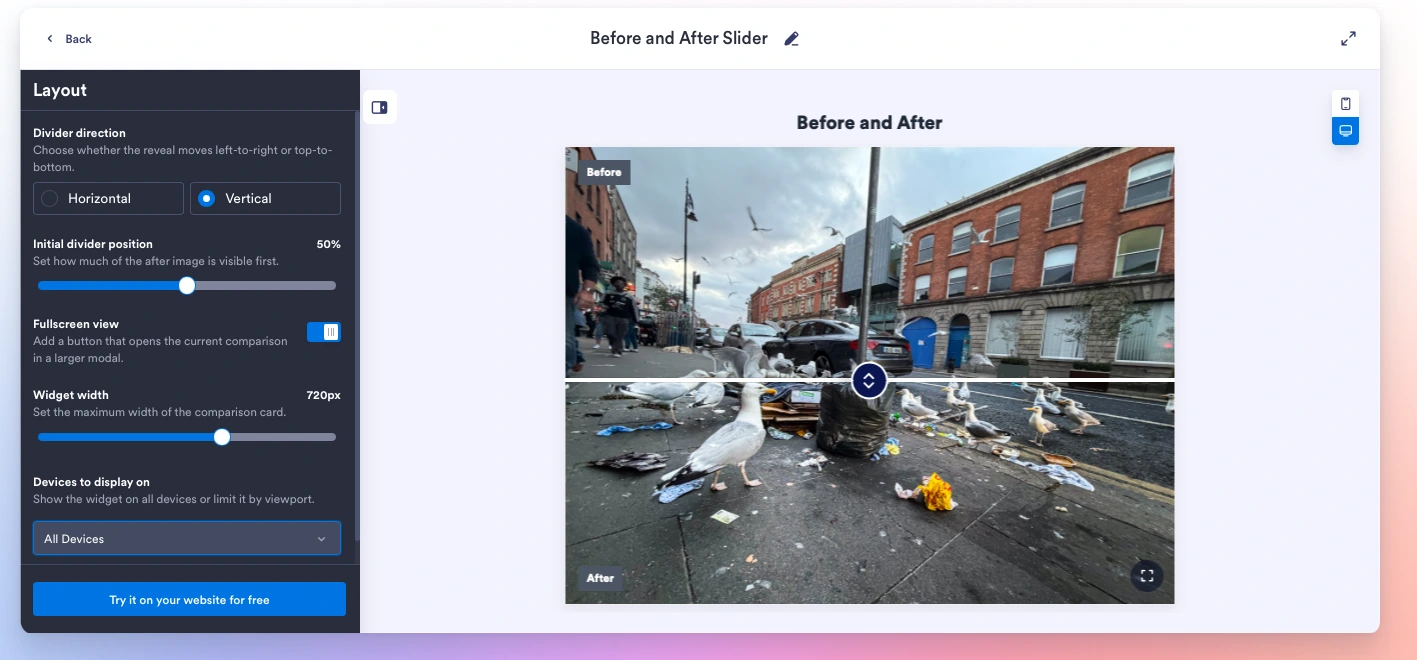
- Finally, configure the layout. Select whether you want a horizontal or vertical slider, where the initial divider position is, how wide you want it to be, and whether it displays on mobile devices, desktop devices, or both. Then click Try it on your website for free.
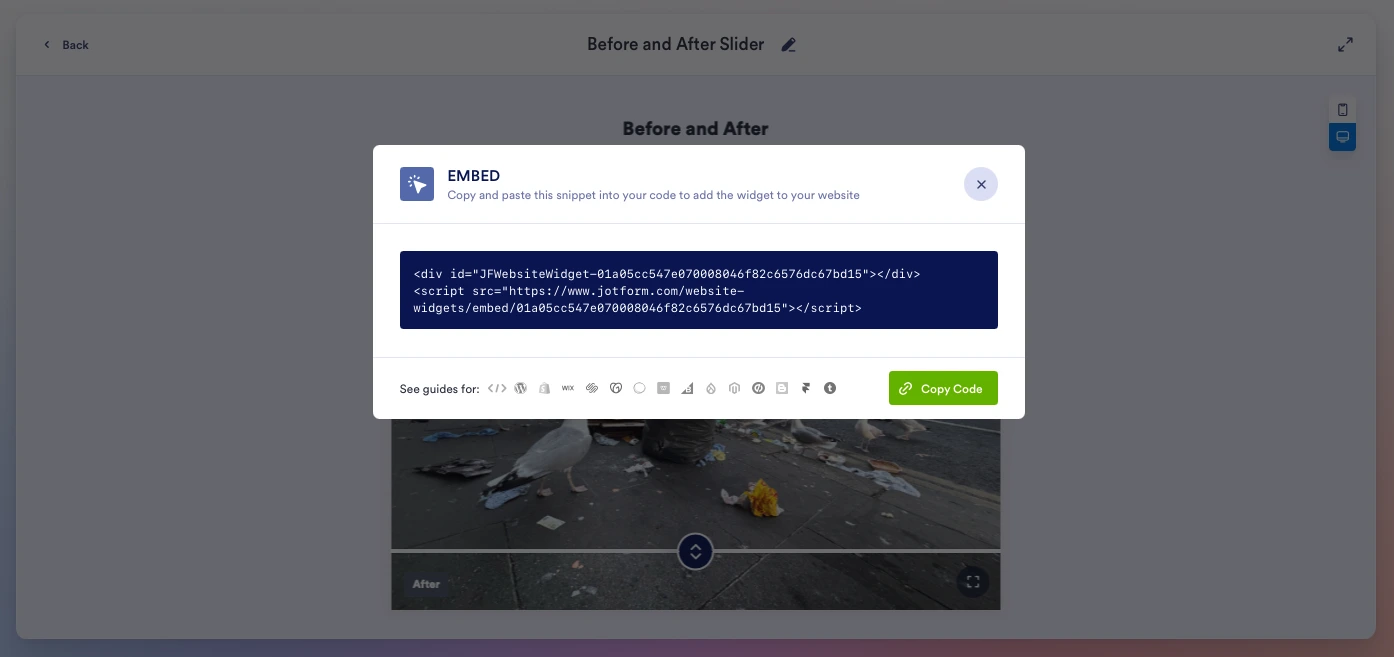
- Click Copy Code to copy the embed code to your clipboard, and then head back to your Webflow site.
- Open the Add menu and select Code Embed. Paste in the embed code and position the block on your site. Click Publish and it will be live on your site. It’s that simple.
As you can see, the free no-code route is a lot simpler than the cloneable option. It’s easier to style, there’s no need to worry about custom attributes, strict class names, or JavaScript, and it just works. If you want to change anything, head back to Jotform and edit your before-and-after slider settings.
Option 3: Build it manually using Webflow Interactions
For Webflow purists who want total control and don’t want to use JavaScript written by other people or an external widget, it’s possible to build a slider using Webflow’s native interaction engine, IX2. Building a custom code slider in Webflow is by far the most advanced and complicated method, but it does allow you to control exactly how it looks and behaves.
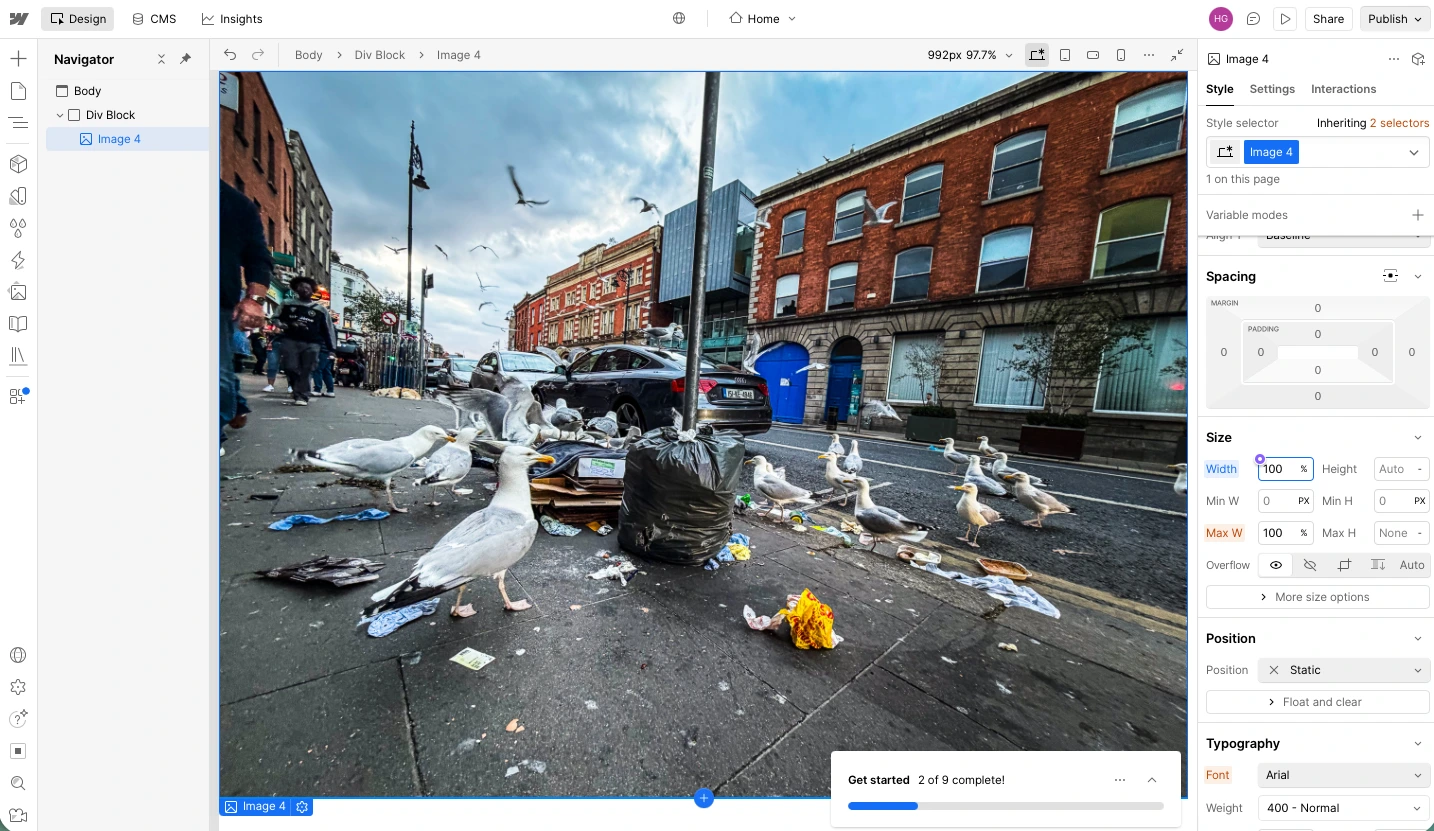
To build your own Webflow comparison slider using IX2, you need to stack two images in a relatively positioned container with each image in its own div block. For the top image, the div block acts as the mask.
Next, for the Webflow before-and-after interaction, you need to create a Mouse Move Interaction. Set the Trigger to Mouse X and the target to the mask div. Set the animated property to Width and have it range between 0 and 100 percent. That way, the X-axis movement of the mouse controls the overlap between the two images.
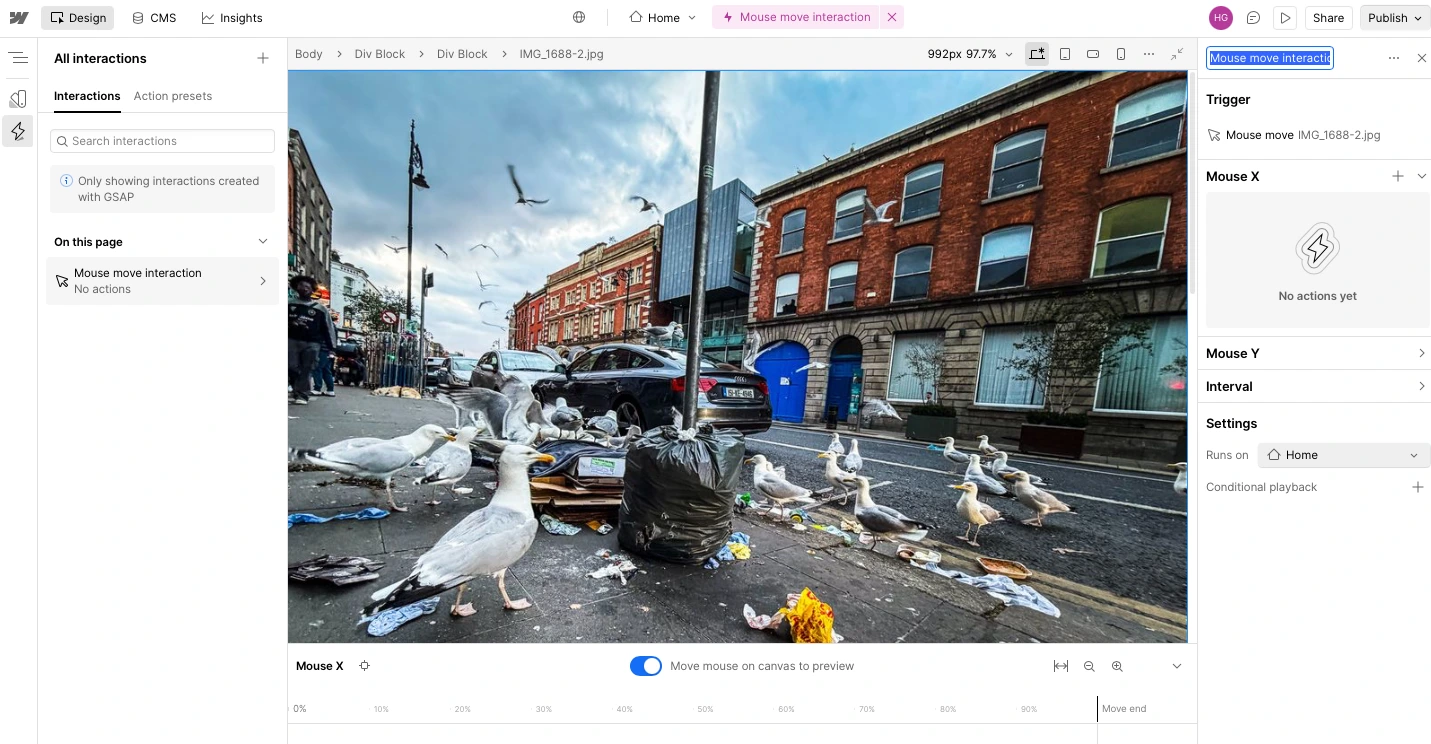
Of course, if you want a divider between the two images, you have to create that. And getting it synced perfectly with the mouse movement requires advanced Webflow animation skills.

While Webflow’s built-in tools can work, getting everything right requires a lot of tweaking and a deep understanding of how to use Webflow. You also have to set up a different animation if you want it to work on mobile devices. What you gain in control, you give up in convenience.
Enhance your Webflow site with smart, no-code widgets
The quickest, easiest, and most convenient way to add a Webflow before-and-after slider is with the Jotform Before and After Slider Widget. It has none of the downsides of using a Webflow image comparison cloneable and is a lot simpler than creating your own with IX2. Using a robust, serverless option saves you a lot of development hours and ensures a solid responsive design every time.
What’s more, Jotform has a range of other free website widgets capable of taking your site to the next level. If you want to add Google reviews, accessibility controls, a simple back-to-top button, or dozens of other useful functionalities, browse the directory. You can also use the Jotform-Webflow integration to connect Jotform’s powerful data collection tools directly to your site.
This article is for Webflow designers, agencies, and DIY site owners who want to showcase visual transformations (like renovations, UI redesigns, or photo editing) without debugging complex interactions or scripts.














































Send Comment: