
You’re learning how to use WordPress to build a new e-commerce site. Among your first steps: adding a contact form for marketing emails. But you want real people — not spambots — to share their information. One tool that helps is CAPTCHA. But you’re not sure how to add CAPTCHA to WordPress contact forms.
A brief introduction to WordPress
WordPress is an immensely popular content management system (CMS) used to create websites. It offers pre-built themes that support a wide range of uses, including business sites, blogs, and e-commerce stores. You don’t need to be an expert coder to use WordPress — its no-code tools make it user-friendly for everyone.
WordPress users often include contact forms in their sites. These forms let visitors share information and connect with site owners. For example, contact forms enable visitors to sign up for a website’s email list. They’re also useful for
- Inquiring about a company’s products or services
- Requesting a demo or sales call
- Booking an appointment
- Asking for support or assistance
- Providing feedback
Contact forms help site owners and businesses initiate and maintain relationships with visitors and customers. It’s good practice to include them if you want to build an audience, provide support, or generate sales.
Where to use contact forms in a WordPress website
Contact forms perform well when they’re placed in high-traffic, accessible areas of a WordPress website. Some examples include
- Homepage hero or footer
- Landing pages
- Contact page
- A blog post’s call to action (CTA)
- Sidebar widgets
To add a contact form in WordPress, match the page intent with the form’s purpose. For example, a landing page typically promotes a single product or service. You’d use a contact form that encourages visitors to take action on the specific item you’re promoting.
Homepage and sidebar forms urge visitors to sign up for newsletters or marketing emails. Sometimes, businesses use them to schedule demos or appointments. In a blog, you can add a CTA form that aligns with the post’s content.
Unfortunately, spammers and bots sometimes submit fake data into website forms, causing headaches for site owners who may use the information in good faith. Inserting a CAPTCHA WordPress contact form protects against this.
When to use CAPTCHA in contact forms on a WordPress website
While CAPTCHA isn’t required for WordPress forms, there are several situations where it’s recommended.
- High spam volume: Sites that receive lots of bot traffic and fake form submissions
- Public-facing: Forms that are accessible to anyone without authentication
- Lead generation or support: Forms that request your time or assistance
CAPTCHA may be optional for low-traffic sites. These sites receive few form submissions, and inserting a CAPTCHA could turn away visitors who don’t want to take extra steps.
Internal forms that are accessible only after user validation or authentication may not need a CAPTCHA either. In these cases, visitors have already proven they’re real, not bots.
If bots are a problem with your website (or you want extra protection), you can combine CAPTCHA with other anti-spam tools. One popular method is the honeypot, which includes a hidden field on your form. Bots will fill this out, but real visitors won’t see it. You’ll know you have a spammer if the form submission includes the completed field.
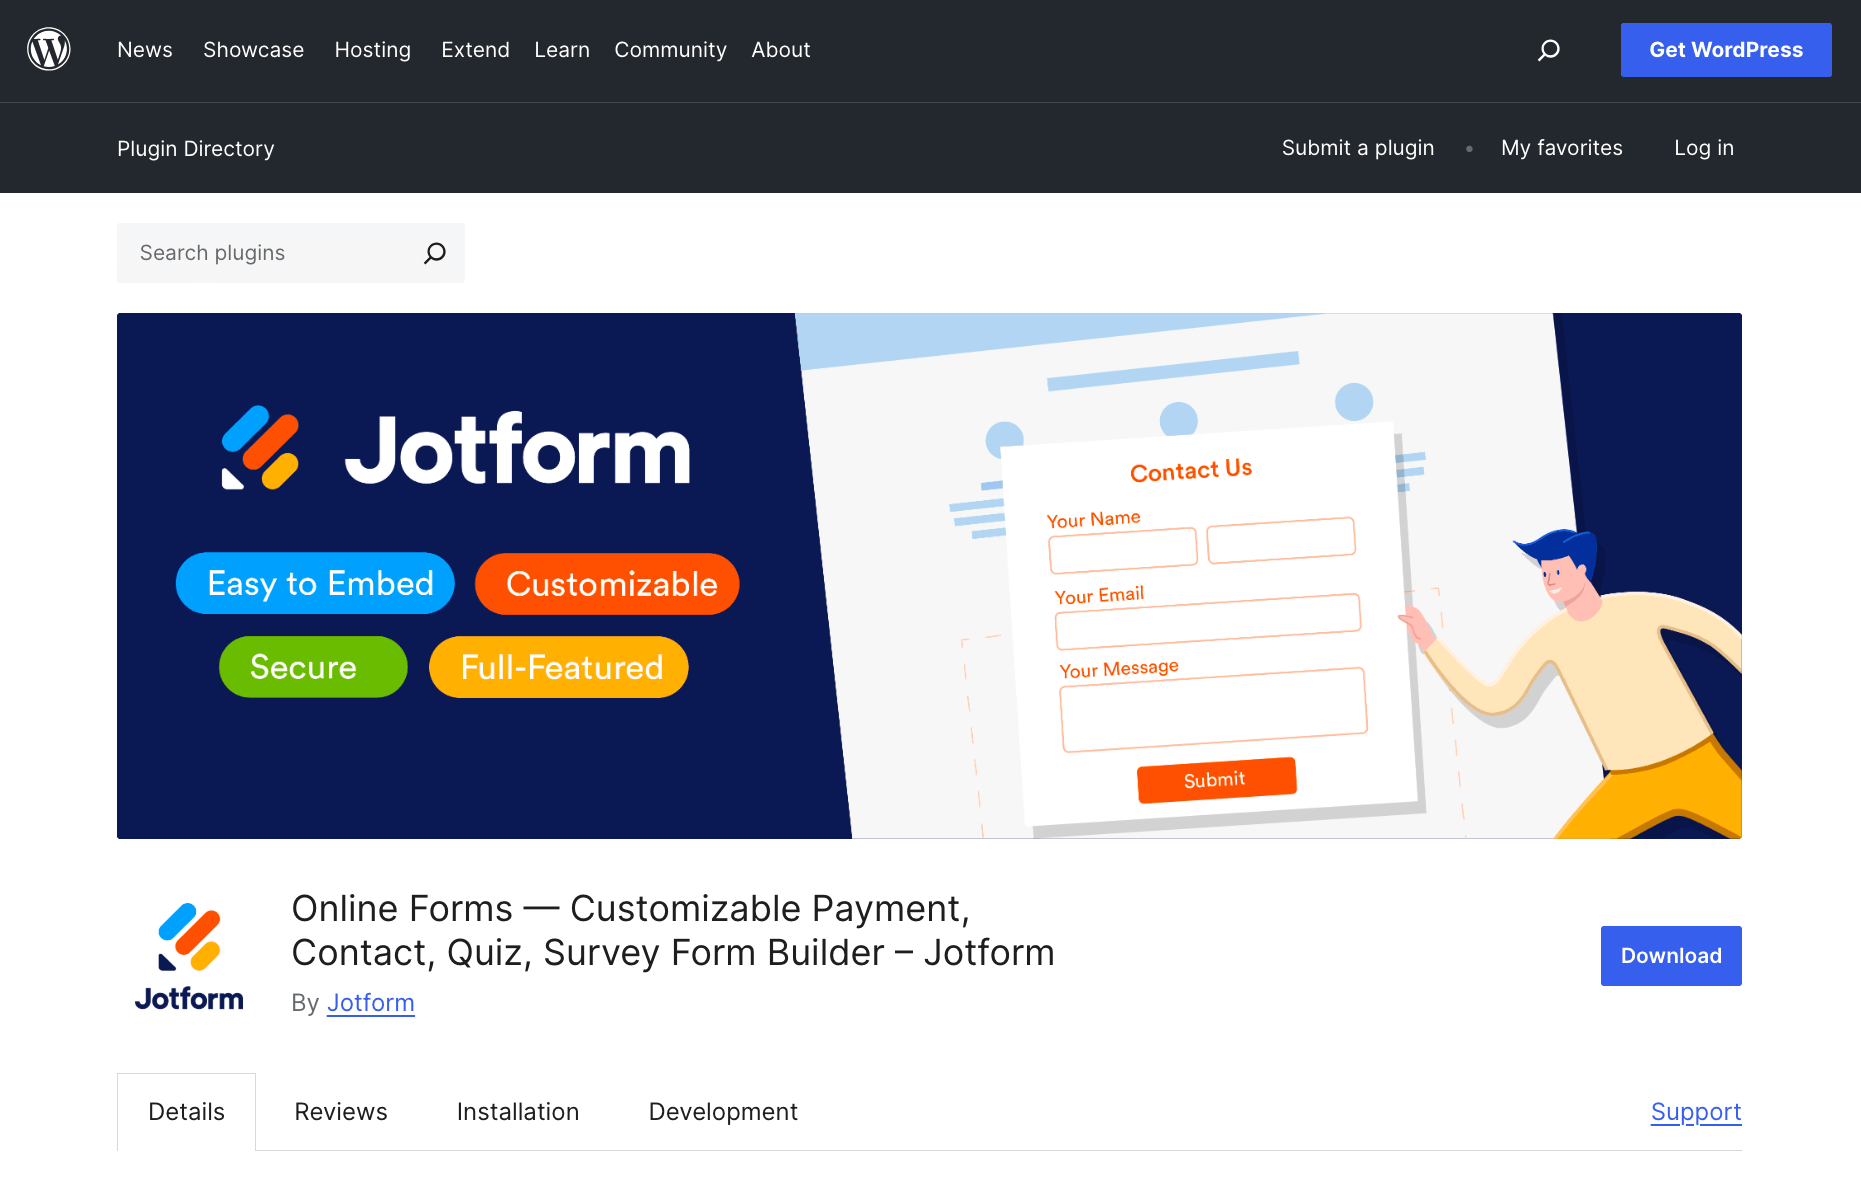
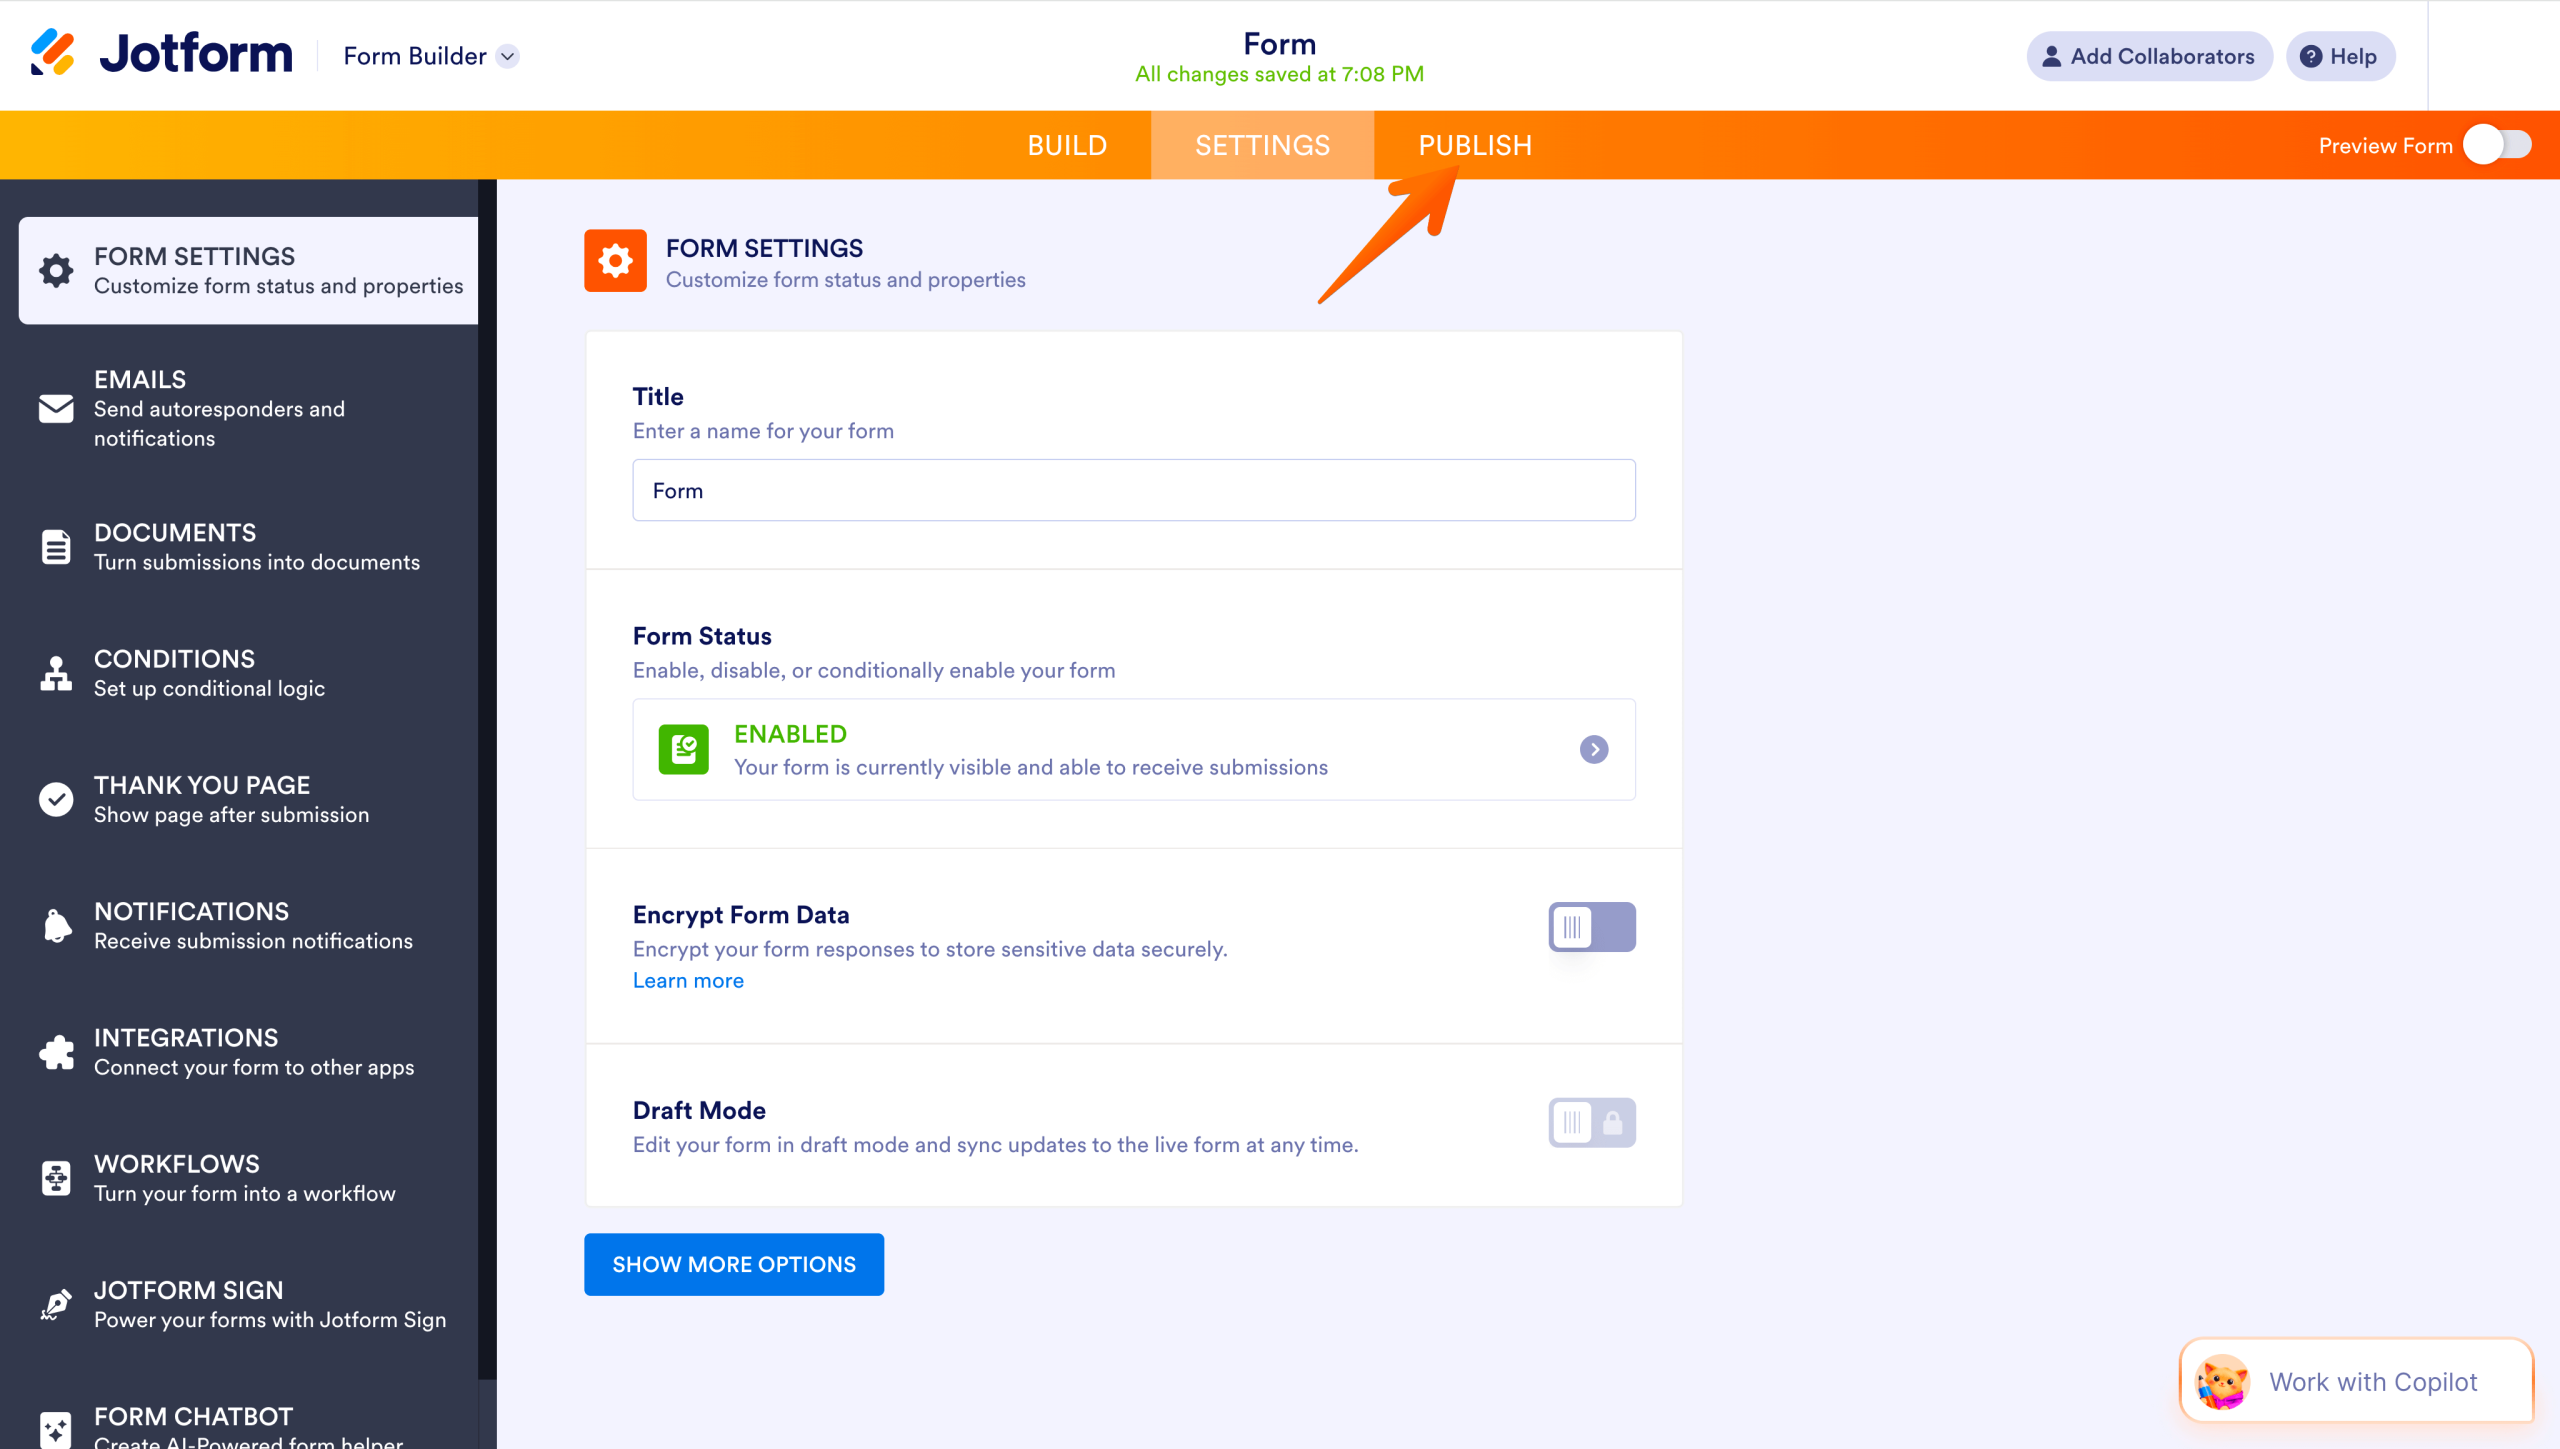
Using Jotform’s WordPress plugin to embed a contact form with CAPTCHA
With Jotform, WordPress contact form spam protection is easy. Our Jotform Online Embed Forms plug-in lets you create a customized form with CAPTCHA. Jotform is a no-code solution anyone can use. Here’s how to set it up.
Create a Jotform account
- If you don’t already have one, sign up for an account with Jotform. It’s free, and once you’re set up, you’ll have access to over 1000 contact form templates. You can also use our tools to build a form from scratch.
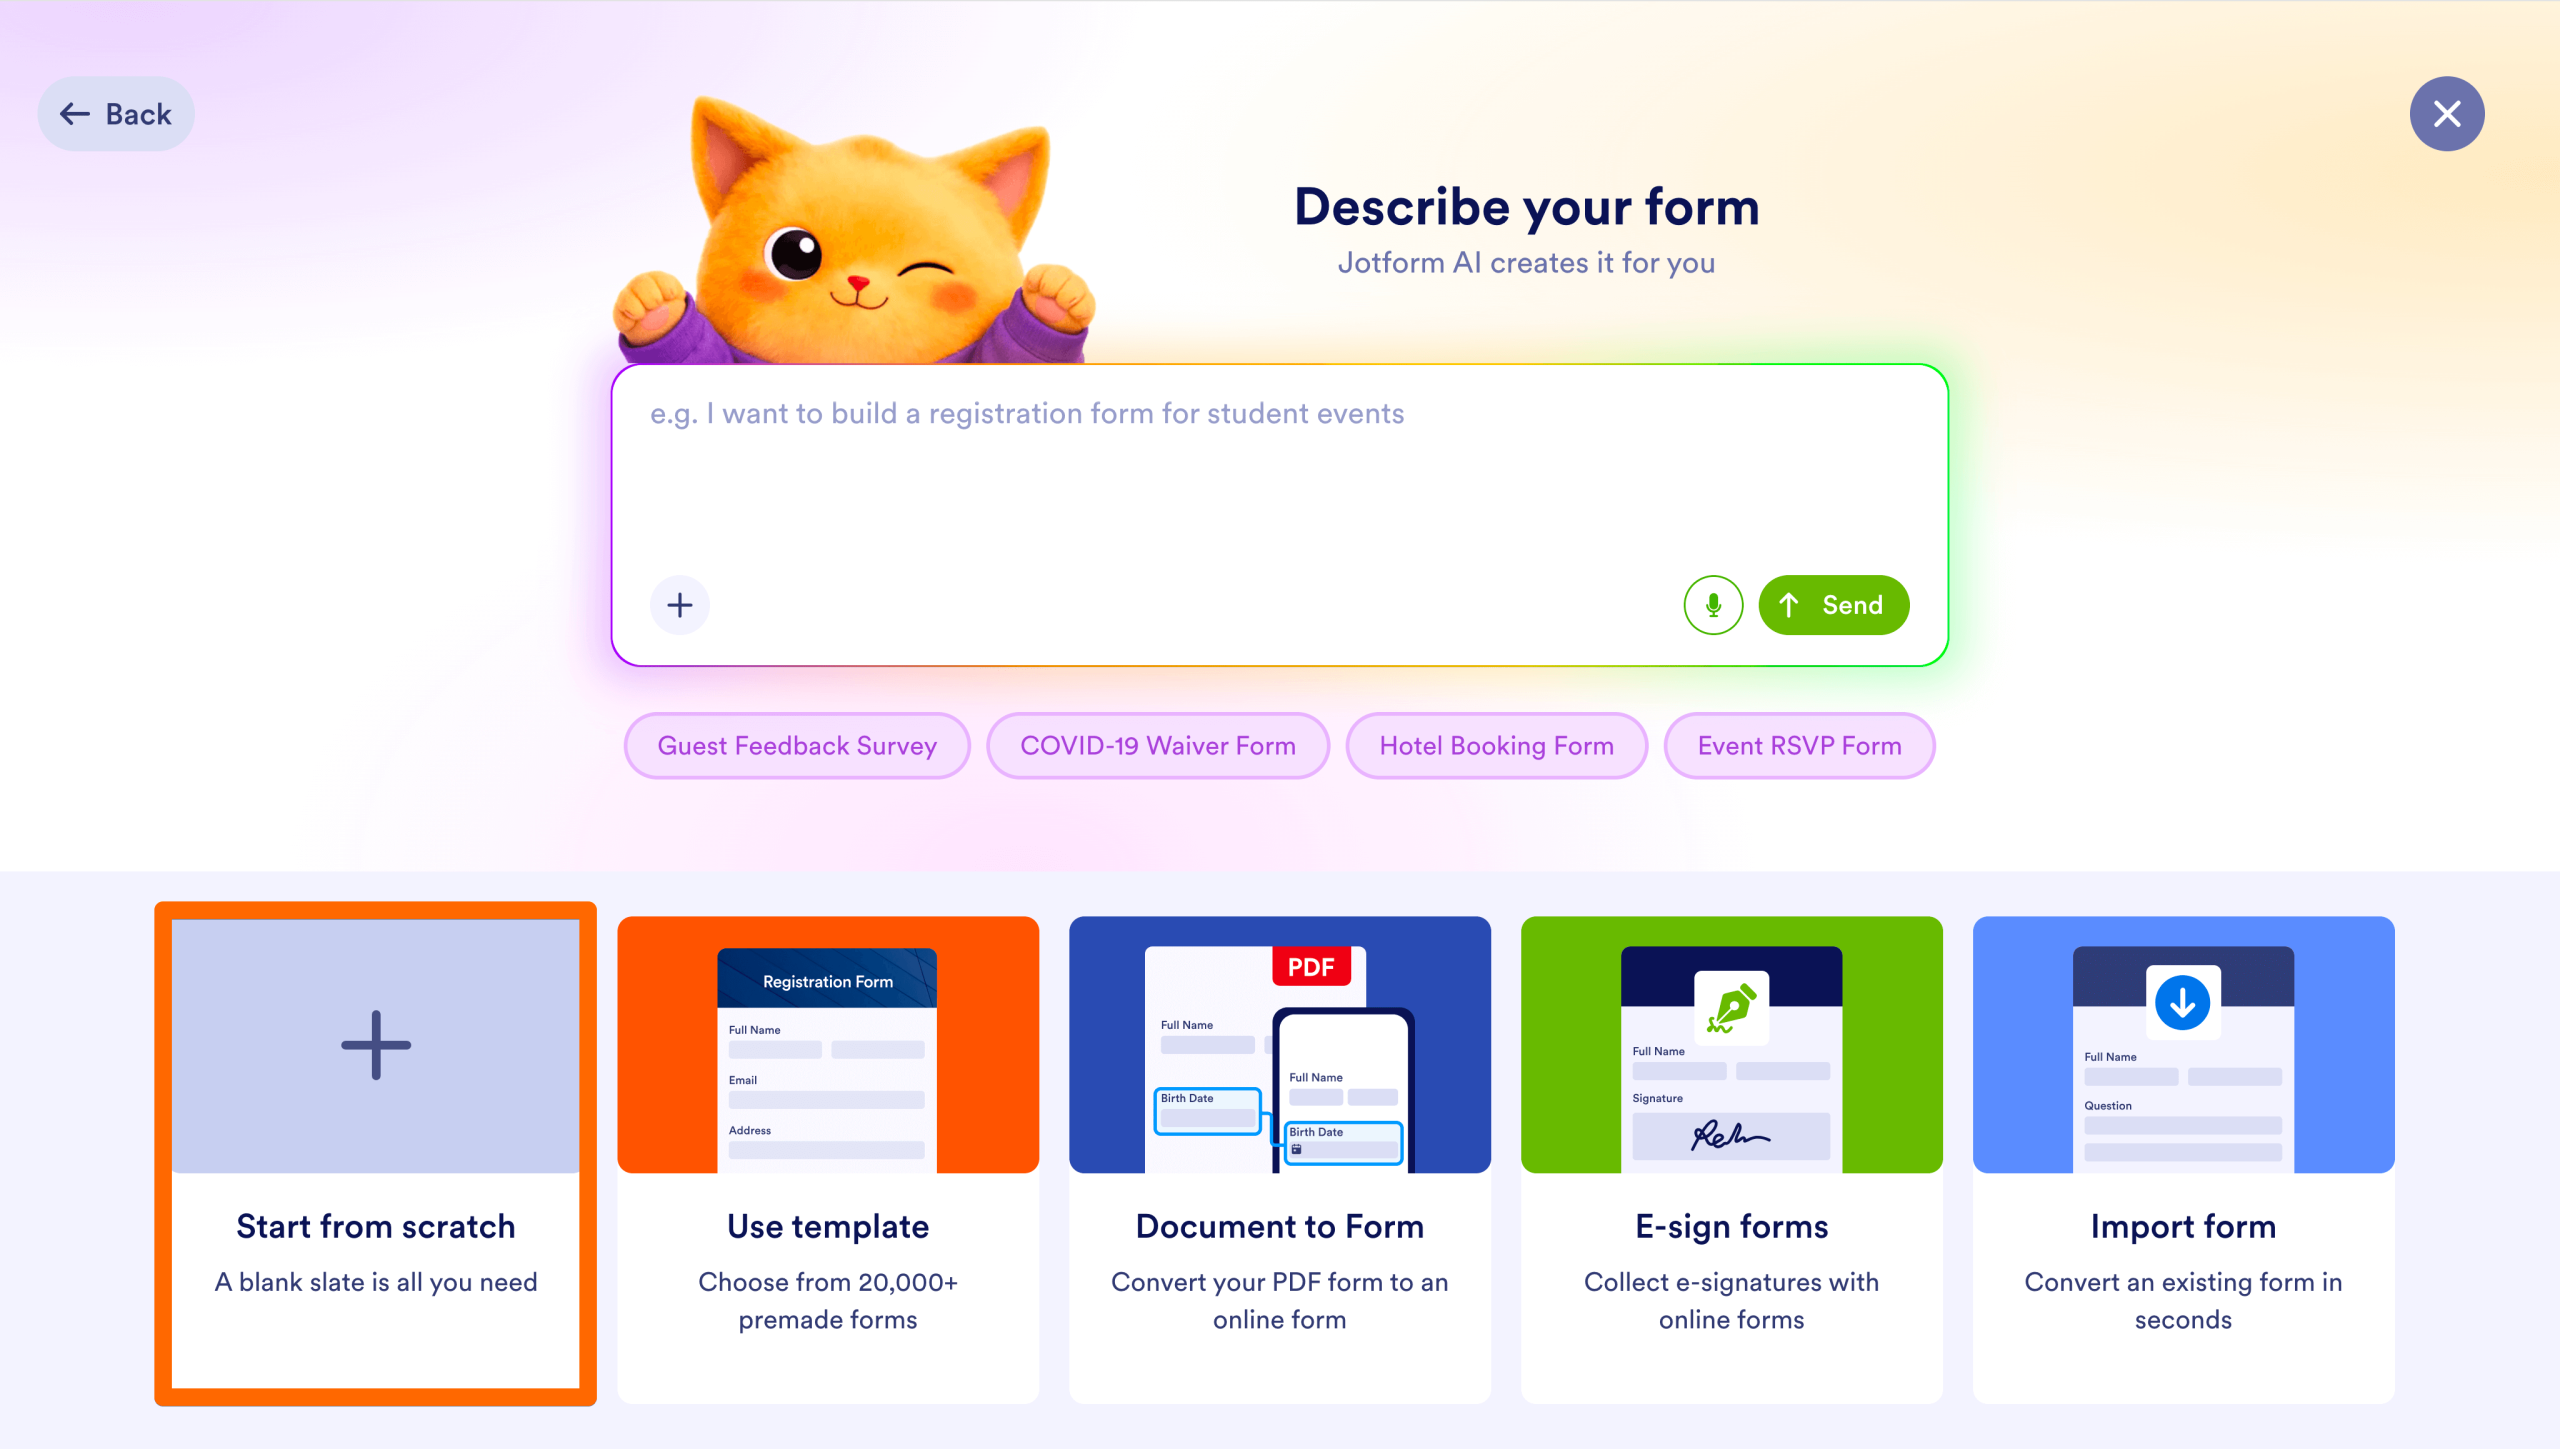
Start your contact form
- From the My Workspace page in Jotform, click Create > Form. If you want a pre-built form, choose Use template. Click Start from scratch to create your own form.
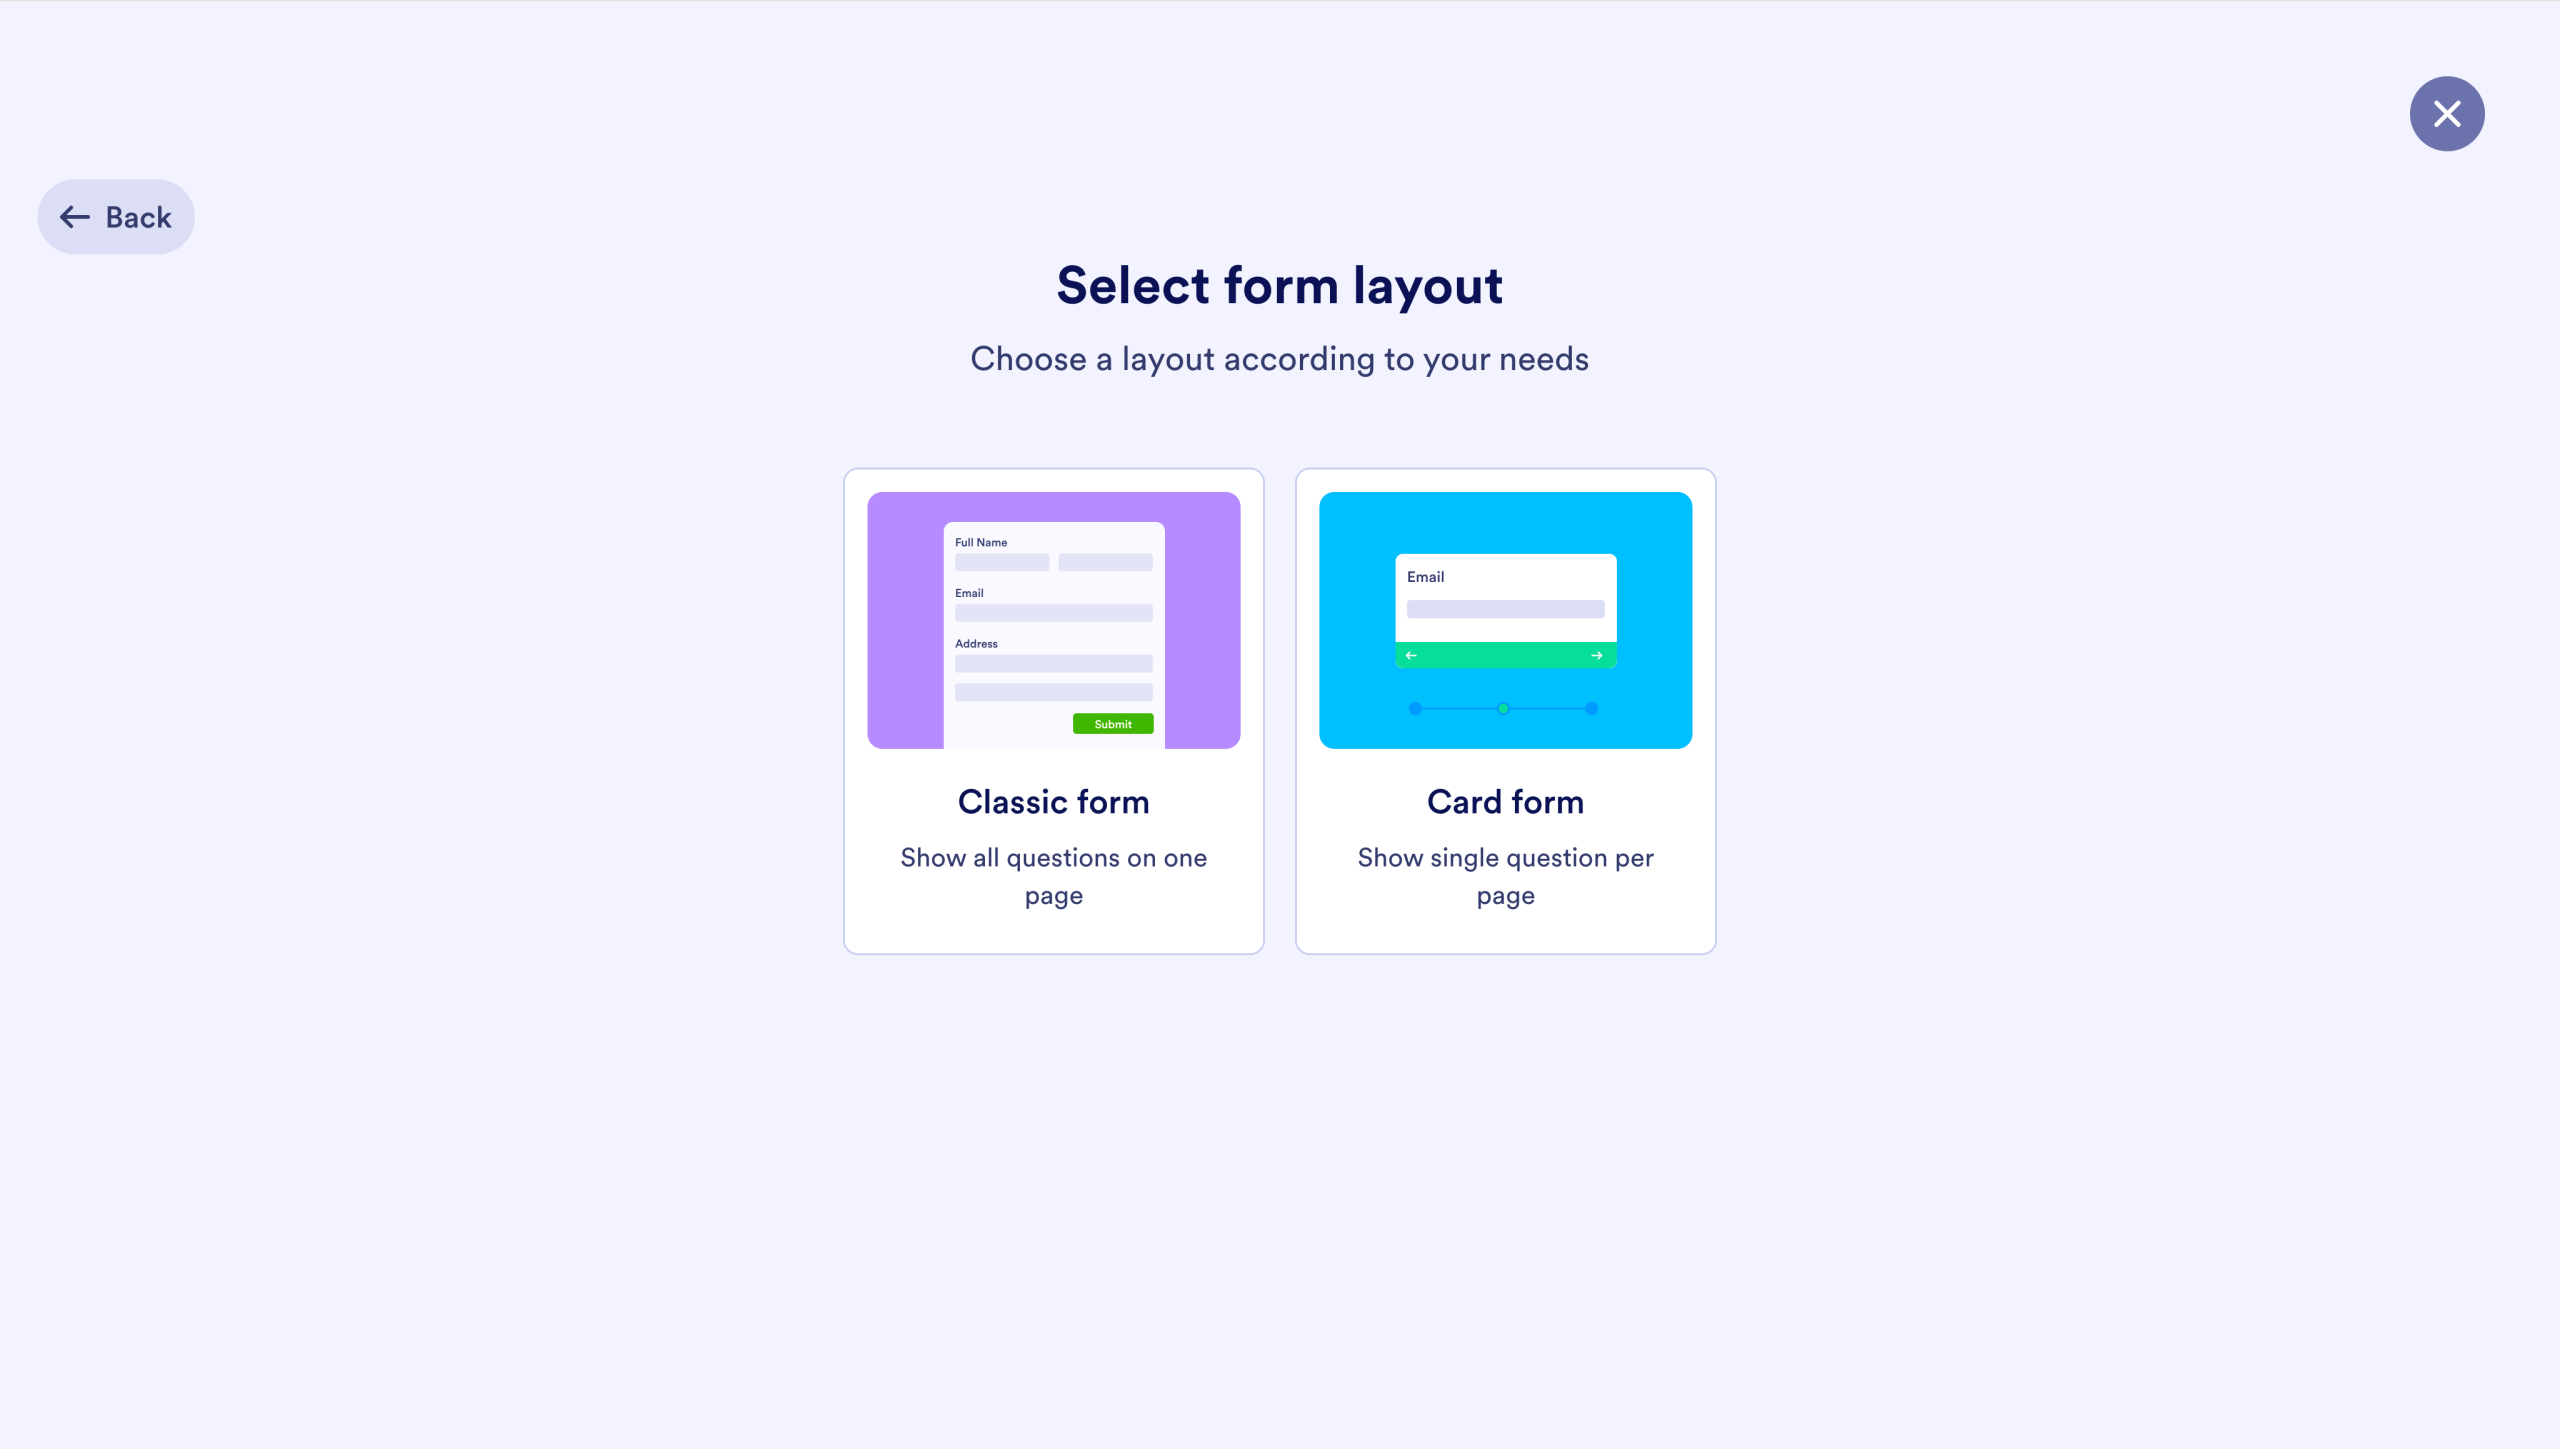
Choose a layout
- You have two options: Classic Form or Card Form. The Classic Form combines all input fields into one page. Card Form displays one field at a time and walks users through form completion.
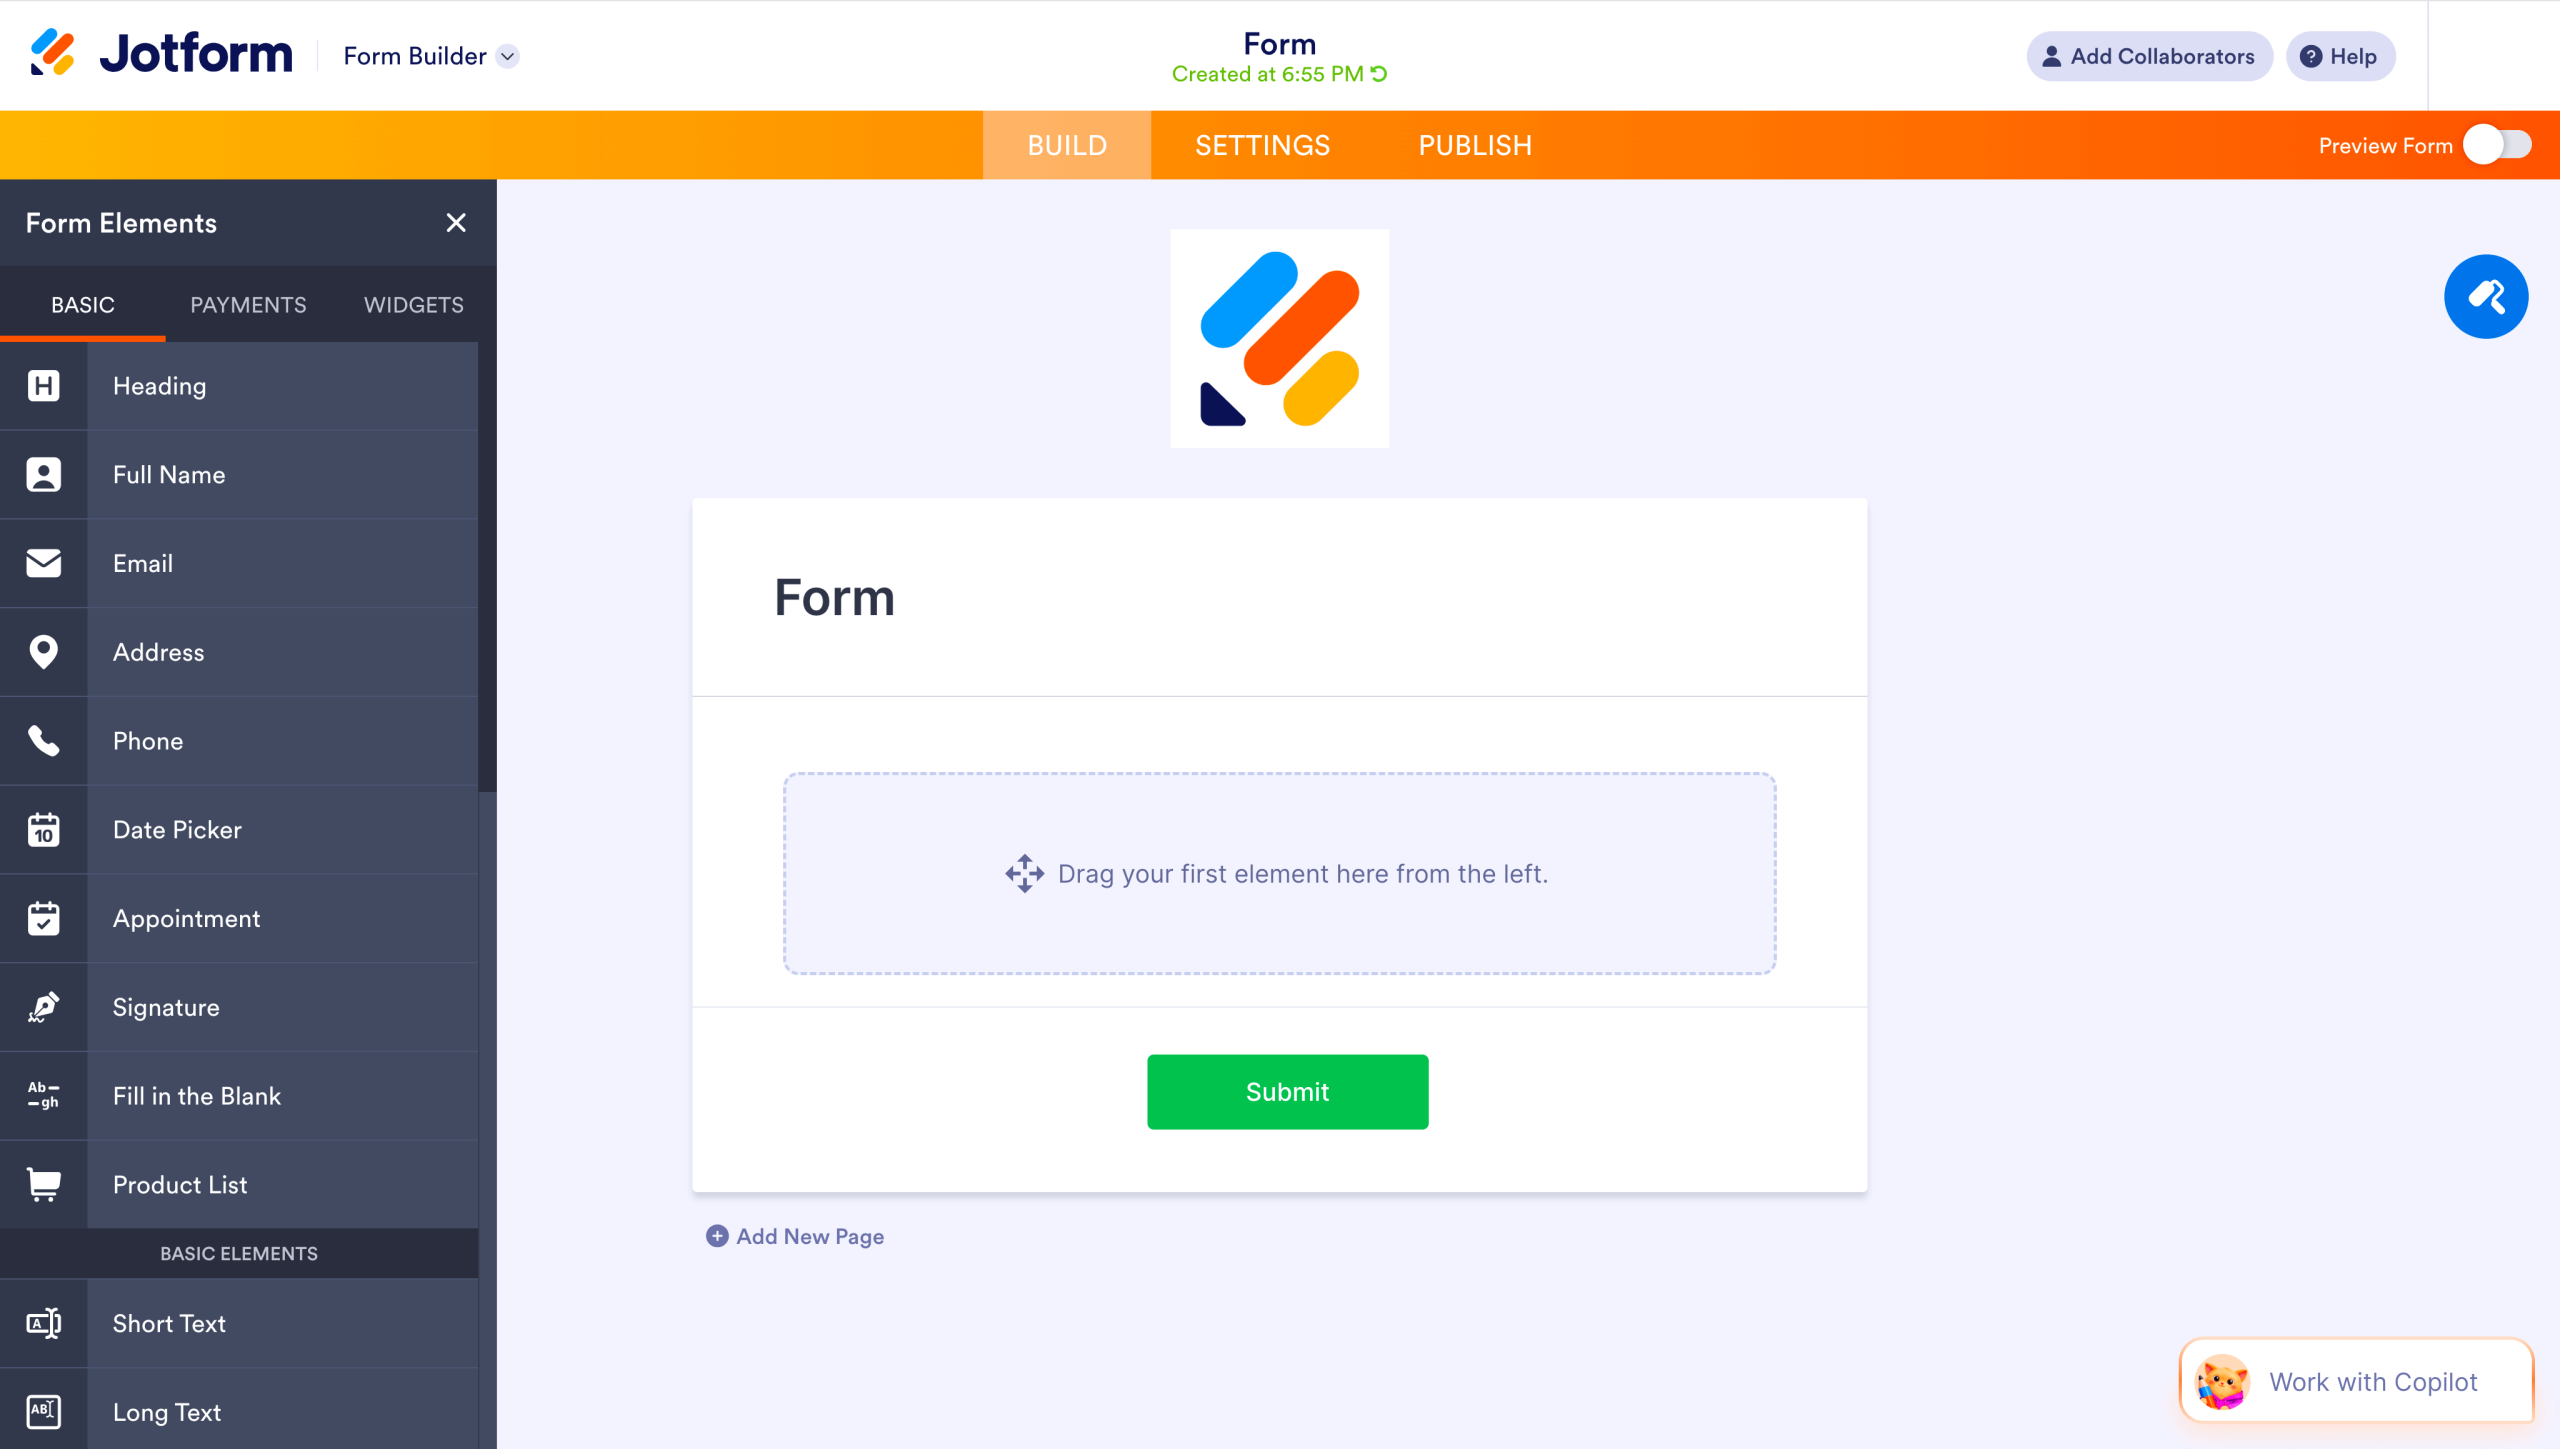
Set your fields
- Use the drag-and-drop Form Builder to insert fields into your form. Some examples include Name, Email, Phone Number, and Message. Our Form Builder also supports dropdowns, checkboxes, and file uploads.
Add CAPTCHA to your form
- Click Add Element in the Form Builder. In the Basic tab, locate and click Captcha. Then click the Gear icon to adjust the CAPTCHA settings.
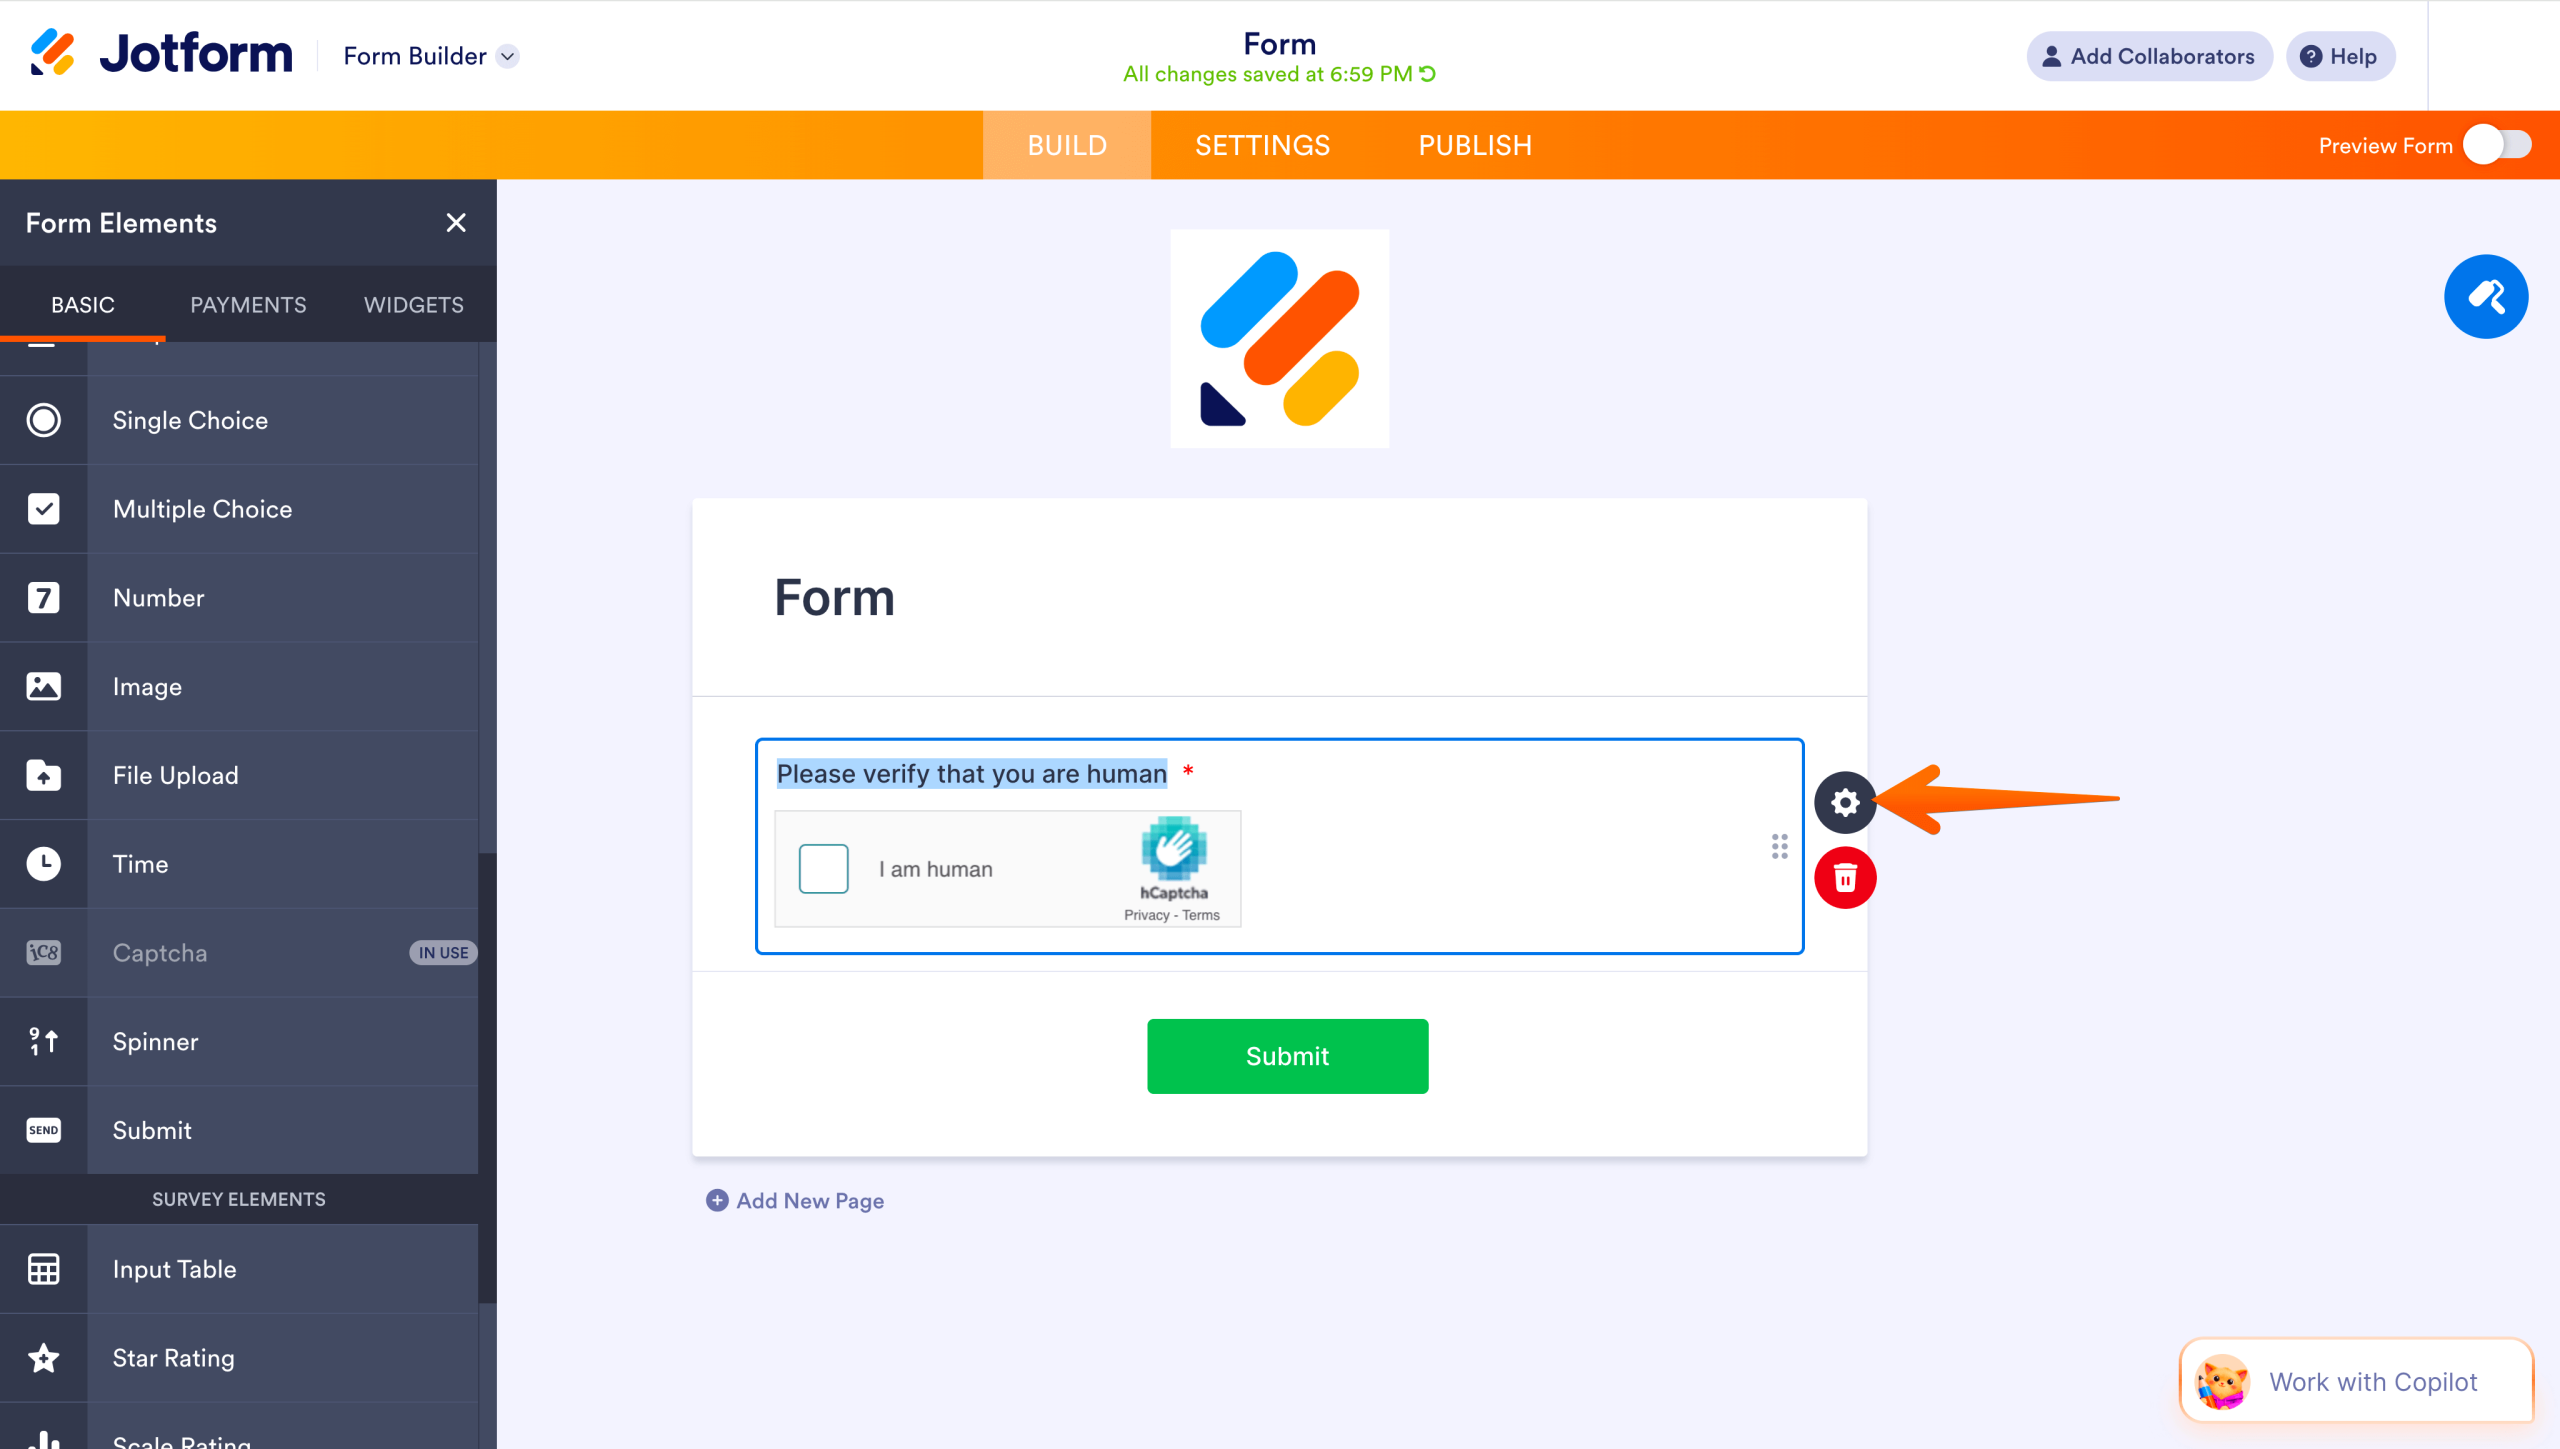
- Enter the text you want to appear above the CAPTCHA in the Field Label. Choose an alignment (top, left, or right), then select a CAPTCHA type. There are three options:
- hCAPTCHA: Asks users to solve a puzzle or identify images to verify they’re not a bot.
- reCAPTCHA: Identifies bots by their behavior. This option doesn’t require any user input unless the system detects suspicious actions.
- JotCAPTCHA: Requests users to enter the text displayed in an image. This is Jotform’s alternative to CAPTCHA.
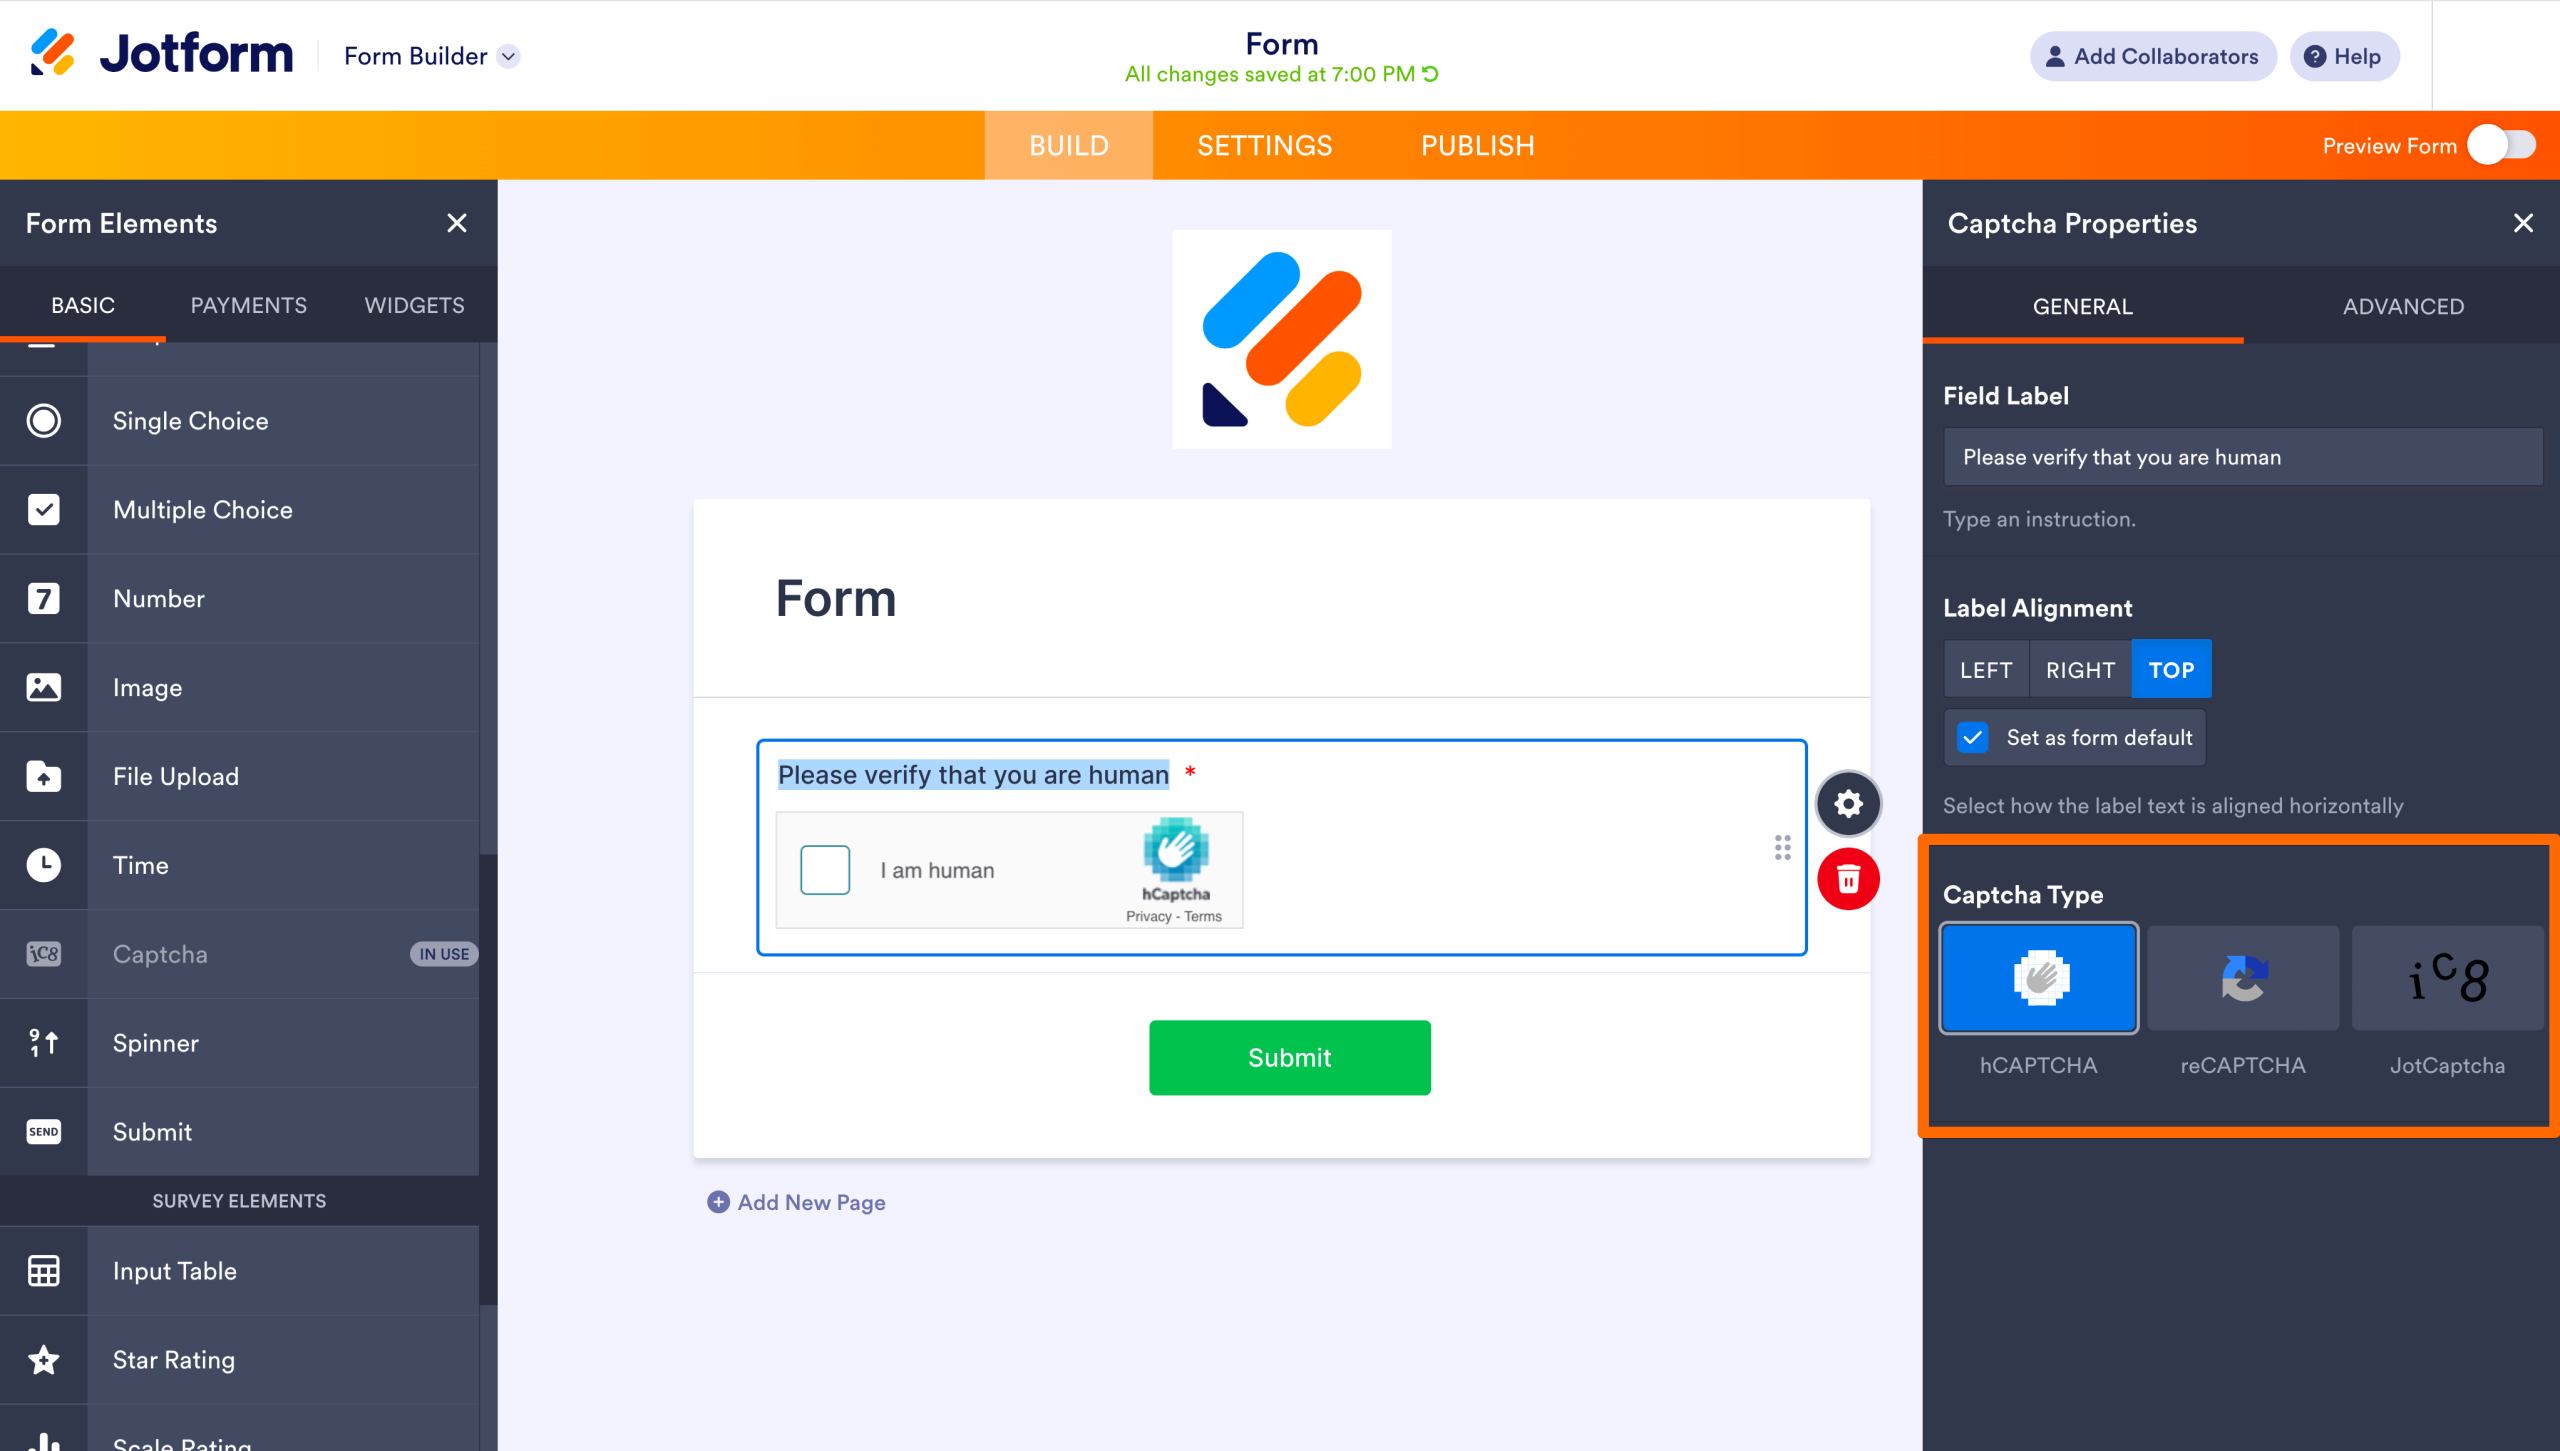
- Save your settings before moving on to the next step.
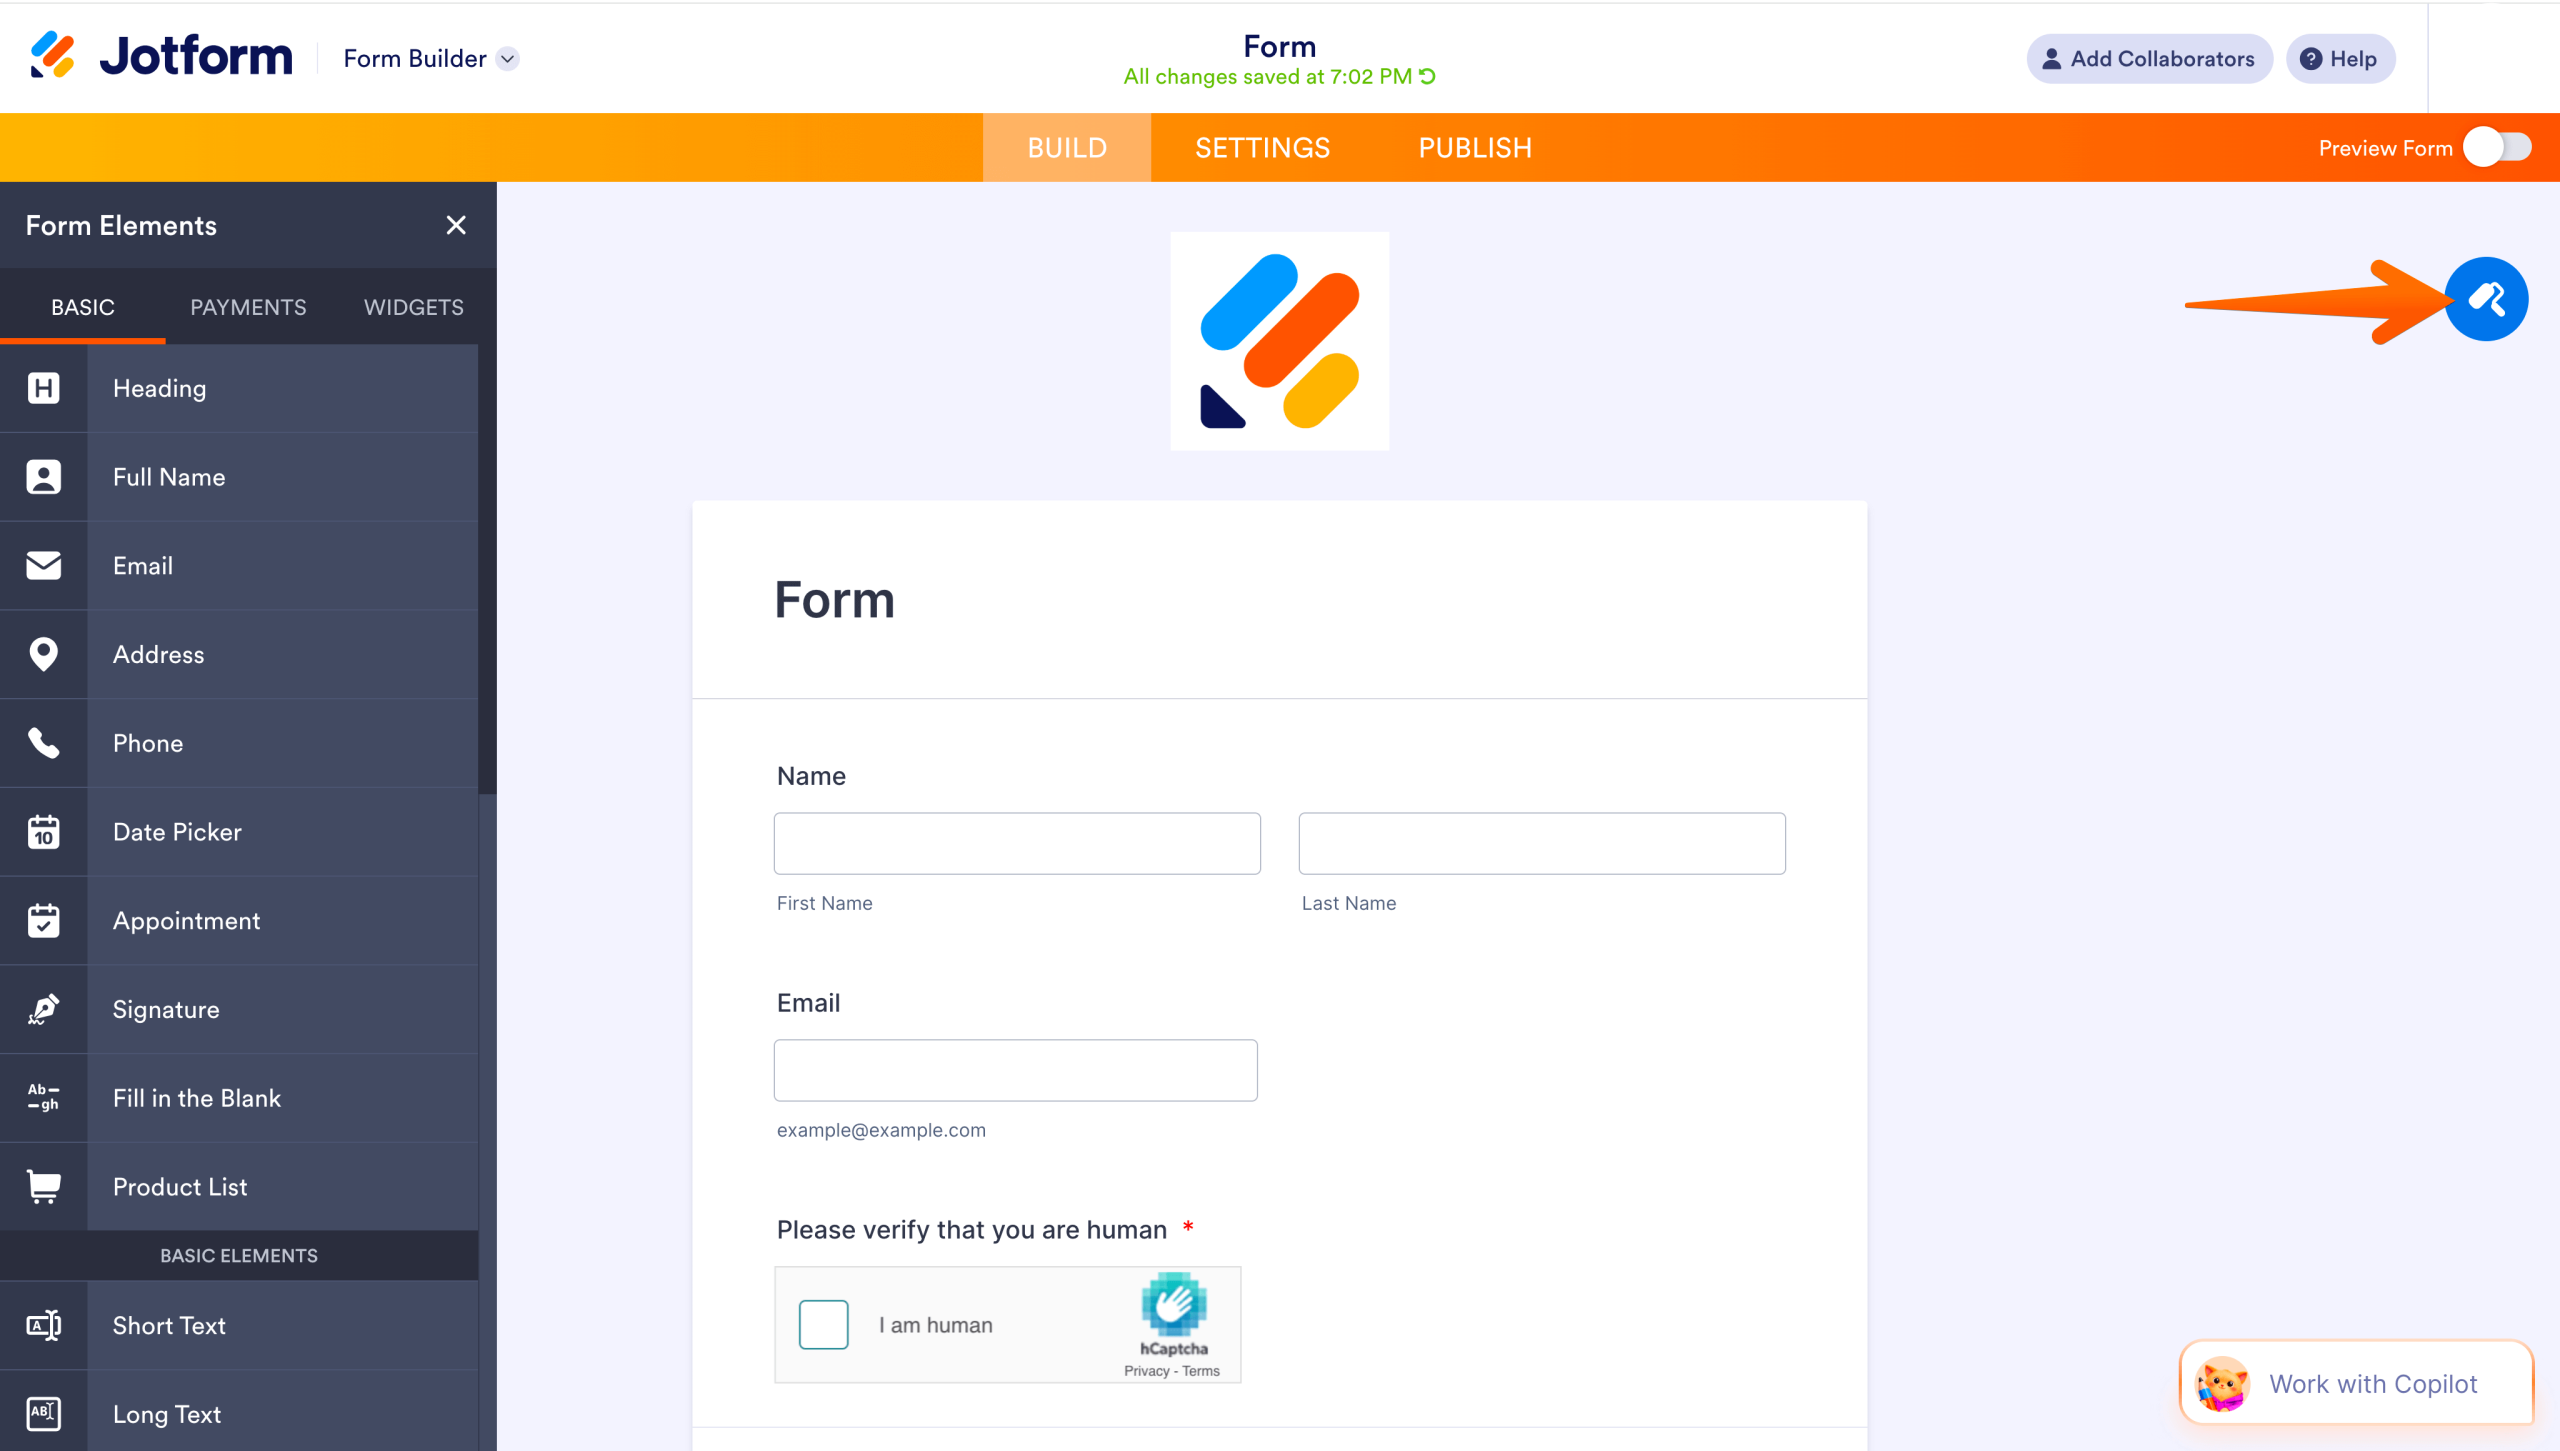
Customize the look of your form
- Click the Paint Roller icon to access the Form Designer tools. Here you can specify form colors, fonts, and layout so that the form blends well with your site.
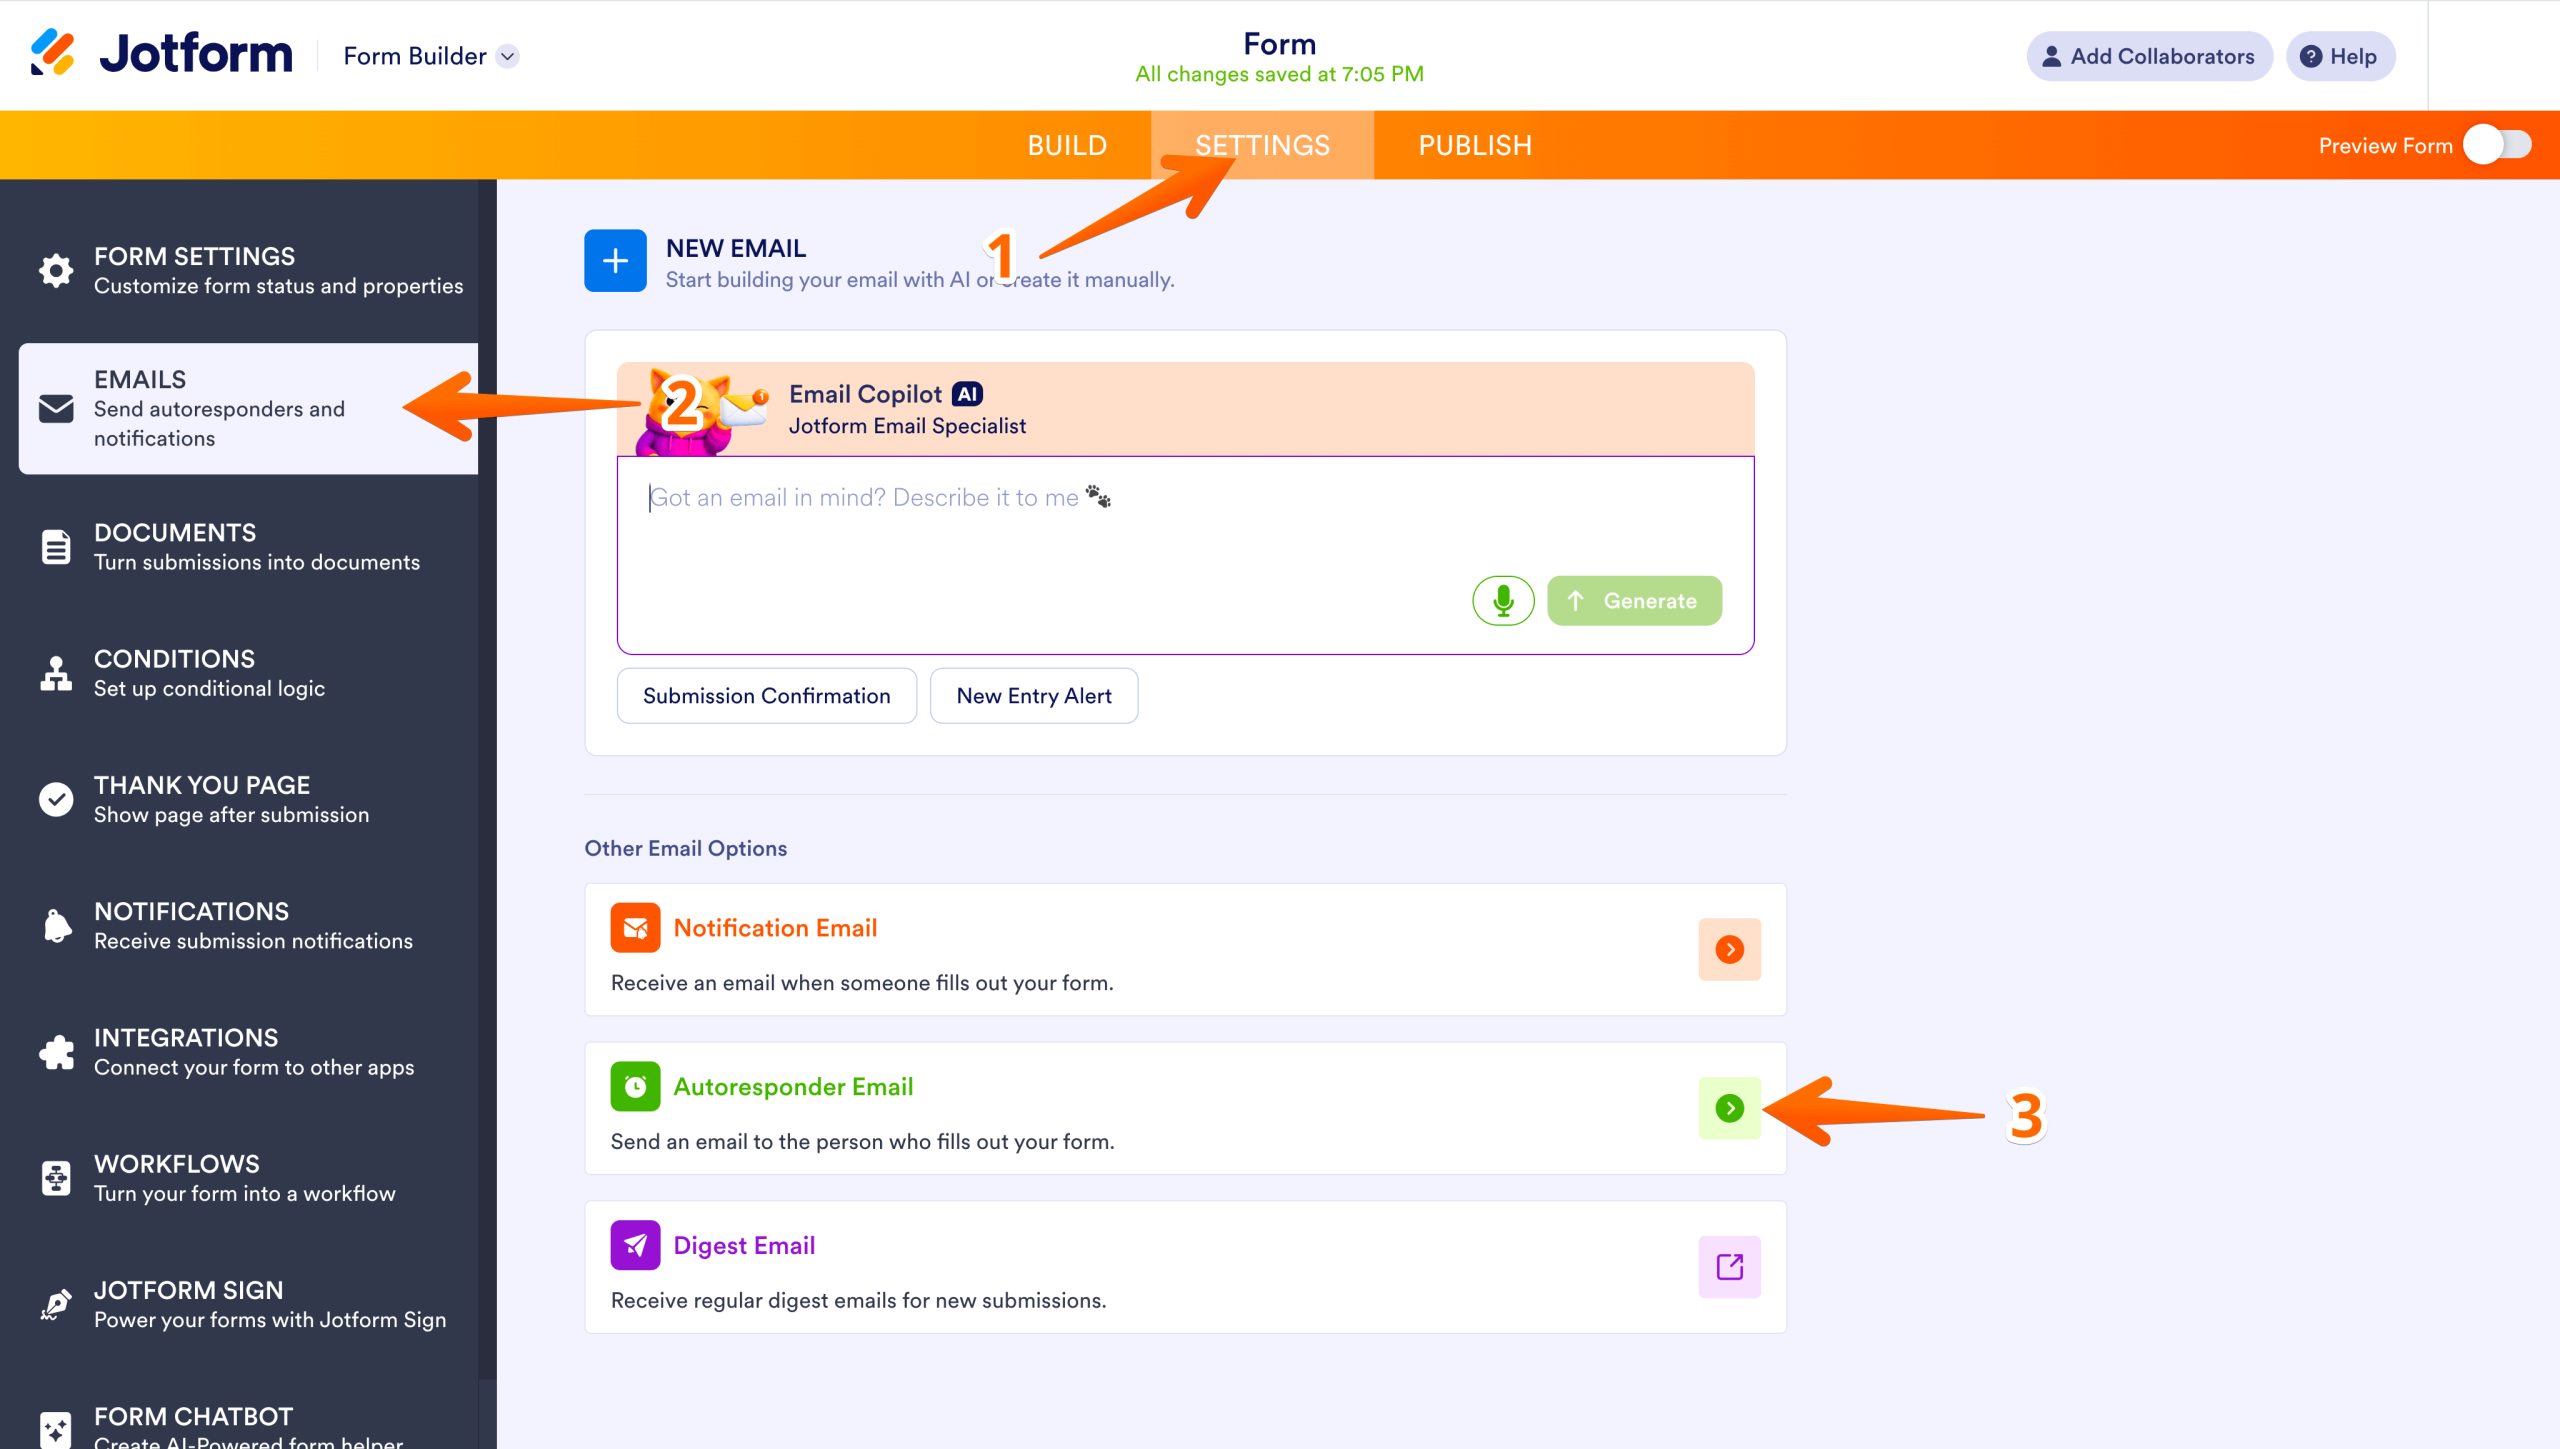
Create form notifications
- Every time someone submits your form, you’ll receive an email alert. You can also turn on the autoresponder to send a confirmation message to the user. To do this, click Settings and enter your preferred email address in the email notifications section. Then enable autoresponder emails.
Publish your form
- When you’re satisfied with the form, click Publish. This makes your form shareable, so you can embed it in your website.
Add the Jotform plugin to your WordPress site
- Log in to WordPress and navigate to the WordPress Admin Dashboard. Click Plugins > Add Plugin.
- In the search field, enter “Jotform Online Forms”. Locate the Online Forms — Customizable Payment, Contact, Quiz, Survey Form Builder — Jotform tool. Click Install Now > Activate.
Insert your form into your site
- Navigate to the page where you want the form to appear. Click the Plus icon to add a block, then enter Classic into the search field and click on it.
- When the editor window opens, locate and click the Jotform icon. Choose the form you created from the available options, then click Continue >Save. If you’re not currently logged into Jotform, WordPress will prompt you to sign in before displaying your available forms.
Preview and publish the page
- To see how the page will look when it’s published, click the Preview button. If you’re satisfied with the changes, click Publish. This will make the page live.
Pro Tip
Interested in how Jotform can bring even more value to your business? Check out Jotform AI Agents. They provide visitors with 24-7 customer support directly through your website.
Choosing the right way to add CAPTCHA to a WordPress contact form
CAPTCHA prevents spammers from clogging your inbox with phony form submissions. But it also creates friction, which can frustrate real users who want to connect with you. Among the best contact form practices is to choose a CAPTCHA that does the job without causing user headaches.
Adding reCAPTCHA to WordPress contact forms is a solid option because it appears only if there are abnormalities in visitor behavior. JotCAPTCHA is another good alternative, since users only have to enter text, not solve a puzzle.
After publishing your page, test it out. Try completing the form and submitting it. Verify you receive the form submission in your inbox and don’t encounter any WPForms CAPTCHA issues.
Monitor your site after publication. If visitors bounce without submitting the form, find out why. Keeping the form simplistic can bring you more results. Looking for a contact form with built-in spam protection that won’t frustrate your visitors? Try Jotform for free.
This article is for WordPress site owners who want to add a contact form and reduce spam submissions. It’s especially helpful if you’re building an e-commerce site and need a simple, no-code way to protect lead capture.


")


")


")


Send Comment: