
Steps to create a conditional logic form in WordPress
- Build a form in Jotform
- Set up conditional logic
- Test every form path
- Embed the form on your WordPress site
Conditional logic forms are digital forms that adapt based on a user’s responses, showing different questions or triggering specific actions depending on their answers. This creates a more personalized experience, which helps improve form completion rates.
While WordPress doesn’t have conditional logic functionality built in, you can still easily create conditional logic forms in WordPress with help from another tool: Jotform. This article includes step-by-step instructions for how to build a conditional form in WordPress, all without using any code.


1. Build a form in Jotform
Even though your form will end up in WordPress, the process starts in Jotform. Jotform is a leading form builder with thousands of free WordPress form templates. While you can always build a form in Jotform from scratch, it’s faster and easier to select a form template and customize it for your needs using the intuitive form builder.
To create a conditional logic form in Jotform, start by signing up for Jotform and logging in. In the form builder, click +Create. Then, select Form.

Next, choose how you’d like to build your form in Jotform. The options include:
- Import an existing form: Convert a form created in another form builder to a Jotform form.
- Convert a document to form: Convert a PDF to a fillable online form.
- Use a template: Choose from more than 20,000 free form templates and customize one based on your needs.
- Use AI: Describe your ideal form in plain language and have Jotform AI create it for you.
- Start from scratch: Create your form from the ground up in Jotform’s form builder.
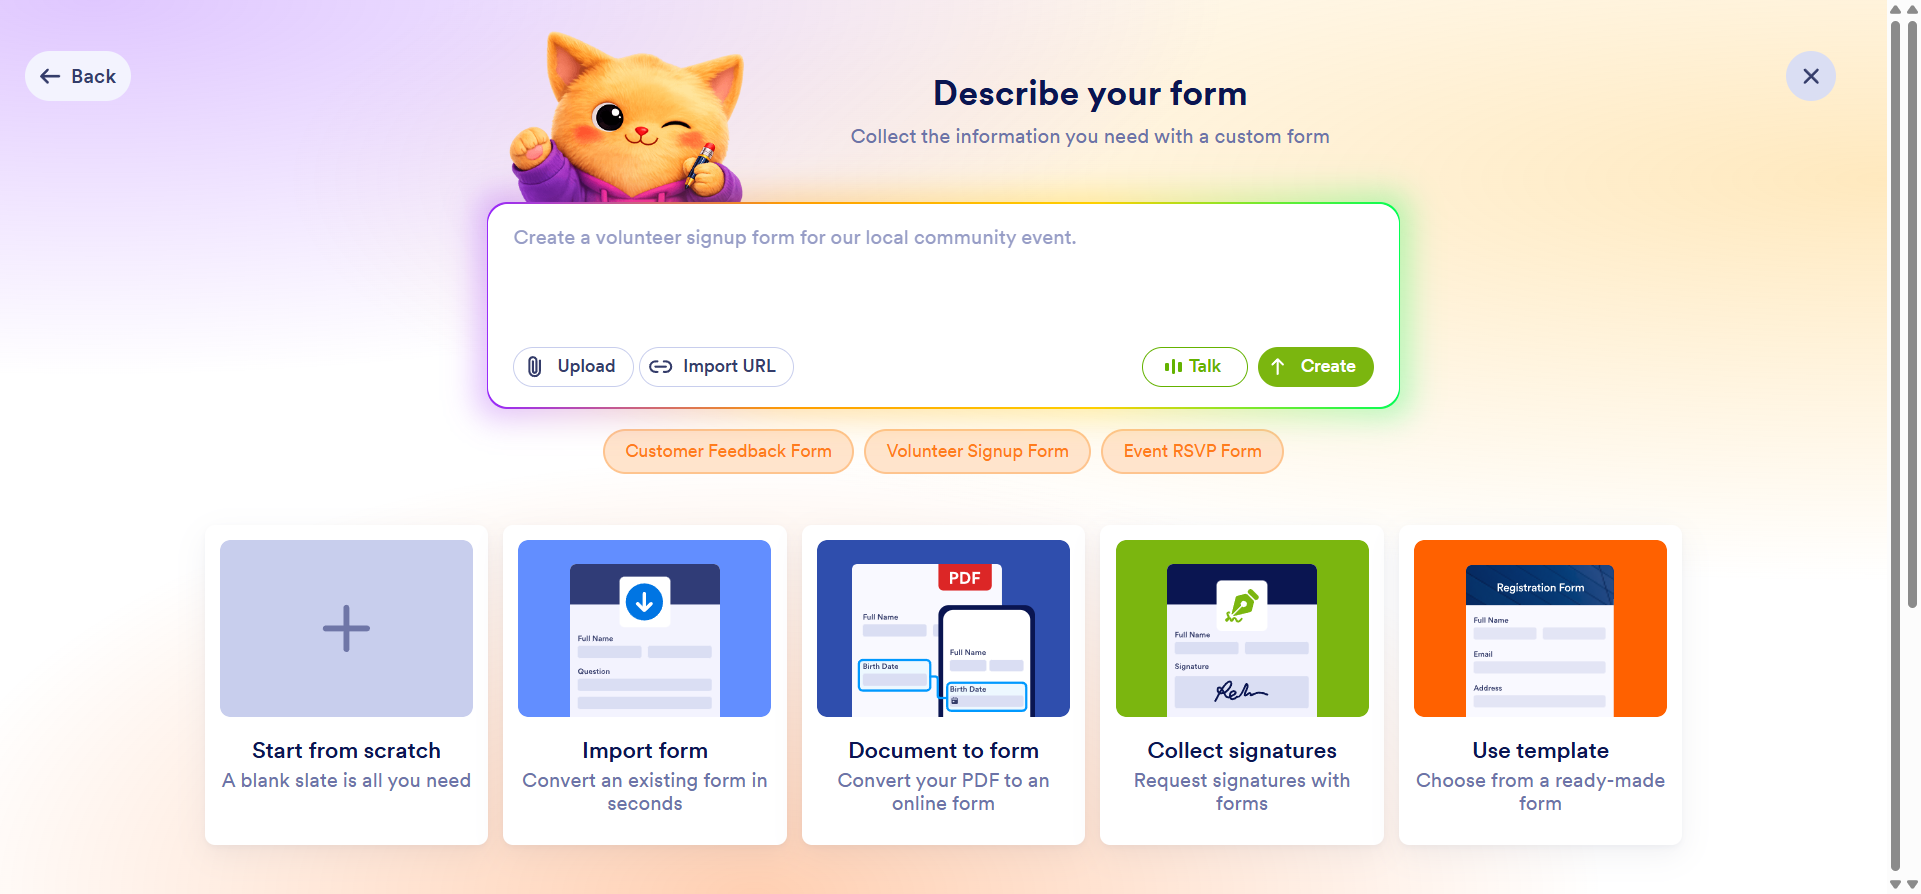
Once you’ve made your selection, create your form and add the necessary details.
2. Set up conditional logic
Unlike other form builders, Jotform offers multiple ways to customize the conditions in your form so that you can make it as relevant as possible for respondents.
To add conditional logic to your form, click Settings in the Jotform form builder. Then, click Conditions.
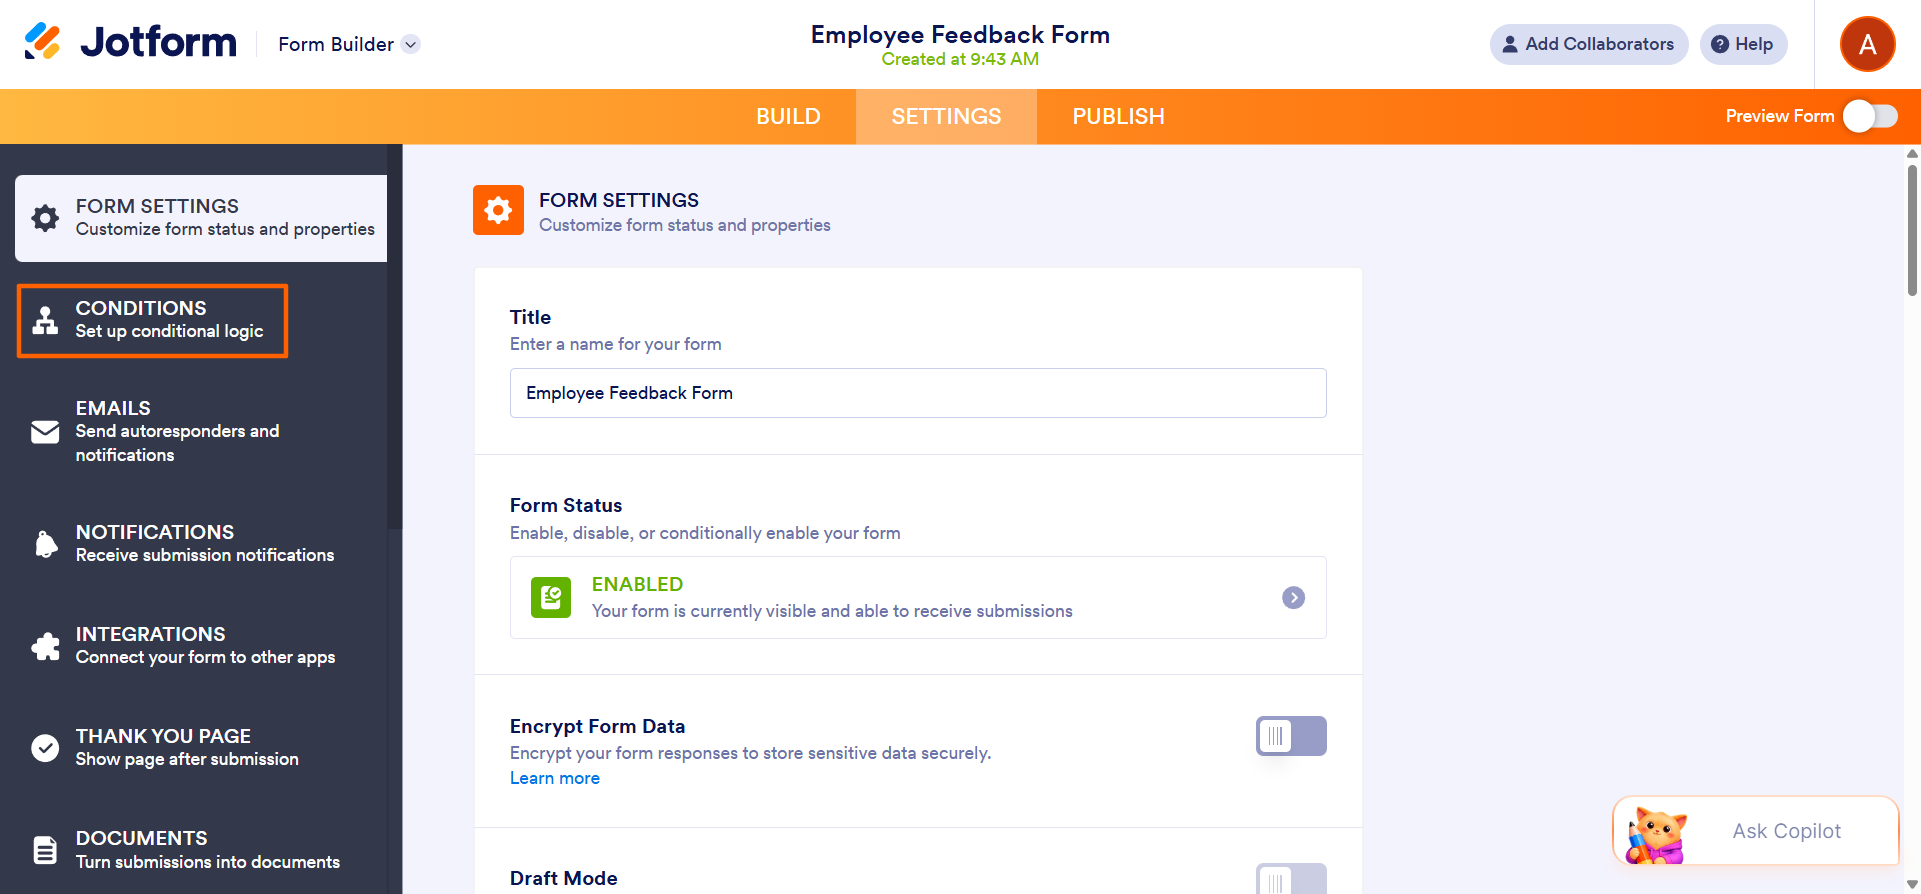
Here, you’ll see a number of ways that Jotform enables conditional logic in your form. Apply your desired conditions. One way to do this is to use Jotform AI; simply describe how you want the form to behave and it will create those conditions for you. Or you can select the conditions for your form from the menu.
Based on the form filler’s responses, you can
- Show/hide fields: Change the visibility of specific form fields.
- Update/calculate fields: Determine a field’s value or perform calculations.
- Enable/require/mask fields: Change a field.
- Update options: Change dropdown, single-choice, or multiple-choice options.
- Update product list: Show or hide products in a payment field.
- Skip to/hide a page: Skip to or hide a specific page.
- Change thank you page: Customize the form thank you page.
- Change email recipient: Send emails to specific people.
- Run workflow: Trigger a form workflow when a specific condition is met.
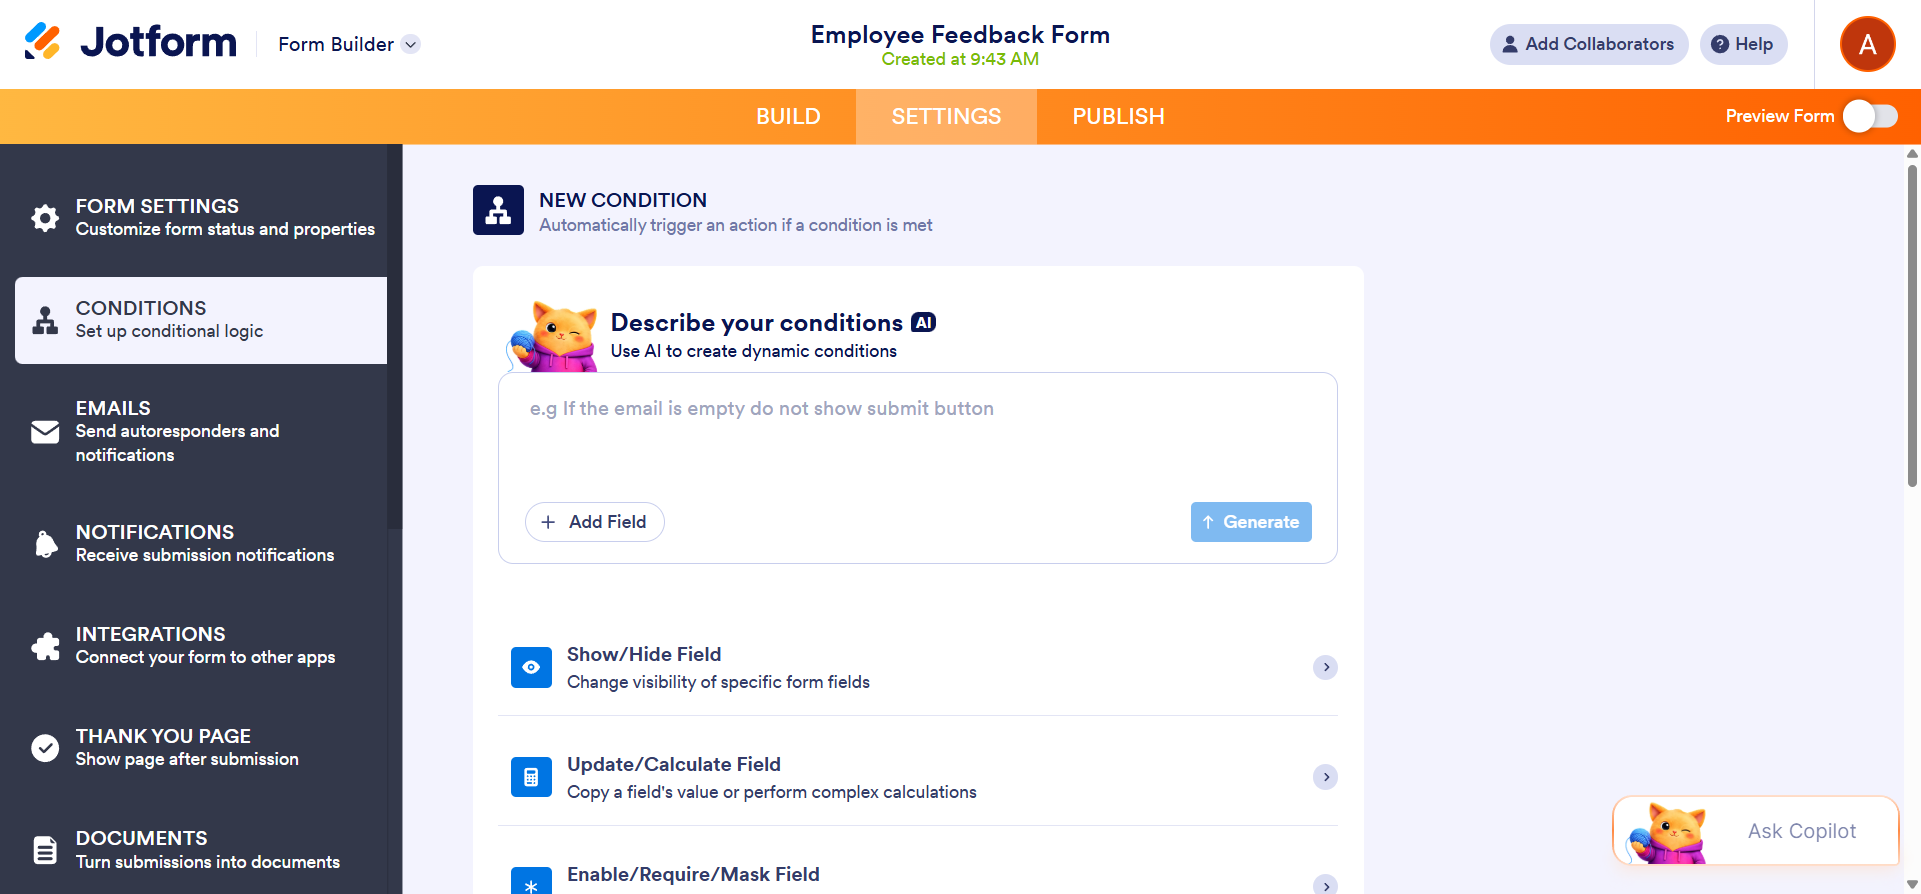
Fill out the condition fields to add the specific conditional logic to your form. Note that you can add multiple types of conditions to your form with Jotform.
Once you’ve finished adding conditional logic, click Save.
3. Test every form path
Setting up conditional logic in Jotform is straightforward and intuitive, but it’s important to test every possible form path before sharing your form with users through WordPress.
If you’re new to conditional logic, it can be easy to overlook a field, select the wrong condition, or create a rule that doesn’t behave as expected. Testing each path helps you catch these issues and confirm that the right questions and fields appear based on each user’s responses.
To ensure your conditional logic form works properly, toggle Preview Form to On.
Manually fill out the form fields, testing every conditional logic path. If any conditional logic path doesn’t work as expected, toggle Preview Form to Off and go back to the form builder to fix the issue.
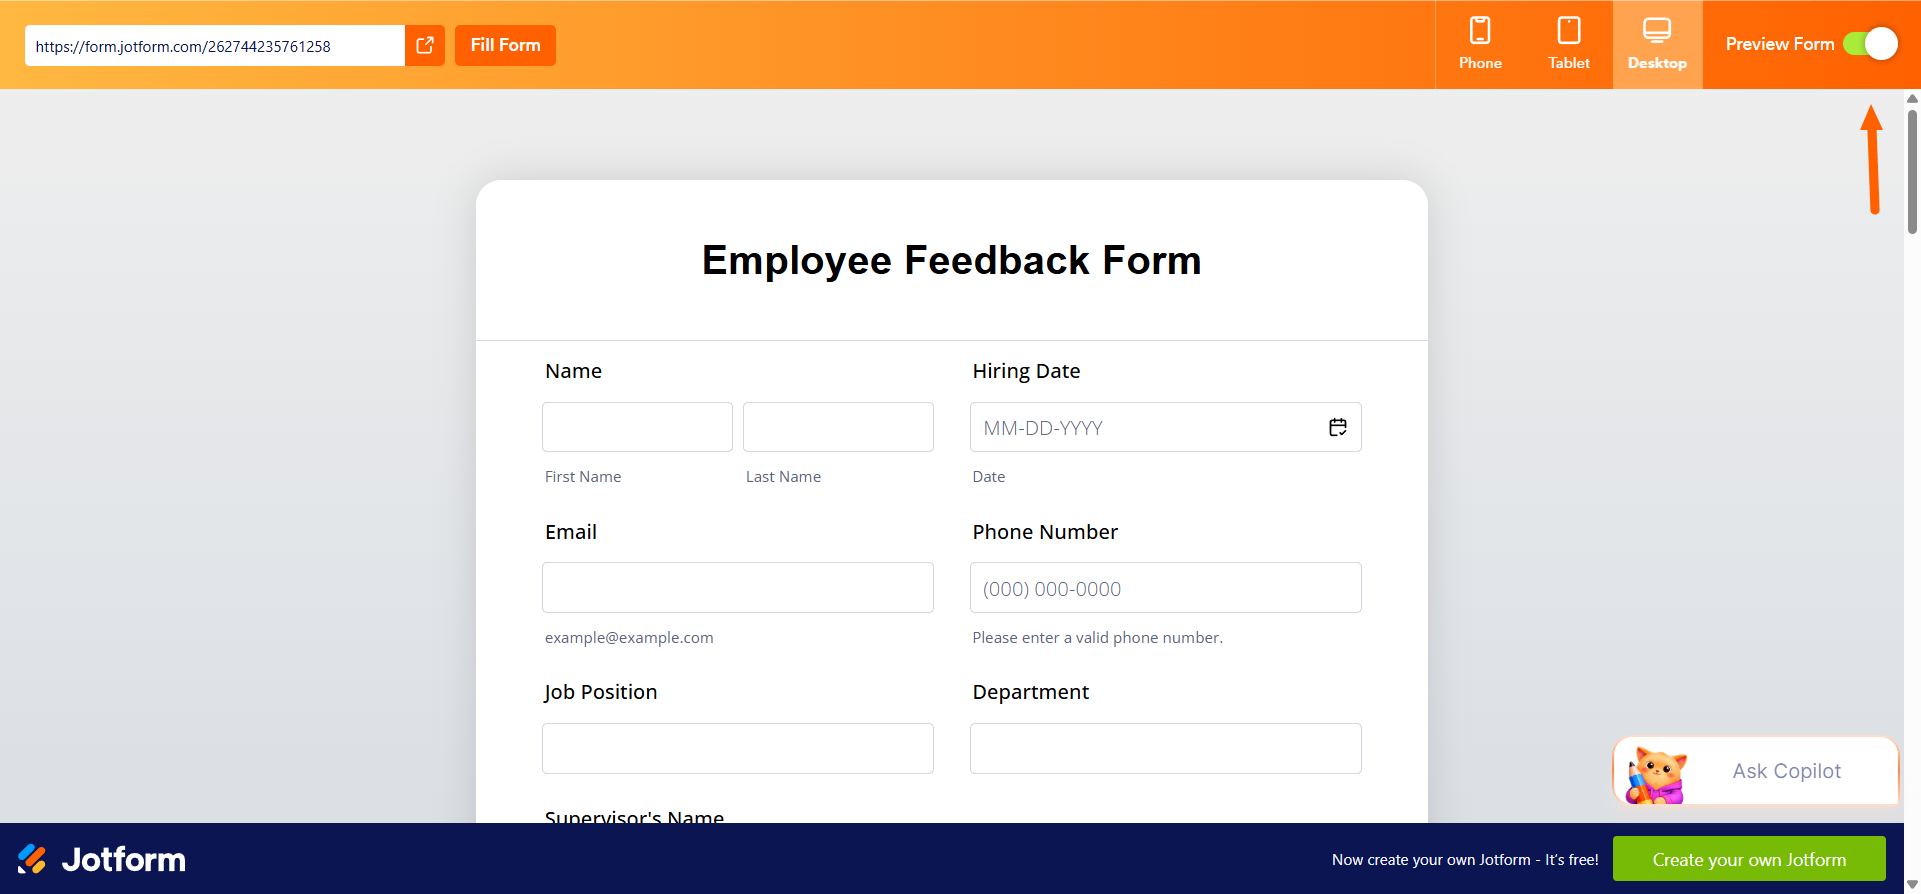
As well as testing the conditional logic paths, see how your form will look on different screens — such as Phone, Tablet, and Desktop — by clicking the relevant buttons.
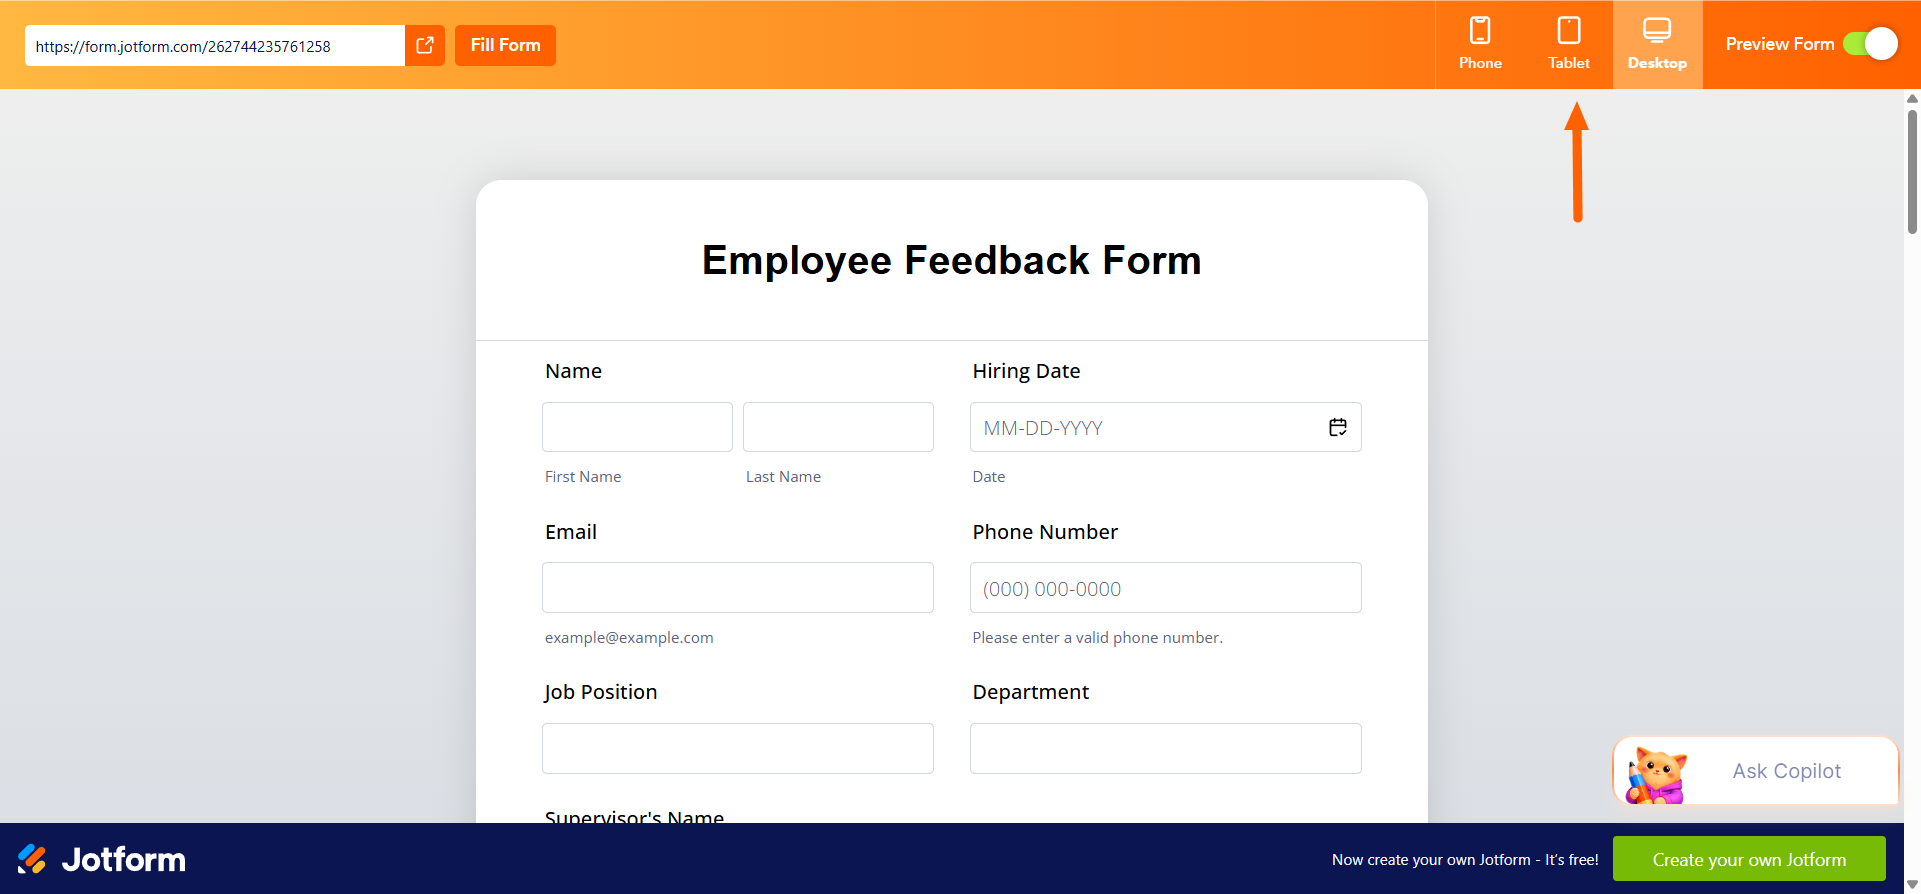
If you want assistance filling out the form, click Fill Form. Jotform will automatically fill out the form using generic information. While this won’t test all the conditional logic paths, it’ll help you fill in most of the fields automatically, saving you time. You can then test the conditional logic paths manually.
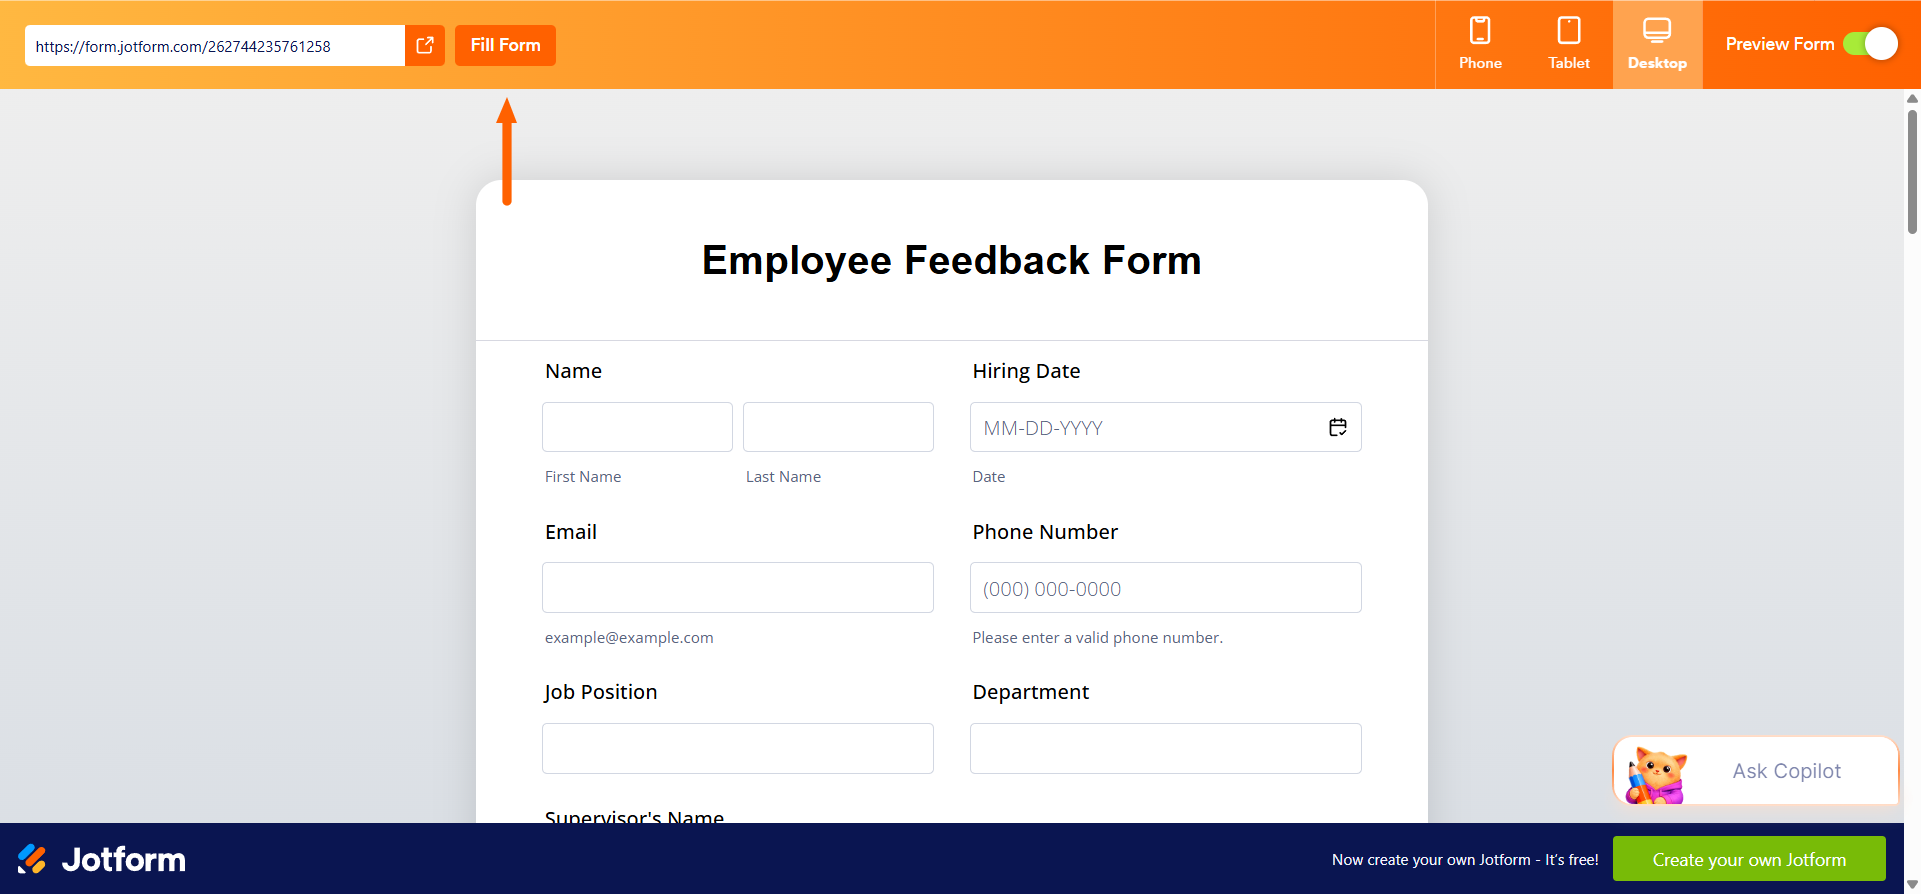
Once you’ve tested your form and adjusted the conditional logic settings as needed, you’re ready to embed it into WordPress.
4. Embed the form on your WordPress site
The conditional logic form is still in Jotform. So, how do you get it into WordPress? Jotform offers an easy solution that doesn’t involve any coding on your part.
To get a Jotform conditional logic form into WordPress, toggle Preview Form to Off. Click Publish. Then, click Embed.
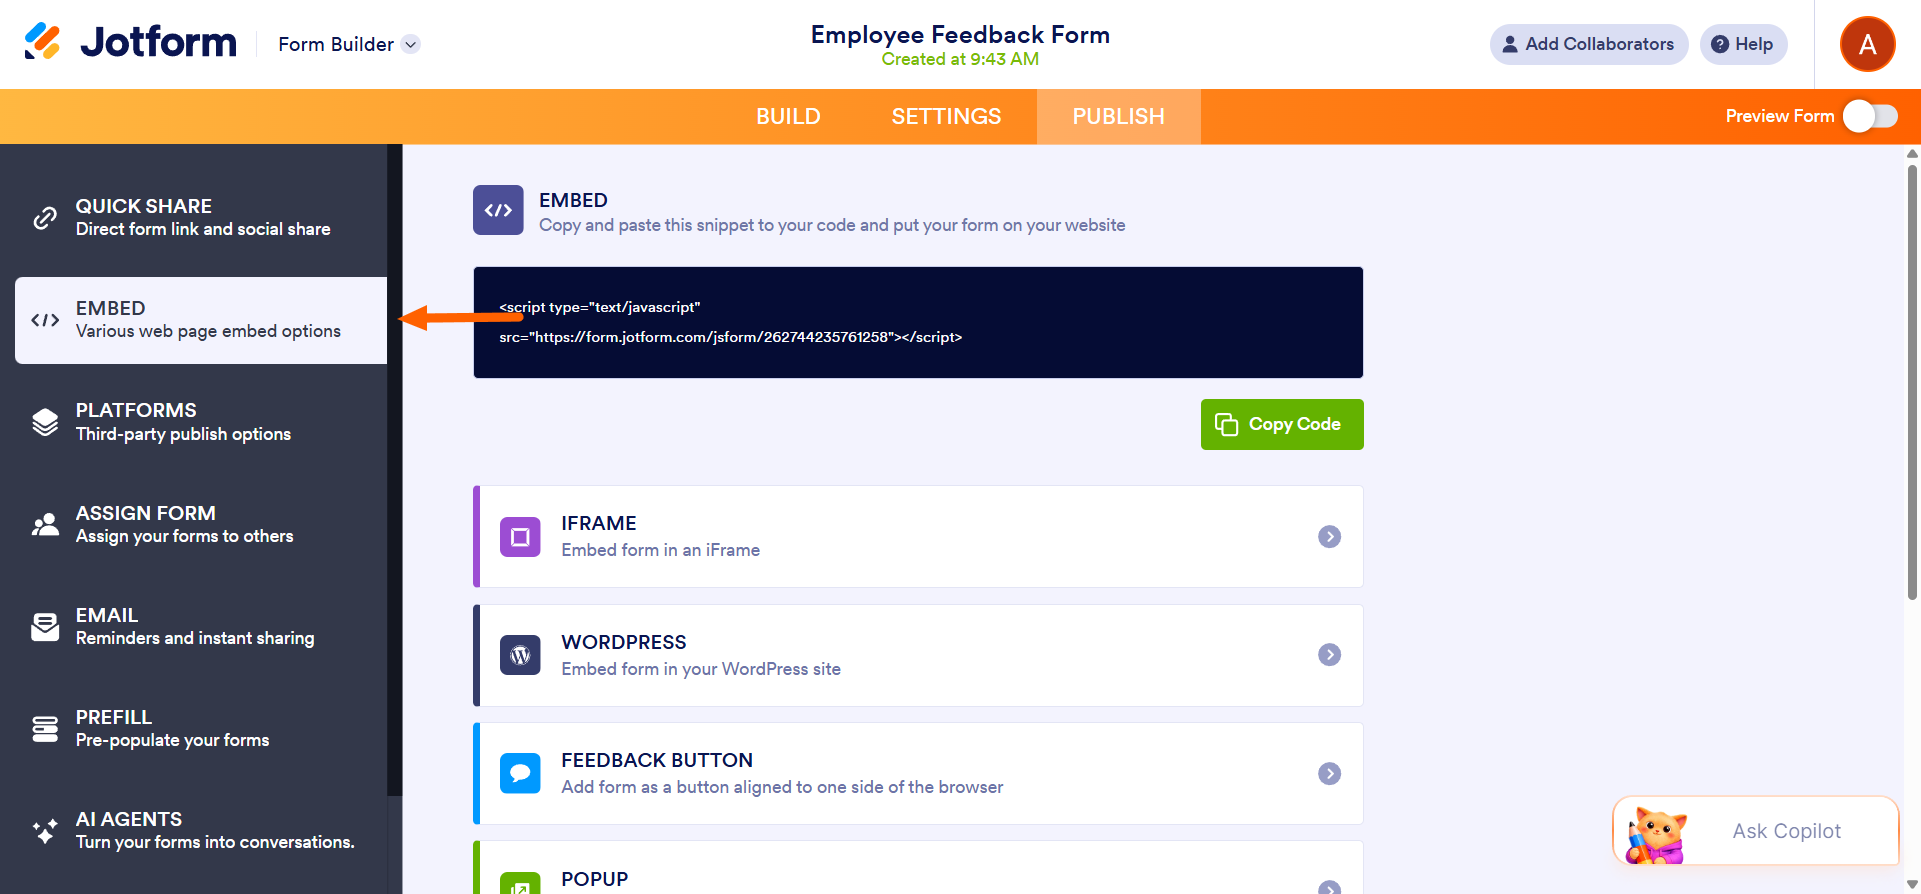
Scroll down and click on WordPress. Next, open the dropdown for Embed manually with HTML. Click Copy Code.
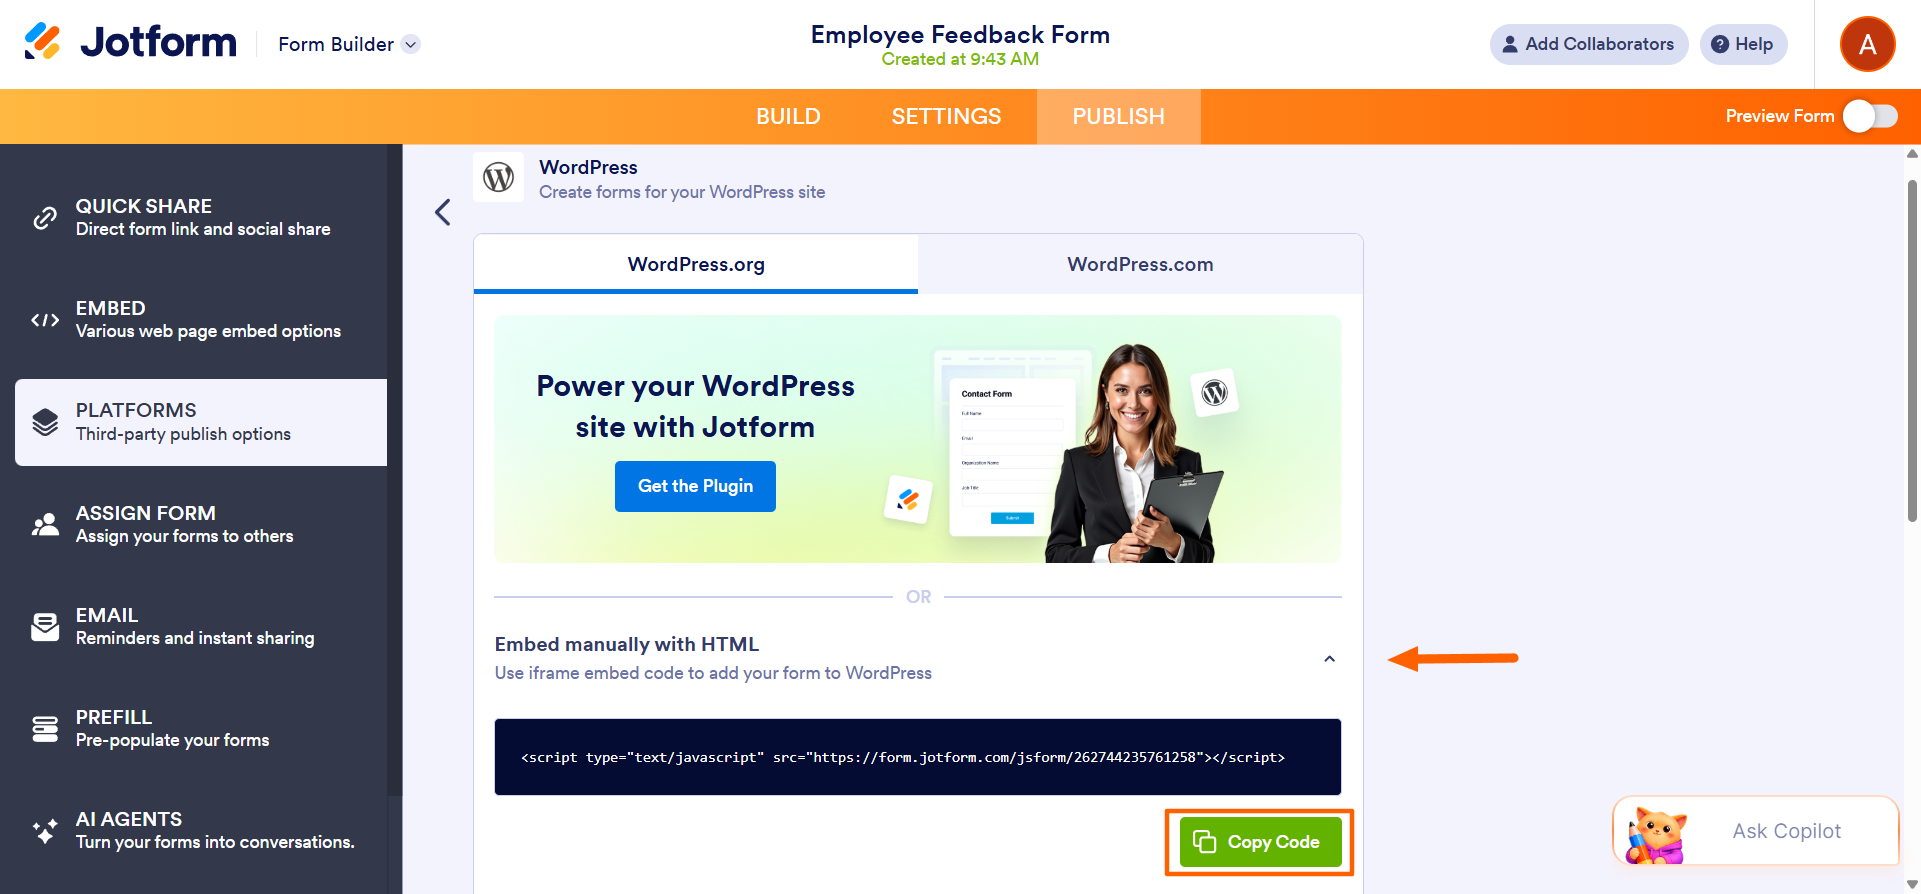
Now, you can go to your WordPress post or page editor. Click +Block Inserter. Search for and select Custom HTML. Then, click Edit HTML and paste the Jotform code into the HTML box. Finally, click Update.
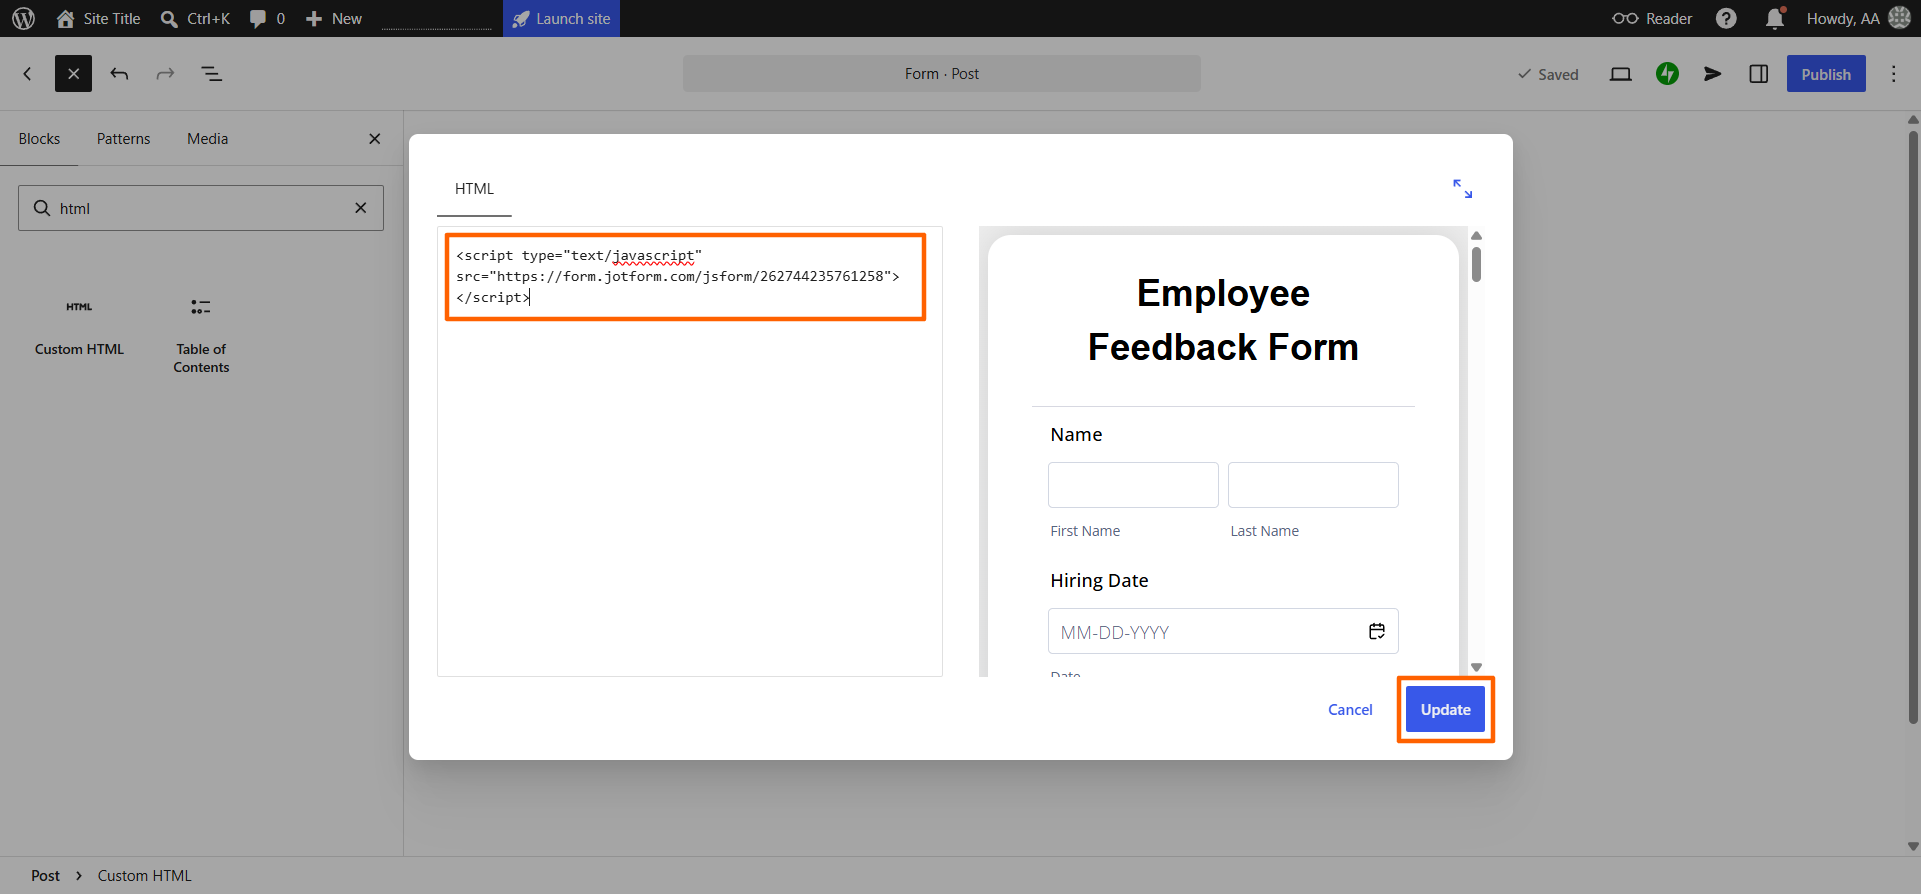
You’ve now created a conditional logic WordPress form powered by Jotform.
Note that if you need to edit the form, you can’t edit it directly in WordPress. Because the form is built in Jotform, you’ll need to make the edits there.
Pro Tip
Did you know that you can also use the Jotform embed form plug-in to add forms to WordPress? It’s one of the leading contact form plug-ins for WordPress and a good option if you plan on using multiple Jotform forms. The plug-in makes the process of creating and publishing forms even easier.
Create smarter WordPress forms with Jotform
Jotform is a no-code form builder that offers sophisticated conditional logic, responsive forms, and so much more. It integrates seamlessly with WordPress, so WordPress users can easily create advanced forms in Jotform and apply them to their sites.
Here’s why you might consider using Jotform and WordPress together:
- Powerful integrations: WordPress is just one of Jotform’s 150-plus integrations. You can take advantage of all Jotform’s connections — including over 40 payment integrations — to make your form-related tasks run more smoothly. You can connect any of the tools natively without having to use third-party add-ons.
- Multiple ways to use forms in WordPress: Jotform has several options for using forms in WordPress. You can simply embed a form using code (ideal when you just have one form) or embed via a plug-in (best when you have multiple forms for your website). Choose the method that suits you.
Plus, if you’re new to WordPress, Jotform, or using the two tools together, Jotform gives you all the help you need. Check out our articles on how to use WordPress, the best WordPress plug-ins, and how to create a file upload form in WordPress, or our tutorial on embedding Jotform in WordPress. You’ll find useful tips and strategies for both platforms.
When it comes to having conditional logic forms on your website, Jotform and WordPress go hand in hand. Explore Jotform today and see how easy it is to create and publish your first conditional logic form.
This article is for WordPress site owners who want forms to display relevant questions based on visitors’ answers without coding.



































































































Send Comment: