
Testimonials are an excellent way to leverage social proof in your sales process, increase trust, and improve website conversions. They deserve pride of place on your site.
Achieving all of that is pretty straightforward with a good testimonial page — especially if you’re using WordPress.
Below we cover why testimonials are an essential part of your site, how to obtain them, and how to set up a testimonial page on WordPress.com.

The importance of a testimonial page
Before we look at how to set up a testimonial page on WordPress.com, let’s recap why having a dedicated page is so crucial in the first place.
Customer reviews are just as important for B2B organizations as they are for B2C brands, says Elizabeth Shea, EVP of public relations at REQ. “Just like a consumer is more likely to buy a well-received product on Amazon or Travelocity, your customers are more apt to purchase your services if you have peer groups and other customers actively touting the benefits of working with your company and its solutions.”
Shea cites research that shows almost all (92 percent) of B2B buyers are more likely to make a purchase after “reading a trusted review.”
Testimonials build trust in your product or service, writes Karol Zielinski, CEO at PayLane. “If you see that other people use some service, especially well-known influencers, people you know in person or at least those you can identify with, you are more willing to give this service a try,” he says.
Asking your customers for their opinions
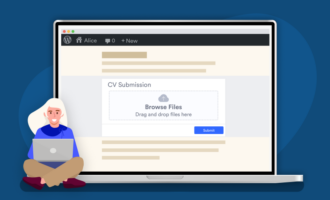
You can’t create a great testimonial page without first collecting testimonials. If you already have reviews and comments from your loyal customers, great. If not, just send out a request using an online form.
Jotform’s testimonial form template is the easiest way to do that, and it gives your customers plenty of options, like whether they want their feedback to be private or public and whether they’d like to include an image.
You shouldn’t be afraid to ask for testimonials, writes literary agent Wendy Keller. “The number-one misconception most people have about asking for these things is that they think they’re asking for a favor,” she says.
“Actually, you’re making a square trade — you just have to see it from another perspective. The majority of people love to be asked for their opinion — it’s part of our nature. Ask a customer who likes your business to comment on it, and it will likely make the customer smile just to have been asked.”
Pro Tip
Use Jotform AI Chatbot for WordPress to embed an intelligent chatbot on your testimonial page that can answer visitor questions about past clients or case studies instantly, deepening trust and keeping people engaged while they browse reviews.
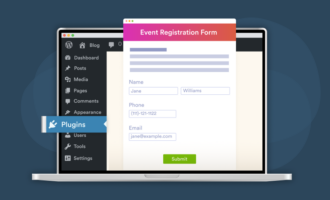
Creating a testimonial page on WordPress
Once you have your testimonials, it’s time to create your page. Start by adding a new post from the WordPress dashboard. Fill in all of the fields you’d normally complete when creating a new page — like the title, slug, description, and feature image.
Next, move on to the page design. We’ll leave this up to you, but if you’re looking for inspiration, take a look at the best testimonial pages.
Once you’ve sorted out the design and written the intro copy, it’s time to add your testimonials.
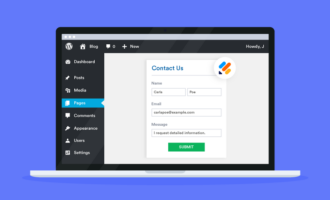
Embedding testimonials using Jotform
You don’t need a fancy or expensive plug-in to add testimonials to your new page. If you used the Jotform testimonial template to collect feedback, you can embed your customers’ submissions directly into your WordPress website.
Head over to the Jotform table that stores your testimonial responses. Next, choose how you want your testimonials to look. We recommend using the Cards view, but you could show testimonials in Table format, too.
Now, remove the testimonials you don’t want to display. You don’t have to put every testimonial you receive on your testimonial page.
“A key to using testimonials is to choose the ones that work best,” says Karisa Egan at digital sales and marketing company IMPACT. “Instead of direct recommendations of your product (‘I think it’s great!’), find testimonials that provide product details that explain it satisfies a consumer need or tackles a pain point.”
Once you’ve cleaned up your table, go to the privacy settings and change the table setting from private to public. Finally, head to the Share Table section, click on the Embed tab, and copy the code.
Paste this code onto your testimonial page in WordPress, and your Jotform responses will display automatically. It’s that easy.
Best of all, because the code takes data straight from your Jotform table, your WordPress site testimonials will automatically be edited and updated whenever the original form response is revised.
Now that you know how to set up a testimonial page on WordPress.com, why not add testimonials to the rest of your site? You can display them anywhere you paste that bit of code. Try it on your homepage and watch those conversion rates rise.
Images by: Stephen Phillips, Fikret tozak


Send Comment: