
WordPress is a powerful and flexible content management system, and while its plugin library is extensive, you’re not limited to just plugins. There are countless online tools you can embed directly into your WordPress site.
In this tutorial, we’ll show you how to embed a calendar using Jotform — a no-code, highly customizable alternative to tools like Google Calendar. Jotform’s calendar view is part of Jotform Tables, which offers robust data management features to help you create a personalized calendar in minutes.
Let’s get started!
Why you should add a calendar to WordPress
There are plenty of reasons why you should upload a public-facing calendar to your website.
For starters, it’s probably the easiest way to display key information. We all forget the dates of important events, notes the team at Social Tables: “Potential attendees will also have the same problem when it comes to your event. For that reason, you need to emphasize date and time on the event website.”
Adding a calendar to your WordPress site can eliminate countless back-and-forth emails with attendees who’ve forgotten important information.
It can also increase awareness of your events and your brand as a whole, advises Heather Riggs, cofounder of Code Conspirators. “Events give your marketing a significant boost,” she writes. “But having an online resource where existing and prospective clients can stay updated on future events further enhances the results you achieve.”
When you post your events online, they become much easier for you and others to share and for potential attendees to stumble upon through Google and social media platforms. An online calendar can even improve your search rankings, notes Riggs.
A visible public calendar can also streamline your booking process if you work in a service-based business, says forgemedia cofounder Brian Jackson. “As an example,” he writes, “a doctor or lawyer wants to have an appointment calendar that updates in real time, with options for patients and clients to see what times are available and make bookings.”
How to add a calendar to WordPress using Jotform
The first step is to sign up for Jotform if you haven’t done that already. Don’t worry about the cost: All the basic features are free. You’ll only have to pay to use it if you need more forms, submissions, custom branding, or storage.
Starting from the dashboard once you’ve signed in, click on the +Create button on the top left.

Jotform doesn’t have a dedicated calendar tool because it lets you create your own with Tables. So let’s create a new table by clicking the Table button.

There are tons of templates we could use, but we just need a generic calendar for this example. Later on, you can use an event signup form template and connect it to your calendar table to bring all your data together. For now, though, start with a blank table and name it “Event Calendar” or whatever you like.

Let’s add a couple of data fields so our table knows that it’s supposed to behave like a calendar. Start by adding a new column to the table by clicking +Add.

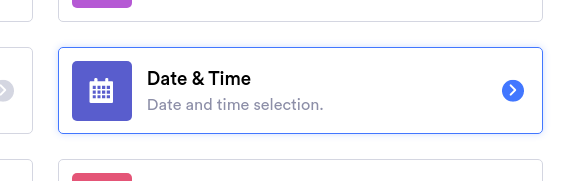
You’ll see a menu of all the column types you can choose from. Select Date & Time, click Next, and call it “Start Date.”
Make sure both date and time options are enabled, and click Create Column. Then repeat the process to create an End Date column.

OK, we’re off to a good start. For your next trick, select the three-dot button from the Event Calendar tab in the top left, then Change type and Calendar.

Now let’s teach our table that it’s a calendar. From the Start Date dropdown, select the Start Date column we created. Jotform is smart enough to know that the field will include the Start Time as well, so we can skip the Start Time dropdown.
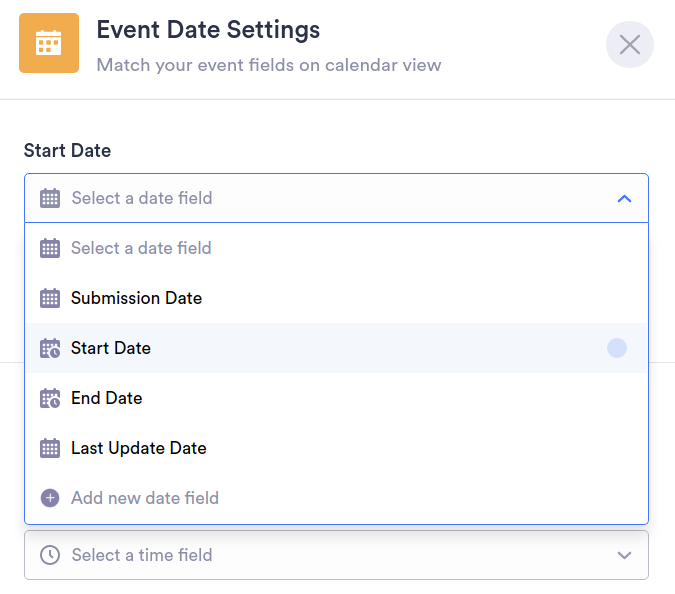
Then do the same thing for the End Date and click Update.
Congratulations — it’s a calendar! You can do a lot with your calendar, including using it as a daily calendar that you can connect to your other data sources.
Adding your calendar to WordPress
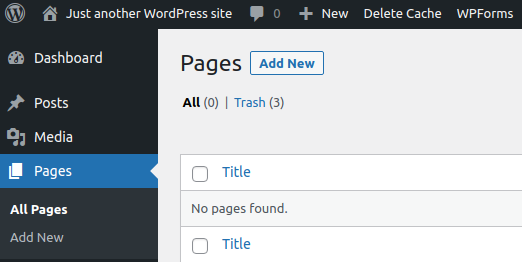
We’re also going to assume you have a WordPress page up and running. (If not, there are a lot of tutorials available online about how to do that.) First, let’s create a new page. From the dashboard, use the menu on the left to add a new page or view all your pages and create one from there.
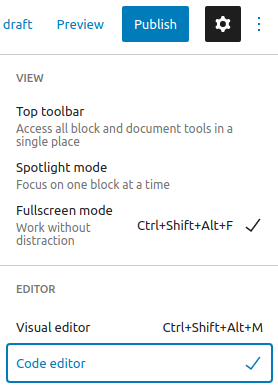
You should now be looking at the editor for a new WordPress page. In order to embed the Jotform code, you need to edit the code directly. No programming is involved — promise! Just click the three-dot menu button on your WordPress page and change your editor to the Code editor.
Now go back to your Jotform calendar and select Share from the upper right corner.

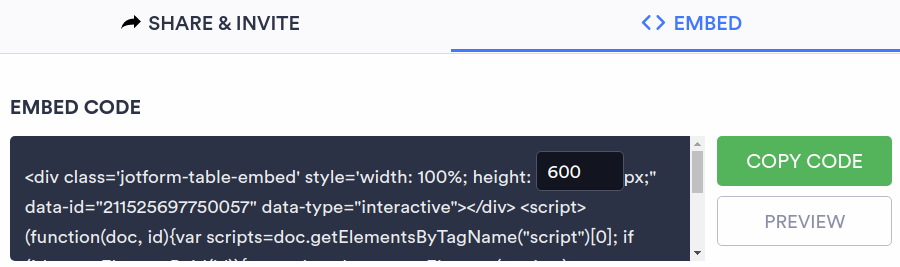
Before we can embed the calendar, we need to make it publicly visible. Start by clicking the Share Settings button next to the gear icon. Now click Public Table and Go Back. Switch to the Embed tab and click Copy Code.
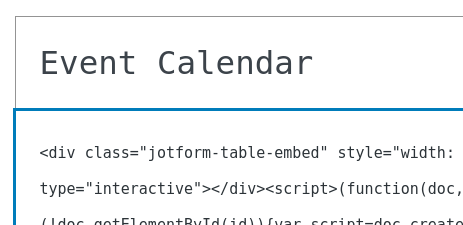
Next, head back to WordPress and paste the code into the editor box.
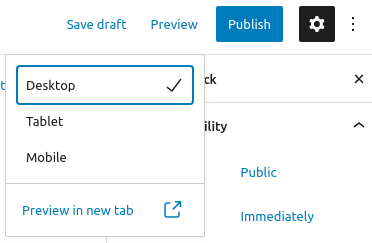
Preview your page in a new tab.
If everything went according to plan, you should be seeing your calendar inside your WordPress page. And you’re done!
Embed all the things
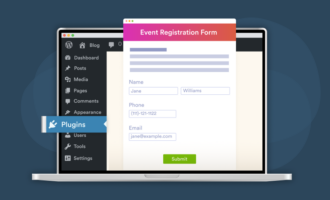
Why stop with a calendar? Now that you’ve seen how easy it is, why not try embedding an event registration form using one of Jotform’s many templates?
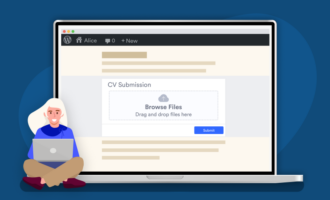
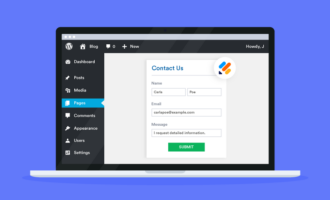
You can also embed form submissions to display the guest list for your event. But you don’t have to stop at registration forms either. You can embed any kind of form, survey, or quiz. You can also embed reports, to-do lists, and much more with Jotform.


Send Comment: