
Steps to set “Save and Continue" in Gravity Forms
- Build the form you’d like to create
- Access that form by clicking Forms on the left side
- Find and click on the form
- To access the form settings, click on Settings
- Look for the Save and Continue option and check that box
- You can change the text of the save-and-continue link
- Save your settings
Though you rarely get a “pause” option in life — the chance to stop a conversation, action, or event if you need a moment of reflection — you should get one when you’re using software.
Whether you need to pause your project to work on something else, attend a meeting, or walk away from your computer, you need to trust your work is saved until you can return to it. Fortunately, save-and-continue functionality exists, so you can save your work before it’s complete and avoid having to start all over again when you return.
Even though “save and continue” is a critical feature in software, it’s not always a default setting. Sometimes you have to set it up yourself.
Here’s how to enable the Save and Continue feature in Gravity Forms, the WordPress plug-in that lets you create forms to add to your website.
How to activate the Gravity Forms Save and Continue feature
No matter your project or deadline, being able to save your progress and return to it without fearing you’ll lose it is really important. With the Gravity Forms Save and Continue feature, you can create a link to continue your work — building a large form like a questionnaire or quiz, for example — at a later date. What’s more, your users can come back to it, too, making it more convenient for them to complete your form and boosting your conversion rate as a result.
Here’s how to set it up:
- To activate the Gravity Forms Save and Continue feature, you need to first build the form you’d like to create the notification for.
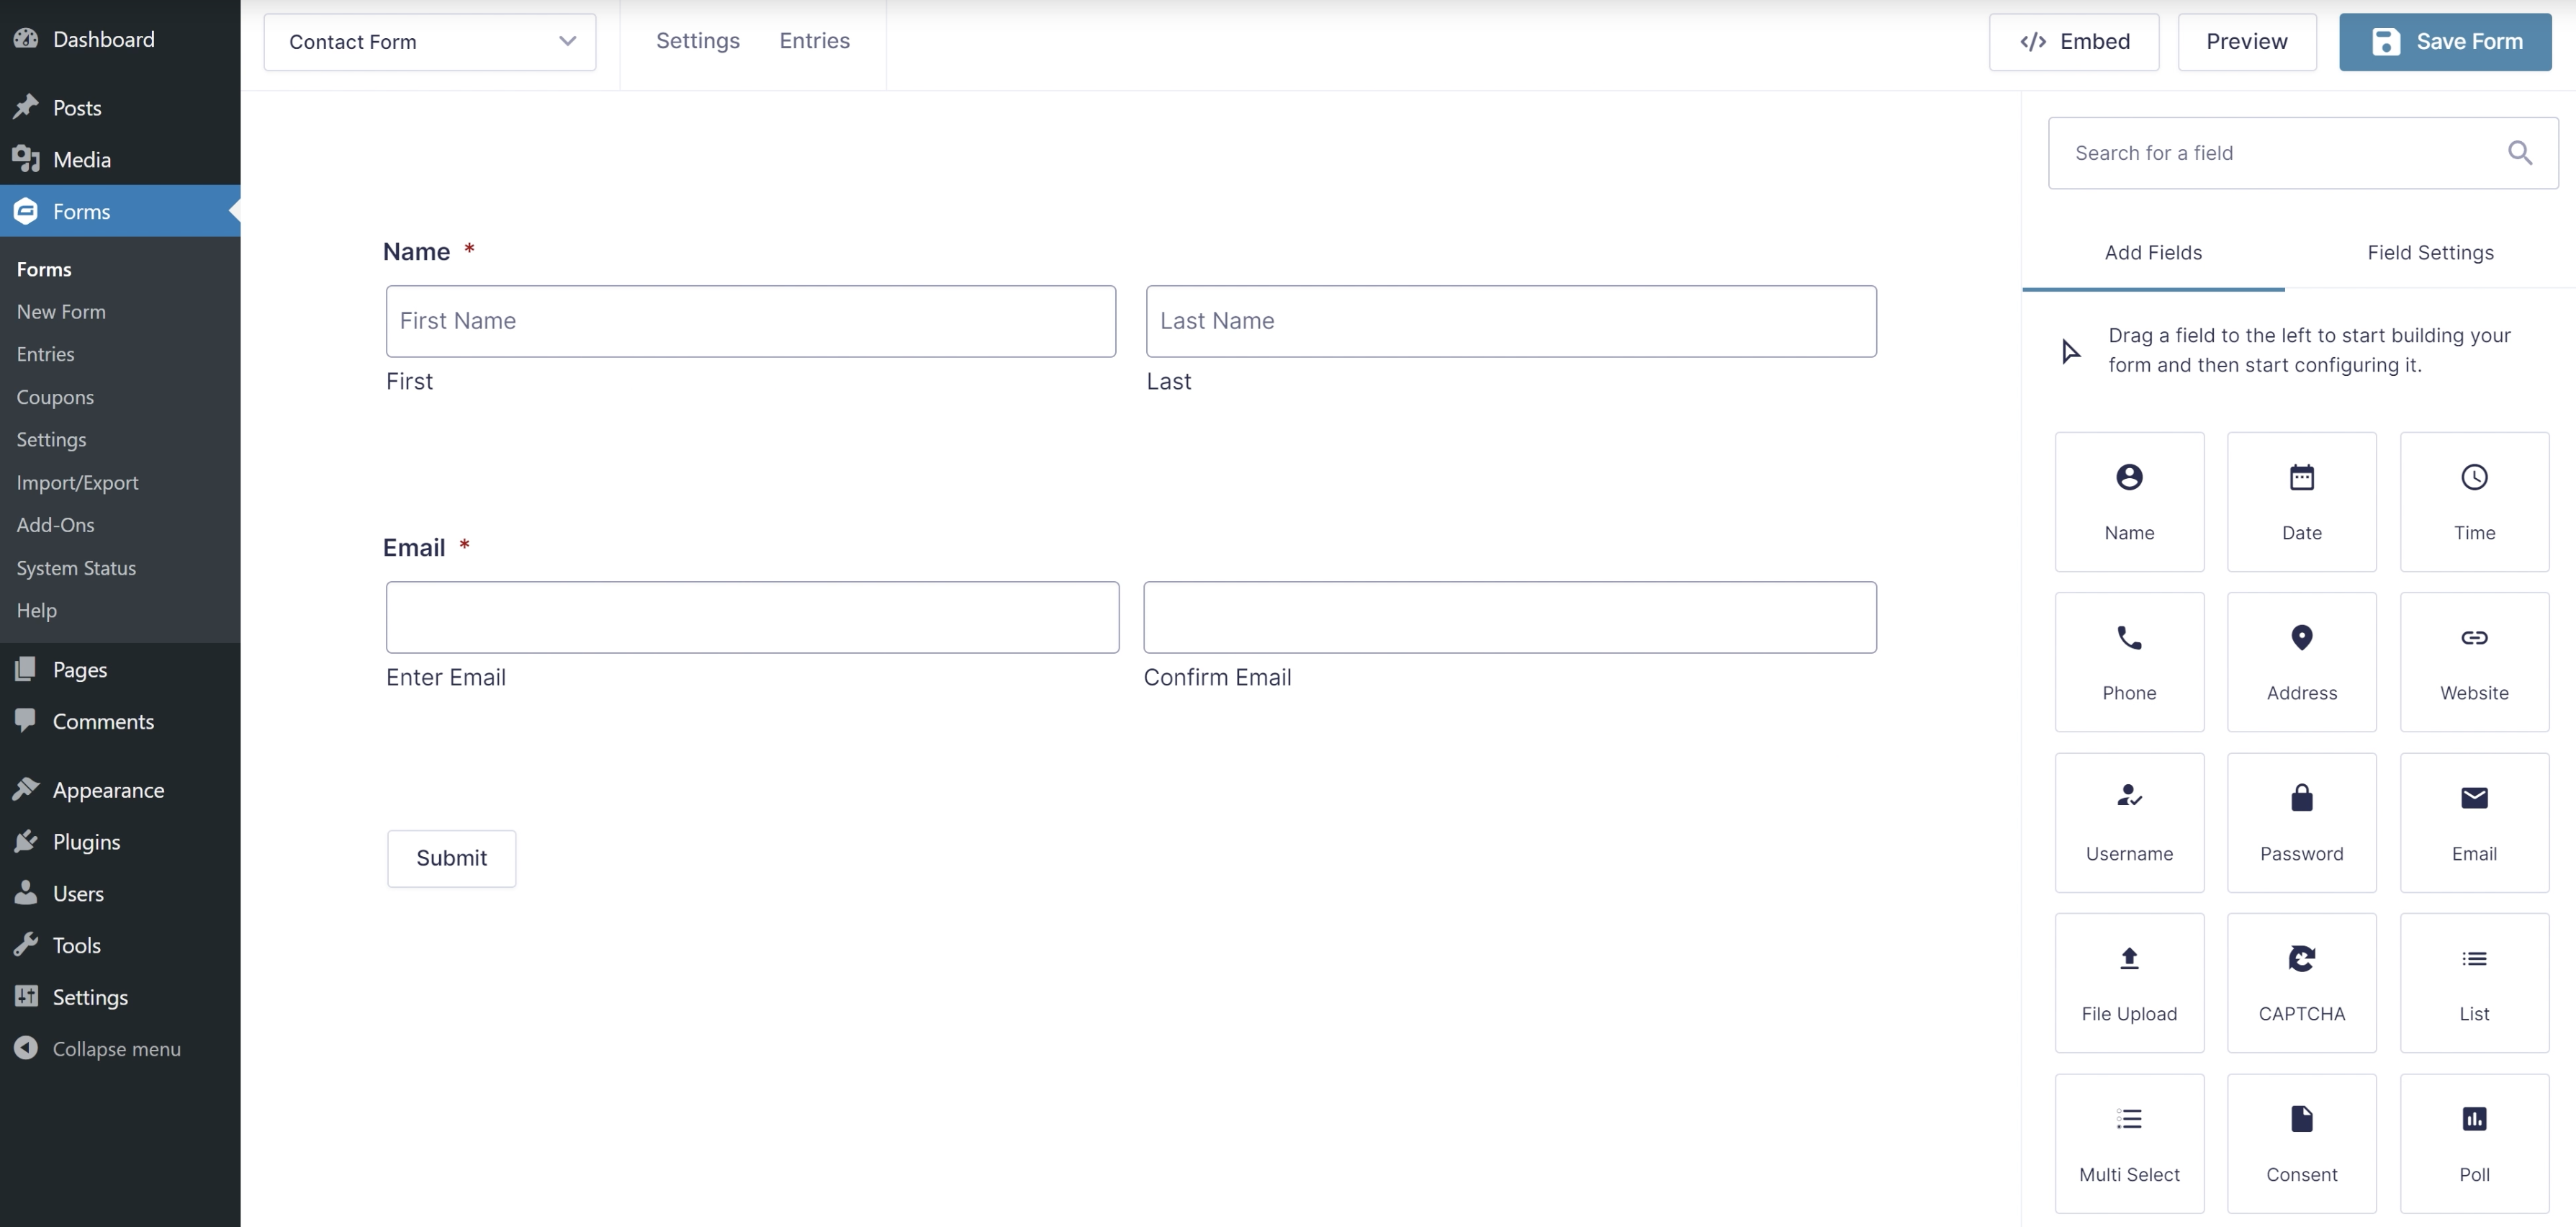
- You can access that specific form by clicking Forms on the left side of your WordPress admin screen.
- Find and click on the form you’d like to use.
- To access the form settings, click on Settings at the top of the form editor.
- Look for an option labeled Save and Continue. Check that box to enable save-and-continue capabilities, which will create a link to complete your work in the future.
- You can change the text of the save-and-continue link by entering your new text in the additional field that appears.
- Save your settings.
How the Gravity Forms Save and Continue feature works
Though the Gravity Forms Save and Continue functionality is simple to set up, there are a few details you should be aware of to get the most out of the feature:
- The form links you create are inaccessible after 30 days (unless you use a filter to override that).
- When handling sensitive data, it’s important to ensure the generated URL is encrypted, so make sure SSL (HTTPS) is activated and running on your site. This way, no one can access your partially completed work and confidential information.
- While not necessarily malicious, Single File Upload fields aren’t validated as non-malicious until after the form is submitted. As a result, those uploads aren’t preserved by the generated save-and-continue link. Multi-file Upload fields, on the other hand, validate files as they are uploaded, not when they’re submitted, so you can still preserve (multiple) files if you save before completing your form.
- Be sure your column names are unique when using a List field. Otherwise, your data won’t save when using the save-and-continue feature.
How to use a Gravity Forms alternative: Jotform
Now that you know how to activate the Gravity Forms Save and Continue feature, you’re ready to build and embed forms on your website.
But Gravity Forms isn’t the only form builder on the market. Jotform is a great alternative that lets you create powerful forms, PDFs, and apps from scratch or from thousands of templates — completely code-free. Jotform is easy to use, intuitive, and fully customizable.
Plus, like Gravity Forms, Jotform lets users save and continue their form in WordPress by embedding it using the Jotform Online Forms plug-in.
Here’s how to set up the “Continue Forms Later” feature in Jotform:
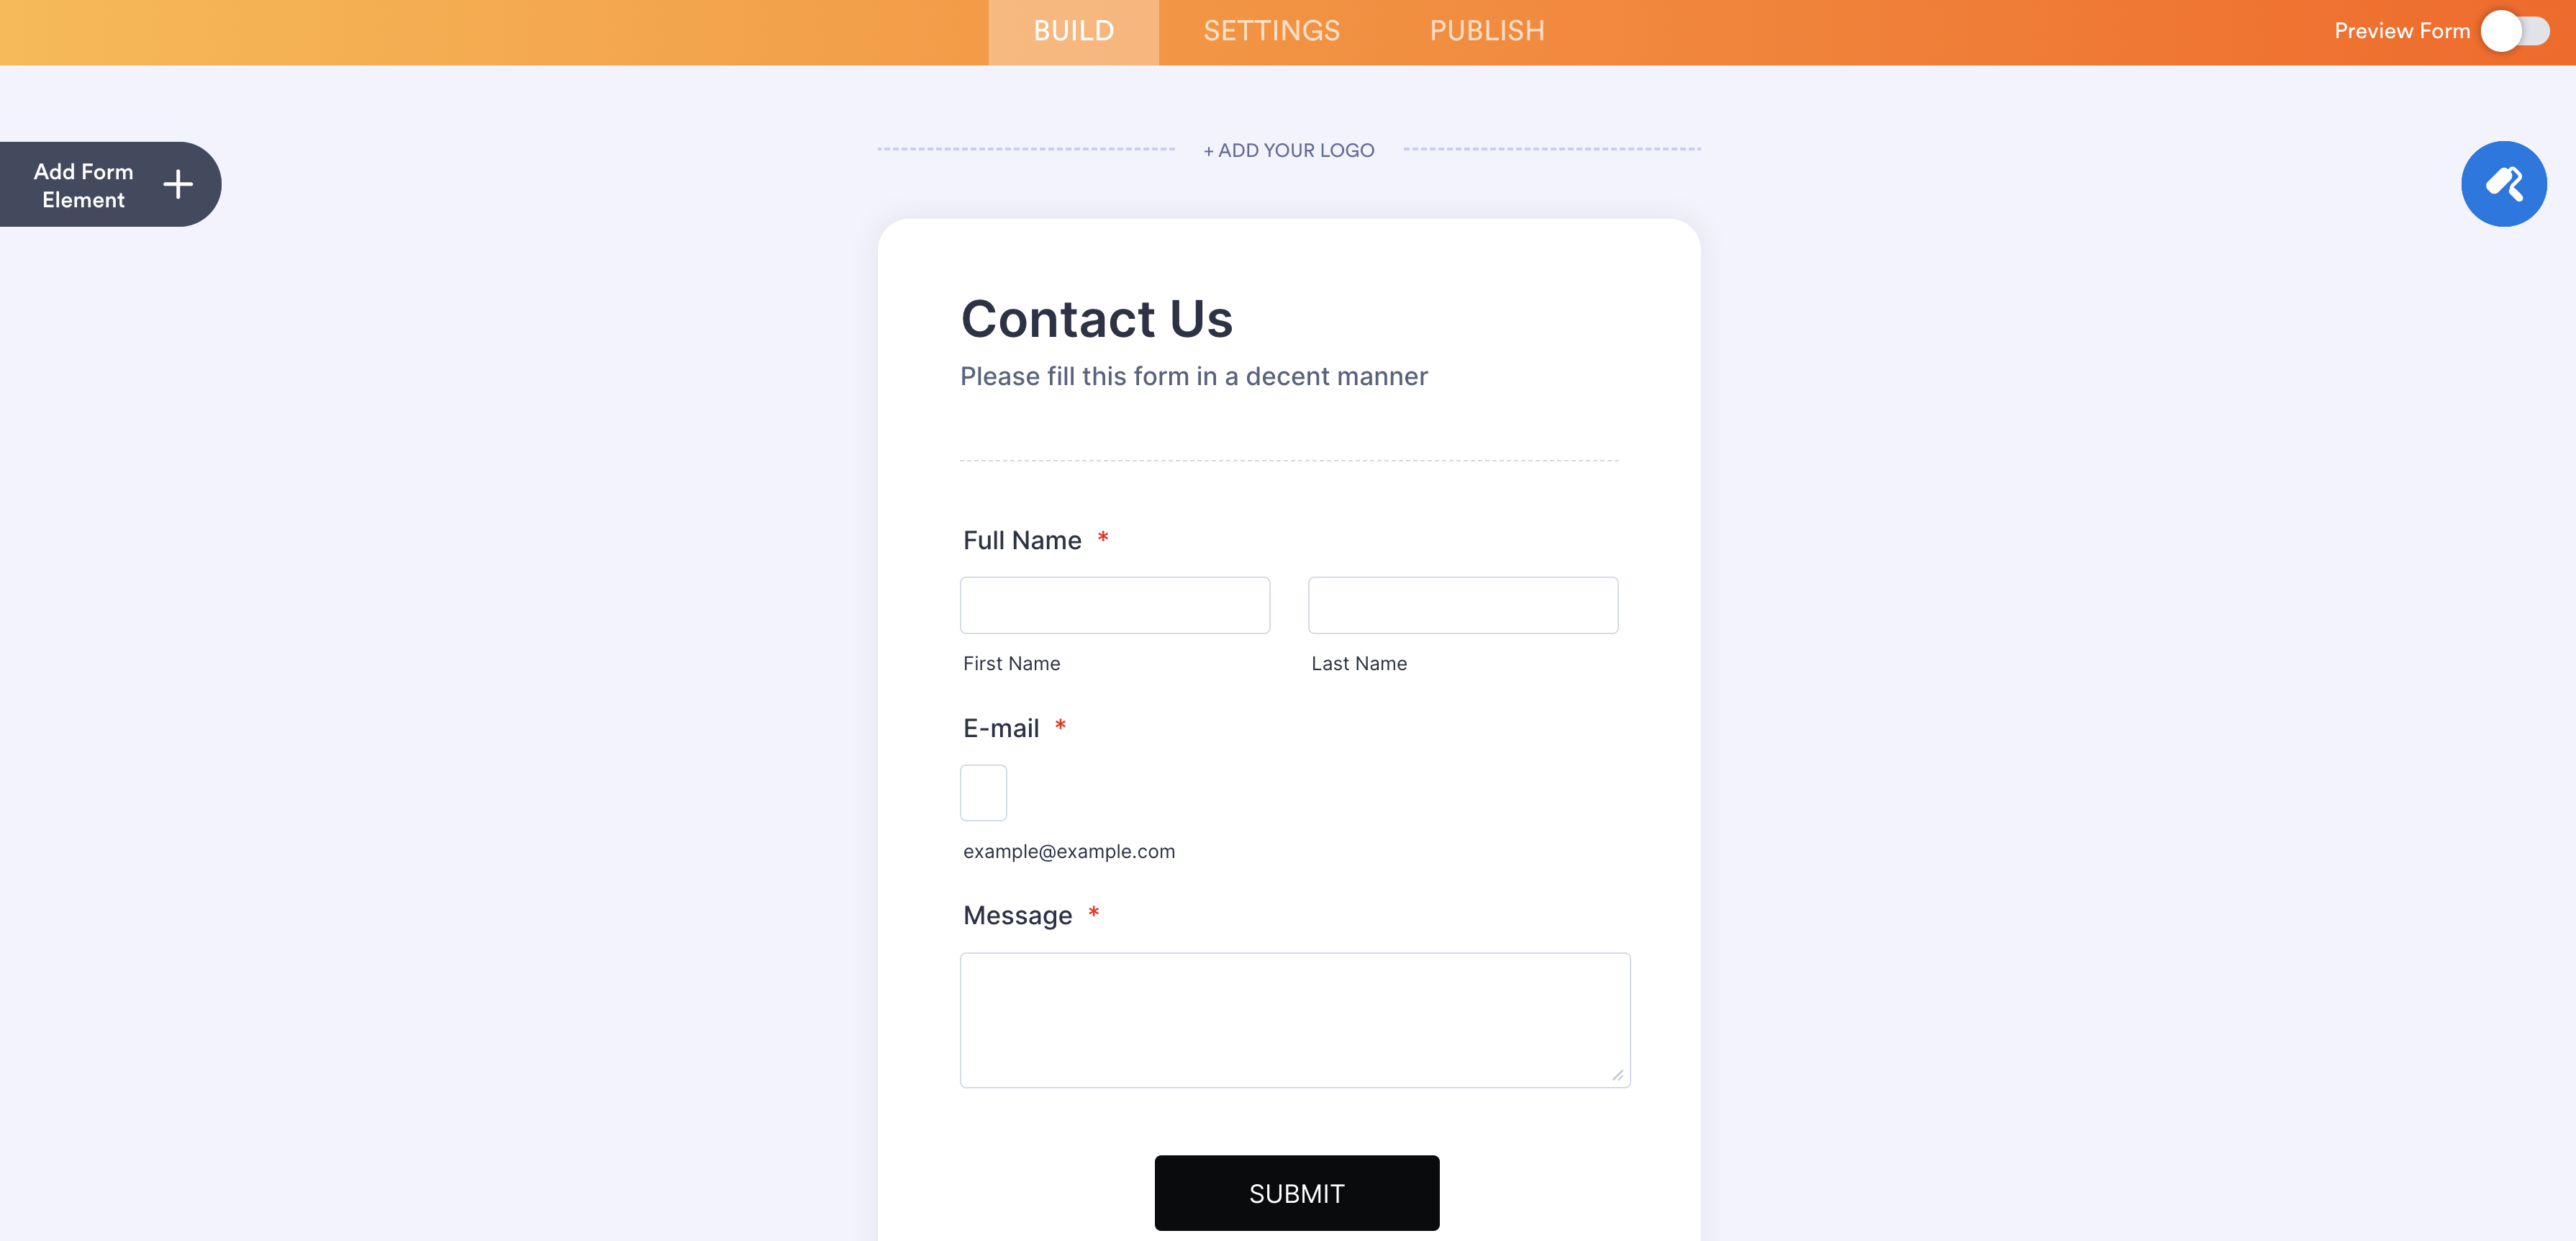
- First, in the Form Builder, select the form you’d like to add the feature to.
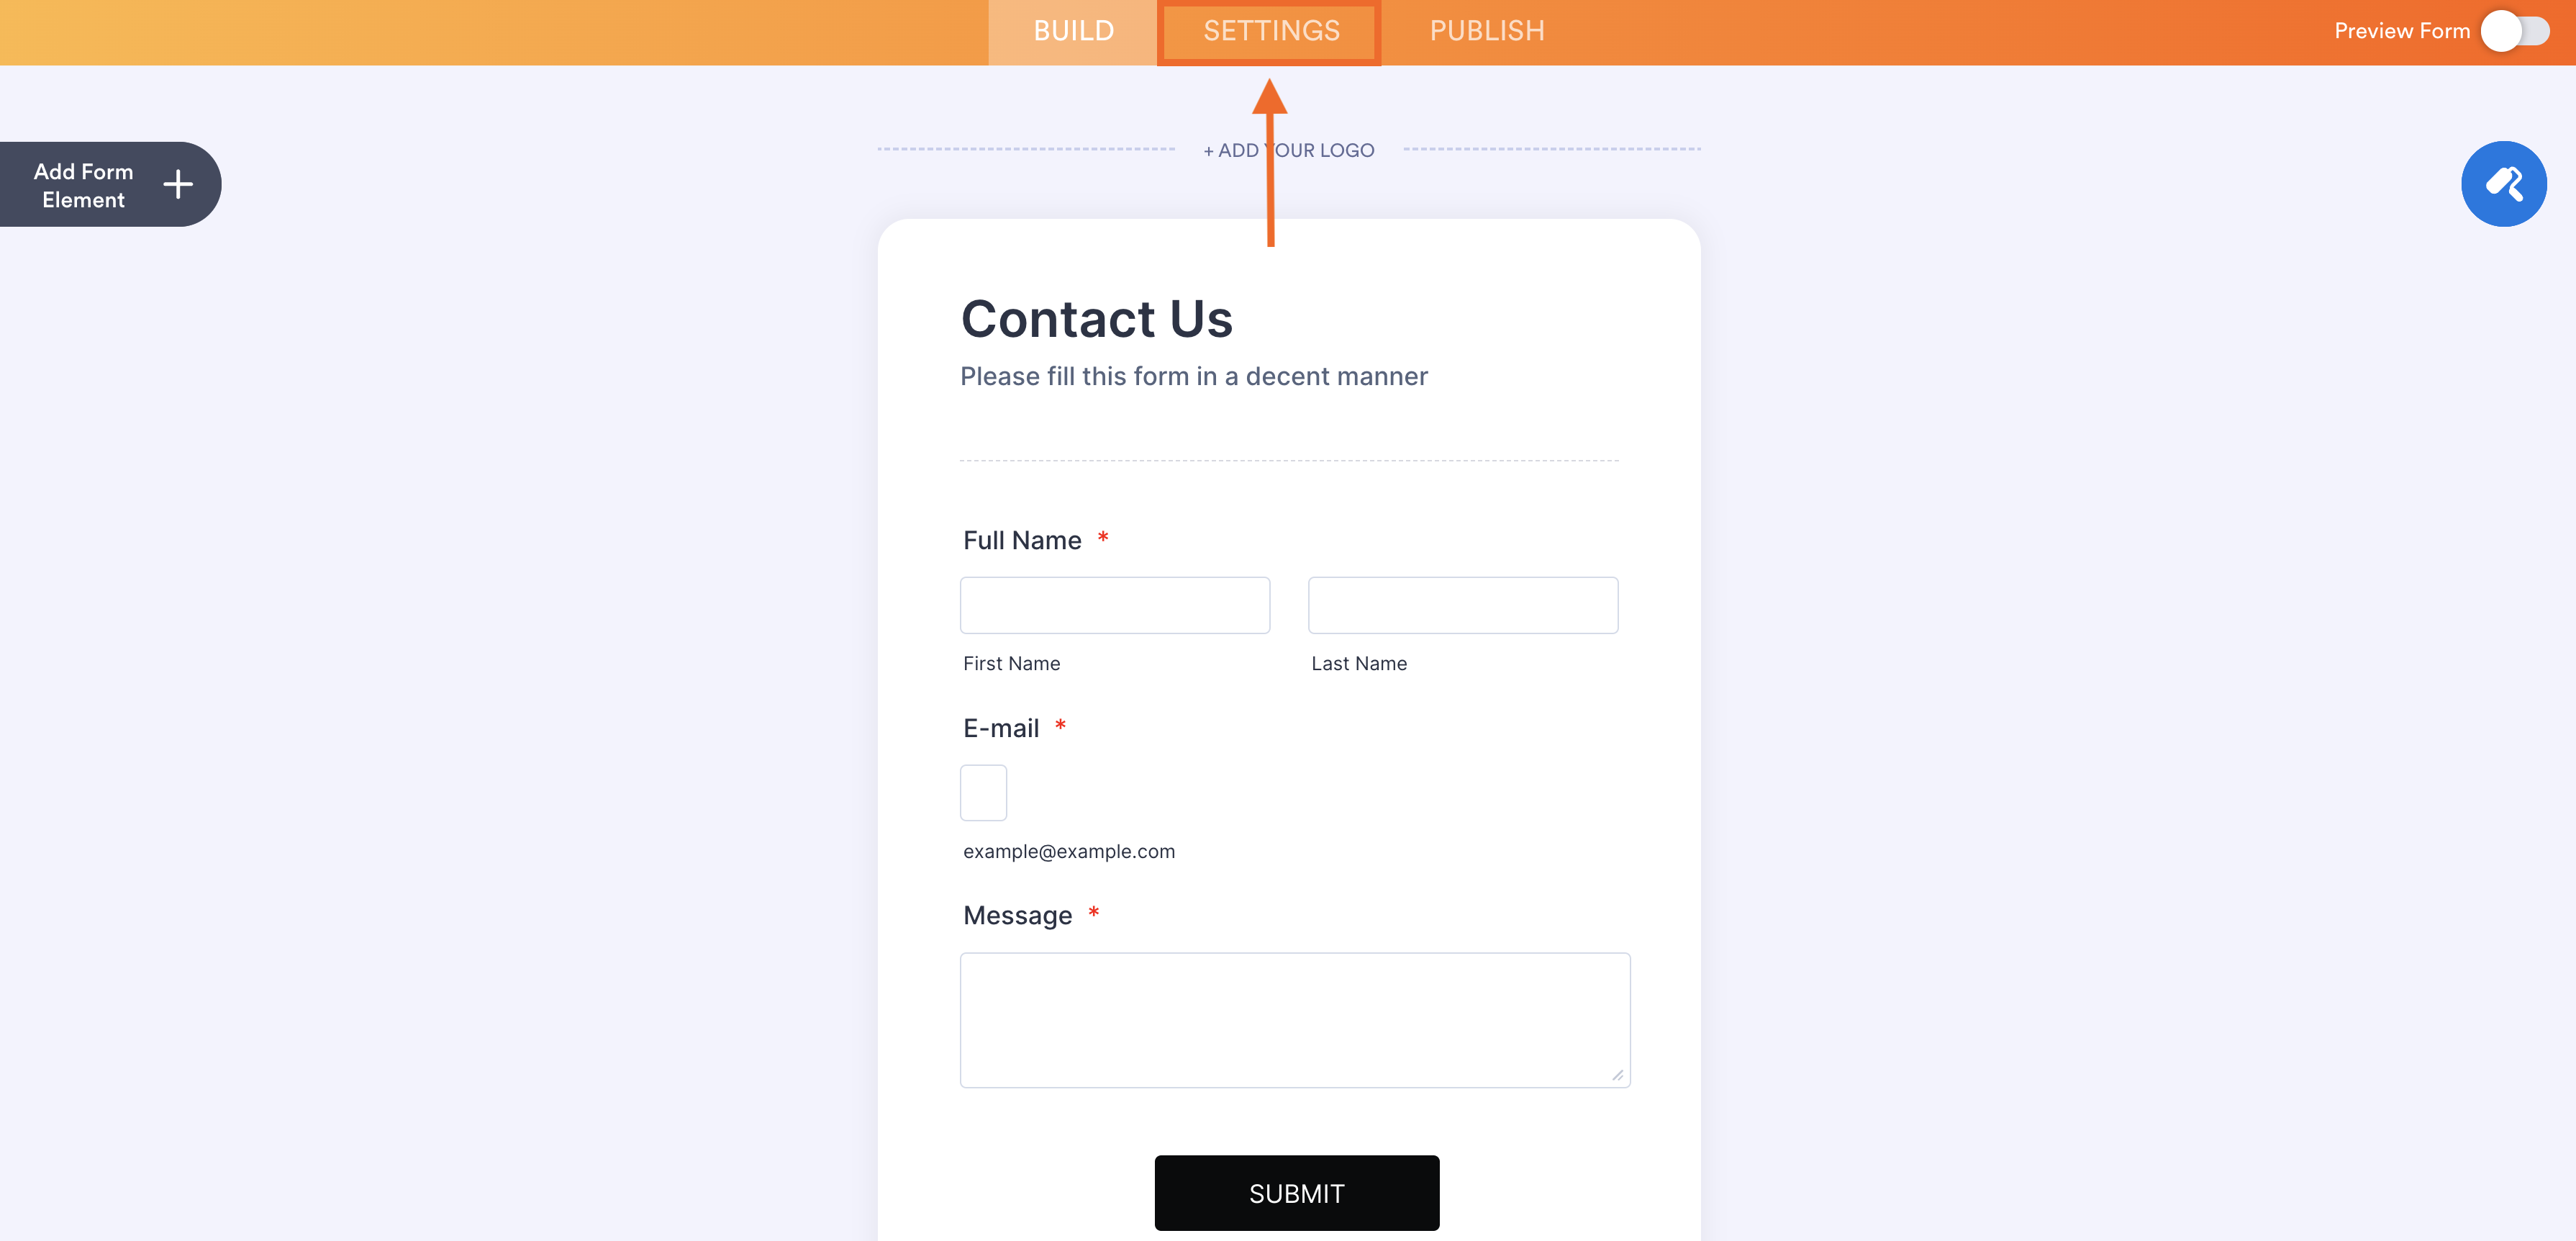
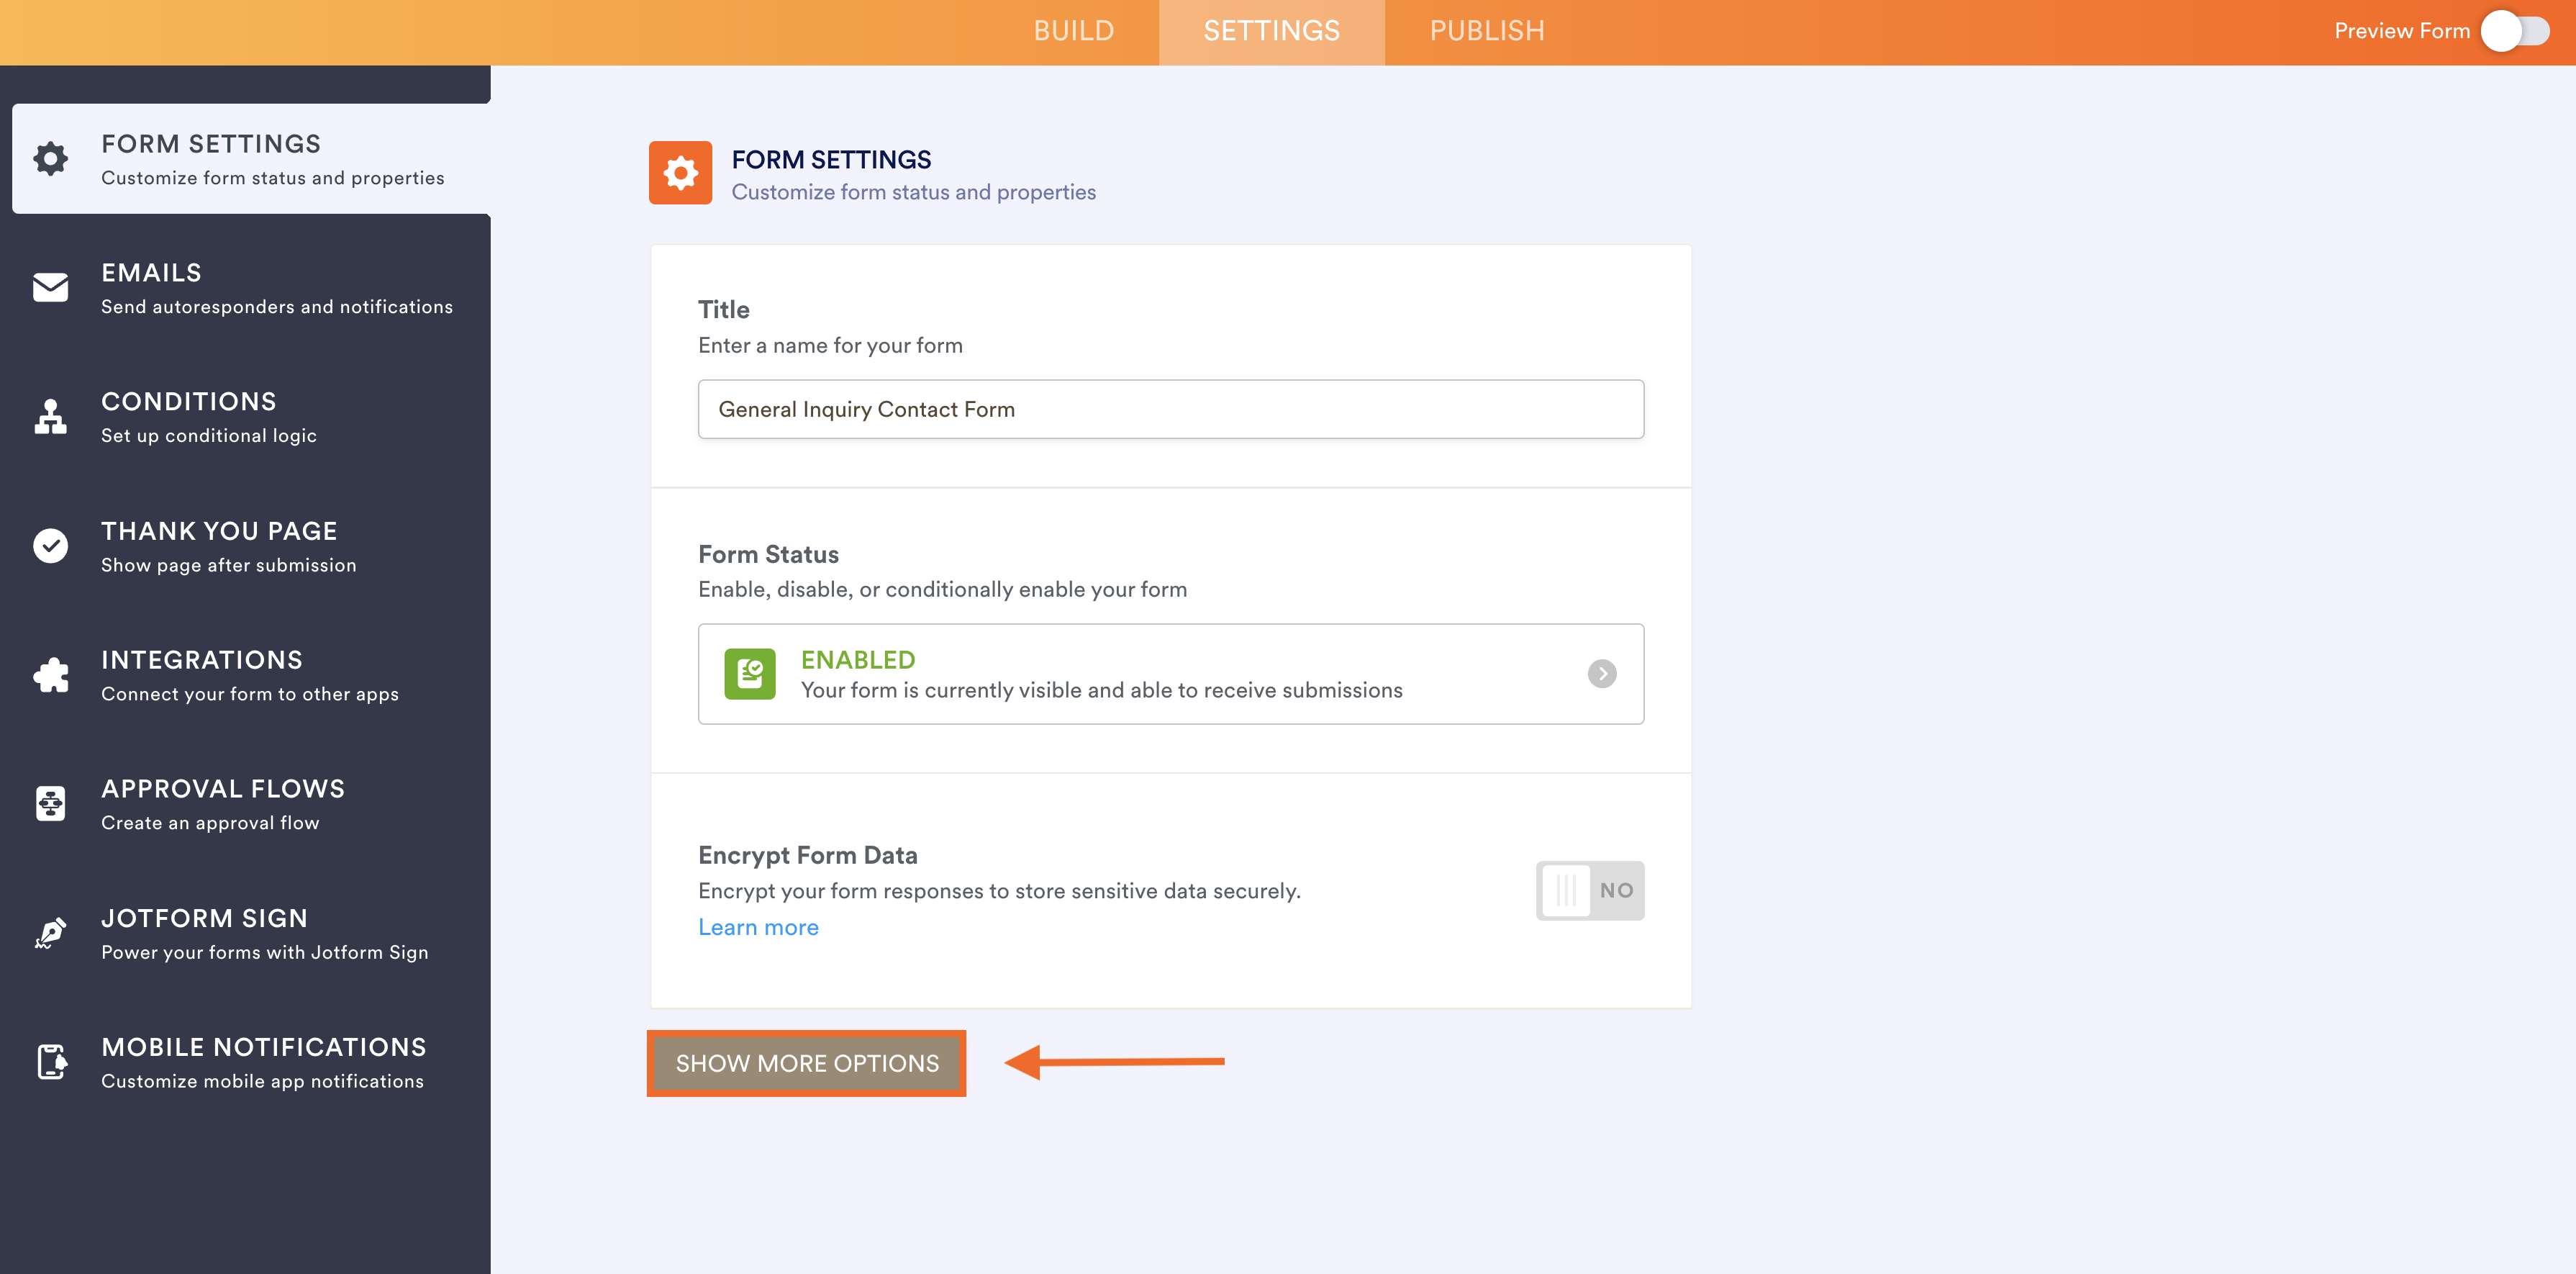
- Then, click Settings at the top of the screen.
- On the left panel, click Form Settings.
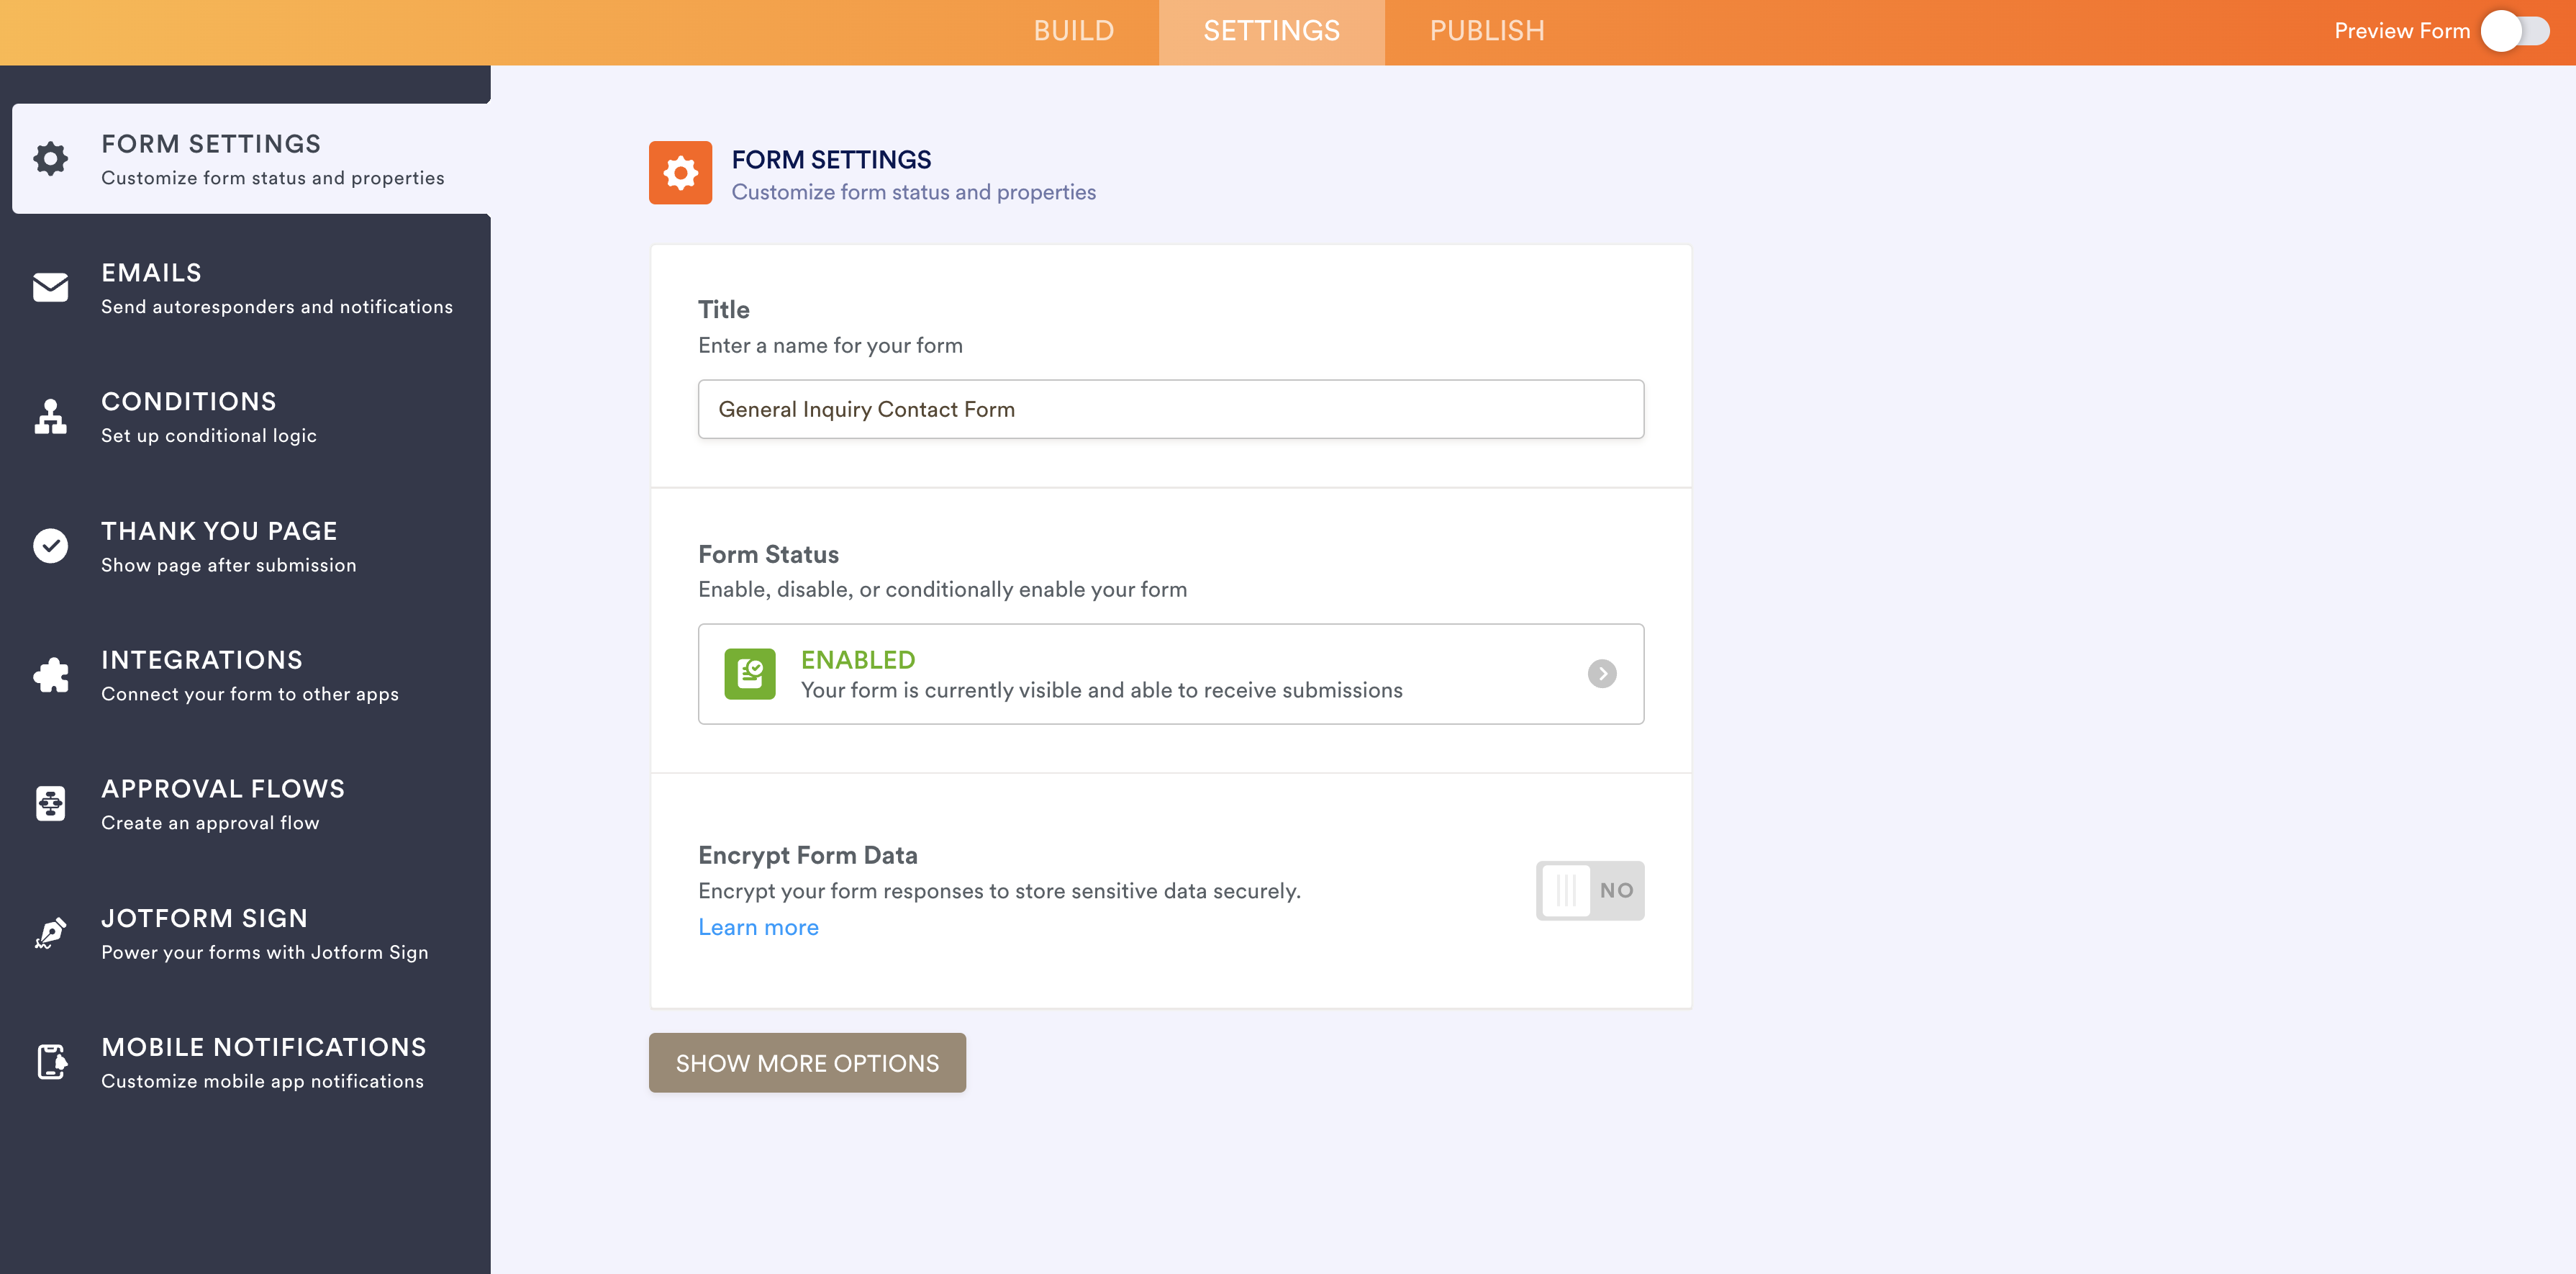
- Select Show More Options.
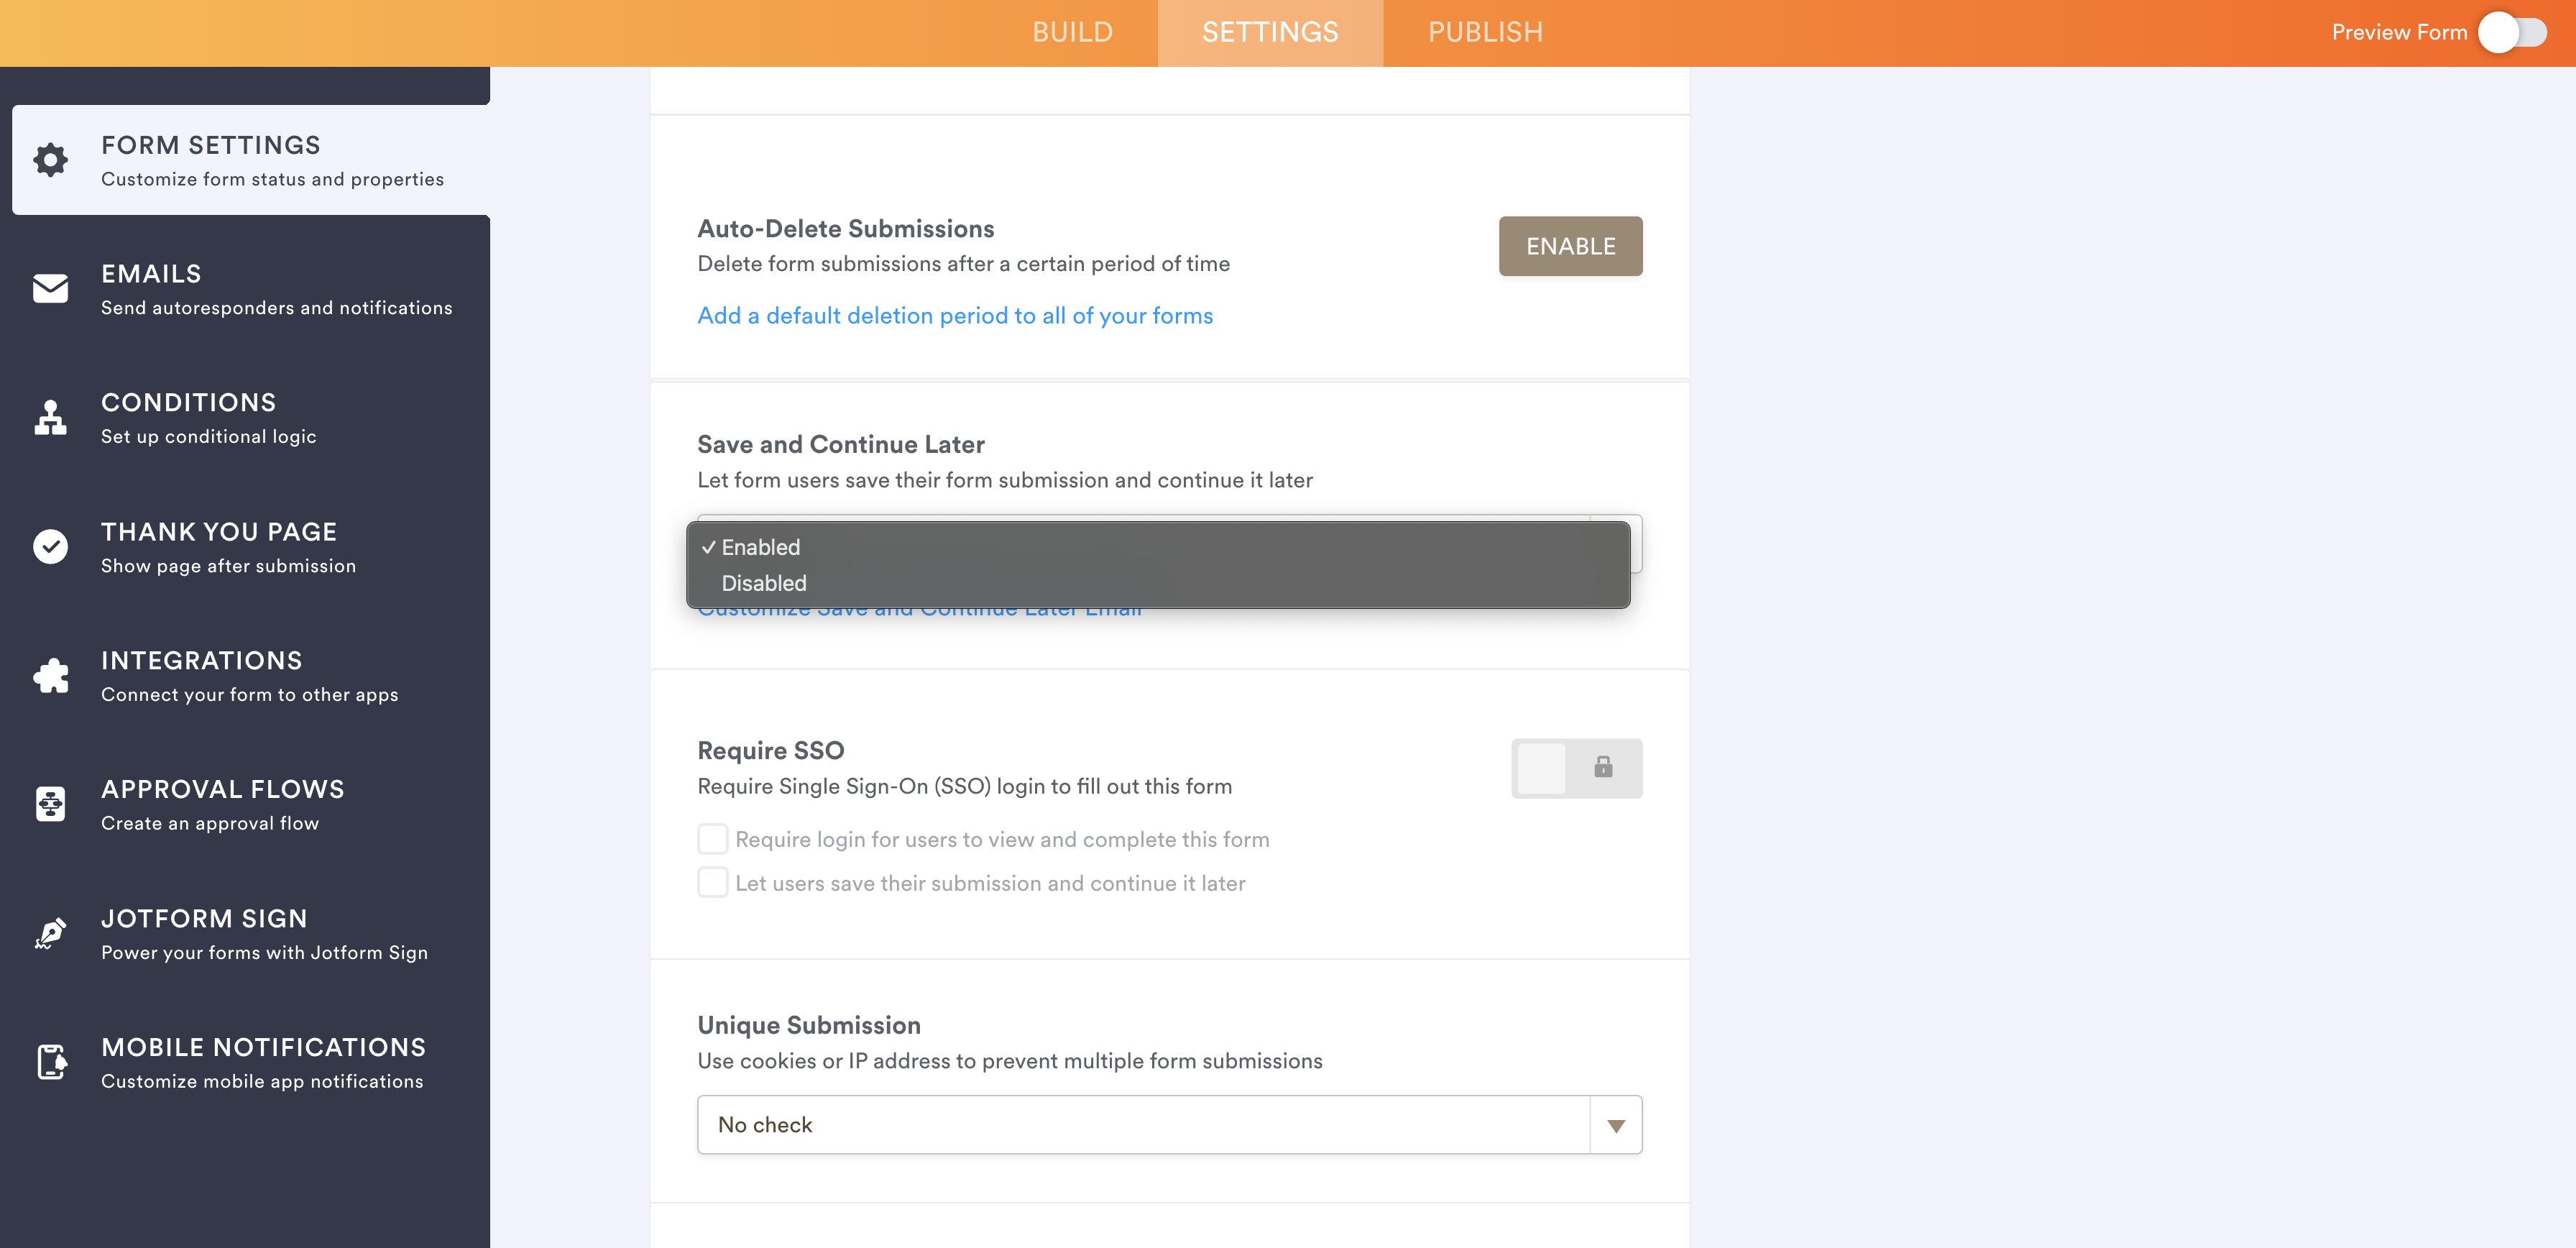
- Scroll down until you see the Save and Continue Later section.
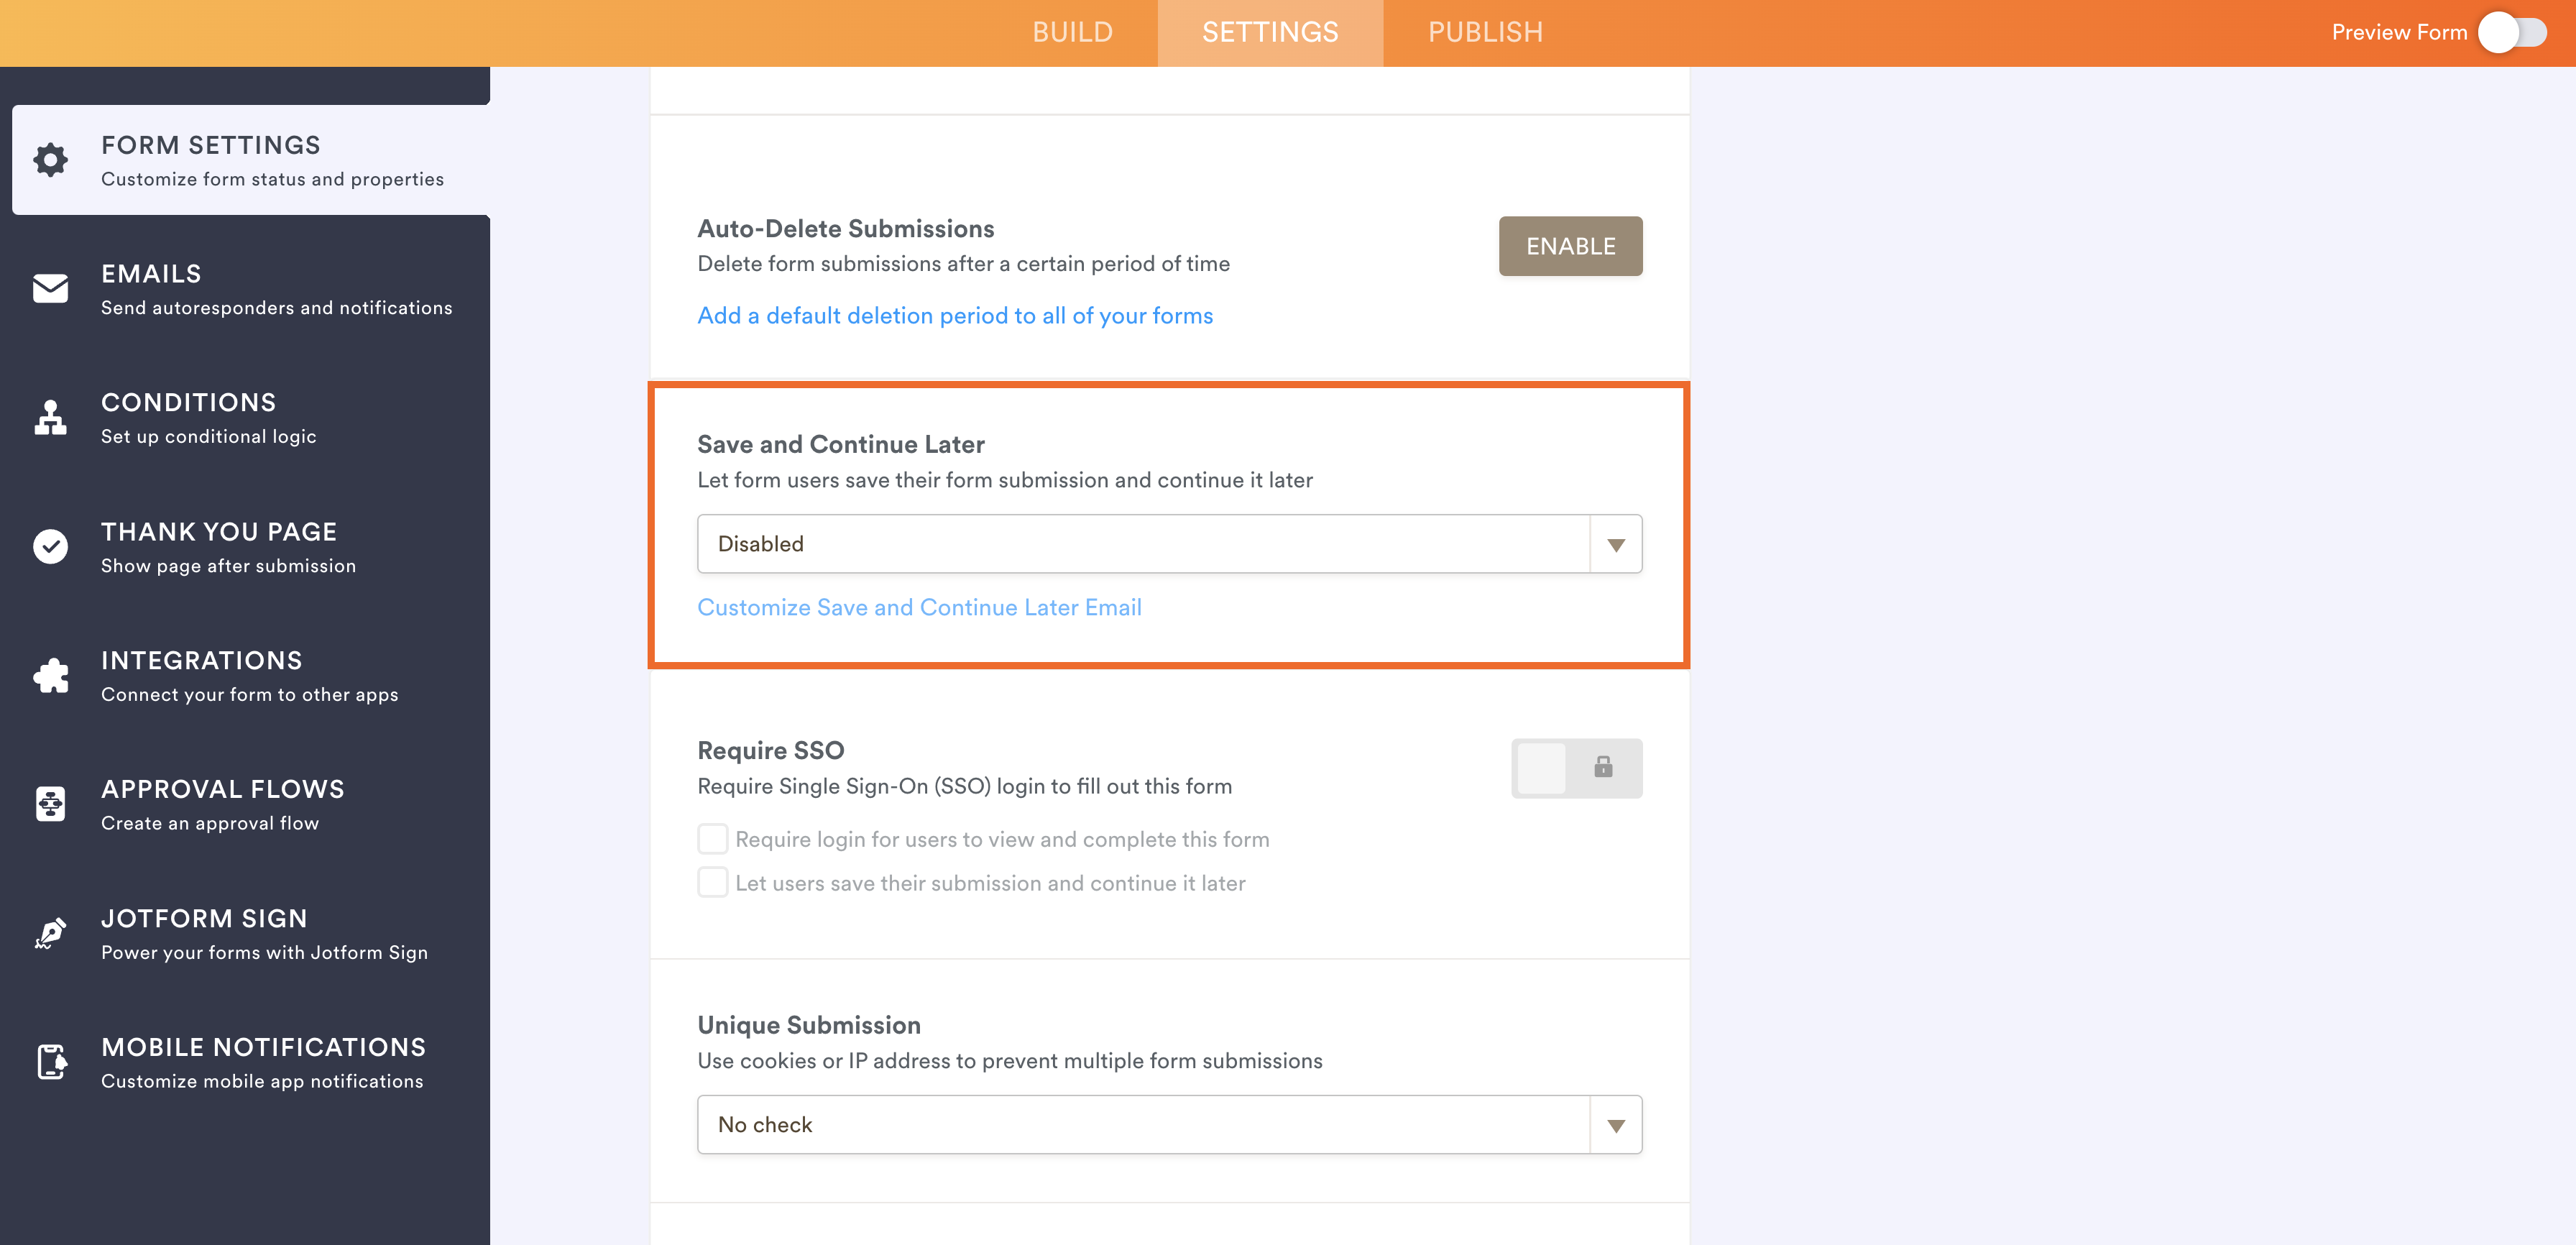
- Choose Enabled from the dropdown menu. (Note: If you’re adding this feature in Card Forms, in addition to choosing between Enabled or Disabled, you also have the option to Enable when form has 10+ questions if you want users to complete shorter surveys in one go.)
By providing users the convenience of saving and continuing later with Jotform — as well as enabling features like autofill and email reminders to complete the form — you can make sure you collect the data you need.
With save-and-continue functionality, you get your time back. No more rushing to complete a project or worrying about whether you’ll lose all the work you’ve done. And, more importantly, save-and-continue capabilities are convenient for your respondents, allowing them to take their time with your form and respond thoughtfully, which gives you more accurate data to work with.
Photo by Malte Helmhold on Unsplash


Send Comment: