
Steps to creating an assignment in Google Classroom
- Go to classroom.google.com and open the class
- Click Classwork
- Click Create and then select Assignment
- Enter the assignment title and any instructions
- Choose who to assign
- Assign the work
- Add points for the assignment and the due date and time, topic, grade category, and grading period
- Add attachments
- Check the attachment’s permission settings
- Click Assign, Schedule, or Save Draft
You can create an assignment in Google Classroom with a few clicks. This guide will show you how to make quizzes, post a project, and assign homework to students. You’ll also learn about other features, including tools for scheduling assignments for later and sending copies to students.
Take these 10 steps to create an assignment in Google Classroom
1. Go to classroom.google.com and open the class.
Log in to Google Classroom with an existing Gmail account or create a new one. If you don’t have an existing class, create one (you can add information about the class, such as the grade level, if it’s helpful). Next, click the class where you want to post the assignment.
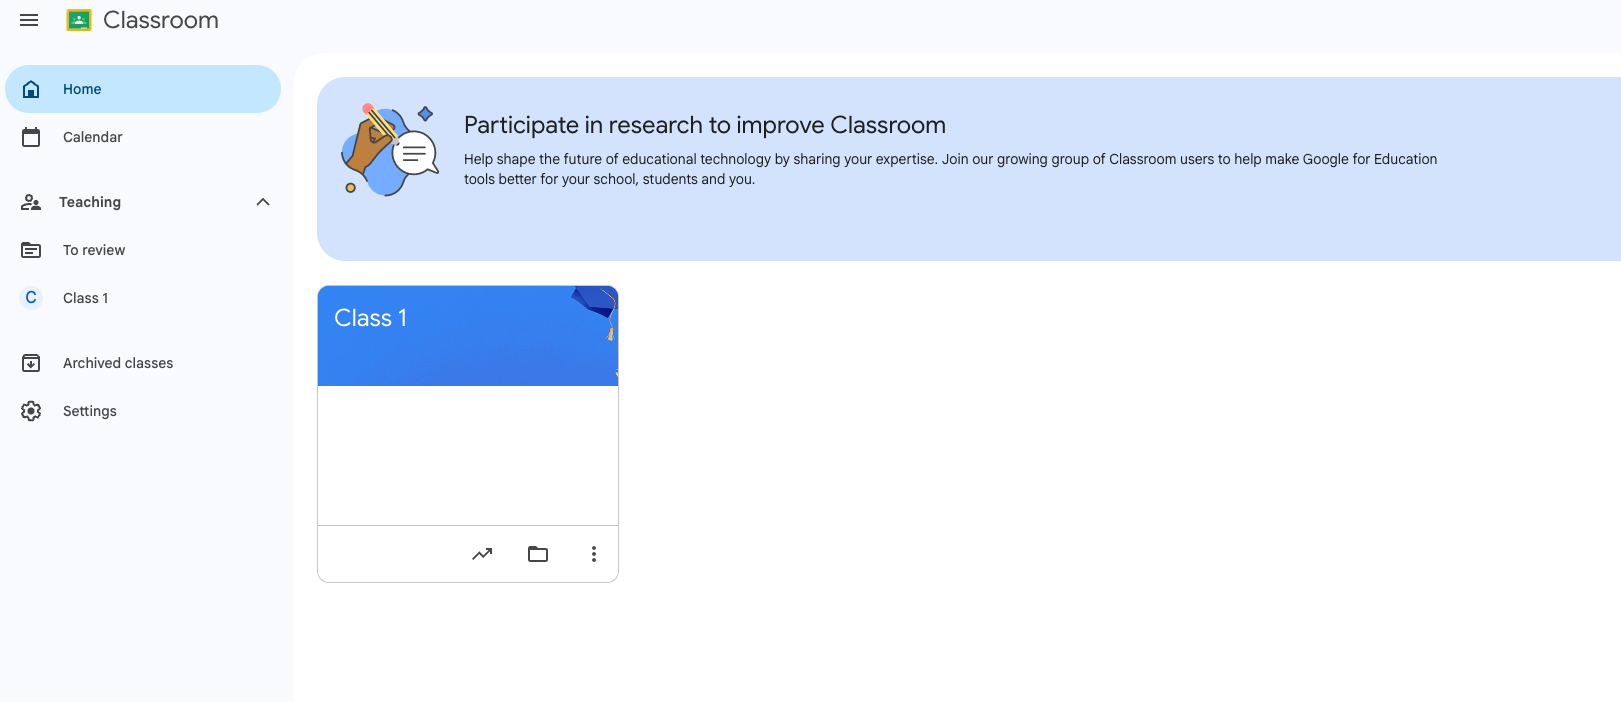
2. Click Classwork.
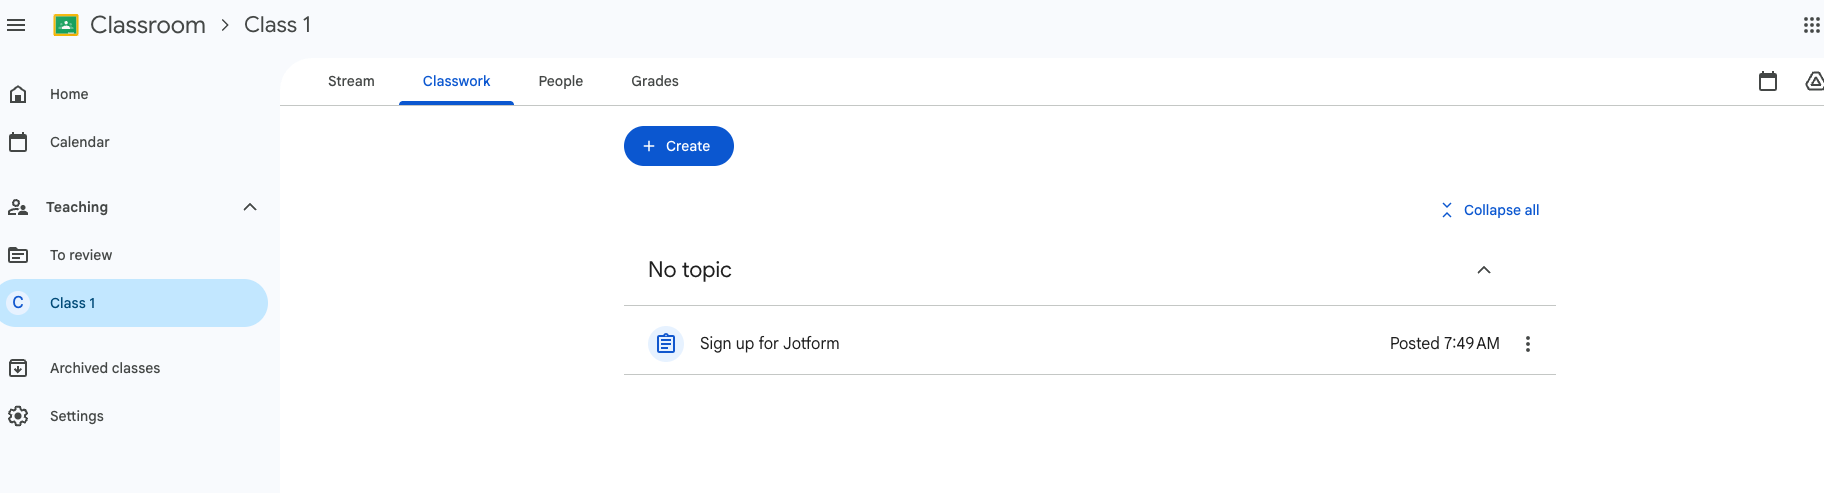
Under the Classwork tab, you’ll see any previously created assignments, including quizzes and homework submission forms.
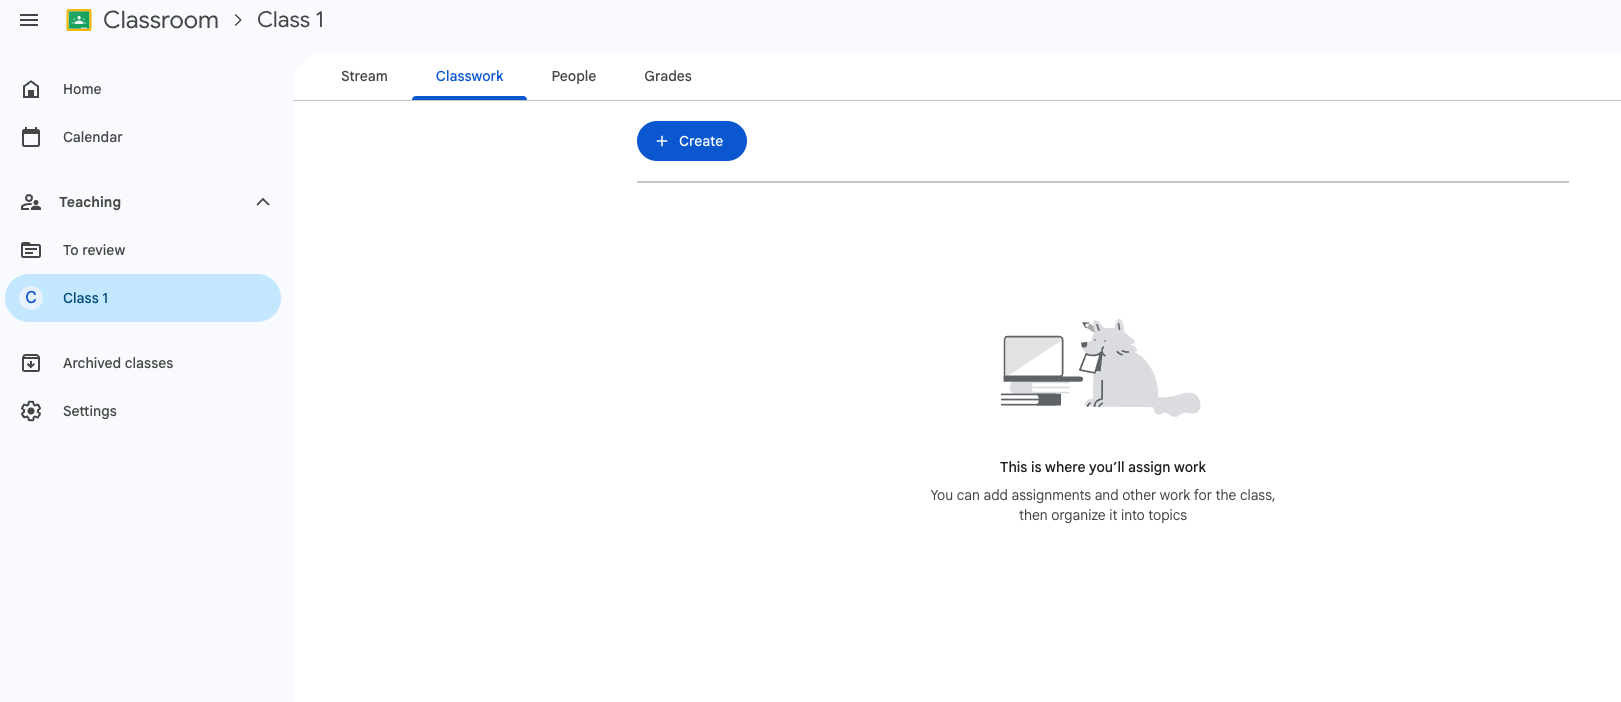
3. Click Create and then select Assignment.
Click the blue Create button under the Classwork tab. A dropdown menu will open with several options, including Assignment, Quiz Assignment, Question, Material, Reuse Post, and Topic. Choose Assignment. (If you want to know how to create online quizzes and homework assignments, explore the Quiz Assignment option.)
When you choose Create Assignment, Google Classroom opens a new tab where you can name the assignment and begin adding details for your class.
4. Enter the assignment title and any instructions.
Add a clear title that tells students what the assignment is. If it will be a regular assignment, such as weekly homework, you might use a naming convention like “HW Week 1,” so you have to update the number only once a week. Then enter any instructions students will need to complete the work, possibly adding the following elements:
- Learning objective
- Required resources
- Submission requirements
- Formatting expectations
- Grading criteria
The more specific your instructions, the fewer questions you’ll receive later.
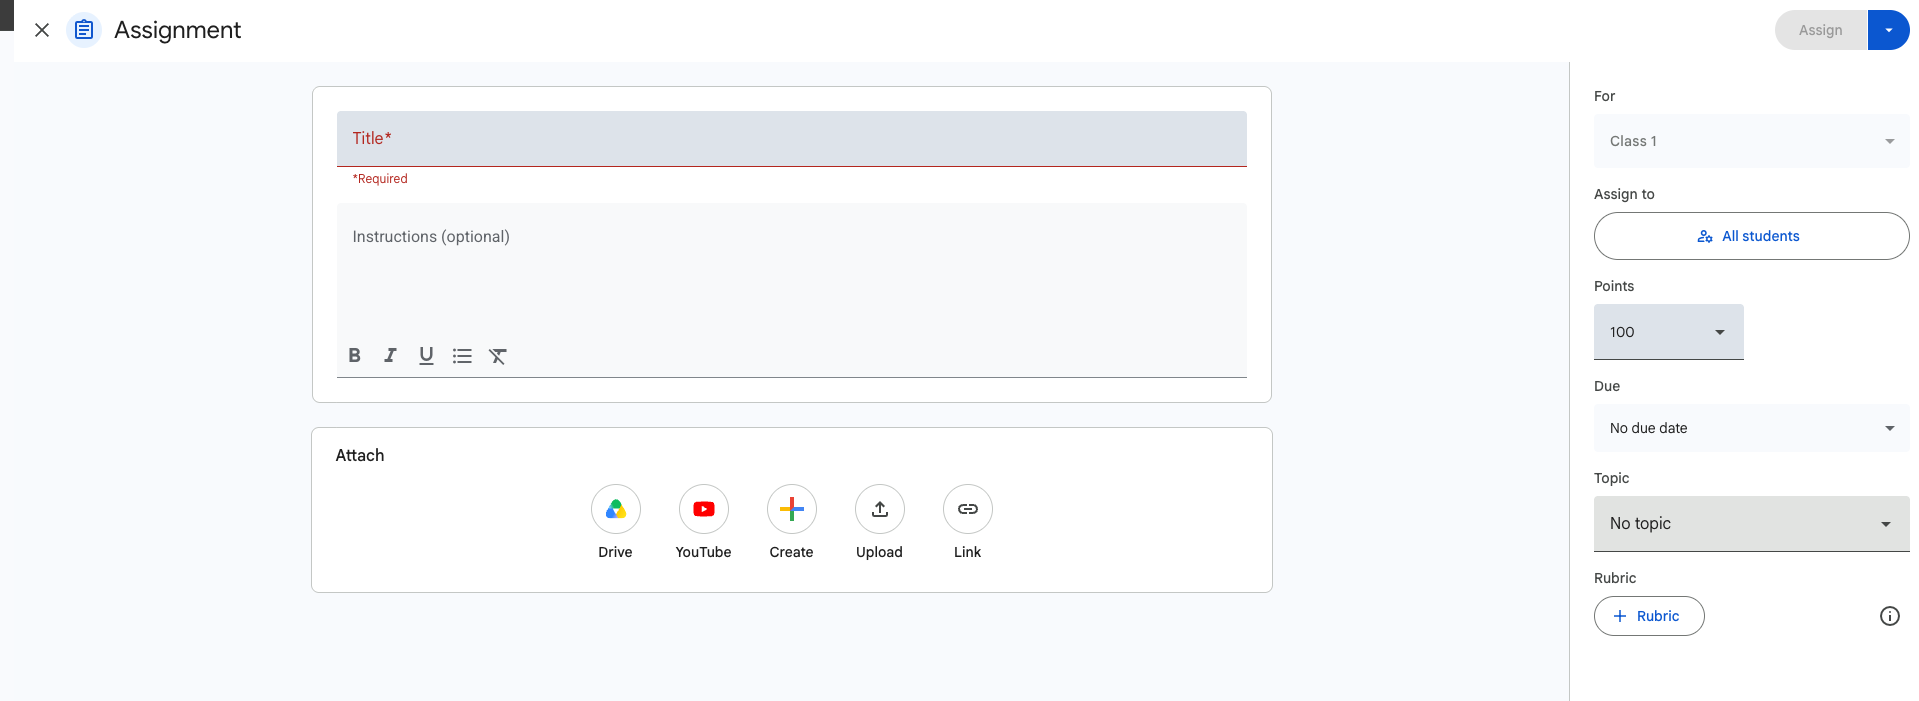
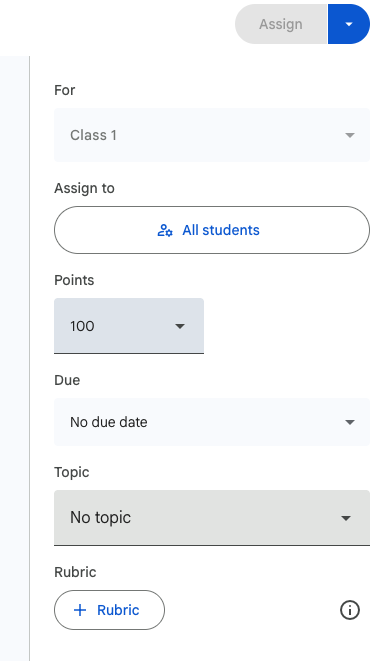
5. Choose the class or classes that should receive the assignment.
If you teach the same subject or unit to multiple classes, you can send the assignment to more than one class at a time. Click the For dropdown on the right side of the Assignment screen, and select which classes you want to send the assignment to. (Use an assignment tracking app to help you monitor who has turned in their work.)
6. If necessary, assign the work to specific students instead of the whole class.
Google Classroom sends an assignment to all students in a class by default. To specify who gets the assignment, click on All Students under Assign To on the right side of the Assignment screen. Then select who should receive the work. Others in the class won’t see this assignment.
7. Add points for the assignment and the due date and time, topic, grade category, and grading period.
On the right side of the Assignment screen, you’ll find several settings for grading. Add the elements that apply to your assignment. You can also add a rubric for longer assignments. (If you need help keeping up with due dates, create an assignment and lesson submission form.)
8. Add attachments, such as files from Google Docs, Sheets, Slides, Forms, or other Drive files; links; and YouTube videos.
If students need certain files for the assignment, you can add these and have students submit their homework by uploading files online, too.

9. Check the attachment’s permission setting carefully, especially if students need their own copy of the document.
When attaching a document, you’ll be prompted to choose attachment permissions. You can set the document as view only, make it editable, or send a copy to each student. If you want your students to work independently, they’ll need their own copies of the file.
10. Click Assign, Schedule, or Save Draft.
Last, click the blue Assign button in the top right corner (but see the section below to make sure you’re ready). You’ll see the following options: Assign, Schedule, Save Draft, and Discard Draft. If you choose Schedule in Google Classroom, choose the date and time that you want the assignment to be visible to your students. If you hit Assign, the assignment will become visible immediately.
Once assigned, the work will appear under Classwork in your Class tab.
Settings to check before you post the assignment
Once you’ve created an assignment, you should look over a few settings and attributes before hitting that Assign button.
1. Choose who gets the assignment.
Most assignments are for the entire class, but sometimes you need to assign work to specific students. For example, you might assign a makeup activity to a student who was absent or provide enrichment work to advanced learners. Alternatively, if you’re teaching multiple sections of the same course, you could post an assignment to several classes at once, saving time. You might even create an assignment for a small group of students who are in the same class and are sharing a project.
2. Set attachment permissions correctly.
The Students Can View File setting allows students to open and read the file but not make changes. The Students Can Edit File option gives all students editing access to the same document, which is important for group projects. Make a Copy for Each Student generates an individual version for every student. For example, if you’ve assigned students a worksheet, View Only blocks them from typing, the Edit option lets them write over each other, and Make a Copy gives each student their own version to complete.
3. Decide when the assignment should go live.
Google Classroom gives you several publishing options. Use Assign when you want students to receive the assignment immediately. Use Schedule when you’re planning ahead and want the work to appear automatically at a later date. Use Save Draft when you’re still gathering resources or refining the assignment.
When Google Classroom works well and when it starts to feel limiting
Google Classroom works well for standard classes. However, it has a few workflow limitations:
- It is built around existing classes and class members, not standalone submission forms or education surveys.
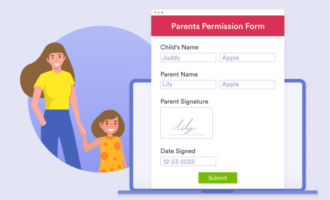
- Google Classroom is less flexible when you need to add extra intake questions, obtain signatures, or receive file-heavy submissions.
- Teachers managing lots of uploads may want a cleaner intake workflow.
If you enjoy Google Classroom but want to unlock additional capabilities, Jotform is a great addition. With Jotform, you can easily collect and organize submissions through online forms, which is a huge advantage when collecting hundreds of responses and submissions over a school year. Jotform can also work well with your educational technology suite.
Save time with our extensive template library, which includes education forms for teachers. To make it even easier to get started, Jotform offers a 50 percent discount for educational institutions.
Achieve more by adding Jotform to Google Classroom
Google Classroom is a user-friendly tool for teachers who want to post assignments and share content with their students.
By adding a Jotform link, you can create a more structured submission experience. Jotform includes classroom-friendly fields that Google Forms or a standard post may not handle as elegantly. For example, Jotform enables you to create a custom attendance tracker and track attendance electronically. The platform also provides free attendance forms and attendance sheet templates.
Additional Jotform features include
- File upload fields for homework and projects
- A voice recorder for spoken responses or assessment of students’ reading proficiency
- Broader question and response field types
Using Jotform with Google Classroom is easy, and you can set it up quickly. If you know how to attach files to Google Classroom assignments, you are already halfway there. Create your form in Jotform, click on the Publish tab, and copy the link to your form. Then complete the following steps:
- Go to Google Classroom.
- Click Classwork, then Create, and then Assignment.
- Click the icon under Attach.
- Paste the link for your form.
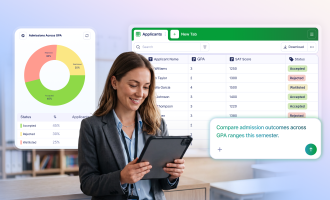
Incorporating Jotform into your Google Classroom setup gives you access to a range of valuable features. You can view submissions inside Jotform Tables, which gives you a spreadsheet-style space to organize, filter, and manage responses. You can also connect Jotform to Google Drive and automatically send form submissions to Drive.
The Jotform ecosystem includes new and exciting tools, such as the AI Quiz Generator, enabling you to turn lesson materials into quiz questions. Use Jotform Apps or our Quiz App template to share your quizzes and other classroom resources in a mobile-friendly format.
Ready to experience Jotform? Take advantage of our 50 percent discount for educational institutions.
FAQs about creating assignments in Google Classroom
Yes. You may need this feature when assigning makeup work, small-group work, or enrichment projects.
Yes. When attaching a Google Docs file, choose the Make a Copy for Each Student option. Google Classroom automatically creates an individual document for every student.
Yes, they can, as part of their assignment submission. Depending on the assignment, they can submit documents, PDFs, images, and other supported file types directly through Google Classroom.
This article is for teachers, tutors, school coordinators, and instructors who use Google Classroom and need a simple walkthrough for posting assignments correctly. For those who want the fastest path from “I need to assign work” to a finished Classwork post, while also understanding optional settings like due dates, attachments, grading, and when a separate submission workflow would be more practical.































































































Send Comment: