
A week after your wedding RSVP deadline, your caterer asks for a final headcount and the numbers for each entrée choice. Your aunt texted that she’s coming, a college friend asked in the group chat about parking, and a few reply cards came back with no meal selected. Now you’re counting replies in three places and hoping none slipped through the cracks.
Whether you’re planning your own wedding or helping another couple, you can have guests RSVP directly on your wedding website. That way, you can track their responses in one place, so you know who’s coming and who needs a reminder before you call the caterer back.
This guide explains how to track RSVP responses on a wedding website, from setting up the RSVP form to keeping your guest list current as replies come in.
What RSVP details should you track?
- Guest name: Essential for check-in lists, seating charts, and vendor communication.
- Attendance status: Shows a clear “Attending” or “Not attending” answer.
- Number of guests: Helps calculate the final headcount for the venue and caterer.
- Plus-one name: Keeps extra seats tied to the right invited guest.
- Meal choice: Needed for plated meals, rehearsal dinners, and formal receptions.
- Dietary restrictions and allergies: Important for caterer prep and guest safety.
- Contact information: Useful for reminders, updates, and last-minute changes.
- Response status: Shows who has replied and who needs a reminder.
6 steps to track RSVPs on a wedding website
Many all-in-one wedding website builders, including The Knot, Joy, and Zola, come with a built-in online wedding RSVP tool connected to a guest list manager. Guests reply on your website, and each response updates your guest list, so you don’t have to copy replies into a spreadsheet.
For example, here’s how to use The Knot, a free wedding website RSVP tracker:
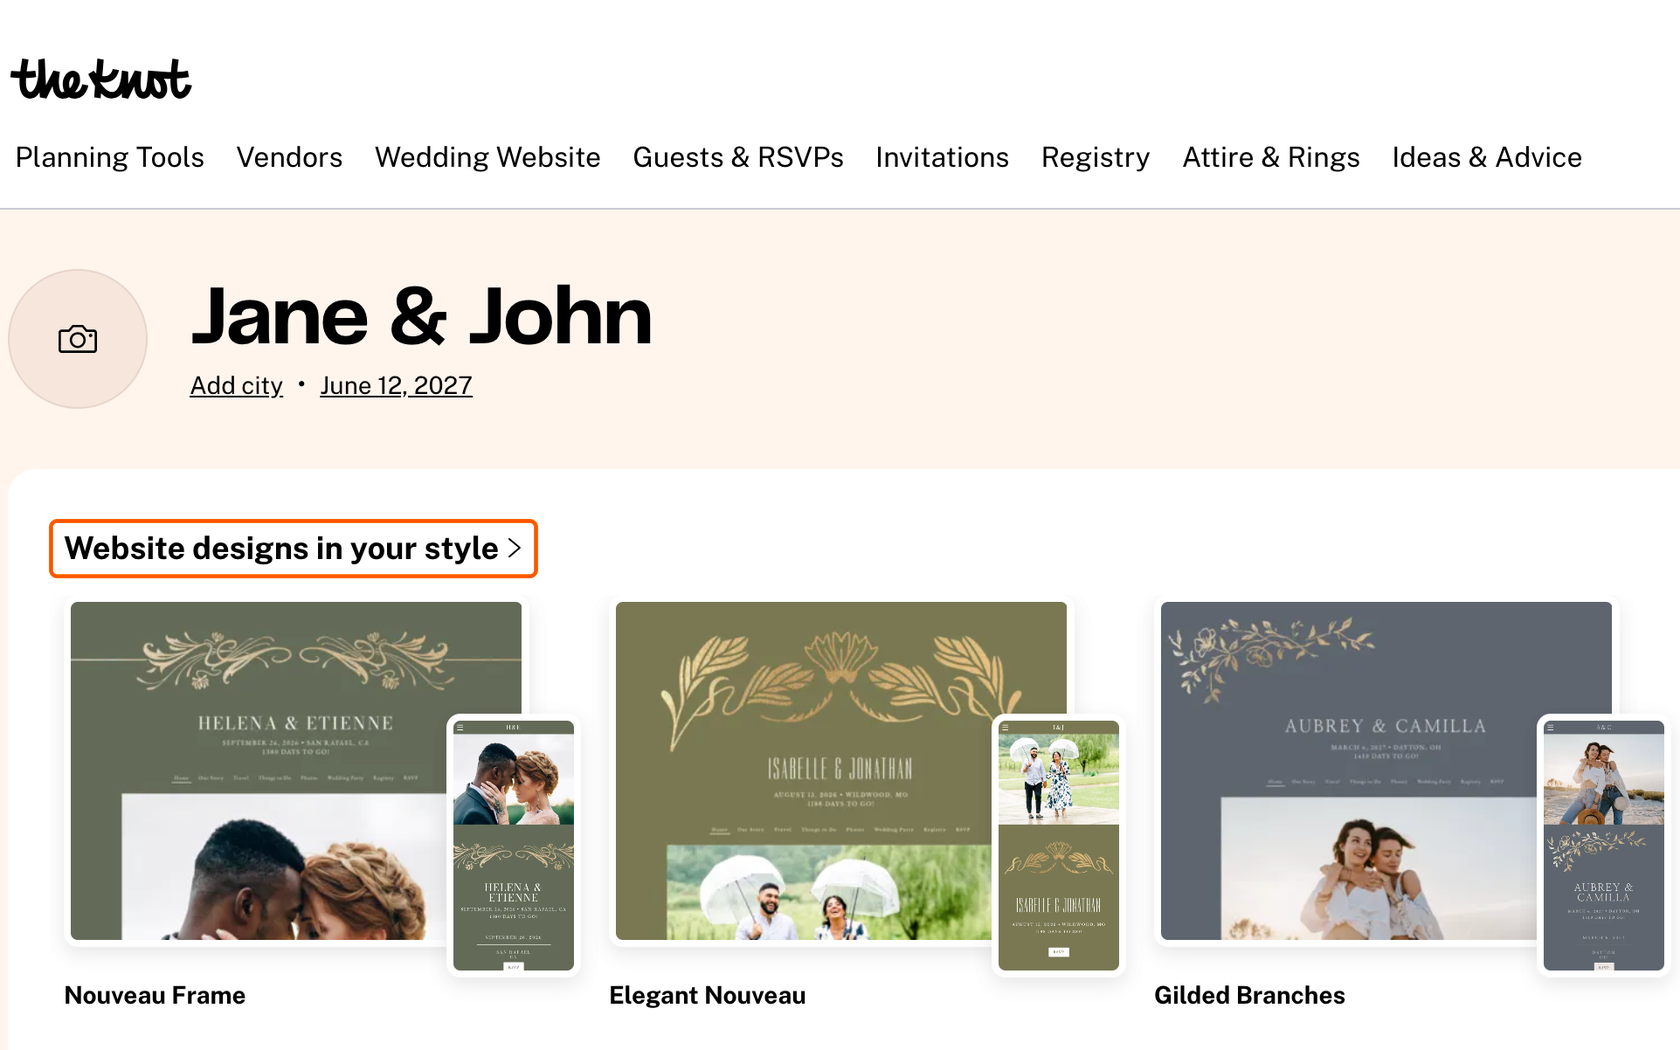
- Create and publish your wedding website: Sign up for The Knot and choose a website design. Guests can only RSVP once your website is published, so publish it before you add the link to your invitations.
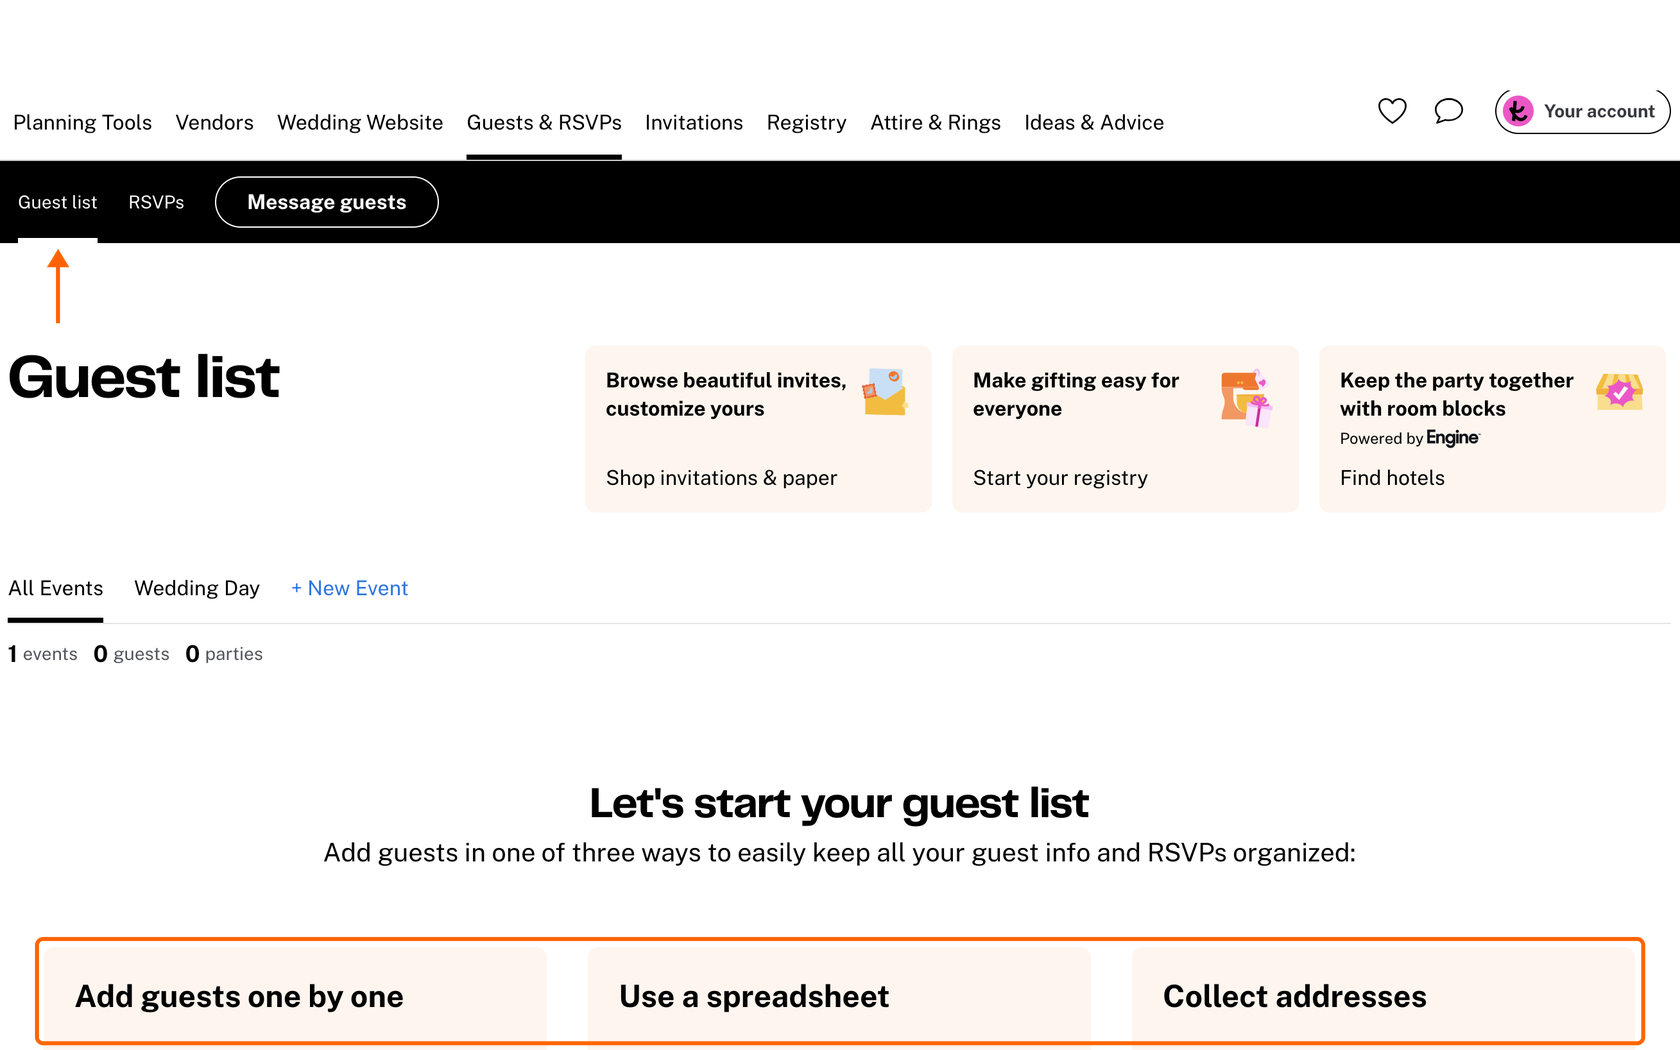
- Add guests to your guest list: Select Close Website, open the Guests & RSVPs tab, and select Guest List. Then choose how to add people. You can enter guests one at a time, import a spreadsheet, or share a Collect Address link so guests enter their own mailing addresses. Guests are marked “invited,” but The Knot doesn’t notify them, so you can finish your guest list before invitations go out.
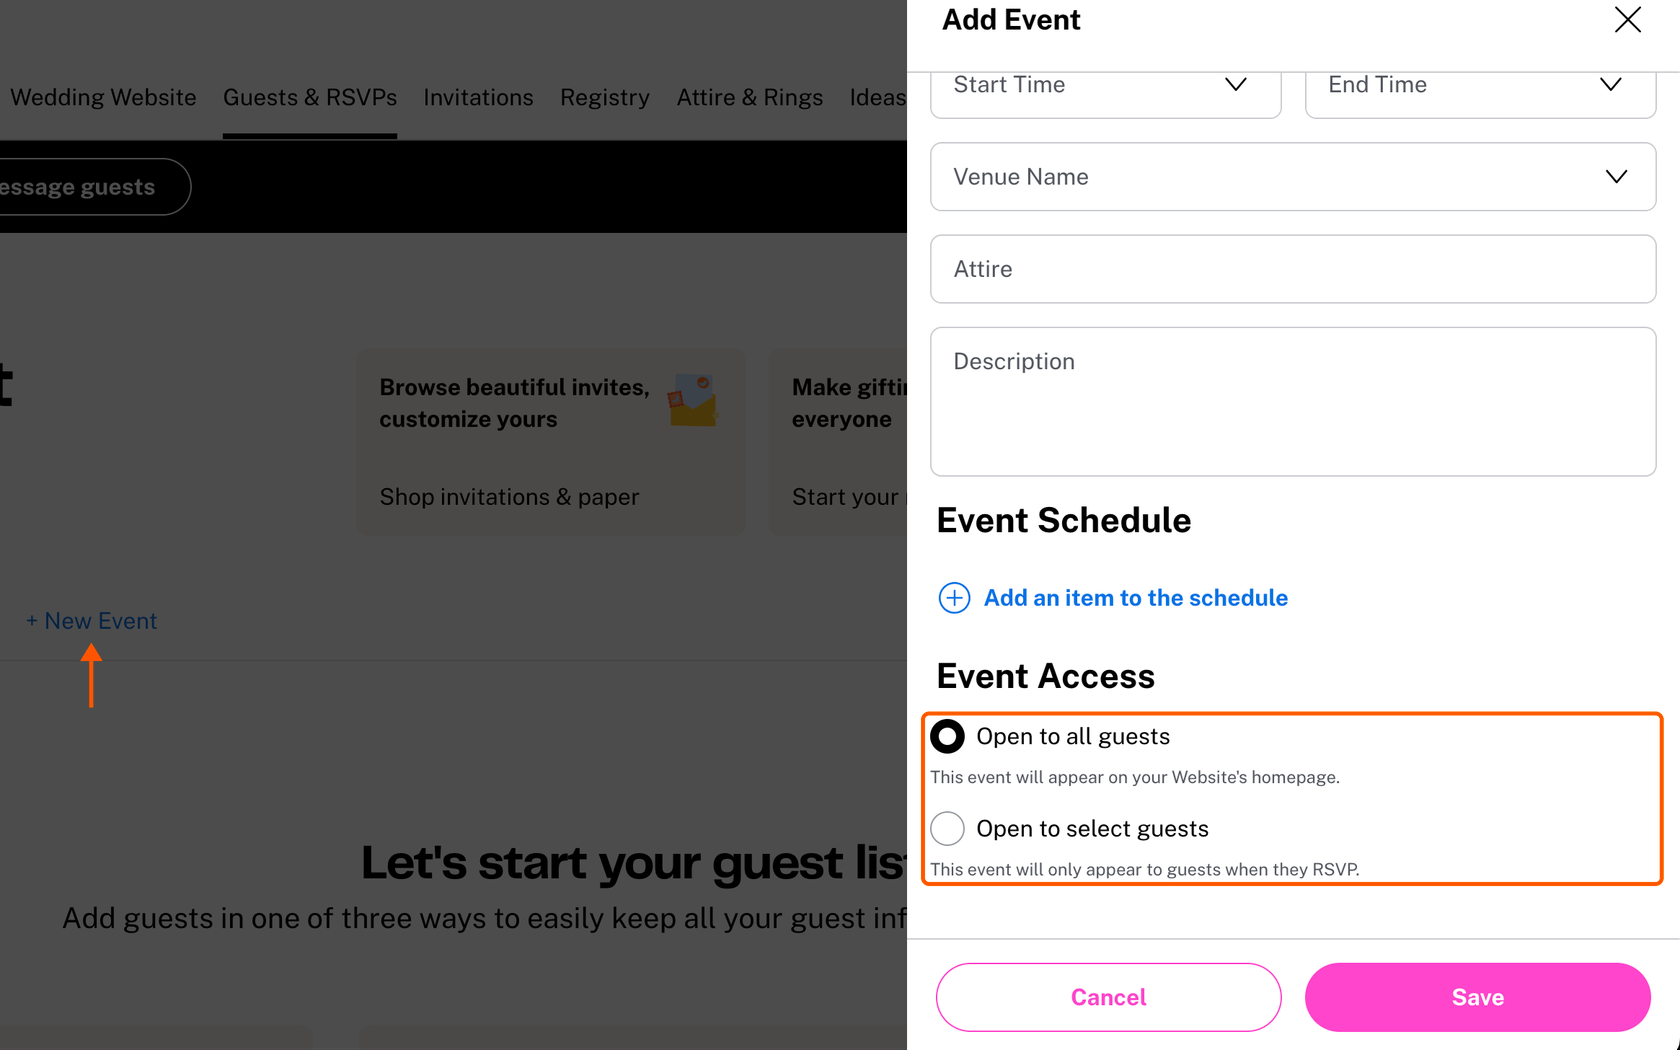
- Add your events: In Guest List, select + New Event to add the ceremony, rehearsal dinner, or a next-day brunch. Choose Open to all guests to show an event on your website or Open to select guests so it appears only to invited guests when they RSVP. Setting up events separately keeps your rehearsal dinner headcount separate from your reception count.
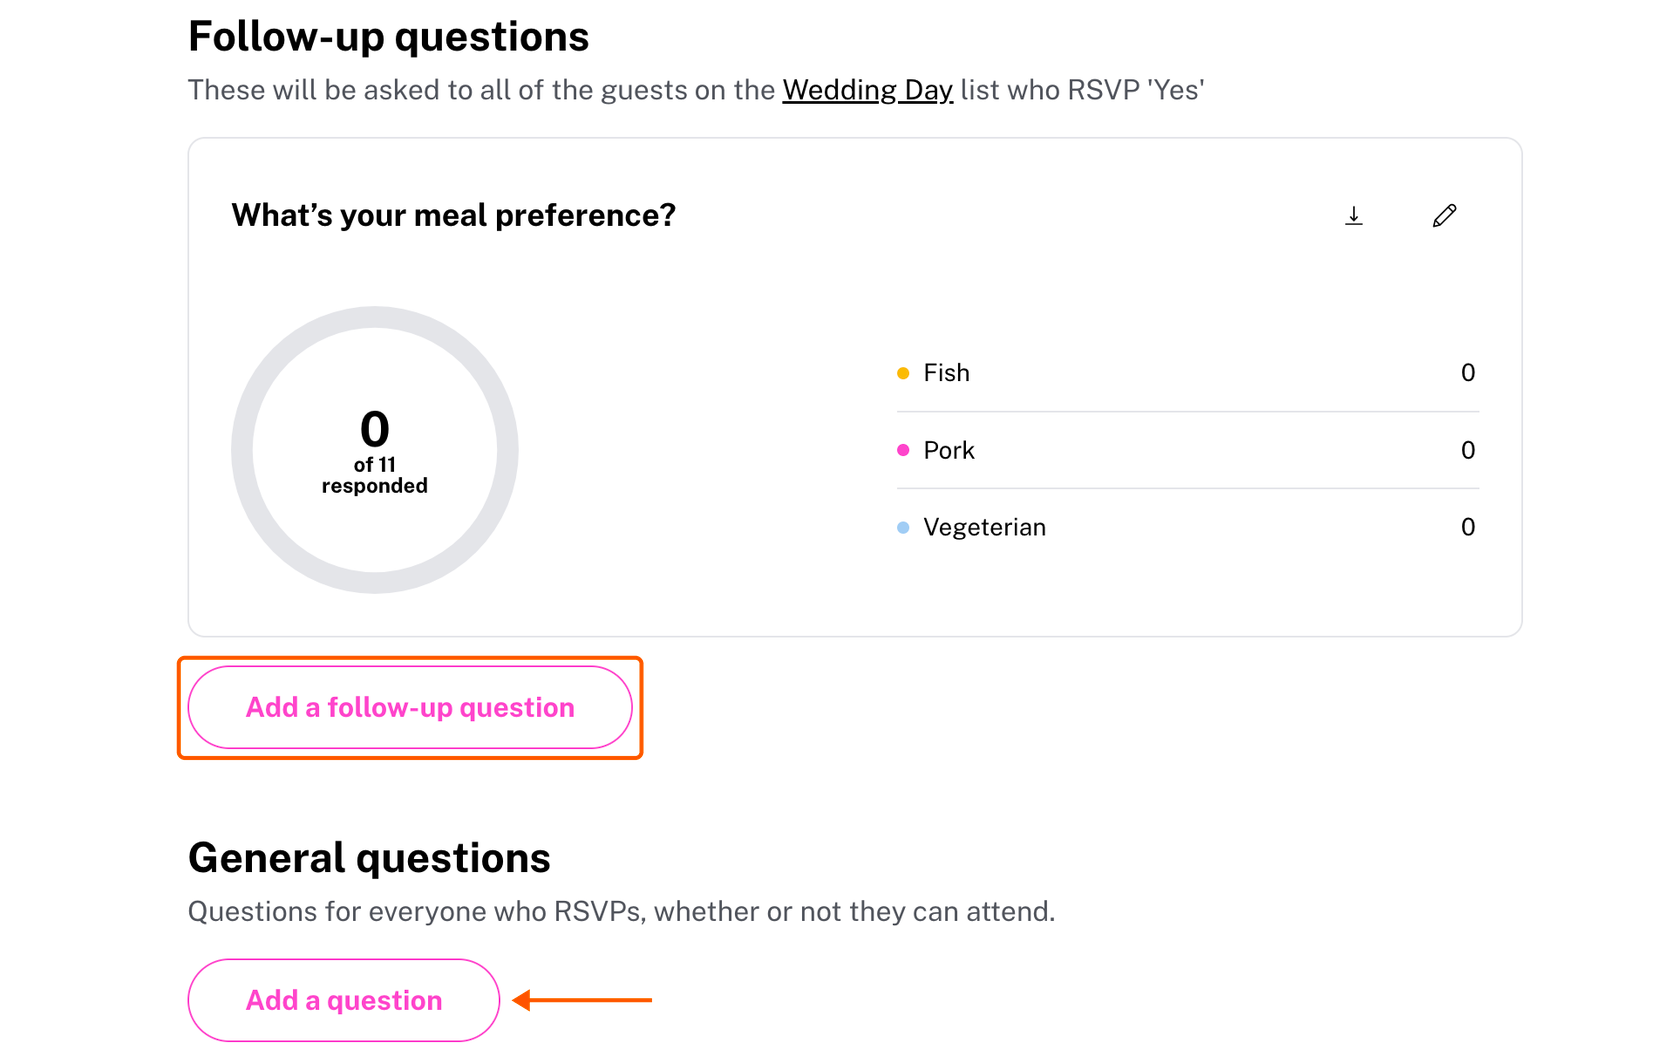
- Add your RSVP questions: In the Guests & RSVPs tab, click RSVPs. Select Add a follow-up question to ask guests about meal choices or dietary restrictions, or add General questions, which each party answers once whether they accept or decline. Multiple-choice questions require the user to answer before they can proceed, so you won’t end up with RSVPs that are missing an entrée.
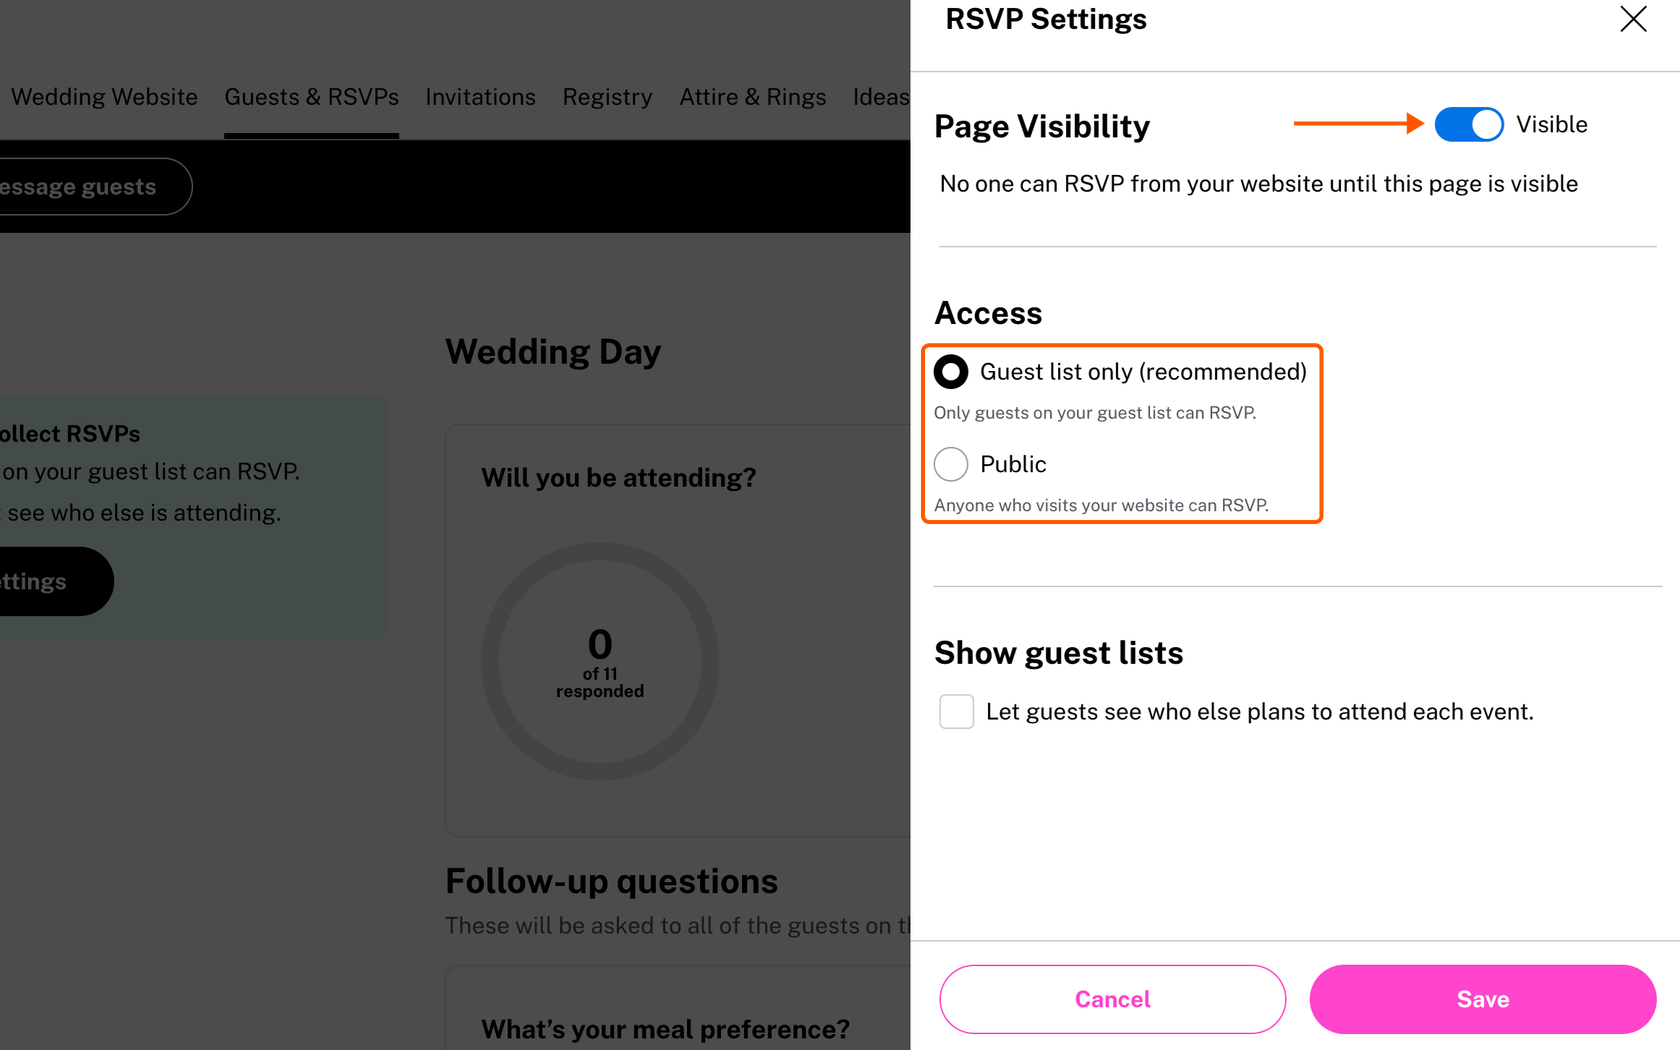
- Choose who can RSVP, and turn on online RSVPs: On the same page, select Edit RSVP settings. Choose Guest list only if only the guests on your list should respond, or choose Public if anyone who visits your website can RSVP and be added to your guest list automatically. With Guest list only, guests can respond solely for the people listed on their invitation, which keeps unexpected plus-ones off your headcount. Then turn on Visibility so guests can RSVP from your website, and click Save.
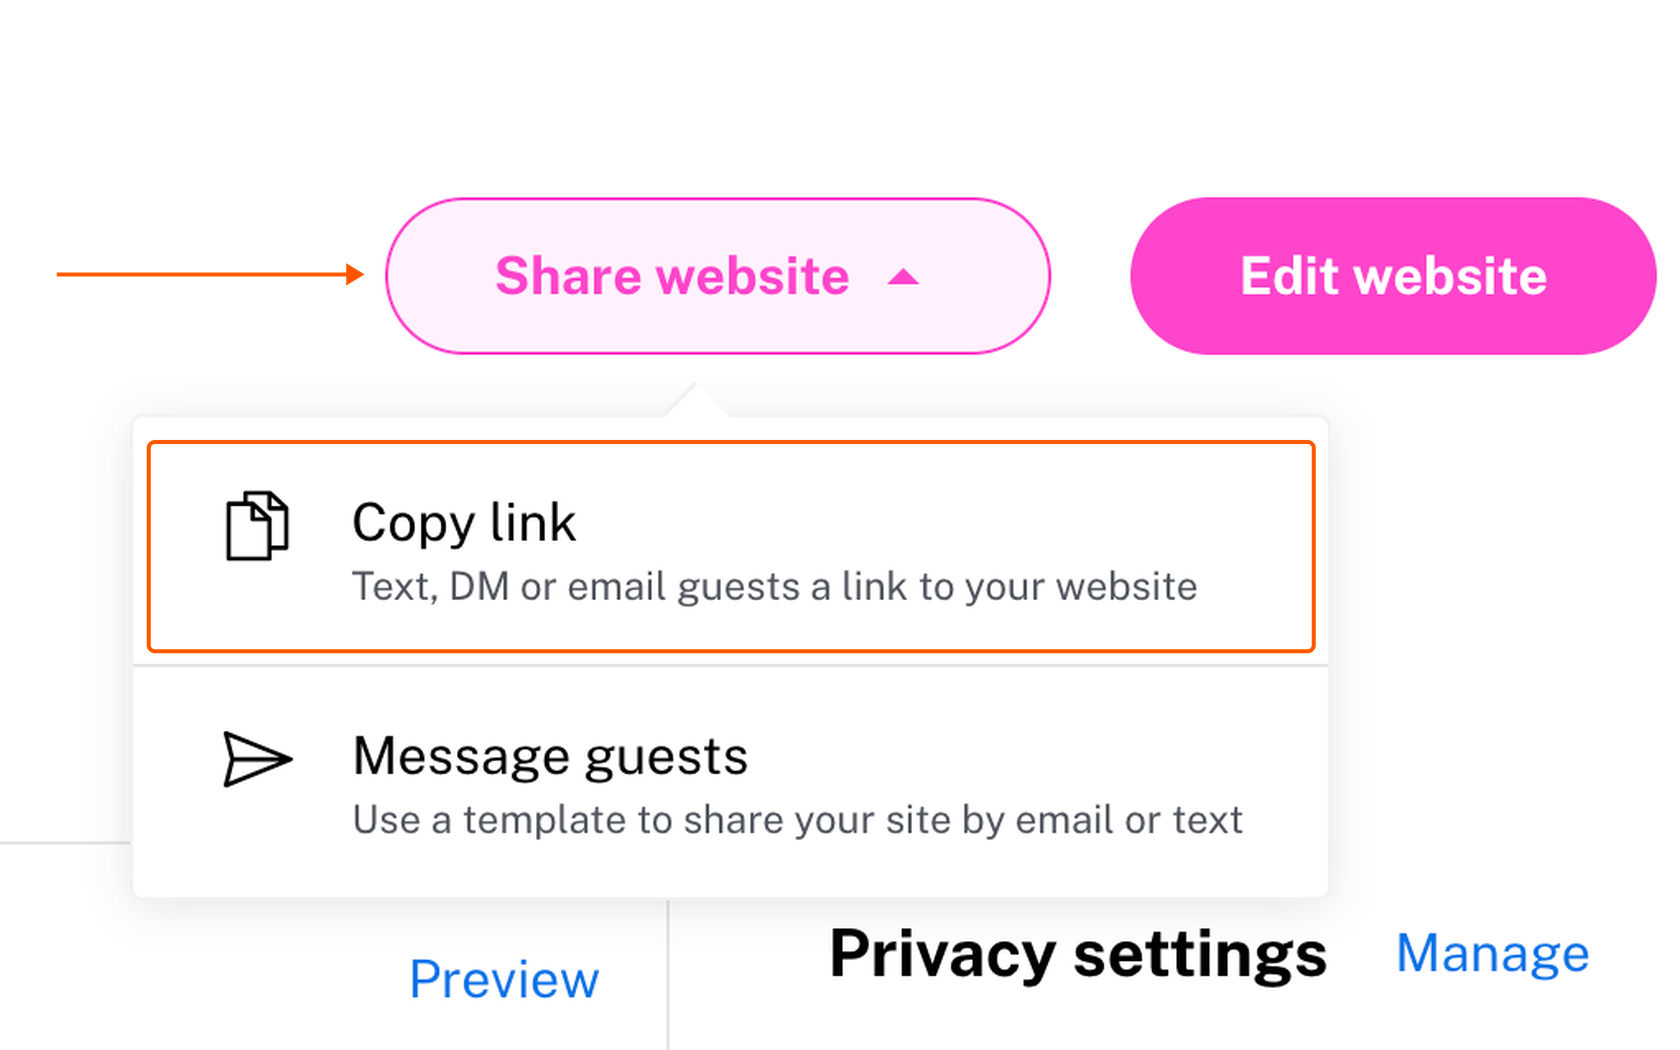
- Share your website and track replies: In the Wedding Website tab, click Share website and select Copy link to text, message, or email your website to guests. You can also print the link on your paper invitations. Each time a guest replies, you get an email notification, and your guest list updates with their response. The Knot doesn’t send automatic reminders, so use its Message guests tool to follow up with guests who haven’t replied before your deadline.
A built-in RSVP tool is convenient when your entire wedding website is on one platform, but it’s harder to use when your RSVP needs go beyond what the platform offers. On The Knot, RSVP questions are limited to multiple-choice and short-answer formats, the form is part of your site within The Knot, and you must send reminders manually. If you need other question types or an RSVP form you can add to any website, a dedicated form builder offers more control of online wedding RSVP tracking.
Why you should track wedding RSVPs with Jotform instead
A wedding website builder’s RSVP tool works well when its built-in questions cover everything you need to ask your guests. If you need other question types or want an RSVP form that isn’t tied to one platform, you can use Jotform, which offers more flexibility. With Jotform’s wedding RSVP tool, you can create the RSVP form or app first, then add it to your wedding website or share it wherever your guests will see it. Every reply is saved to your Jotform account. Your form and responses are stored in Jotform, so you won’t lose them if you switch website builders halfway through planning.
Start with one of these wedding RSVP form and app templates to track RSVPs online:
- Wedding RSVP Form: Collects attendance, mailing address, a meal choice for each guest, and song requests.
- RSVP with Meal Choice Form: A shorter form focused on attendance and entrée selections.
- Wedding RSVP App: Combines an RSVP form with venue details and a registry link.
- Wedding Invitation App: Collects RSVPs and dietary restrictions in a mobile app guests can open on any device.
Once you’ve picked a template, here’s how to manage wedding RSVPs online with Jotform:
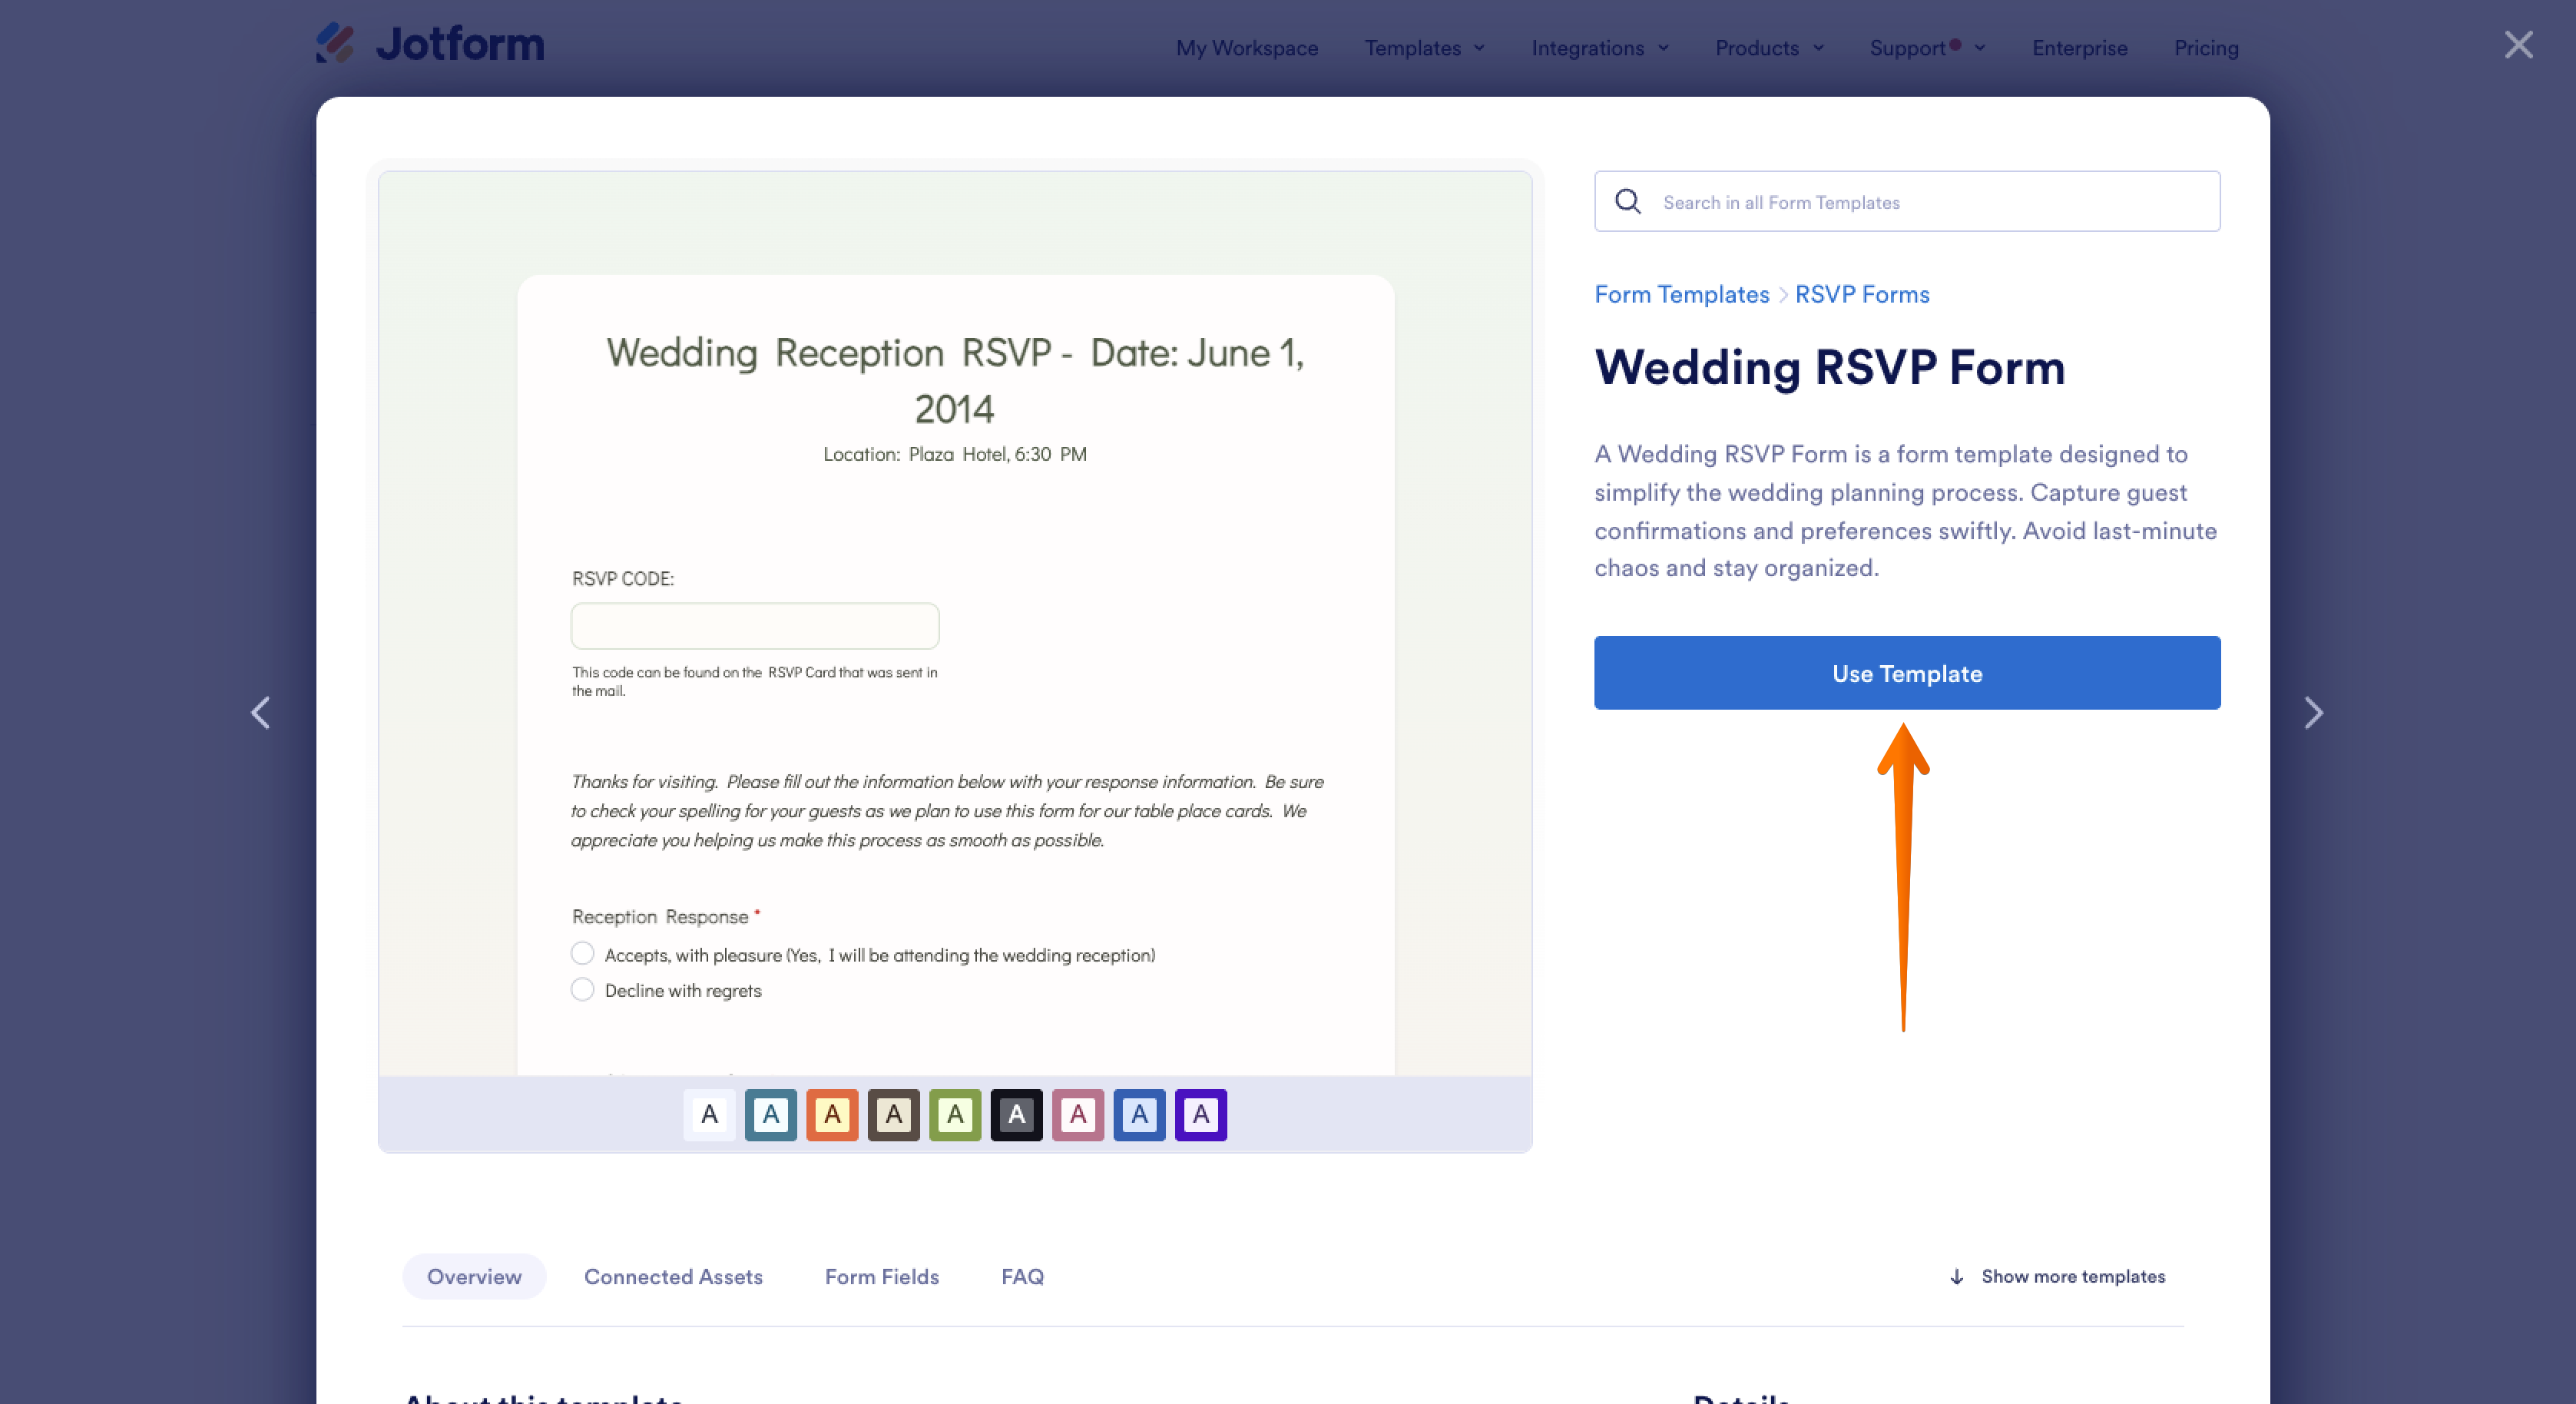
- Start from a template: Choose a wedding RSVP form or RSVP app template and select Use Template. The Wedding RSVP Form template already includes fields for attendance, meal choices for up to six guests, and song requests, so you can spend your time adjusting questions instead of writing them from scratch.
Pro Tip
If you’d rather describe what you need, Jotform AI can create a form from a prompt. Try something like: “Create a wedding RSVP form that asks for each guest’s full name, whether they’re attending, their entrée choice (chicken, salmon, or vegetarian), dietary restrictions or allergies, a plus-one name, an email address, and a song request.”
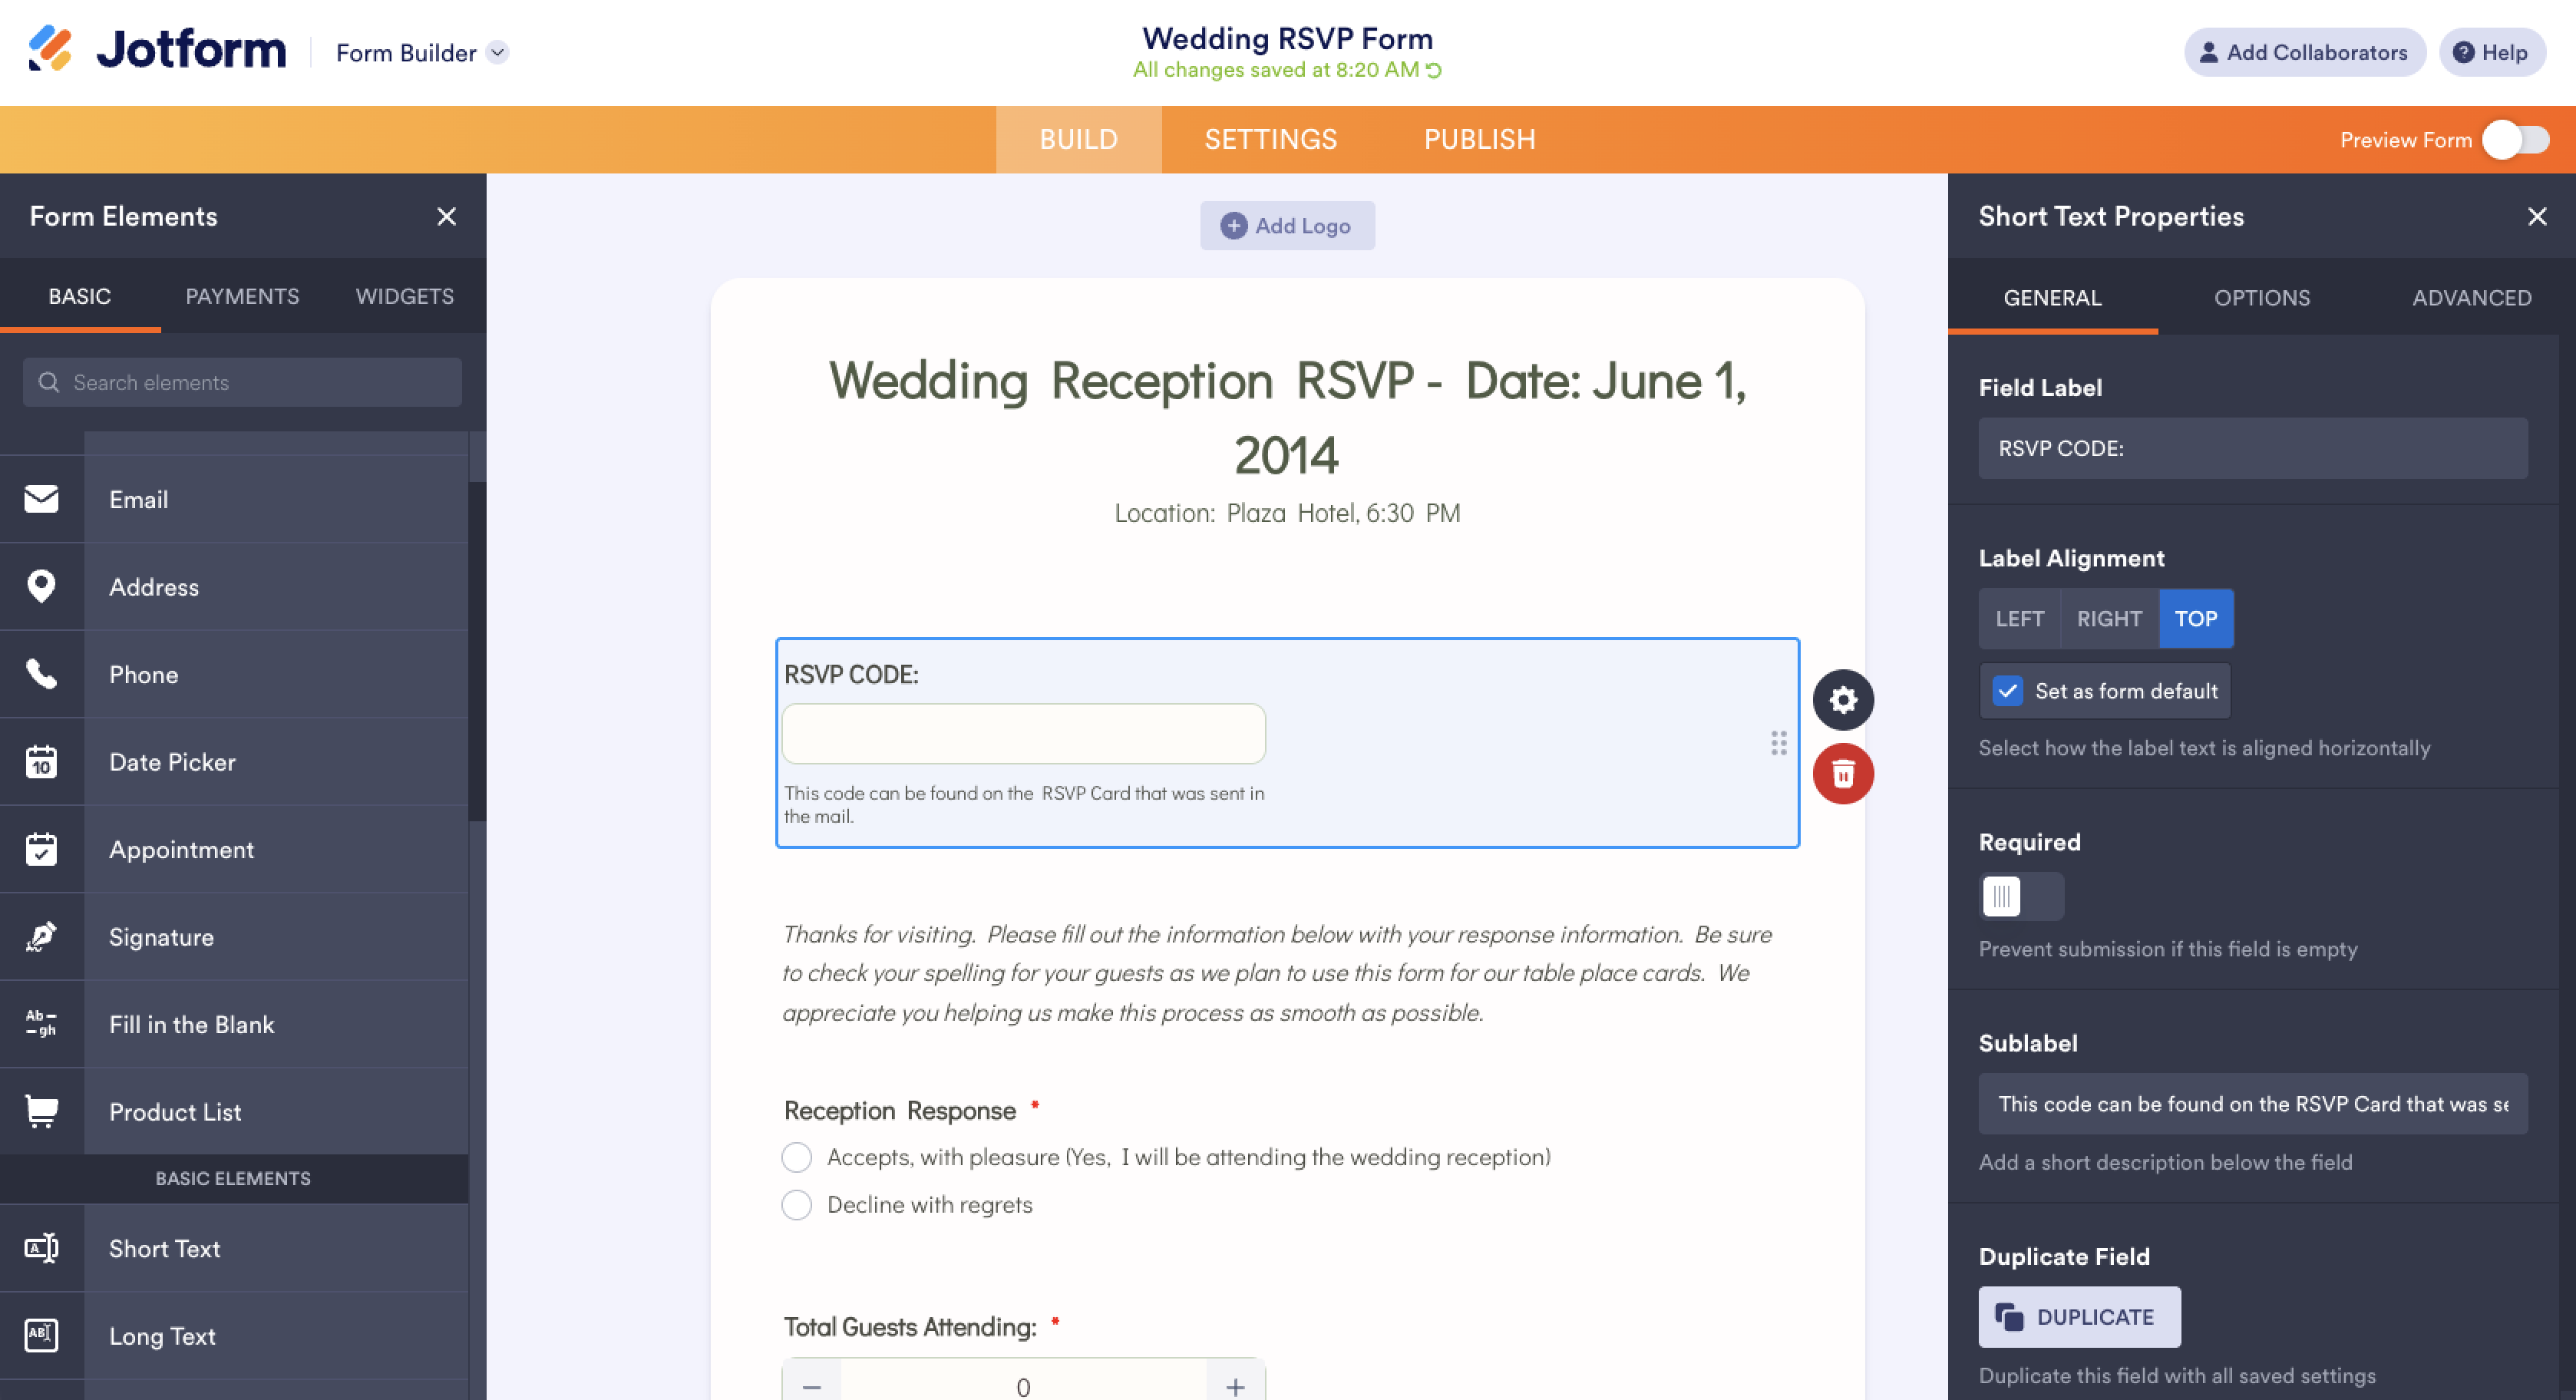
- Customize your fields: In the Form Builder, edit, add, or remove fields to match your wedding. Add fields for plus-one names, dietary restrictions, and an email address or phone number to reach guests with last-minute updates. Use a dropdown or multiple-choice field for meal options, so every answer matches an item on your caterer’s menu.
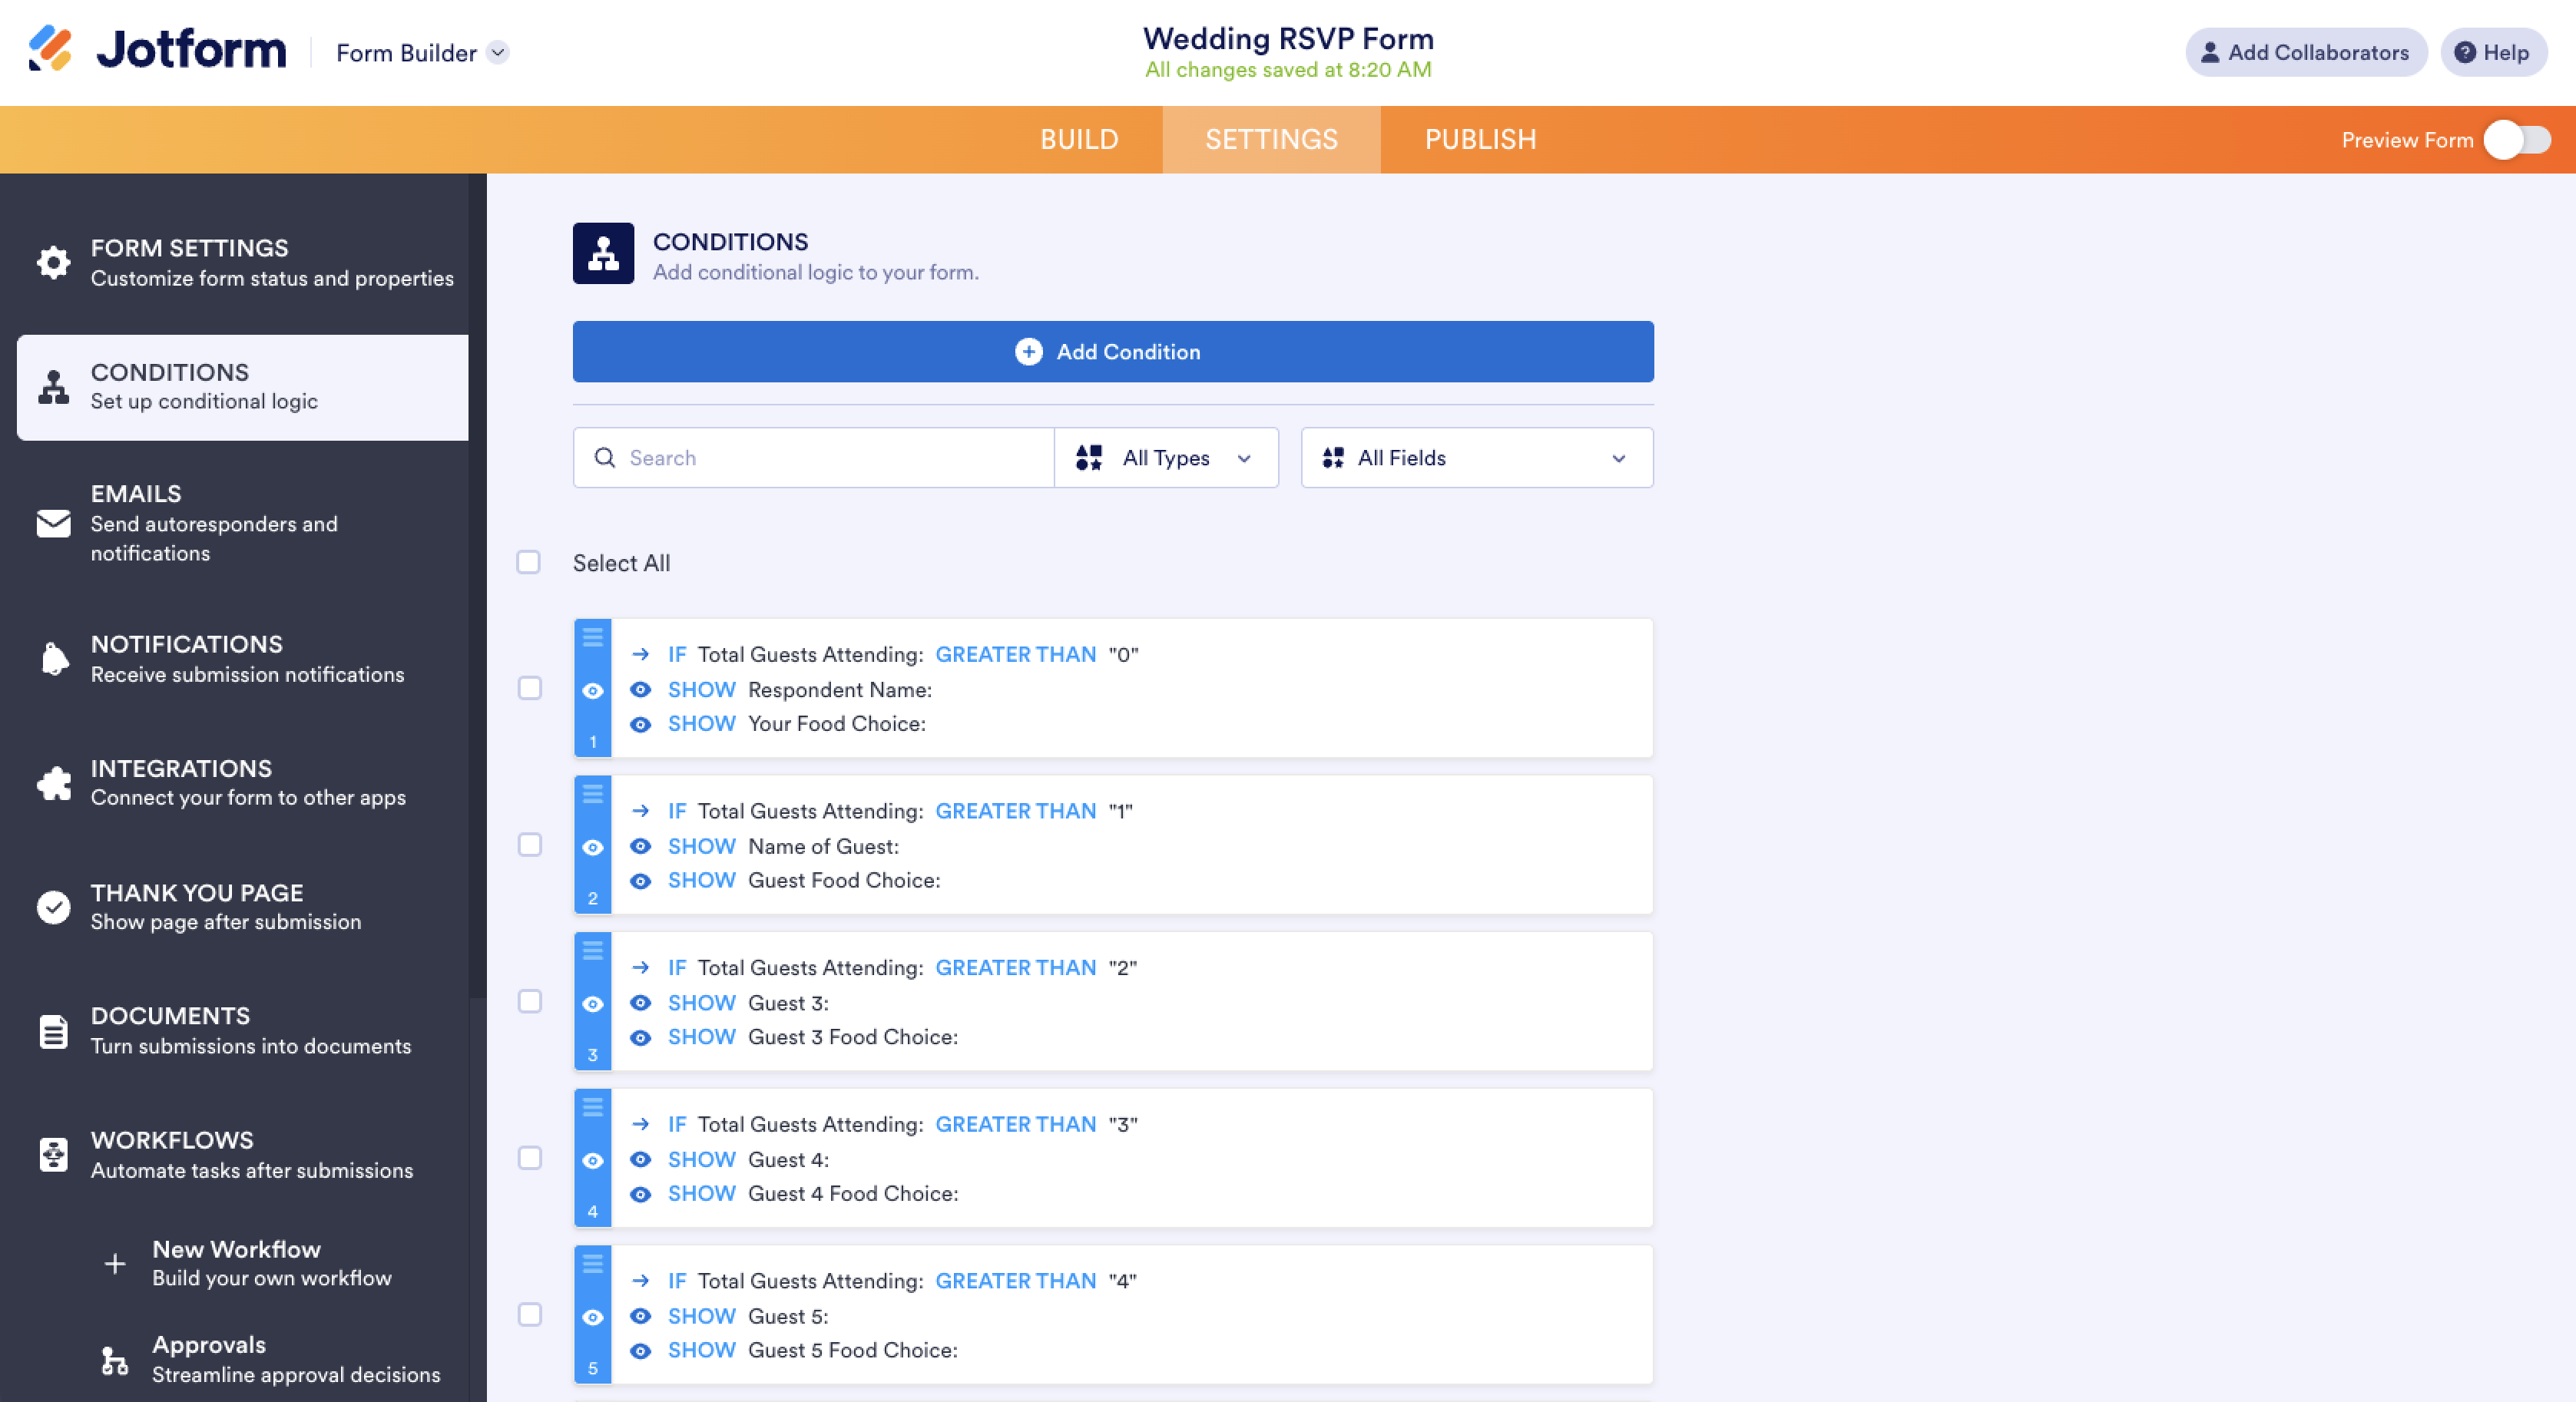
- Add conditional logic: Go to Settings, select Conditions, and choose Show/Hide Field. Set a rule so meal and plus-one questions appear only when a guest selects Attending. Guests who decline can submit in seconds, and you won’t have meal choices from people who aren’t coming mixed into your entrée count.
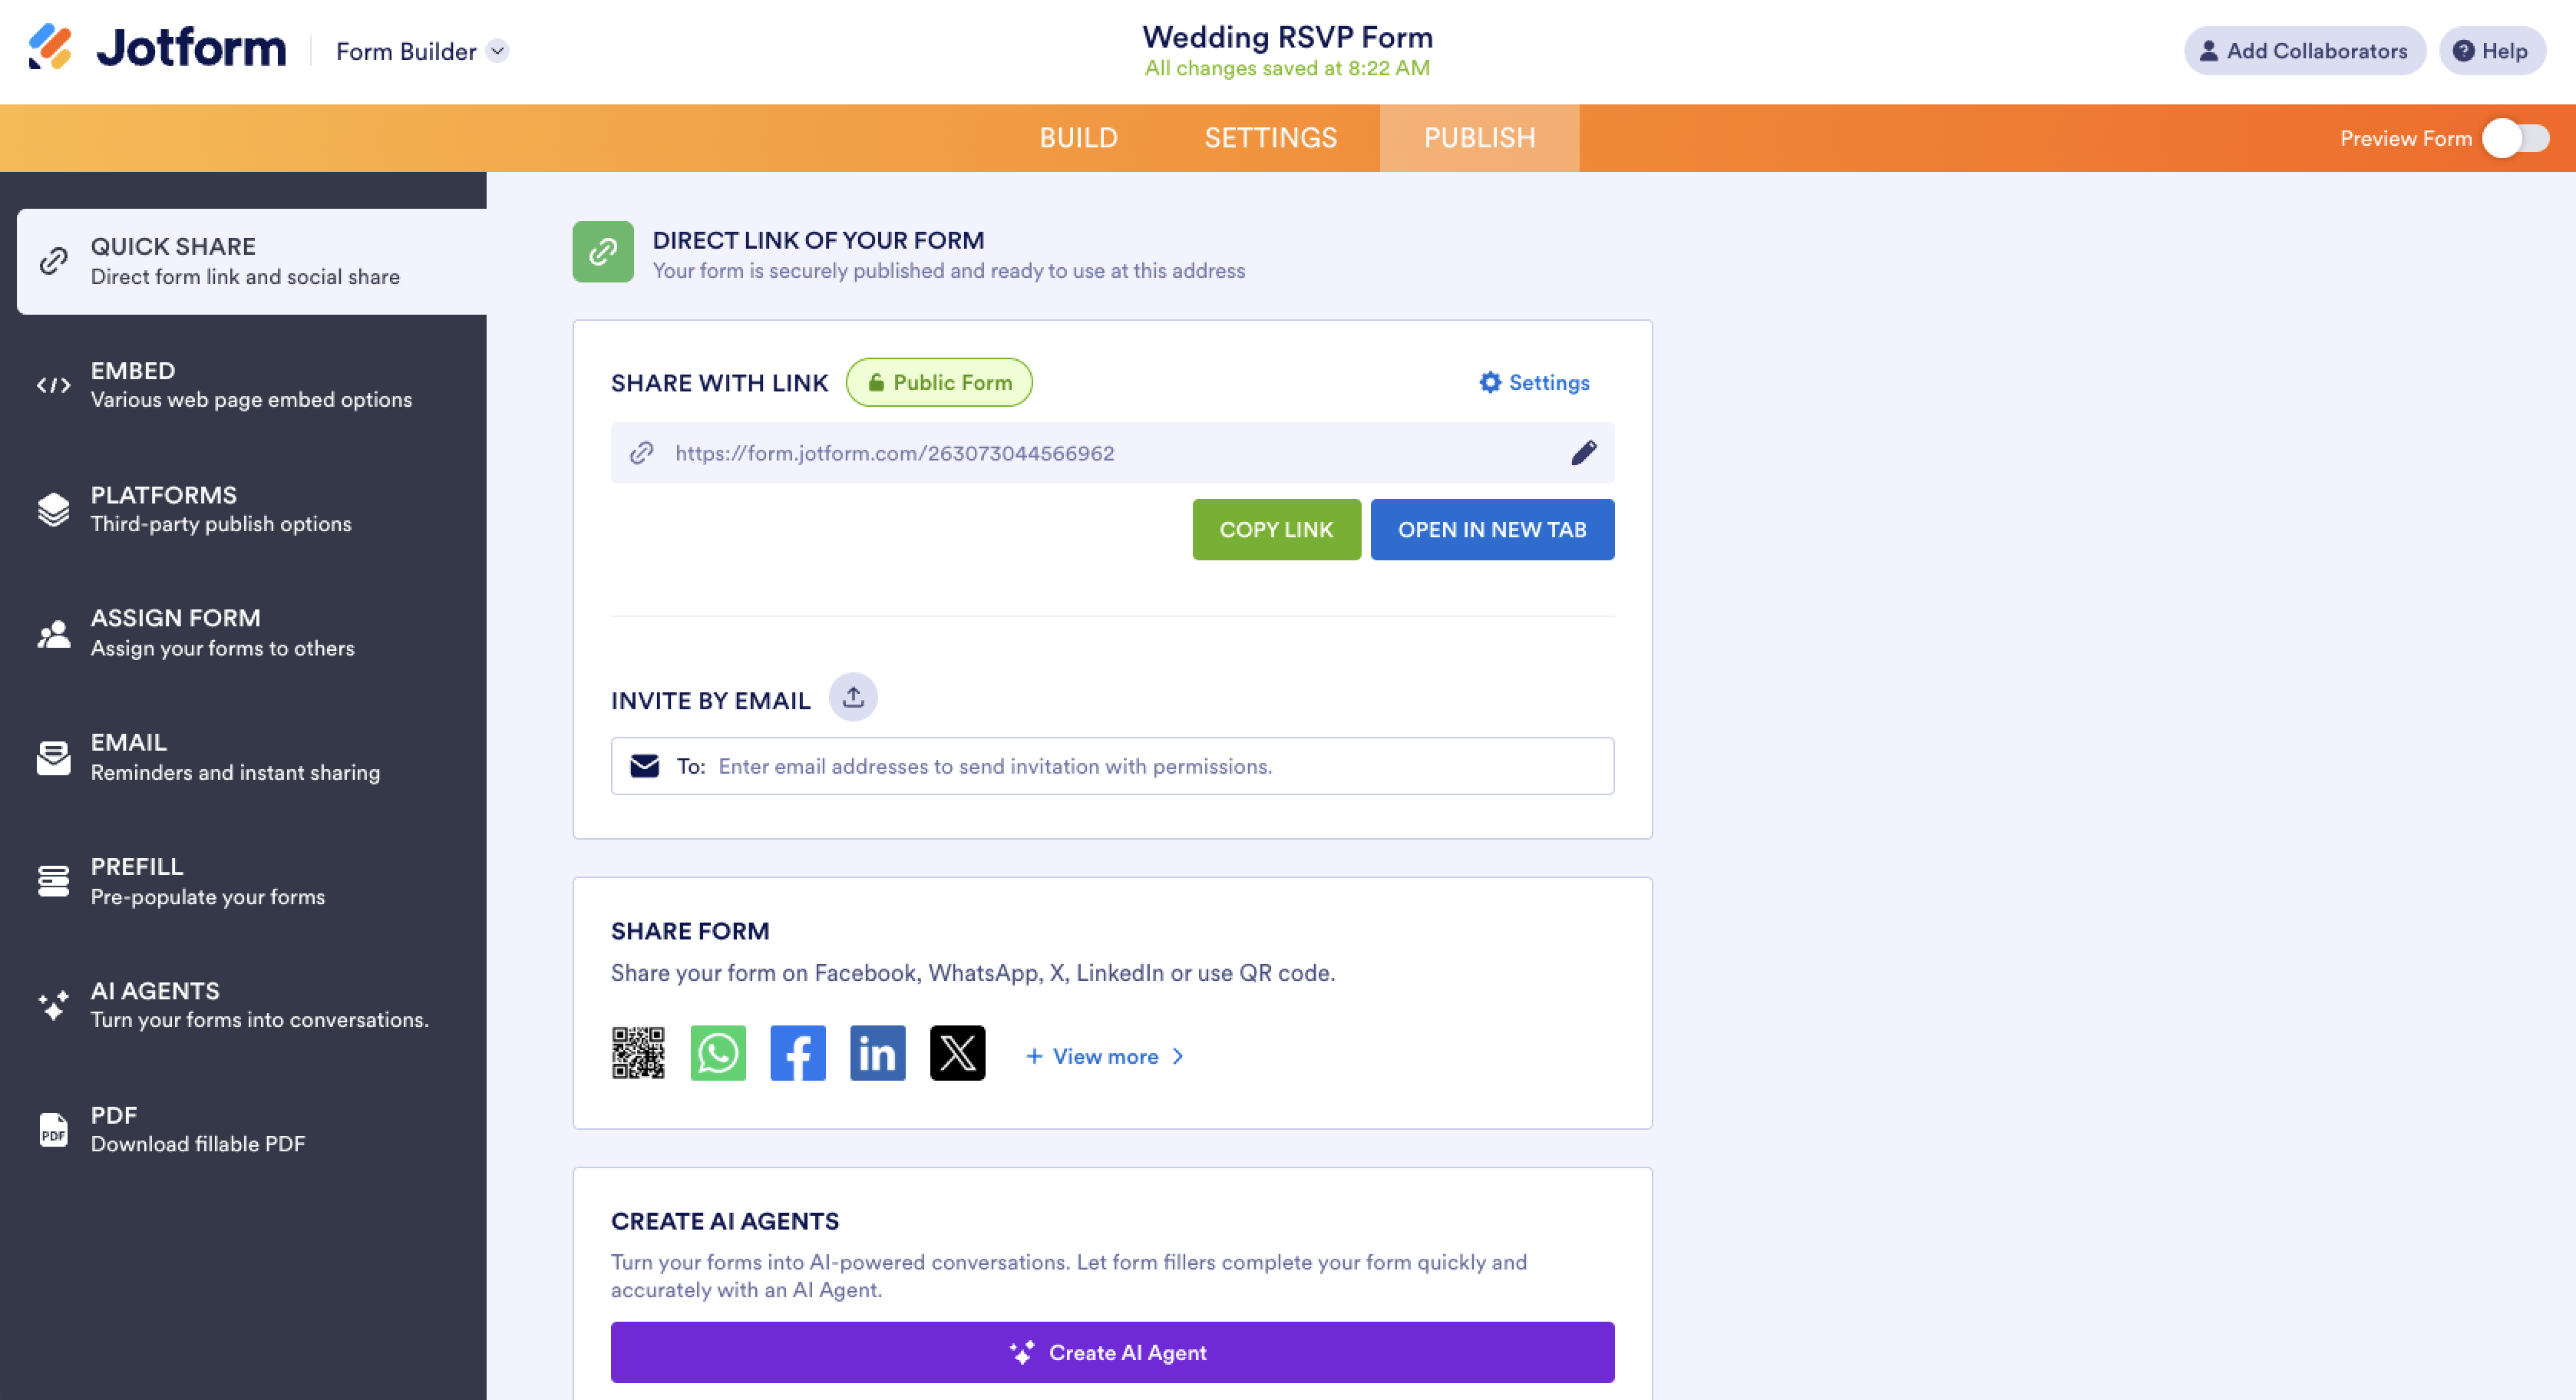
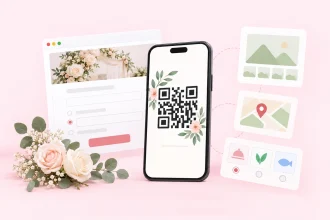
- Add the form to your wedding website: In the Publish tab, copy your form’s link or embed code. If your website builder accepts custom HTML, as Wix and Squarespace do, you can paste the embed code so guests RSVP without leaving your page. The Knot doesn’t support custom code, so add your form link to a text block or button on your site instead. You can also share the link by email or text, or print a wedding QR code alongside your wedding invitation RSVP details.
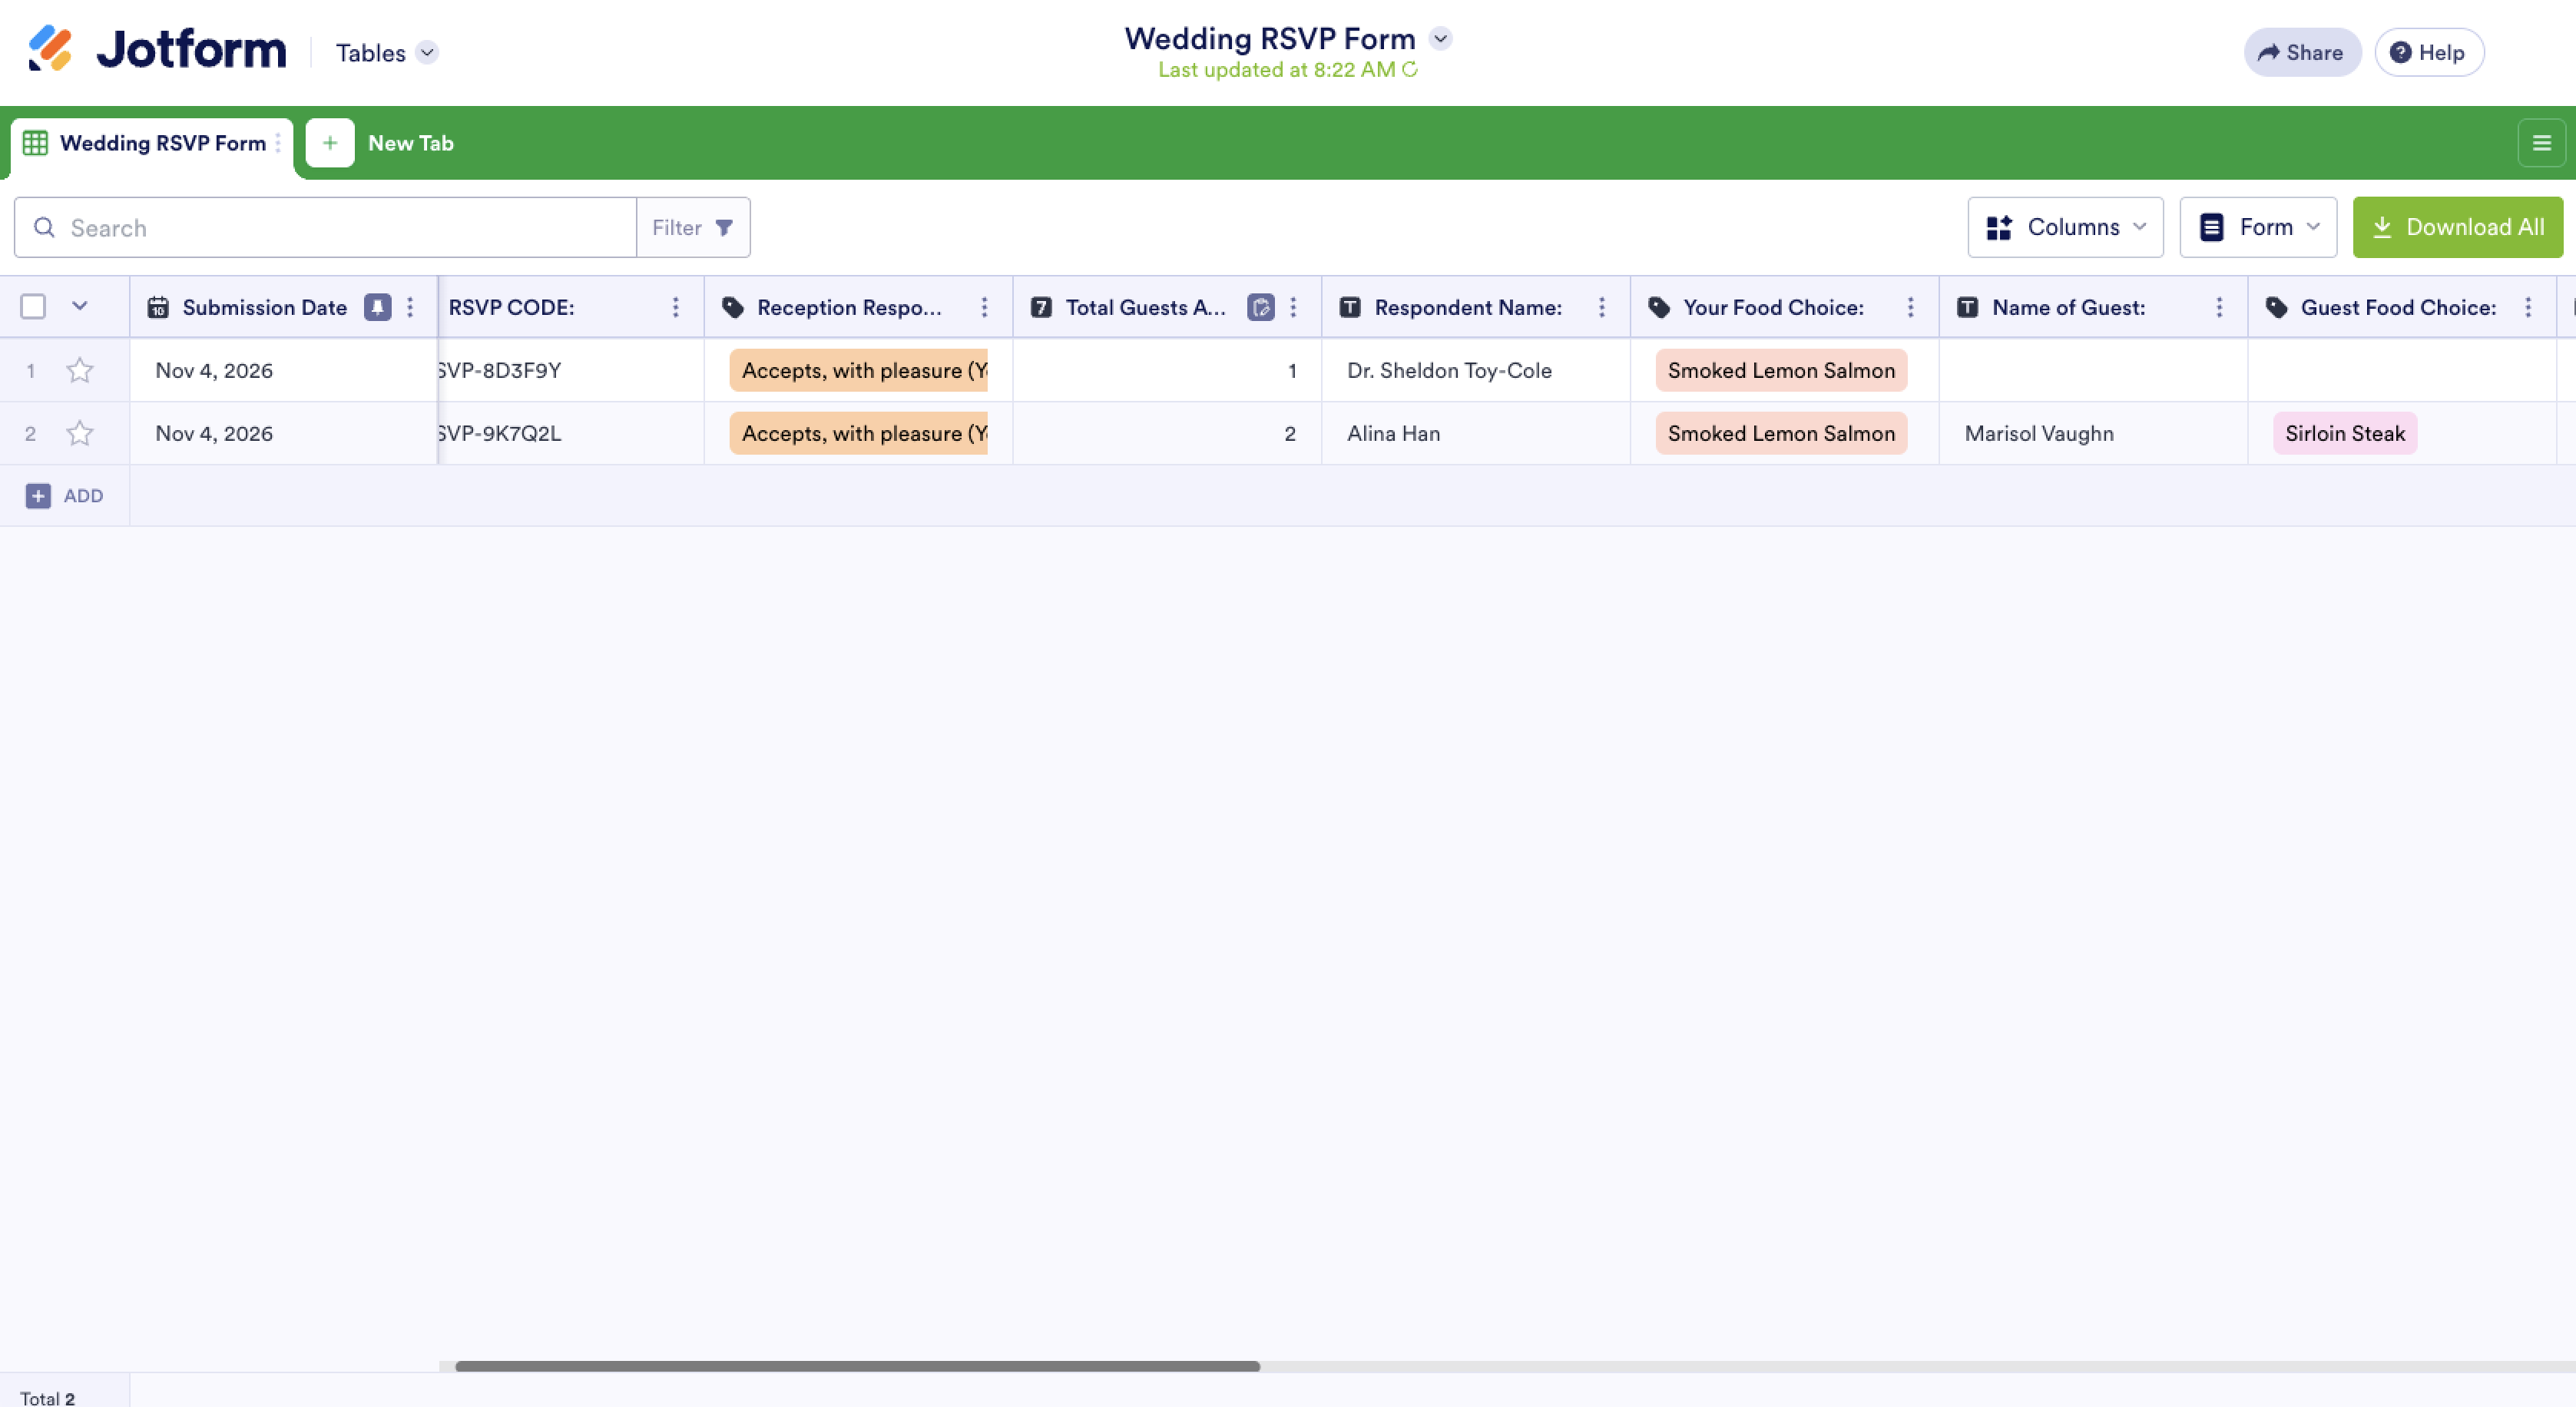
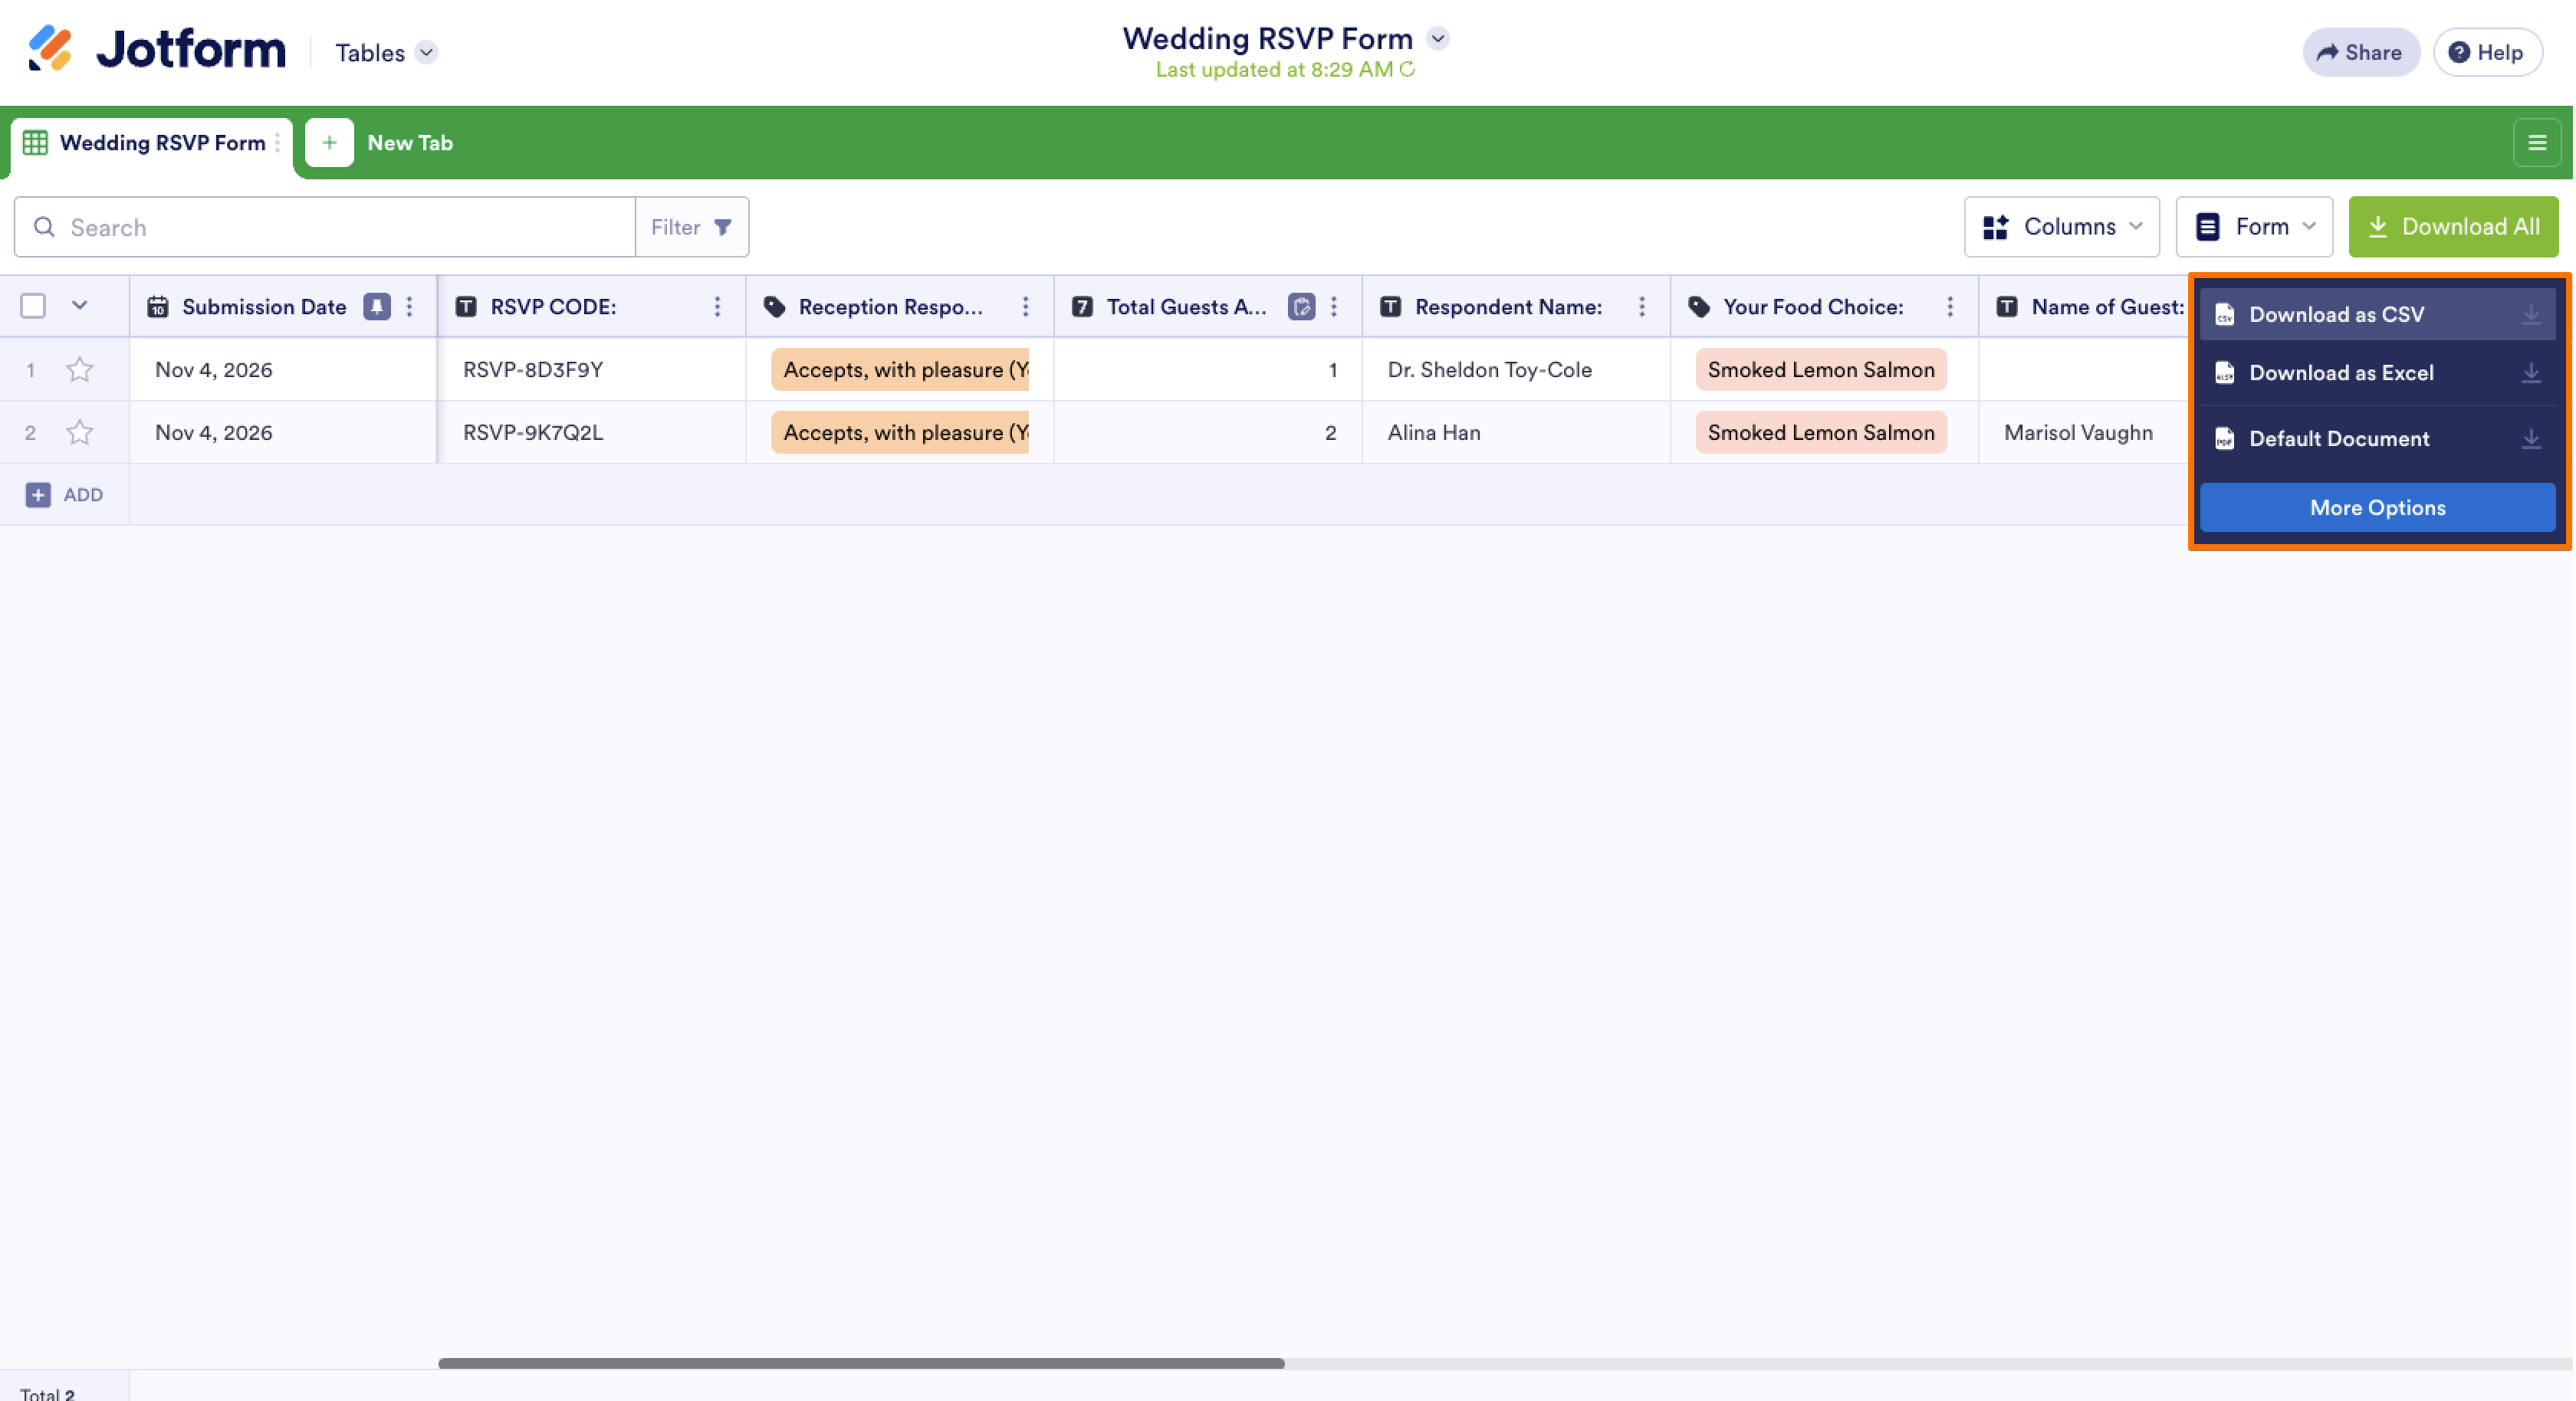
- Track replies in Jotform Tables: Every submission is added to Jotform Tables as a new row, so your wedding RSVP form responses double as a guest list tracker. Filter by attendance to see who’s coming, sort by meal choice to count entrées, or group replies by dietary restriction before you call your caterer. To see who hasn’t replied yet, import your full guest list into a separate tab and compare it with incoming RSVPs.
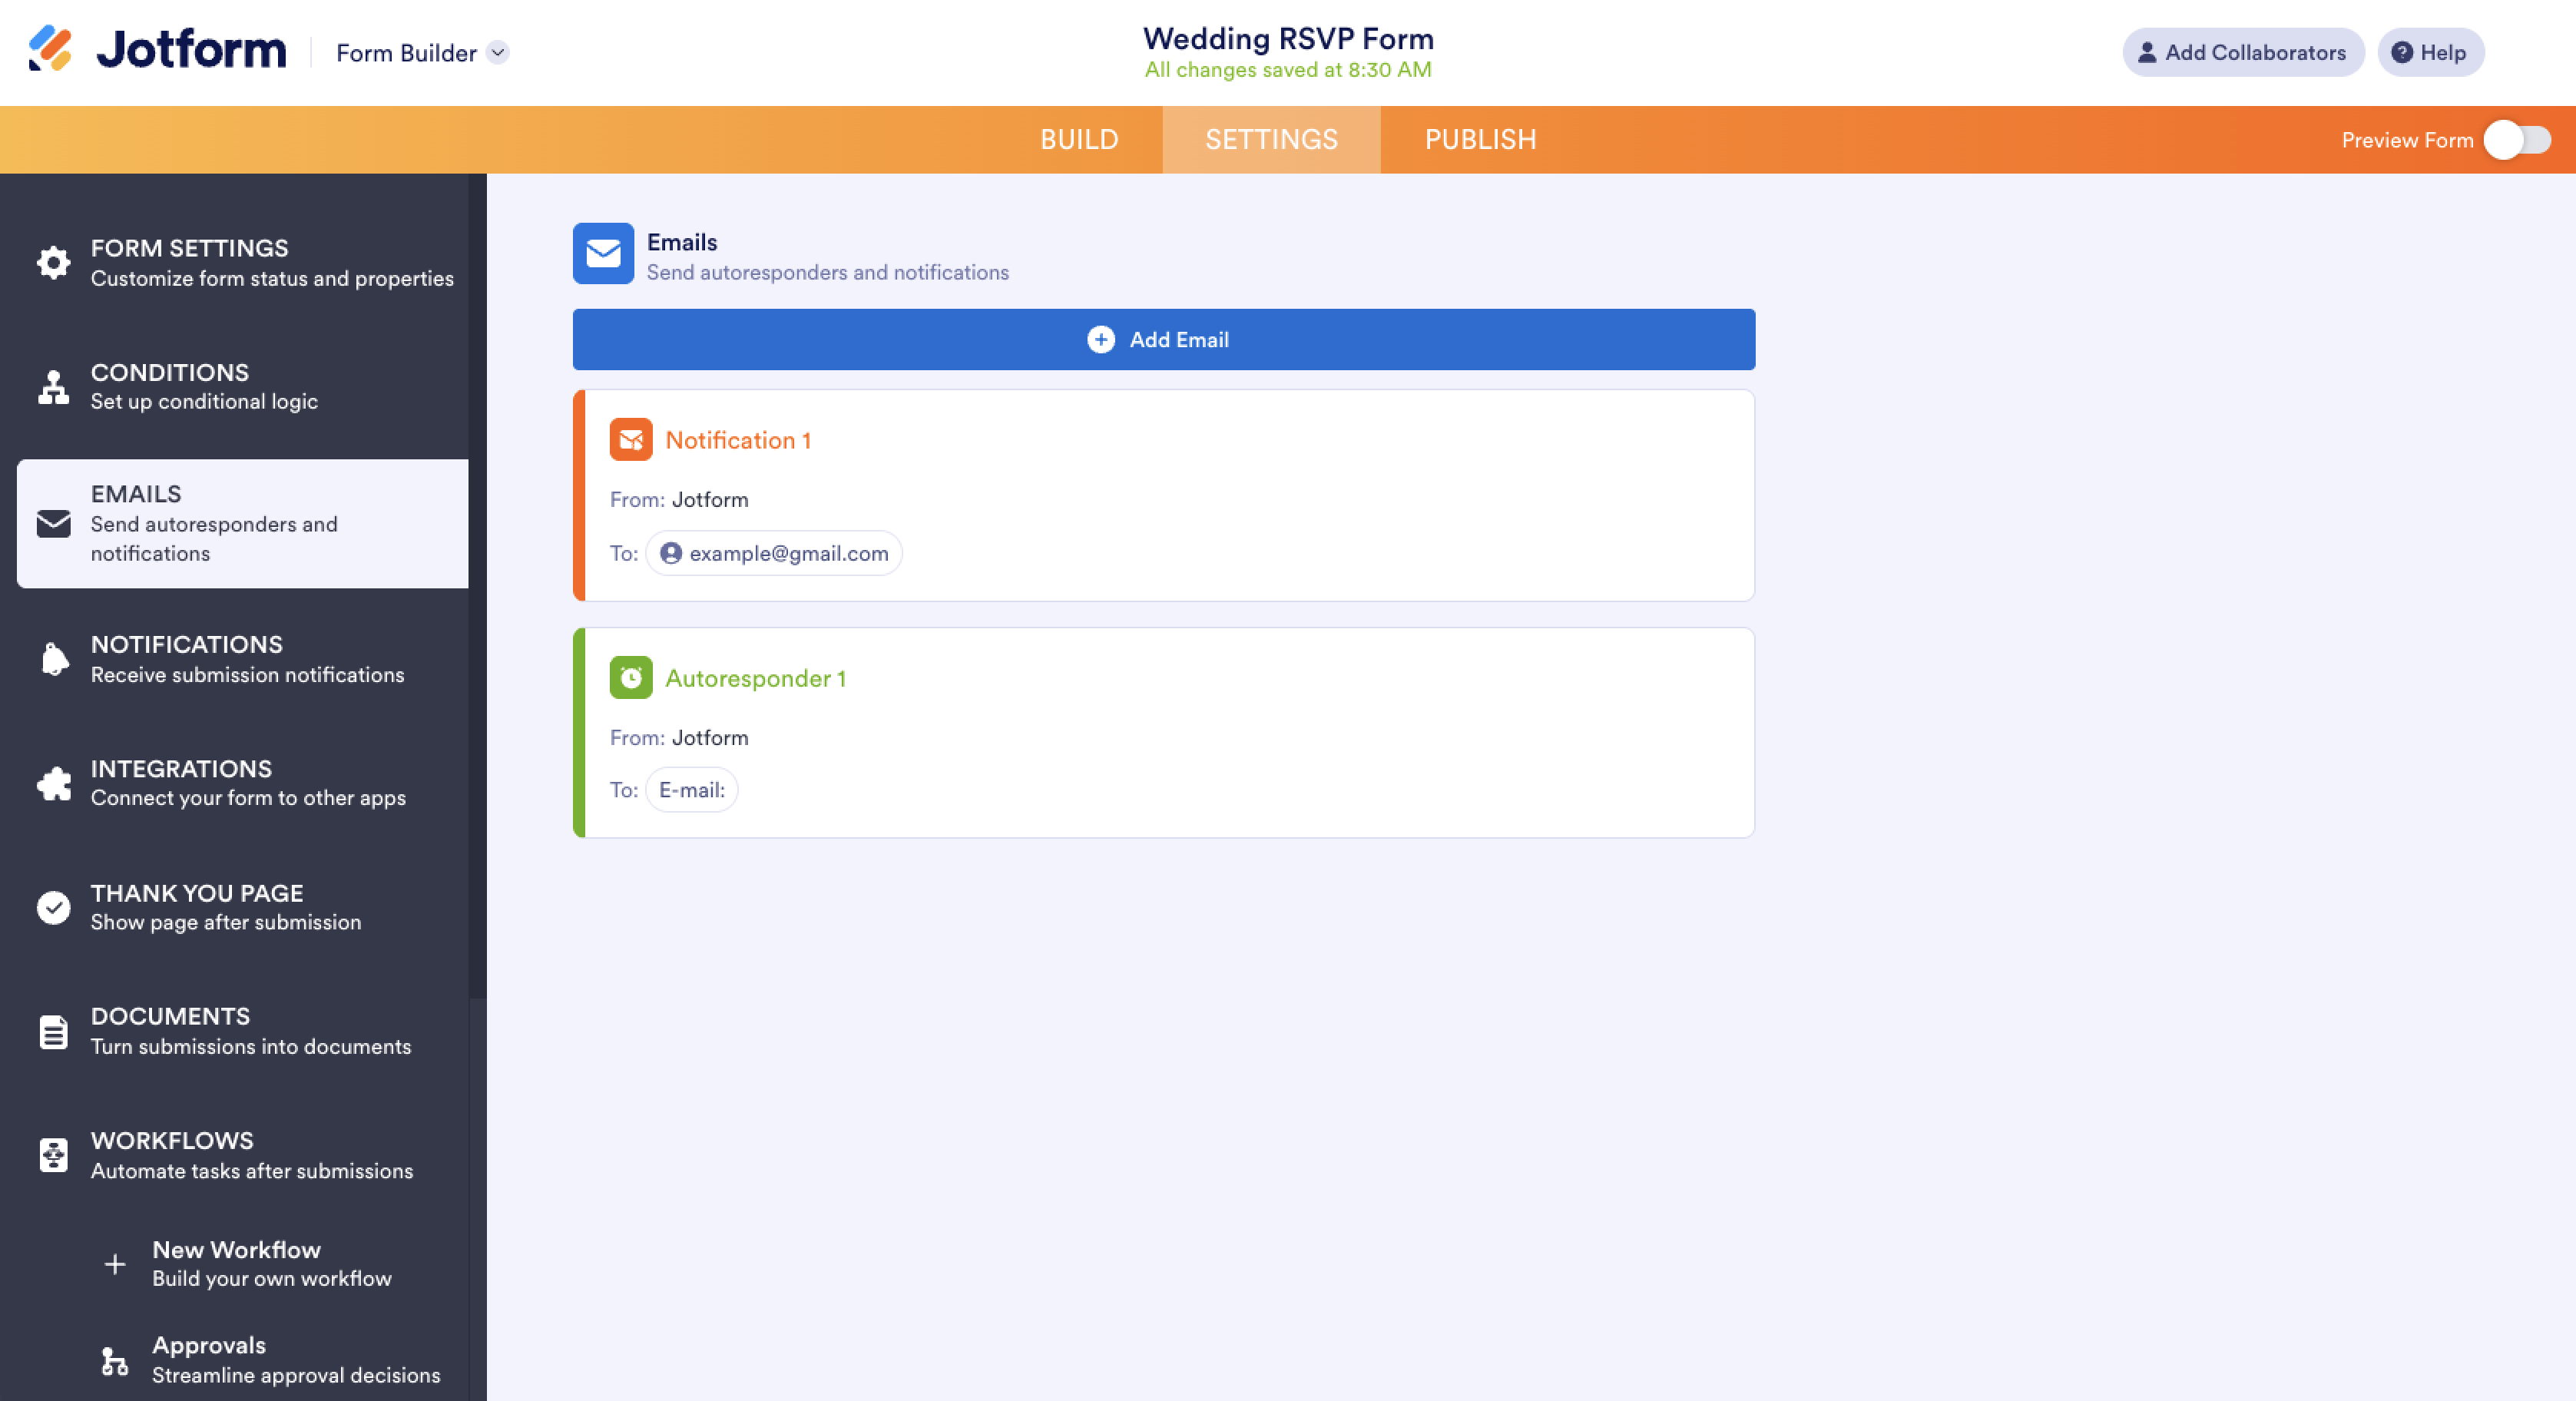
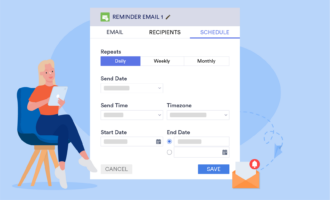
- Turn on email notifications: Under Settings, select Emails and add a notification email so you get an alert each time a guest submits an RSVP. You can also set up an autoresponder that confirms the guest’s reply and includes details like the venue address and start time.
- Export responses for your vendors: When it’s time to send final numbers, download your table as an Excel or CSV file to create a wedding RSVP spreadsheet. Your caterer can work from the meal counts, and you can use the attendance list as a starting point for your seating chart.
If you’d like guests to find everything in one place, Jotform Apps lets you combine your RSVP form with your wedding details in a single app that guests can open on their mobile devices. The Wedding RSVP App template includes an RSVP form, venue information, and a registry link. With the wedding app builder, you can add a map of your venue, a countdown to the big day, or a full schedule of events. RSVPs submitted through the app are saved to your Jotform account alongside the rest of your responses.
Collecting RSVPs is an essential element of event planning, since each reply becomes part of the headcount your venue needs and the entrée count your caterer needs. Tracking every reply in one place means you can answer your caterer’s questions without searching through texts and reply cards.
Create your wedding RSVP form or RSVP app with Jotform, then add it to your wedding website so every guest response is organized in one wedding RSVP dashboard.
FAQs about tracking RSVP responses on a wedding website
About a week before your deadline, check which guests haven’t sent their RSVPs yet. Send each one a short, friendly message by email or text with your deadline and a link to your RSVP form. For anyone who still hasn’t replied, a phone call from you or a family member can prompt the final responses.
Add your RSVP form link or QR code to your digital invitation so guests can reply as soon as they open it. If you’re sending invitations by email, you can also share the form link from Jotform’s Publish tab. Every reply is saved to Jotform Tables, so you can track digital and paper responses together.











































































Send Comment: