
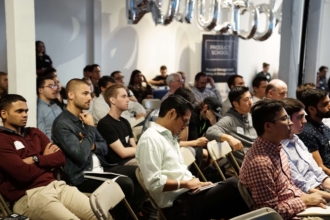
Though face-to-face interaction will certainly remain the preferred format, hosting an event online can significantly lower costs and logistical demands while simultaneously opening the event to a much wider audience. These benefits are likely to make online events a key option for event planners going forward.


While online events might be easier to host than in-person events, they still require careful planning to ensure they are successful. Here are eight steps to host an online event that people will remember for all the right reasons.
How to host an online event
- Set clear goals for your event
- Choose an event format and time
- Set up the event website and registration
- Promote the event through available marketing channels
- Prepare the event’s speakers and content
- Test for potential tech troubles
- Engage your audience
- Follow up with the audience after the event
Set clear goals for your event
The first step to hosting your online event is to clarify the purpose and unique goals of your event. Before you do anything, clarify your purpose by asking your team questions, such as
- Why are you holding the event?
- Who do you want to attend?
- What kind of experience do you want to deliver?
- Will the event be live, on demand, or both?
- Will you charge for the event?
Choose an event format and time
When you have a clear idea of what you want your event to deliver, it’s time to choose the format. Online events can follow a variety of formats, including tutorials, classes, interviews, or behind-the-scenes tours.
Based on your format, select the software — such as Zoom or Google Meet — that makes the most sense for broadcasting your event.
Webinars, for example, typically last between 30 and 80 mins and are presented using video conferencing software like Zoom. Online events can also be livestreamed on social channels — like Facebook — either using the platforms themselves or by linking the broadcast from a tool such as Zoom.
Once you’ve chosen the appropriate platform, set a time for your event, keeping in mind the intended length and the time zones of your prospective audience.
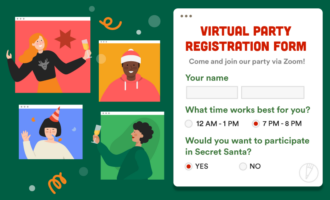
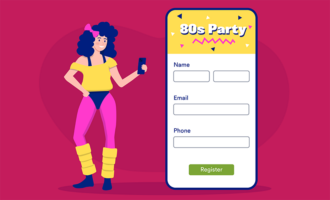
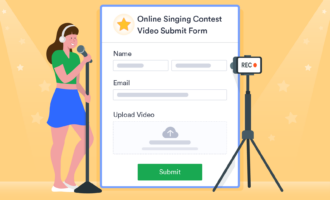
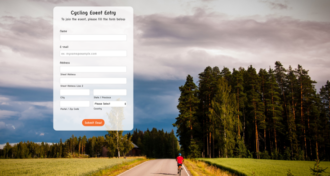
Set up the event website and registration
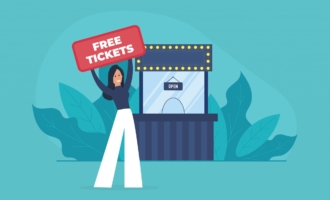
Once you’ve planned your event, publish your event information on social media or an event website. Include a registration form for your event and — if you plan on selling tickets — a secure payment portal.
Jotform’s secure forms make it easy to collect registration and payment information. The wide array of free, mobile-friendly event registration templates such as online conference registration form, can be customized to fit your needs.
Promote the event through available marketing channels
As your event date nears, promote it regularly through any available channels, such as email lists and social media accounts. Set a schedule for posting event reminders on your social media channels — as well as information about speakers, sponsors, or related parties — and consider driving registration through targeted social media advertisements.
According to Marketo, registrations tend to spike two to three weeks before an event, so heighten your efforts during that time frame.
Prepare the event’s speakers and content
Prepare any content you’ll use during your event, such as slides, images, or prerecorded video. If presenters will be speaking, make sure they have a clear idea of what to discuss and prepare any notes or scripts beforehand. Decide on which methods you’ll use to engage the audience, such as through the chat, Q&A, and polling features on popular webinar software.
If you’re using outside speakers, vet their presentation skills and set expectations for the event.
“When we find speakers we want to work with, we interview them to get a sense of their experience and ability to hold attention,” says Dennis Miller, marketing manager at Everquote.
Send speakers and hosts all relevant technical information, clarify the exact steps they’ll need to take, and train them if necessary. Miller adds, “Before the event, we meet with them again to make sure they’re comfortable with Zoom and help them prepare” to ensure they’ll give the best presentation possible.
Test for potential tech troubles
Before the event starts, test the audio and video setup for all presenters to ensure everything is working correctly and there’s no background noise in their environment. “Twenty minutes before an event, we do an audiovisual check to make sure speakers sound good and their video is clear,” says Miller.
Make sure the hardware and internet connection used to host the event are stable. It’s a good idea to use a hardwired internet connection and power source to avoid any potential Wi-Fi or battery issues.
Engage your audience
Begin your event by welcoming attendees, explaining how things will proceed and the ways the audience can interact with event speakers and organizers. The best methods to use will often depend on the size of your audience. While smaller events can get by with direct audience questions and chat, this can quickly become chaotic with larger audiences.
“When we start the [Zoom] webinar, we tell everyone to use the Q&A feature, not the chat. The chat is not ideal for parsing through questions; they can get lost very easily. Then at the end, we leave a few minutes for answering questions in the Q&A,” says Miller.
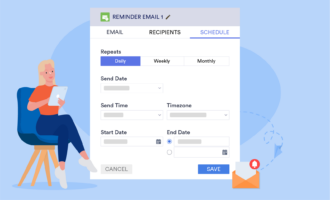
Follow up with the audience after the event
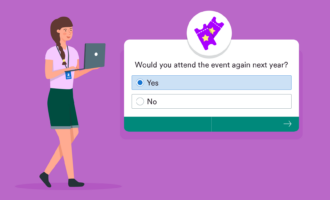
Once you’ve successfully hosted your online event, Miller recommends following up with the audience in a way that’s appropriate to your goals, such as requesting feedback through a survey and sending a recording of the event and any relevant content assets.
“We send out a simple two-question survey through HubSpot within 24 hours after an event: ‘Are there any topics you’d like to hear more about? Are there any speakers you’d like to bring on?’ ”
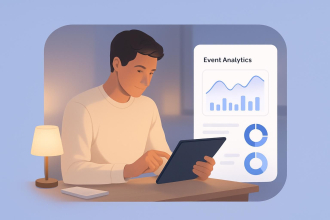
Debrief with your team to see what went well and what could have gone better. Review the audience feedback, and use it to inform your planning for an even better event next time.


Send Comment:
1 Comment:
May 18, 2020
Thank you very much for this wonderful article .you put a lot of effort to please us with excellent content. your articles are very useful and helpful for all develop .infact very few people give so much quality information