
Key takeaways
- Google Forms now uses a separate “publish” step to collect responses from viewers. Creating a form does not automatically make it available to responders. You must publish your Google form before people can submit responses to it.
- After publishing, users can share forms in multiple ways. You can distribute a form through email, a responder link, or an embedded version on your website.
- A Google account is required to publish and email a Google Form. However, your Google account doesn’t need to use a Gmail address.
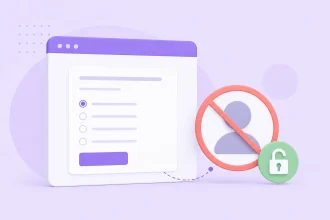
- For many users, Jotform may offer a more flexible publishing experience. Users who need stronger branding, payment collection, automation, and a no-login experience for respondents may find Jotform a better fit.
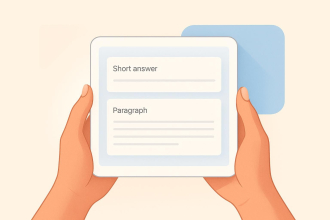
If you’ve recently built a new Google Form and can’t find the old Send button anymore, you’re not imagining things. Using Google Forms now includes a dedicated publishing step, creating some confusion for users in the habit of simply building a form and clicking that familiar button.
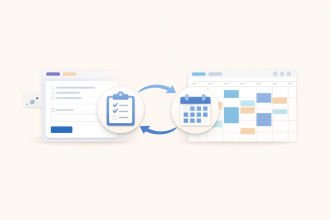
The bottom line is this: Publishing and sharing are connected but not identical. Publishing makes the form live, while sharing the form determines how responders receive and access it. Once your form is published, you can distribute it in three ways: by a link, by email, or by embedding the form on a website.
Here’s more on how the current process works.
How to publish a Google Form in 2026
If you’ve already built your form, publishing it takes only a few more steps and a short amount of additional time. Here’s how to do it, step by step:
Step 1: Open your Google Form
Sign in to your Google account and either create a Google Form or open the existing Google Form you want to make available to responders.
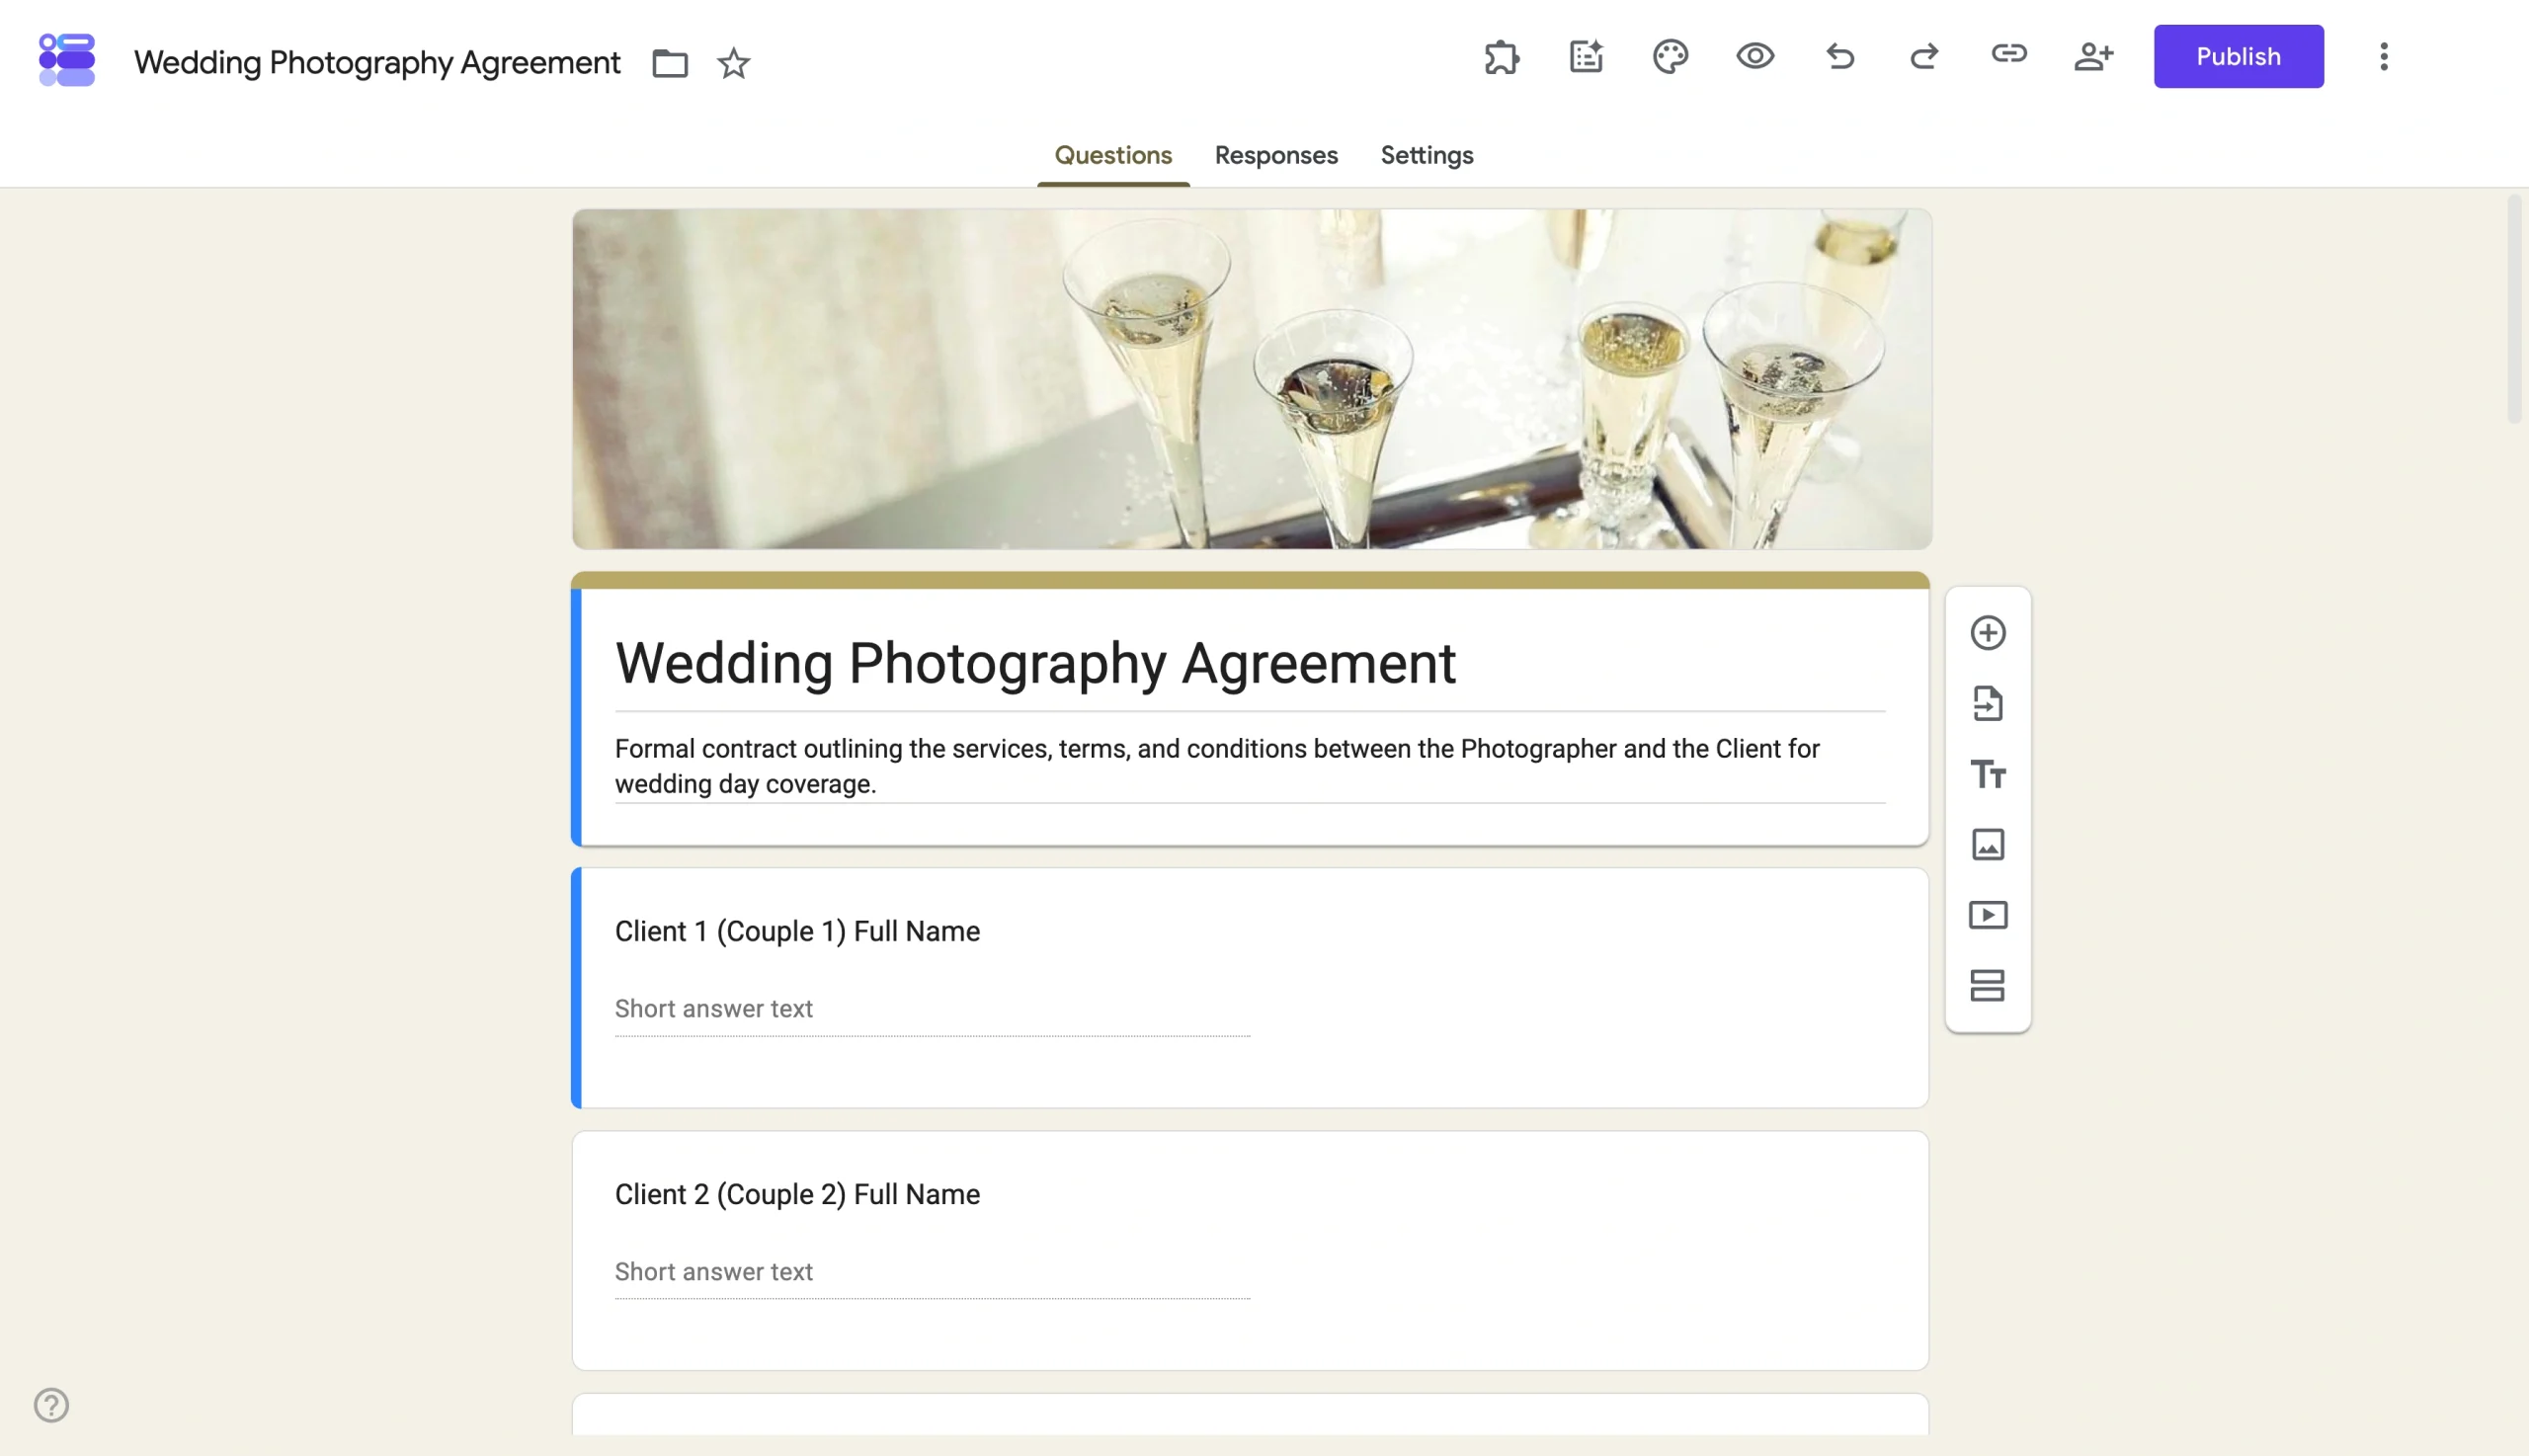
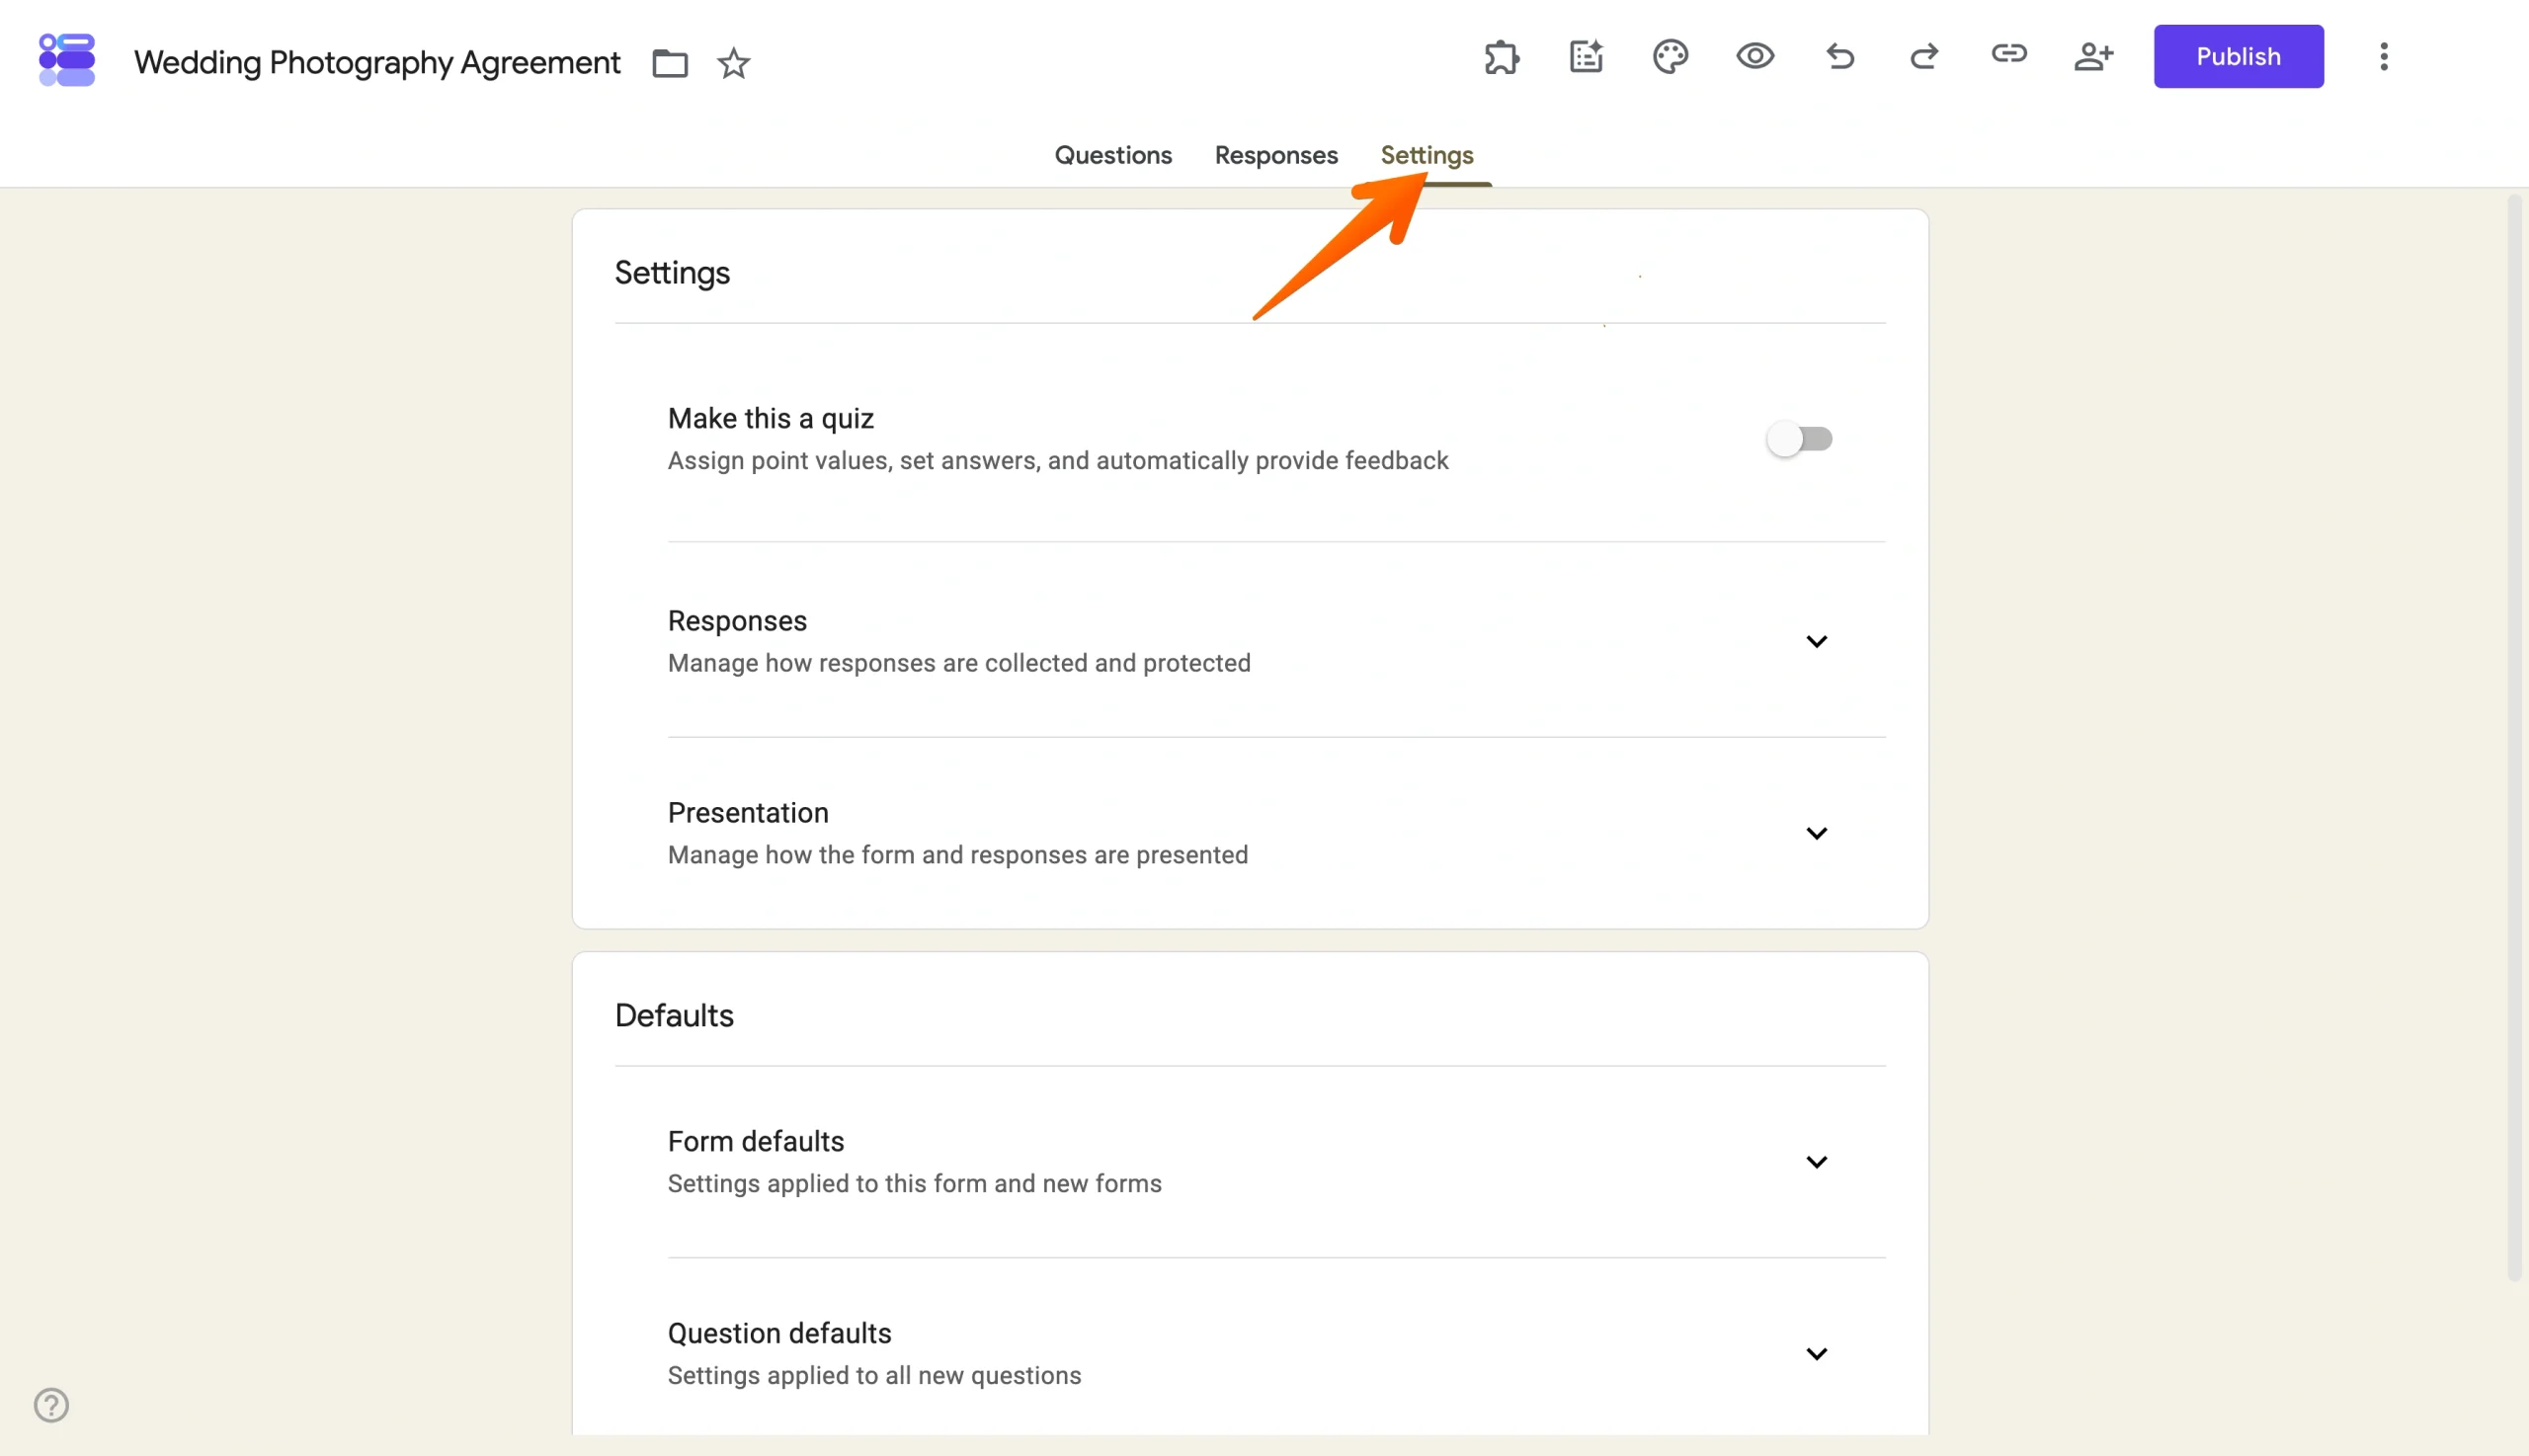
Step 2: Review your form settings
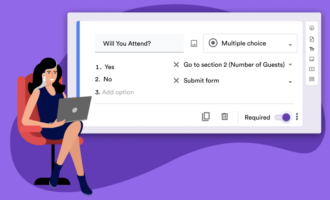
Before publishing, take a quick pass through the document to confirm your questions, descriptions, and settings are accurate. This is a good time to verify response permissions and any restrictions you want to apply.
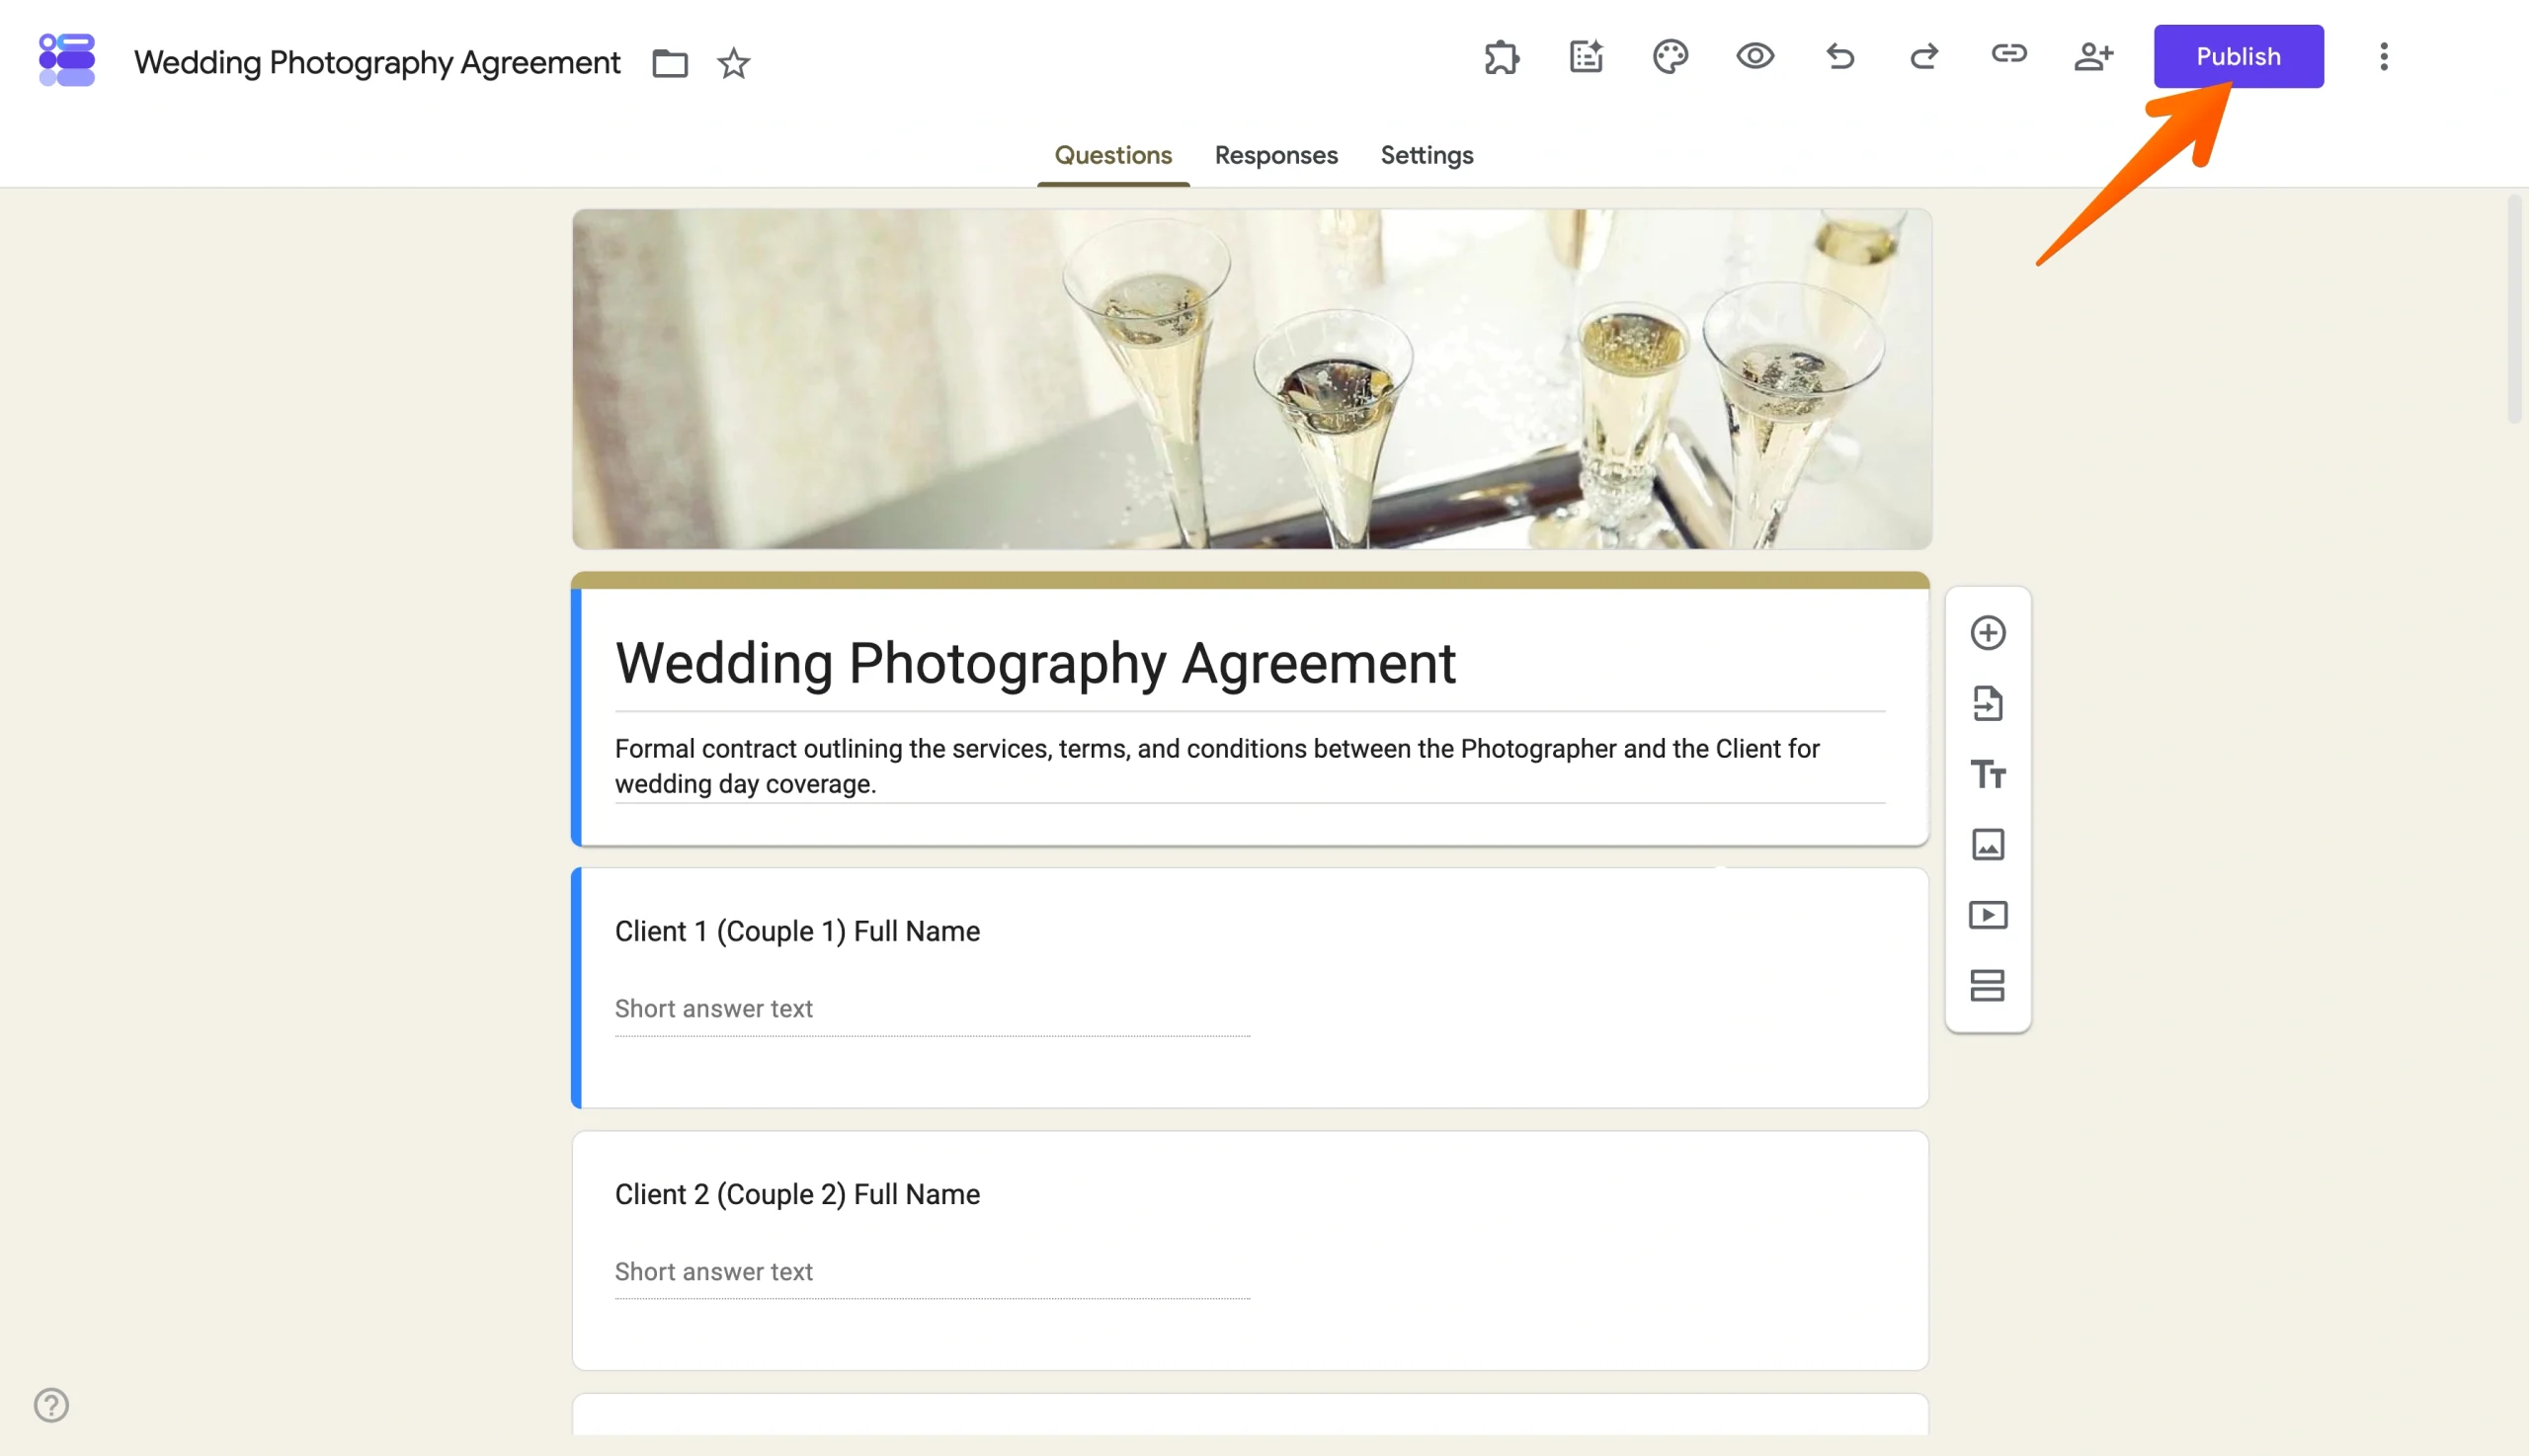
Step 3: Click Publish
In the upper-right area of the Google Forms editor, click Publish.
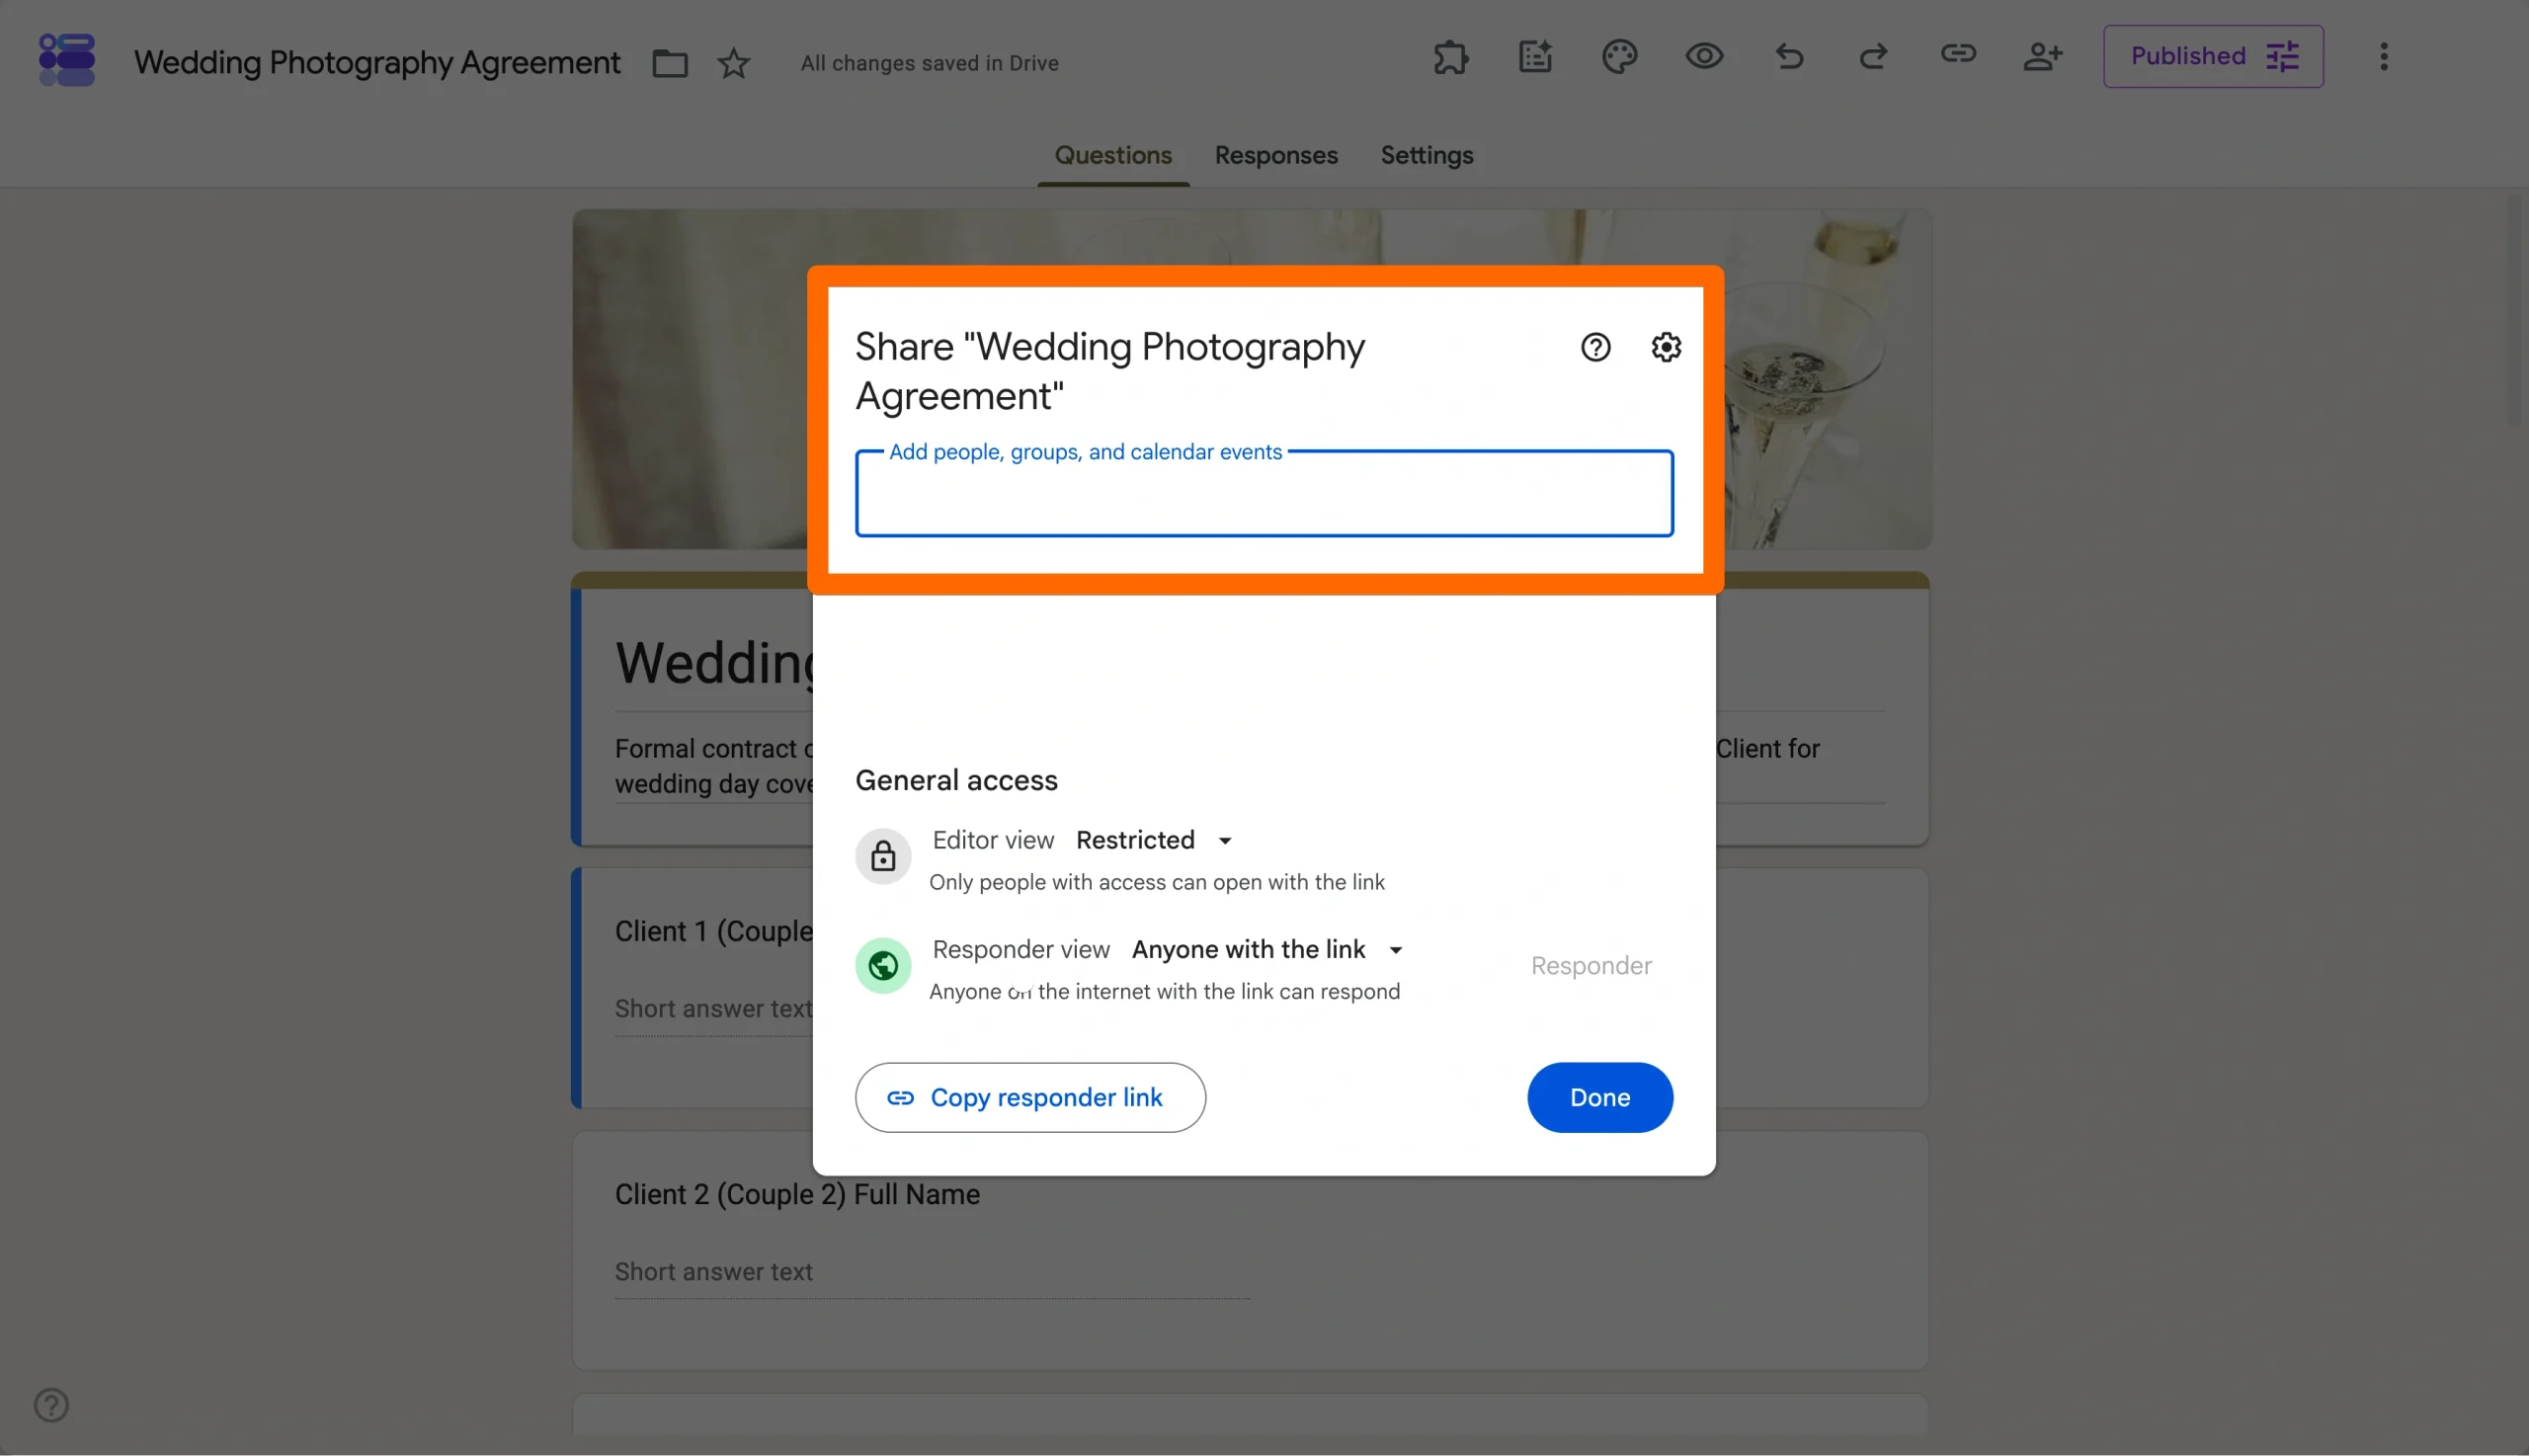
Google will display publishing and access options that determine who can reach your form.
Step 4: Configure access permissions
Choose the appropriate access level for your audience.
For example, you may want to
- Allow anyone with the link to respond: This is the simplest option for public surveys, event registrations, or external audiences.
- Restrict responses to people in your organization: This option is most useful for internal team forms and anything that shouldn’t be accessible outside your company.
- Require Google account sign-in: This is the best way to ensure only one person accesses your form.
The right choice depends on whether your audience is public, internal, or limited to a specific group.
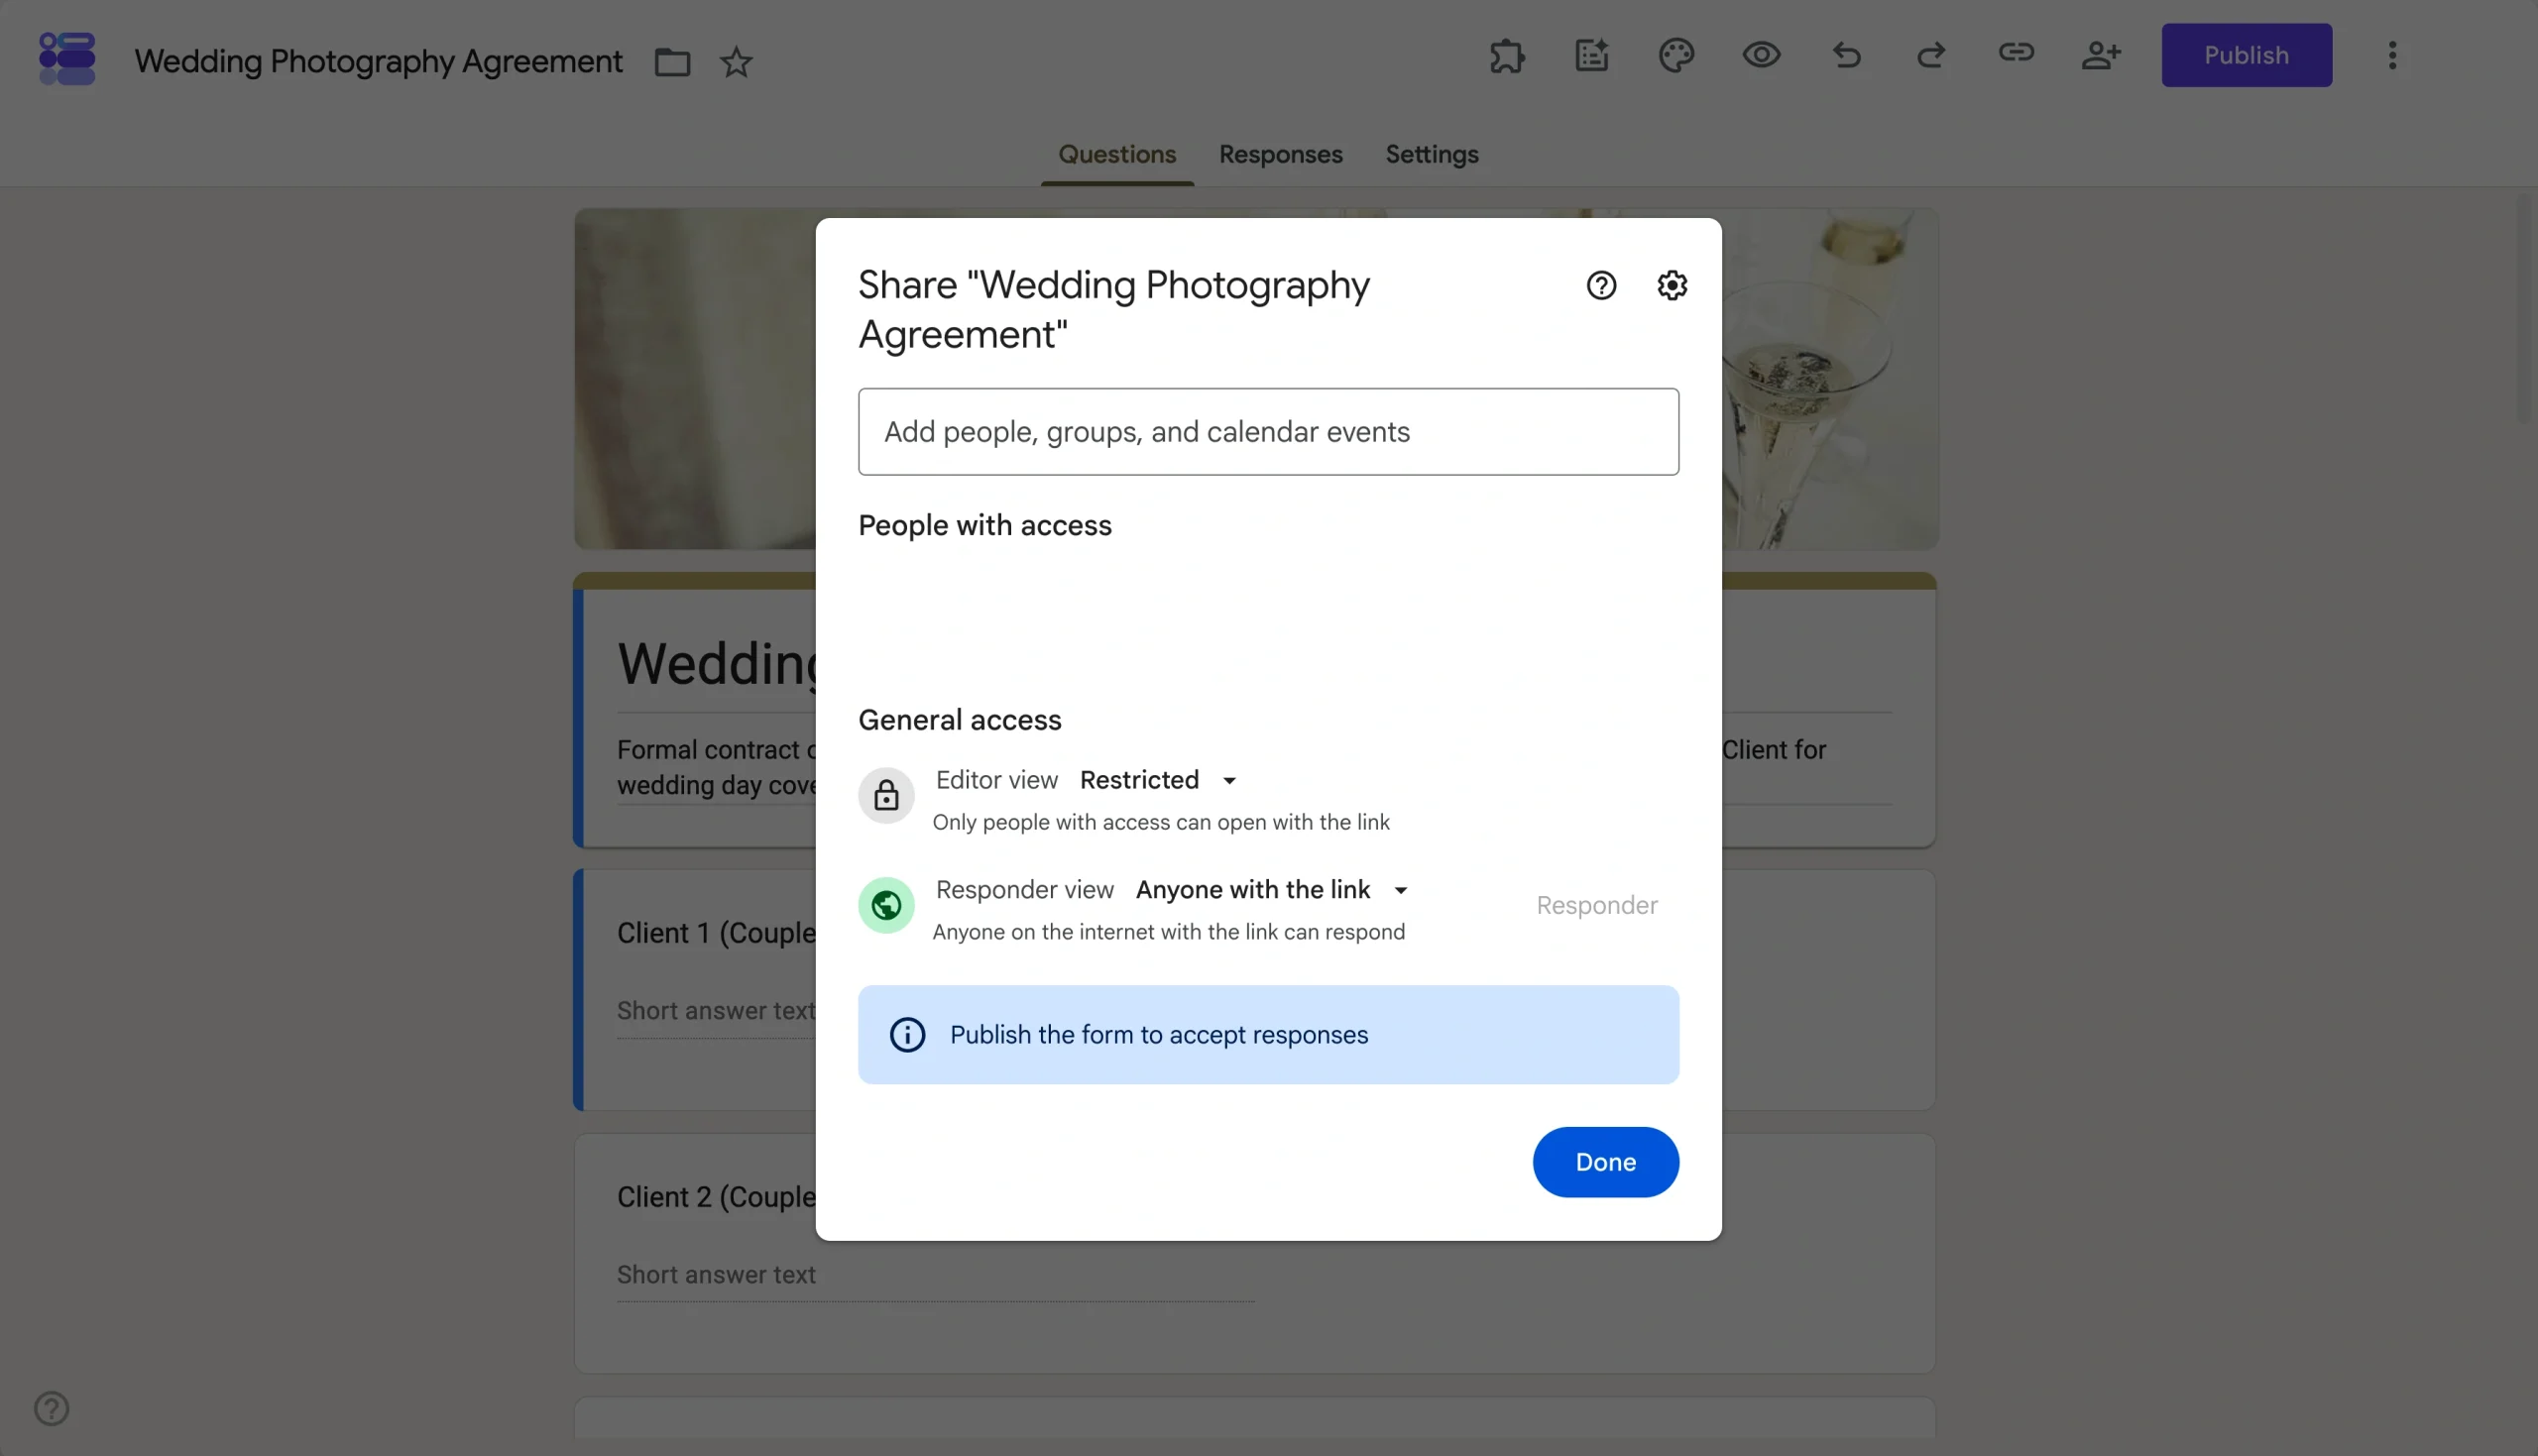
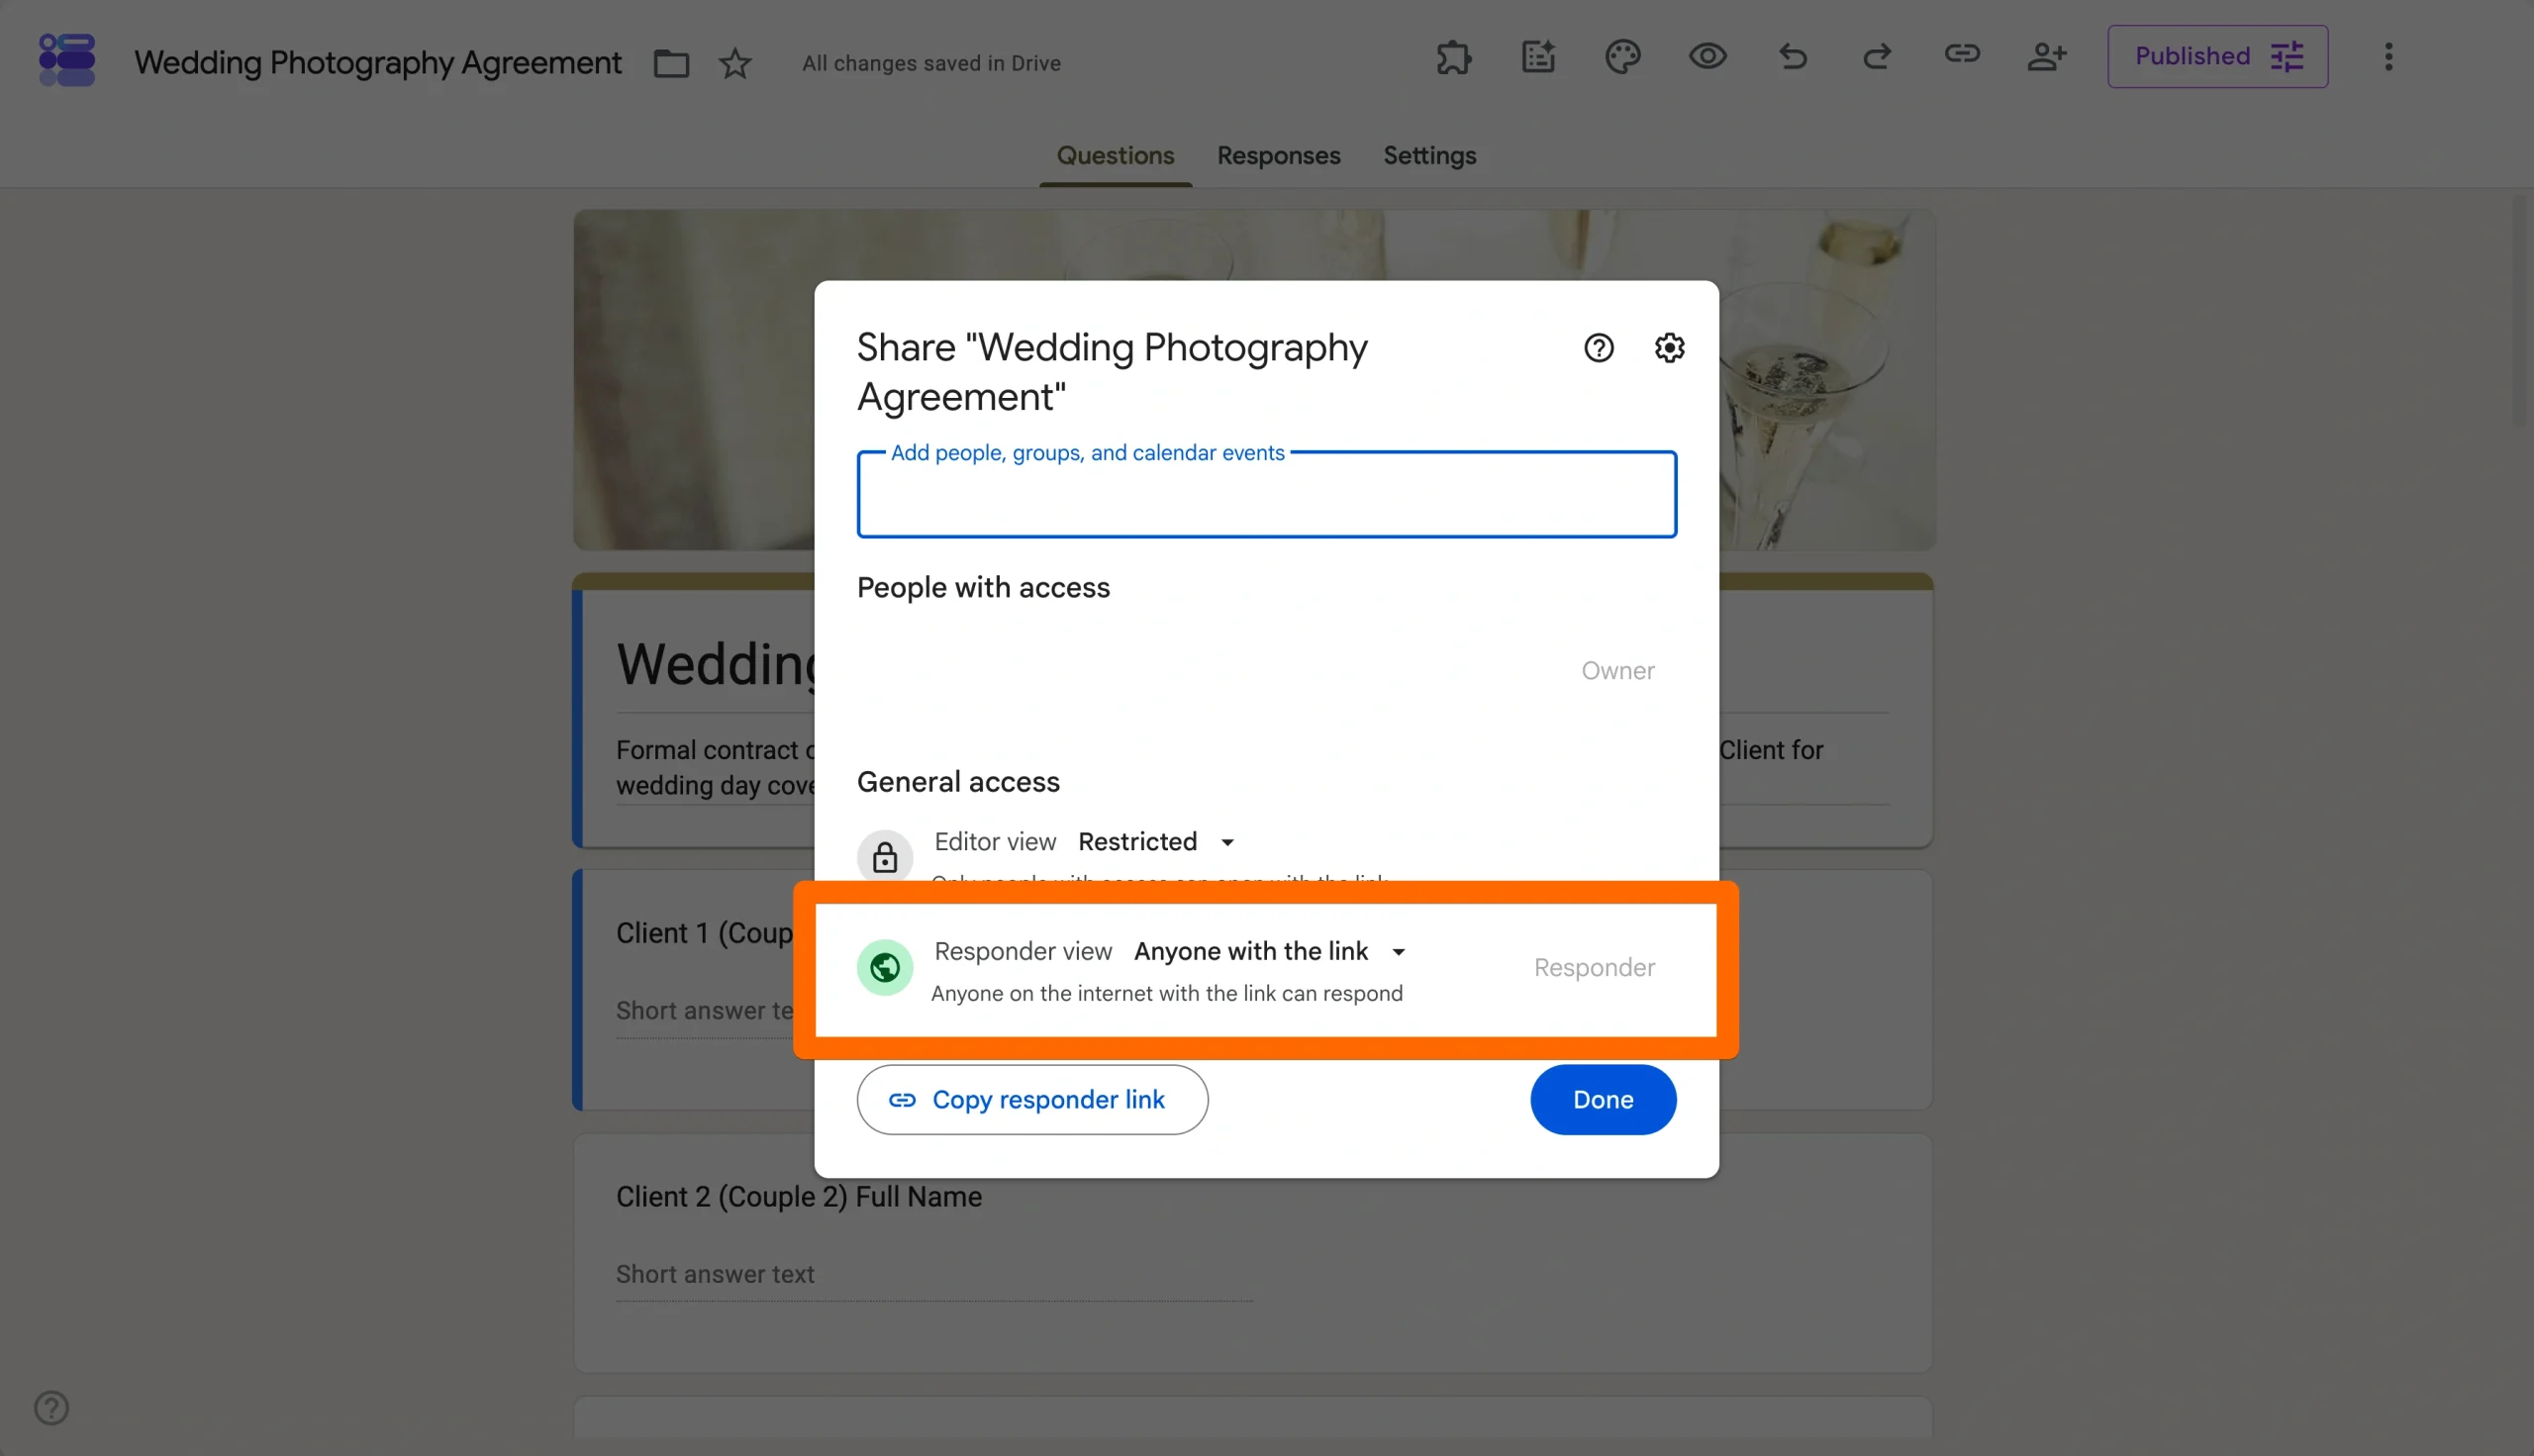
Step 5: Confirm and publish
Review the settings and complete the publishing process. Once published, Google Forms generates your sharing options to distribute the form.
Step 6: Copy or share the published form
After publishing, you can send the form by email, copy the responder link, or generate embed code for a website. These tools also enable you to make a Google Form public.
The key point to remember is that building a form is not the same as publishing it. You must do both to collect responses.
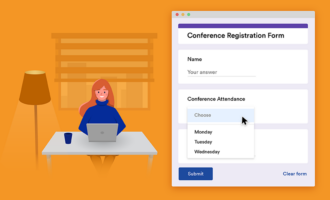
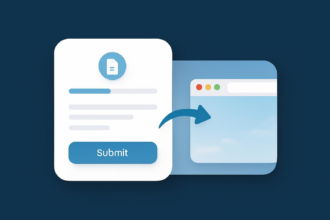
3 ways to send a Google Form
Publishing makes your form live, so sharing is the next step. Once the form is published, you can distribute it by sending it in an email, copying and sending a responder link, or embedding it directly into a website or blog.
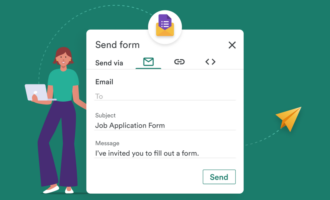
1. Sending your Google Form by email
Google Forms lets you send the form directly from the sharing workflow — no need to copy a link and paste it into a separate email.
After publishing
- Open the sharing options
- Select the email delivery option
- Add recipient addresses, a subject line, and a message
- Send
This is a natural fit for targeted outreach — a team survey, a customer feedback request, a classroom form. You can also embed the form directly in the email, though if you’re not sure which email clients your recipients use, sending the link is usually the safer bet.
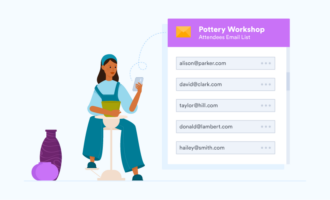
2. Sharing your Google Form by link
For most situations, this is the fastest and most versatile option. After publishing, open the sharing panel and copy the responder URL, or opt to generate a shorter link if you prefer something cleaner.
The responder link works anywhere you’d drop a URL:
- Emails and newsletters
- Slack or Teams messages
- Internal documentation or wikis
- QR codes for printed materials
- Social media posts
Because one link works across all these channels, it’s the easiest option when you’re distributing broadly or reusing the form over time.
3. Embedding your Google Form on a website
If you want visitors to complete the form without leaving your website, embedding is the best choice.
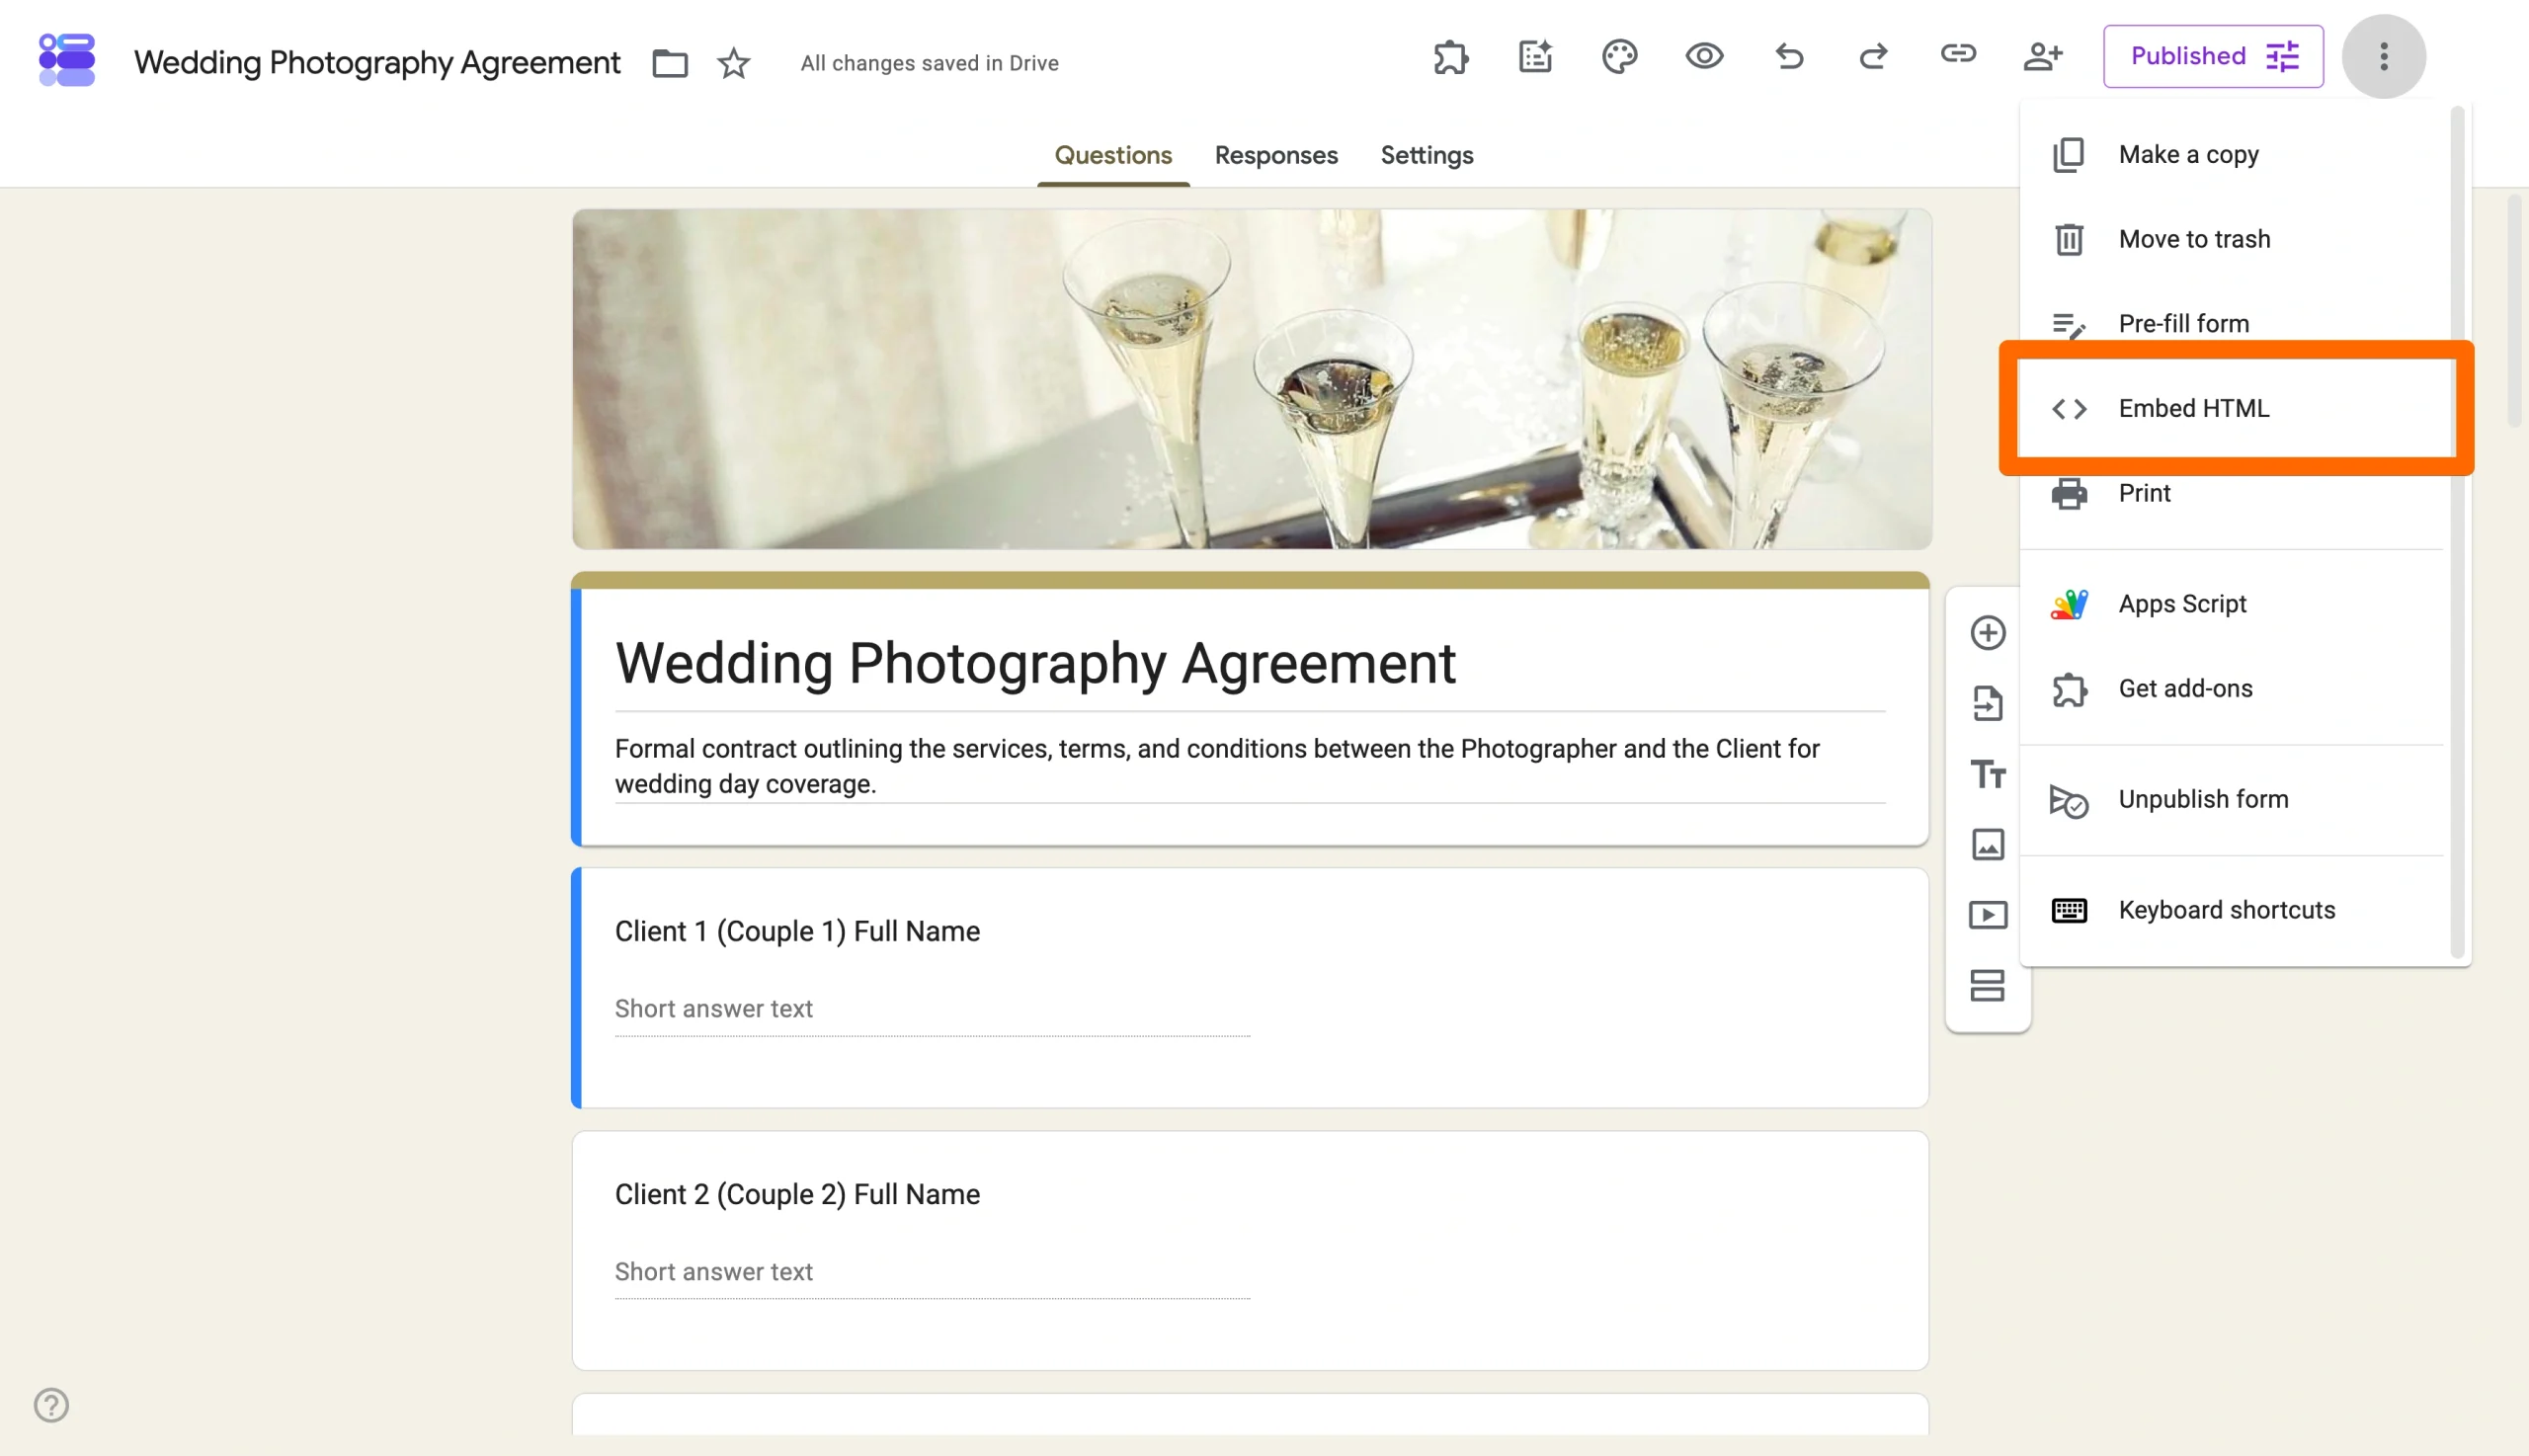
To embed a Google Form
- Open the sharing options for the published form
- Select the embed option
- Copy the generated HTML code
- Paste the code into your website, blog, landing page, or CMS
Embedding is commonly used for
- Contact forms
- Event registrations
- Surveys
- Lead generation pages
- Customer feedback forms
Before launching, always test the embedded form on both desktop and mobile devices to confirm that sizing, scrolling, and submission behavior work as expected.
No matter which method you choose, all three sharing options start with the same requirement: The form must already be published.
What you can control when publishing a Google Form
The newer Google Forms interface separates publishing from several other settings, which can be confusing.
Here’s what each setting actually controls:
- Publishing makes the form available to responders.
- General access settings determine whether anyone with the link can respond or whether access is restricted to a smaller audience.
- Limit to one response requires responders to sign in with a Google account before submitting.
- Allow response editing and View results summary are separate response-management settings and are not part of the publishing process itself.
- Stop accepting responses lets you close submissions later without deleting the form or removing previous responses.
If a published form still appears inaccessible, the issue is often related to access permissions or sign-in requirements rather than publishing itself.
Publish and share forms better with Jotform
Google Forms works well for basic surveys and information gathering. However, there are some cons of Google Forms, and users who need more control over the live form experience often outgrow its publishing and sharing options.
Jotform provides a more streamlined workflow for creating, publishing, and managing forms at scale.
Key advantages to using Jotform include
- No login required for form fillers, reducing friction for customers, donors, event attendees, and other external audiences.
- More extensive customization options for themes, colors, fonts, layouts, and branding.
- Built-in payment collection for registrations, donations, orders, and other paid submissions, through a robust set of payment integrations.
- Automatic confirmation emails and simpler submission management workflows, including Google Forms email notifications.
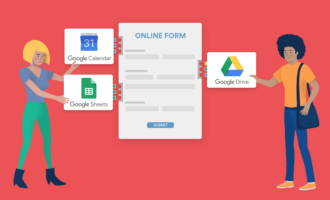
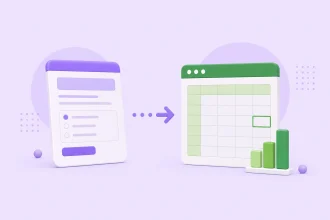
- Form integrations with tools such as Google Sheets, Slack, Airtable, Zapier, and thousands of other applications.
- More than 20,000 free form templates that help users launch forms faster.
- Flexible publishing, sharing, and embedding options with Google Forms add-ons designed for both internal and public-facing forms, including the ability to easily embed a Google Form in email.
Rather than simply adding features, these capabilities offer greater control over how respondents experience and interact with live forms.
Migrate your Google Form to Jotform in minutes
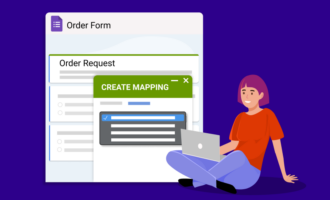
If you’ve already invested time building a Google Form, you don’t need to start over. Jotform lets you import the structure of an existing Google Form, customize its appearance, add advanced functionality, and publish a more flexible version in just a few steps. That makes it the best Google Forms alternative.

Looking for the best alternative to Google Forms?
Jotform’s full-featured form-building solution is mobile-friendly and has the most integrations in the industry. Use it to collect payments, automate workflows, gather leads, and more.
Best of all, you can migrate your forms over to Jotform in mere minutes.
FAQs about publishing Google Forms
Google Forms introduced a dedicated publishing workflow that separates making a form live from distributing it. Publish controls availability, while sharing options determine how responders receive access to the form.
Not always. Publishing makes the form available, but access settings determine who can respond. Some forms allow anyone with the link, while others are restricted to specific users or require Google account sign-in.
Yes. After publishing, Google Forms provides an embed code that can be added to websites, blogs, landing pages, and other web pages. Ideally, test the embedded form on desktop and mobile devices before you launch.
This article is for teachers, team leads, marketers, admins, and small business owners who already built a Google Form but are confused by the current publish flow. They want to make the form live, control who can respond, and share it the right way without sending the wrong link or running into access issues.


Send Comment: