
How to accept payment on Google Forms
- Link out
- Use peer-to-peer payment
- Use Google Workspace add-ons
Forms have evolved a lot over the years. In the past, we created forms with checkboxes that required pens and pencils to complete, but now we’re developing complex web pages with a variety of answer options.

Looking for the best alternative to Google Forms?
Jotform’s full-featured form-building solution is mobile-friendly and has the most integrations in the industry. Use it to collect payments, automate workflows, gather leads, and more.
As forms continue to evolve, businesses are looking for ways to integrate payments. Whether you’re registering people for an event, collecting information for a group order, or building a confirmation page for your e-commerce site, collecting payments within forms is a huge benefit.
Google Forms is a popular tool that integrates with the Google suite, but it isn’t considered to be compliant with the Payment Card Industry (PCI) on its own. Since PCI ensures that transactions meet security standards, you’ll need a creative solution to set up secure payments with Google Forms.

Linking out
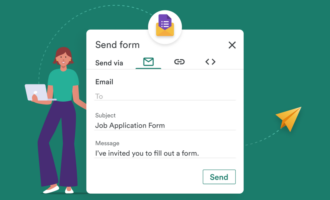
One basic way of accepting payment on Google Forms is to provide a link to another site. You can connect to PayPal, Google Pay, Apple Pay, or technically any online payment method that your users have an account with.
Here’s how to link out on Google Forms:
- Set up the link to your payment processor of choice.
- Once you’ve finalized your Google Form, go to the Presentation tab and update your confirmation message (which appears after the user submits the form).
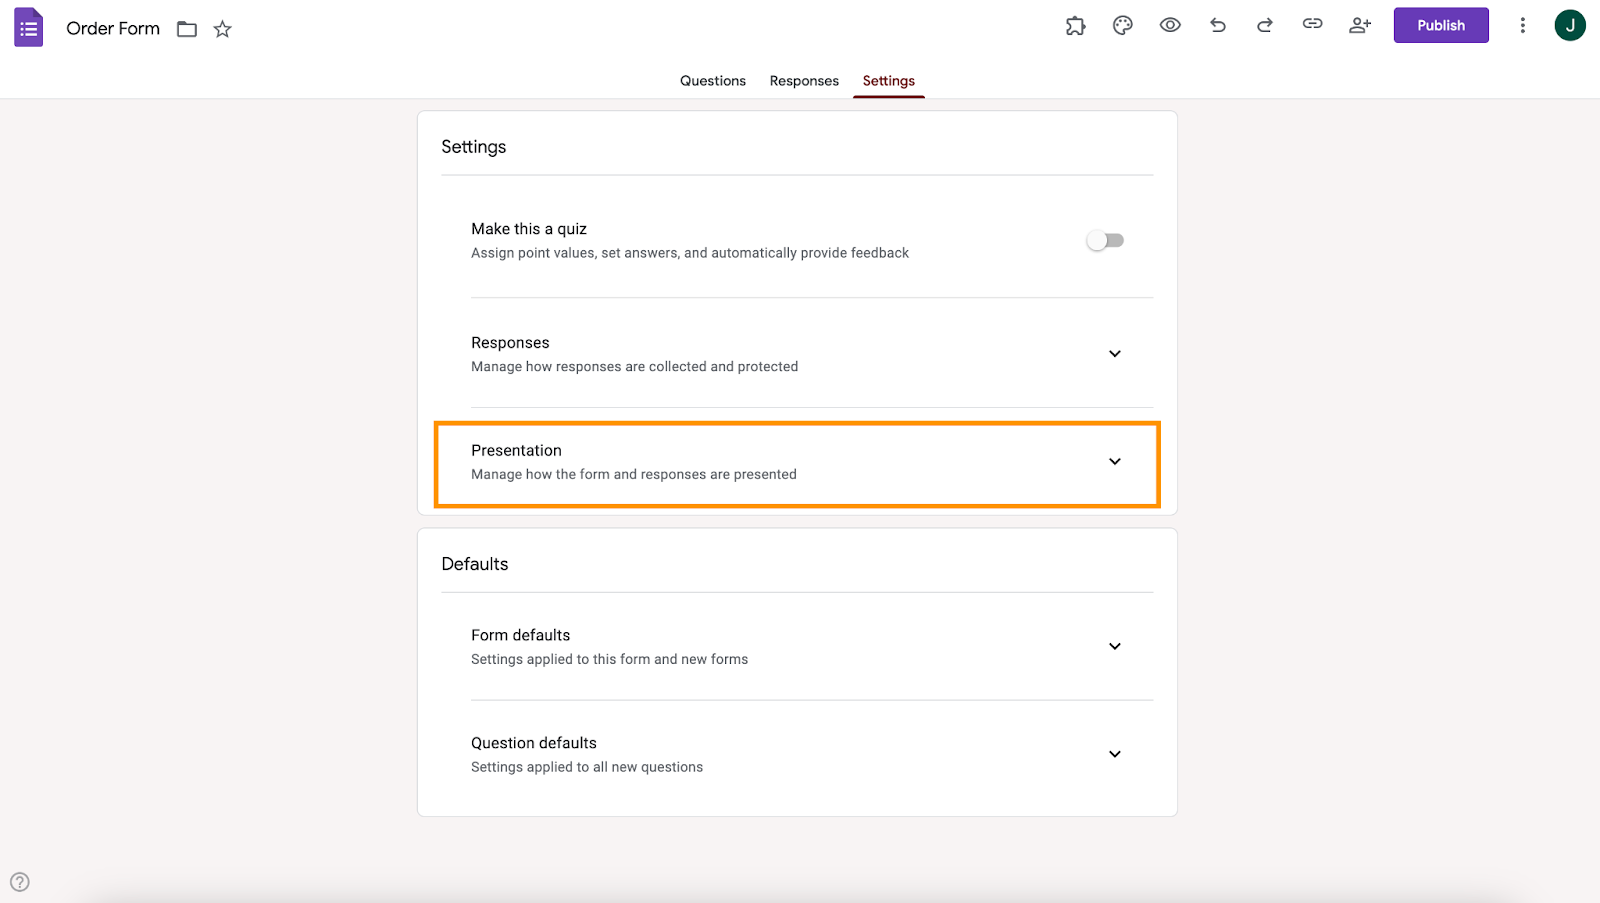
- Customize your message and drop in the link for payment.
- Track the payments in your form’s response sheet.
Pro Tip
Jotform lets you integrate with 40+ popular payment processors, so you can accept payments online via PayPal, Square, Stripe, and more.
Using peer-to-peer payment
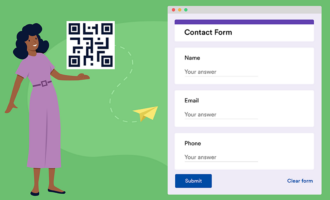
A peer-to-peer payment platform is a formal and streamlined way to integrate payment, and it has a more seamless design than an outbound link. Whether you’re interested in using Venmo, Cash App, or Zelle, you can leverage these P2P programs using QR codes placed directly into your Google Forms.
Here’s how to use peer-to-peer payment on Google Forms:
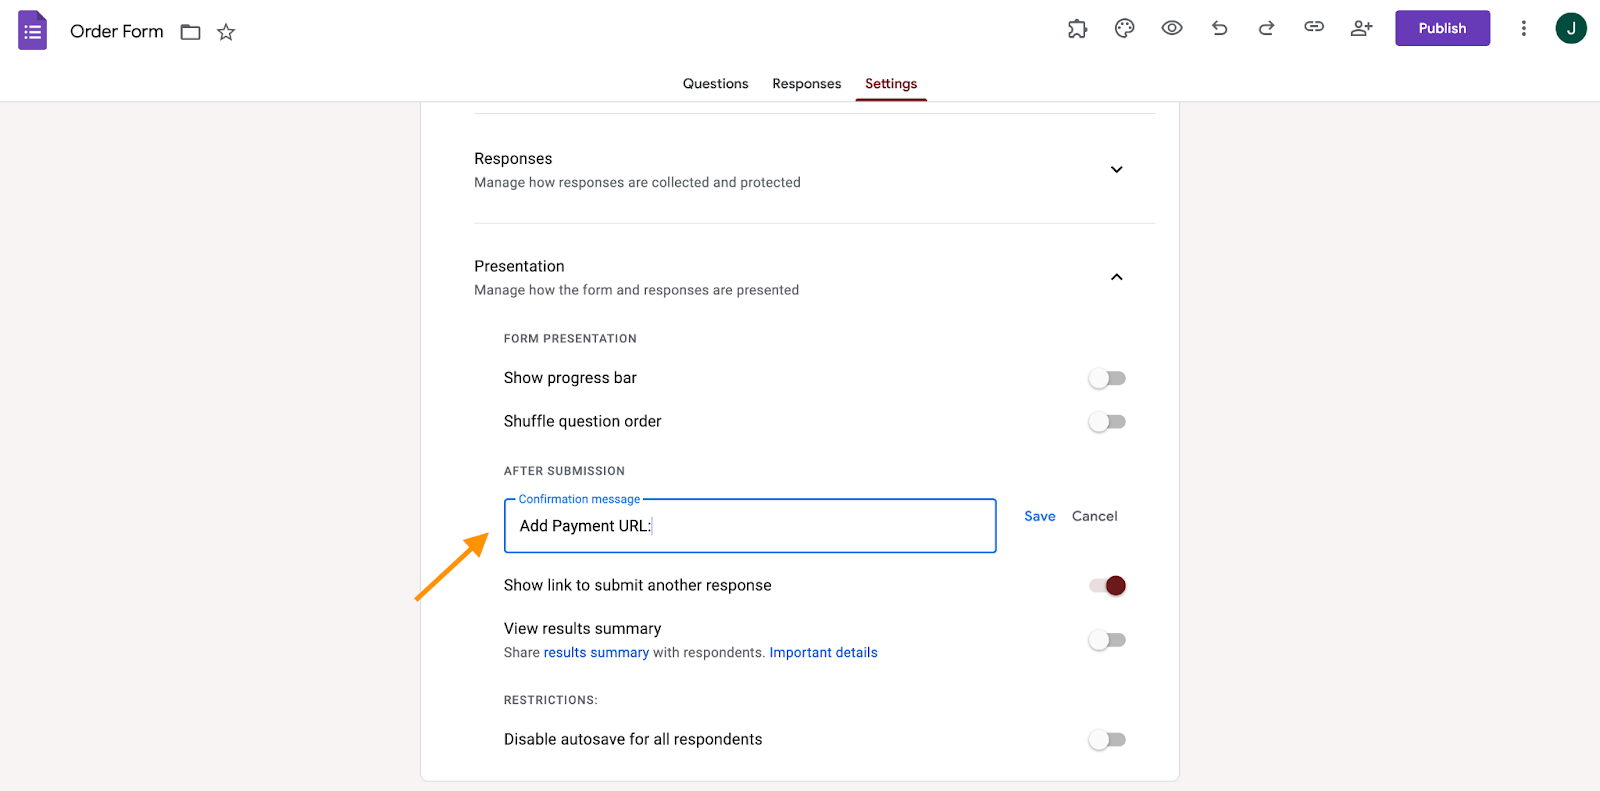
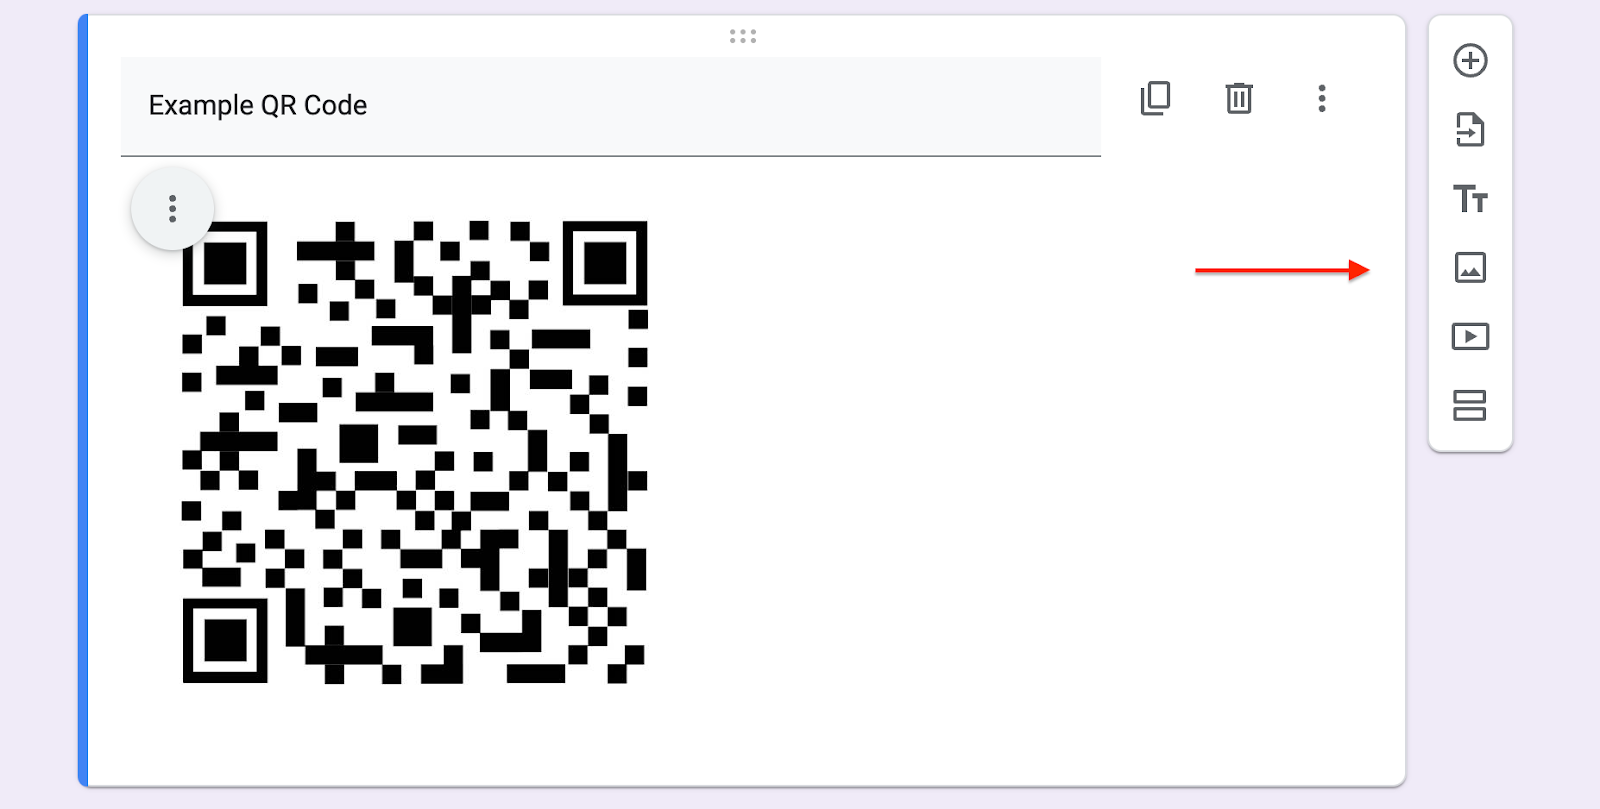
- Generate a QR code to your payment processor of choice.
- Once you’ve finalized your Google form, simply add an image of the QR code to your form.
- Track the payments in your form’s response sheet.
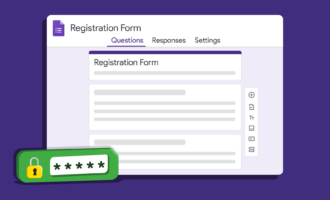
Using Google Workspace add-ons
Your best bet for accepting payment on Google Forms is a Google Workspace add-on. These external tools are available in the Google Workspace Marketplace. Some of the options are specific to certain use cases, such as Neartail, a widget that integrates with order forms for restaurants and other businesses and allows them to customize forms with their own branding.
Other options, like Payable, require a bit more tailoring to your forms. This add-on hosts a separate secure checkout that connects to your form directly so you can easily manage the backend data gathered with your form (e.g., through a connected Google Sheet).
When you’re considering all the options, these add-ons are some of the better techniques available if you want to stick with Google Forms as your form builder. Even so, navigating payment will be a bit trickier and require some creativity.
Here’s how to implement a Google Workspace add-on in Google Forms:
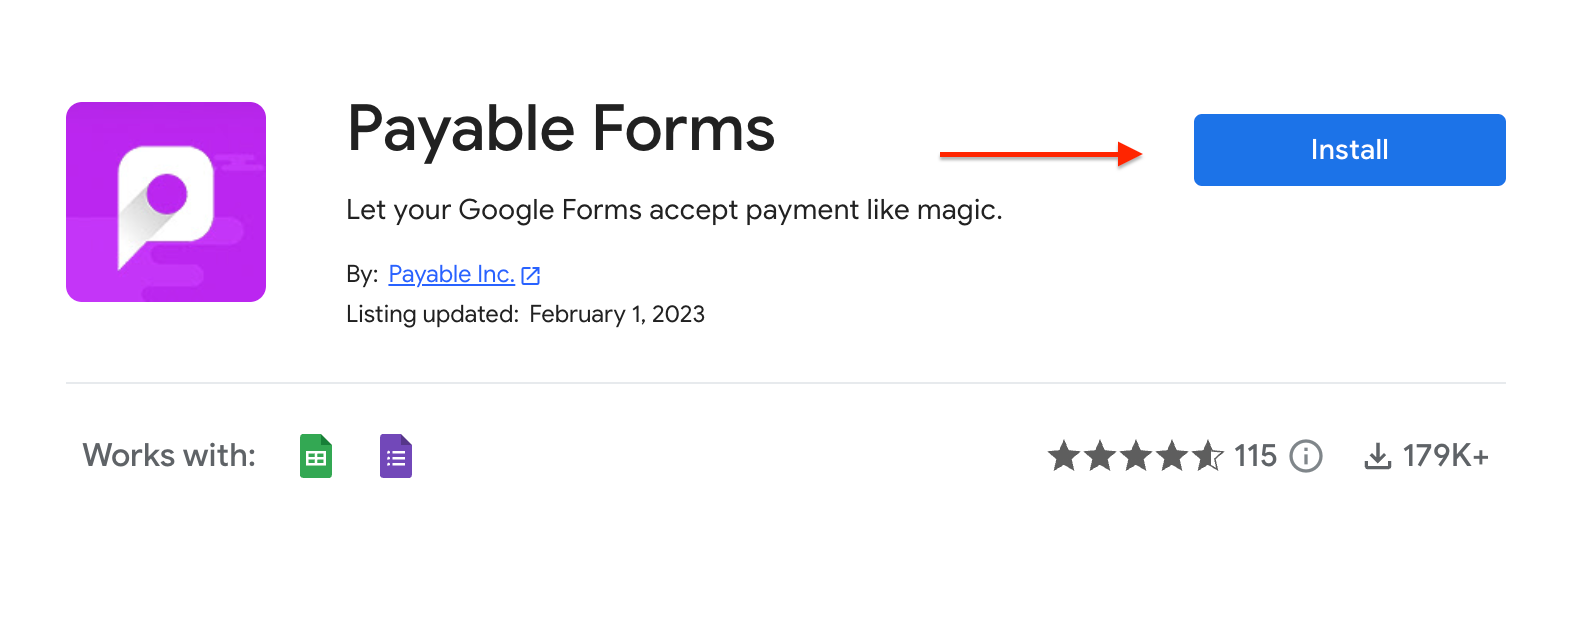
- Install your add-on of choice from the Google Workspace Marketplace.
- Connect a payment provider.
- Use “test mode” to make sure your add-on is working properly.
- Track the payments in your form’s response sheet.
Need a form builder in Google Workspace? Try the Form Builder by Jotform!
Accepting payments with Jotform
Instead of trying to force a workaround to accept payment on Google Forms, try using a form generator that’s PCI compliant and makes the operation a breeze. Jotform removes the barriers of friction-heavy processes, user bounce-out, and excessive third-party involvement by offering a fully customizable interface.
With Jotform’s nearly 40 different payment processor integrations, you can easily add a payment method to one of Jotform’s customizable forms. These allow you to accept card payments, ACH payments, e-checks — whatever suits your users.
If you’re having trouble deciding which of these options to choose, Jotform even offers a comparison chart to give you a breakdown of what works best for each situation. Choose the purpose of your payment, select a payment gateway, and even specify the country and currency in which someone will make the purchase.
And remember, no matter which method you choose, Jotform will never charge extra transaction fees for accepting payments through these forms.
Here’s how to accept payments with Jotform:
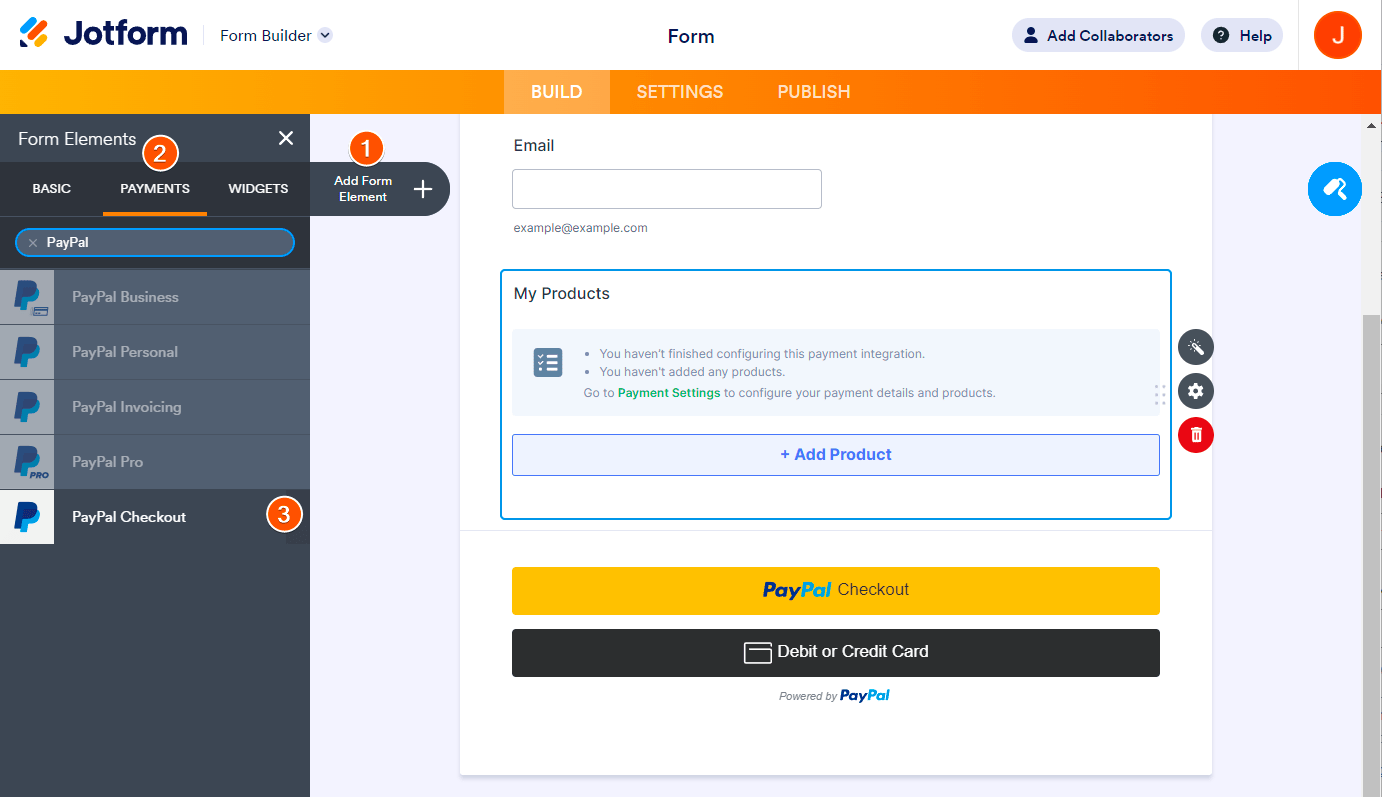
- In the Form Builder, click the Add Form Element button.
- Go to the Payments tab.
- Search for your preferred payment gateway, and select it to drop it in your form.
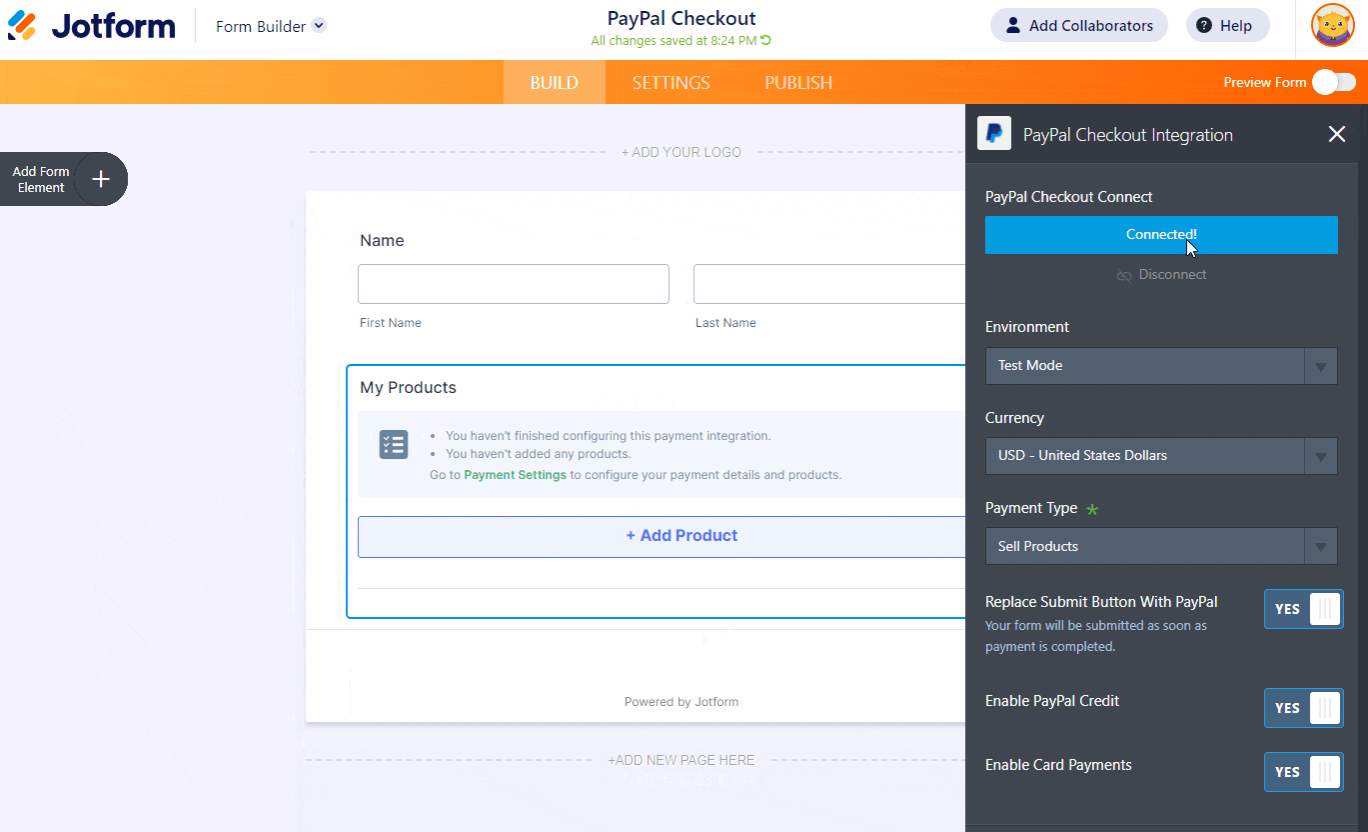
The Payment Settings menu (see below) will open. There, connect your account to authenticate the integration.
Get started with easy ordering 👇
Accepting payment on Google Forms takes some navigating and ingenuity. While there are some rudimentary versions of payment integrations, add-ons provide a better experience. But a robust form builder like Jotform is equipped to handle your customers’ payments without confusing them. With Jotform, you can make your forms blend into your site and make your business more flexible.
See also Jotform’s detailed guide about: Google Forms


Send Comment:
4 Comments:
April 4, 2024
Not that hard easy to do.
December 4, 2022
We have used the Payable Forms Add-On you mention and link to in this article with our Google Forms for a monthly mowing membership for a year or so now.
Overall it works great, we use it for subscriptions and seasonal instalments as well as one time payment. Would recommend 👍
August 1, 2022
You say there aren't any extra fees, great I thought. So I set up a Jotform and started collecting the data and payments. Only to find there WERE extra fees. I had to pay Jotform $34 to be able to collect only 100 payments. Even more if we went over that number. This should have been made clear in the article because once I had published the form and people started completing it, I had no choice but to pay the fee even though it wasn't disclosed when setting it up. Very disappointed that you 'forgot' to mention the fees in this article.
February 28, 2022
Nice one.