
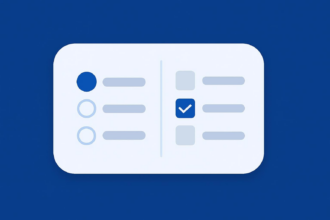
Steps to make a Google Form Public
- Open the form in Google Forms.
- Click Settings, then Responses.
- Toggle “Limit to 1 response” to the off position.
- Click the Share icon.
- Choose how you’d like to share your Google Form.
- Click on the Responses tab to see feedback.
Interactive step-by-step tutorial
One of the most popular and reliable ways to collect feedback quickly from a large number of people is to create an online survey using a tool like Google Forms. But to collect the responses you’re looking for, you’ll need to know how to make a Google Form public. Otherwise, potential respondents simply won’t be able to access it.
To avoid this inconvenience, you need to know how to share your forms and surveys with customers, fans, and anyone willing to give you useful information. Bringing in new perspectives can help you better understand your target demographics, including what they’d like to see from your particular product or service.


Luckily, you can gather this valuable intel once you learn how to make a Google Form public.

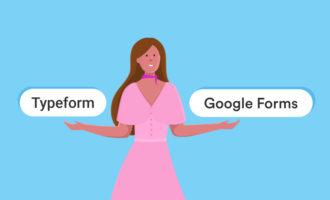
Looking for the best alternative to Google Forms?
Jotform’s full-featured form-building solution is mobile-friendly and has the most integrations in the industry. Use it to collect payments, automate workflows, gather leads, and more.
Why make a Google Form public?
Making your Google Form public helps you remove accessibility barriers and open it up to a larger pool of respondents with new, unique perspectives. It’s an easy, seamless, safe way to share your form or survey with others to collect valuable feedback.
That said, while your respondents can fill out your public Google Form, they won’t have the permissions needed to edit the form itself or make any changes to its content.
How to make a Google Form public — and share it
Now that you know why you should make a Google Form public, let’s learn how to actually do it.
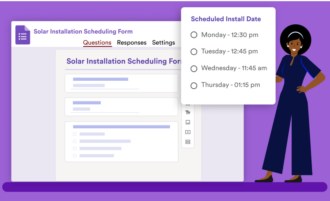
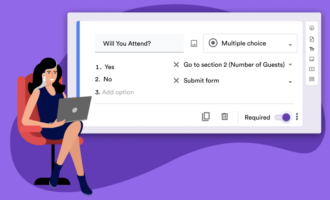
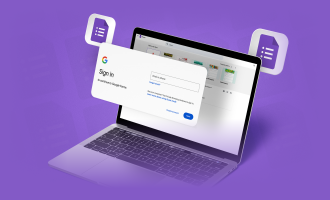
- Open the form you’d like to make public in Google Forms. (If you haven’t yet created one, you need to do that first.)
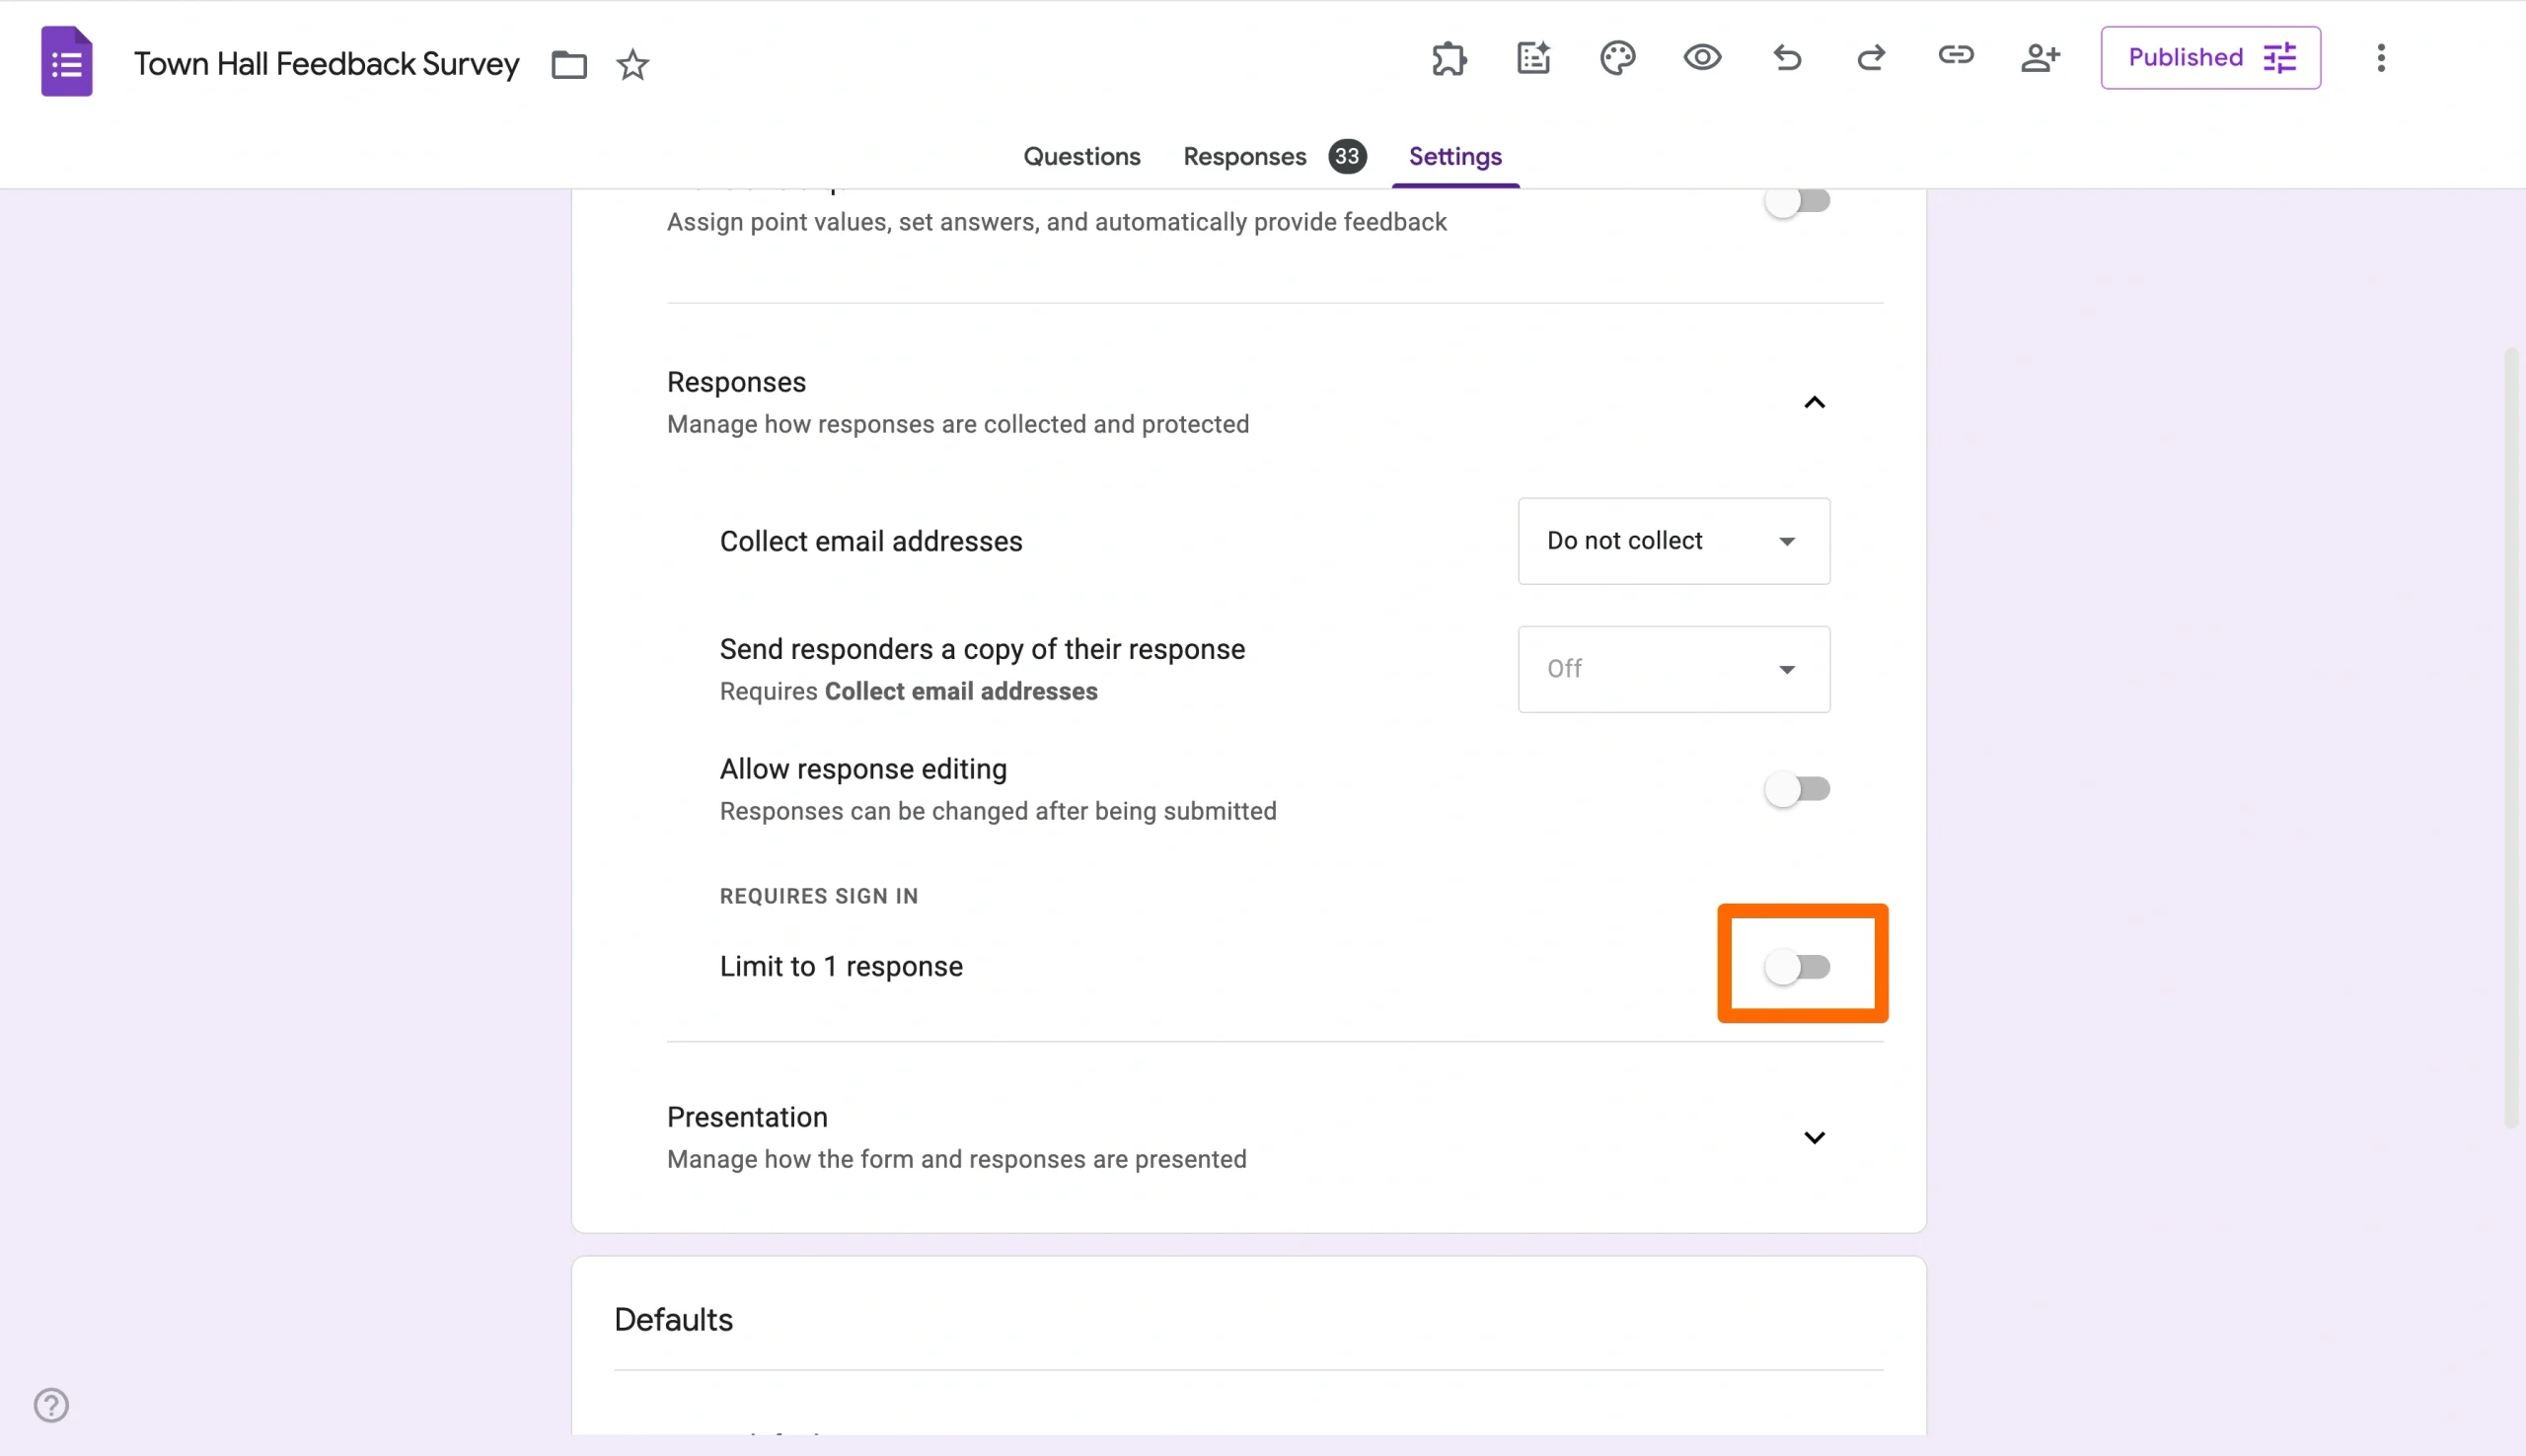
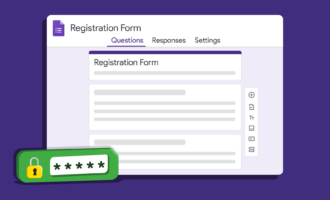
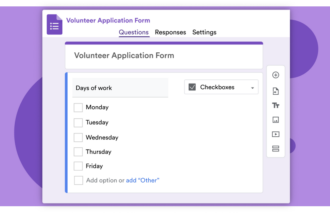
- Under the Settings tab, click on Responses.
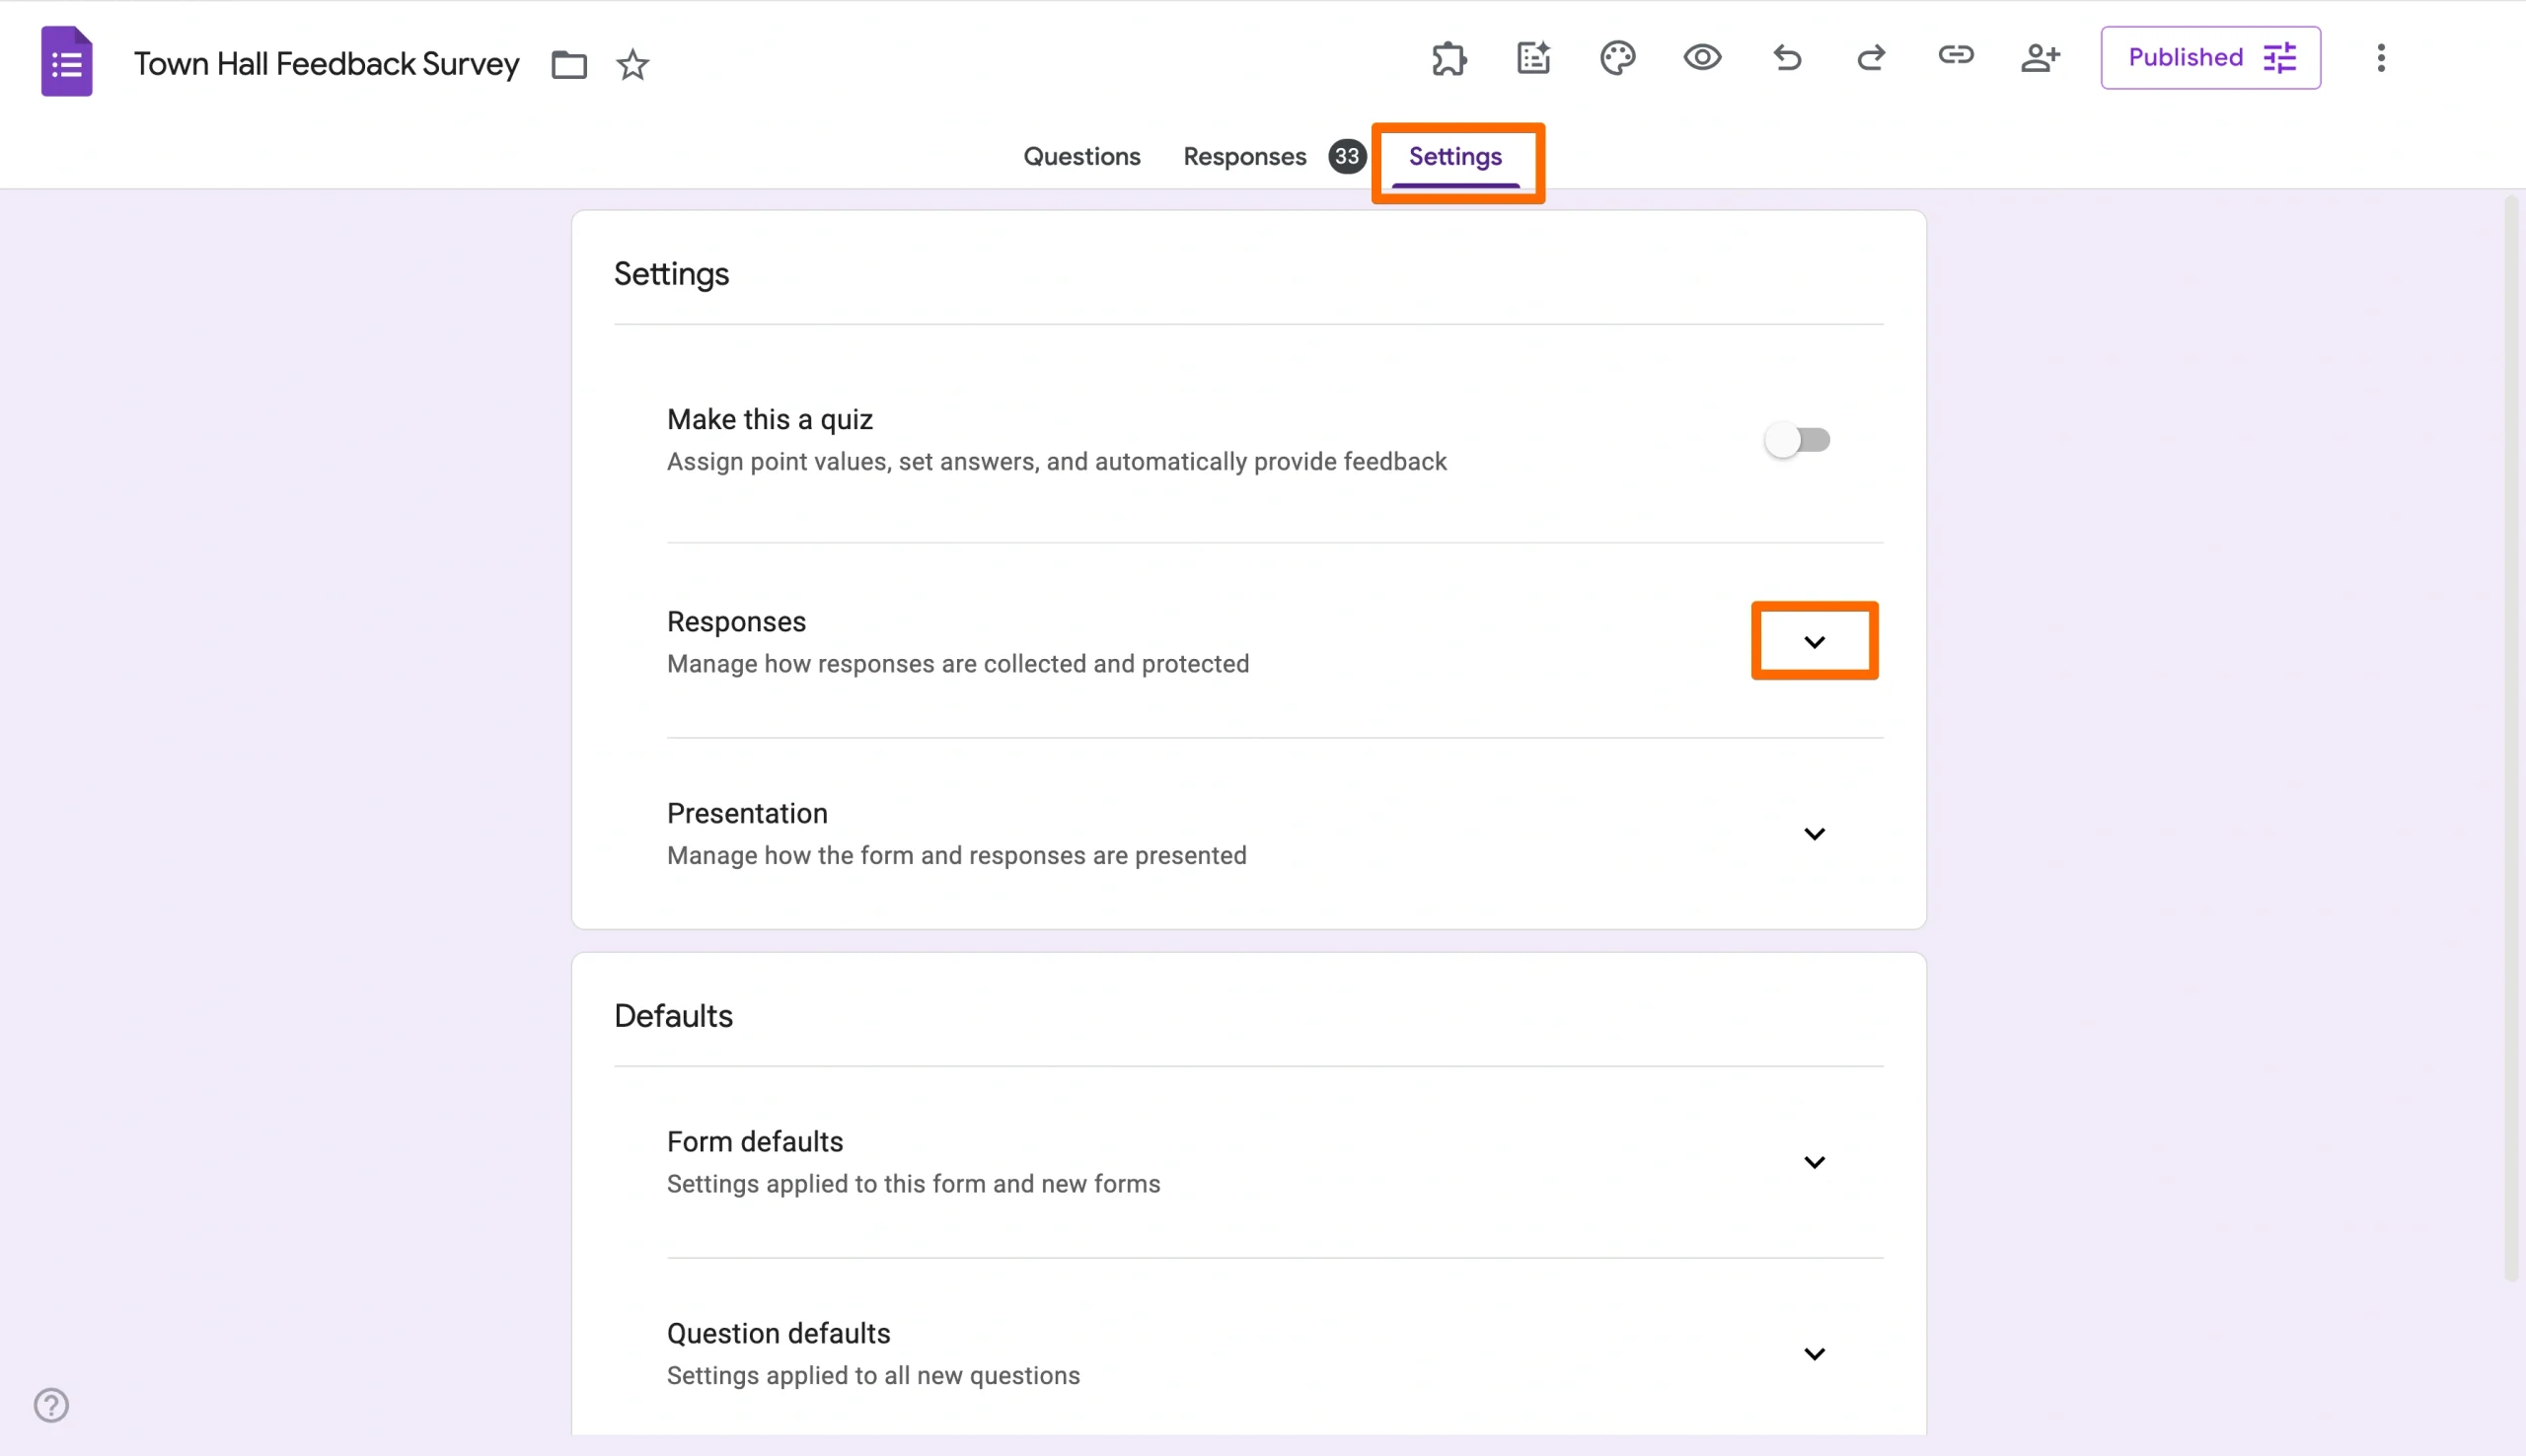
- Under Requires Sign In, toggle Limit to 1 response to the off position.
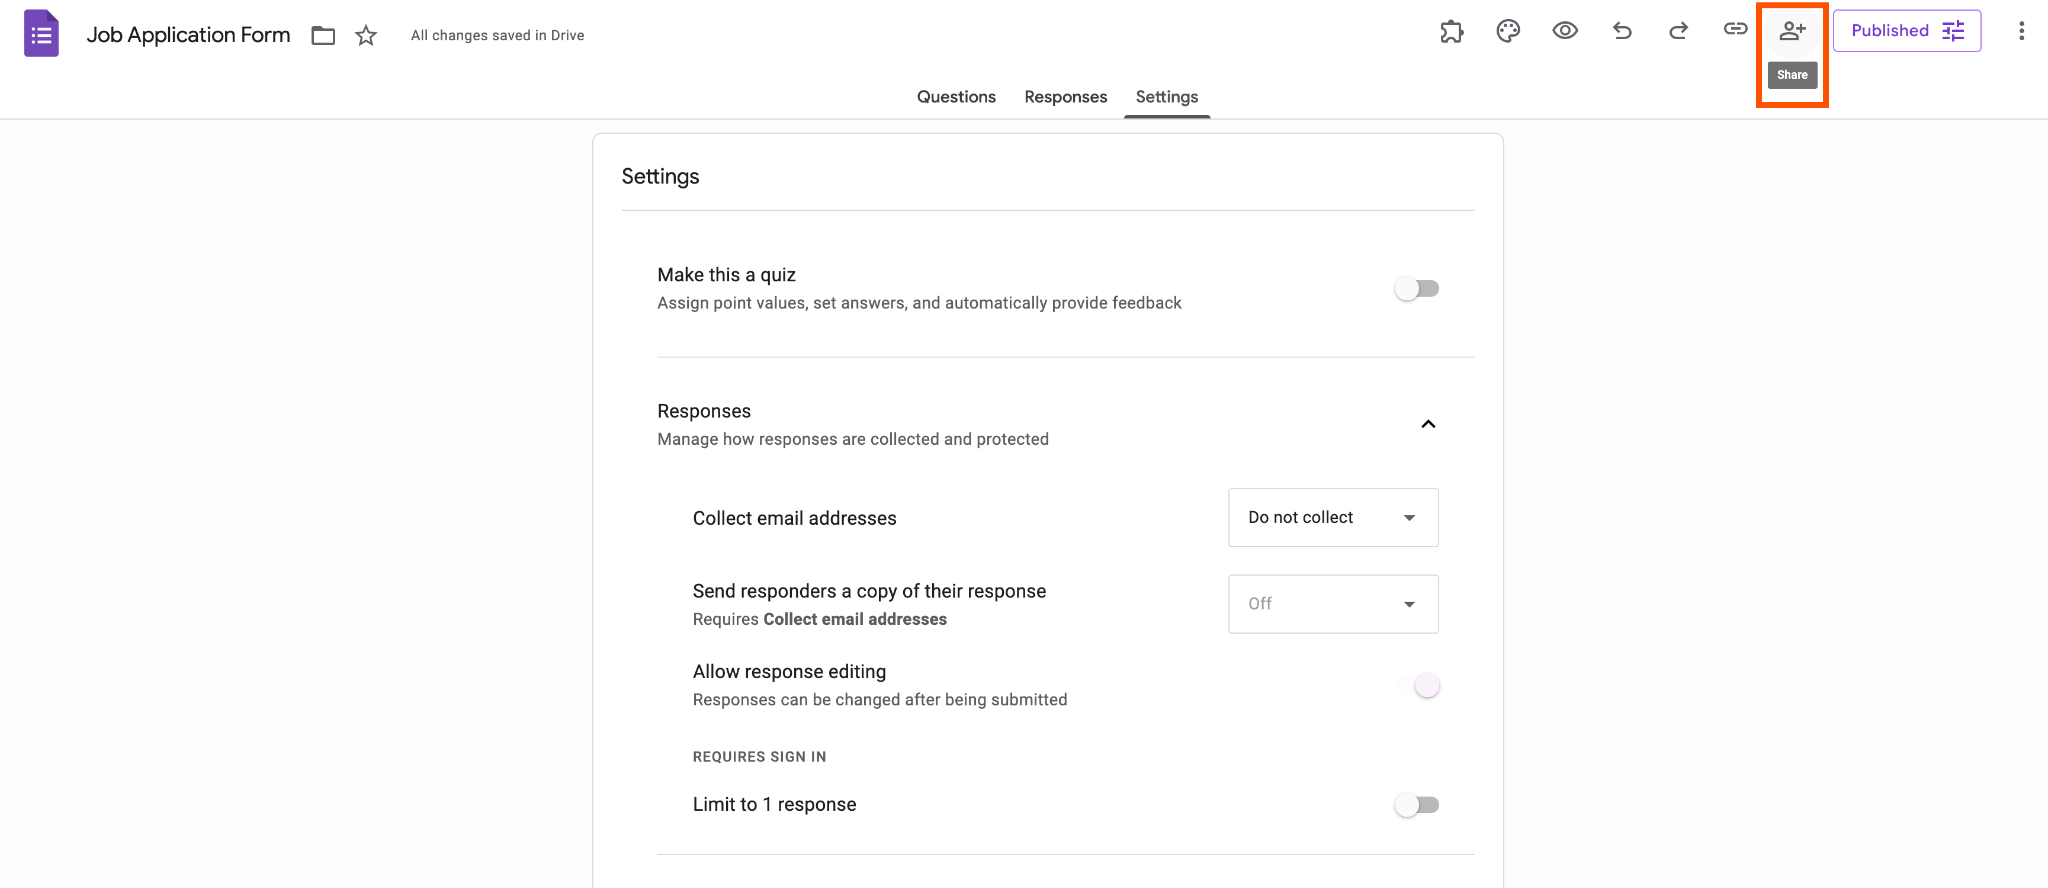
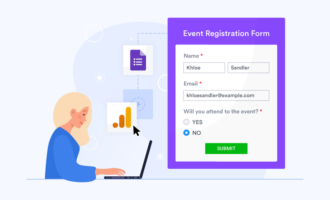
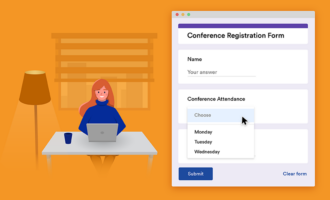
- To share the form, click the Send button in the top right.
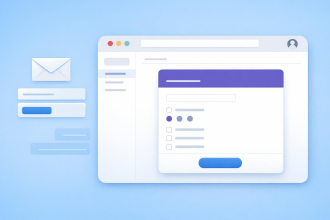
- Choose how you’d like to share your Google Form:
Email: This method enables you to include a subject line and message with your invitation to fill out the form. You can also embed the form itself in the email.
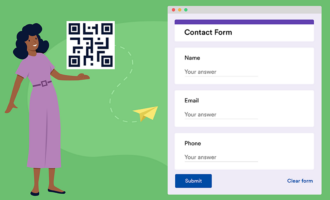
Link: If you’d like to share your form via link, Google Forms will generate a custom link for your form, allowing anyone with the link to fill it out. You can share this link across channels, including email, messaging apps, websites, and social media.
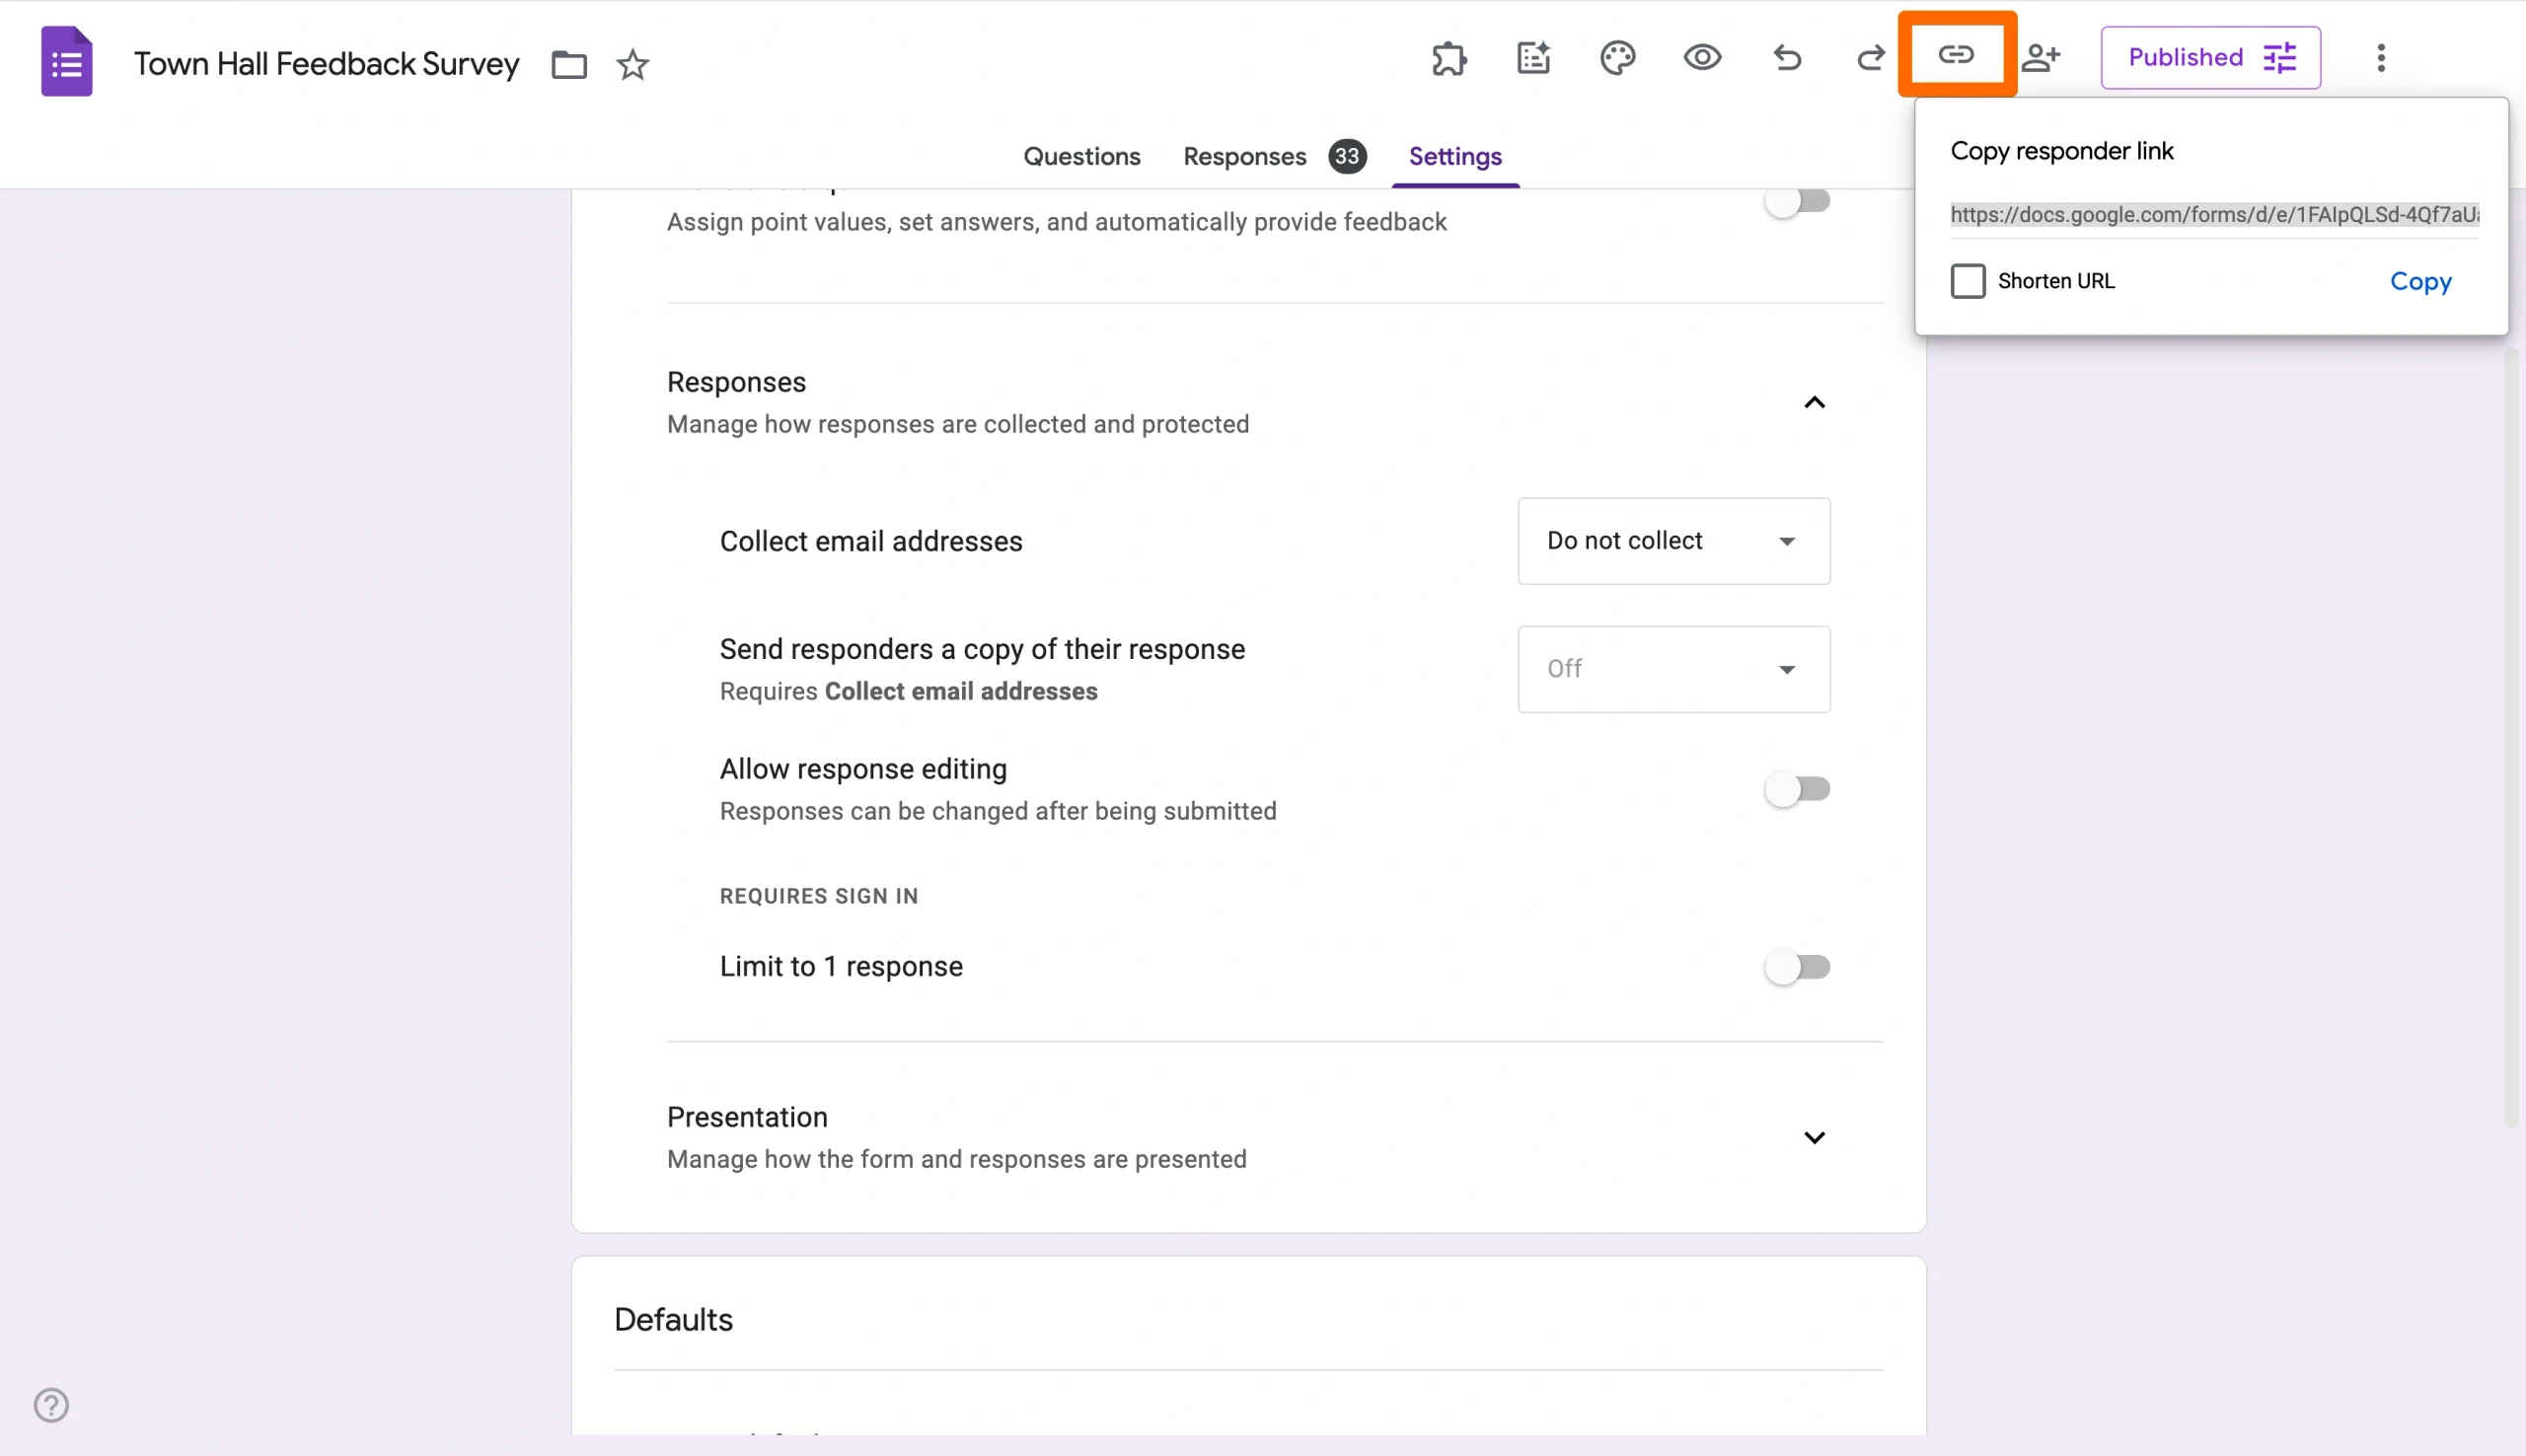
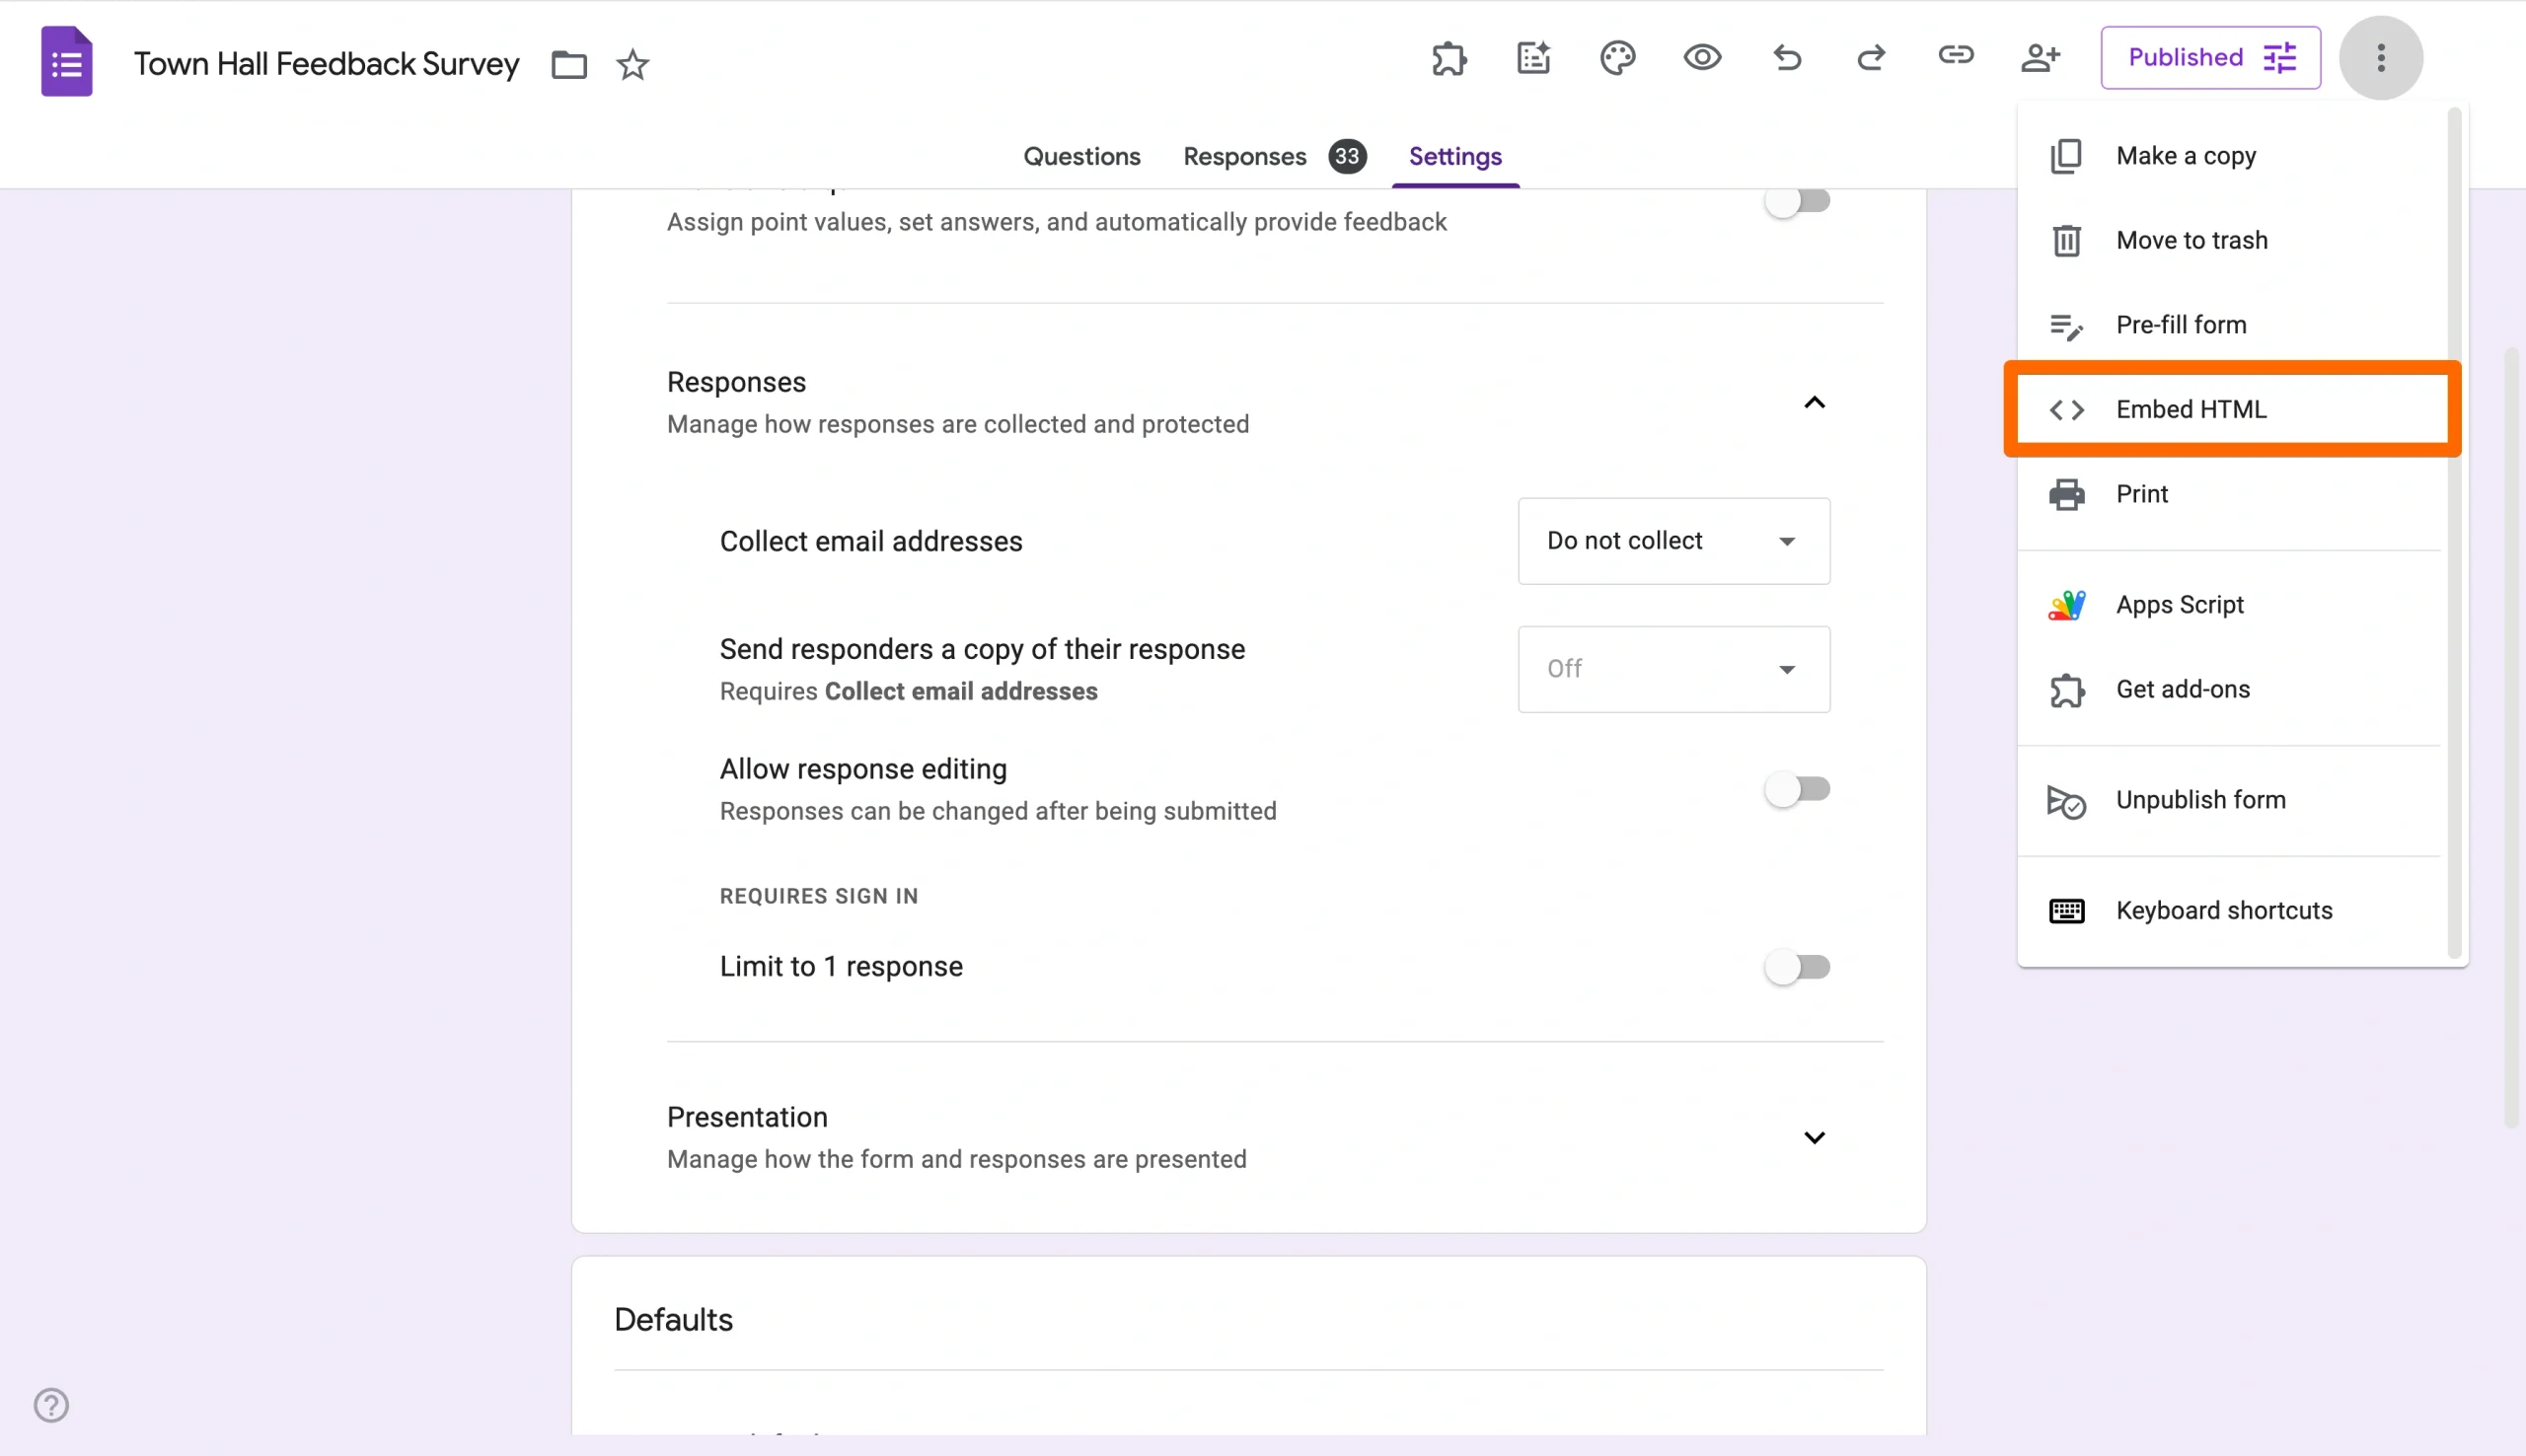
Embed HTML: Using the embed option, you can copy an HTML code to embed your form directly onto a web page for people to fill out.
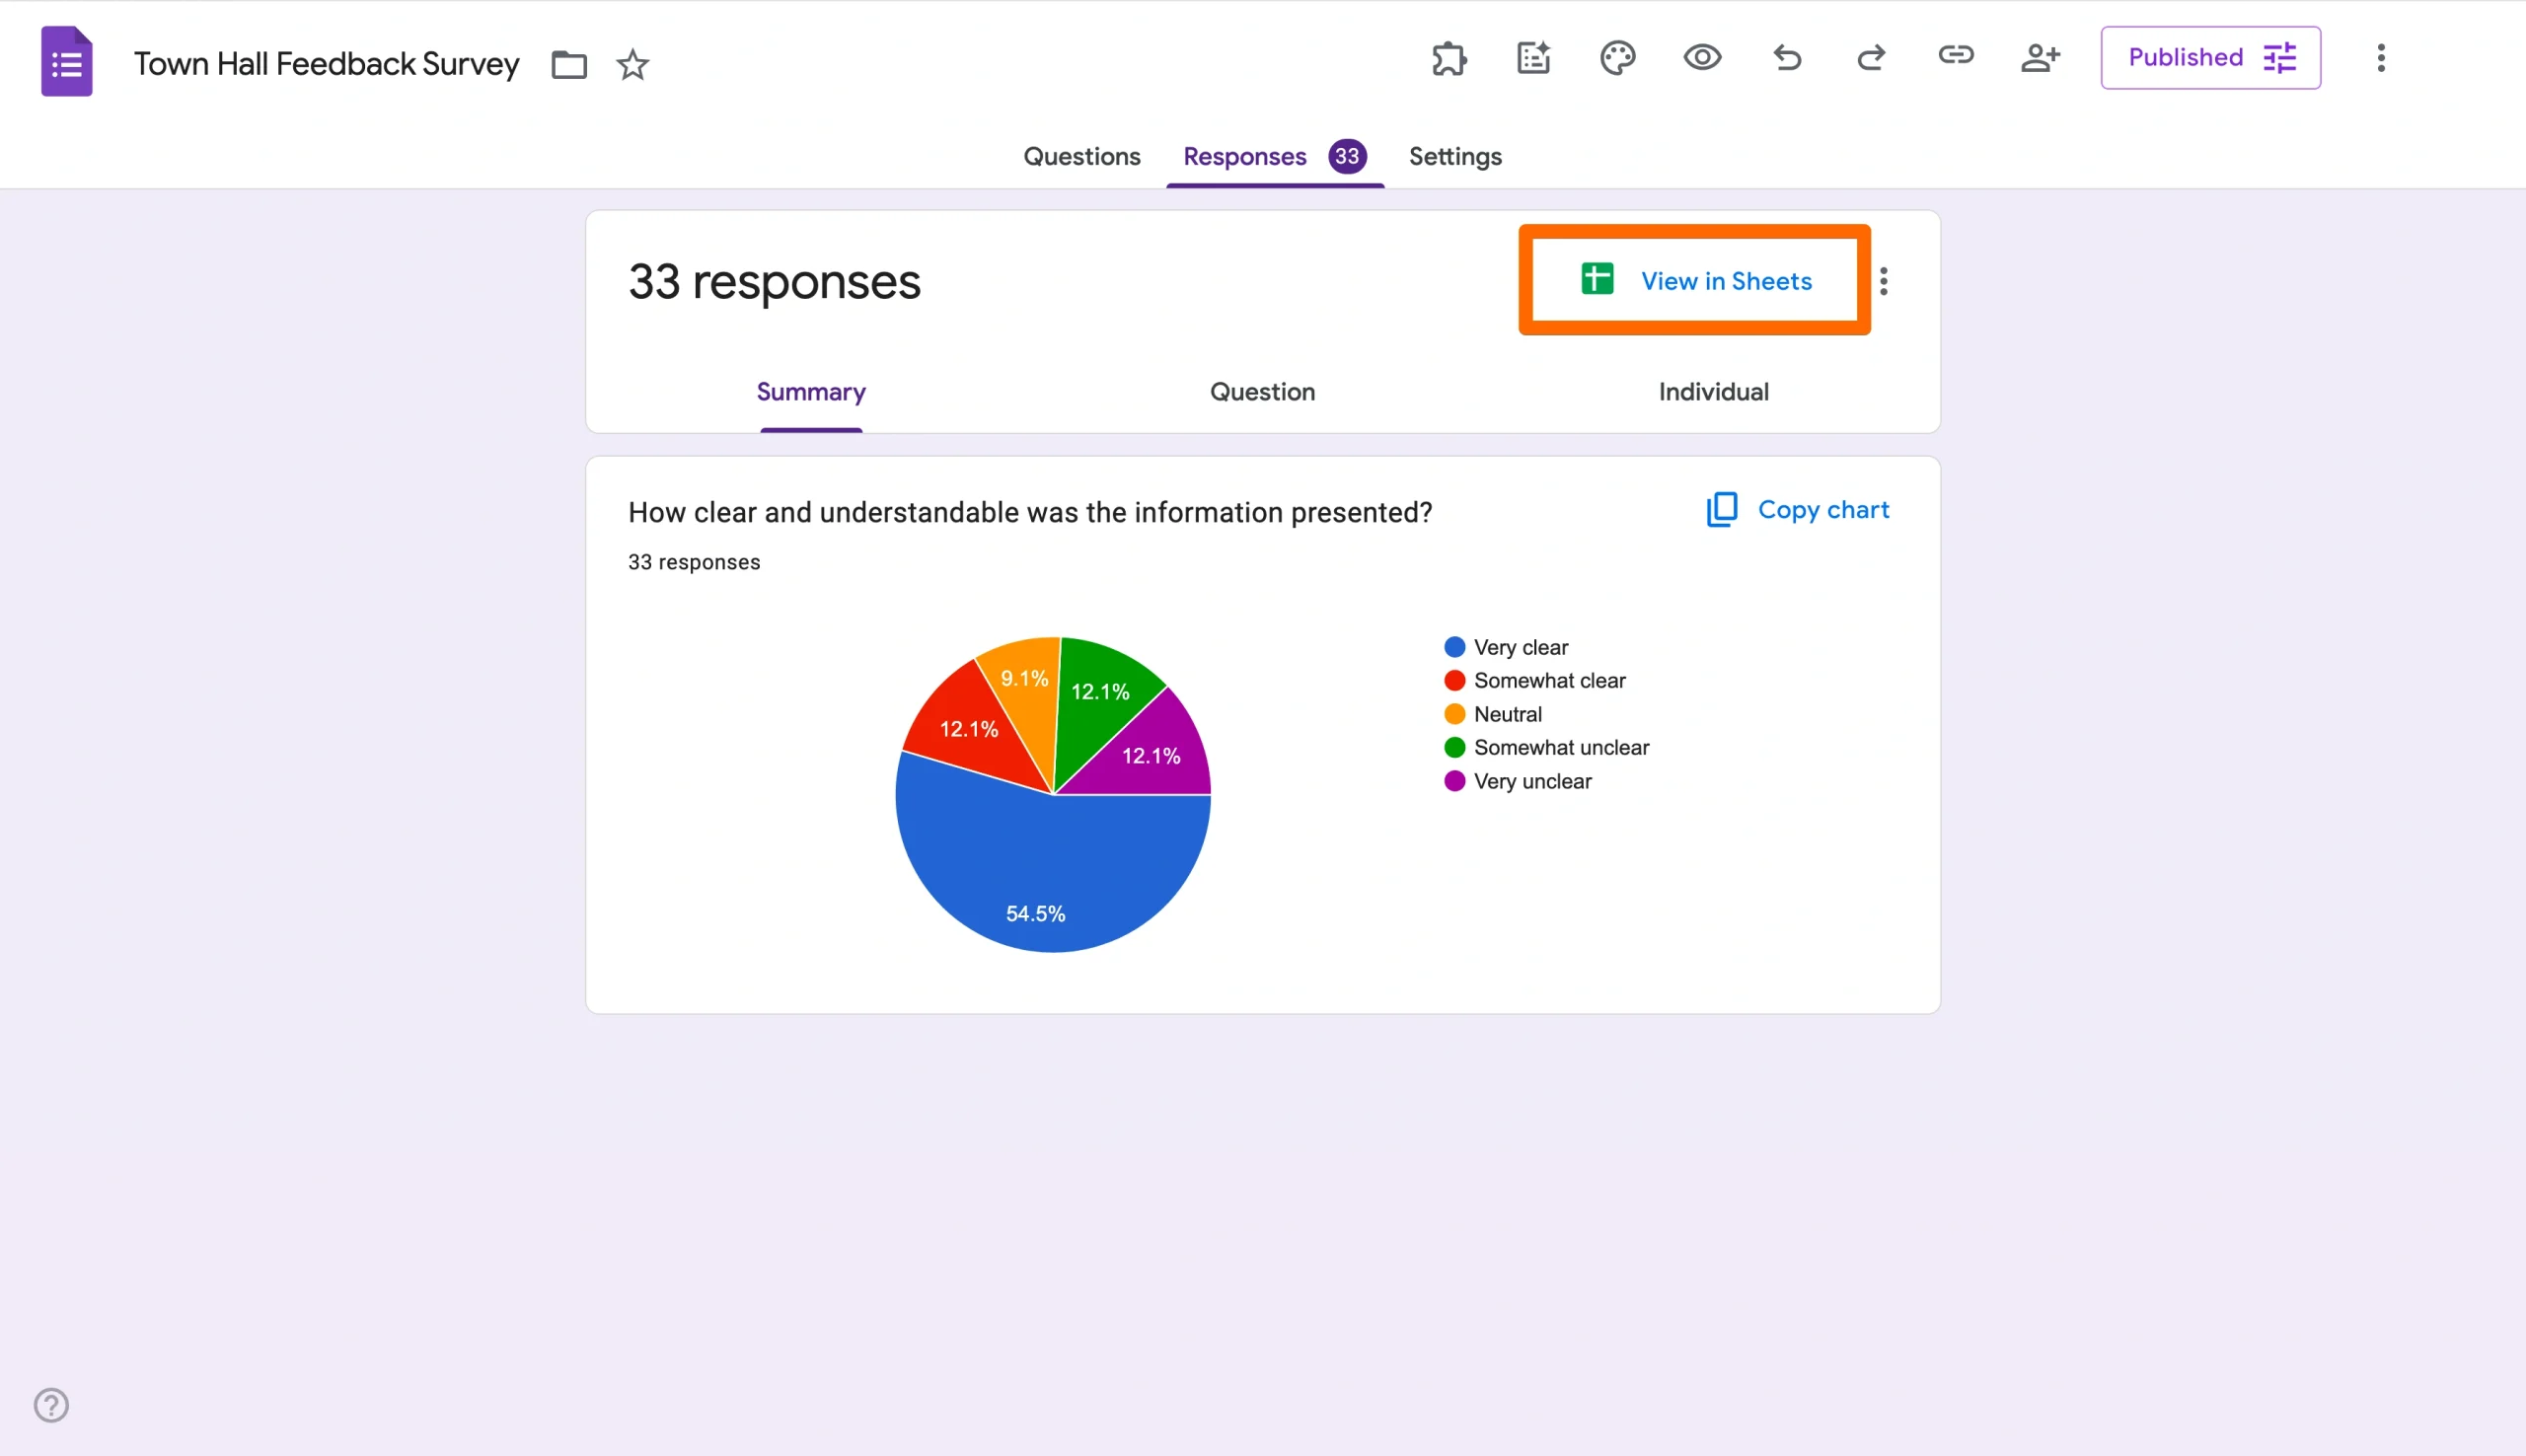
- Finally, you can track and manage your responses in Google Sheets by clicking on the Responses tab followed by the green spreadsheet icon.
How to manage form edit permissions
Follow these steps to allow others to build, edit, and view responses for your form.
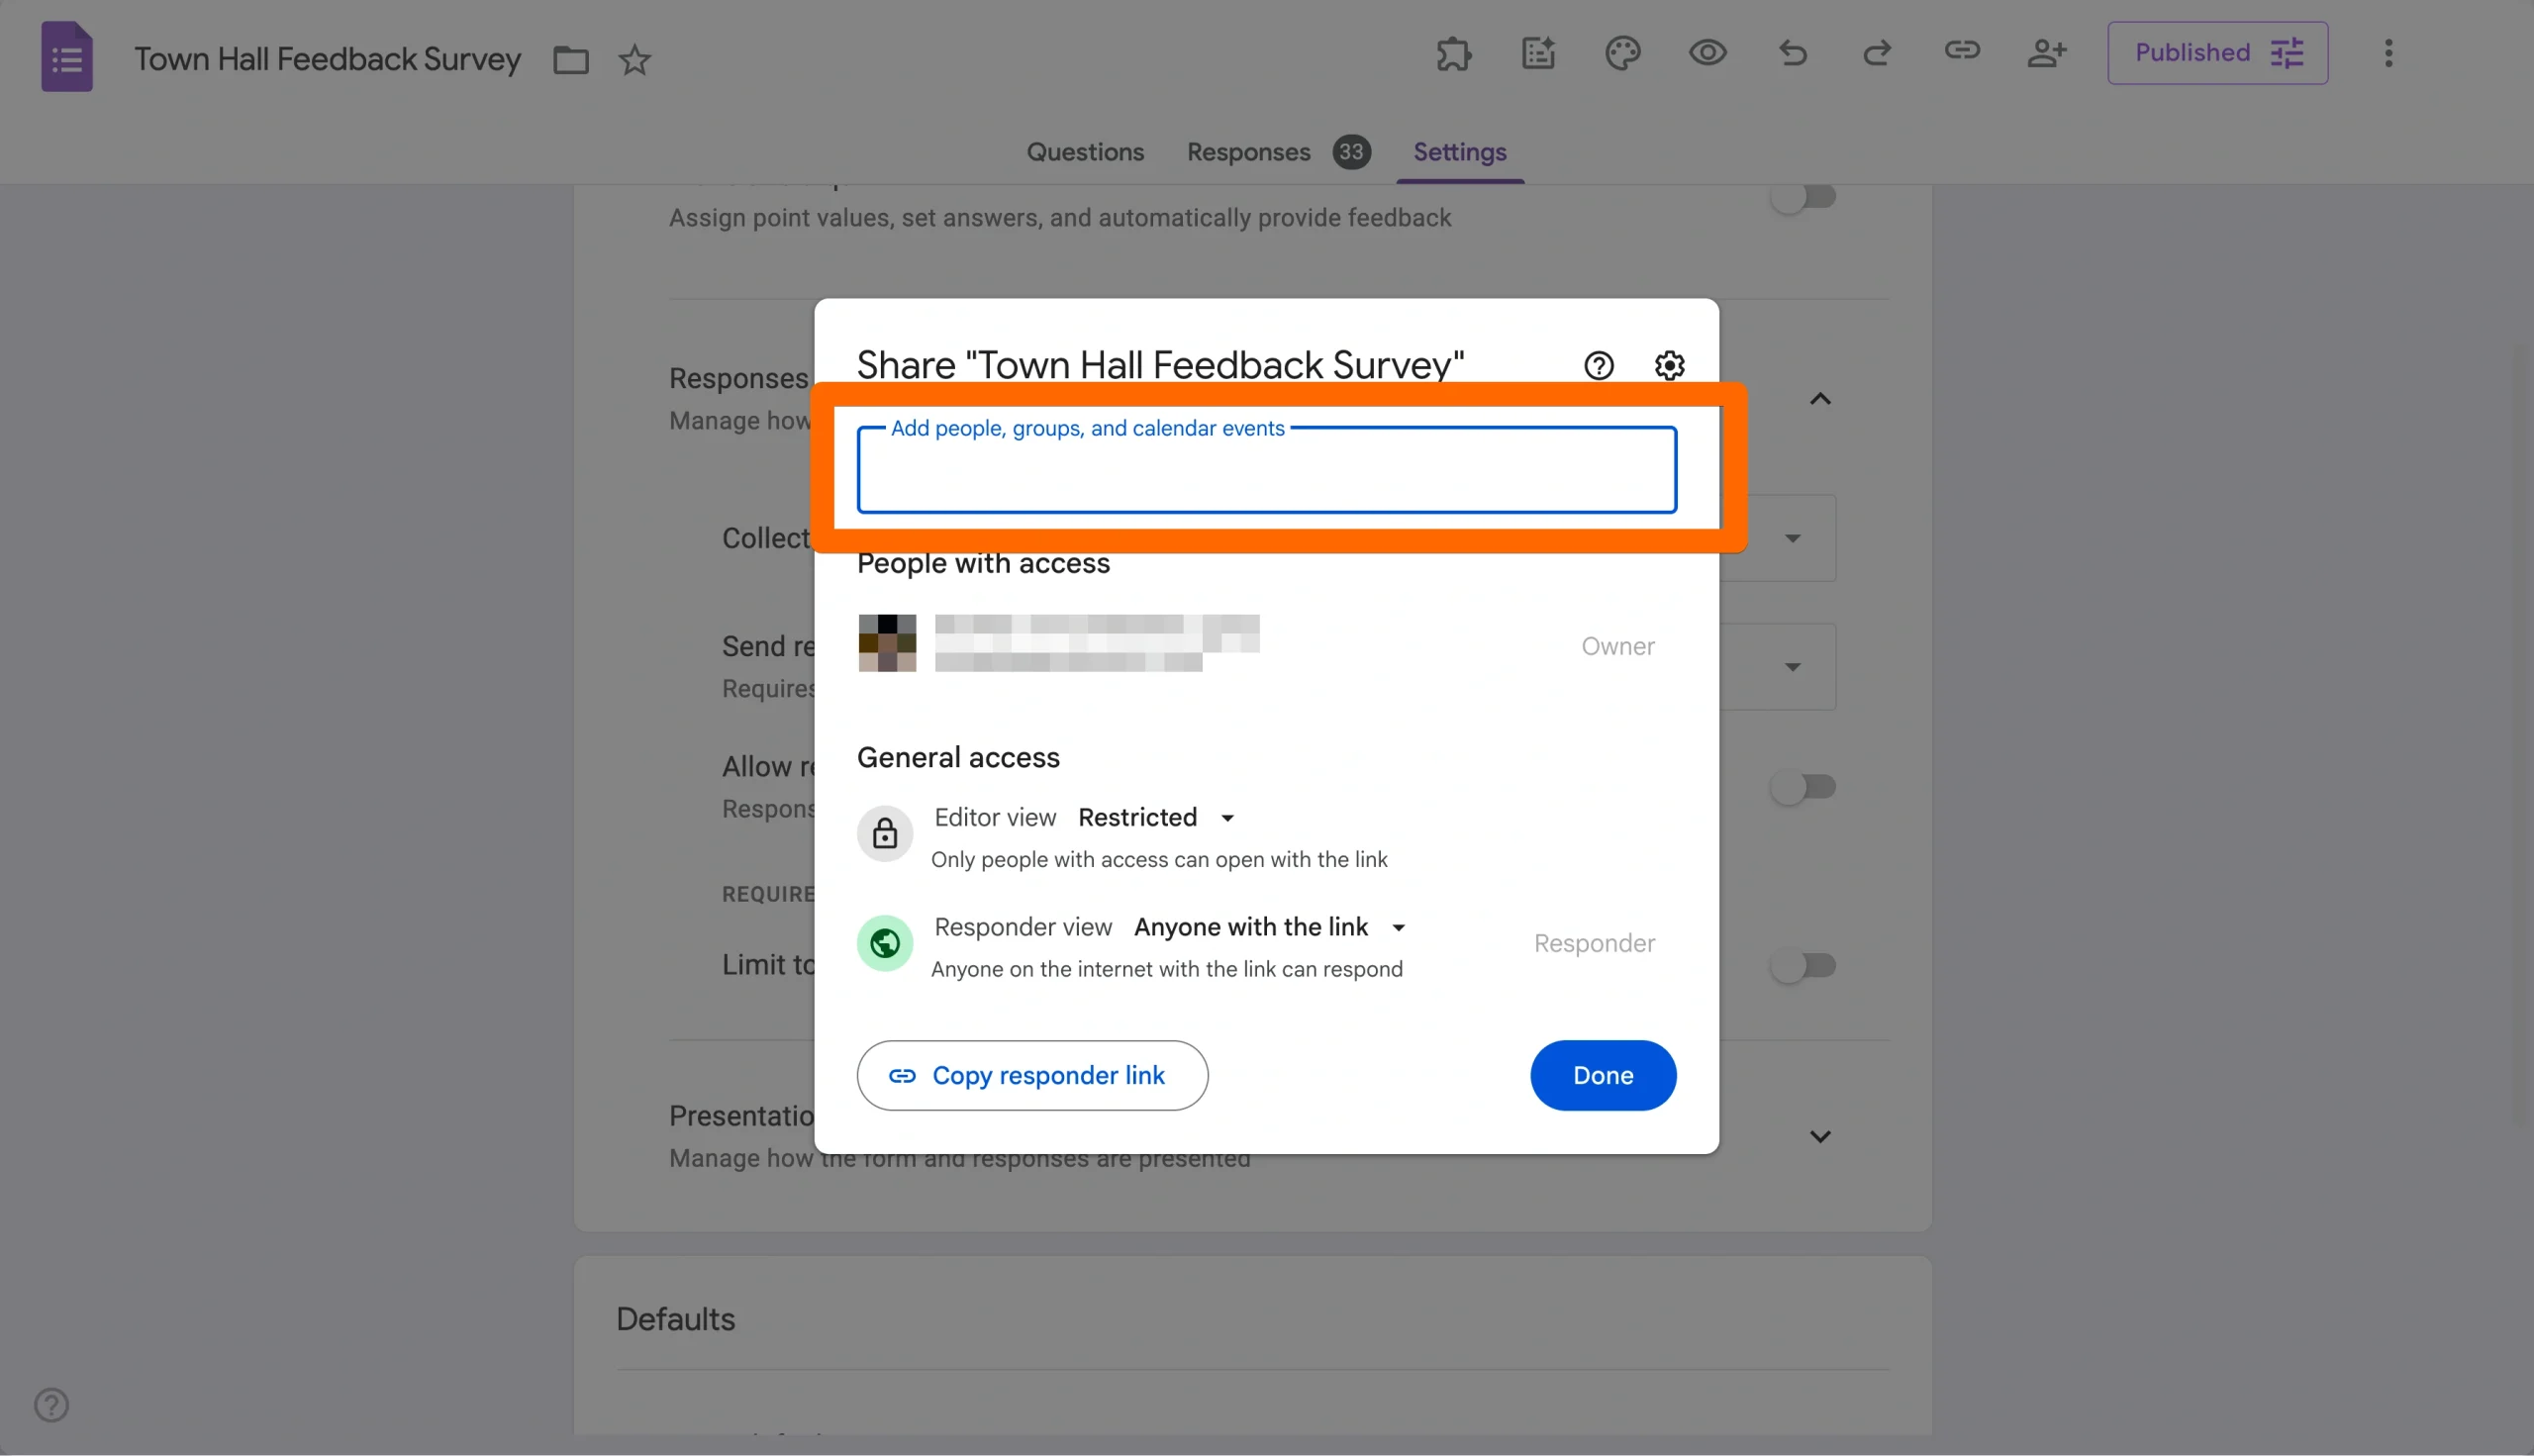
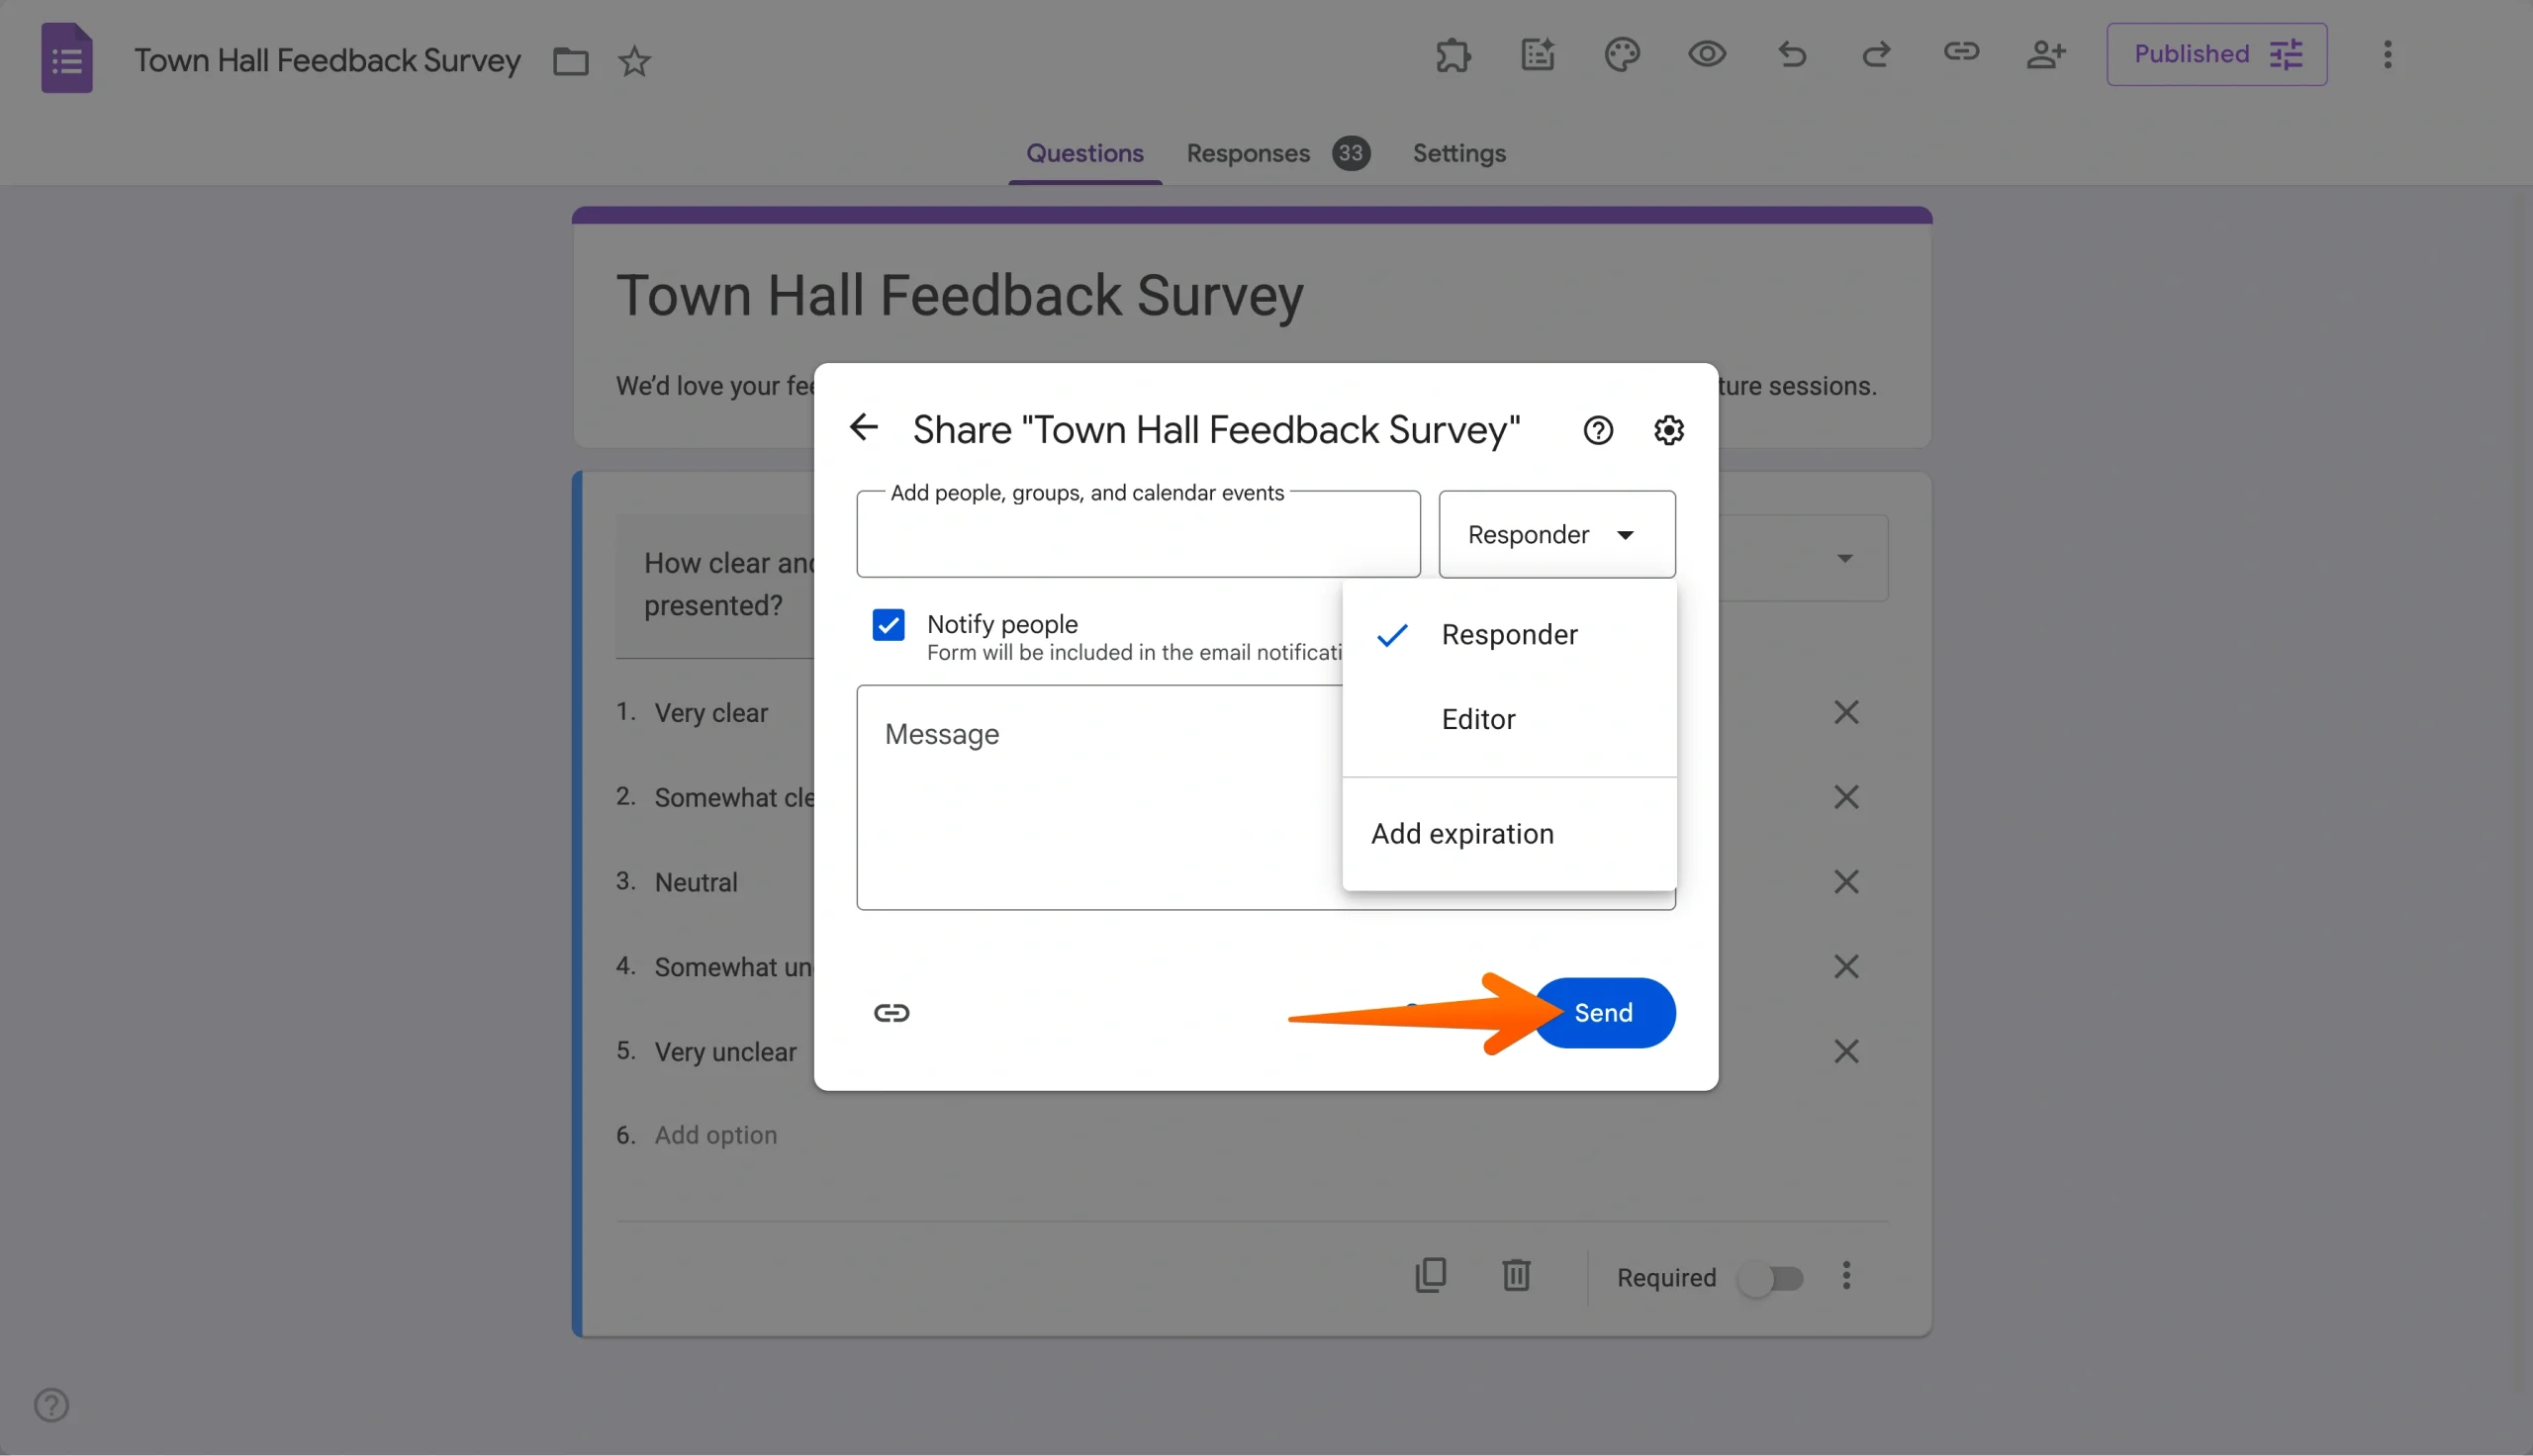
- Click the Share Icon (the icon showing a person with a plus sign) at the top-right toolbar in your form.
- In the pop-up window, click into the box labeled “Add people, groups, and calendar events.”
- Type the email addresses of the people you want to collaborate with.
- Set the permission level to Editor using the dropdown menu on the right so your collaborator can edit the form.
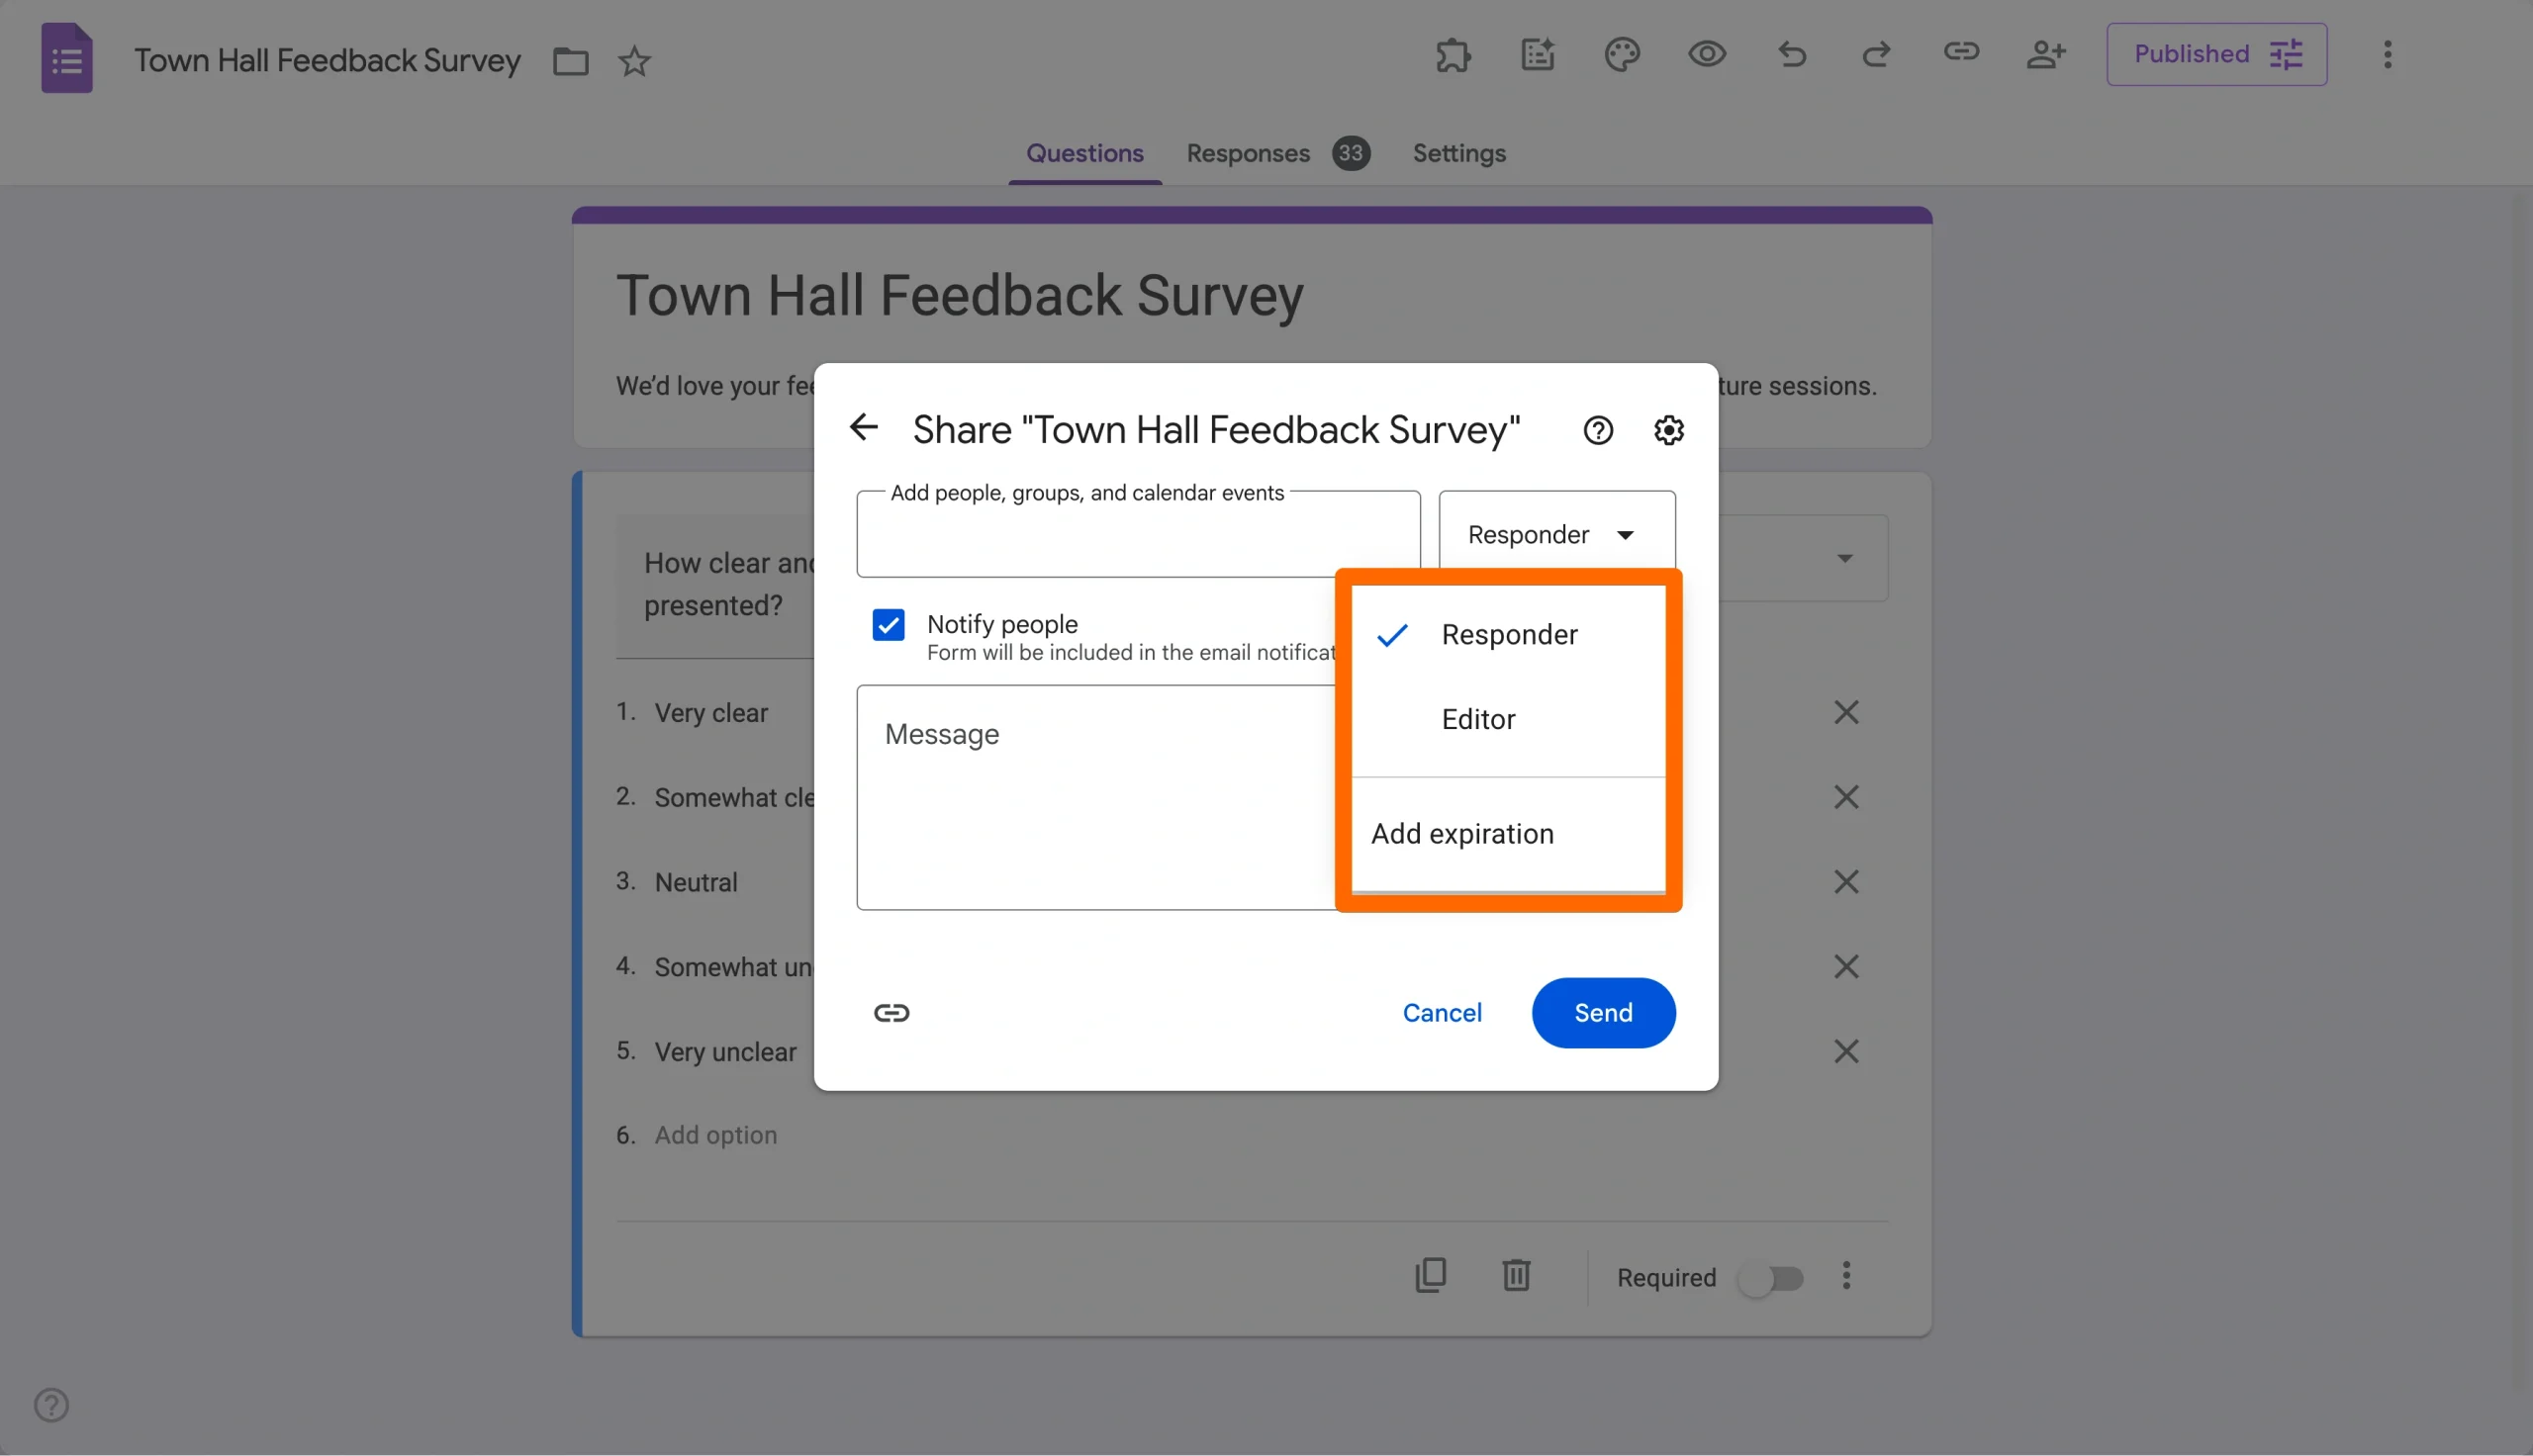
- (Optional) Leave “Notify people” checked to send them an email invitation with a direct link.
- Click Send.
Once sent, your editors will have full access to modify the form and manage responses alongside you.
How to make a Google Form public but not editable
As we mentioned previously, sharing your Google Form via a link or embedding it in your website allows respondents to fill it out but doesn’t give them permission to edit it. The only ways for recipients to edit or make changes directly to your Google Form are if you add them as an editor when sending the form via email.
As long as you don’t add recipients as an editor, you don’t have to worry about them editing the form — even if it’s public.
An alternative way to set up customizable access
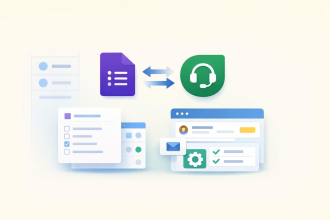
If you need more functionality than Google Forms provides, you can look into alternative form builders like Jotform. These platforms often have robust settings to control access to your form.
With Jotform, you can set forms to be publicly accessible, available only to those with the link, and even available to everyone at the same email domain address (like a company email). This is possible with Jotform’s Form Builder, which allows you to choose the appropriate setting from the Access Settings menu — whether that’s public, invite only, or company access.
Collecting feedback from your audience is crucial, regardless of your industry or organization type. To do that effectively, you need to make sure your surveys and questionnaires are accessible to your intended audience.


Send Comment:
1 Comment:
June 13, 2023
this doesn't work. google says theres no way to allow non google account holders access. which is a shame