Steps to use Google Forms for scheduling
- Create a Google form
- Set up the scheduling fields
- Eliminate choices for time slots
When a client or customer needs to schedule an appointment with you, it’s easier to let them choose an available time slot, as opposed to sending endless emails back and forth trying to find a date that works for everyone. One of the easiest and most effective ways to accomplish this is to set up a Google form for scheduling an appointment.
Using Google Forms for scheduling gives you a centralized platform to handle all your scheduling needs, especially if you’re keeping track of your appointments through Google Calendar. It’s easy to share access to forms with others, and almost everyone will already have some experience with the platform.
Read on to learn more about how to use a Google form for scheduling (along with information on a Google Forms alternative).

Looking for the best alternative to Google Forms?
Jotform’s full-featured form-building solution is mobile-friendly and has the most integrations in the industry. Use it to collect payments, automate workflows, gather leads, and more.
How using scheduling forms can benefit your business
When you set up online forms to schedule appointments, you’ll see a few immediate benefits. First, once you’ve created the form, you’ve essentially set up a standard template that you can use no matter what type of service you’re offering.
Once you’re happy with the form you’ve created, you’ll spend less time scheduling individual appointments, giving you more space to focus on more important tasks. You can also optimize your scheduling forms and processes over time, testing new strategies and ensuring smooth customer interactions.
If you have multiple locations under different management, for example, a well-made form can ensure the scheduling experience is consistent for all of your clients and at every location. In short, scheduling forms can be the linchpin that keeps appointments running smoothly and on time for your business.
How to use Google Forms to make a time slot sign up sheet
There are a few steps you need to follow to get started using a Google form for scheduling, including using some add-ons. You will need to download files to your computer, so be sure you have the access to do that before you continue.
If you need a form builder in Google Workspace, you can try the Form Builder by Jotform.
1. Create a Google form
Start by heading over to the Google Forms website and create a new form from scratch. Then, add the necessary fields. You may want to add one multiple choice option that allows users to select the type of service they need, for example, and short response fields that allow them to enter their contact information.
2. Set up the scheduling fields
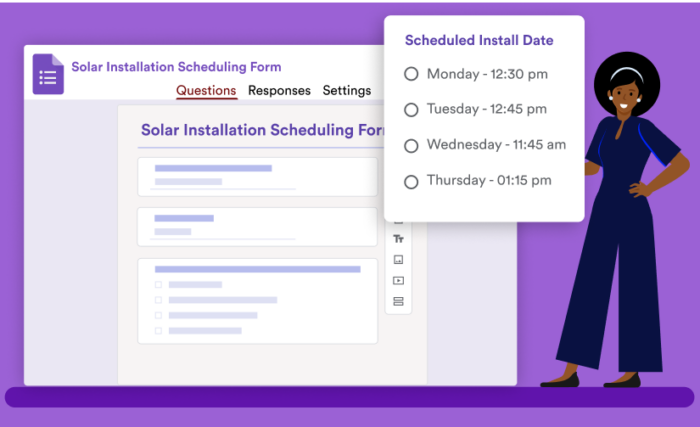
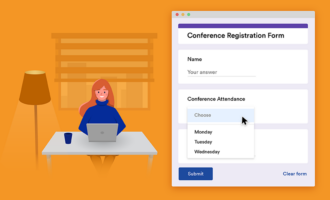
Next, you’ll set up a multiple-choice or drop-down question that has all the time slot options for your customers or clients to choose from, depending on what your organization offers.
You can even begin your form by first asking respondents to pick the day of the week they want to meet and then, using conditional logic, offer them specific time slots to choose from depending on the day.
3. Eliminate choices for time slots that are no longer available
If you want to be able to block out time slots that clients have already selected, you can download an add-on for Google Forms called Choice Eliminator to avoid double-booking appointments.
This add-on is available from the Google Workspace Marketplace. Once you install it, integrate it into your form using the add-on puzzle piece icon at the top of your form to complete the process of setting up a Google form for scheduling.
How to use Jotform for scheduling
While Google Forms is simple and effective to use for scheduling, it does have its downsides. The interface is fairly basic and informal, so it’s usually better suited for class projects and internal polls or surveys.
Online form builder Jotform, on the other hand, gives you the ability to customize your scheduling form as much as you’d like, while making it easy to set parameters for appointment slots. Simply select the Appointment form element when creating your scheduling form with Jotform to add a calendar that displays available times for each day. You can set conditions like appointment slot duration and blackout dates for vacation time.
The Appointment element automatically shows only available time slots, and each response is stored on the Jotform platform. You can even collect payment through the same form with Jotform’s payment processor integrations.
If you want your appointments to transfer directly to your Google Calendar, there’s an integration for that too. Jotform’s Google Calendar integration automatically creates a new event on your calendar for every completed appointment form your clients submit.
Whether it’s with Jotform, Google, or another service altogether, scheduling with online forms automates one of the most time-consuming parts of running a business. You’ll never have to worry about missing an appointment, booking too many clients at once, or wading through back-and-forth scheduling emails once you have the form you need.
See also Jotform’s detailed guide about: Google Forms

































Send Comment: