
How to duplicate a Google Form
- Open the form or quiz you want to copy
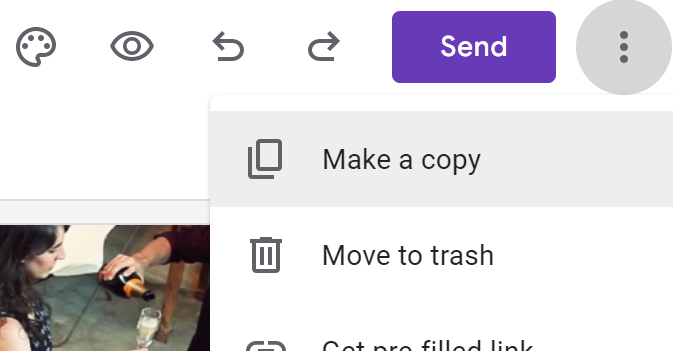
- Click the three dots in the top right corner
- Select Make a Copy
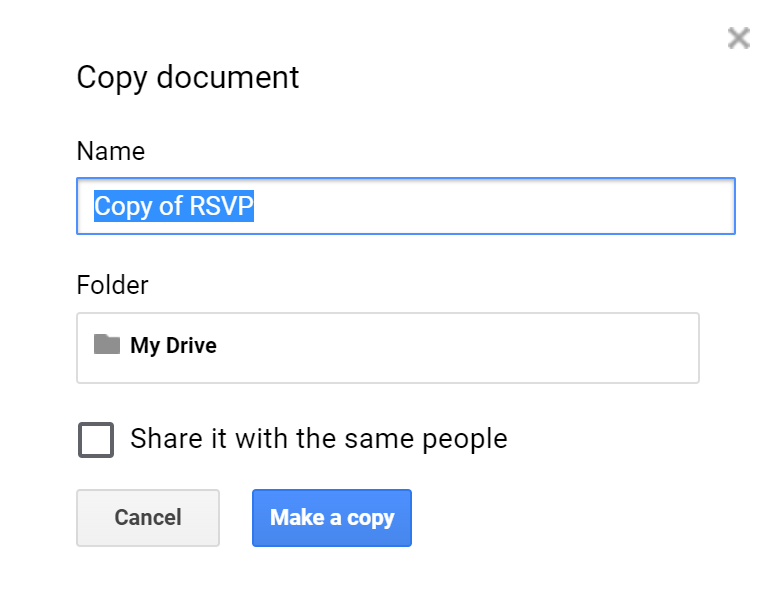
- Enter a name for your copy
- Select a destination in your Drive and decide whether you want to share it with the same people
- Click Enter
Once you’ve created and perfected an online form, you may want to use it again in a new campaign, quiz, or other scenario. But you probably don’t want to corrupt the existing data from the form you’ve been using. In that case, it’s best to create a new form.
You can create a new form with Google Forms in just a few minutes, but getting all of the little details right can take a little longer. So you may not want to go through all of the hassle of rebuilding your form from scratch.
Fortunately, there’s an easier way to reuse your forms. In fact, there’s more than one way. We’ll look at a couple of popular techniques in this article.

Looking for the best alternative to Google Forms?
Jotform’s full-featured form-building solution is mobile-friendly and has the most integrations in the industry. Use it to collect payments, automate workflows, gather leads, and more.
How to create a copy from the form itself
If you already have your form open, you can duplicate it in just three steps.
- Click the three-dot menu button in the upper right corner.

- Next, click Make a copy from the dropdown menu.
- In the window that pops up, type in a name for the new form and select the folder where you want to store it. You also have the option to share the form with the same people as before. After you’ve taken care of those steps, click on Make a copy.
This technique is pretty simple and straightforward. But if you have several forms to copy or you find yourself copying forms quite often, it can get a little tedious. Fortunately, you can copy forms straight from Google Drive, just like you would any document.
How to create a copy from Google Drive
Start by navigating to the form you want to copy in Google Drive.
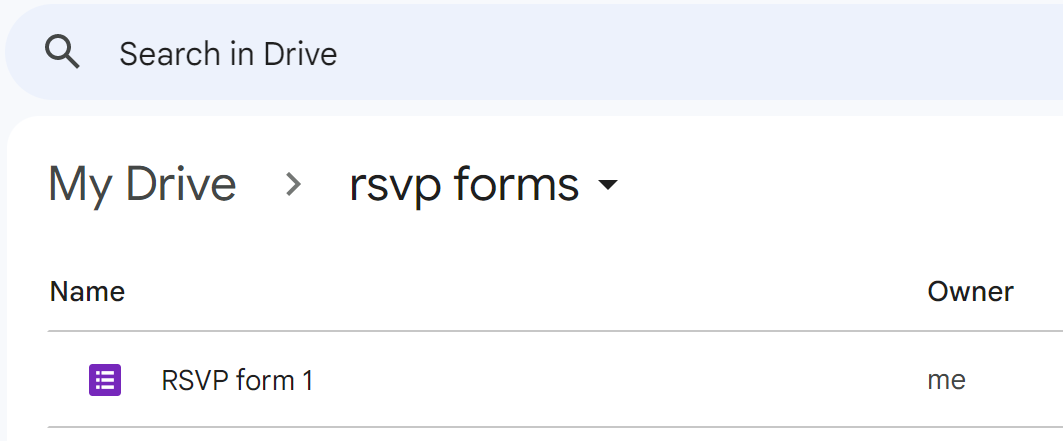
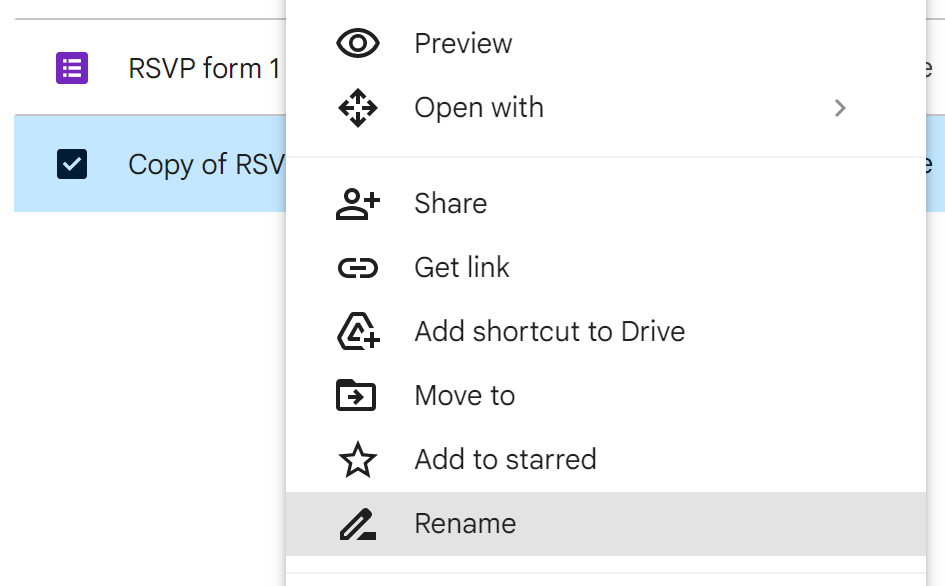
Once there, right-click on your form and select Make a copy from the dropdown menu.

That will leave you with a copy named “Copy of [original file name].” That can be confusing, especially when you have three or four copies.
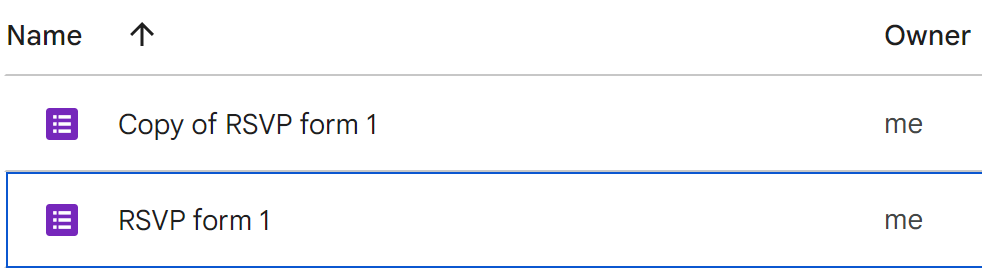
To keep things clear, rename the copy. Right-click on the copied file, then select Rename from the menu. Type in a new name for the file and hit Enter.
How to duplicate someone else’s form in Google Forms
While Google has a Forms template gallery, you may come across a form that was made by someone else that would make a great template. Knowing how to make a copy of a Google Form someone else created could save time and effort.
Unfortunately, you have to have editing access to a Google Form to make a copy of it. However, you can request this from the form’s creator by clicking the Request Edit Access button in the top right. If the creator grants access, you can follow steps 1 through 3 above. If they don’t, you could also ask them to share the form with you as a template.
How to duplicate a form template in Google Forms
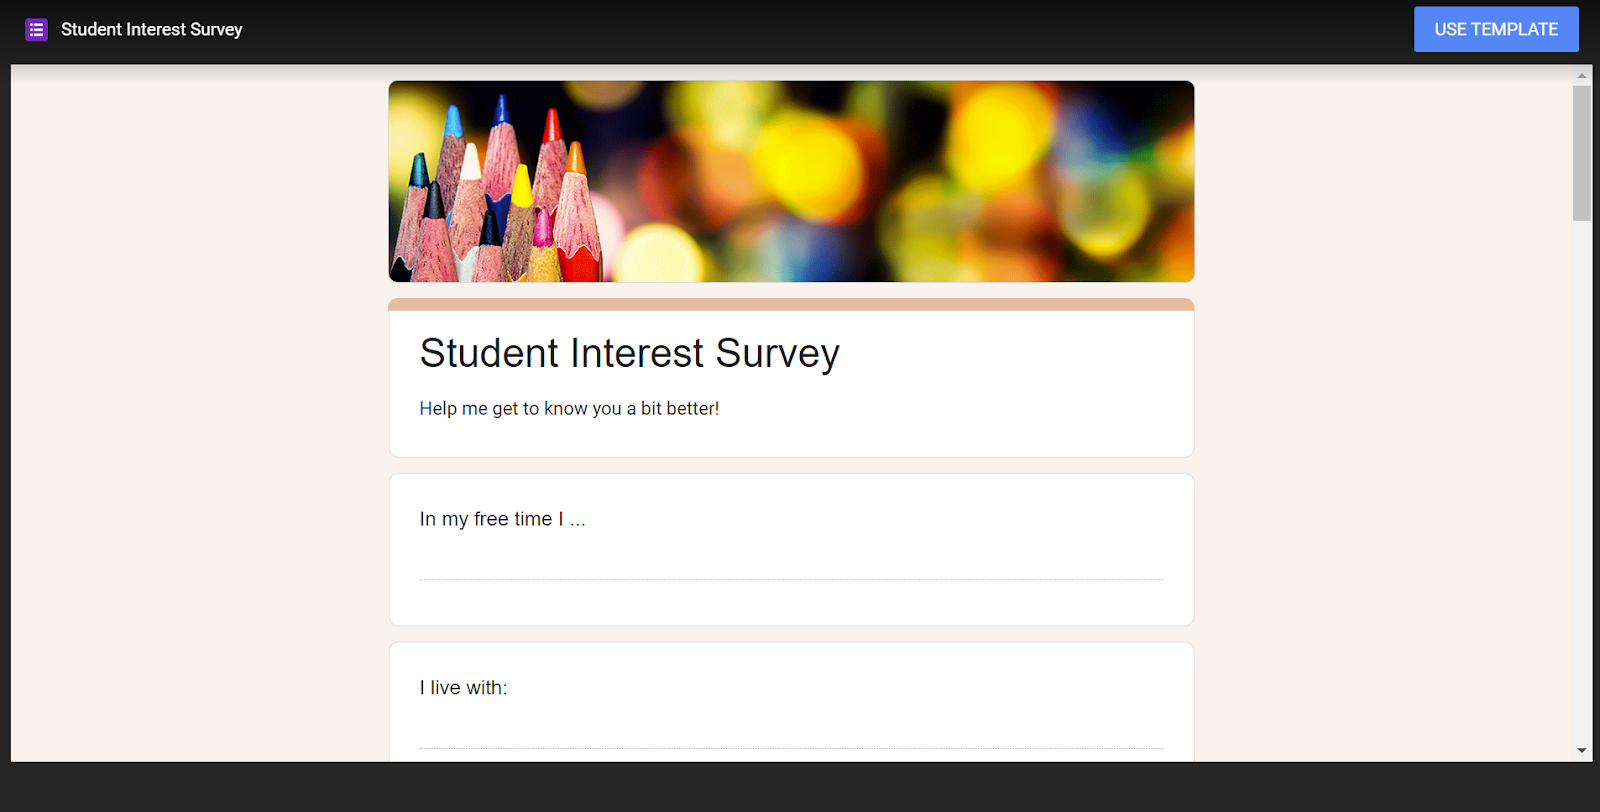
Now that you understand how to make a copy of a Google Form, let’s cover how you can make a copy of a Google Form template. Just choose a template from the template gallery and click the blue Use Template button, which will open an editable version of the form. The new form will automatically be added to your Drive, where you can rename it using the steps above.
If you want to share your own form as a template, simply remove the “/edit” section at the end of the URL and replace it with “/template/preview.”
How to share a copy of a Google Form
Sharing a copy of a Google Form is a simple process that works the same as if you were sharing an original form.
First, make sure you’ve made any necessary changes to your copy of the form, including changing the name of the document to avoid any confusion. Then, hit the Send button in the top right corner. Google Forms lets you send your form to participants in three ways:
- Through email
- With a link
- By embedding the form on a website
You can also click to share a link to the form in a Facebook or X post.
Doing even more with forms
Now you know two ways to copy a Google Form without corrupting its existing data. That’s a pretty advanced use case for Google Forms.
If you’re reusing forms, though, you’ve probably just about outgrown Google Forms. You may be seeing its limitations already. Fortunately, there are other form tools out there.
For example, Jotform has one of the most advanced and well-rounded feature sets of any form tool in the industry. And like Google Forms, Jotform is free to use forever. You’ll only have to pay for Jotform when you need to use it more extensively.
Copying and reusing forms is also simple to do with Jotform. You can learn how from this one-minute video.
Jotform also lets you share forms as well as manage the results. Jotform interacts with hundreds of other office and productivity tools through integrations, and it has thousands of templates to get you started quickly and easily. Check out Jotform today.
Photo by Christopher Gower on Unsplash


")


Send Comment: