Steps to set up Gravity Form notifications
- Build the form
- Create a new notification
- Click on Settings, then Notifications
- Select the Add New button to add a new notification
- Enter the email settings, you’ll use the setting labeled Send To
- Click the Select a Field button
- Select your form’s Email field
- Under the From Name and From Email fields, type in the name and email
- Don’t forget to fill out the Subject and Message fields
- Test the settings
Mobile notifications are a familiar part of everyday life, alerting you to new texts, emails, or important updates. While they can sometimes be distracting, they’re also incredibly useful for confirming that something has happened, like a form submission or completed application.
That’s especially important for workflows and productivity, but notifications aren’t always enabled by default. In many tools, you need to set them up manually.
Here’s how to build a basic email notification in Gravity Forms, the WordPress plug-in that lets you create forms, such as quizzes and surveys, for a WordPress website.
How to set up Gravity Forms notifications
It’s important for both you and your site visitors to receive notifications when they successfully submit a form — whether it’s a contact, payment, or registration form.
With the Gravity Forms notification feature, you can customize your notification settings so you (or someone on your team) will receive an email whenever a user submits a form, enabling you to reach out to your visitors as soon as possible. You can also choose to notify your visitors so they know your team is working on their request. Here’s how.
- To create a Gravity Forms notification, you need to first build the form you’d like to create the notification for.
- Then, you need to create a new notification. From the left-side navigation menu, click on Forms to select the form you’d like to use.
- Then, hover over the form you want to use, click Settings, then Notifications.
- You’ll see a list of all existing notifications for that form. Even if you don’t see the full list, you should at least see one default notification that sends submissions to the admin email address for your WordPress installation. (You can sort the list alphabetically by clicking on the Name header.)
- Select the Add New button to add a new notification. Name your notification something unique and easily identifiable.
- Next, you need to enter the email settings. To determine how your message is sent, you’ll use the setting labeled Send To, which includes options like Enter Email, Select a Field, or Configure Routing.
- In the Send To field, click the Select a Field button.
- From the dropdown menu under Send to Field, select Email.
- Under the From Name and From Email fields, type in the name and email you’d like to send your notification from.
Pro Tip
Use an email address from your domain name so it gets delivered to your recipient’s inbox, not their spam folder.
- For the Reply To field, set the reply email address you’d like to use — you can use your own or perhaps support@yourcompanyname.com or info@yourcompanyname.com.
- Set Reply-To to the submitter’s Email field if you want direct replies.
- For the BCC field, you can either leave it blank or type in the email addresses of anyone else at your company you’d like to receive this specific notification.
- Most important, don’t forget to fill out the Subject and Message fields (which are both required) with the information you’d like your notification email to include, like, “Thank you! We received your inquiry and will respond to it as quickly as possible.”
- Before saving, make sure the Event is set to “Form is submitted,” which is the most common choice and ensures the notification is sent when someone completes the form.
- Finally, to ensure the notification is working properly and users will receive notifications once they submit the form, you should test the settings. To do that, simply fill out the form using an alternate email address you also have access to.
3 common notification examples
Once you understand the basics, you can use notifications in a few common ways depending on who needs to receive the message.
Admin notification (team inbox)
Use this setup to notify your internal team when a form is submitted. In the Send To setting, choose Enter Email and add your shared inbox or team email address. This is ideal for contact forms, support requests, or internal workflows.
User confirmation email
To send a confirmation email to the person who submitted the form, set Send To to Select a Field, then choose the form’s Email field. This works well for thank-you messages, submission confirmations, or next-step instructions.
Department routing
If your form includes a dropdown or radio button (such as “Department” or “Reason for contact”), use Configure Routing to send notifications to different recipients based on the user’s selection. This helps ensure submissions reach the right team automatically.
Conditional logic and routing
Gravity Forms also lets you control who receives notifications and when, based on how users fill out your form.
Email routing
Email routing lets you change the notification recipient based on a specific field value, such as a dropdown or radio button selection. For example, you can send sales inquiries to one inbox and support requests to another by routing emails according to the option a user selects.
Conditional logic for notifications
With conditional logic enabled, notifications are only sent when certain conditions are met. This is helpful if you want to trigger emails for specific scenarios, like follow-ups, approvals, or high-priority submissions, without notifying everyone every time.
Important: Make sure your routing and conditional rules account for all relevant answer choices. If a submission doesn’t match any rule, the notification won’t be sent, which is a common cause of “missing” notifications.
Personalize your notification emails with merge tags
Merge tags let you automatically pull form data into your notification emails, making them more useful and easier to act on.
For a quick overview of the entire submission, include the {all_fields} merge tag in the message body. This adds a complete summary of everything the user submitted, without needing to insert each field manually.
You can also use field-specific merge tags to insert individual values, such as a name, email address, or selected option, into the subject line or message body. This helps you quickly identify submissions and personalize confirmation emails without extra effort.
How to troubleshoot Gravity Forms notifications
Despite our best efforts, sometimes technological issues can arise.
So, if you follow the steps above and still experience difficulties getting notifications on form submissions using Gravity Forms, consider configuring a Simple Mail Transfer Protocol (SMTP) email service, like SendGrid, Mailgun, or Postmark.
Here’s what you have to do:
- Confirm the notification is enabled.
- Verify the Send To option is correct (Enter Email vs Send to Field vs Routing).
- Double-check recipient address(es) for typos/spaces.
- Confirm From Email is valid and aligns with your domain, and Reply-To is set intentionally.
- If using Routing, confirm every possible field value has a matching rule (unmatched routing can prevent delivery).
- If everything is correct but emails still don’t arrive consistently, then recommend SMTP as the more reliable delivery path.
Why you should use Jotform instead
Though Gravity Forms is a viable option for building and embedding forms to your website, it’s not the only one on the market.
Jotform is intuitive to use and fully customizable, with thousands of templates for Forms, Apps, Workflows, Tables, and PDFs to work from. And, best of all, it’s completely code-free.
Plus, setting up email notifications on your web forms with Jotform is simple and easy. There is also a dedicated Jotform plug-in for WordPress to make it even easier.
Here’s how to do it in just a few steps:
- At the top of your form in Jotform’s Form Builder, select Settings.
- Click Emails in the left panel.
- Click Add an email.
- Select Notification Email, where you’ll then see the following tabs:
- Email: In this section, you can make changes to both the email template and subject line.
- Recipients: This is where you can set the recipient email addresses for where you’d like to receive a notification about a new form submission. (You can also set the Sender Name and Reply-to Email fields in this section.)
- Advanced: In this section, you can change the Sender Email address, among other settings.
As you can see, setting up notifications for your forms is extremely beneficial to your workflow processes and overall productivity, regardless of your business or industry.
And though both Gravity Forms and Jotform require a setup process to activate notification emails, they’re simple to use and understand, helping you feel confident with whichever platform you choose to implement.
Get real-time alerts, not just email, with Jotform Form Notifications
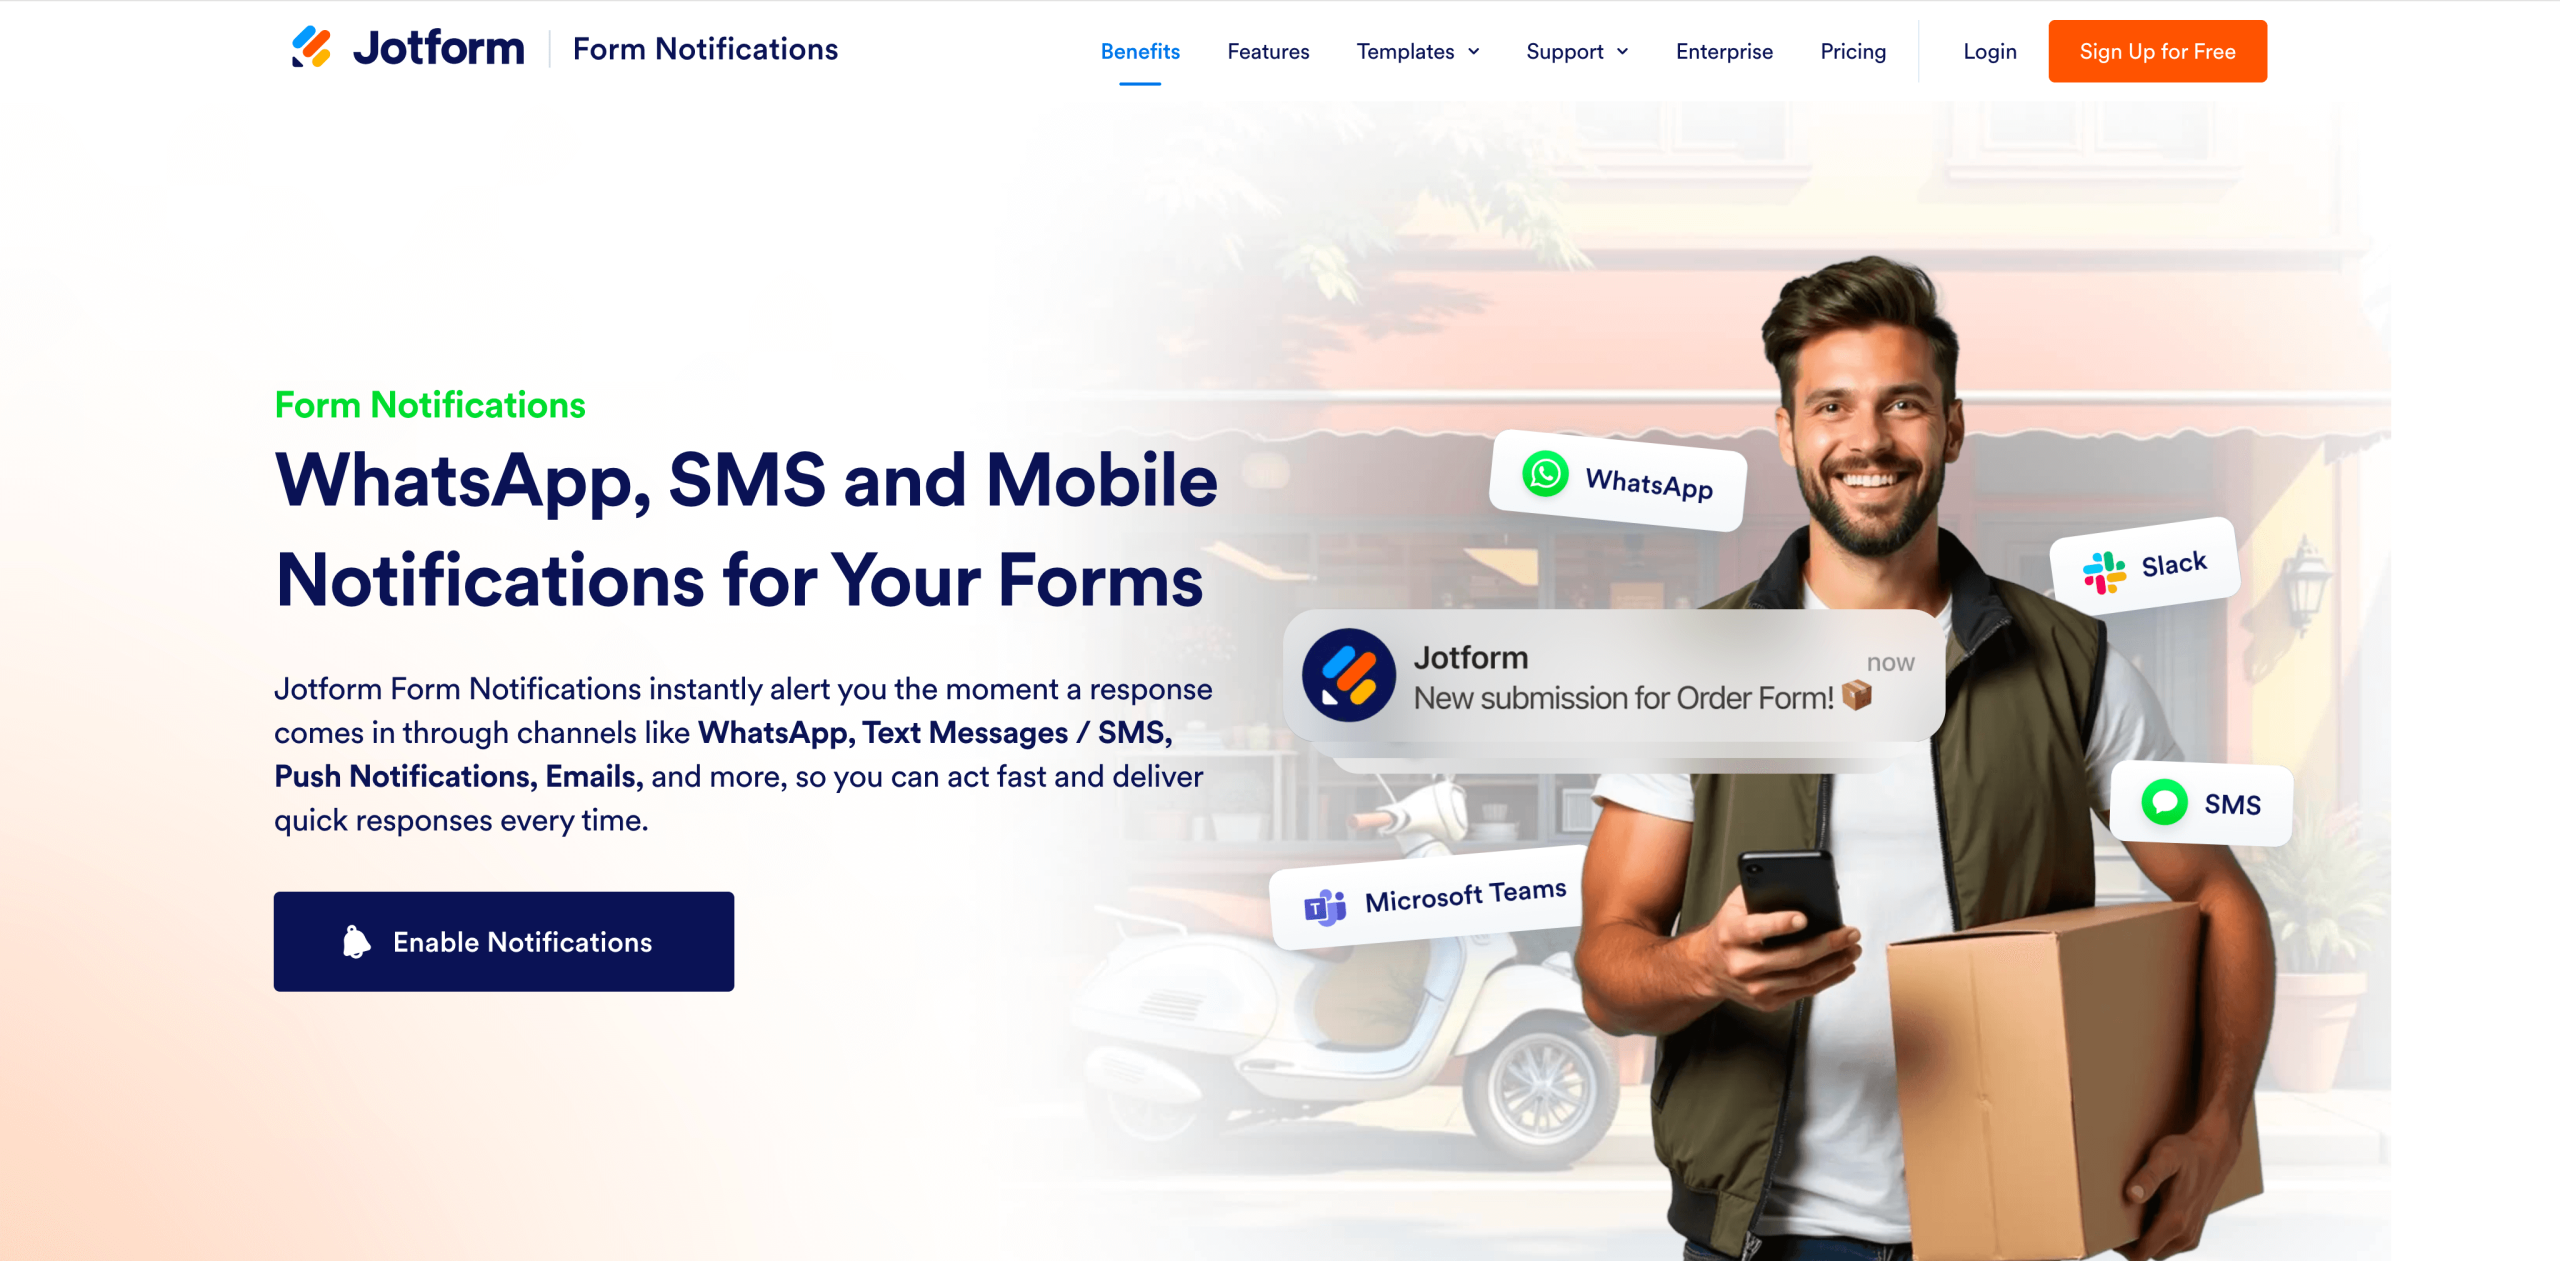
Gravity Forms notifications are built around email, and if delivery issues pop up, you may even need to set up an SMTP service to improve reliability. Jotform also makes email notifications easy to configure, but if you want faster visibility for time-sensitive submissions, you can take it a step further with Jotform Form Notifications.
With Form Notifications, you can deliver new form submissions instantly to the channels you actually check throughout the day, including Slack, Microsoft Teams, SMS, WhatsApp, and mobile push notifications, all managed from one unified Notifications experience. That means urgent leads, requests, and registrations get seen and acted on right away, without relying on inbox checks, spam filters, or delayed email delivery, and you can tailor the alert content so the message includes the exact details your team needs to respond quickly.
This article is for WordPress site owners and teams who use Gravity Forms and want reliable submission alerts, basic routing options, and troubleshooting steps, plus a quick look at an alternative approach for faster notifications.


")


")


")


Send Comment: