
Looking to learn how to create a budget app? This guide will walk you through the steps to create a budget app from scratch. You’ll discover the necessary features, security measures, and design tips to build a user-friendly and effective tool for financial management.
Get ready to turn your app idea into reality.
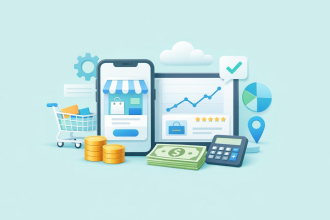
Understanding budget apps and their importance
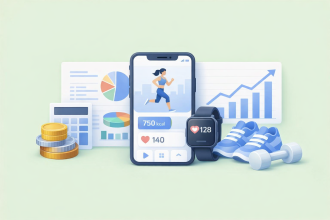
Budget apps are essential tools for managing personal finances. They help users track their spending, categorize expenses, and understand where their money goes each month. Ranging from simple trackers to advanced platforms, these apps make it easier to budget, save, and even invest. By streamlining financial tasks, they reduce the stress of money management and empower users to take control of their finances.
In times of economic uncertainty, such as during the global pandemic, budget apps have become even more valuable. With increased financial awareness, particularly among younger generations, the demand for these apps has grown significantly. They provide a clear view of spending and saving habits, enabling users to make adjustments and stay on track during challenging times.
Beyond day-to-day tracking, budget apps are powerful tools for achieving long-term financial goals. Whether saving for a vacation, buying a home, or paying off debt, these apps offer features to set goals, monitor progress, and make informed decisions. By offering a sense of control and clarity, budget apps have become indispensable for anyone looking to improve their financial health.
Analyzing the budget app market
The budget app market trends are booming, showing substantial growth from USD 199.7 million in 2022 to an expected USD 359.01 million by 2032. This rapid expansion underscores the increasing importance of personal finance apps within the personal finance app market. The market is not only growing but also evolving, with new and innovative solutions continually emerging.
One of the key drivers behind this growth is the significant rise in active users. From 2020 to 2021, there was over a 150% increase in the number of users turning to personal finance apps. This surge is indicative of a broader trend where more people are seeking digital tools to help manage their finances.
Mobile applications are particularly promising within this market. As one of the most dynamic segments of the finance industry, mobile banking apps offer unmatched convenience and accessibility. They allow users to manage their finances on the go, which is a huge advantage in today’s fast-paced world. This growing trend underscores the potential for personal finance app development, particularly for budget apps designed to meet the evolving needs of modern consumers.
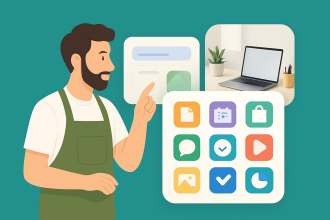
Essential features for a successful budget app
Developing a successful budget app requires incorporating key features that address users’ financial management needs. From intuitive user interfaces and secure registration to comprehensive expense tracking and goal-setting tools, each feature contributes to the app’s functionality and user satisfaction.
These features are not just optional; they are fundamental to enhancing usability and empowering users to take control of their finances.
Let’s explore these core elements in more detail.
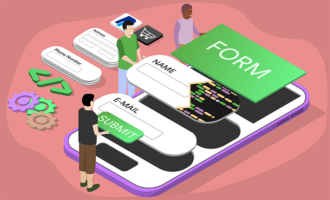
User registration and onboarding
Security is critical when managing financial data. Implementing robust measures like two-factor authentication and biometric recognition (e.g., fingerprint or voice identification) is essential for protecting user information. These features not only safeguard sensitive data but also build trust, which is vital for any finance app’s success. Strong security measures also help maintain the app’s reputation for reliability.
Equally important is a seamless onboarding process. A user-friendly interface that guides users through account creation and synchronization with financial accounts ensures a smooth start. Effective onboarding significantly enhances user satisfaction and increases retention rates by making the app accessible and easy to use.
Expense tracking
Expense tracking is a core function of budget apps, helping users monitor their finances with minimal effort. Automation, such as categorizing transactions, simplifies the process and provides users with insights into their spending habits. Many major banks offer similar features, but budget apps stand out by offering deeper customization and personalization.
Advanced technologies like AI and machine learning enhance these features by recognizing patterns and refining categorizations over time. This ensures accurate tracking and empowers users to make informed financial decisions.
Budgeting tools and goal-setting
Budgeting tools are essential for helping users set and achieve their financial goals. These tools allow users to set personalized financial objectives, such as debt repayment or saving for specific purchases. Adding financial goals and setting spending limits helps users stay on track and work towards their targets.
Notifications are crucial for engagement and accountability. They can remind users about their goals, alert them to low balances, or notify them of overspending. Regularly reviewing budgets keeps users motivated and allows them to adjust their strategies when needed. Additionally, generating detailed reports on income, expenses, and financial forecasts provides valuable insights into spending patterns.
Gamification elements, such as earning rewards and achieving milestones, add a layer of fun and motivation, making the app more engaging and enjoyable to use.
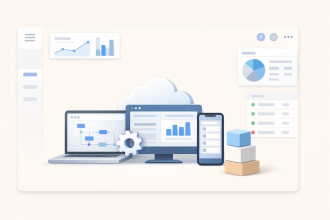
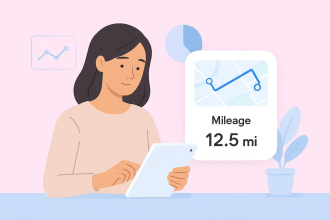
Data visualization
Data visualization is crucial in making financial information understandable and manageable. Budget apps often use views like card views and simpler tables to track spending, providing users with a clear representation of their financial data. This helps users analyze their spending patterns and make informed decisions.
Customizable dashboards enhance the experience by allowing users to tailor their view to prioritize the data they find most relevant. This personalization ensures that users have quick access to essential information, making the app more efficient and user-friendly.
Notifications and alerts
Timely notifications and alerts keep users informed about their financial status without overwhelming them. Well-organized, non-intrusive notifications can highlight critical updates, such as transaction summaries, budget progress, or account balances.
Grouping notifications by type allows users to customize their preferences and receive only the updates that matter most. This ensures an engaging experience without unnecessary distractions, promoting regular app usage and better financial management.
Advanced features to enhance user experience
Advanced features can significantly enhance the user experience of a budget app. Offering app features that slightly exceed user expectations can set your app apart from competitors and motivate customers to choose your app.
Let’s explore some key advanced features, including AI-powered financial assistance, bank integration, and gamification elements.
AI-powered financial assistance
AI can revolutionize personal finance apps by providing personalized financial advice and guiding users toward better financial habits. FinTech chatbots, for instance, can track spending, suggest budgeting options, and provide interactive, real-time financial guidance, making the app more engaging and useful.
Managing investments, including cryptocurrency portfolios, is another area where AI can be beneficial. AI can analyze user data to offer tailored advice and manage investments automatically. This level of customization ensures the app meets individual financial needs, enhancing its overall appeal.
AI and machine learning algorithms can forecast future budgets based on spending patterns, offering predictive insights to help users plan effectively. These technologies can also recommend saving strategies, connect users to financial tools or marketplaces, and provide actionable feedback to optimize savings and investments.
Integration with banks and payment systems
Seamless integration with banks and payment systems is a cornerstone of advanced budget apps. By linking multiple bank accounts through secure APIs like Plaid, users gain a comprehensive view of their finances, simplifying money management.
Users want the ability to add new accounts easily and manage all their money on one platform. In some cases, financial platforms may also need to support documentation workflows — such as submitting or managing forms like a guarantor form when applying for financial services. Partnering with fintech companies can also expand the app’s capabilities and create new opportunities for value-added services.
Gamification elements
Gamification can significantly enhance user motivation and engagement in budgeting apps. Incorporating gamification elements into a budget app prototype encourages users to interact more frequently with the app, making financial management more enjoyable.
Incorporating a point system and rewards can further enhance motivation. Users earn points for achieving financial milestones, which can be redeemed for rewards or simply serve as a measure of progress. This system makes users more engaged and likely to stick with the app.
Gamified features ensure that users stay engaged with the app, making budgeting a rewarding experience. Over time, this approach fosters consistent app usage and encourages better financial habits.
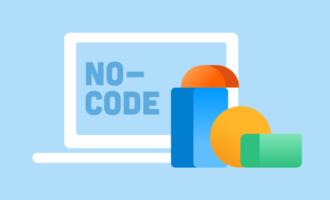
How to create a budget app with Jotform Apps
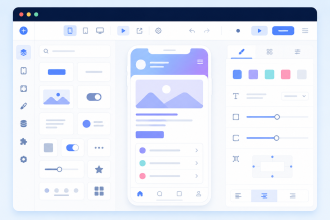
Creating a budget app has never been easier, thanks to Jotform Apps’ no-code, user-friendly platform. With Jotform Apps, you can quickly build a customized budget app using drag-and-drop tools, making it perfect for both personal and event budgeting without any coding experience.
To get started, you can choose from customizable templates like the Personal Budget App or the Event Budget Planner App. These templates provide a quick and efficient starting point, helping you set up a budget app tailored to your specific needs, whether you’re tracking daily expenses or planning an event budget.
Here’s how Jotform Apps can support your budgeting needs:
- Budget sheets: Jotform’s budget templates come with pre-built sheets for tracking income, expenses, and other essential budget categories. You can customize these sheets to match your unique budget structure, ensuring that you capture all necessary details.
- Data organization with Jotform Tables: All budget entries are automatically stored in Jotform Tables, giving you a clear and organized overview of your finances. You can view, filter, and even calculate totals directly in the table, helping you stay on top of your budget with minimal effort.
- Push Notifications: Jotform Apps includes a push notification feature, allowing you to send reminders for budget updates, like logging expenses or reviewing your monthly spending. These notifications can help you stay consistent with your budget, whether it’s for personal use or event management.
- Multiple payment integrations: For event budgets, you can integrate payment gateways like Square or Stripe to collect and manage funds directly within the app. This feature is especially useful for tracking event income and expenses in one place.
- Mobile access: Jotform Apps is optimized for mobile devices, so you can access and update your budget from anywhere. Whether you’re on the go or working from home, your budget is always accessible and easy to manage.
Using Jotform Apps, you can build a budget app that’s effective for your specific needs. Jotform Apps simplifies the budgeting process and helps you stay on track with your financial goals.


Send Comment: