
If you’re trying to get Microsoft Forms responses into Excel, you’re not alone. It’s one of the most common tasks for anyone who uses Microsoft 365 to collect data.
You have a couple of options, but the right method depends on whether you need a one-time snapshot or an automatically updating spreadsheet. In this article, we’ll cover both methods for connecting Microsoft Forms to Excel with step-by-step instructions.
And if you’re looking for a simpler alternative that makes channeling form submission data into Excel a breeze, we’ll introduce you to Jotform, a leading Microsoft Forms alternative.

Migrate existing forms instantly
There’s no need to rebuild your online forms from scratch. Instead, migrate existing forms and submission data into your Jotform account in one click — so you can collect data without skipping a beat.
Your form can not be migrated.
Please ensure that your form URL is correct and that your form is set to “public” before attempting to migrate it again.
Method 1: Download Microsoft Forms responses as an Excel file
If you simply want a point-in-time snapshot of your form data in Excel, the quickest method is to use the form builder’s native functionality to carry out a Microsoft Forms export to Excel. This solution doesn’t require any third-party tools or coding and it’s fairly straightforward.
That said, you should be aware that sending Microsoft Forms data to a spreadsheet using this method doesn’t mean your data will now update automatically. New form submissions only sync to Excel when you open the file in Excel for the web. The desktop Excel version won’t update on its own, and neither will the file in the background. As a result, you can’t rely on this method for a live sync.
Follow these instructions to open Microsoft Forms results in Excel:
- Open the Microsoft Form you want to connect to Excel.
- Click View responses.

- Under Insights and actions, click Open results in Excel.
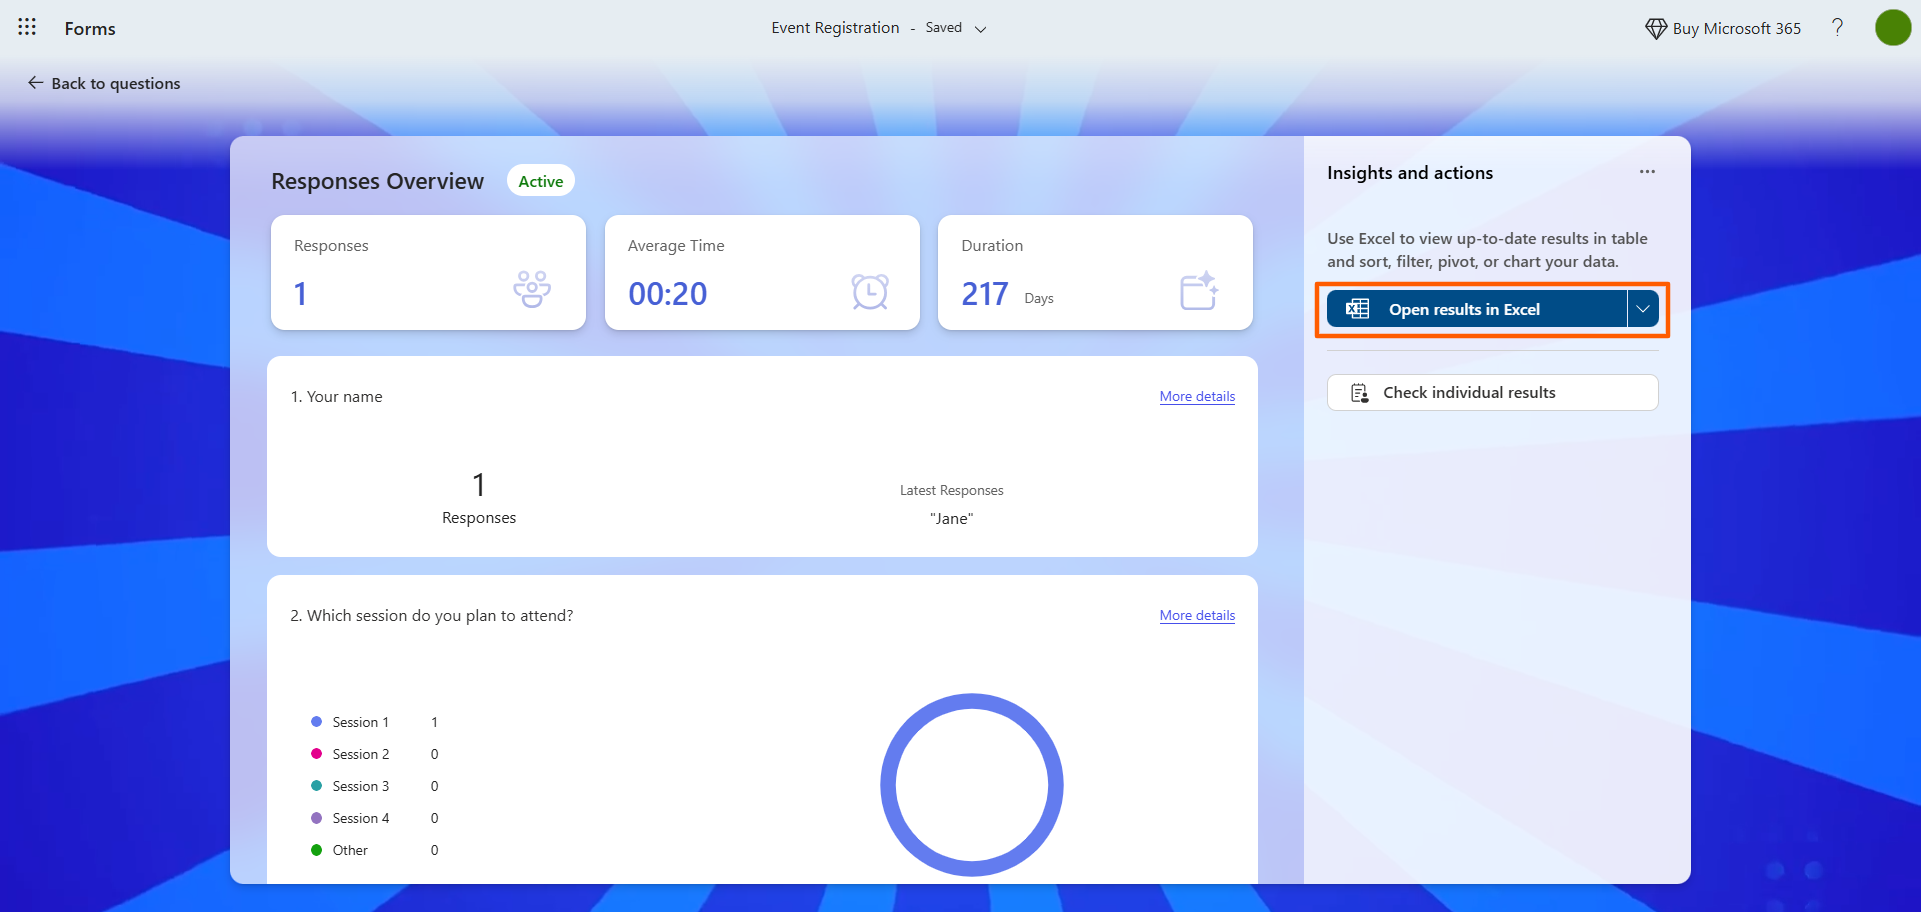
- Click Continue.

Your Microsoft Forms results will open in Microsoft Excel.
If you’re new to Microsoft Excel, some of its basic features can require a little know-how to use properly. Our other articles provide a detailed Microsoft Excel tutorial and show you how to create a form in Excel.
Method 2: Sync Microsoft Forms to Excel automatically with Power Automate
If you’re looking for a true, real-time sync from Microsoft Forms to Excel, where every new submission adds a row of data to Excel instantly without the need to open a new file, this is the way to go. Using Power Automate, a workflow automation tool, does take some time to set up. But once you have it configured, it runs continuously in the background.
Follow these steps to create a Microsoft Forms–Excel sync with Power Automate. Note that, before you begin, you’ll need to have a Microsoft Form and an associated Microsoft Excel spreadsheet. The columns in your spreadsheet will need to exactly match the fields in the Microsoft Form. You’ll also need to save the Excel spreadsheet in SharePoint or OneDrive so that it can be accessed by Power Automate.
- Open Power Automate.
- Click Create in the left menu.
- Select Automated cloud flow. Name the flow. For example, “Microsoft Form to Excel Sync.”
- Under Choose your flow’s trigger, search for and click Microsoft Forms.
- Select When a new response is submitted.
- Select the form you want to automate data for.
- Click New step.
- Search for Microsoft Forms.
- Select Get response details.
- Select the form you want to automate the data flow for again.
- Select Response ID from the Dynamic content box in the Response ID field.
- Click New step.
- Search for Excel Online (Business).
- Select Add a row into a table.
- Select the location of the Excel file in SharePoint or OneDrive.
- Choose the table within the Excel spreadsheet where you want the data to flow.
- Map the fields from the Microsoft Form data to the spreadsheet. You’ll need to select Dynamic content for each column.
- Save the flow.
Now you’ve created a Microsoft Forms–Excel sync. Be sure to try out the flow by submitting a test response to your Microsoft Form and seeing whether the data arrives correctly in the Excel spreadsheet.
Pro Tip
If you haven’t built your form yet, why not skip Power Automate entirely and try an easier method? Simply create the form directly in OneDrive or SharePoint, click New, and then select Forms for Excel.
Microsoft will automatically link the form you’ve created to a cloud-based Excel spreadsheet from the start without requiring any additional setup. Every new form submission will flow into Excel as a new row of data automatically. It’s a smoother workaround than using Microsoft Forms.
Skip the setup: Jotform connects to Excel natively
You’ve learned how to export form responses in Microsoft Forms two ways: a straightforward snapshot method, and a more complex workaround that creates a live sync using Power Automate.
What if there was a better solution?
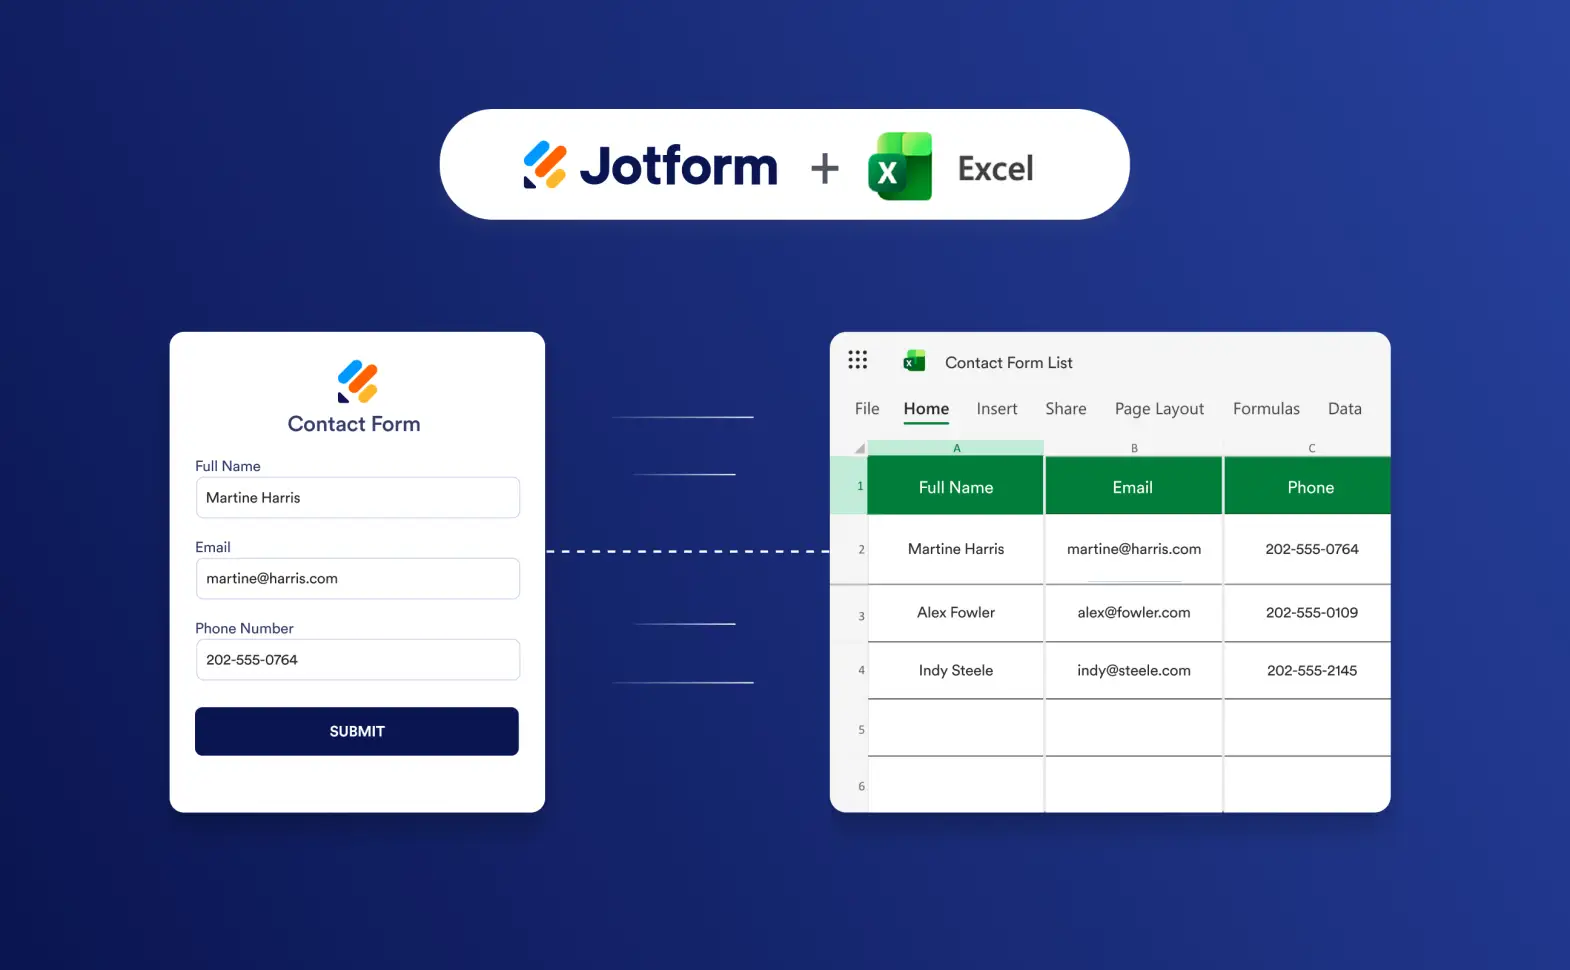
Jotform is a free, no-code form builder that connects to Microsoft Excel natively — there’s no need to manually open Excel files or use workflow automation tools like Power Automate.
While Microsoft Forms requires either a manual setup or a multi-action automation flow to keep Excel updated with a live feed, Jotform handles the sync in the background. That means every time a form submission comes in, your Excel spreadsheet is automatically updated.
Pro Tip
If you’ve already created your form in Microsoft Forms, you can easily migrate it to Jotform with a few clicks using the Jotform migration tool. It keeps your form structure and fields intact, so you don’t need to rebuild anything from scratch or risk losing your data.
Want to see the Microsoft Excel integration with Jotform in action? It’s easy to set up. Check out this Supademo video to see how to use the integration.


With the Jotform Microsoft Excel integration, you have the ability to choose from four different types of actions:
- Add rows to a new workbook from form submissions: If you don’t have an Excel workbook you’re already using, this is the best option.
- Add rows to an existing workbook automatically: Choose this option if you already have an Excel workbook with data.
- Add rows to a new Excel table: This option is ideal if you don’t have an Excel table you’re already using.
- Add rows to an existing Excel table: You can also update an existing table with new form data.
Want to skip Excel entirely? Jotform makes it possible
Connecting Microsoft Forms to Excel can be a pain, which is why many users switch from Microsoft Forms to Jotform — a leading form builder with a native integration to Excel. Jotform also comes with more than 20,000 form templates, so you never need to build any forms from scratch.
Here’s the thing: You don’t even need Microsoft Excel when you have everything Jotform has to offer. It provides a number of ways to manage submissions, automate processes, and generate reports — without ever exporting a file:
- Jotform Tables: Collect and organize your form data in this collaborative spreadsheet workspace.
- Jotform Workflows: Create automations for tasks, approvals, payments, and so much more with this workflow automation tool.
- Jotform Report Builder: Analyze submission data, create stunning reports, and share insights with your stakeholders.
What are you waiting for? See how easy it is to create a form, connect it to Excel, or use Jotform for all your data processes. Explore the platform for free today.
FAQs on connecting Microsoft Forms to Excel
You can transfer Microsoft Forms responses to Excel by using its built-in tool. Go to View responses and click Open results in Excel.
Note that this doesn’t provide a live sync in the desktop version of Excel. For that, you’ll need to use Power Automate to build an automated workflow.
If you want to make your Microsoft Form submission data go to a spreadsheet like Excel automatically, you have to create a workflow using Power Automate. It’s a little complex, so many users migrate their Microsoft Form to Jotform and use Jotform’s native integration to Excel instead.
You can get an Excel spreadsheet from Microsoft Forms by using the built-in tool or creating an automated workflow using Power Automate. Neither option is ideal as the built-in tool doesn’t provide a live sync in desktop Excel while the Power Automate method is complex and time-consuming. Check out Jotform’s native Excel integration for a simpler solution.
This article is for office workers, teachers, HR teams, project managers, and operations staff using Microsoft Forms who want to get their form responses into Excel — whether for a one-time data pull or an automatically updating spreadsheet.


Send Comment: