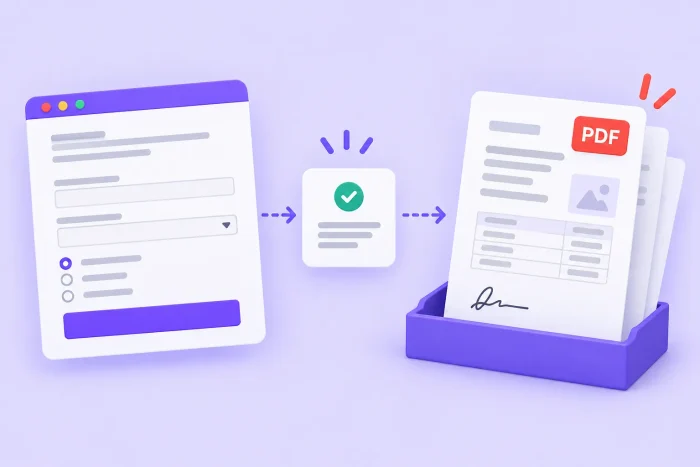
Google Forms is a convenient way to collect information, and it’s easy to learn how to use it. However, it has one critical limitation: It doesn’t natively turn each form submission into a customized PDF or other document.
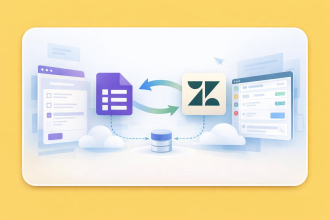
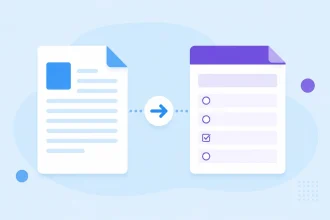
That’s where Form Publisher comes in. This Google Workspace tool is among the best Google Forms add-ons. It connects your form responses to a document template, allowing you to automatically generate customized documents from submitted data.
In this guide, you’ll learn how to install Form Publisher, prepare your Google Form and template, connect the template to Form Publisher, configure your output settings, and test the finished workflow.
1. Install Form Publisher in Google Forms
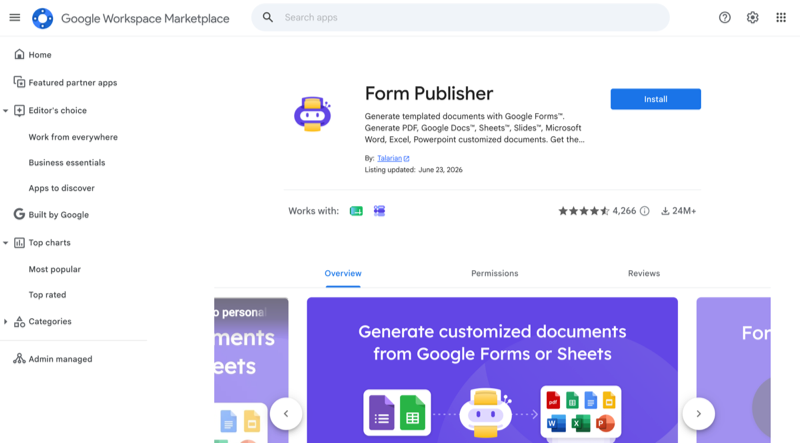
- Open the Form Publisher page in the Google Workspace Marketplace. Click Install.
- In the Google authorization window, click Continue. Select the Google account you want to use.
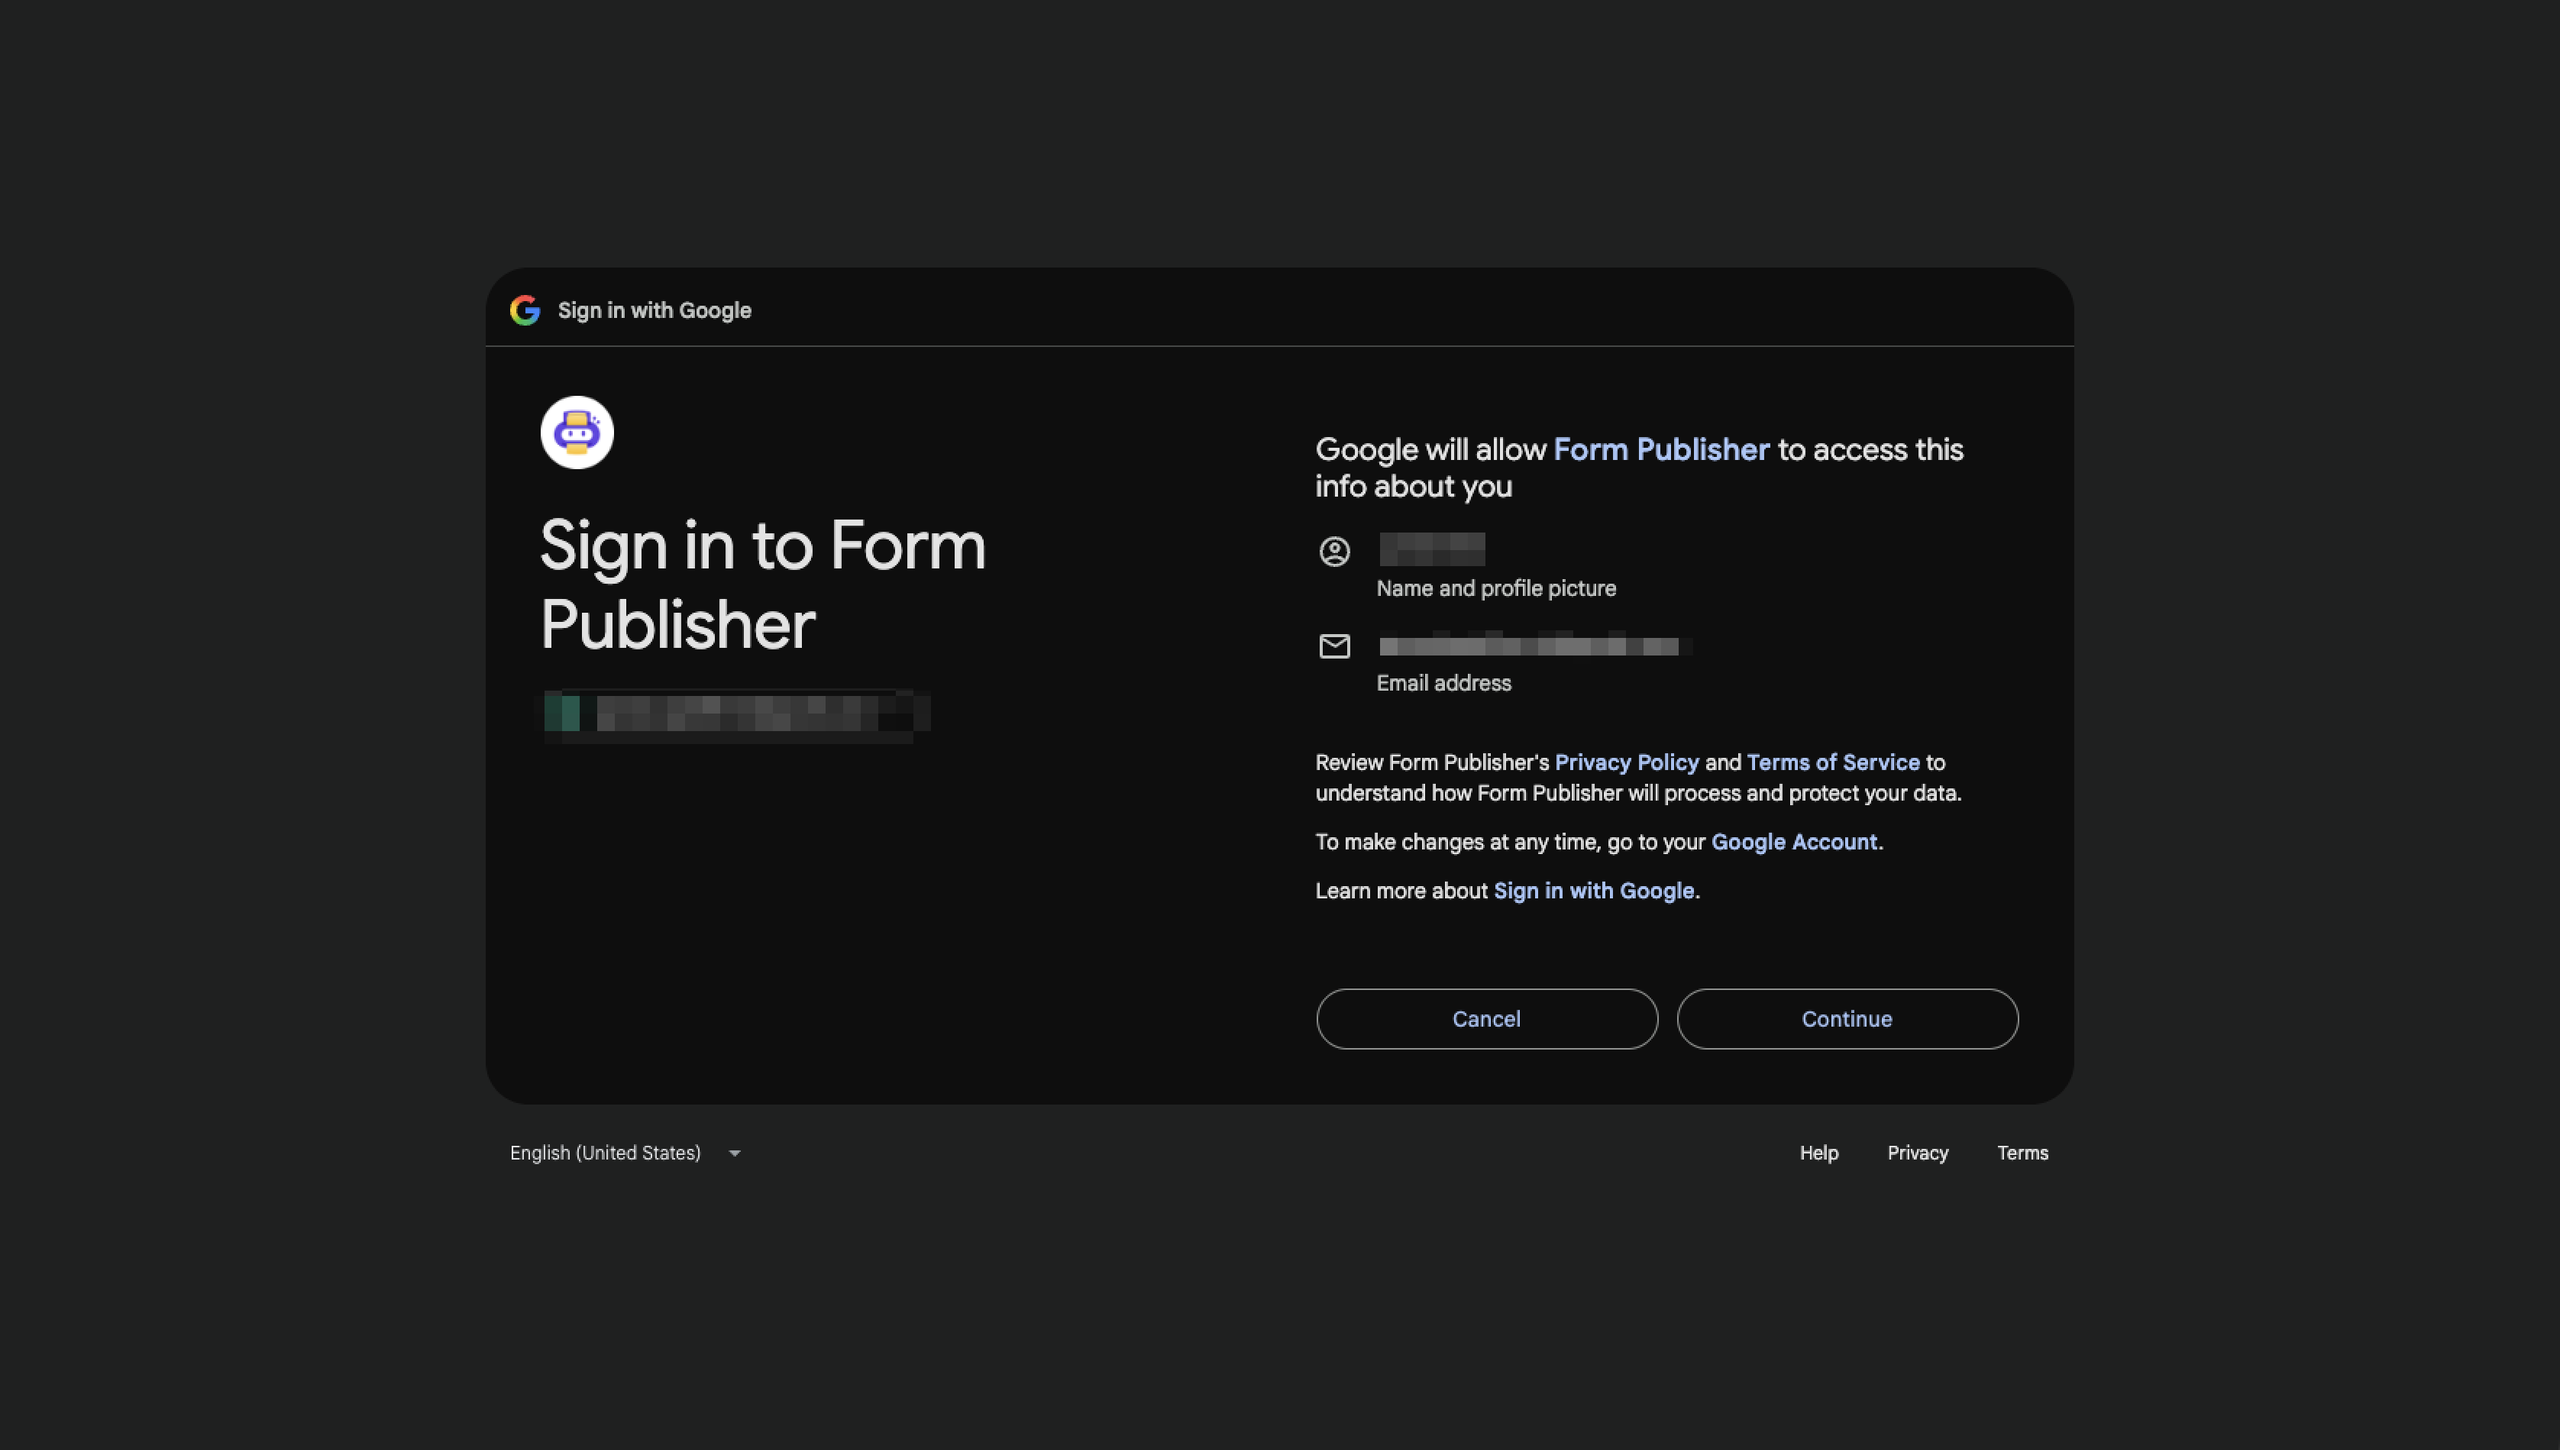
- Review the requested permissions and click Allow. Wait for the installation confirmation, then click Done.
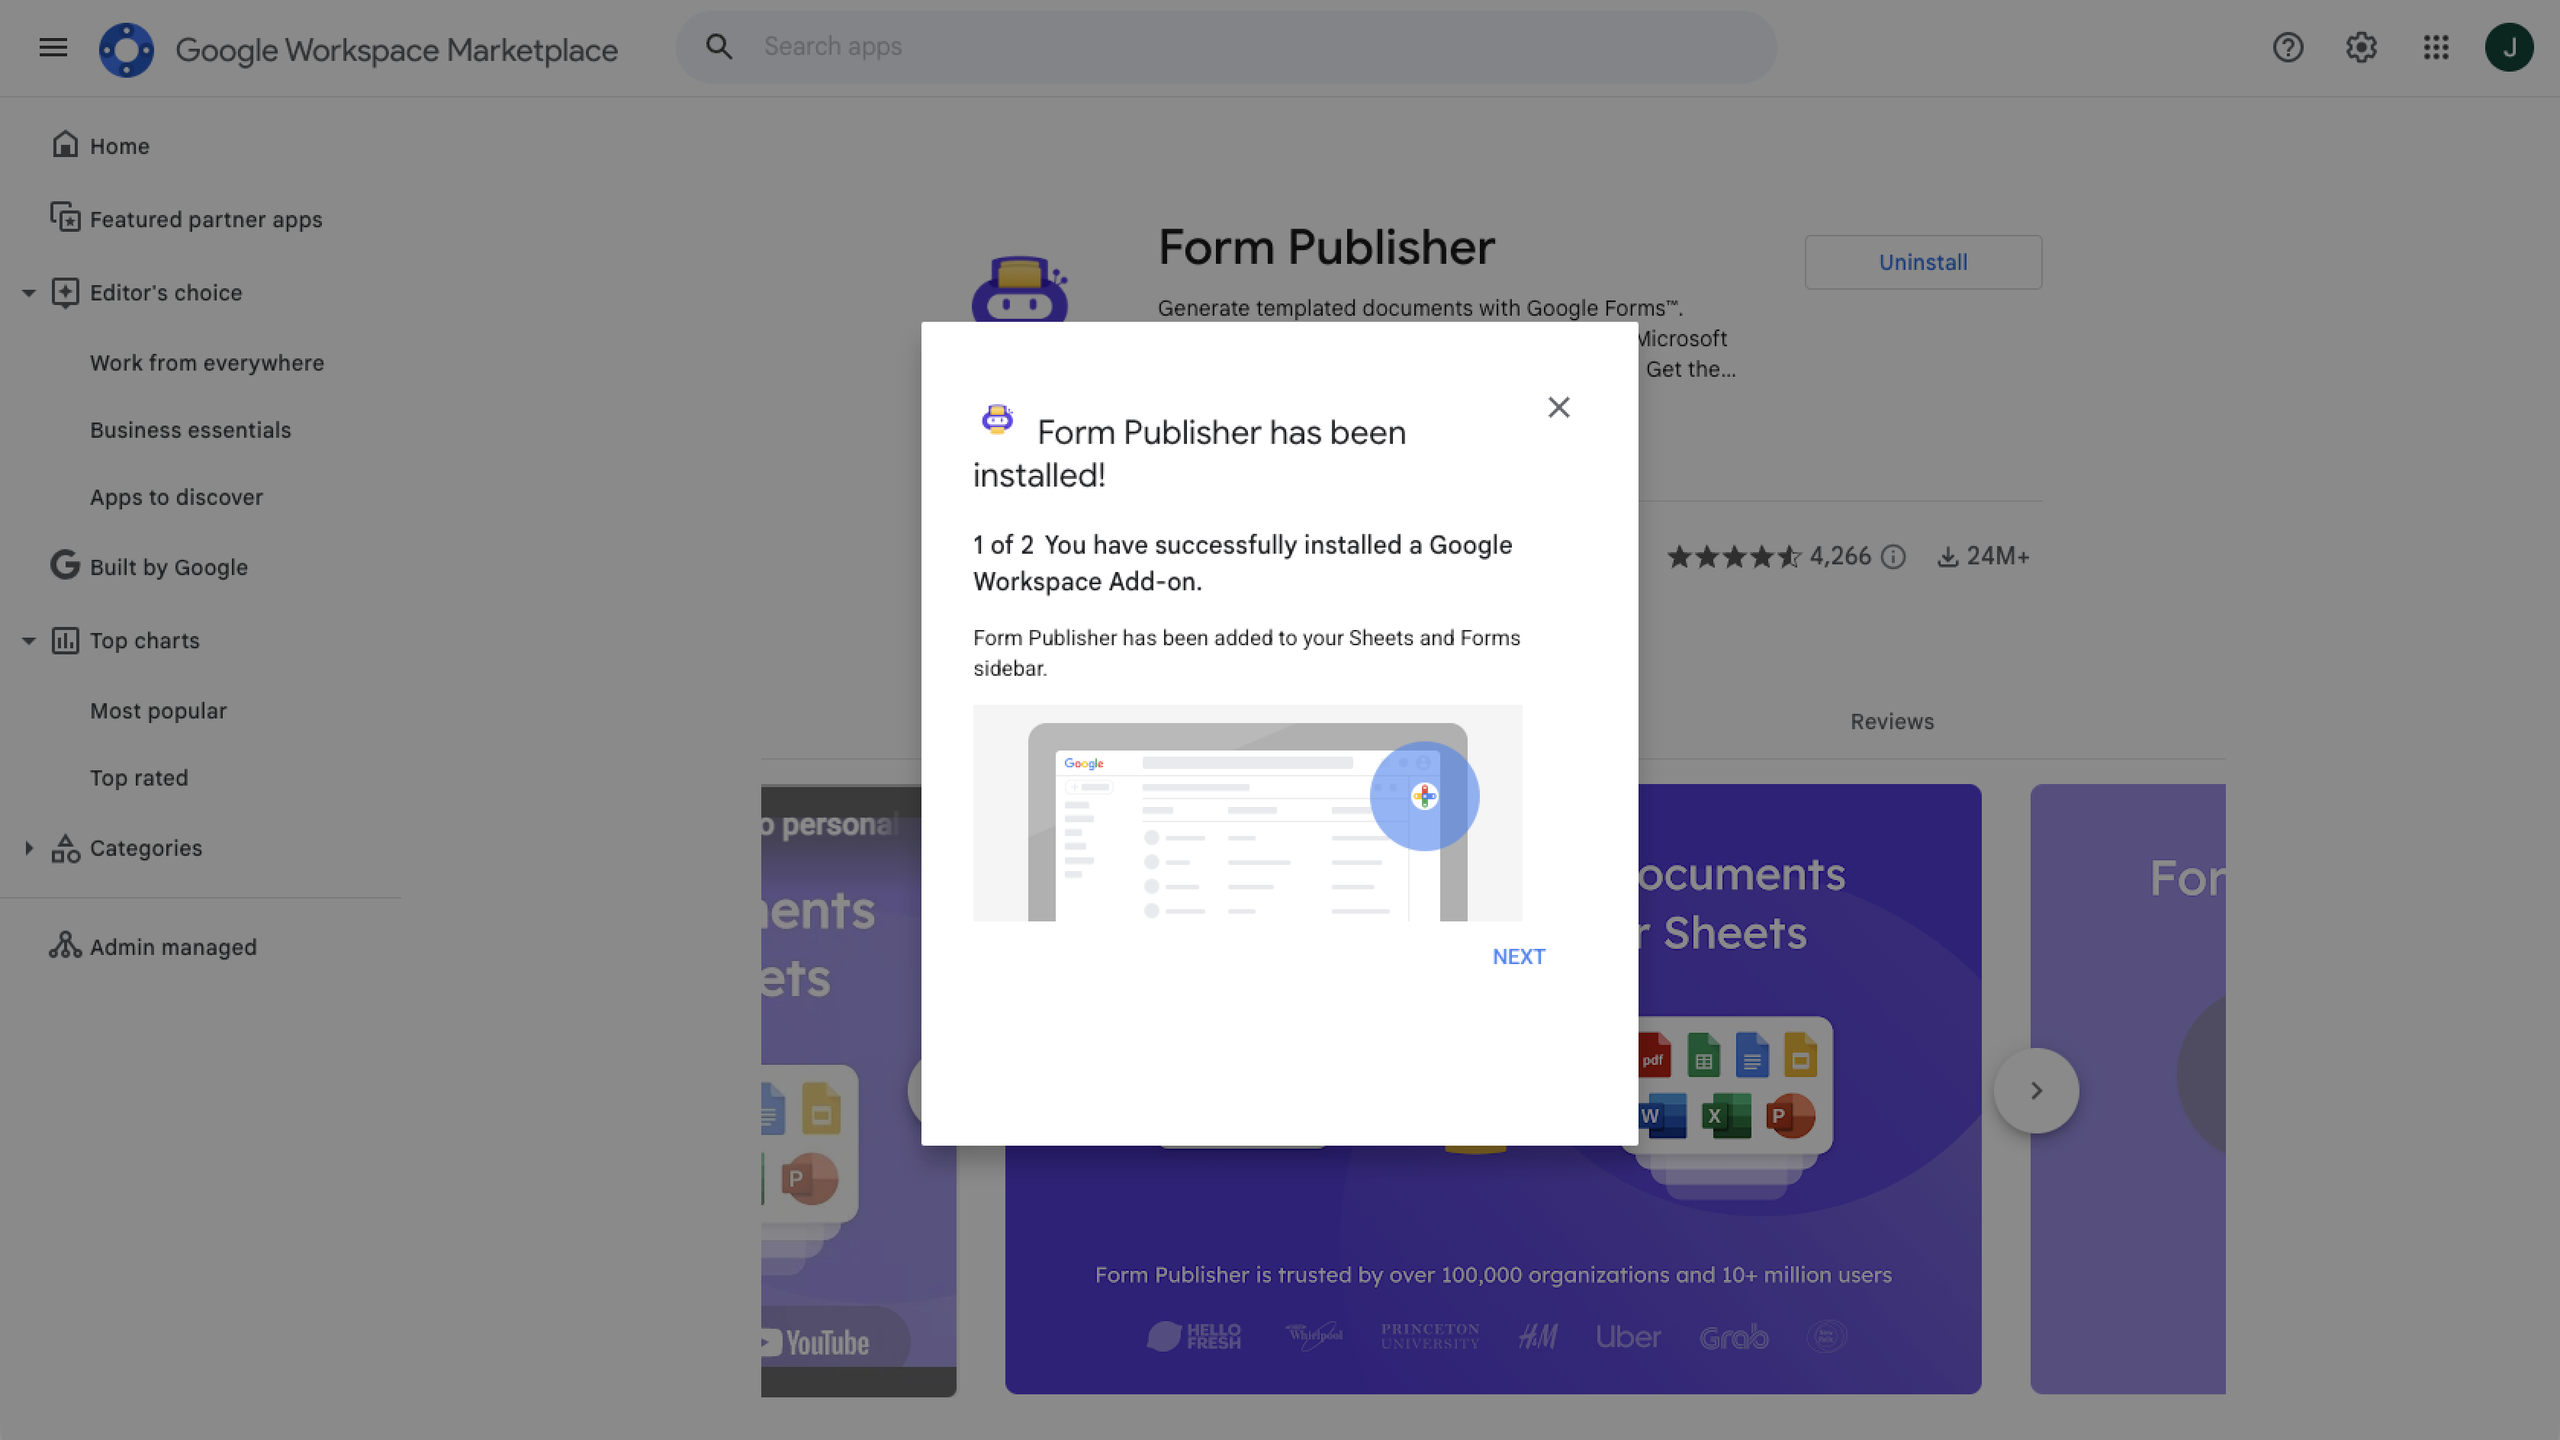
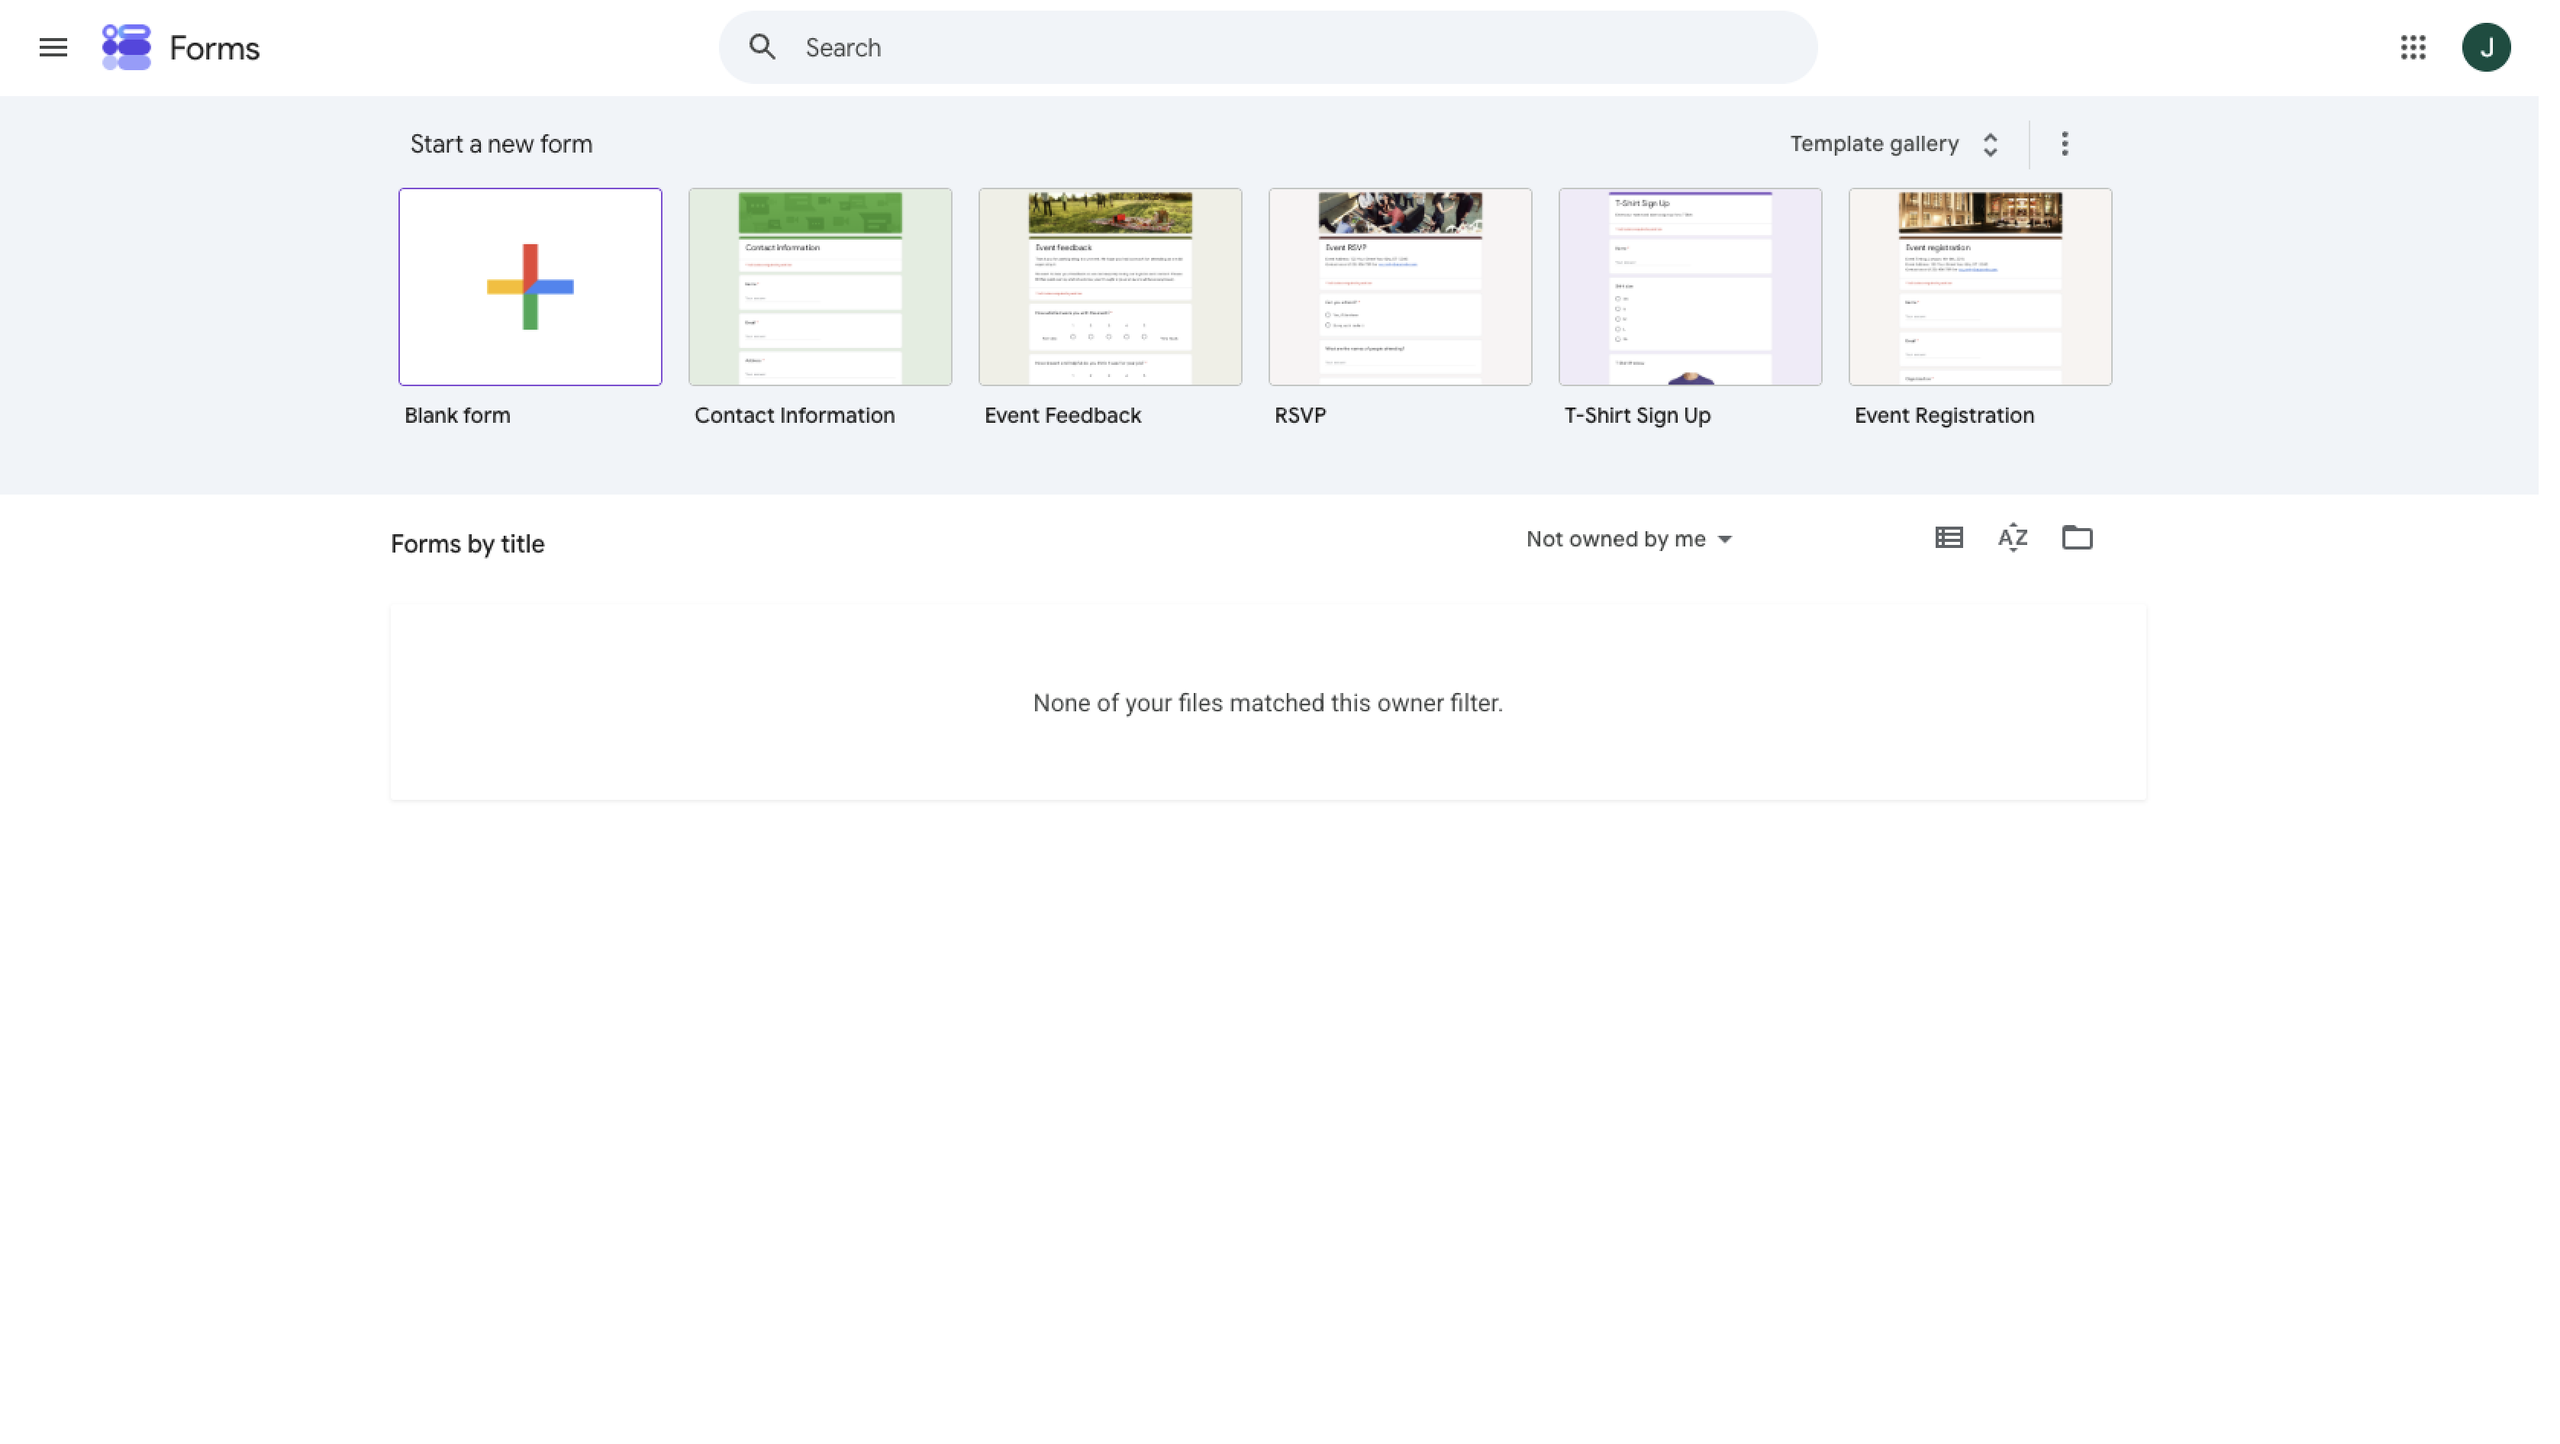
- Open Google Forms and create or open the form you want to use with Form Publisher.
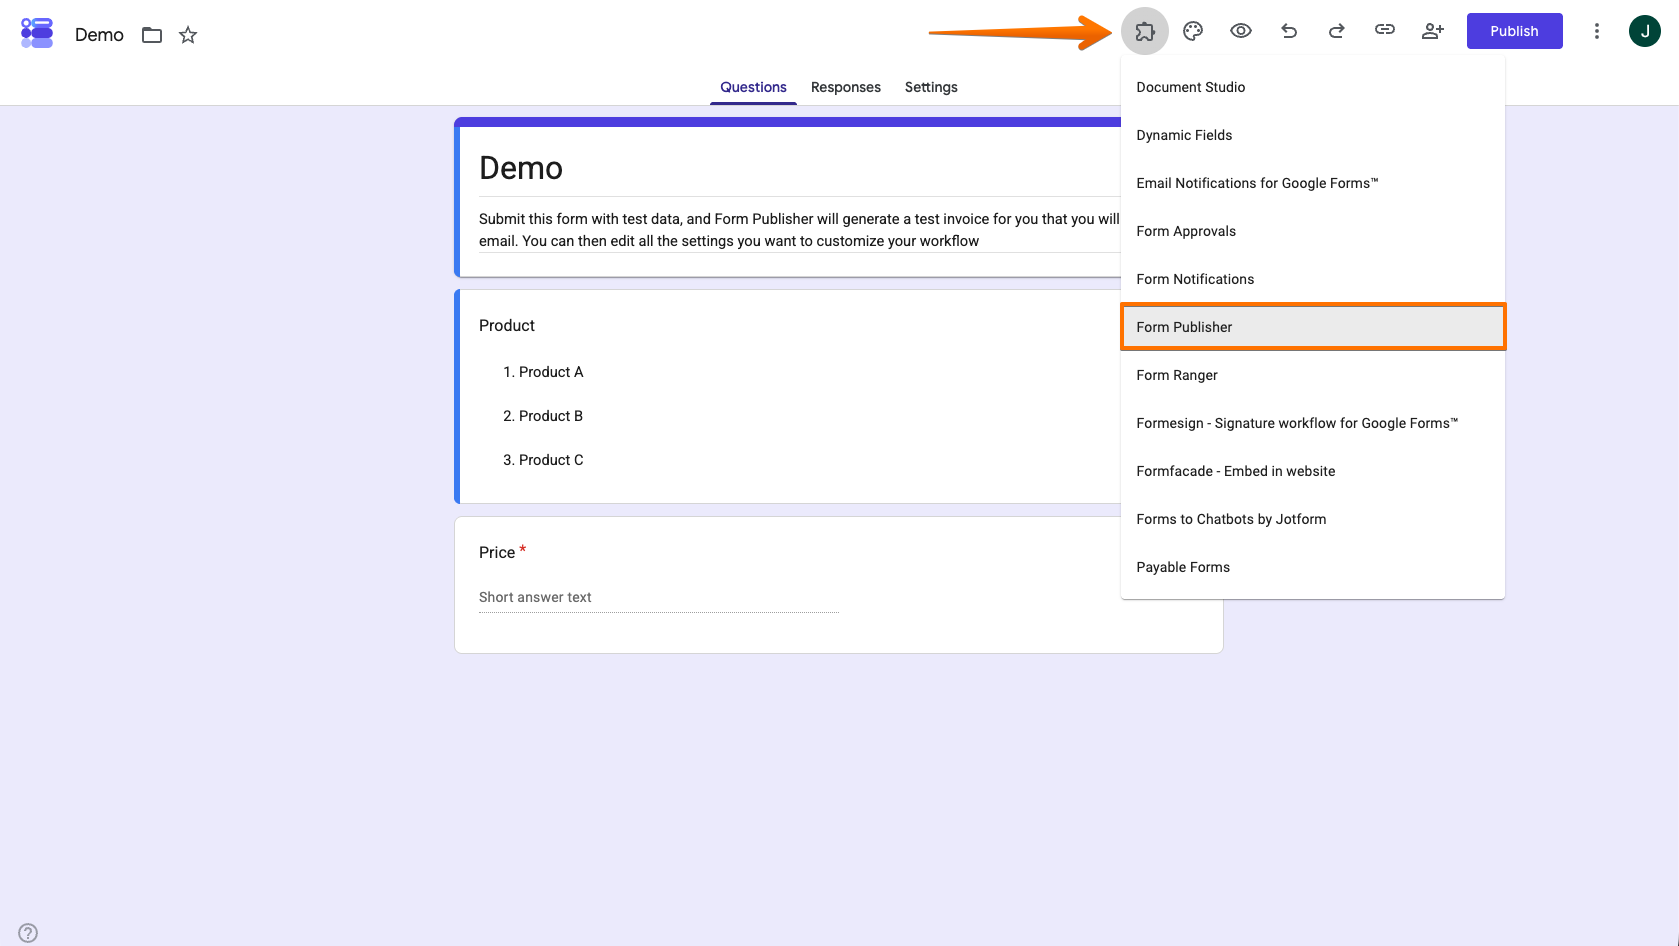
- Click the Add-ons icon in the upper-right corner of the form and select Form Publisher.
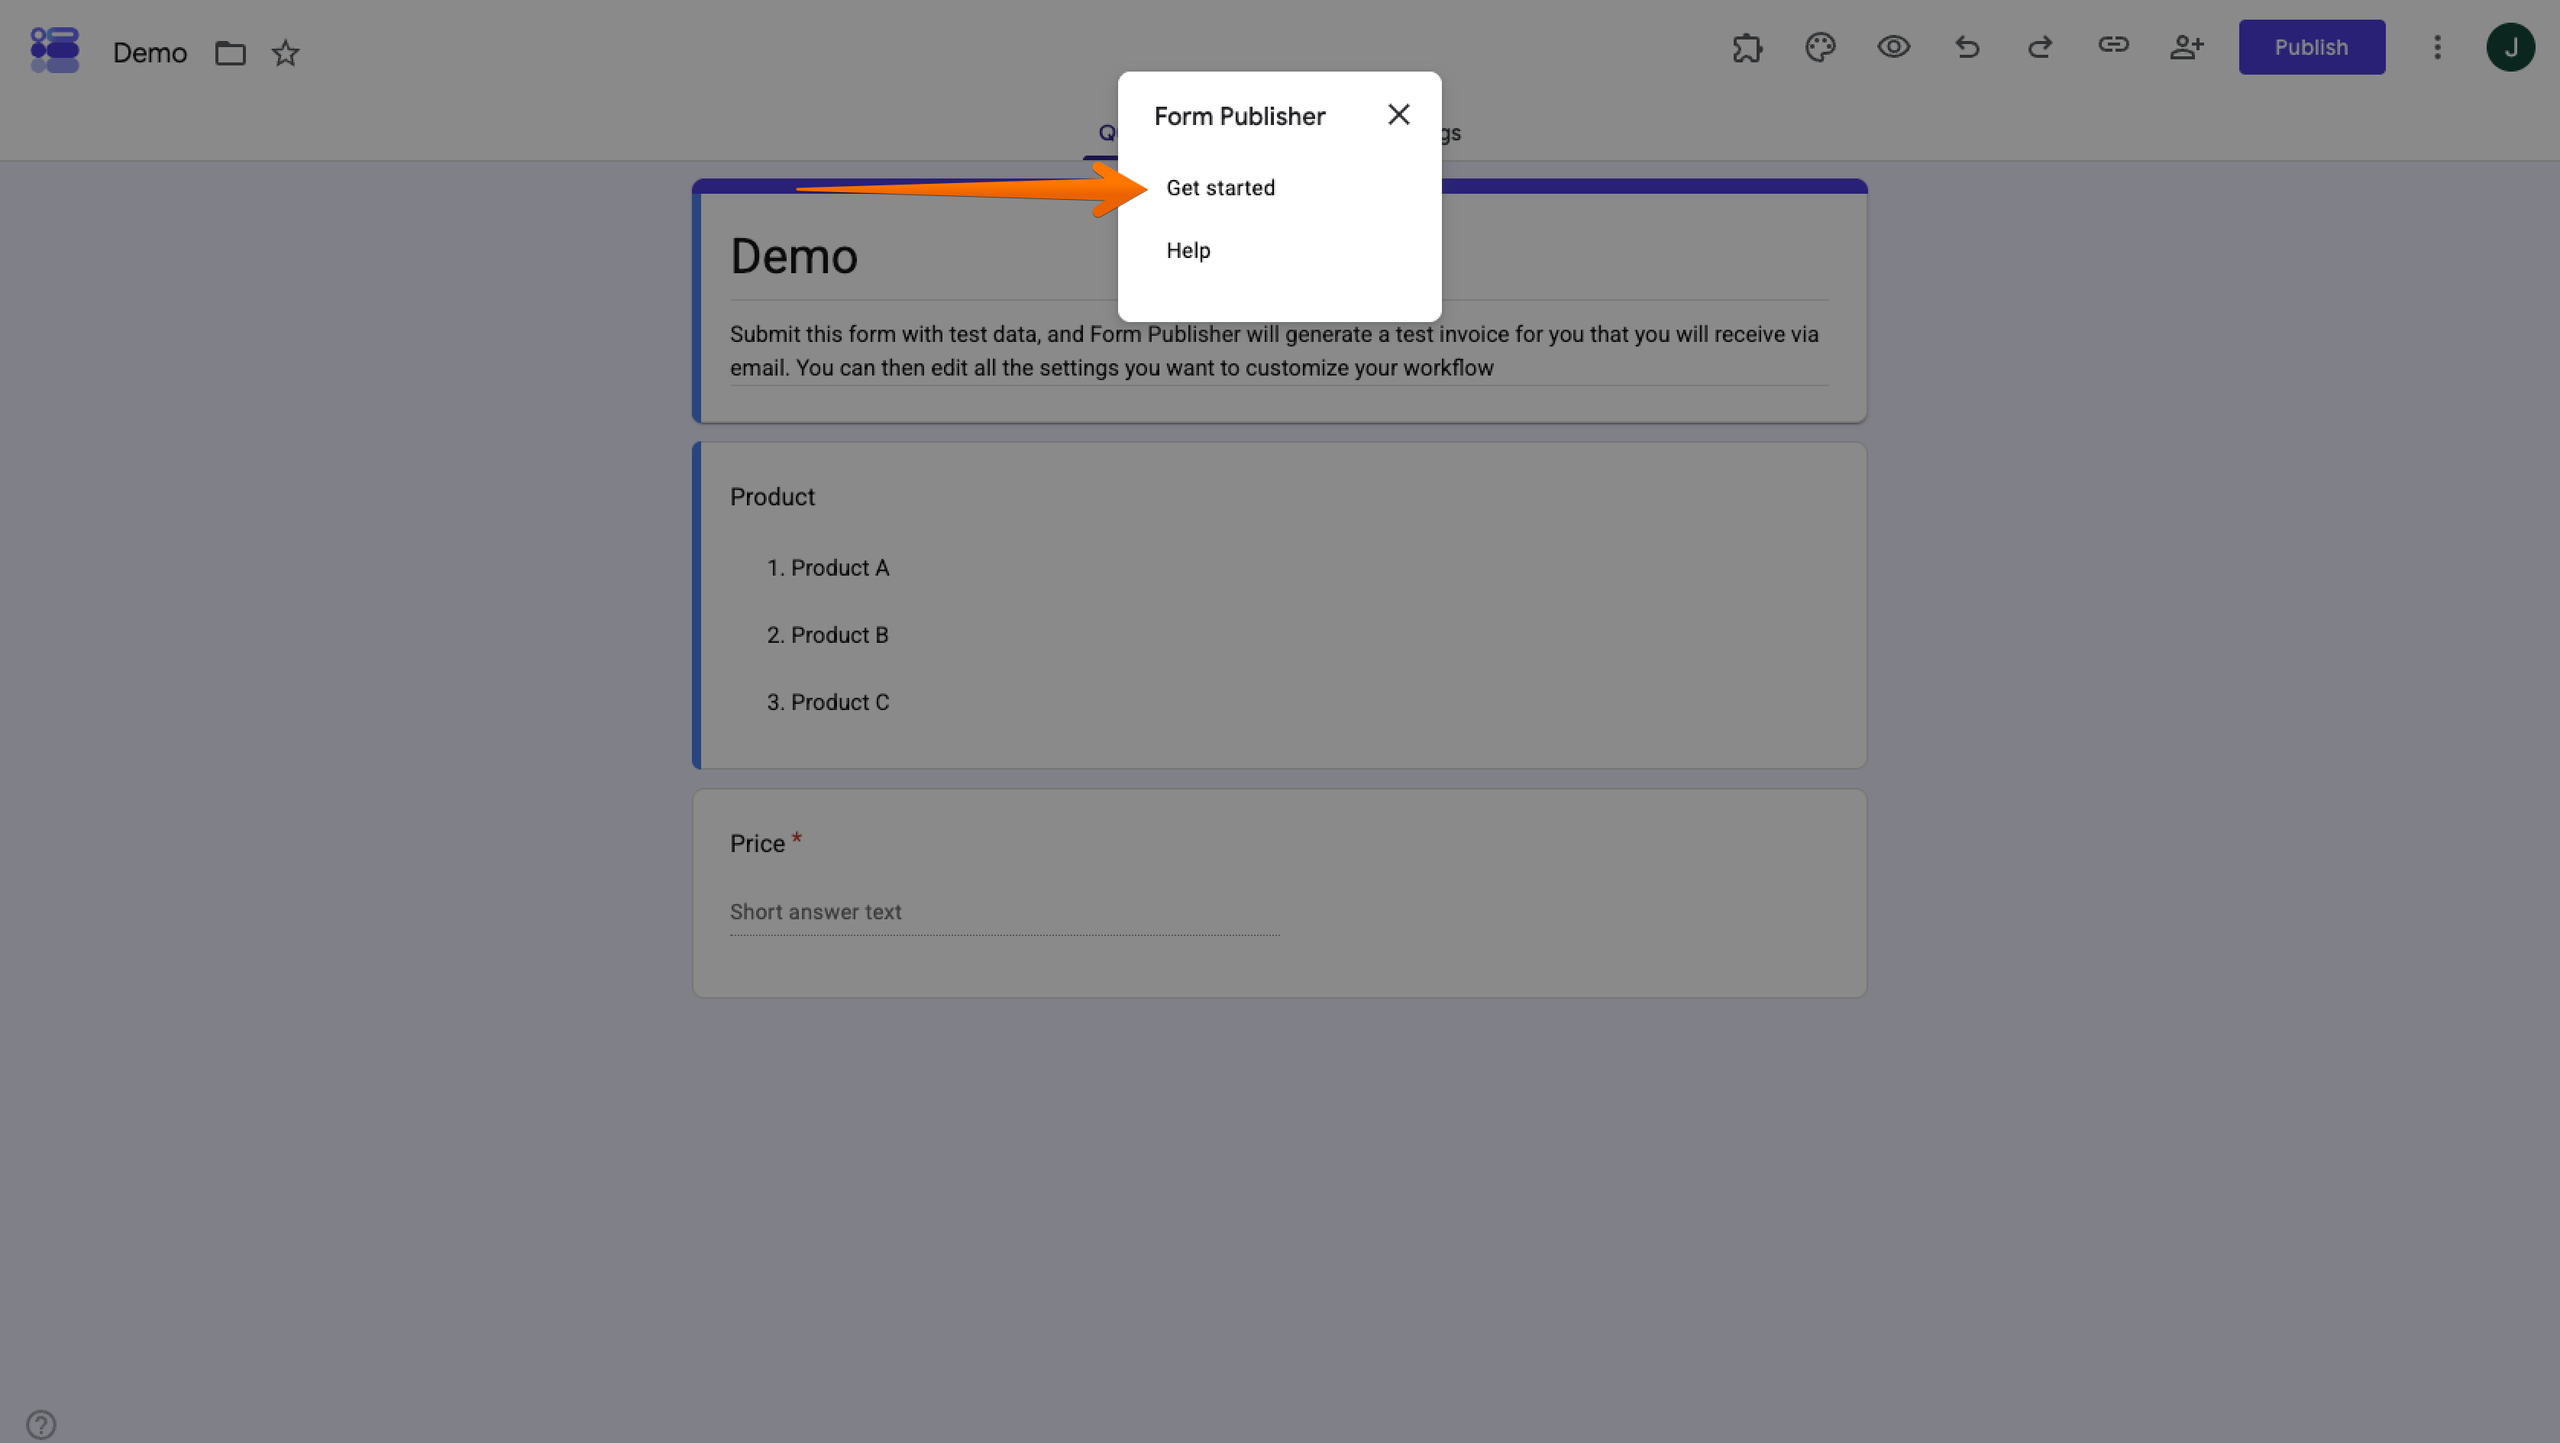
- Click Get Started to open Form Publisher’s setup panel.
Form Publisher is now installed and ready to configure.
2. Prepare the Google Form you want to publish
Before you connect Form Publisher to your form, make sure the form contains all the information you want to transfer to your generated document.
1. Open the form you want to use with Form Publisher, or create a new blank Google Form. Add a question for each piece of information you want to appear in the finished PDF. Give each question a clear, final title. This is especially important because Form Publisher uses the exact question titles as markers in the template. In the example, the form asks for a product choice and a price.
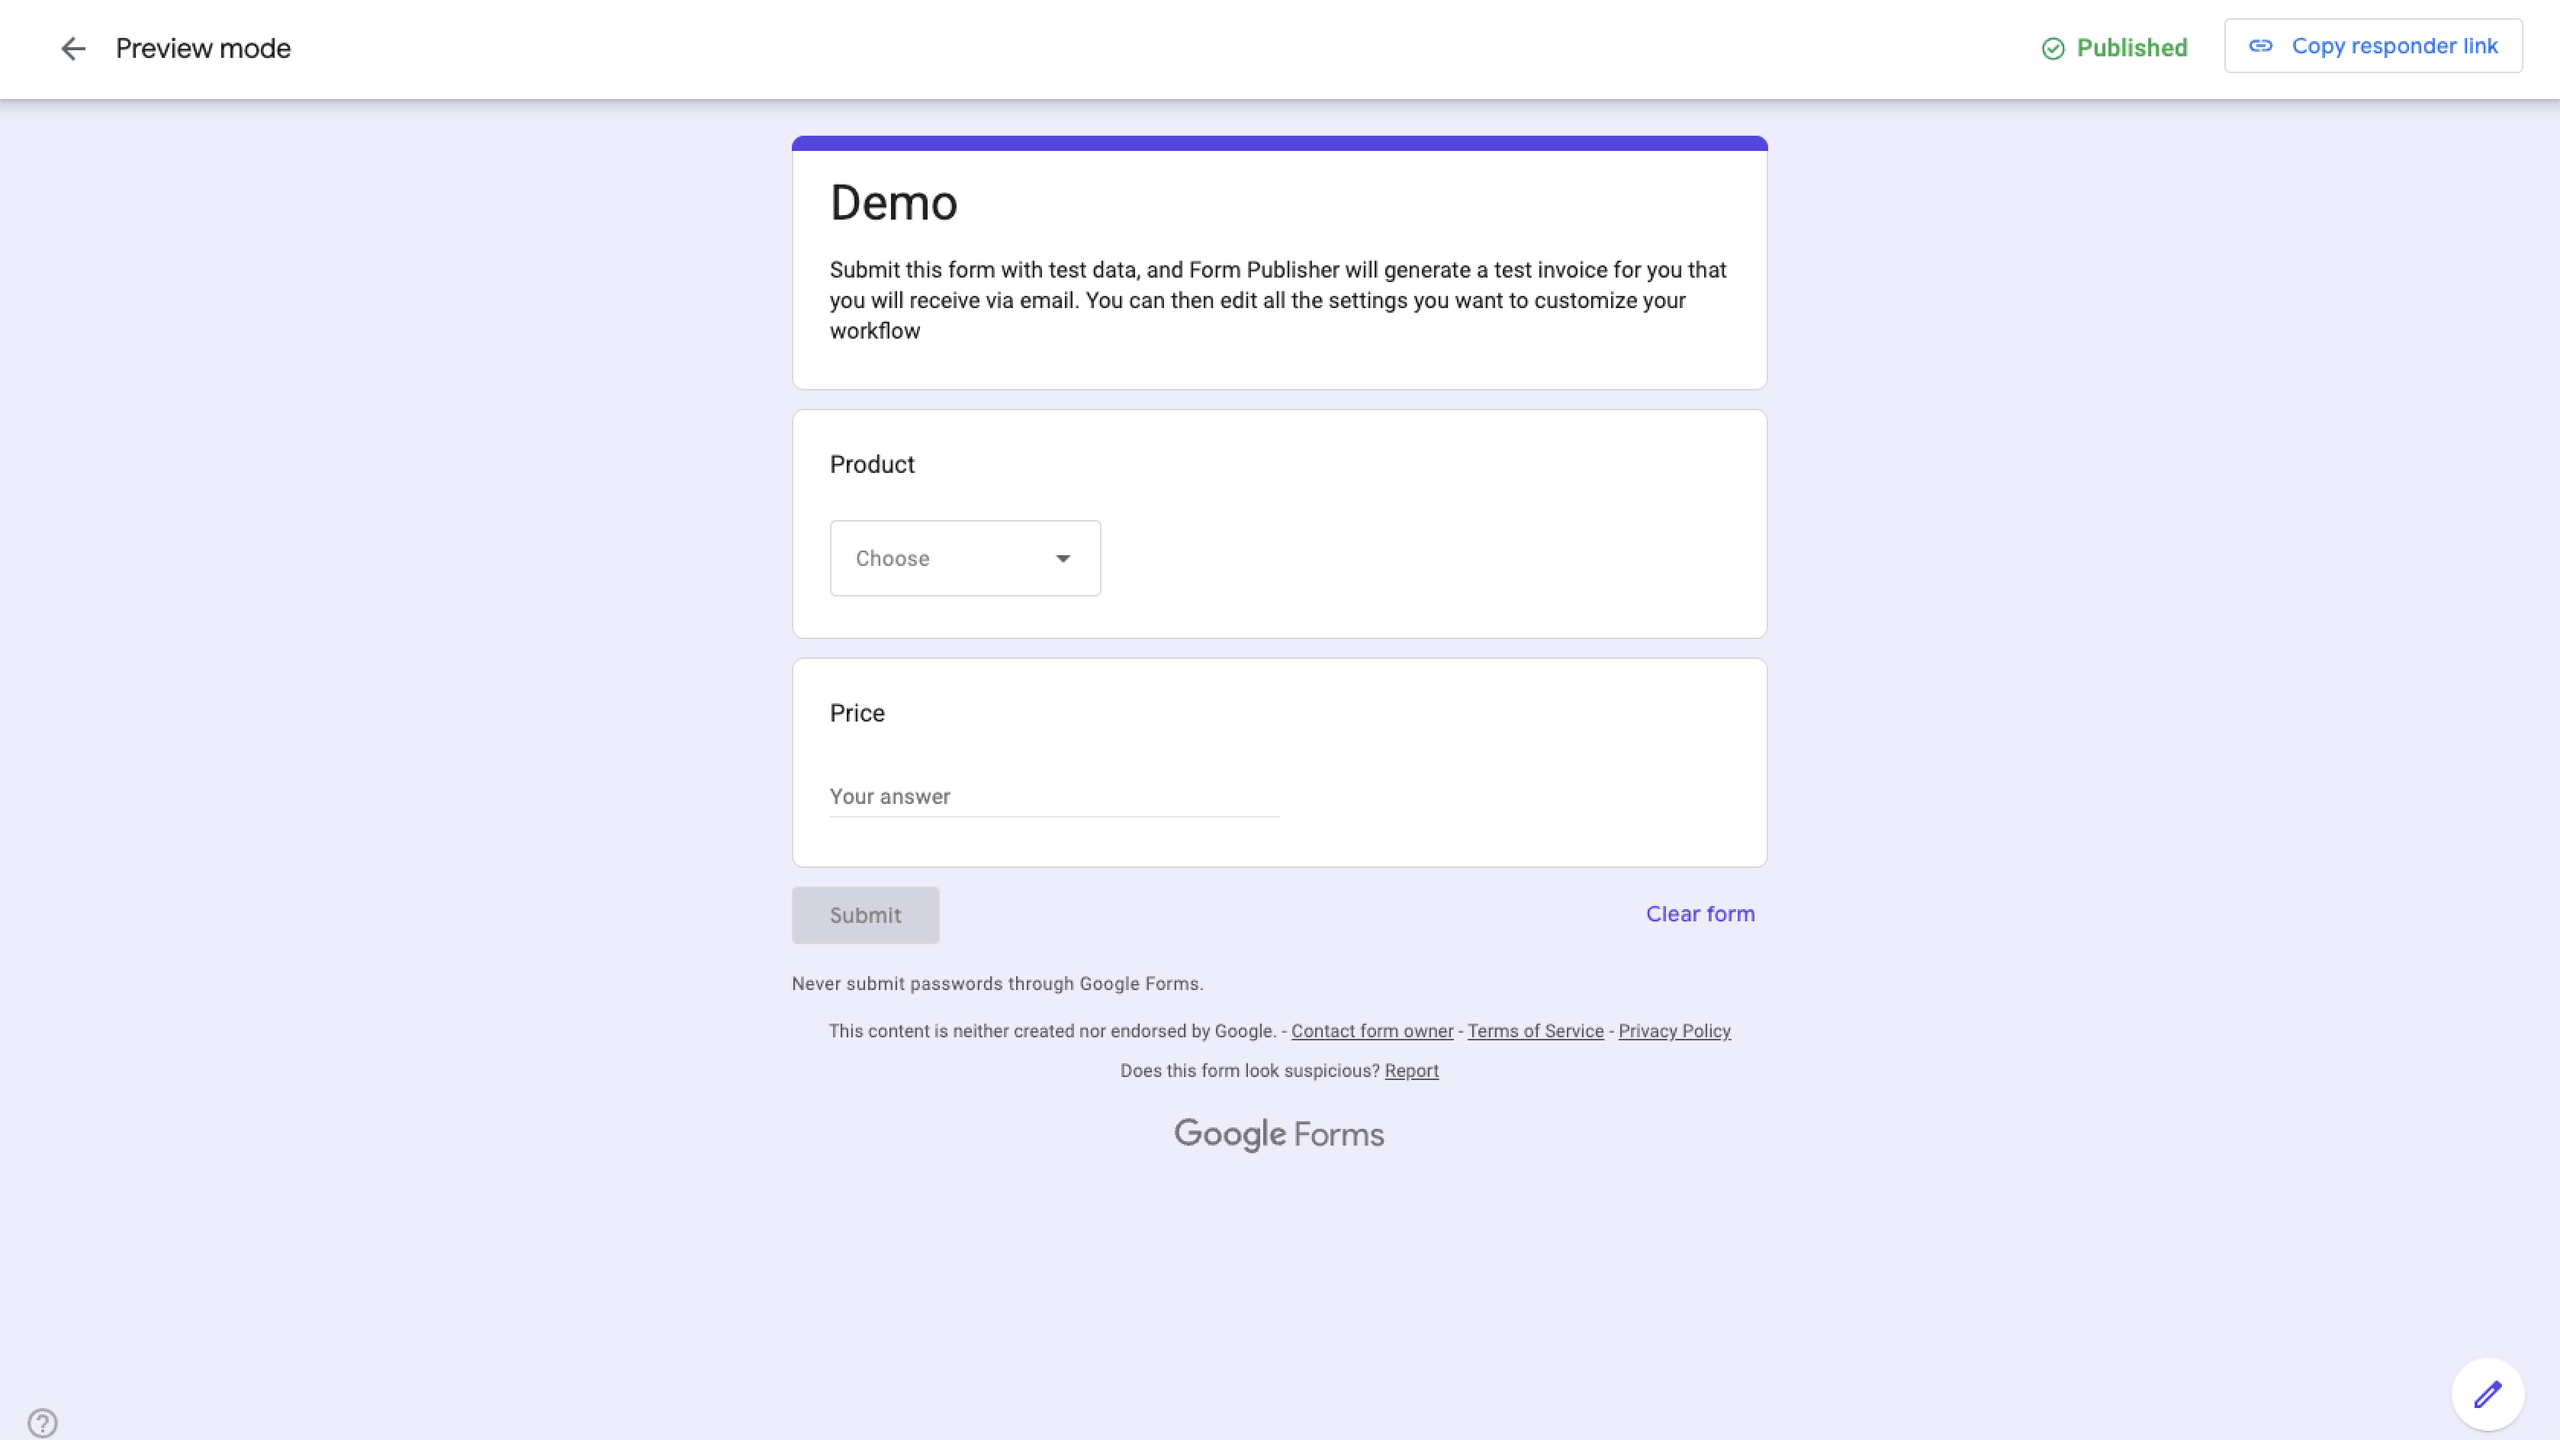
2. Check your form thoroughly before moving on. Once you begin creating your template, avoid changing question titles so you don’t have to update the corresponding markers.
Pro Tip
Starting from scratch? Jotform’s AI Form Builder add-on for Google Forms can speed things up. You can describe the form you want in a prompt and have AI generate the questions, or you can import content from Google Docs, Sheets, Slides, Drive files, or other Google Forms.
3. Create a document template and add Form Publisher markers
Your template determines how the finished document will look. You can create it in Google Docs, Google Sheets, or Google Slides, depending on the type of document you want to generate.
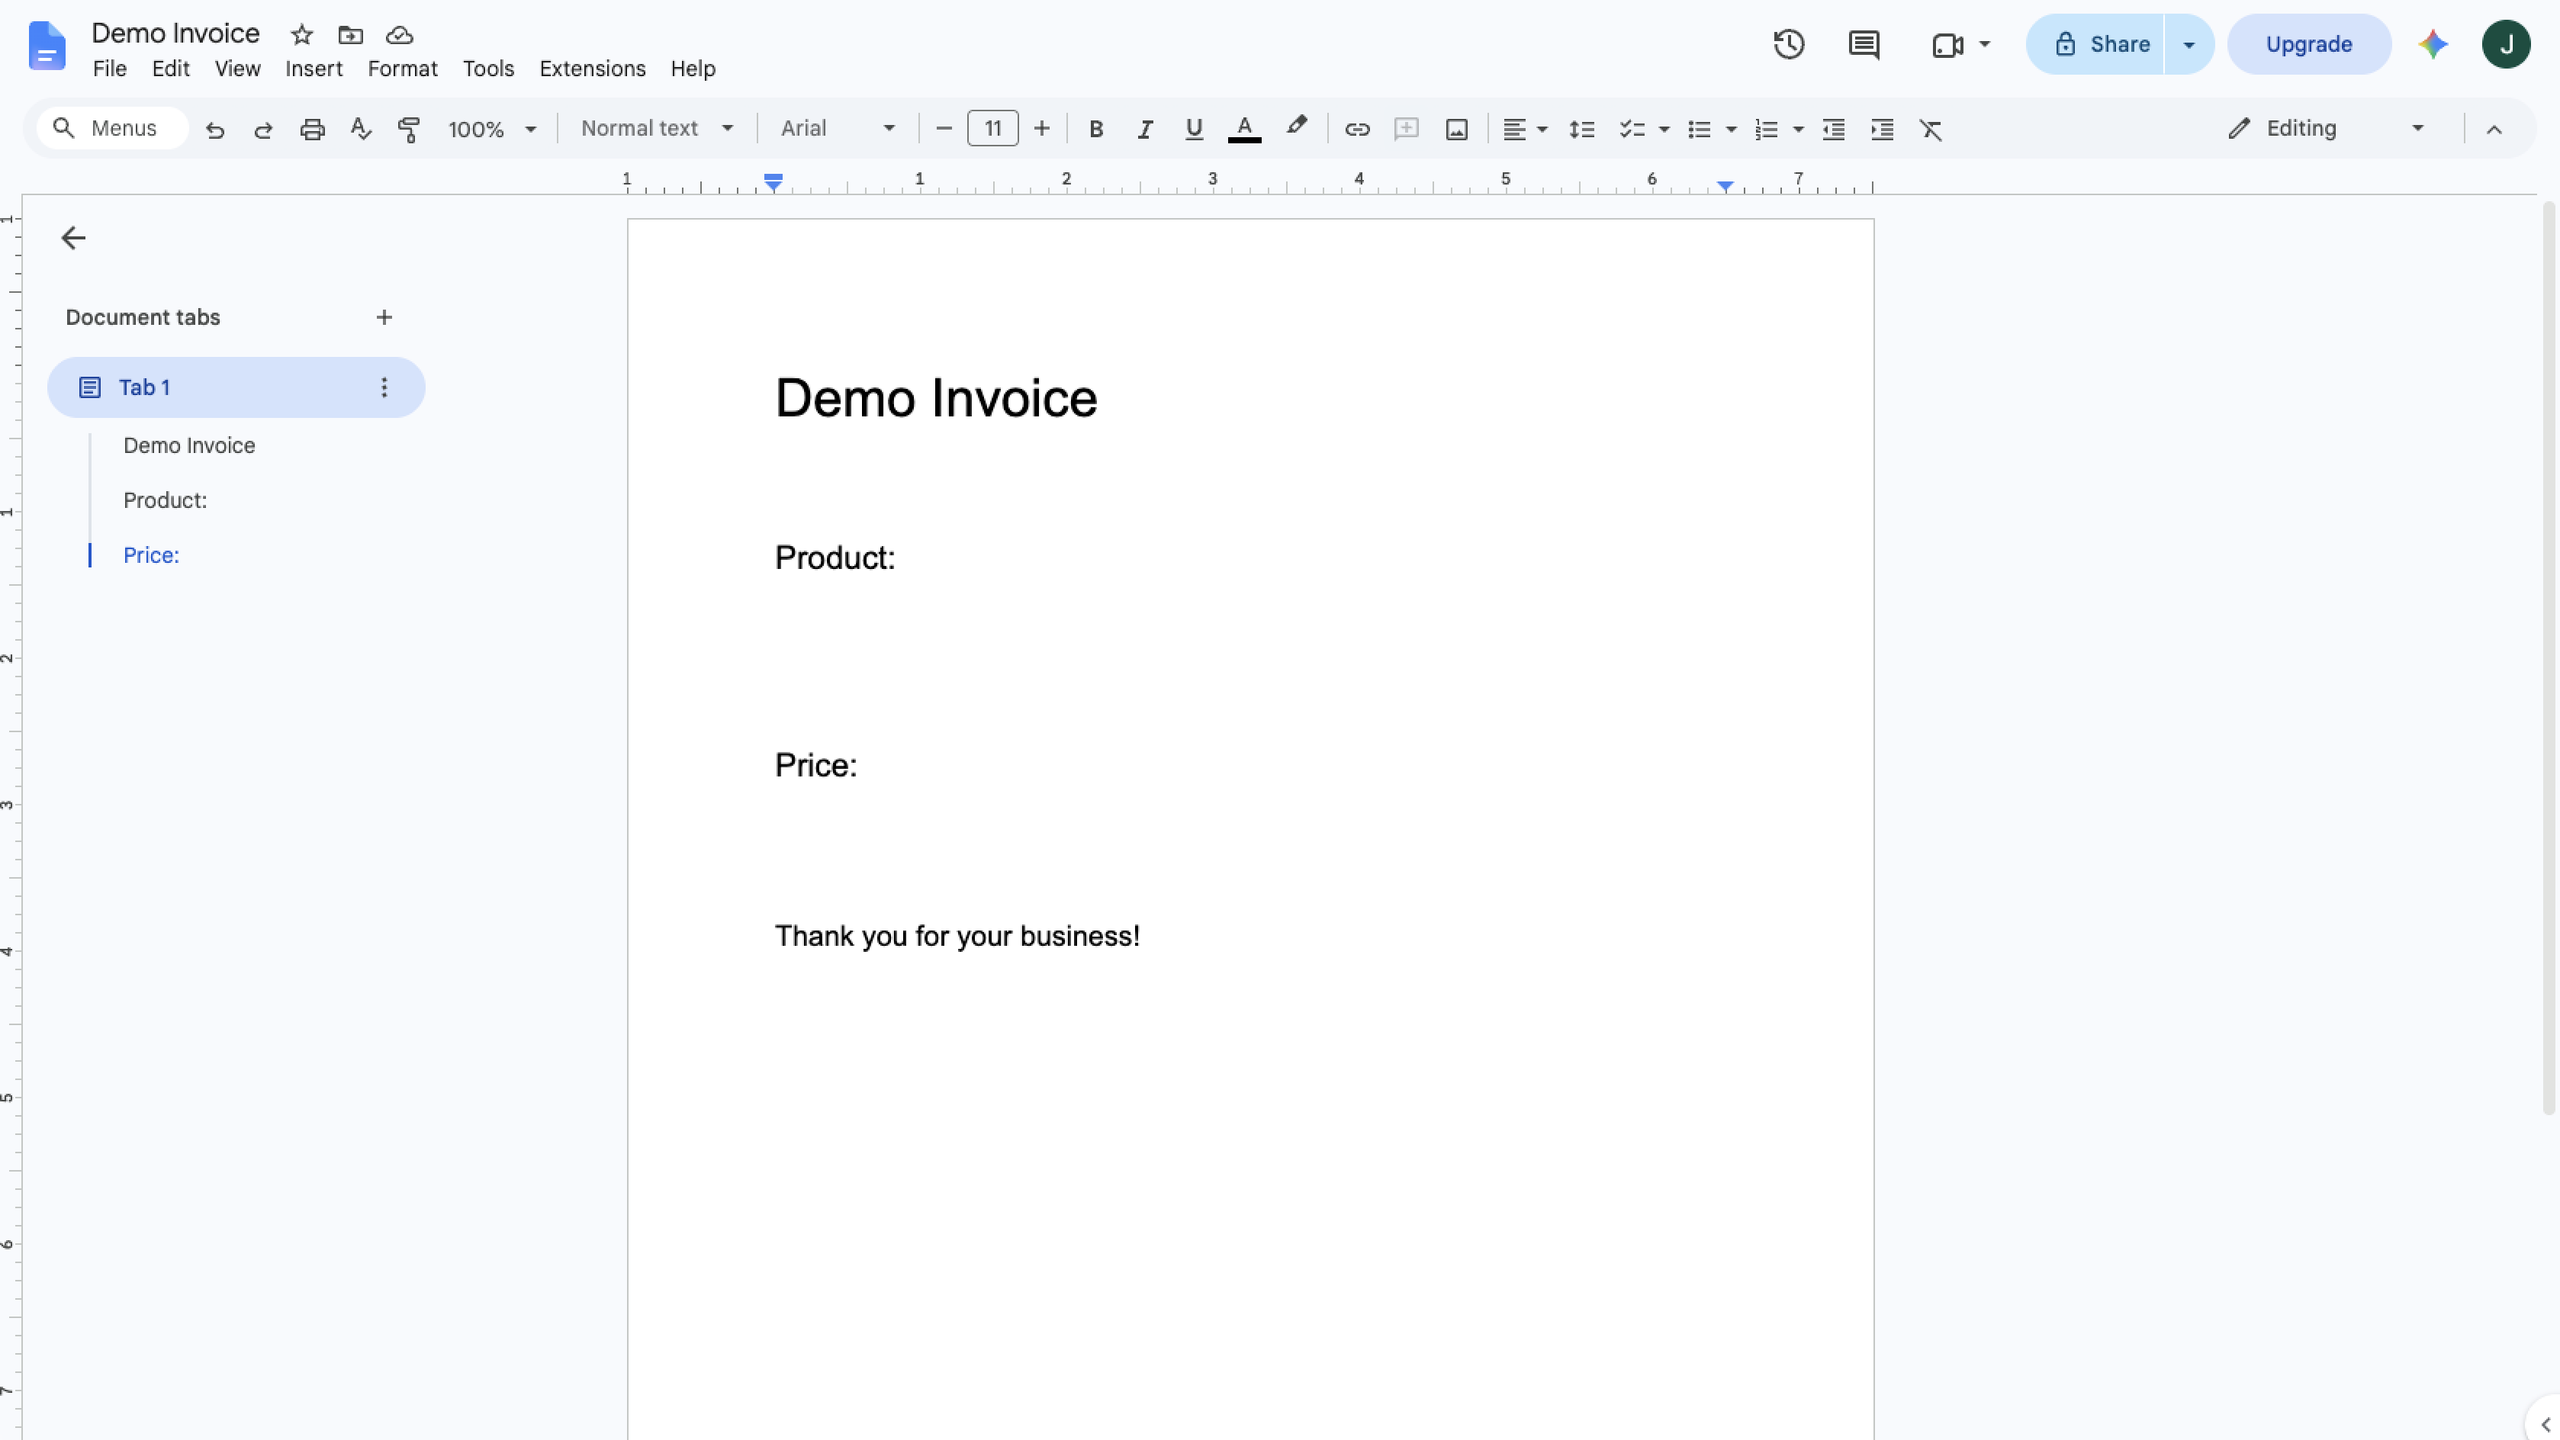
- Create a new template by opening Google Docs (see example) and starting a new document. Add headings, labels, tables, or other formatting you want to appear in the finished PDF. For this example, a simple document with a title and fields for the form responses is enough.
- Add a marker for each form response. Place your cursor where you want a response to appear and enter the corresponding question title inside double angle brackets. For example, if your form asks for Customer name, enter “<<Customer name>>” in the template. Form Publisher will replace the marker with the respondent’s answer when it generates the document.
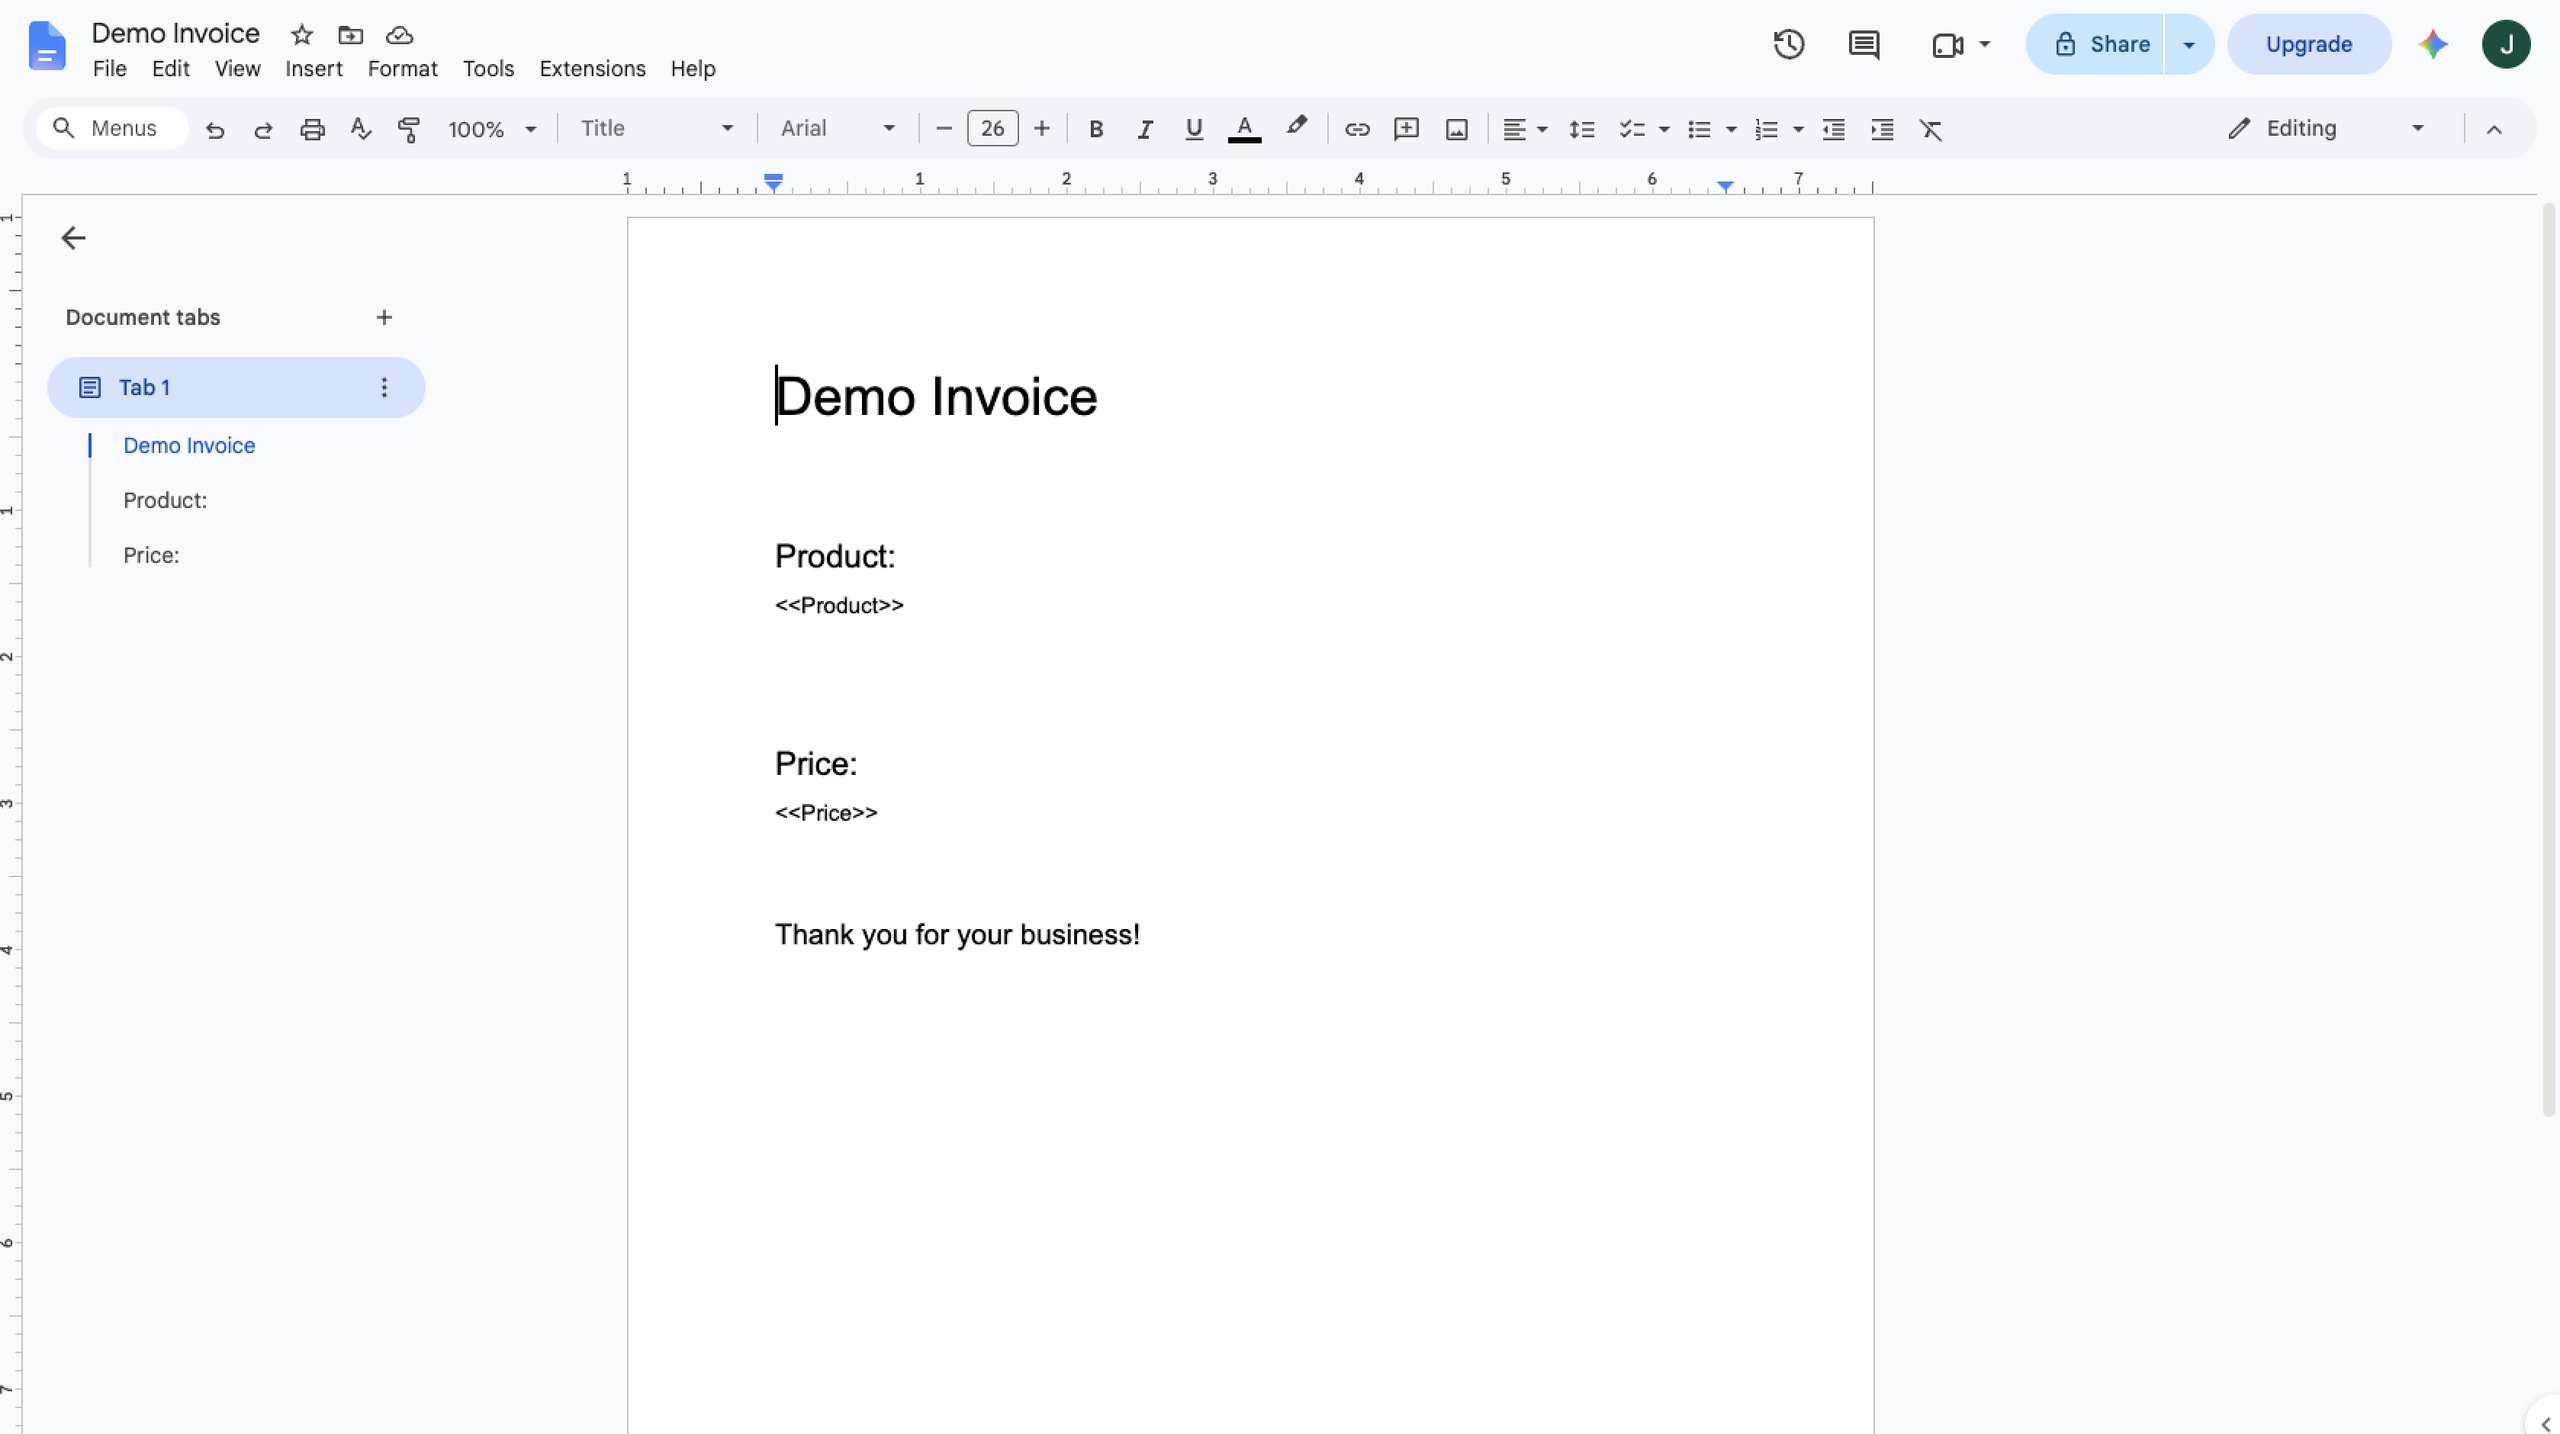
Note: Make sure every marker matches its Google Forms question title exactly, including capitalization, punctuation, and spaces. For example, “<<Customer Name>>” may not work if the form question is Customer name (with a lowercase N).
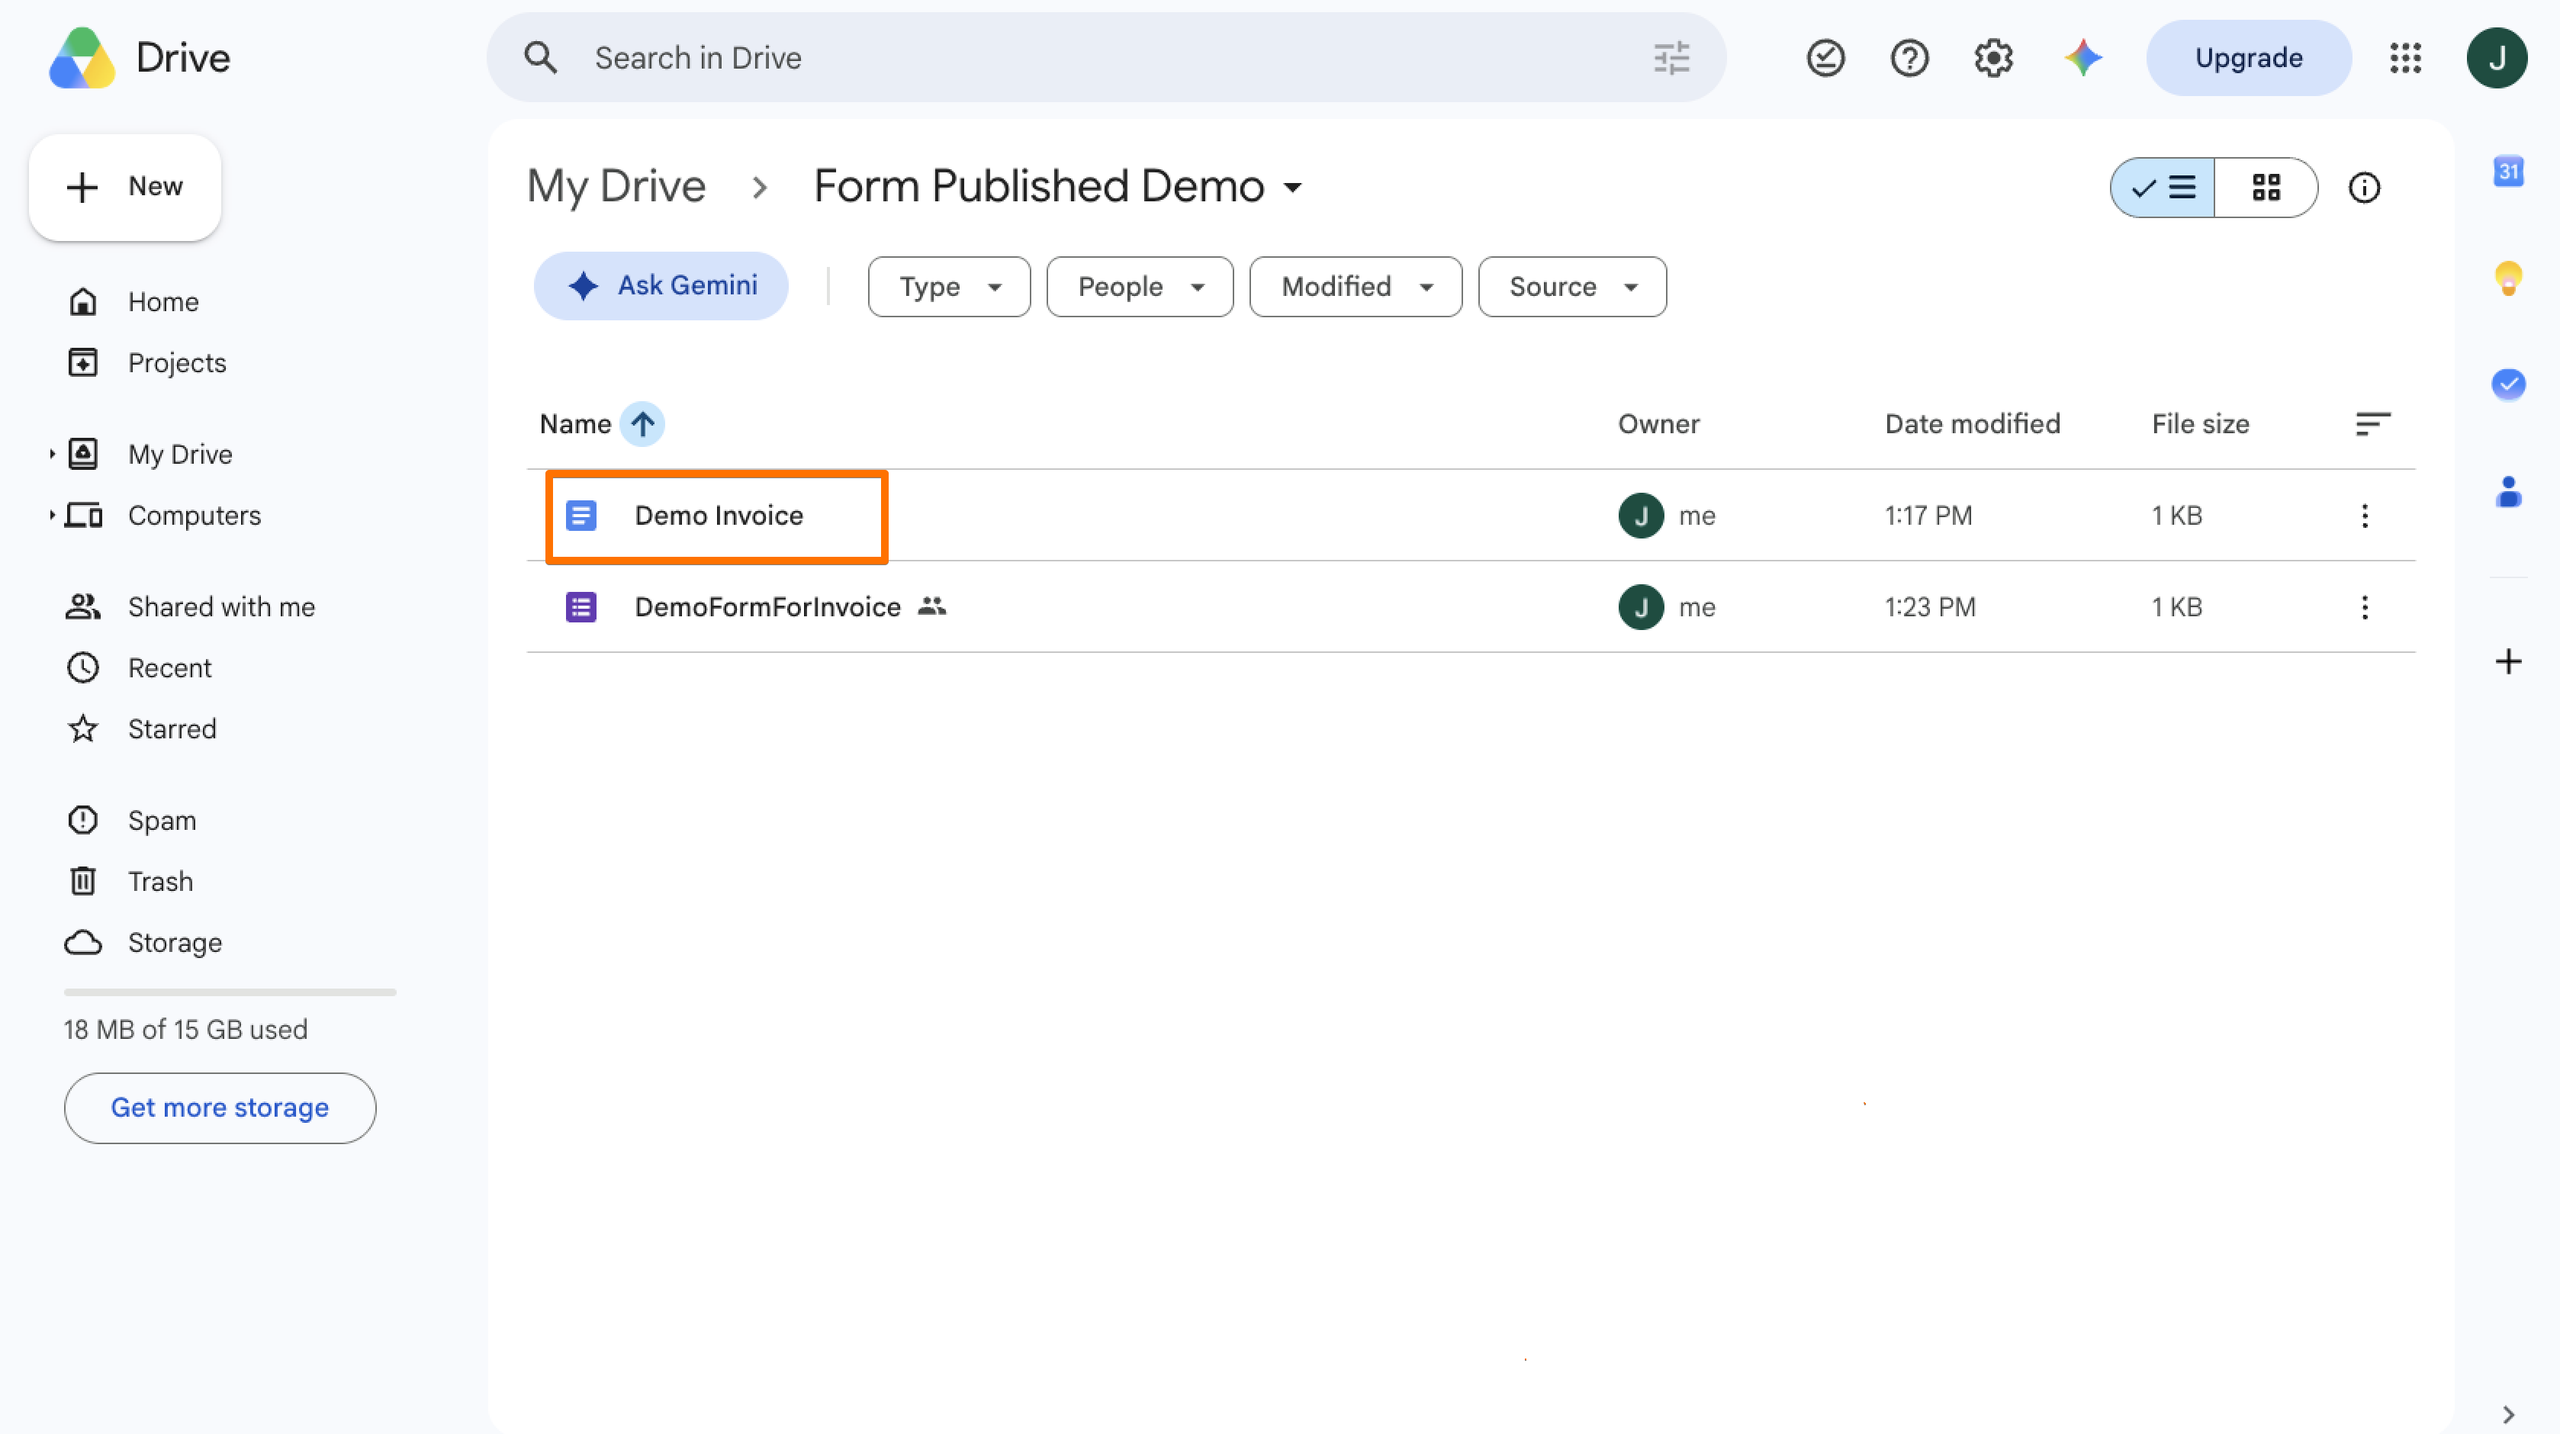
3. Give the template document a descriptive name and make sure it is saved in Google Drive. You’ll select this document as your Form Publisher template in the next section.
Pro Tip
You don’t have to add a marker for every question. Include markers only for the responses you want to appear in the generated document.
4. Connect your template to Form Publisher
Once you’ve created your document template, use Form Publisher’s Template and Markers settings to connect it to your Google Form.
- In your Google Form, click the Add-ons icon, select Form Publisher, and click Launch Form Publisher.
- When the Form Publisher panel opens in the lower-right area of the screen, click Explore and Customize Settings.
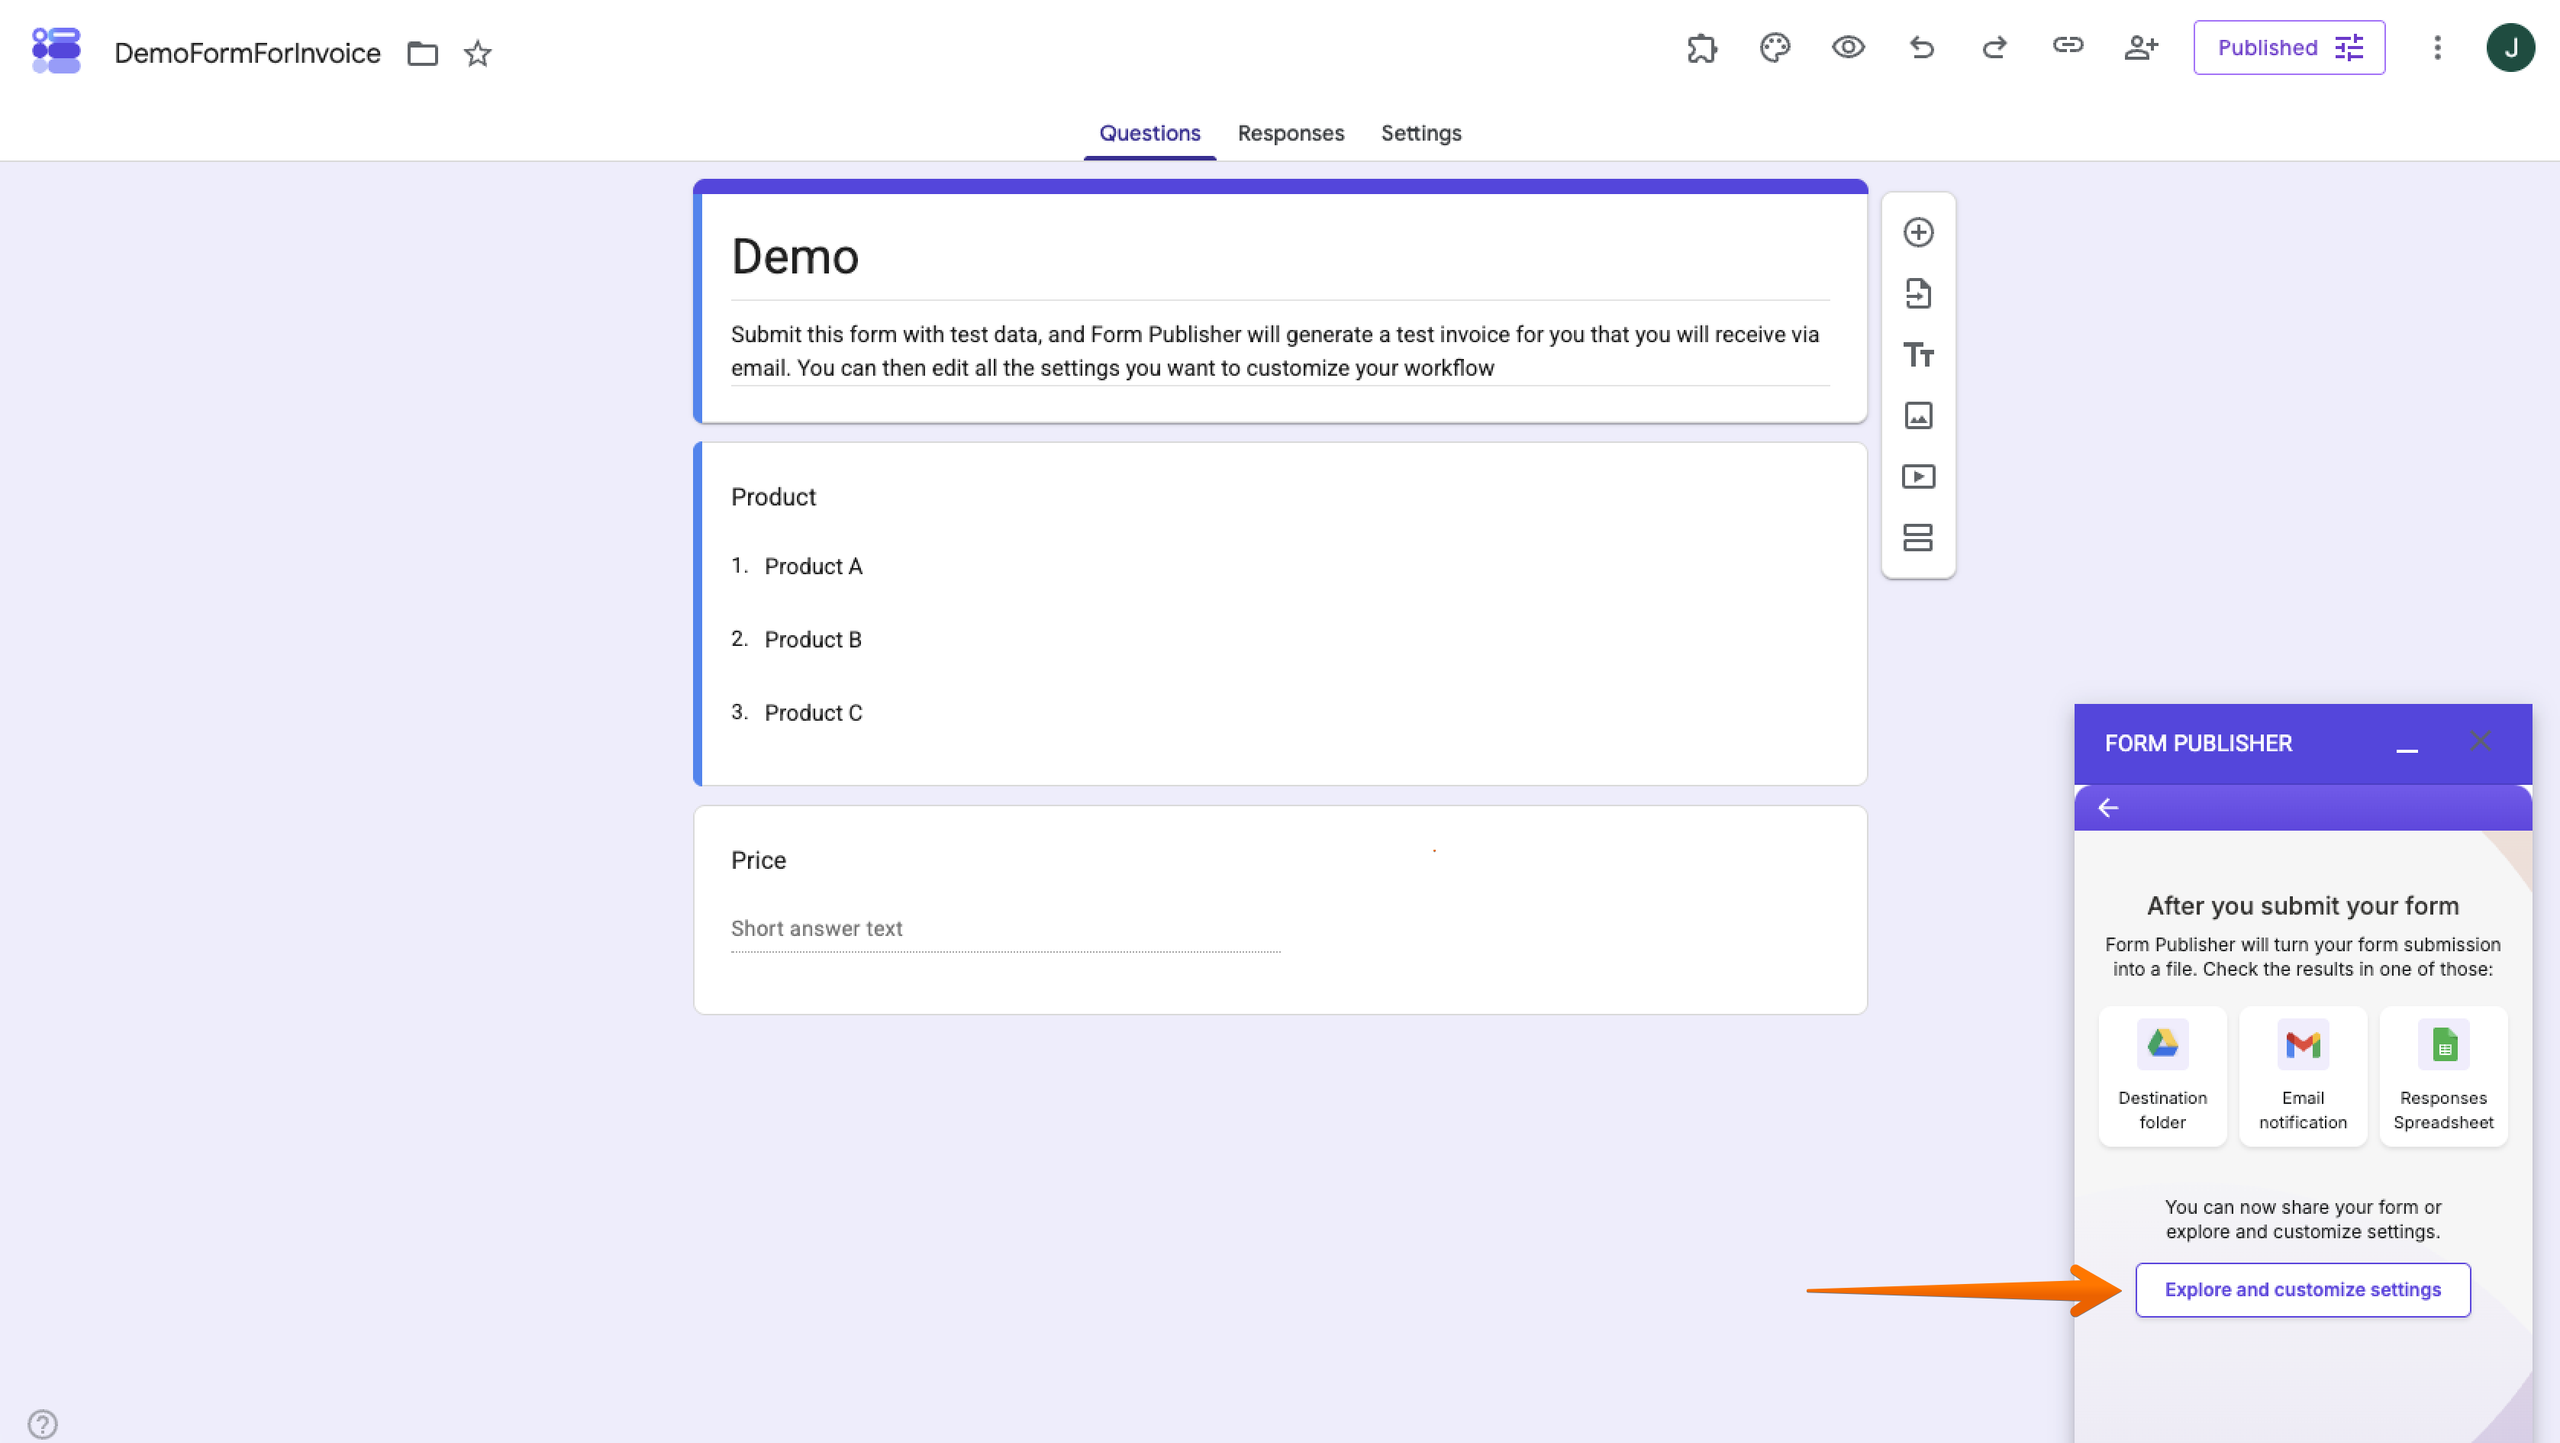
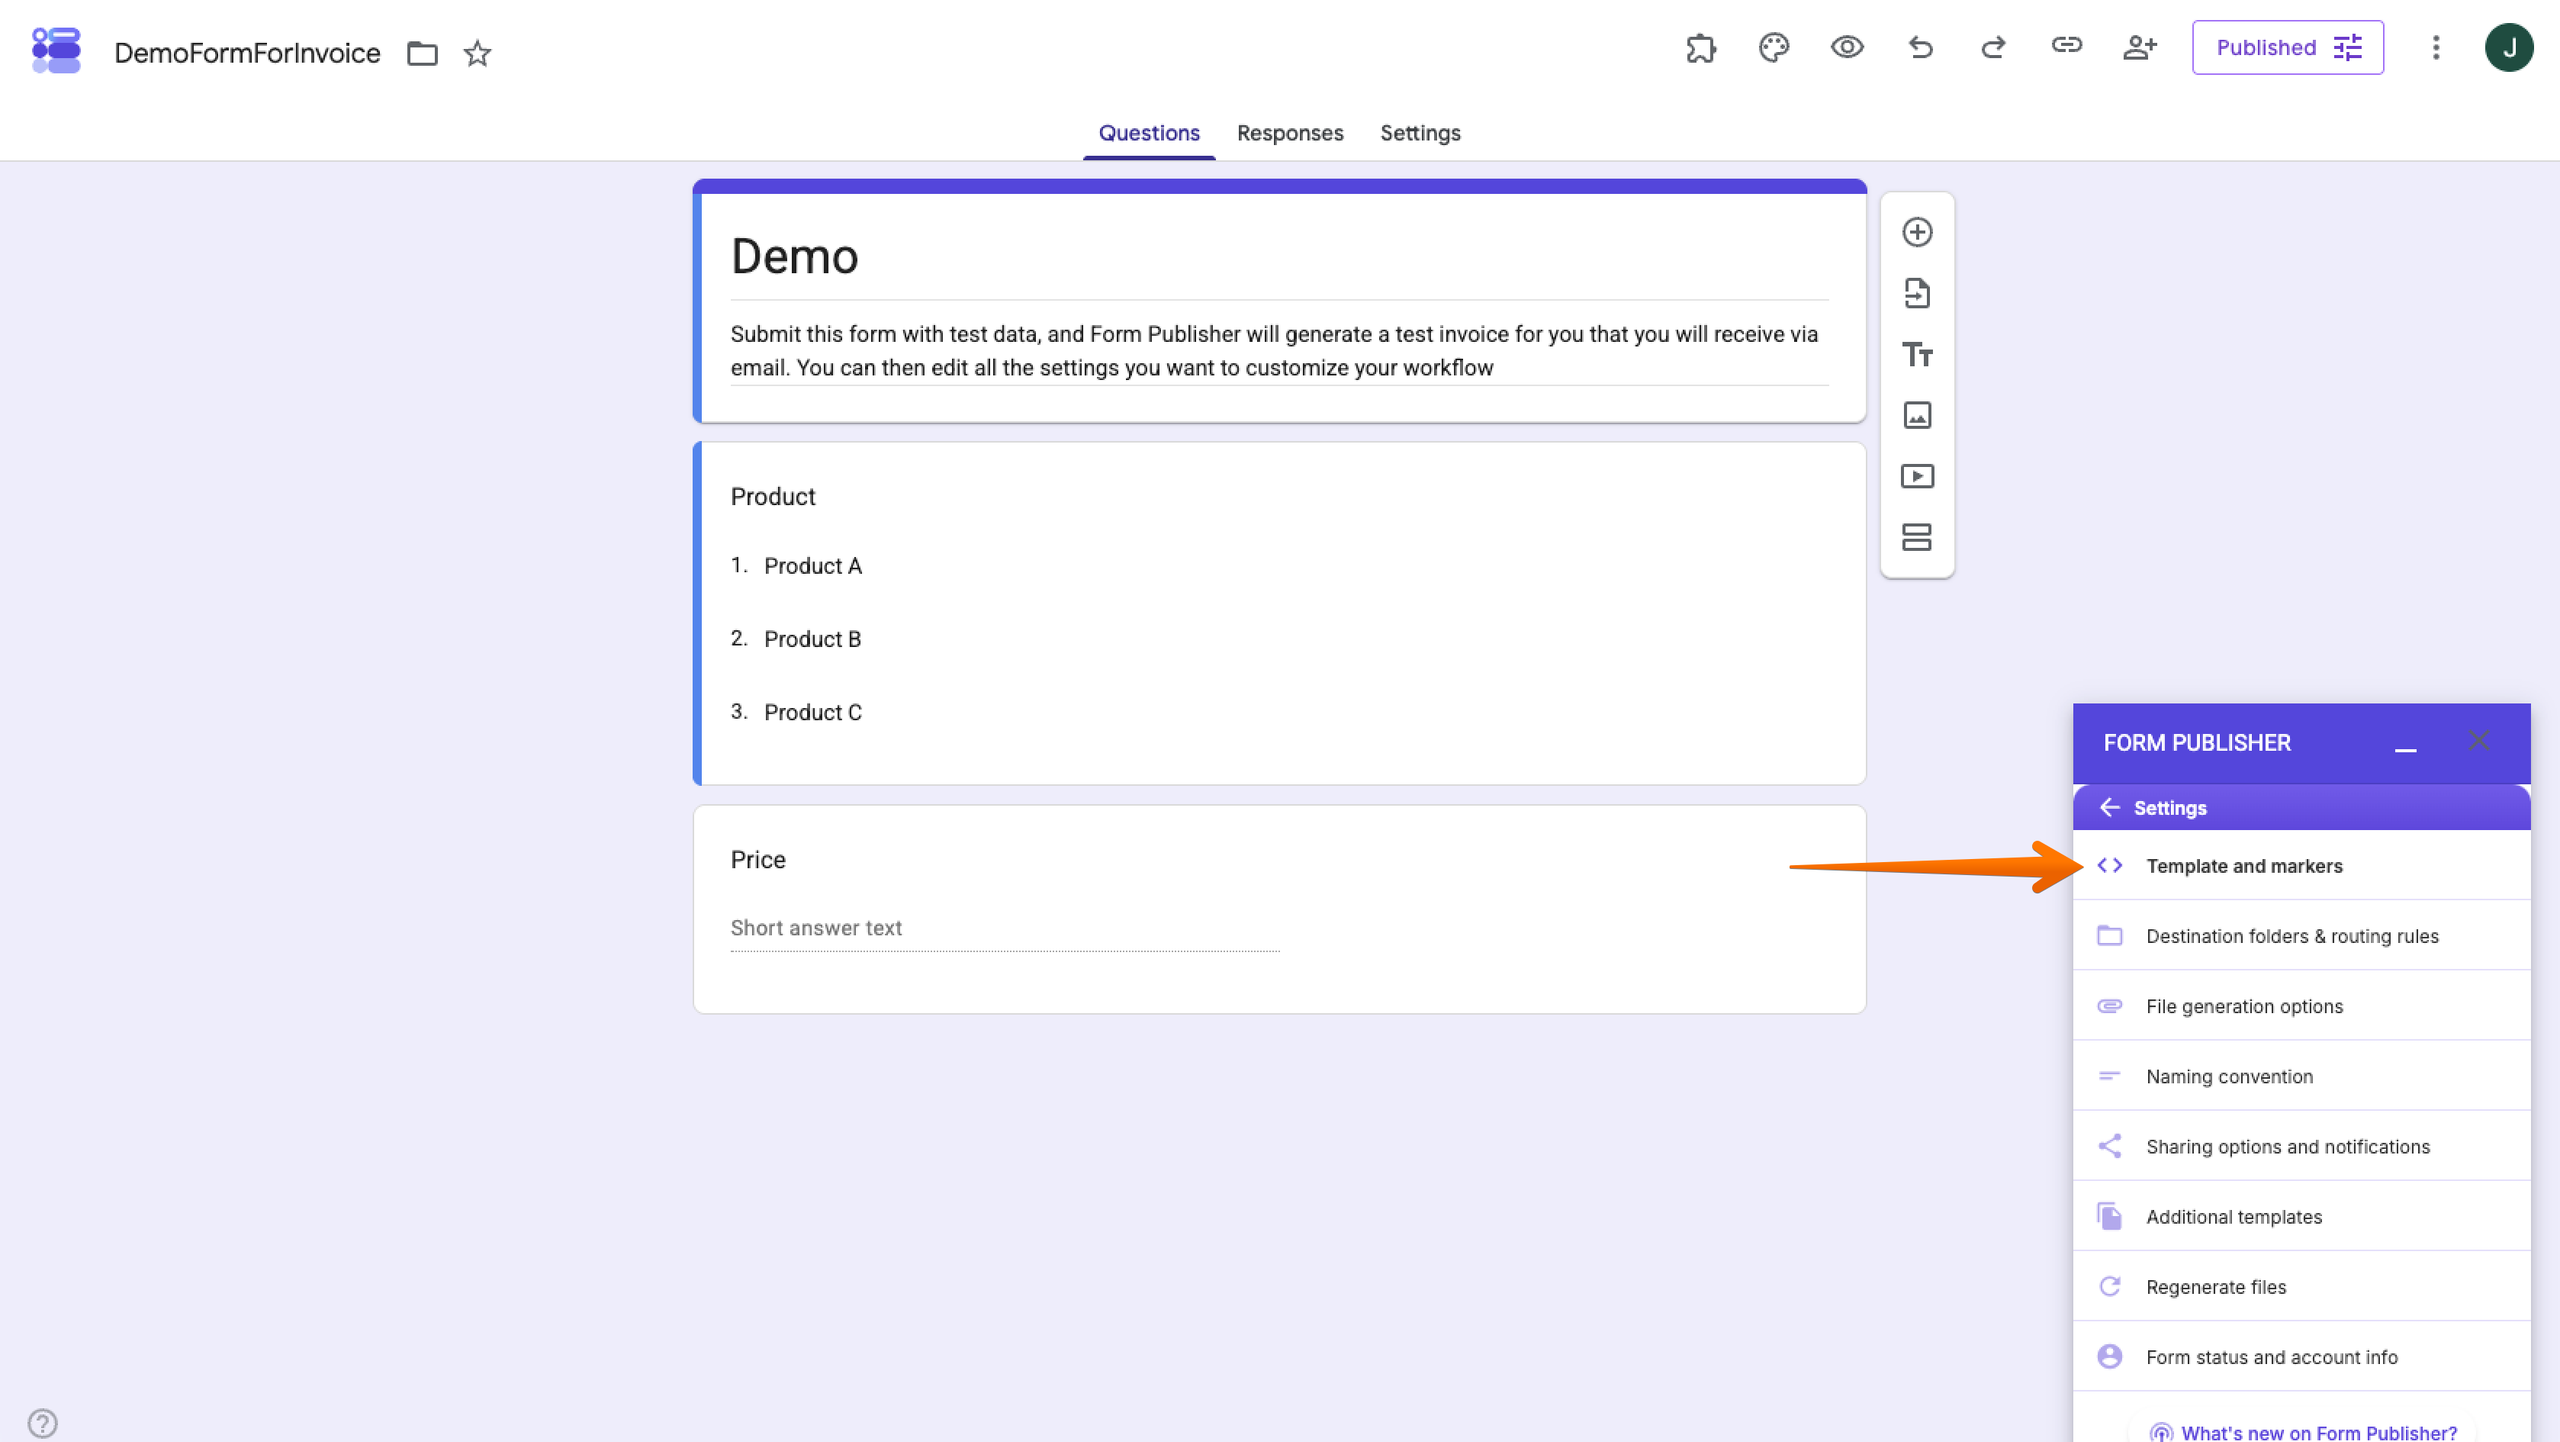
- Select Template and Markers from the Settings menu. This section displays the template associated with your form and lets you review or change it.
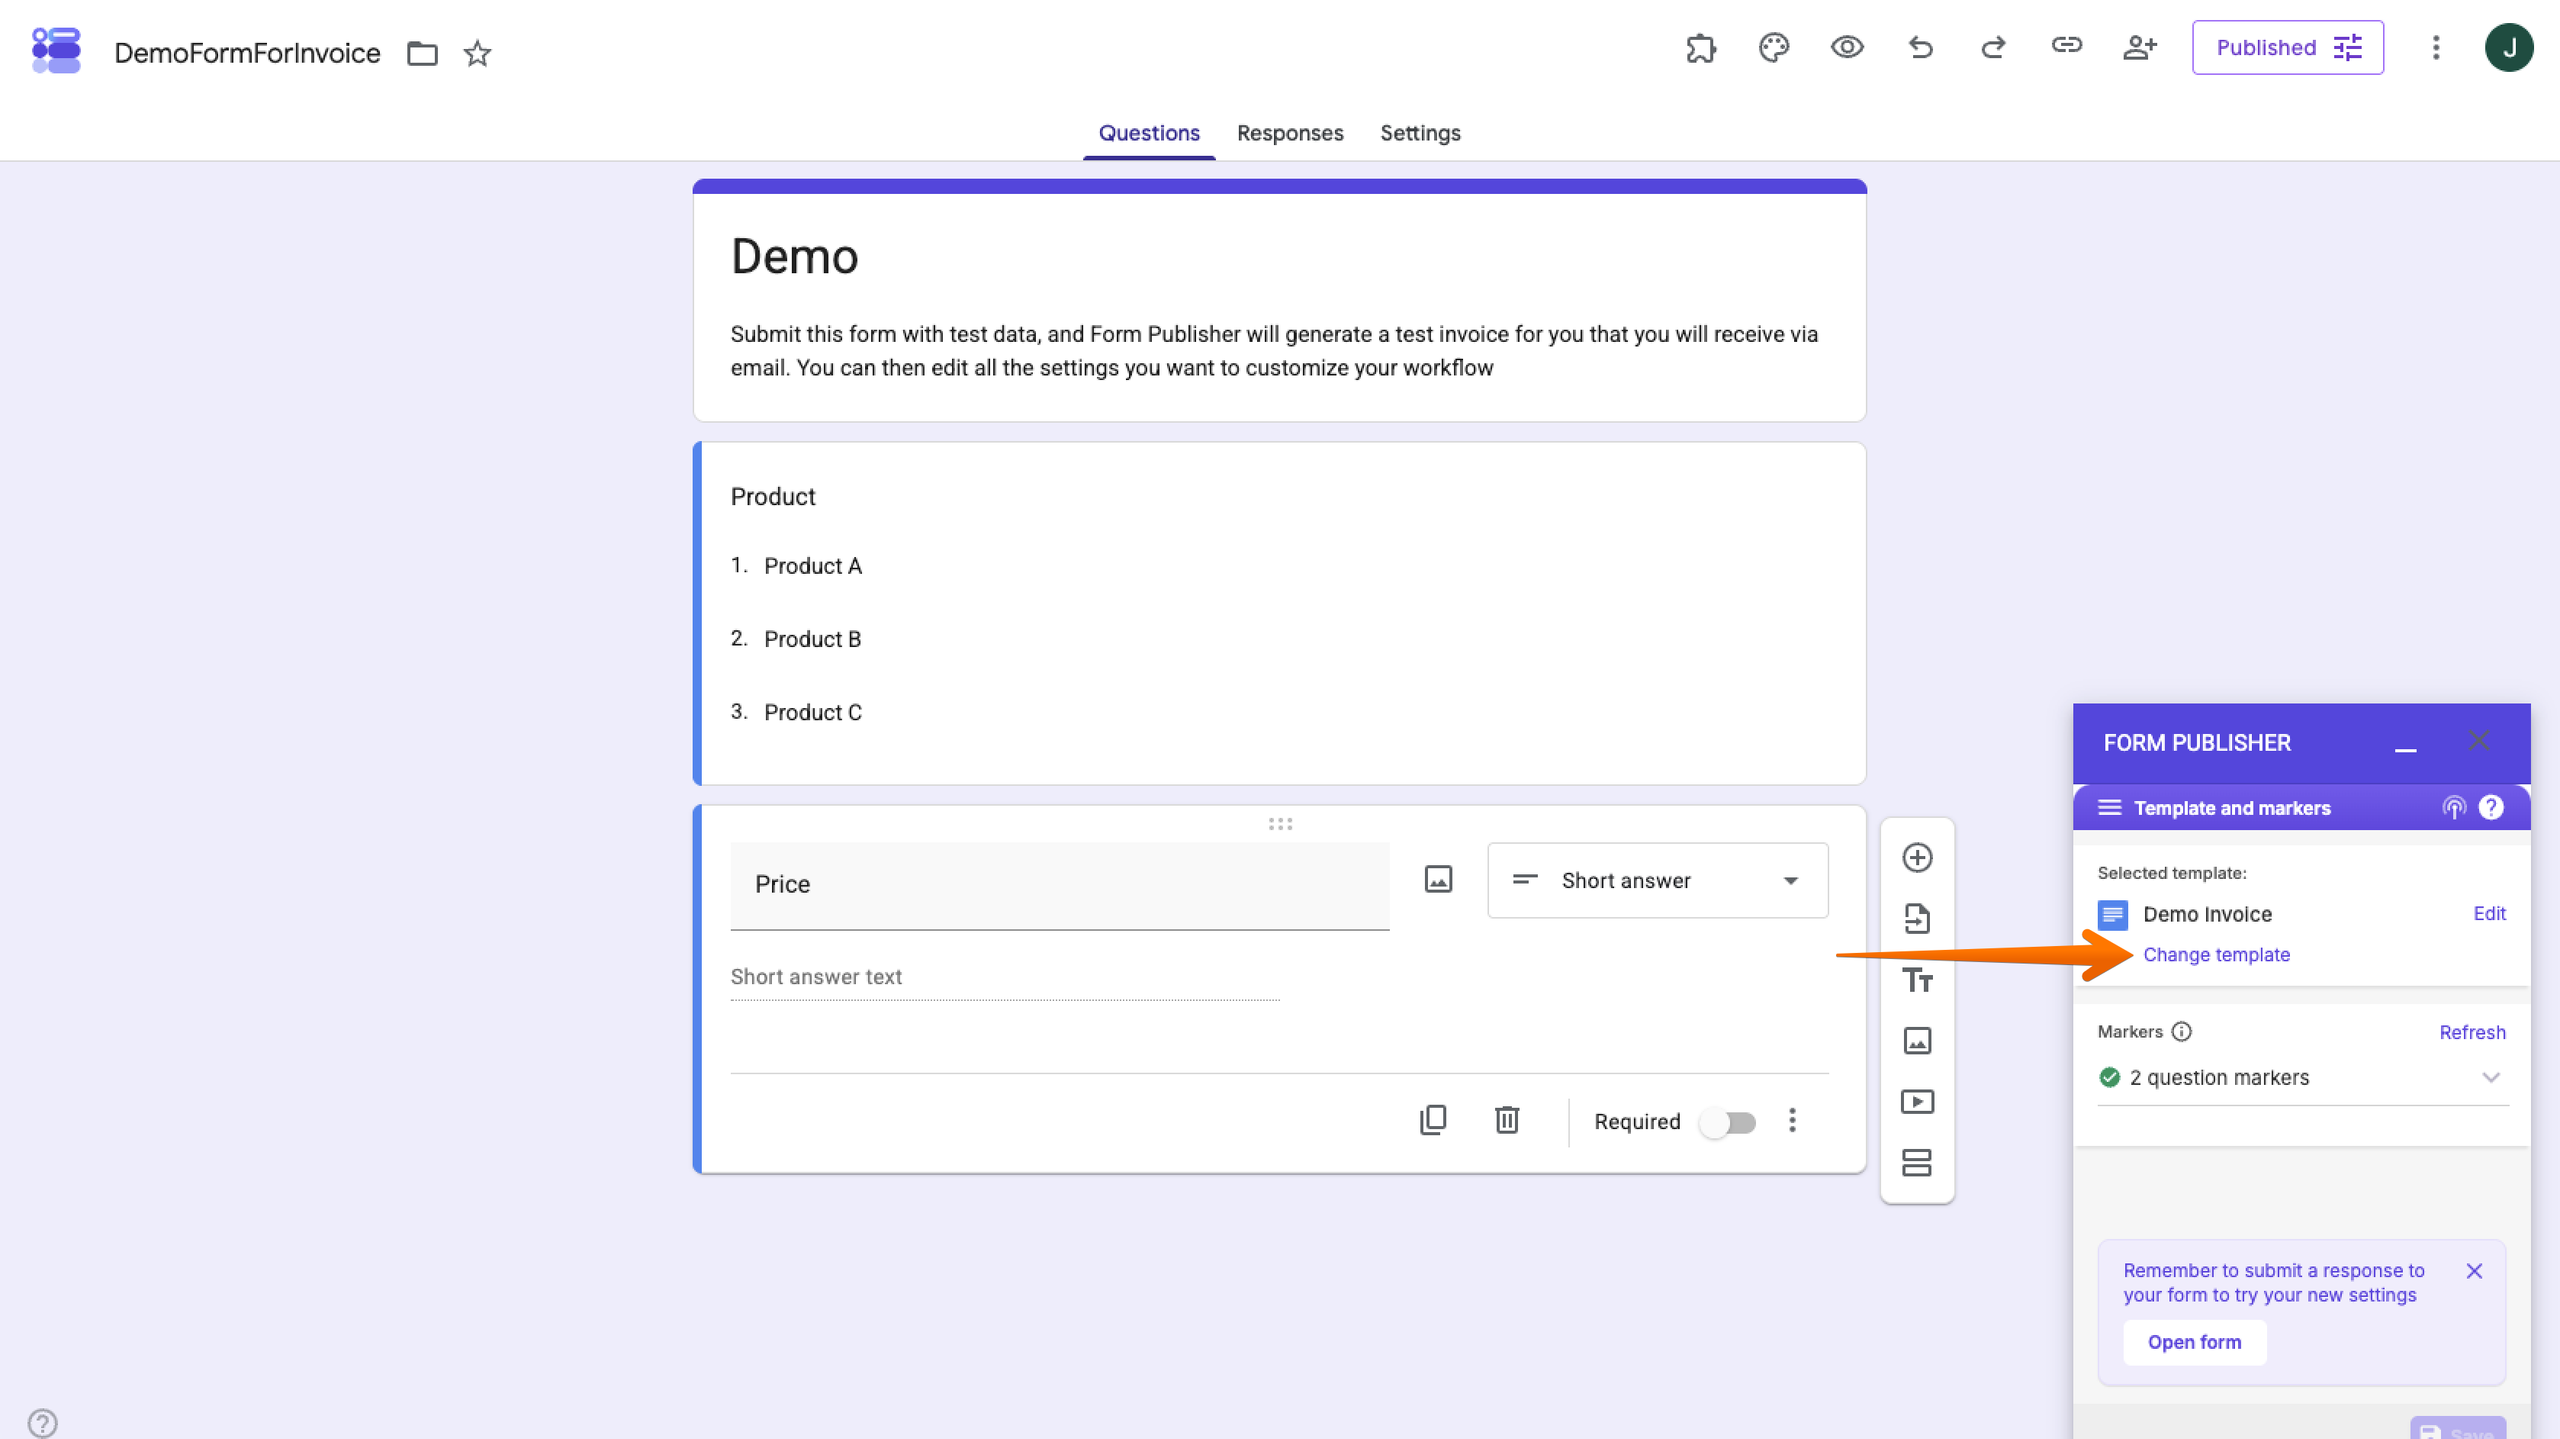
- Click Change Template and use the Google Drive picker to select the document you created. Click Select to confirm.
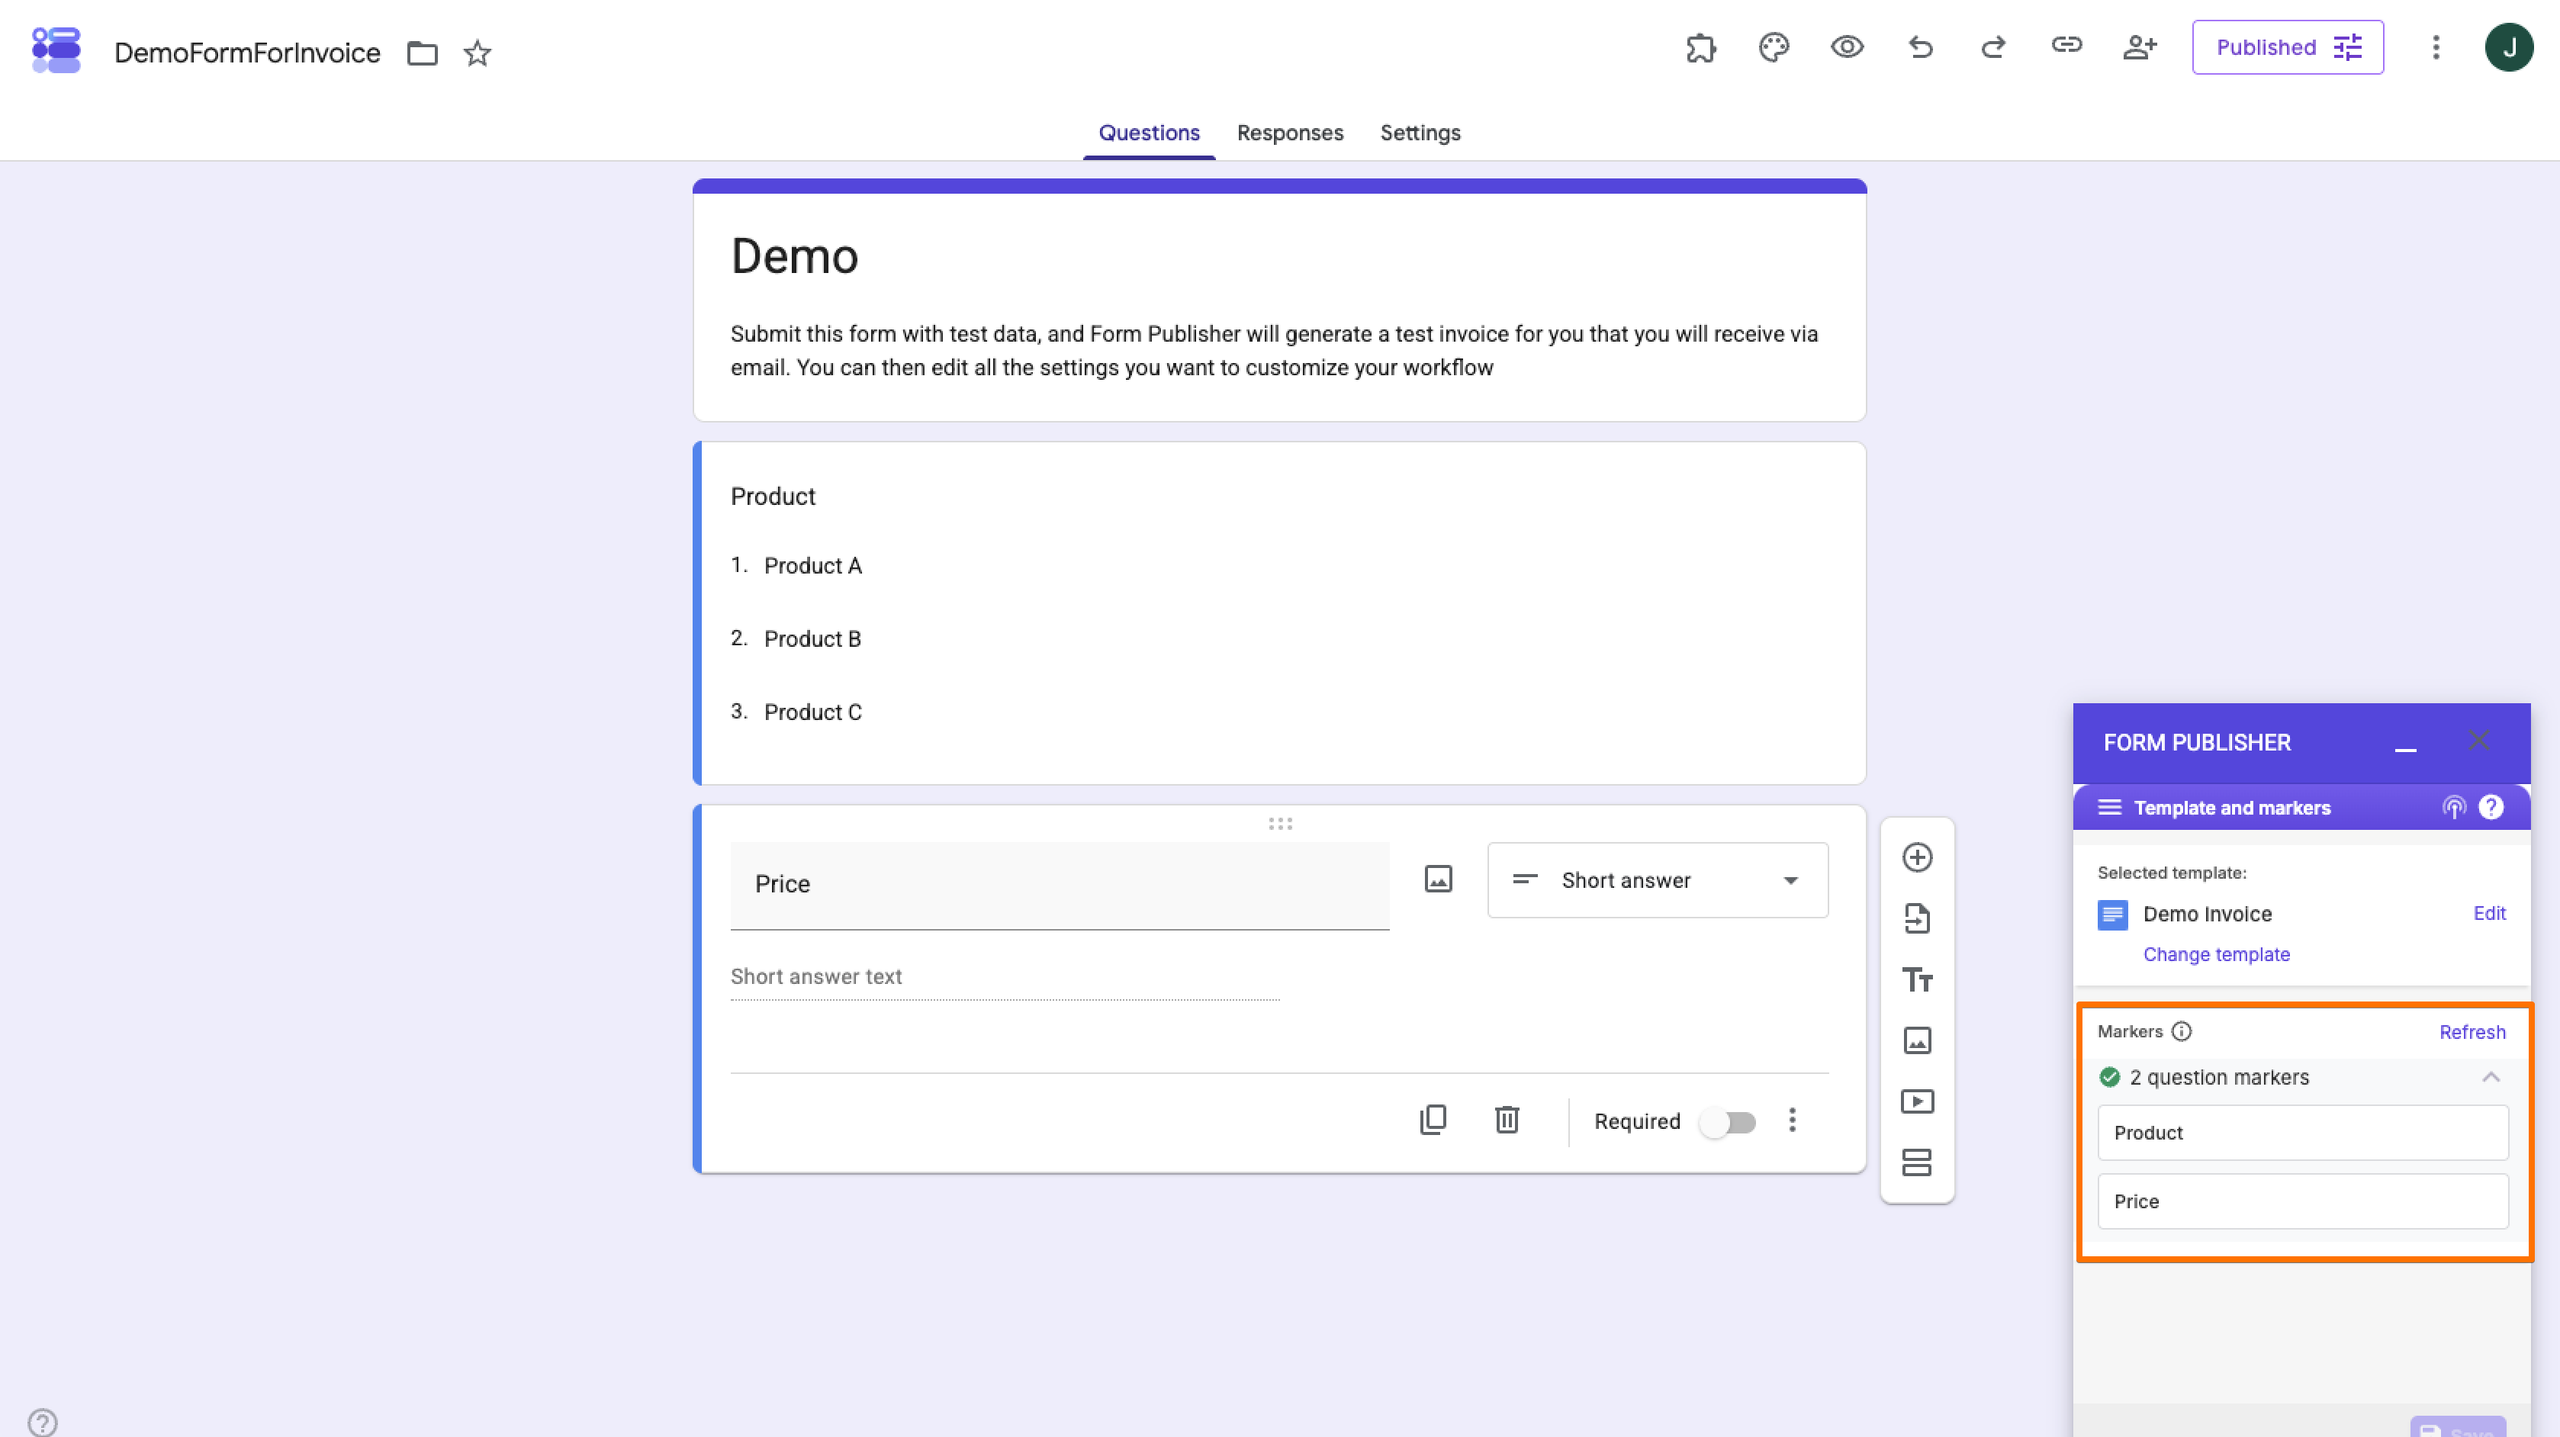
- Review the markers Form Publisher finds in your template and make sure they correspond to your Google Form questions. If everything matches, you’re ready for the next step.
5. Configure the output format, recipients, and storage settings
Now you can configure what Form Publisher does with the documents it generates.
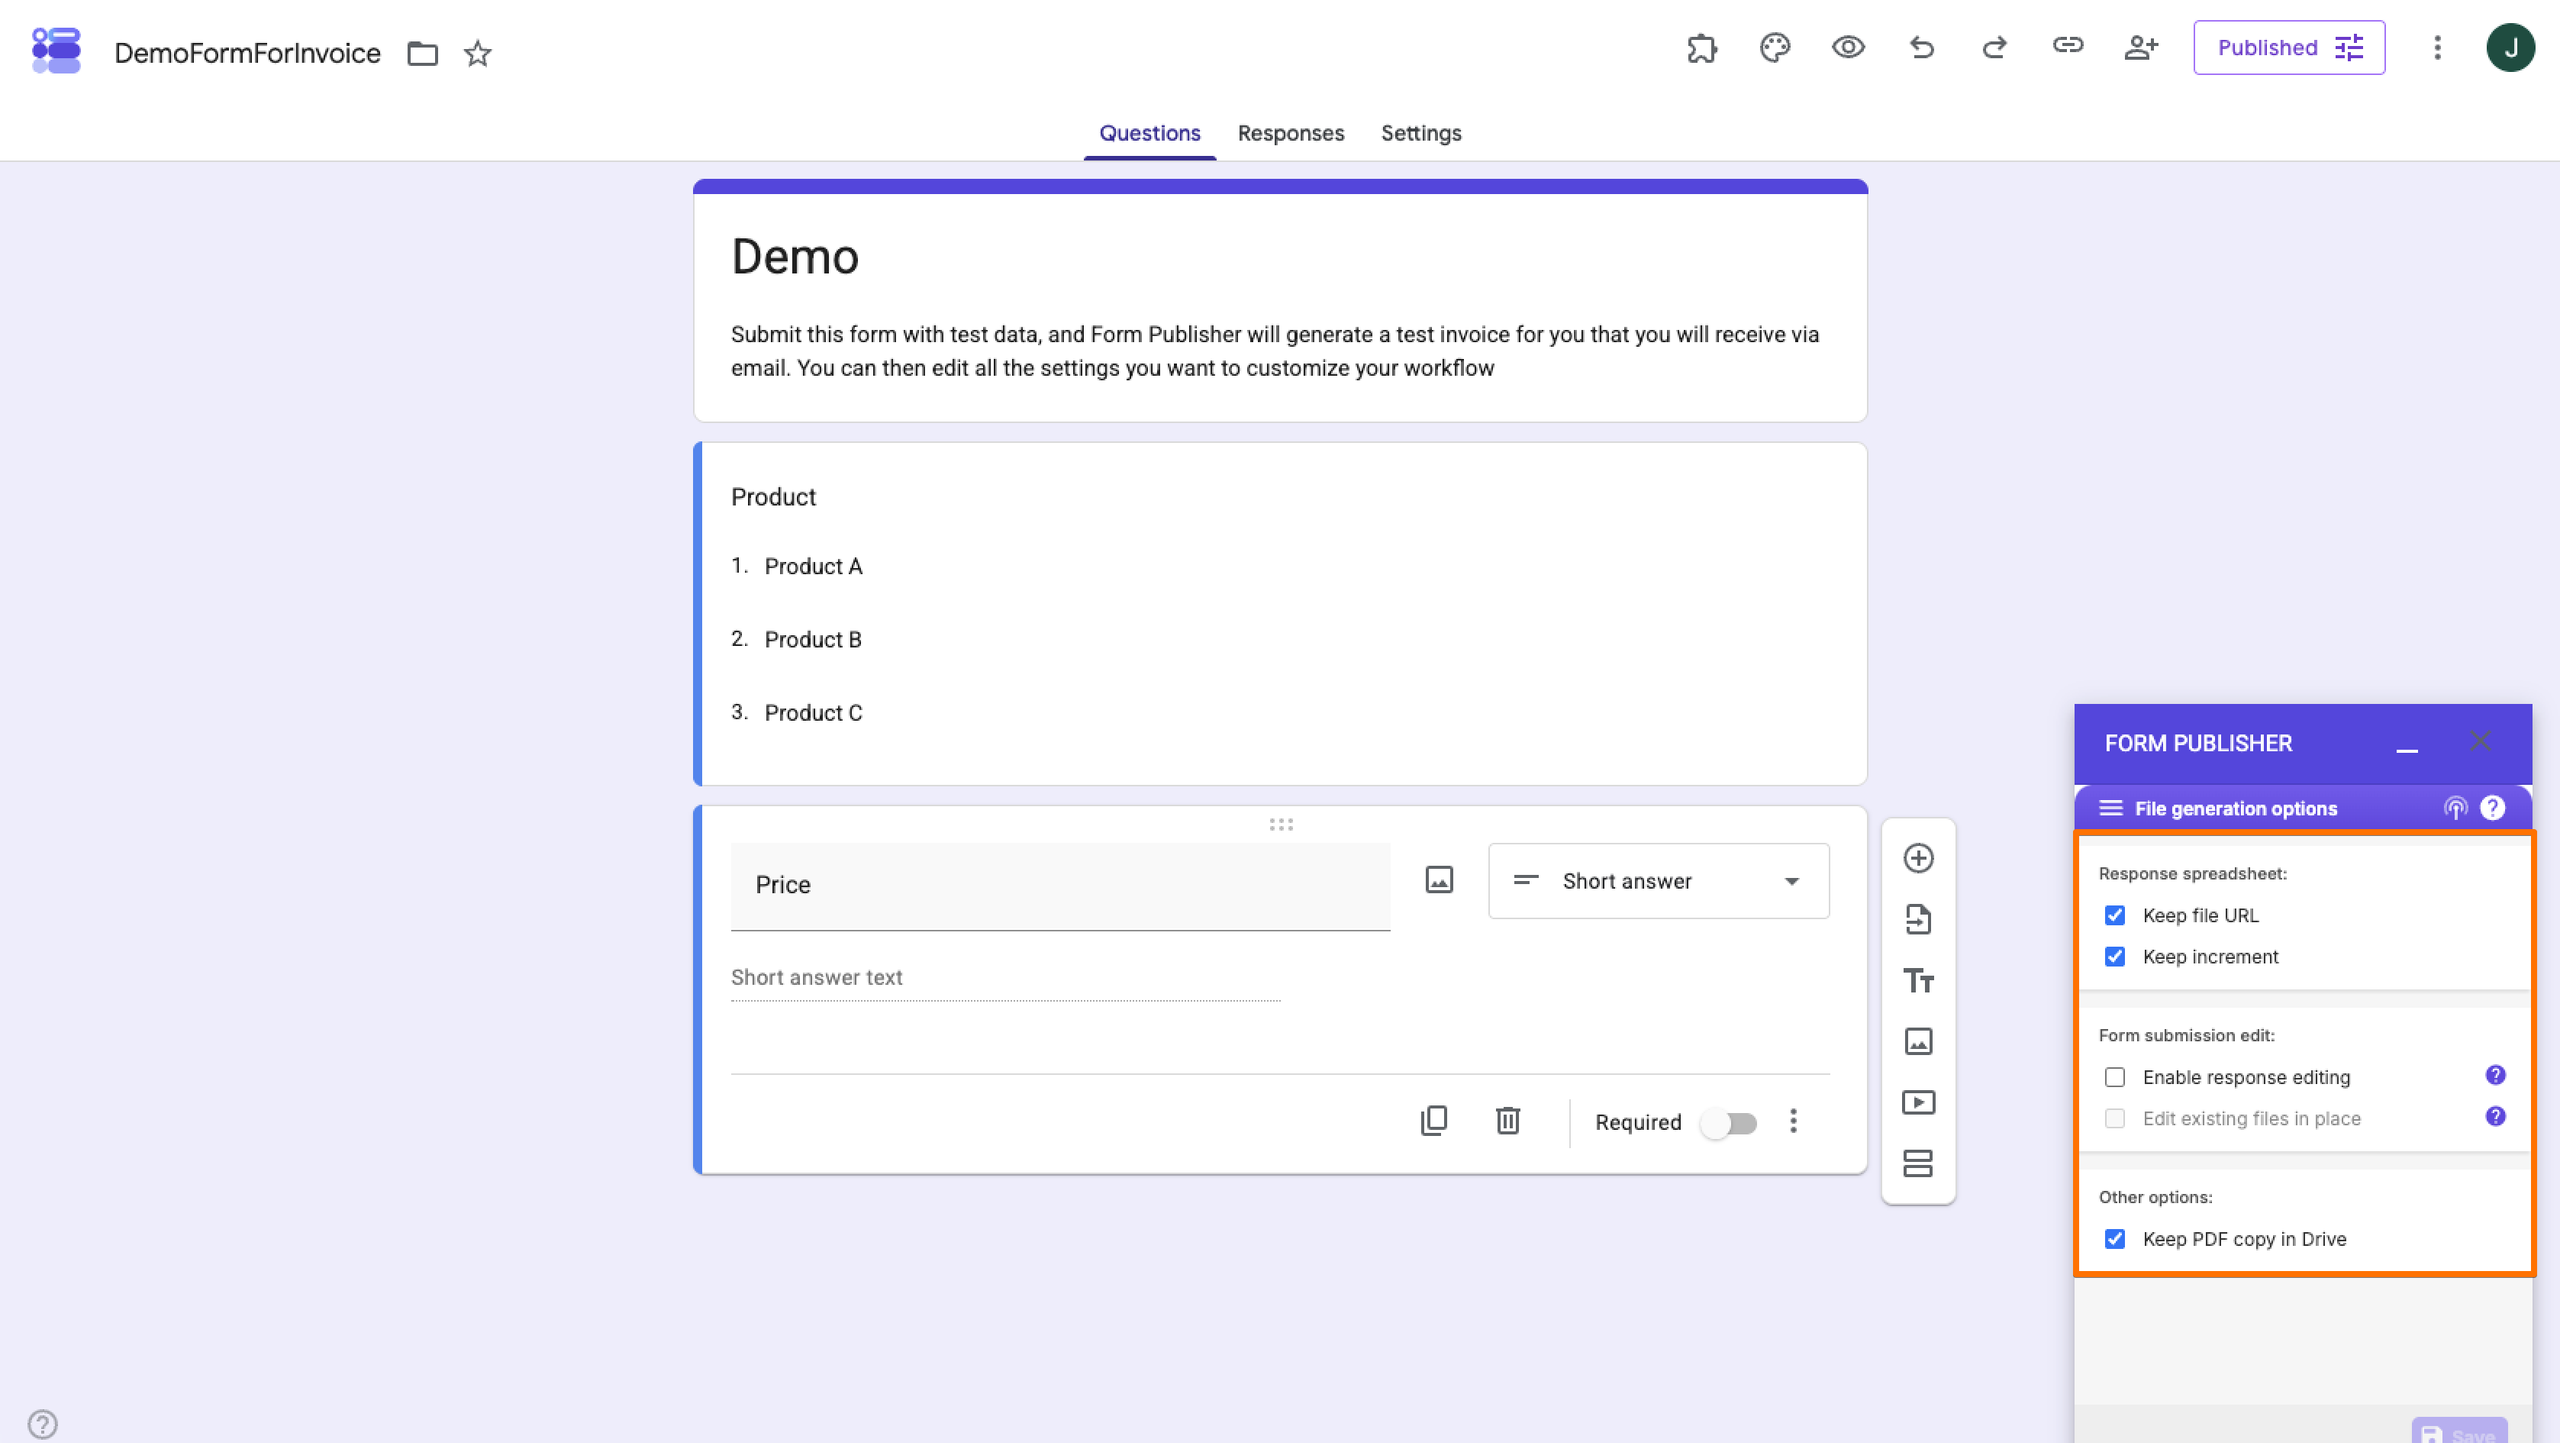
- From the Settings menu, select File Generation Options.
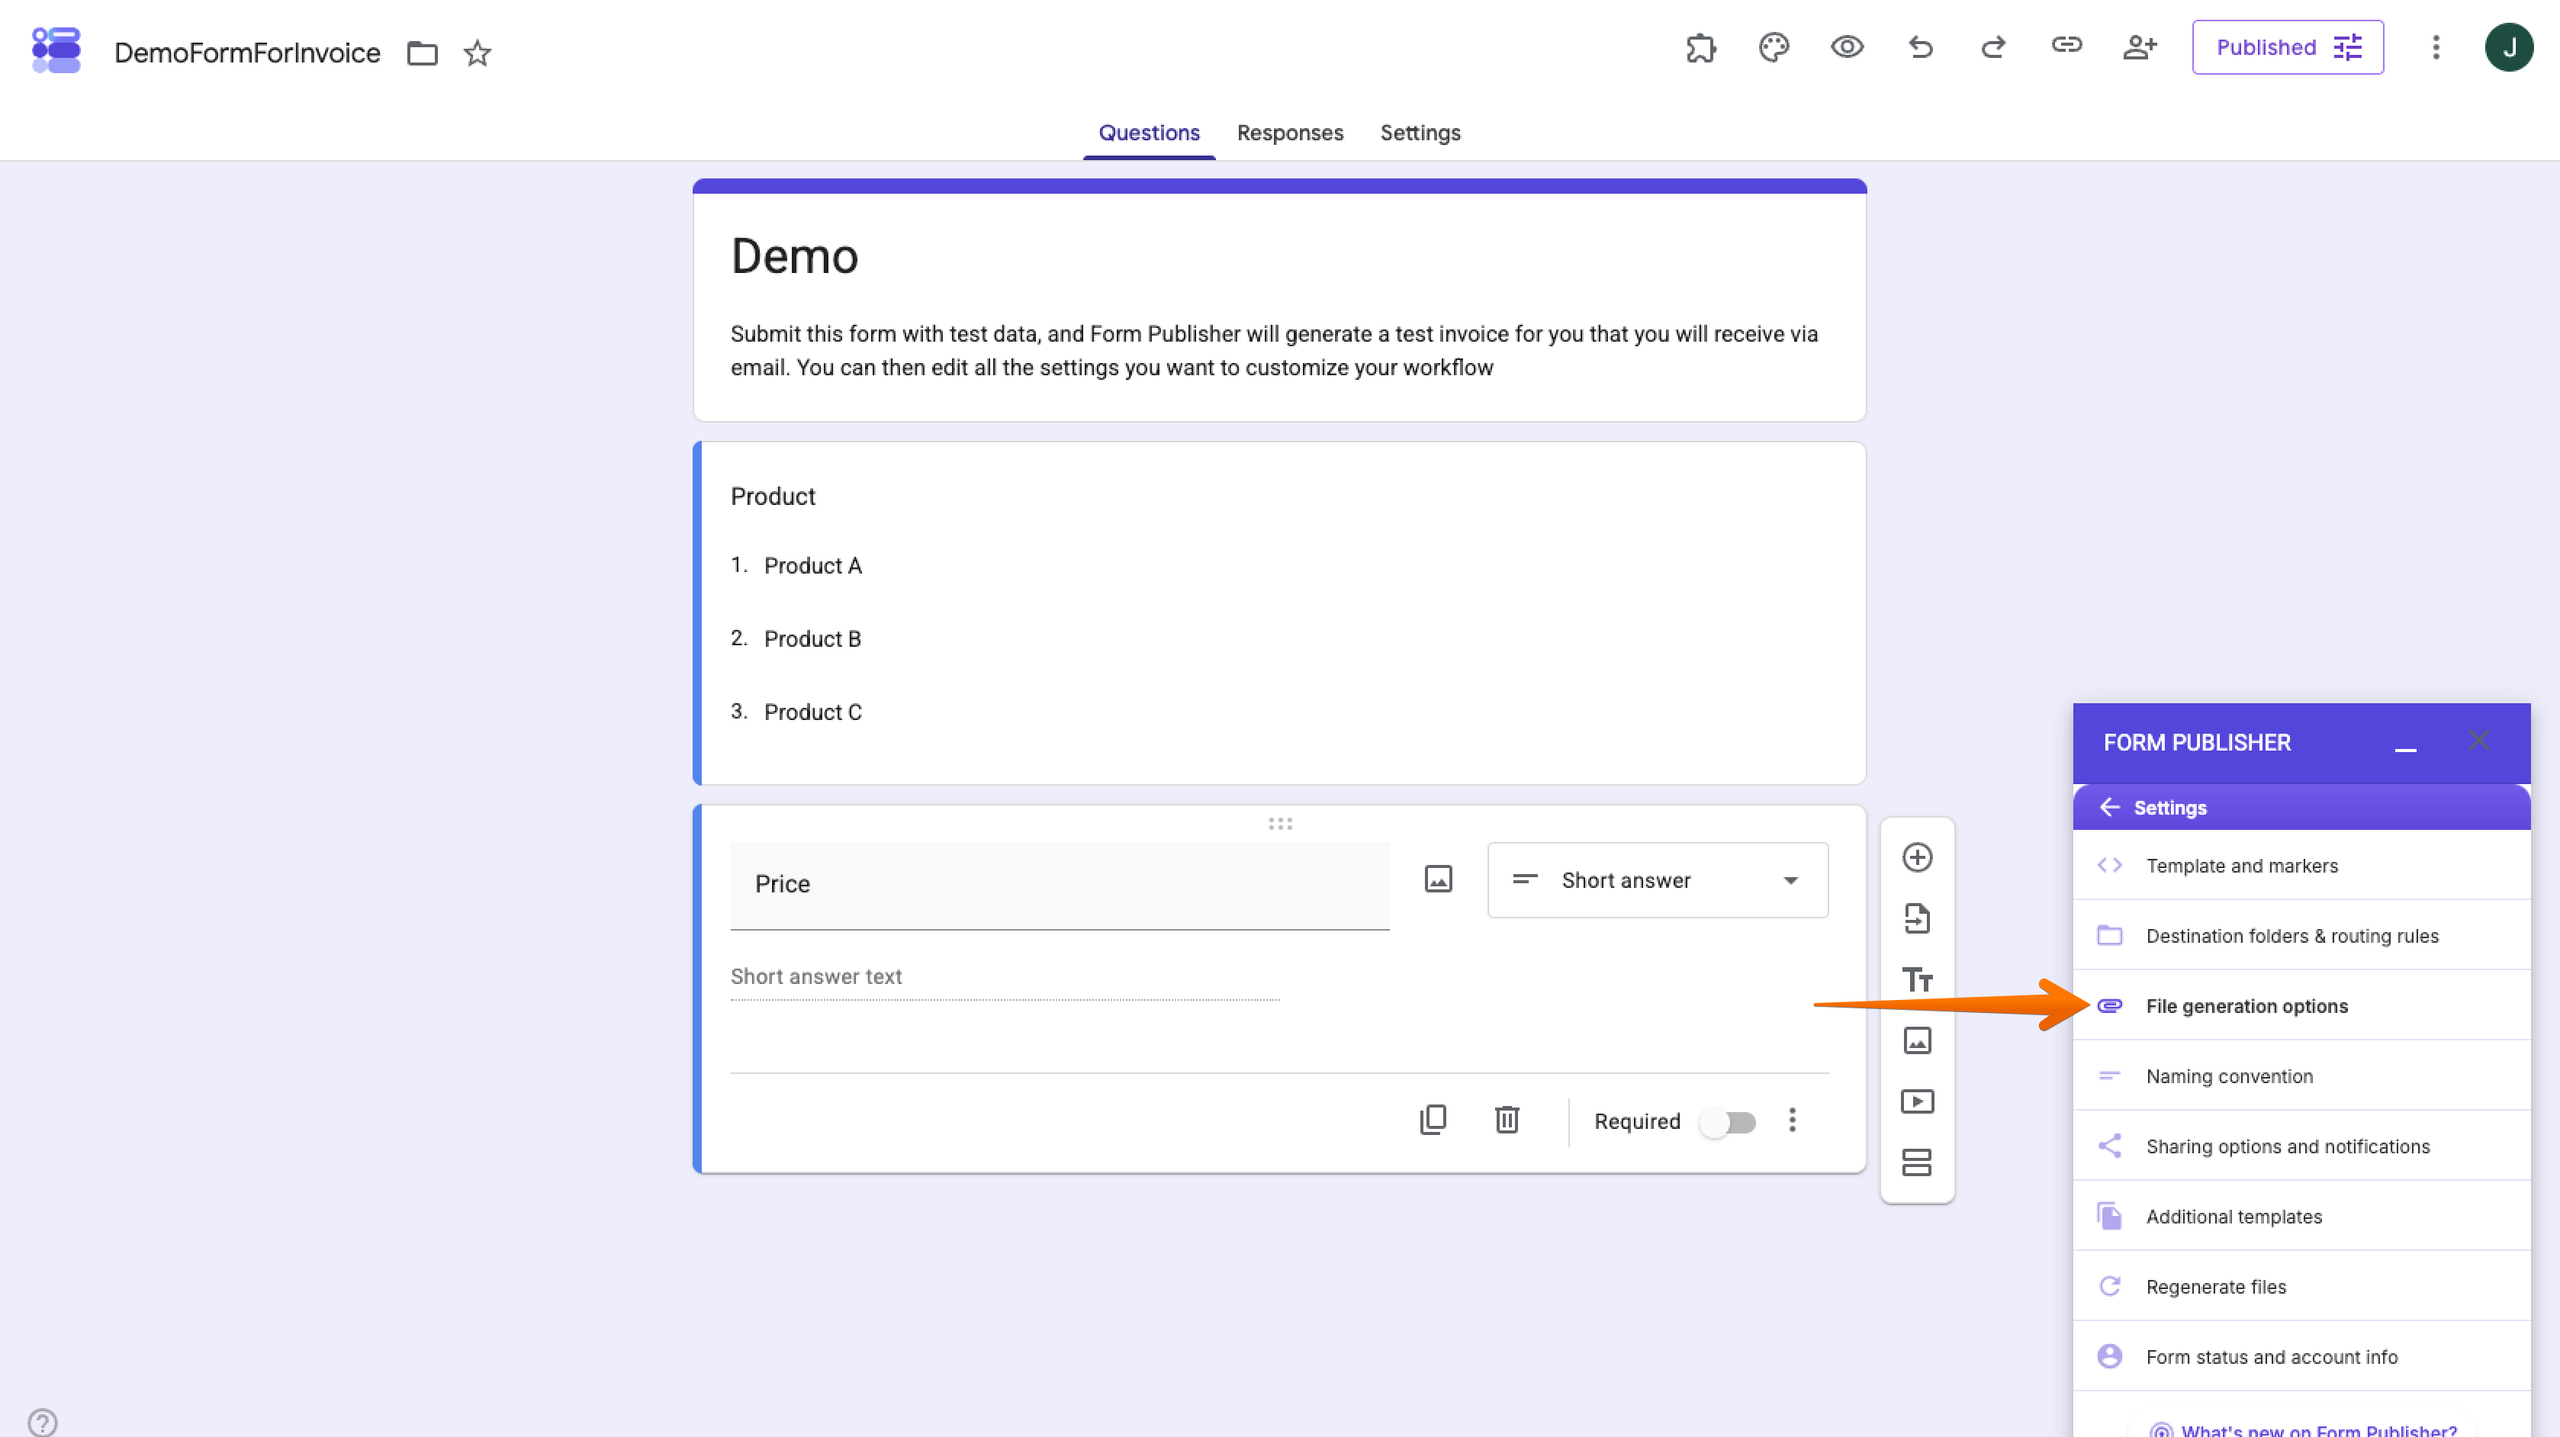
- For this tutorial, leave Keep PDF Copy in Drive enabled so you can easily find the generated PDF for testing.
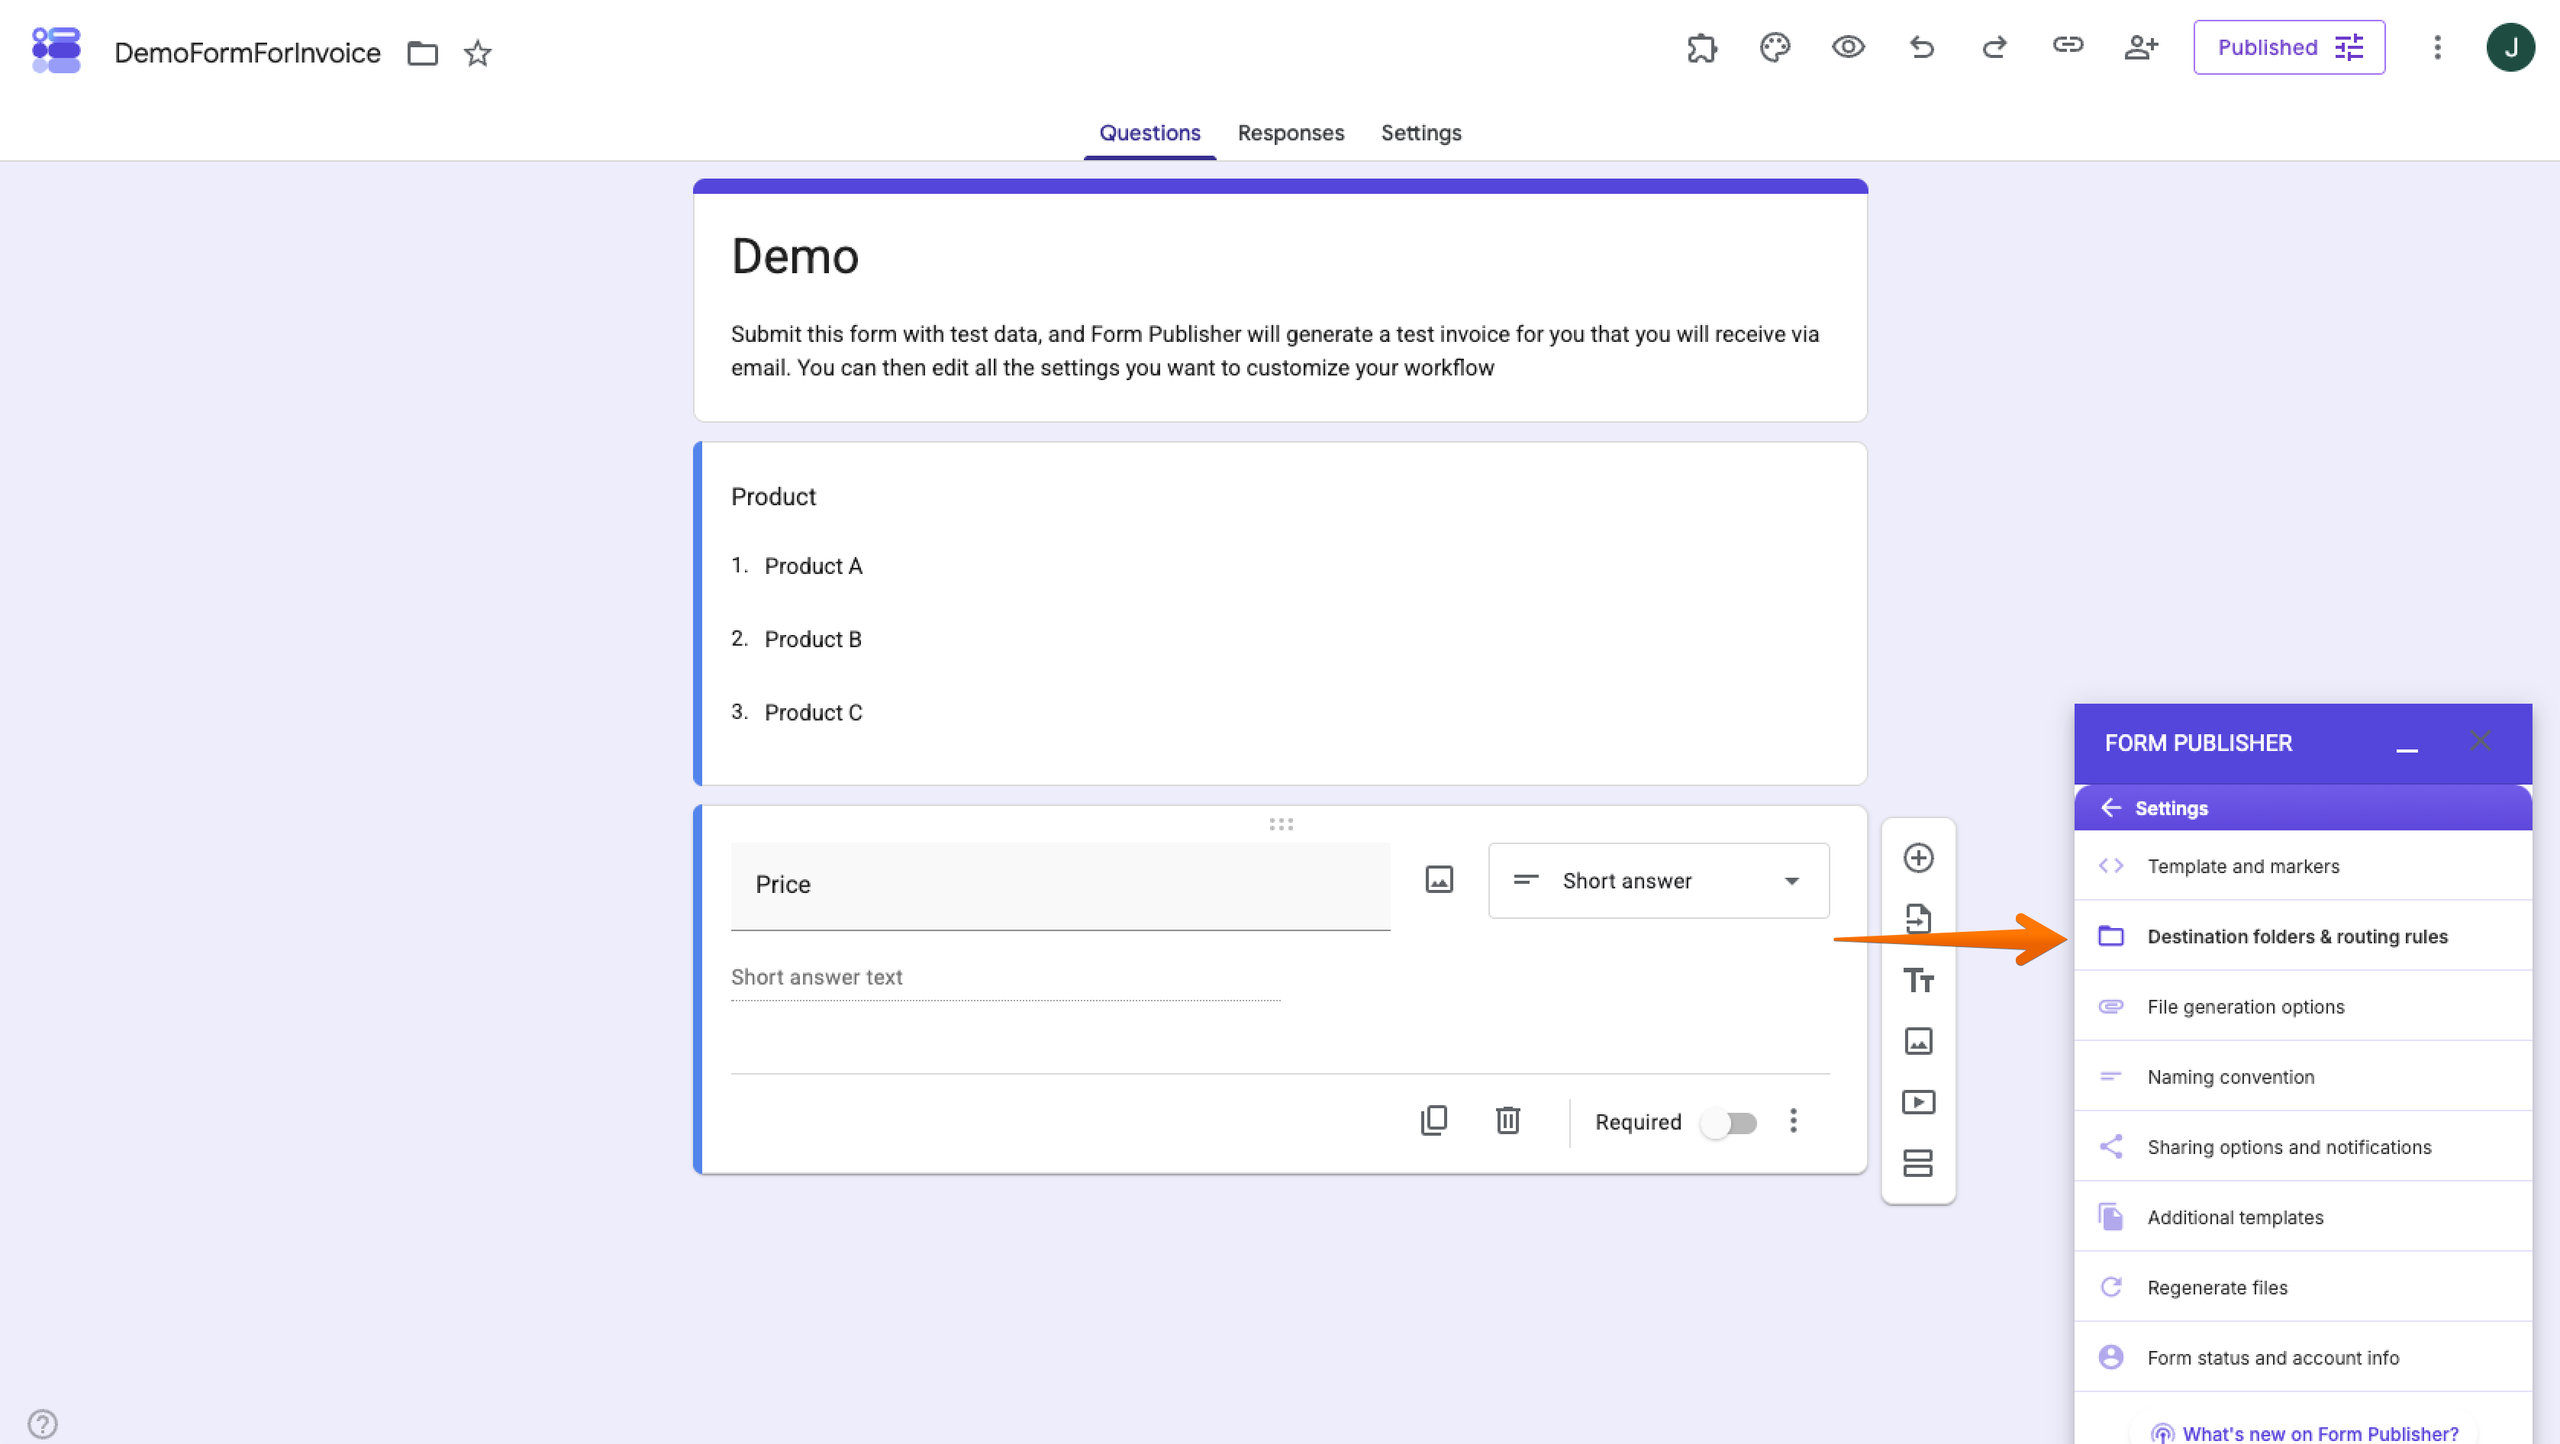
- Return to the Settings menu and select Destination Folders & Routing Rules.
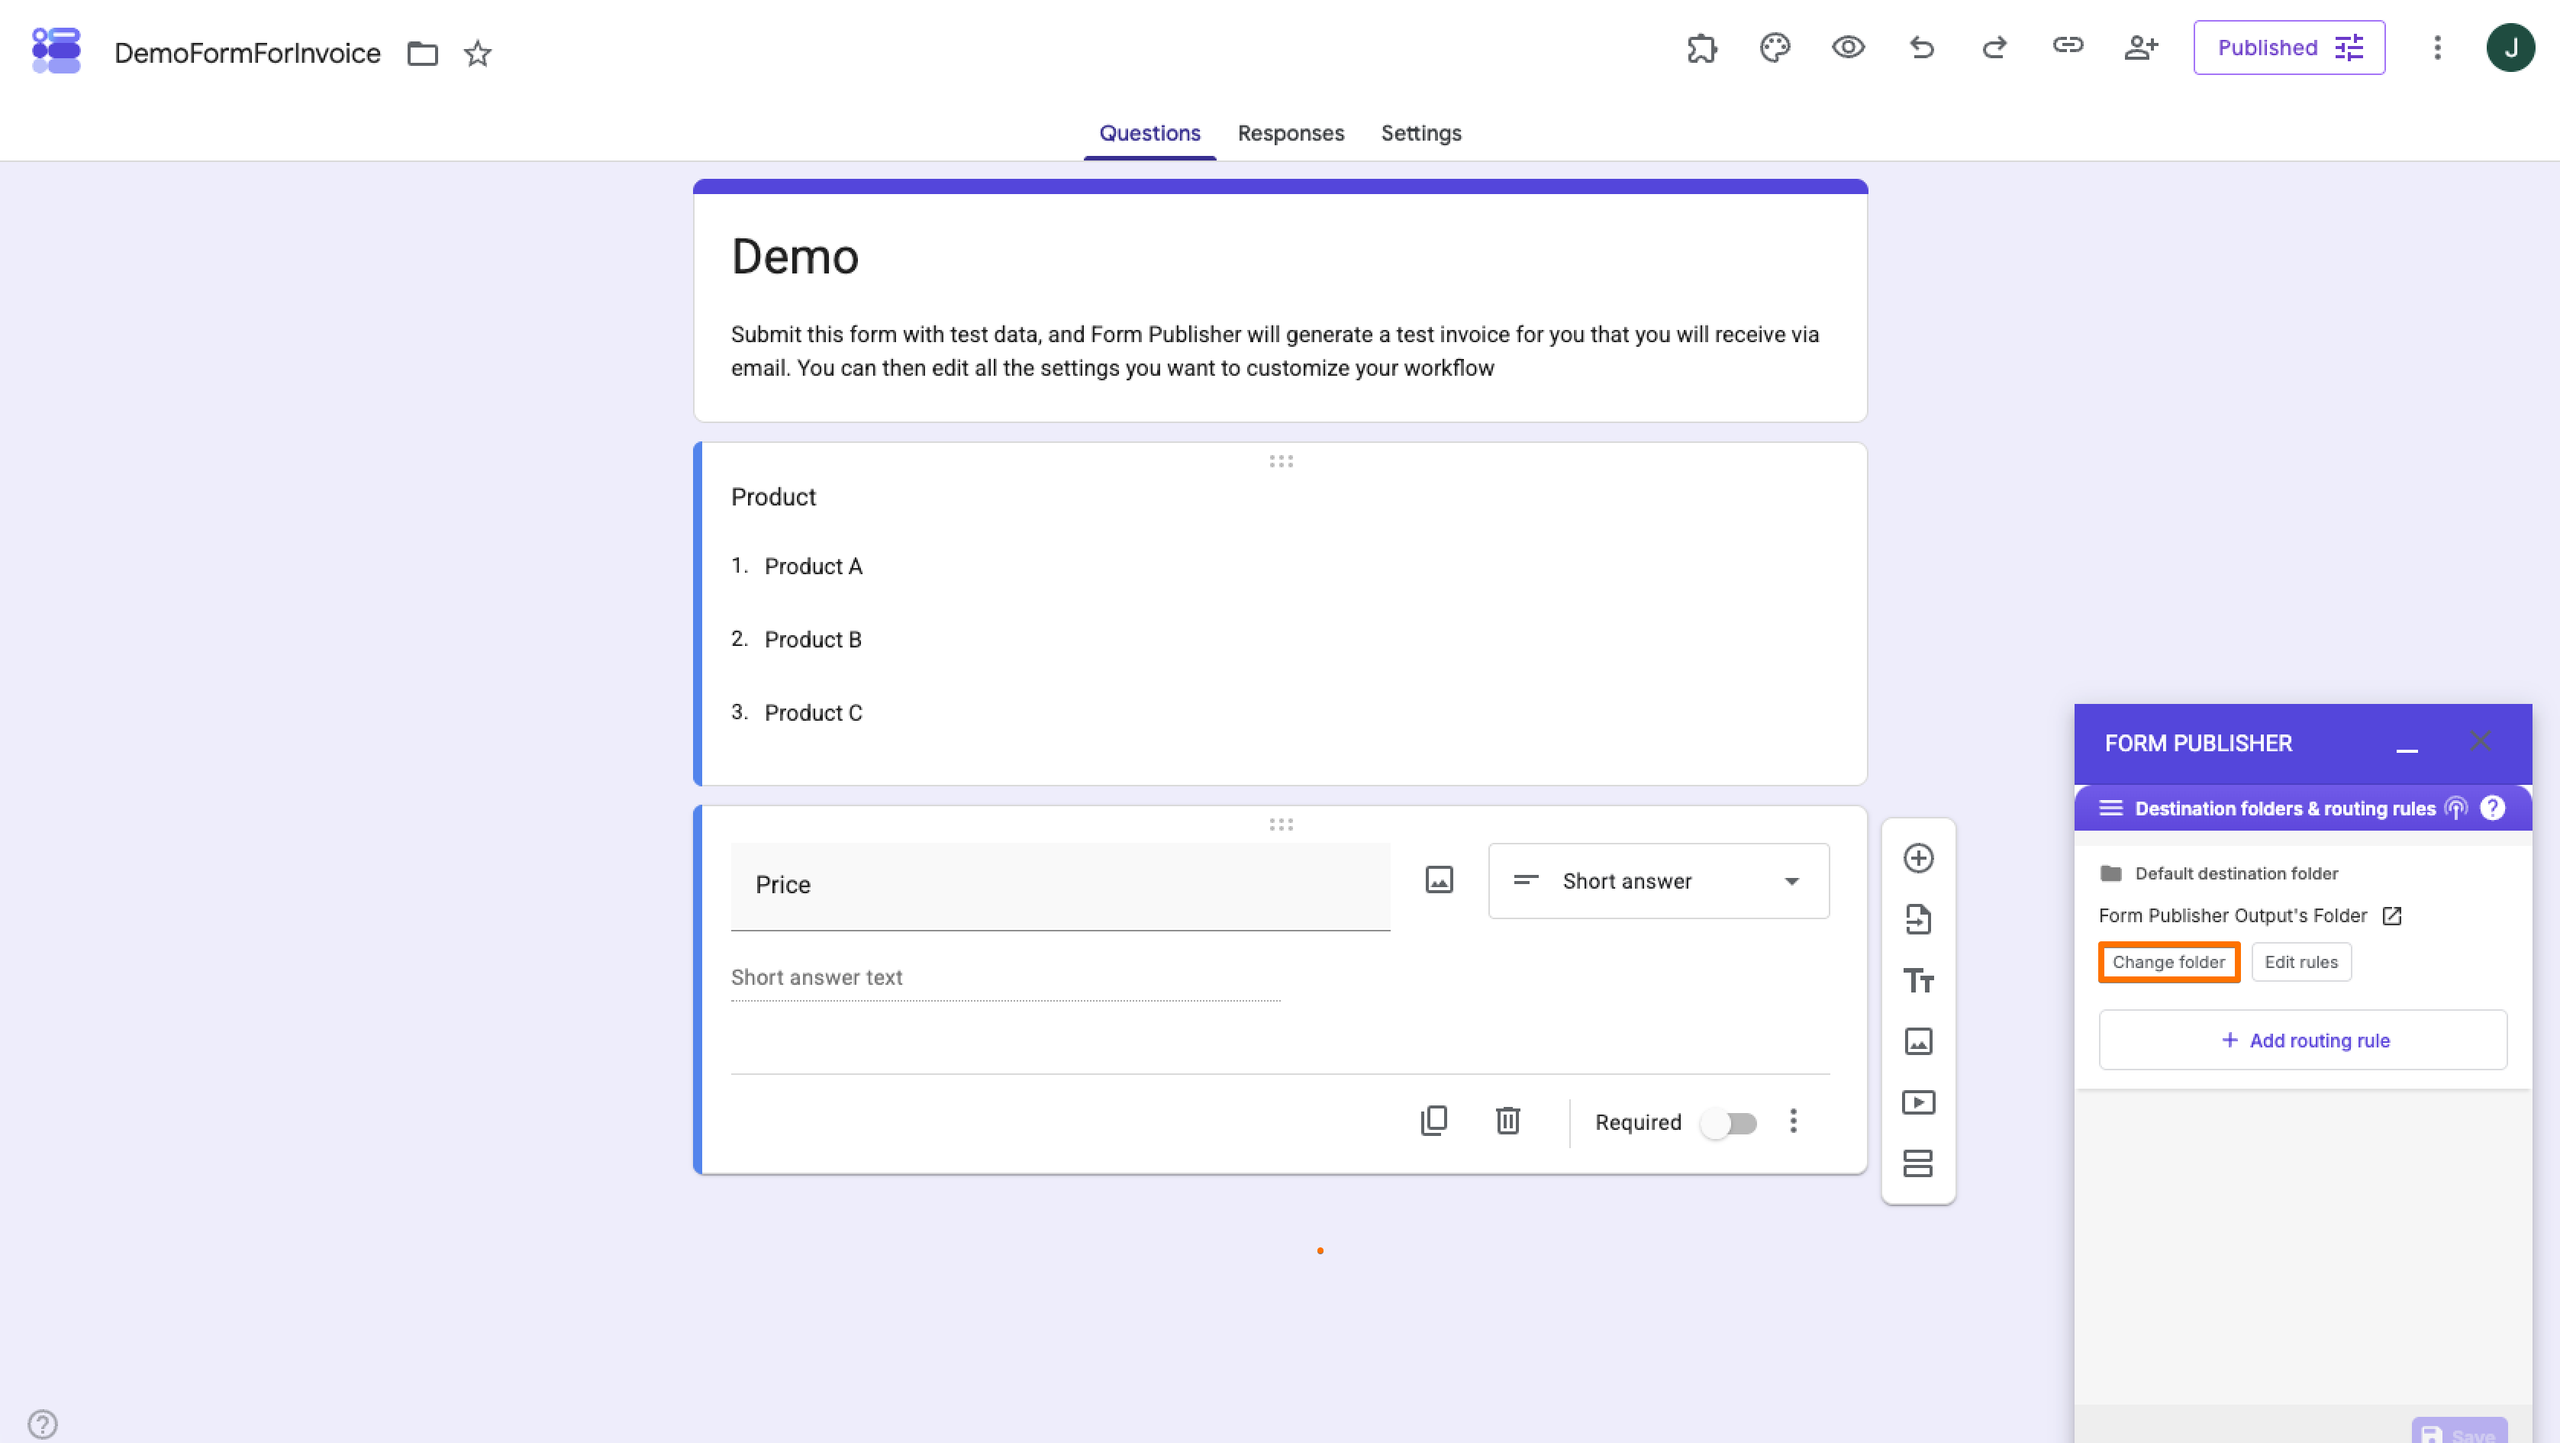
- Under Default Destination Folder, choose Change Folder, choose the Google Drive folder you want to use, and click Select. Form Publisher creates a default output folder when you first configure a form, so you can also leave that setting unchanged for this example. You can also save a Google Form as a PDF.
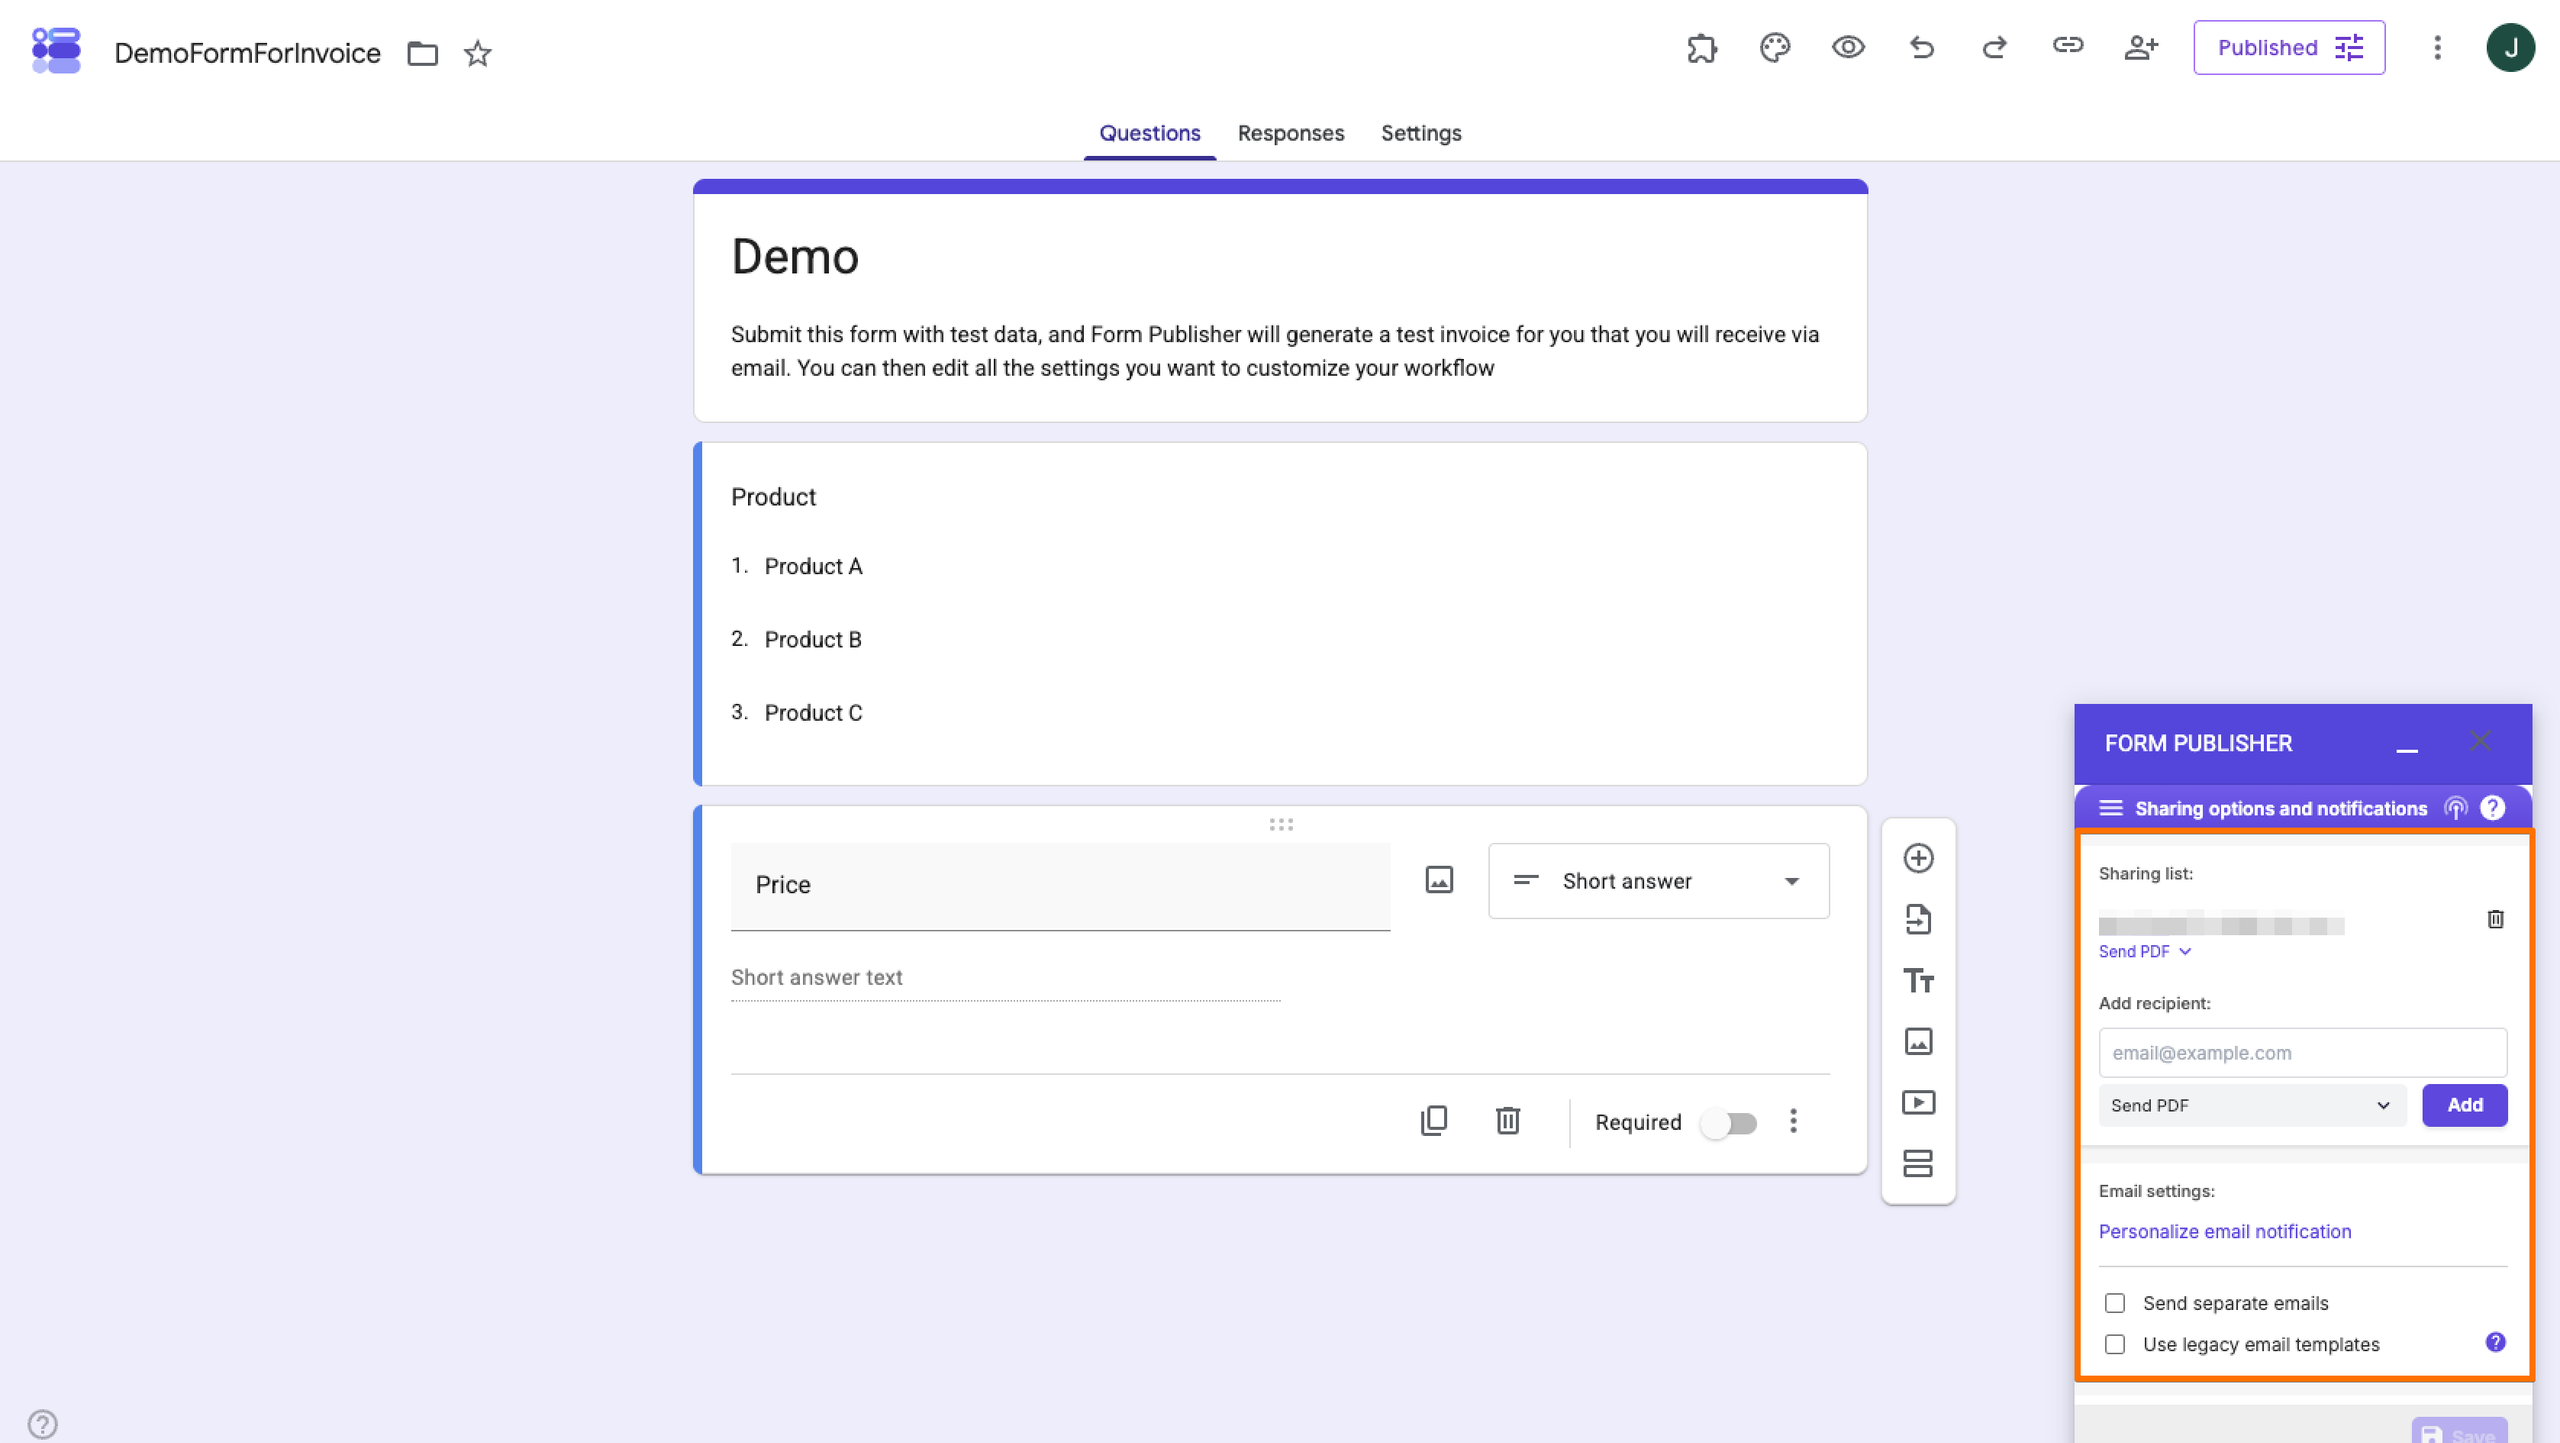
- Return to the Settings menu and select Sharing Options and Notifications.
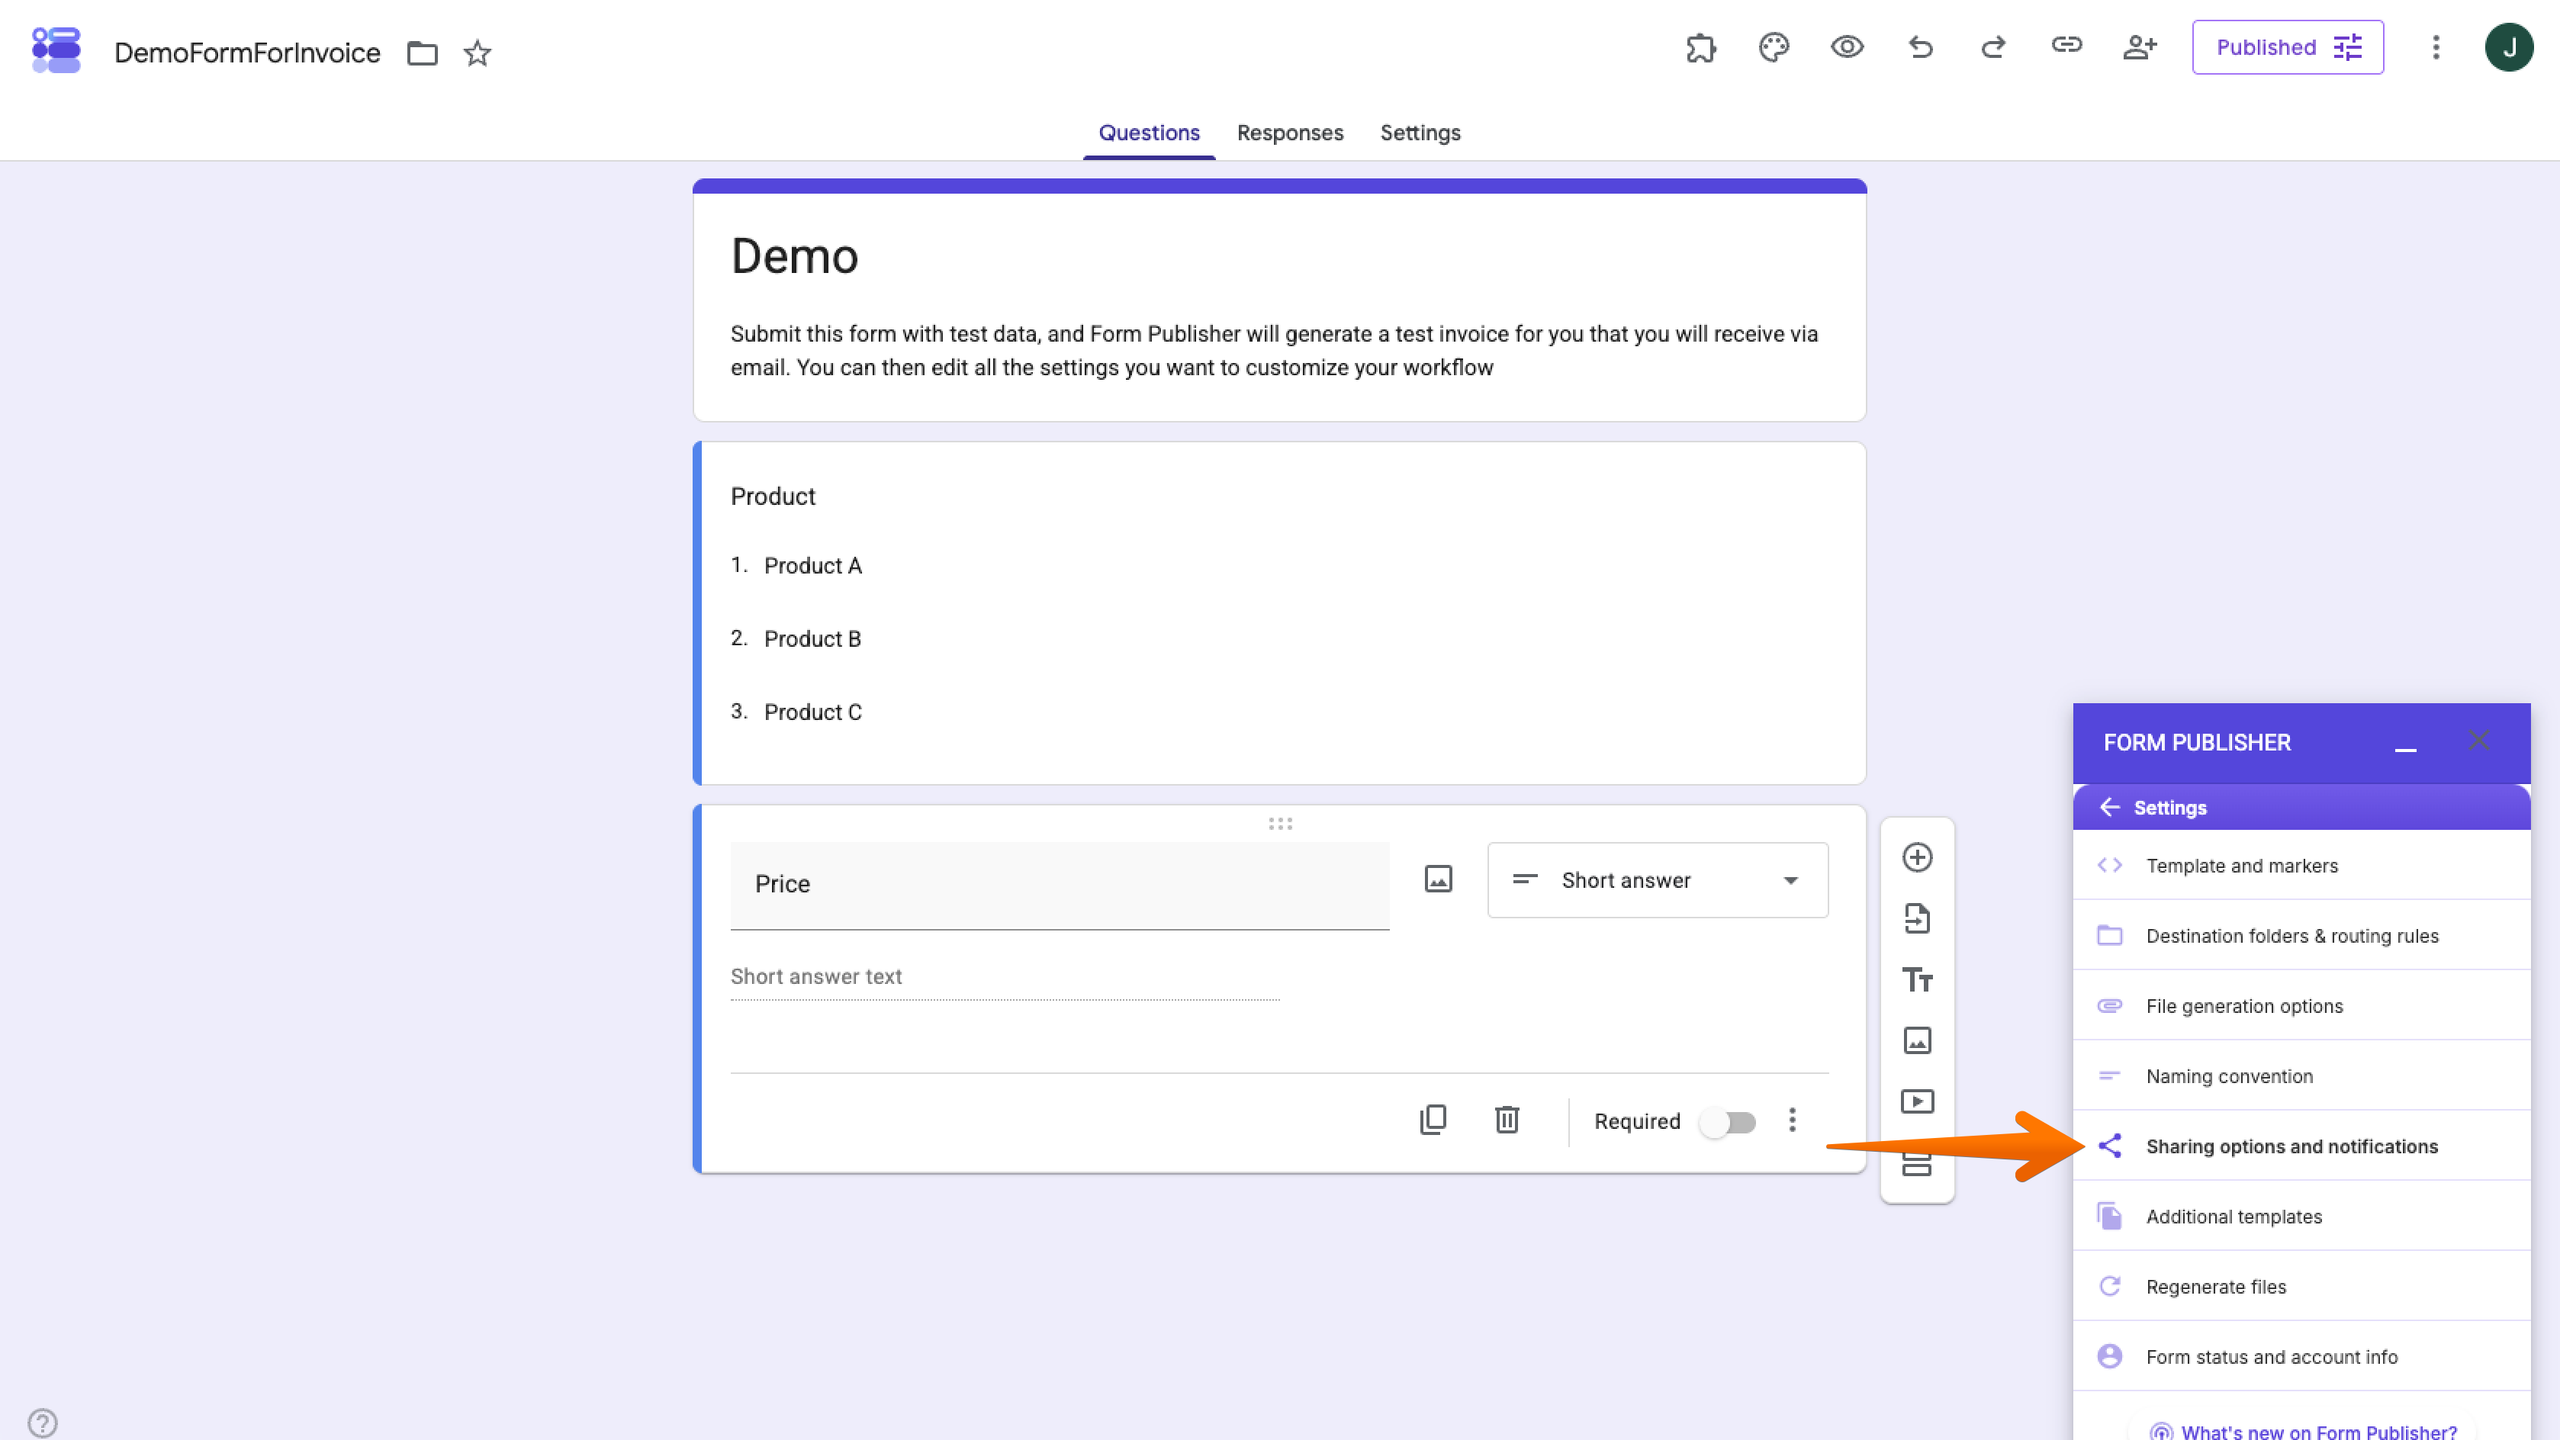
- Form Publisher lists the form owner as a recipient and can send the generated PDF as an email attachment. You can add recipients and choose whether they receive the PDF or a link to the generated document.
What else can Form Publisher automate?
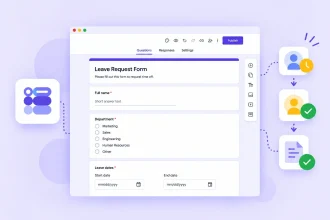
Form Publisher can create customized documents from submissions, distribute them to specified recipients, organize generated files in Google Drive, send notifications, and support approval workflows. These features can be useful for applications, invoices, purchase requests, agreements, and other processes when a form submission needs to trigger a document and follow-up action.
6. Submit a test response and check the generated document
Before sharing your form, submit a test response to make sure the complete workflow runs as expected.
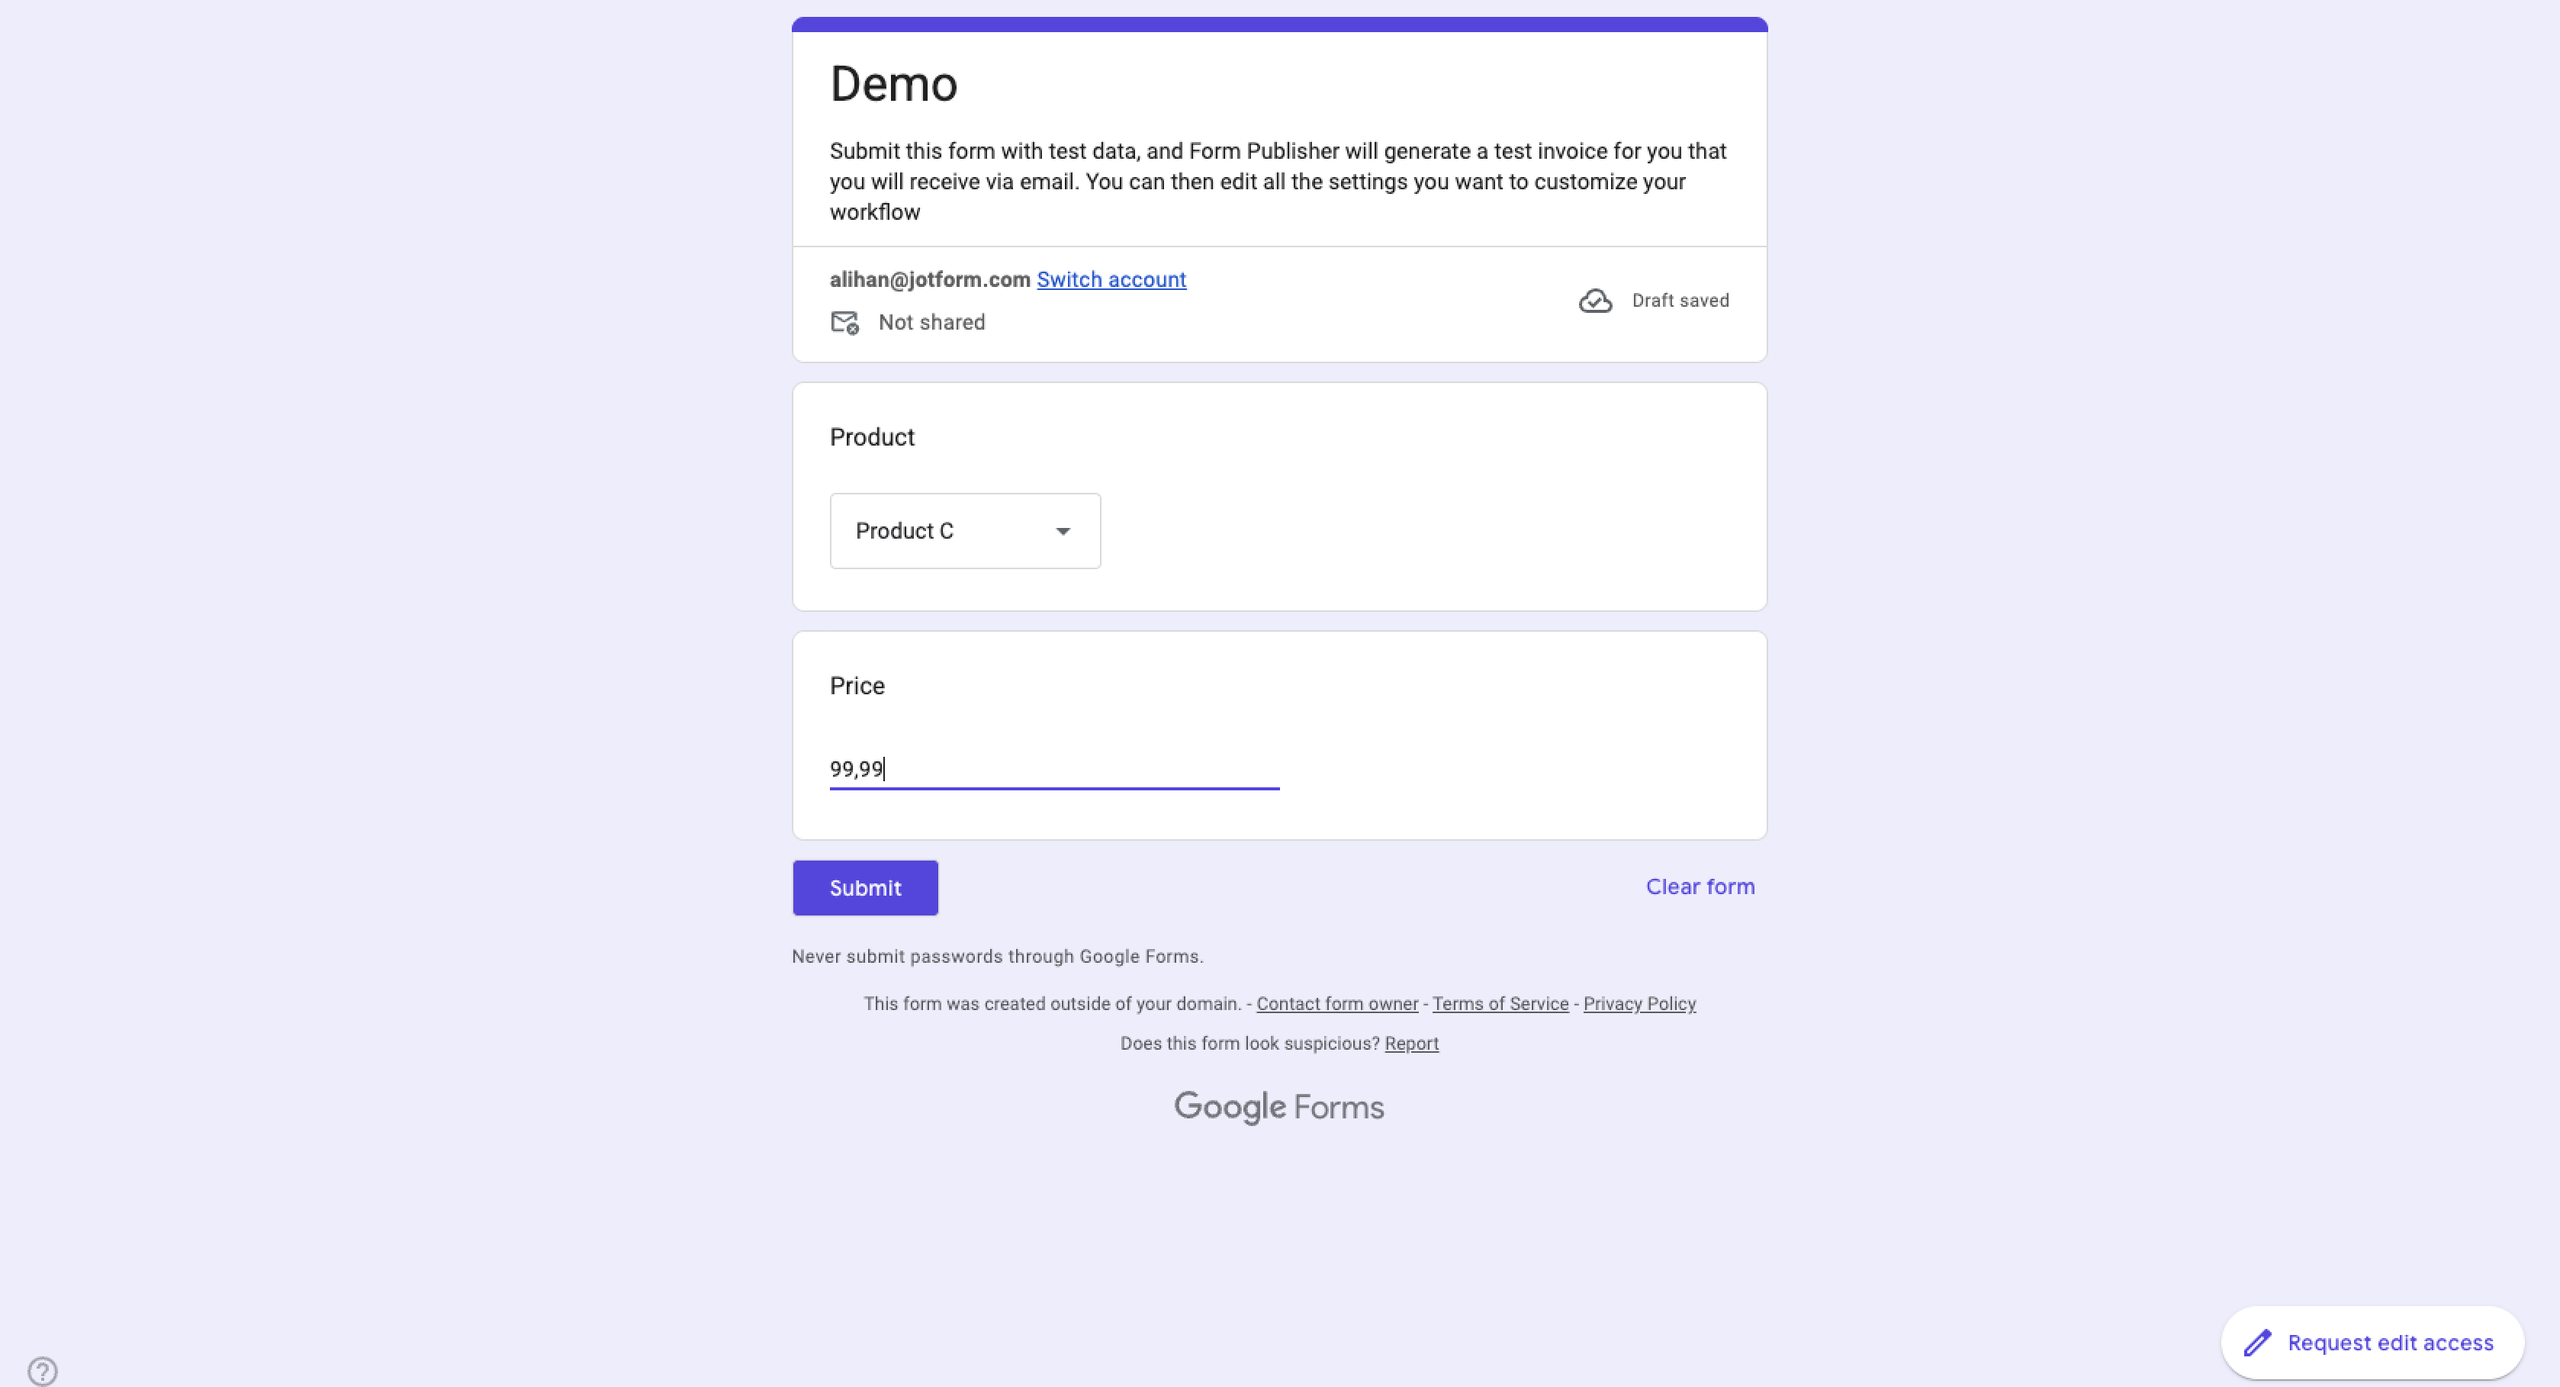
- Open your Google Form in a new window. Complete the form with sample information and click Submit. (Note: Submission doesn’t work in Preview mode, so make sure you open the form from your Drive in a new window.)
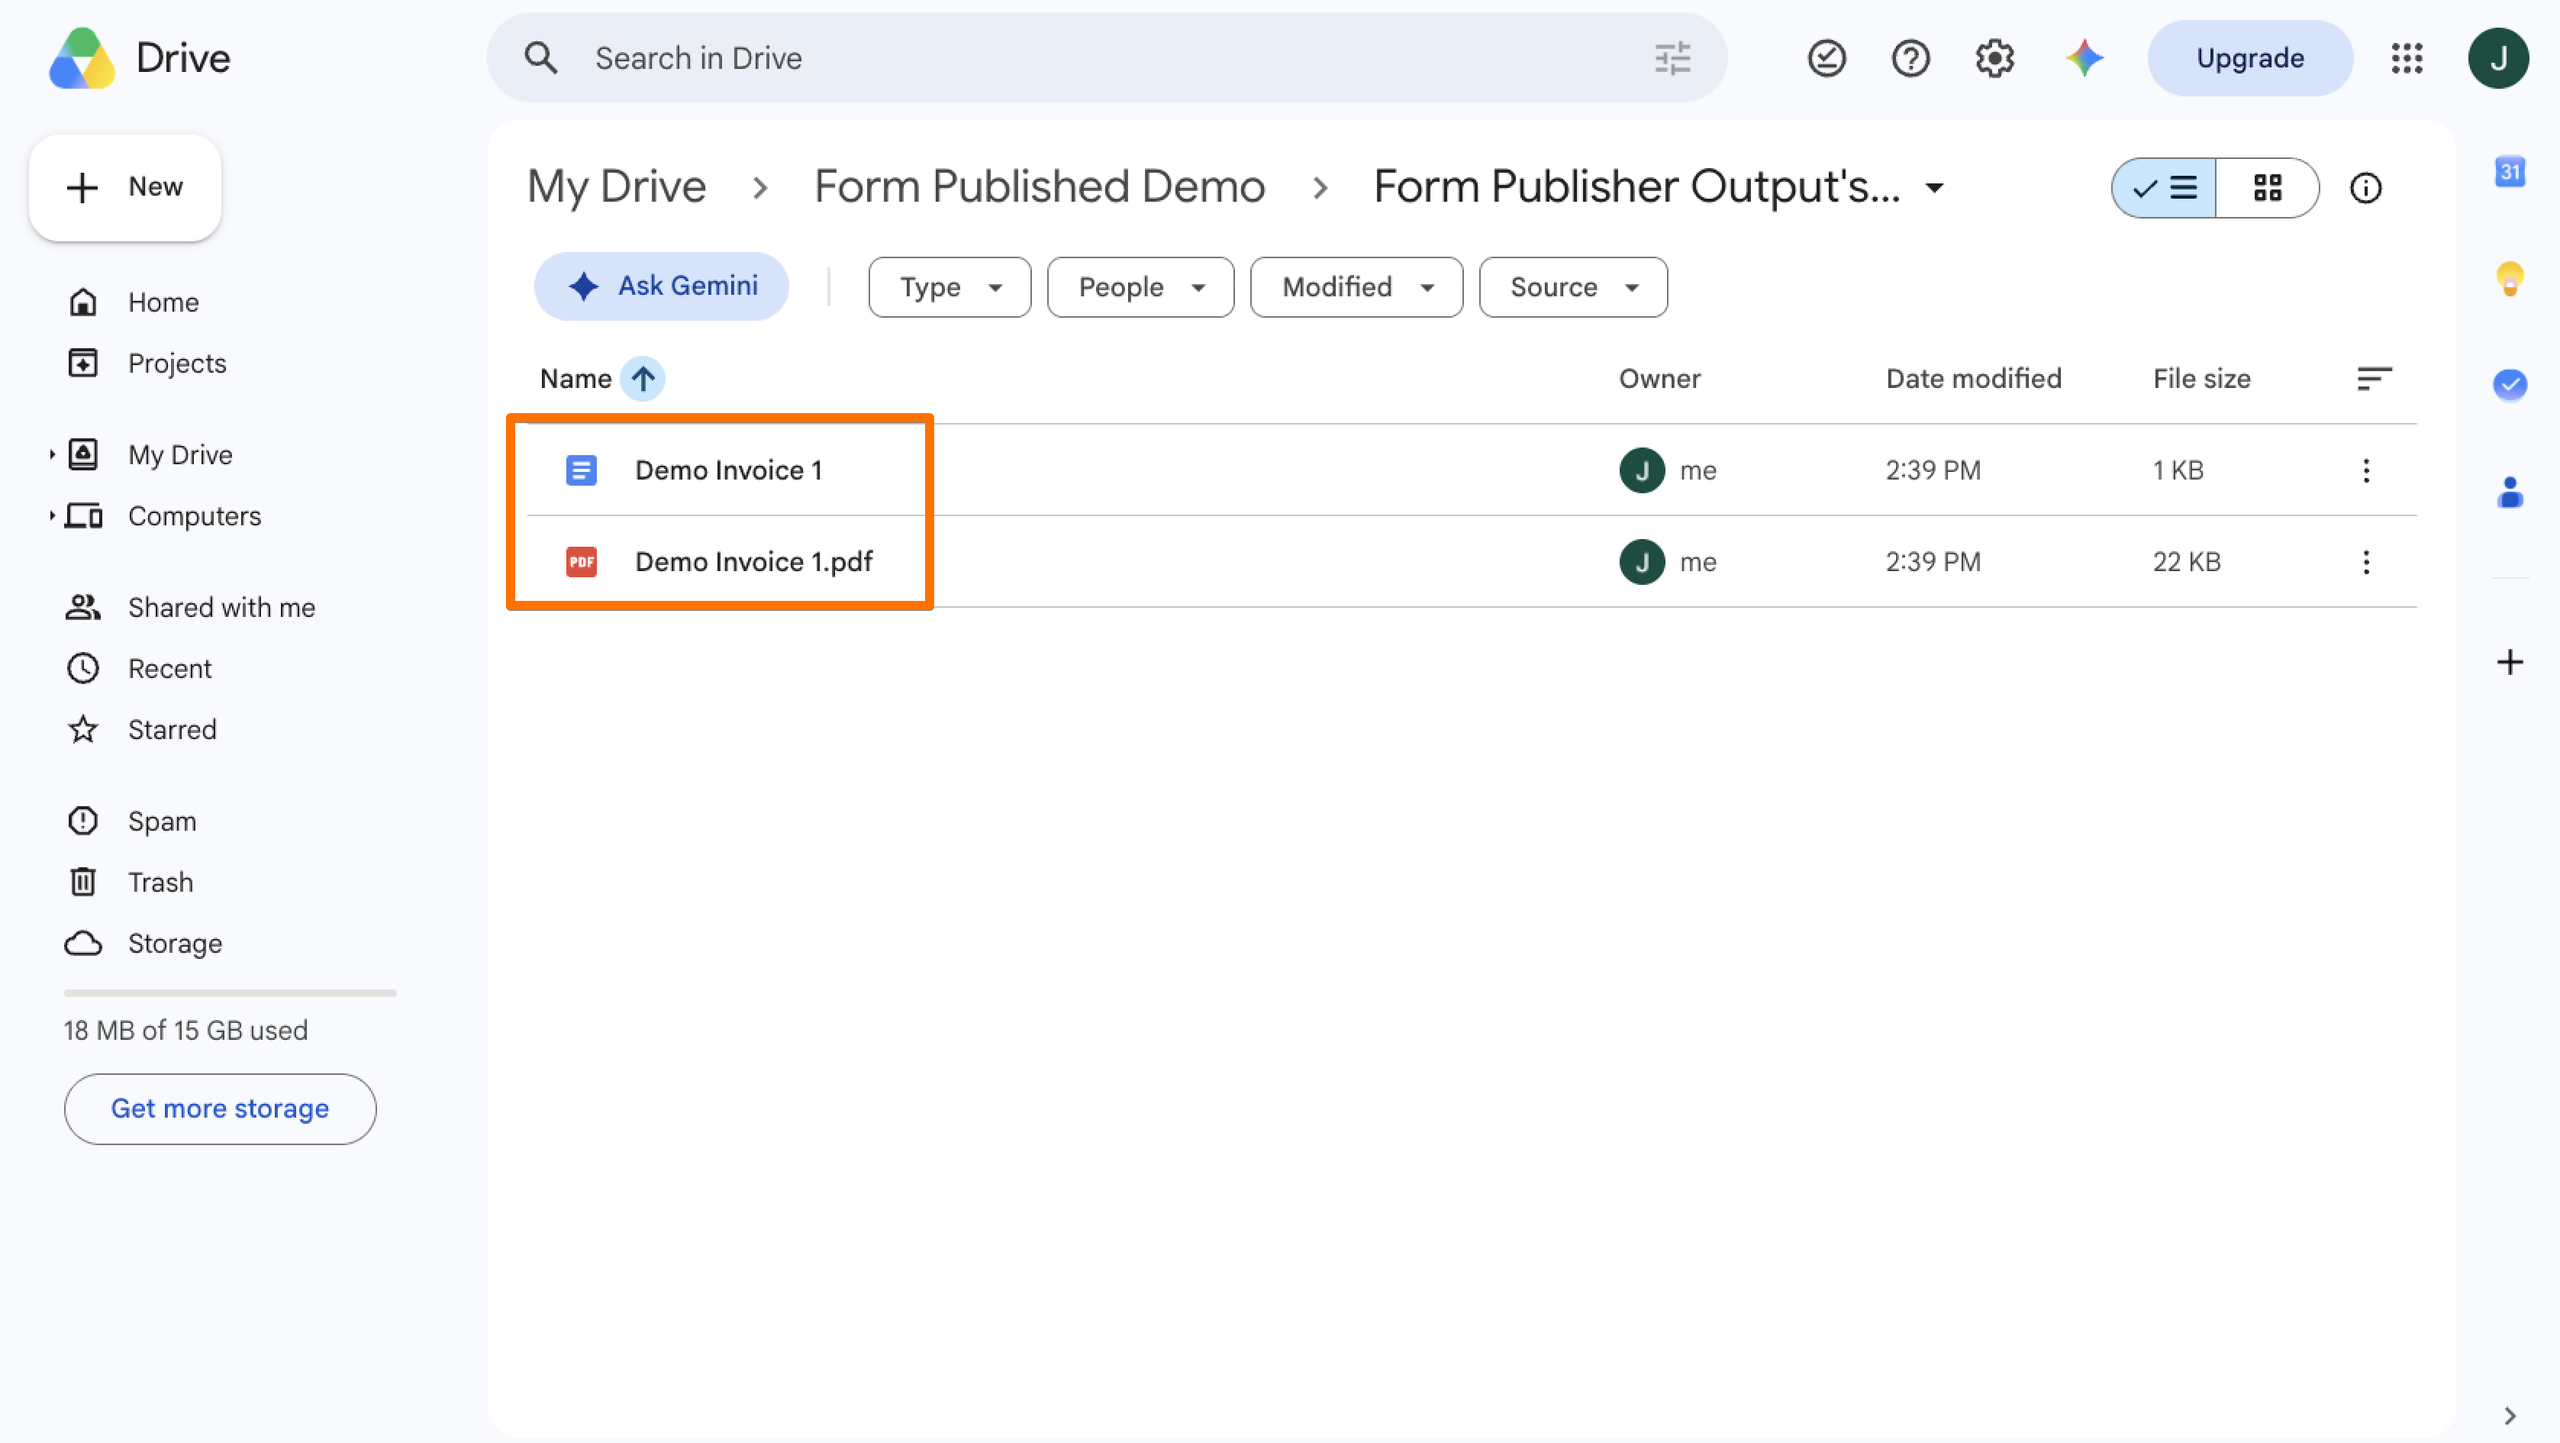
- Open the Google Drive folder you selected as the destination. Form Publisher should have created a PDF based on your template and the test response.
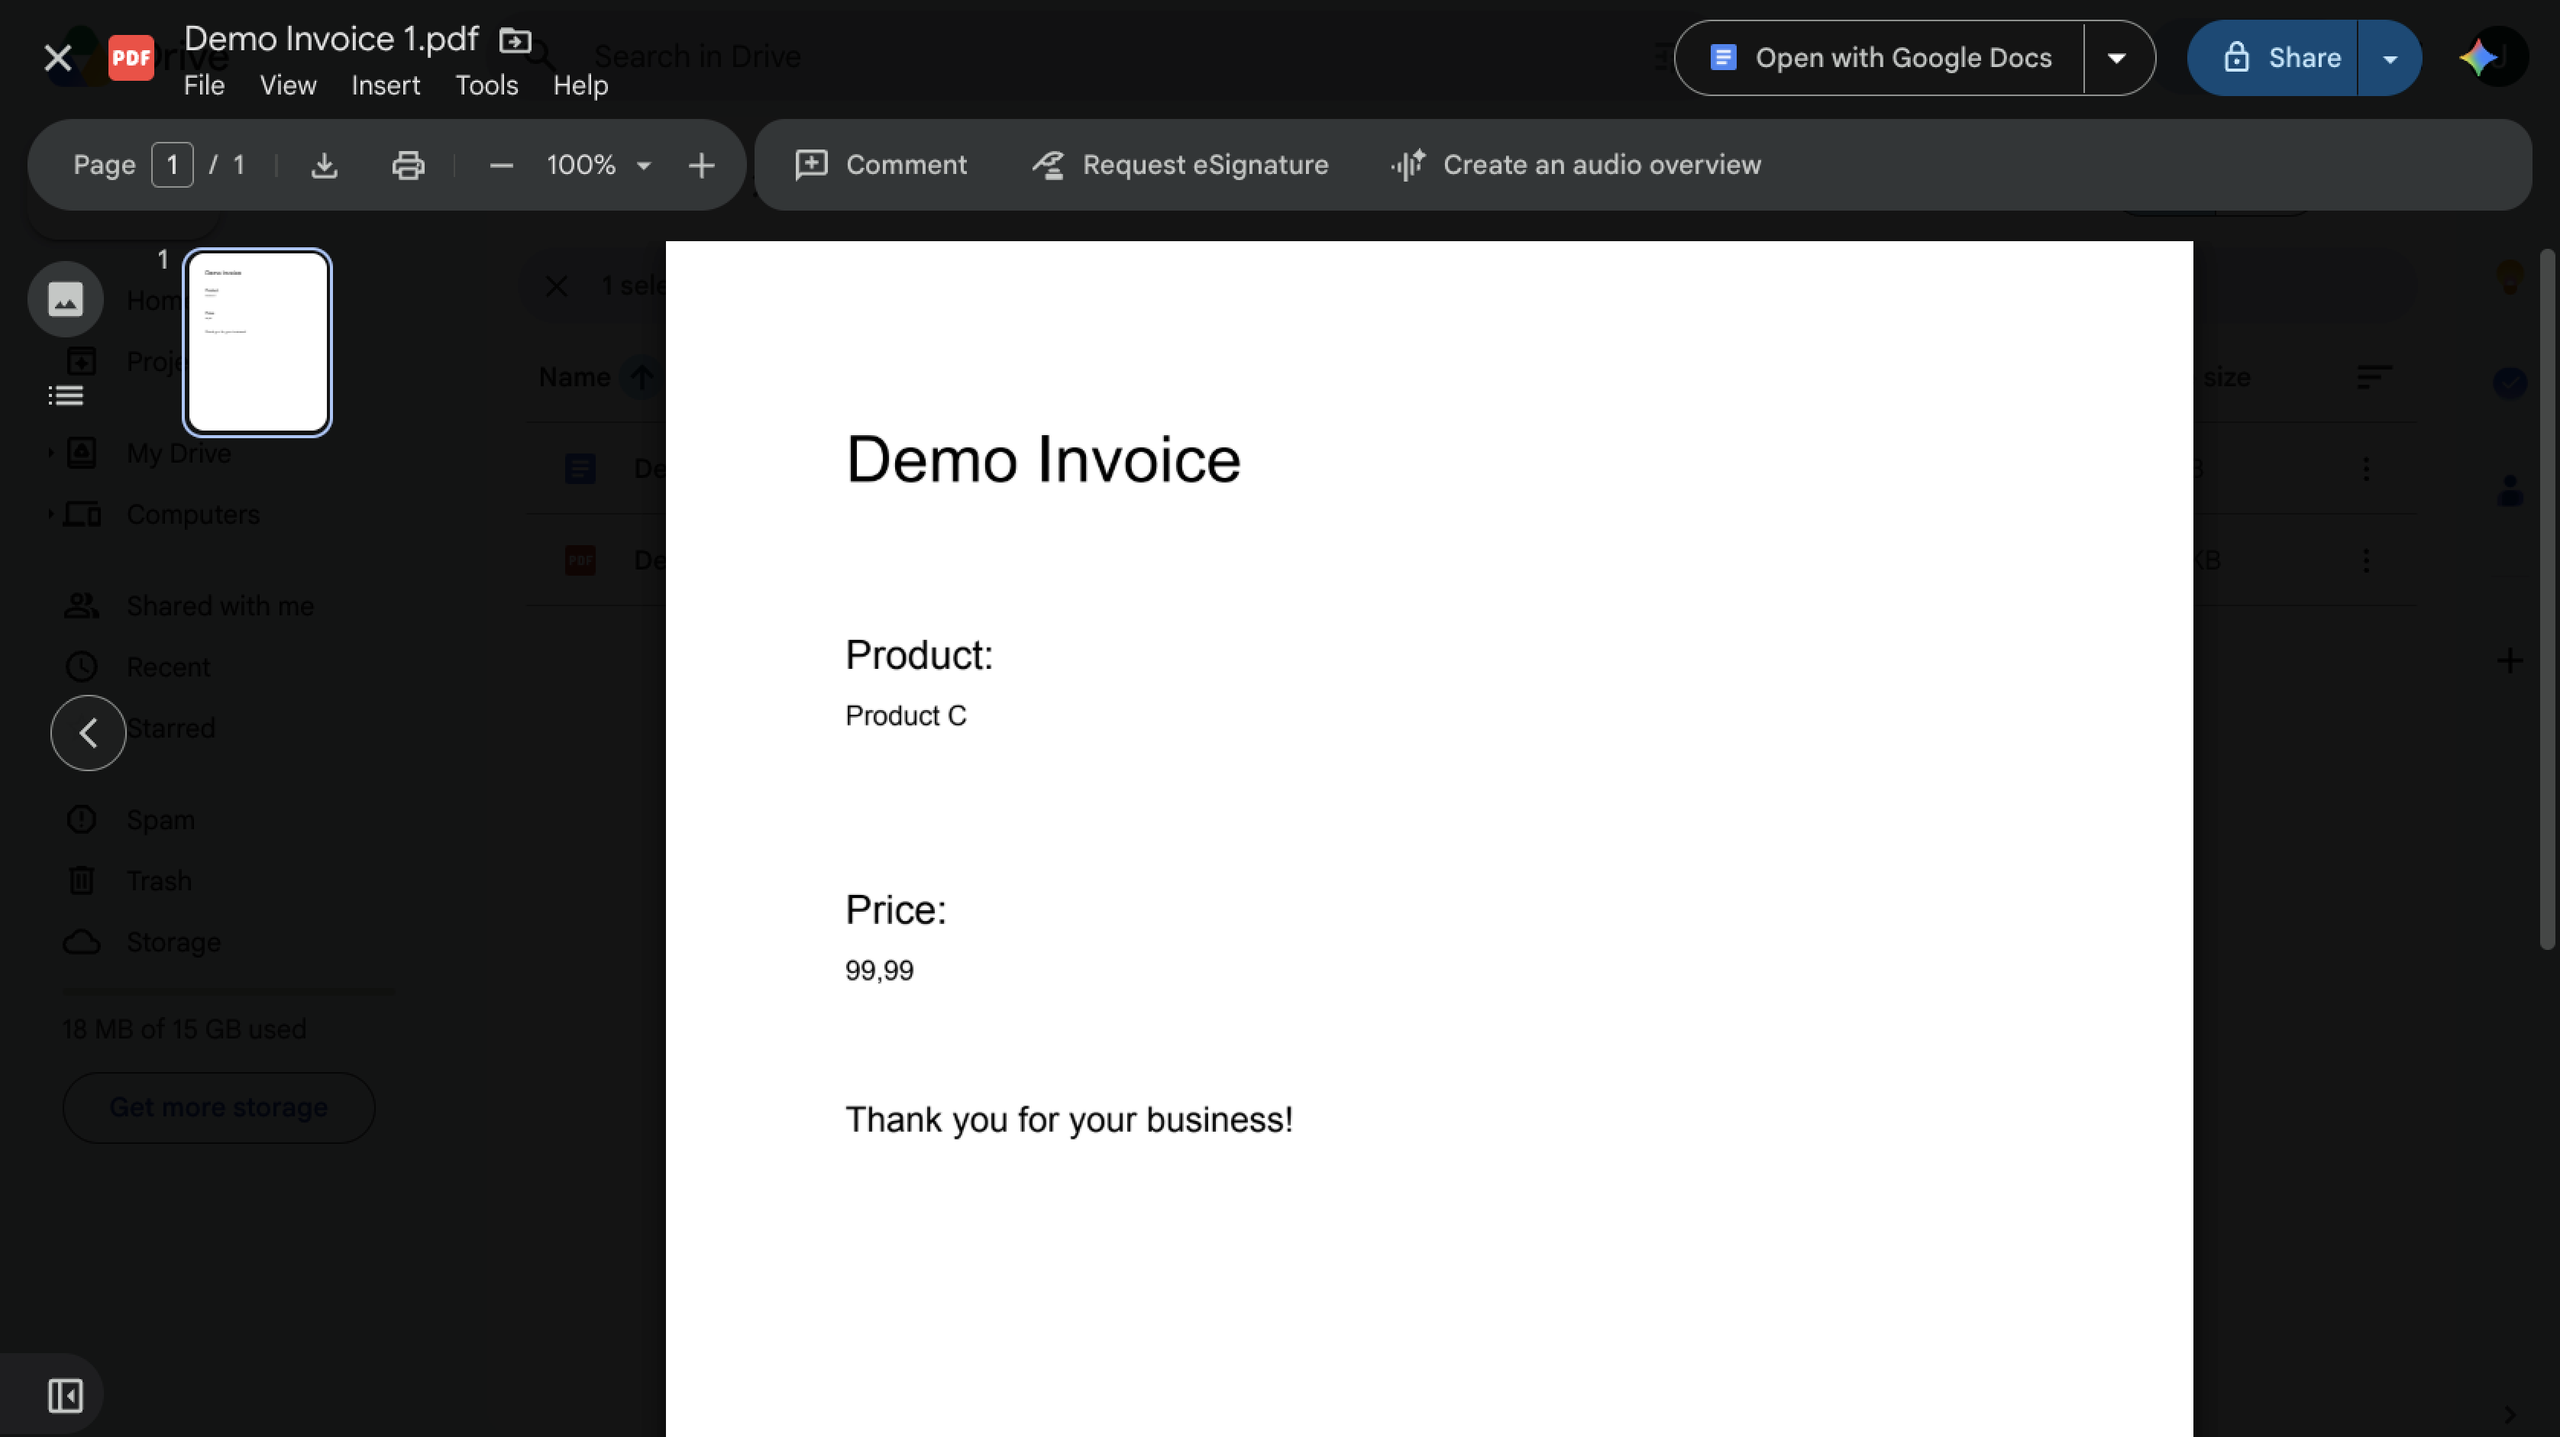
- Open the PDF and make sure the submitted information appears in the correct places and the formatting looks right. If anything is missing or incorrect, return to Template and Markers or the relevant Form Publisher settings and make the necessary changes before publishing the form.
Form Publisher tips and limitations
Form Publisher can be a useful way to turn Google Forms responses into polished, customized documents, but it adds a few moving parts to the process. To make the process as simple and successful for you as possible, pay attention to the following tips and plan limitations.
- Finalize question titles before mapping: Form Publisher markers must match the corresponding Google Forms question titles exactly, including capitalization and spaces. If you change a question title after setting up your template, the marker may no longer map correctly. Finalize your question wording before building the template to avoid having to update your markers.
- Test every output before publishing: Submit at least one test response and open the generated document or PDF before sending your form to respondents. Check that every marker has been replaced, the formatting looks correct, and any images or uploaded files appear as expected. A quick test can catch mapping and formatting problems before they affect real submissions.
- Monitor the free-plan limit: Form Publisher’s free plan allows 20 generated documents per month. If you expect more than 20 submissions to produce documents, you’ll need to account for that limit when choosing a plan. Form Publisher offers paid plans with unlimited document generation.
- Review the requested permissions: Form Publisher requires Google account permissions to access and manage relevant Forms and Drive files, send email notifications on your behalf, and generate documents when you’re not present. Review those permissions before authorizing the add-on, particularly if your forms collect sensitive information.
- Keep email attachment sizes in mind: Because of Google’s email limits, Form Publisher cannot send email notifications with attachments larger than 25 MB.
- Understand approval behavior: Form Publisher can add an approval workflow. If multiple approvers are assigned, the first person to approve or reject the document completes the approval process; it is not a sequential, everyone-must-approve workflow.
Taking a little time to plan your form, test the output, and understand the plan limitations can help ensure the workflow runs as expected.
What Form Publisher still requires
Users must maintain a Google Form, a separate document template, exact-match markers, add-on settings, Google Drive folders, and notification rules. The feature remains dependent on a third-party add-on rather than being part of Google Forms.
Why you should create PDFs natively with Jotform instead
Form Publisher is a capable option for organizations that want to stay inside Google Workspace. However, it adds another product and configuration layer to your workflow. You need a Google Form, a separate document template, matching markers, and Form Publisher settings to connect everything.
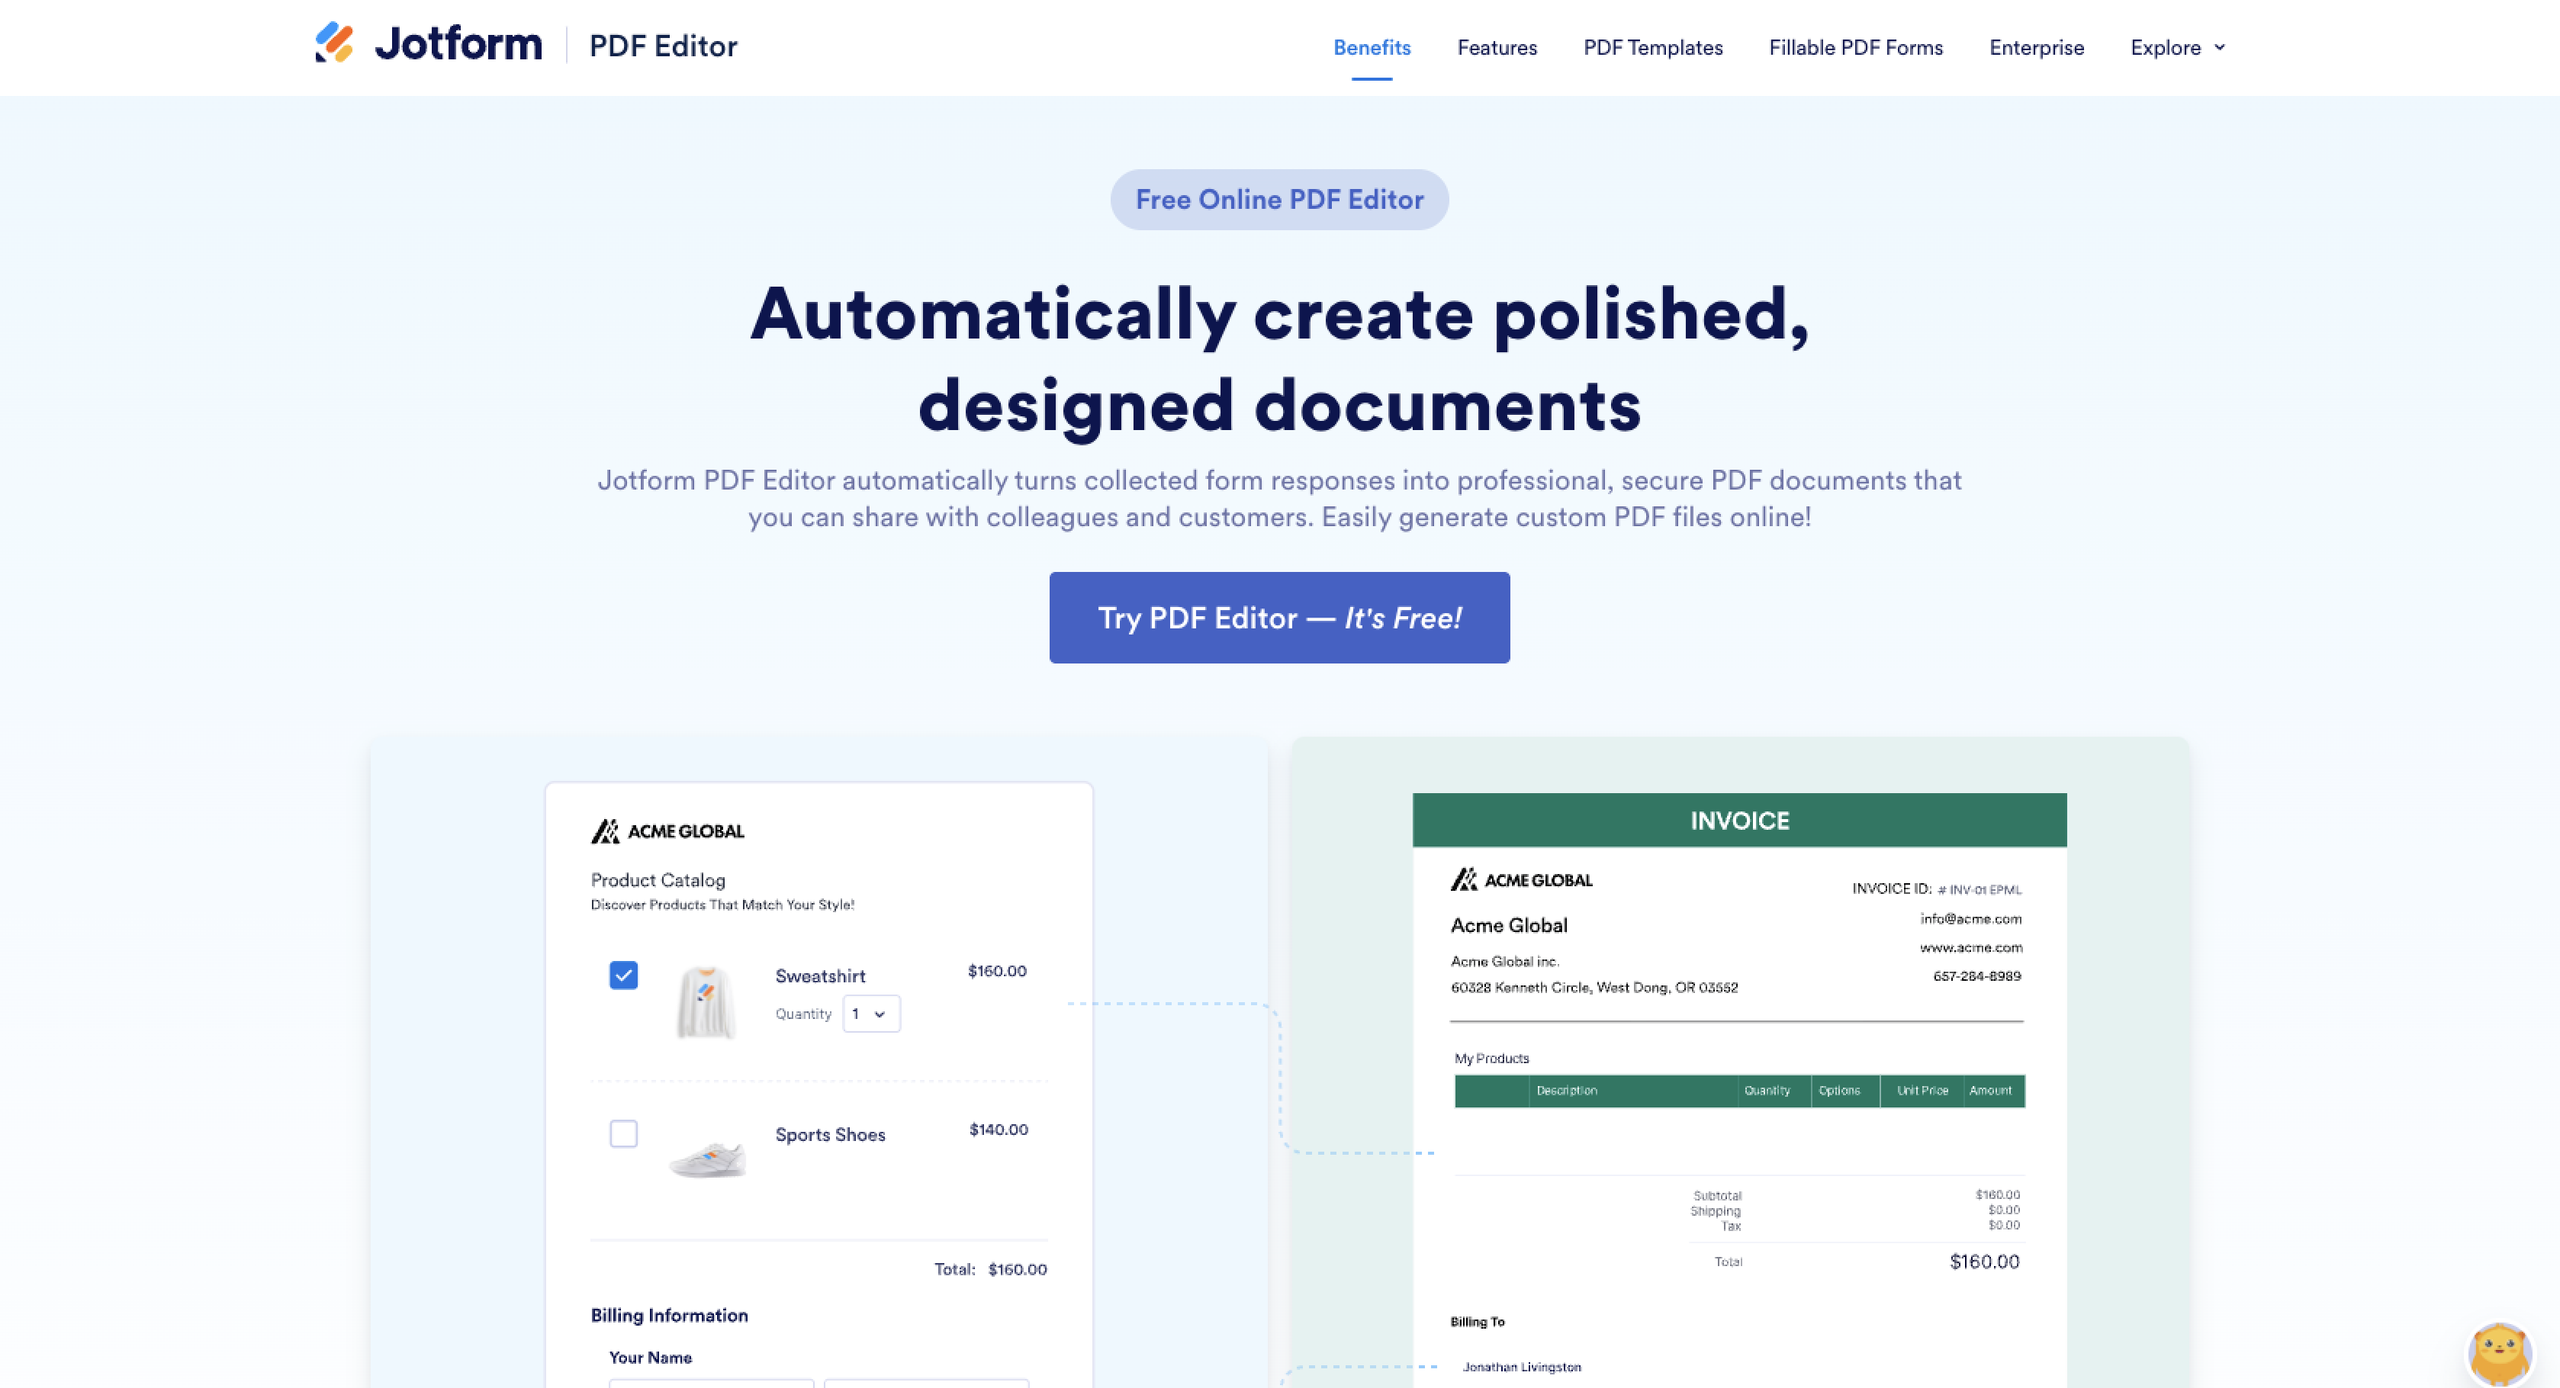
Jotform takes a different approach. Its native Jotform PDF Editor can automatically turn form responses into customized PDF documents within the same platform where you create and manage your forms. Jotform AI helps you build robust forms quickly, or you can choose from 20,000-plus free form templates. You can then customize the PDF’s layout and content, select a template, and use submitted data to create polished documents without maintaining a separate Google Docs template.
Key Jotform features include
- Native PDF generation: Automatically create a PDF from submitted form data.
- Conditional PDF delivery: Create PDF documents based on form conditions and deliver the appropriate document through email workflows.
- Integrated workflows: Use Jotform Workflows to automate actions based on form responses, including conditional branches, approvals, and PDF generation.
- Flexible approval routing: For more targeted workflows, route submissions through individual or team approval steps and define what happens based on the outcome.
- Native e-signatures: Use Jotform Sign to collect signatures as part of document and workflow processes.
- One connected system: Forms, PDF documents, workflows, approvals, and signatures can work together within the Jotform platform rather than requiring a separate document-generation add-on.
Jotform’s PDF tools can also attach generated PDFs to email notifications, send them through integrations, or make them available on a form’s “Thank you” page. Jotform’s tools make working with forms simpler and quicker. Jotform Smart PDF Forms can turn your form PDF into an HTML web form; workarounds can convert a PDF to a Google Form, but they’re not as direct. (Learn how to create or edit a PDF submission report with our guide.) Jotform Workflows adds approval routing and conditional actions, while Jotform Sign supports electronic signatures and ordered signing when multiple people need to endorse a document.
The bottom line
Form Publisher can be a practical way to generate customized PDFs from Google Forms, particularly for organizations that already rely heavily on Google Workspace. However, the process requires maintaining a separate template, matching markers, add-on settings, and related workflows.
If you want a simpler way to create PDFs from form submissions, Jotform brings form creation, PDF generation, workflows, approvals, and e-signatures together in one platform. Instead of connecting multiple pieces, you can manage the form and the documents it produces in the same system. You can also migrate Google Forms to Jotform in seconds.

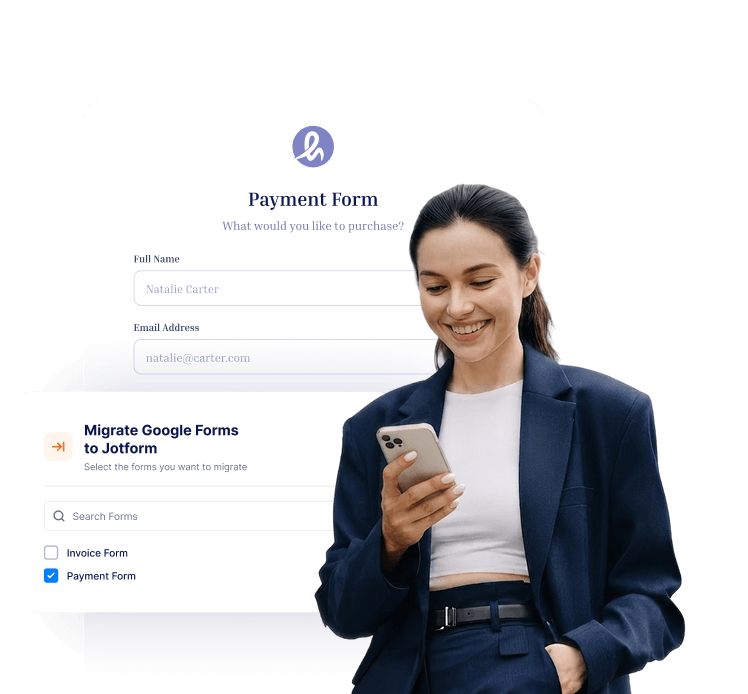
Ready to simplify your form-to-PDF workflow? Migrate your Google Forms to Jotform today.
This article is for educators, HR and operations teams, nonprofit administrators, and small business owners who already collect information with Google Forms and want to turn each submission into a customized PDF, certificate, invoice, request, approval record, or other document.























































































Send Comment: