
Microsoft Forms is a popular survey and data collection tool, especially among teams that work in Microsoft 365.
Form data can be sensitive, whether it includes employee feedback, internal survey results, or client information. If you want to restrict access to form responses in Microsoft Forms, read on to learn what your options are.
Can you restrict access to form responses in Microsoft Forms?
The short answer is that Microsoft Forms doesn’t offer built-in access controls for response data in group-owned forms. If a form is created within a Microsoft 365 group or Teams channel, all group members by default can view the responses. You can’t limit access to only some members; when a form moves to a group, everyone in the group becomes an owner.
That means who can see Microsoft Forms responses depends mostly on where your form lives. If you’ve been hoping to make Microsoft Forms restrict response access to a handful of people, there’s no simple way to do that.
Microsoft Forms response permissions are limited, but you can get the job done with a few workarounds. Whether you’re an HR lead collecting employee feedback, an educator gathering student surveys, or an operations manager handling client details, one of these three options may fit the bill.
Workaround 1: Keep the form under My Forms to limit response visibility
When you create a form under My Forms, only you (as the form owner) can view responses by default. Forms in your own account stay private unless you share them.
This can help keep response data private. However, this option doesn’t apply to forms created within a Microsoft 365 Group or Teams channel, where group members can access the responses. It also changes if you share the form to collaborate, since co-authors can view the results too.
Workaround 2: Share a summary link
If you’ve created a form under My Forms and want to share a simple overview of your results, a summary link lets you do so without giving anyone edit rights.
To create one, open your form, select the Responses tab, click on the Three Dots icon at the top right corner, and choose Share a Summary Link.
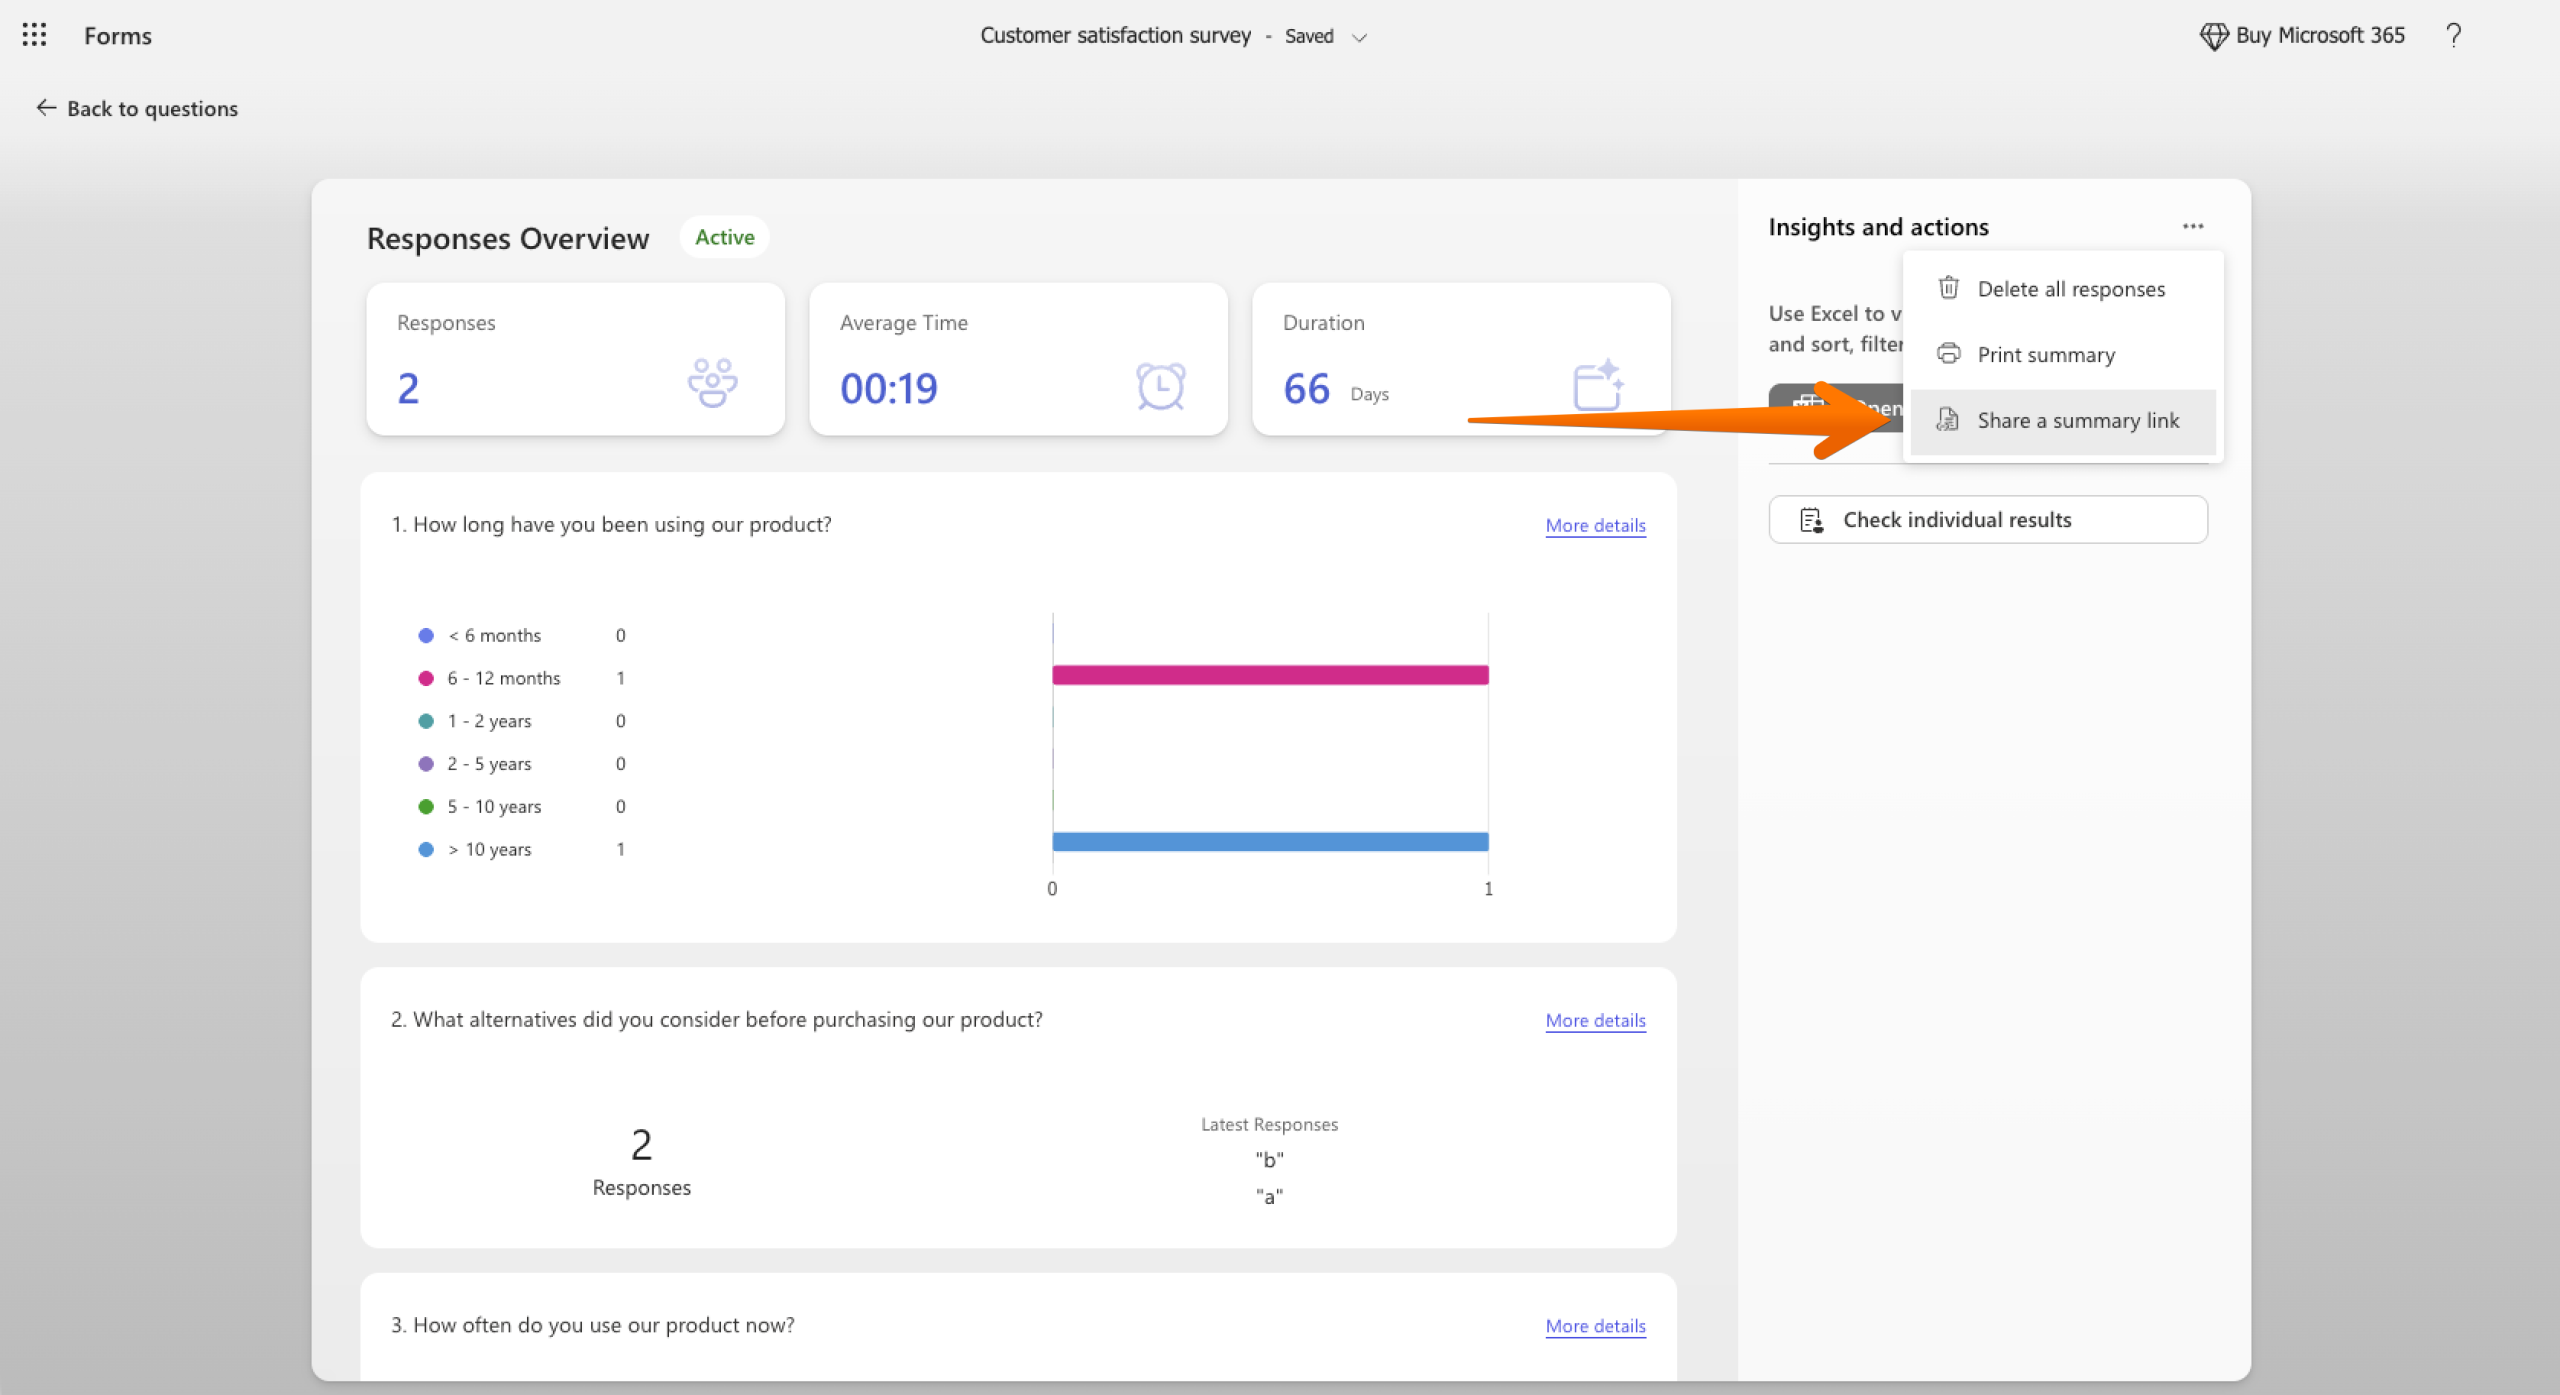
Think of it as a way to share the big picture, not individual submissions. Anyone who has the link can open the summary, so treat it like any other link you’d paste into an email or a Teams channel. If you want to shut a link off, go back to the same menu and remove it.
Workaround 3: Control access with Excel and SharePoint
You can also move your response data into a file where you have more control:
- On the Responses tab, select Open Results in Excel.
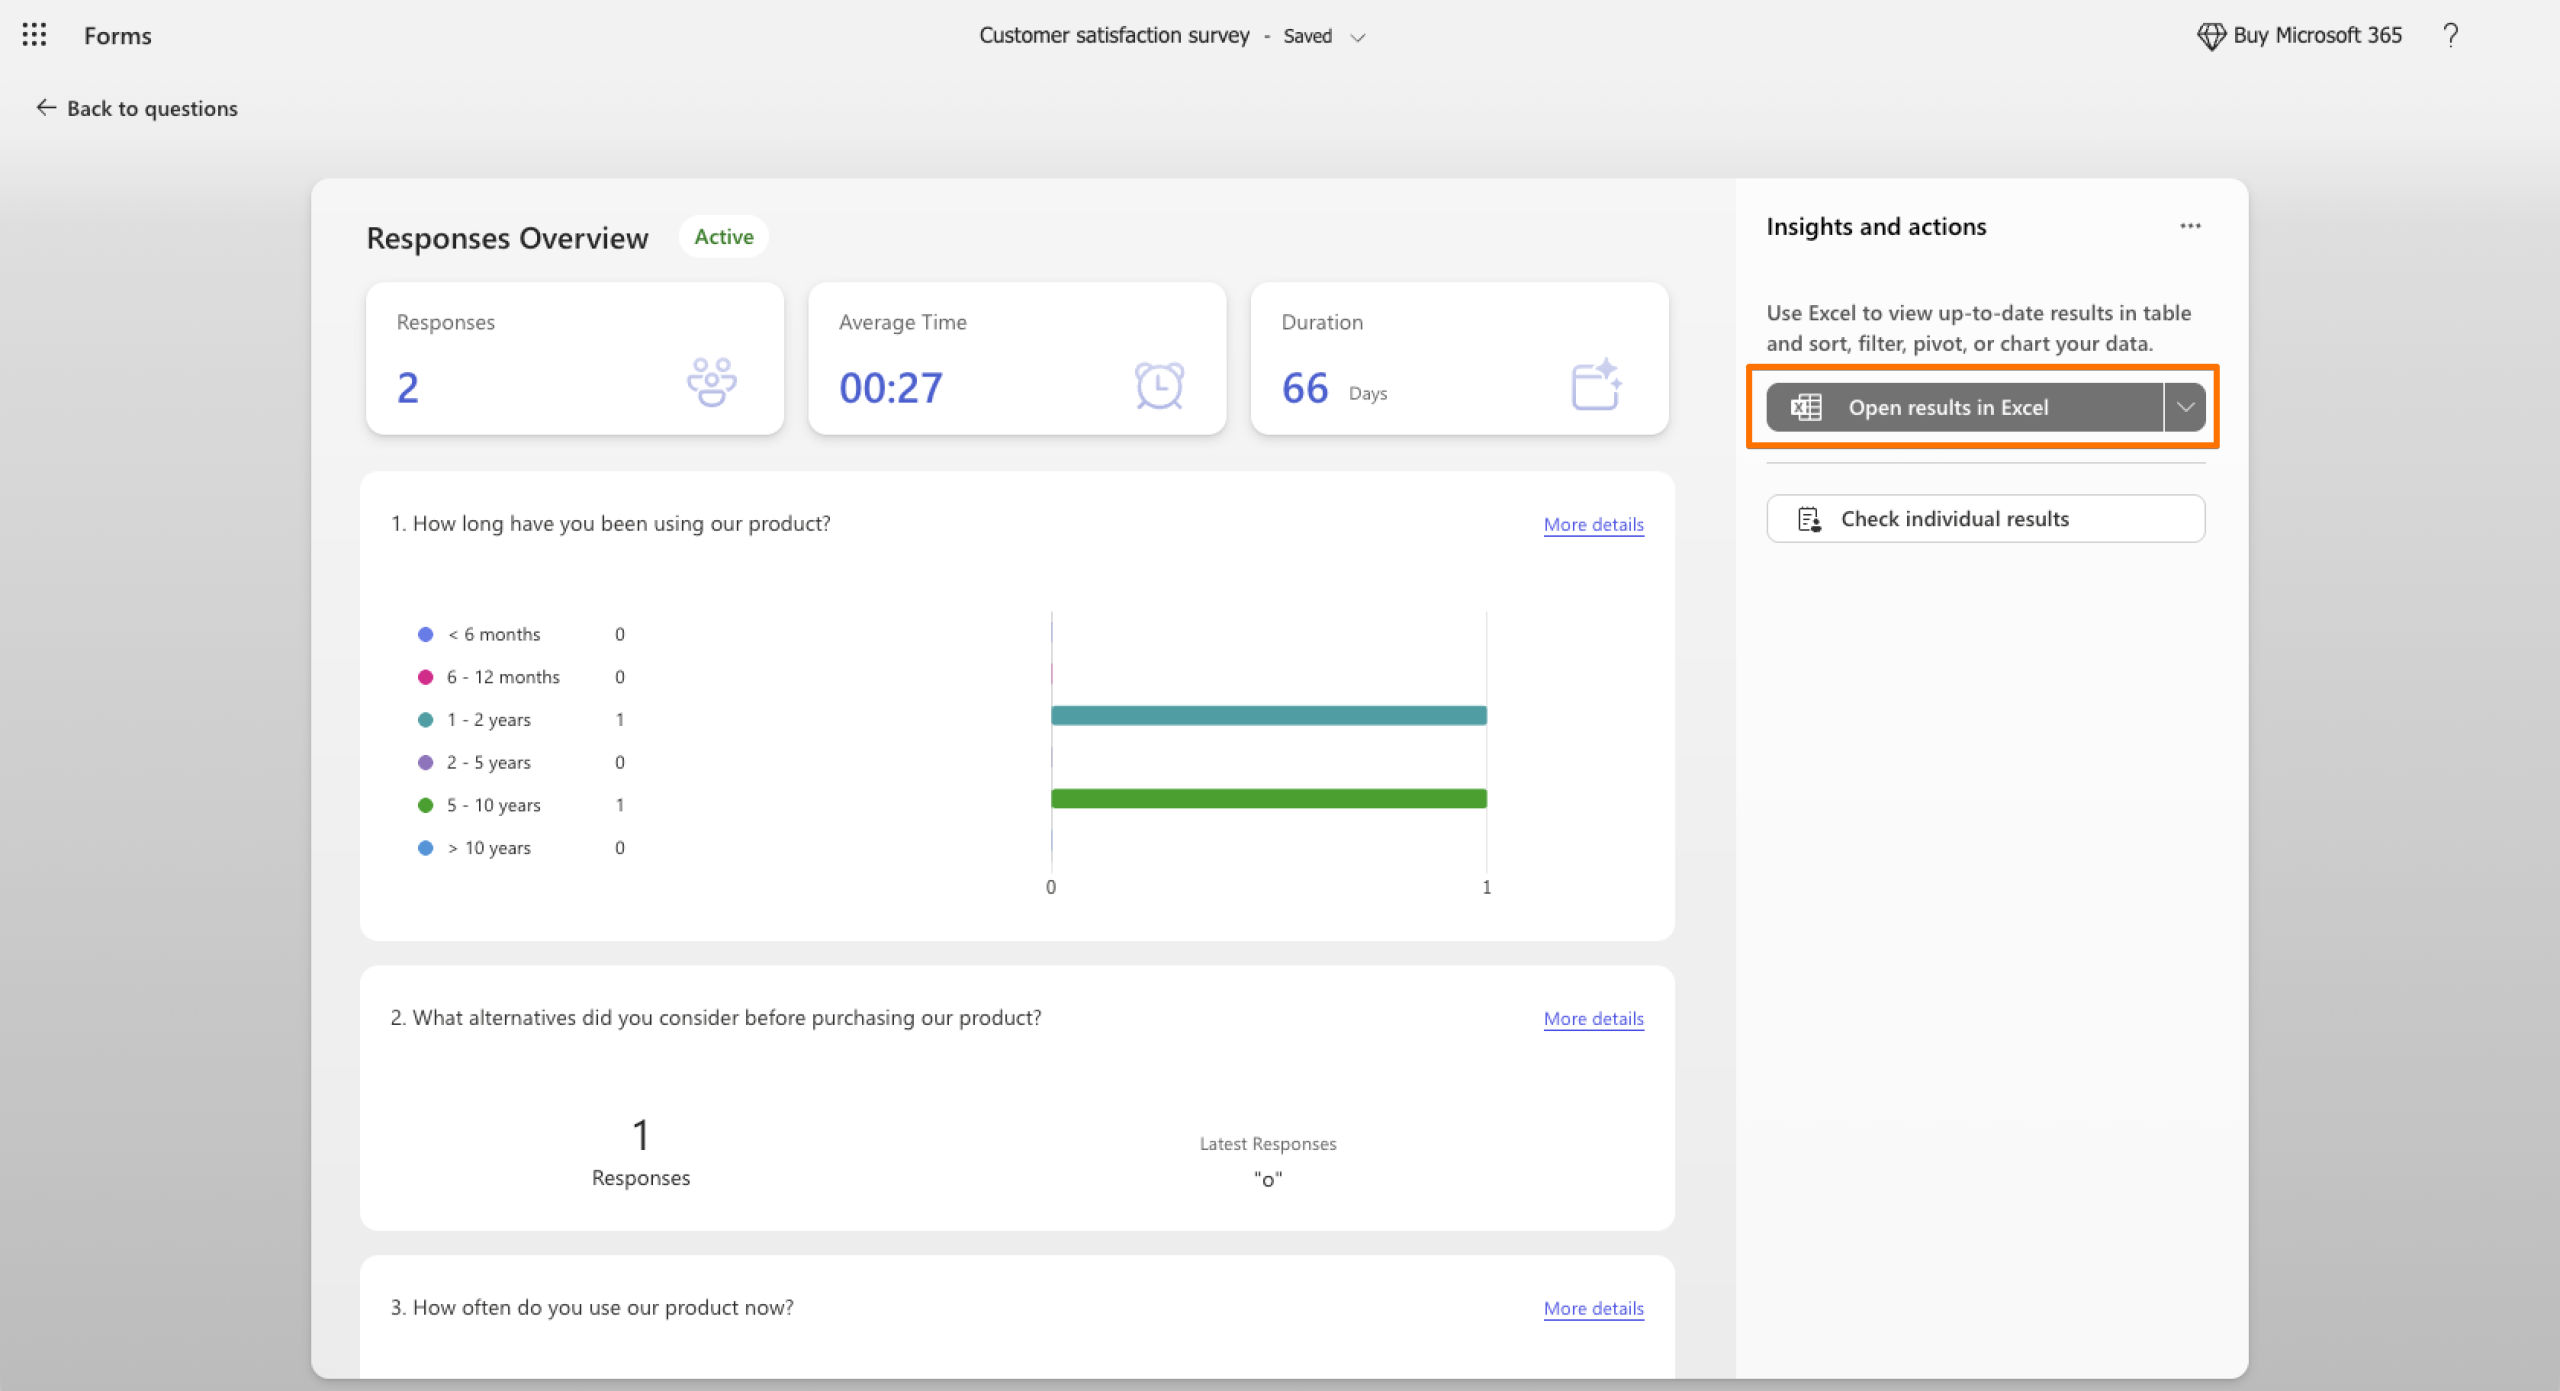
- Save the workbook in SharePoint. (Microsoft stores workbooks from group forms there automatically.)
- Use SharePoint permissions to choose who can view or edit the file.
Only the form owner and people with permission to edit the workbook can update the data. However, anyone with access to the form itself can still see responses, so this approach works best in conjunction with the first workaround.
While these workarounds can help, they add extra steps, and they don’t give you control over form response permissions inside Microsoft Forms. If you need a simpler way to manage who can view collected form data, Jotform offers more flexible options.
Control who can see form responses with a Microsoft Forms alternative
Jotform is a powerful Microsoft Forms alternative that lets you control who can see your form responses. Microsoft Forms features work well for quick polls and quizzes inside Microsoft 365, but when you’re comparing Jotform vs Microsoft Forms for sensitive data, Jotform gives you more to work with.
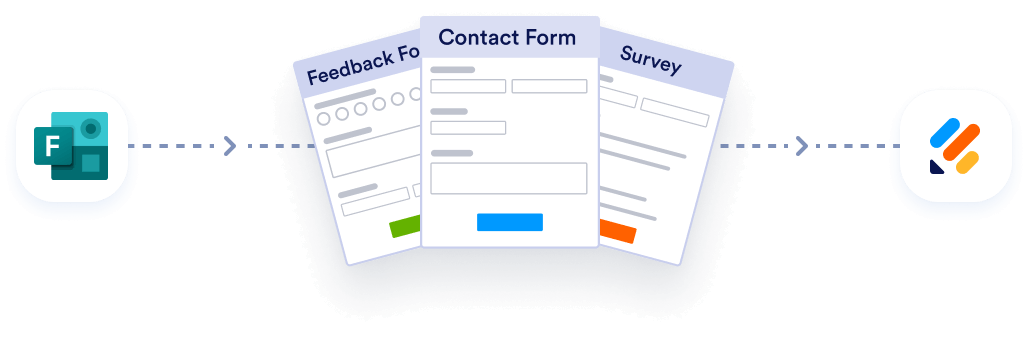
Migrate existing forms instantly
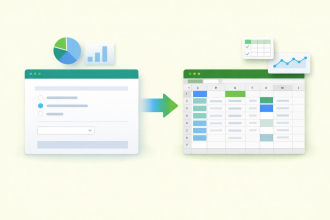
There’s no need to rebuild your online forms from scratch. Instead, migrate existing forms and submission data into your Jotform account in one click — so you can collect data without skipping a beat.
Your form can not be migrated.
Please ensure that your form URL is correct and that your form is set to “public” before attempting to migrate it again.
Here’s what sets Jotform apart:
- Flexible response-sharing: With Jotform Tables, you can share your form responses with others and assign each person a Read Only, Commenter, or Collaborator role.
- Built-in security options: You can encrypt your forms to collect secure survey data, and Jotform offers optional HIPAA compliance features on its Gold and Enterprise plans.
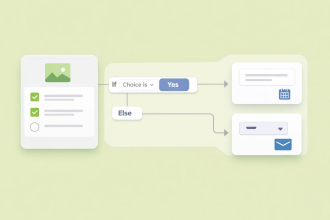
- No-code form building: The drag-and-drop builder, conditional logic, and 20,000-plus free templates let you build the form you need without writing any code.
- Connected tools: More than 150 integrations enable you to send responses to apps such as Google Sheets, Slack, Airtable, Microsoft Excel, and Microsoft Teams.
How to restrict access to form responses with Jotform
In Jotform Tables, your responses are kept private by default, so it’s up to you to specify who can access them. In other words, to restrict access to form responses with Jotform, you don’t have to do anything.
You can share results in just a few steps.
To share via link:
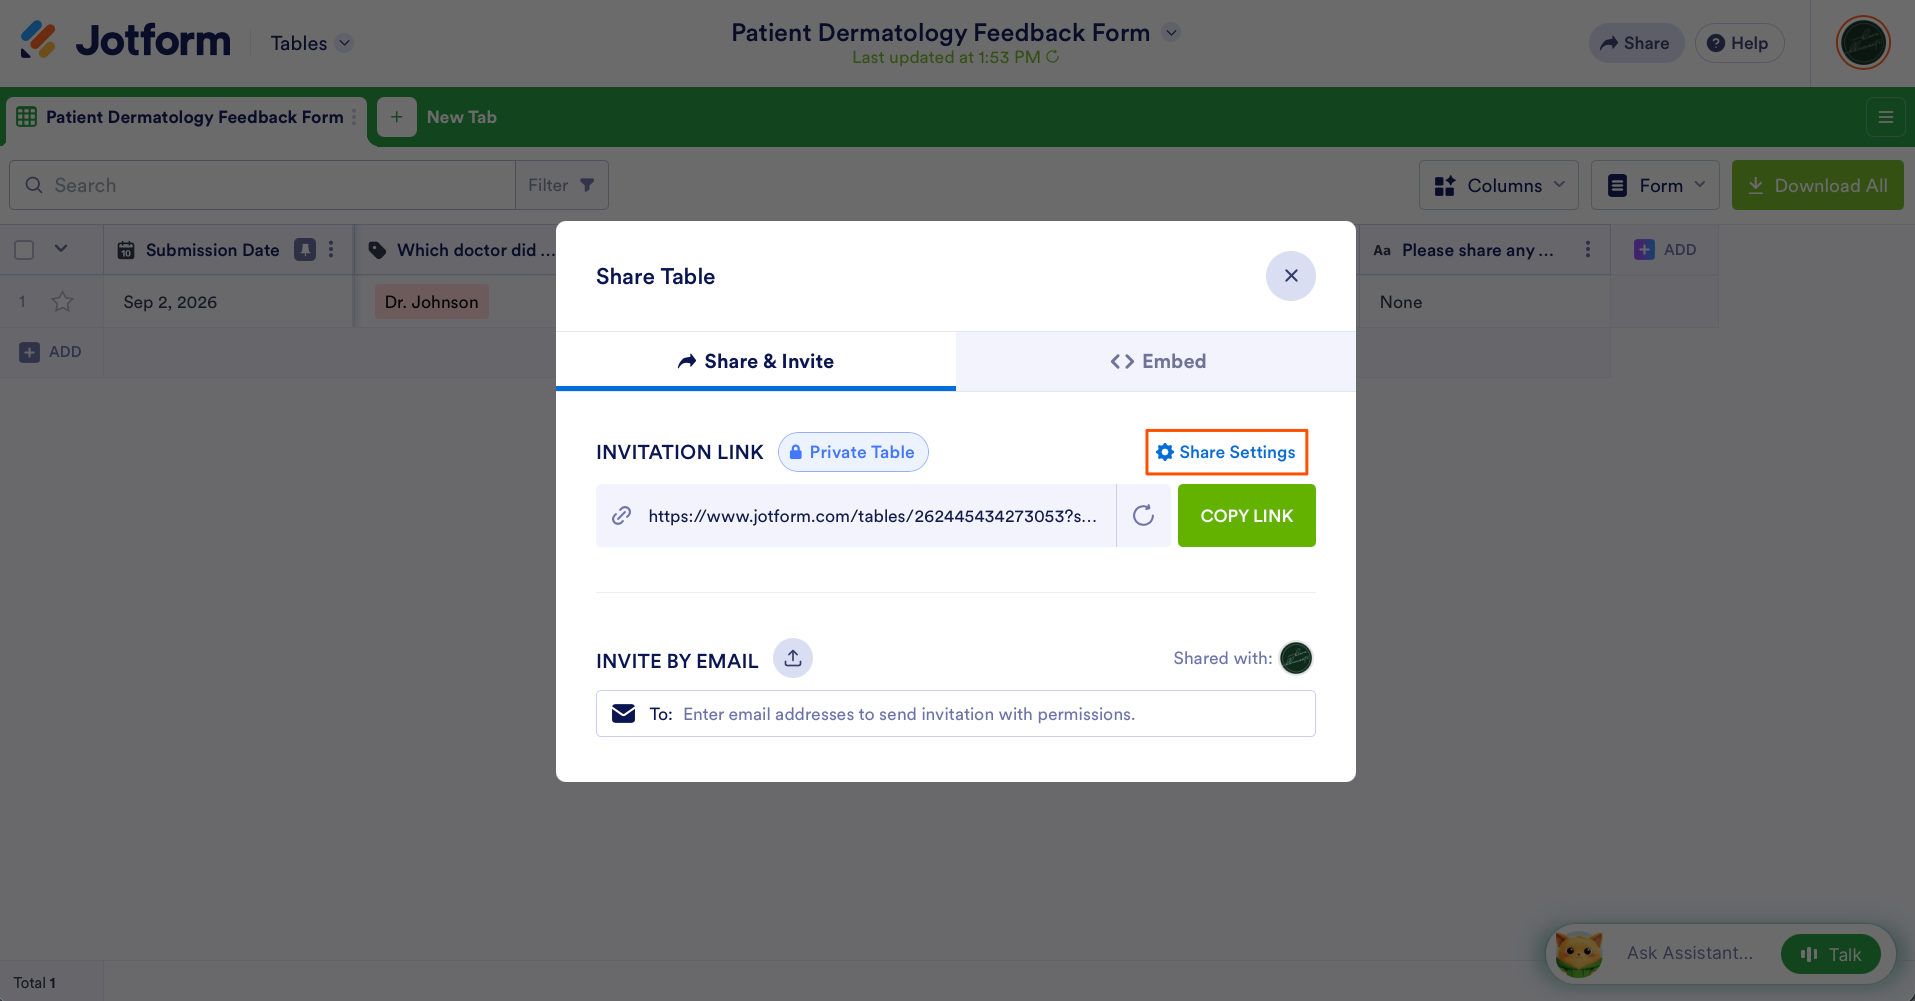
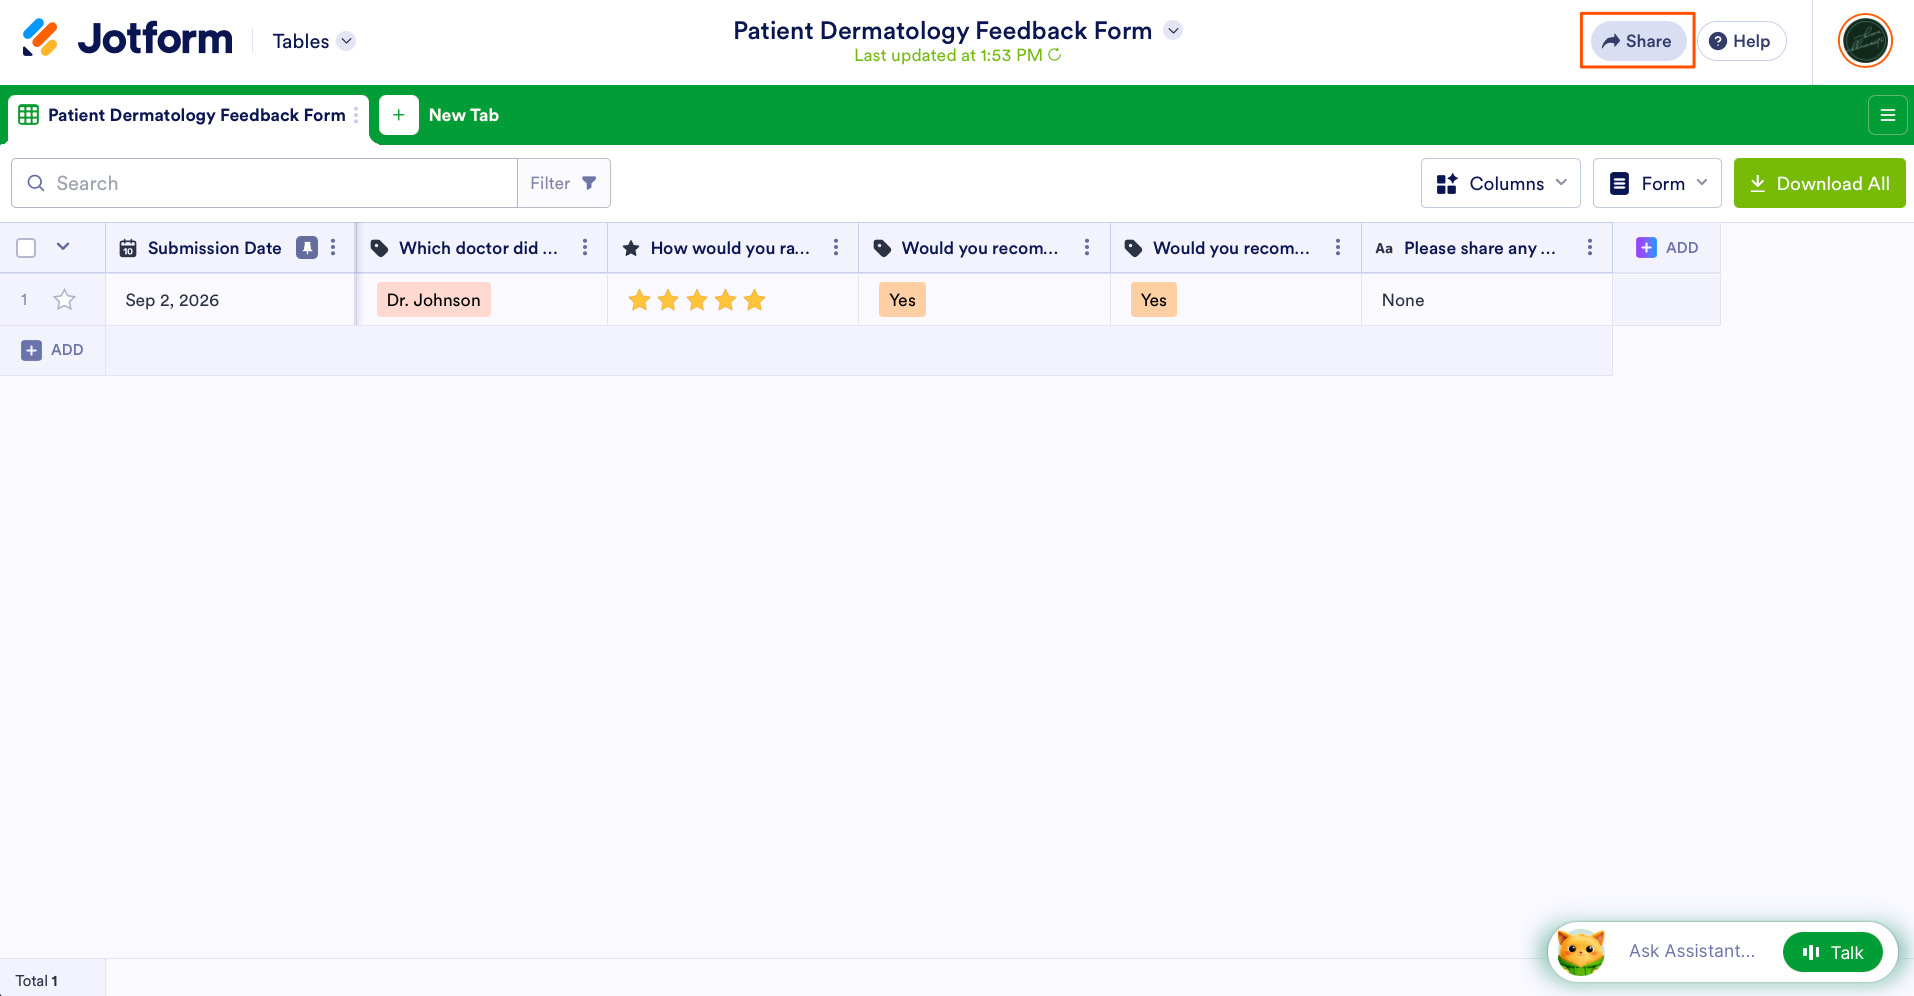
Open your form’s responses in Jotform Tables and click Share in the top-right corner.
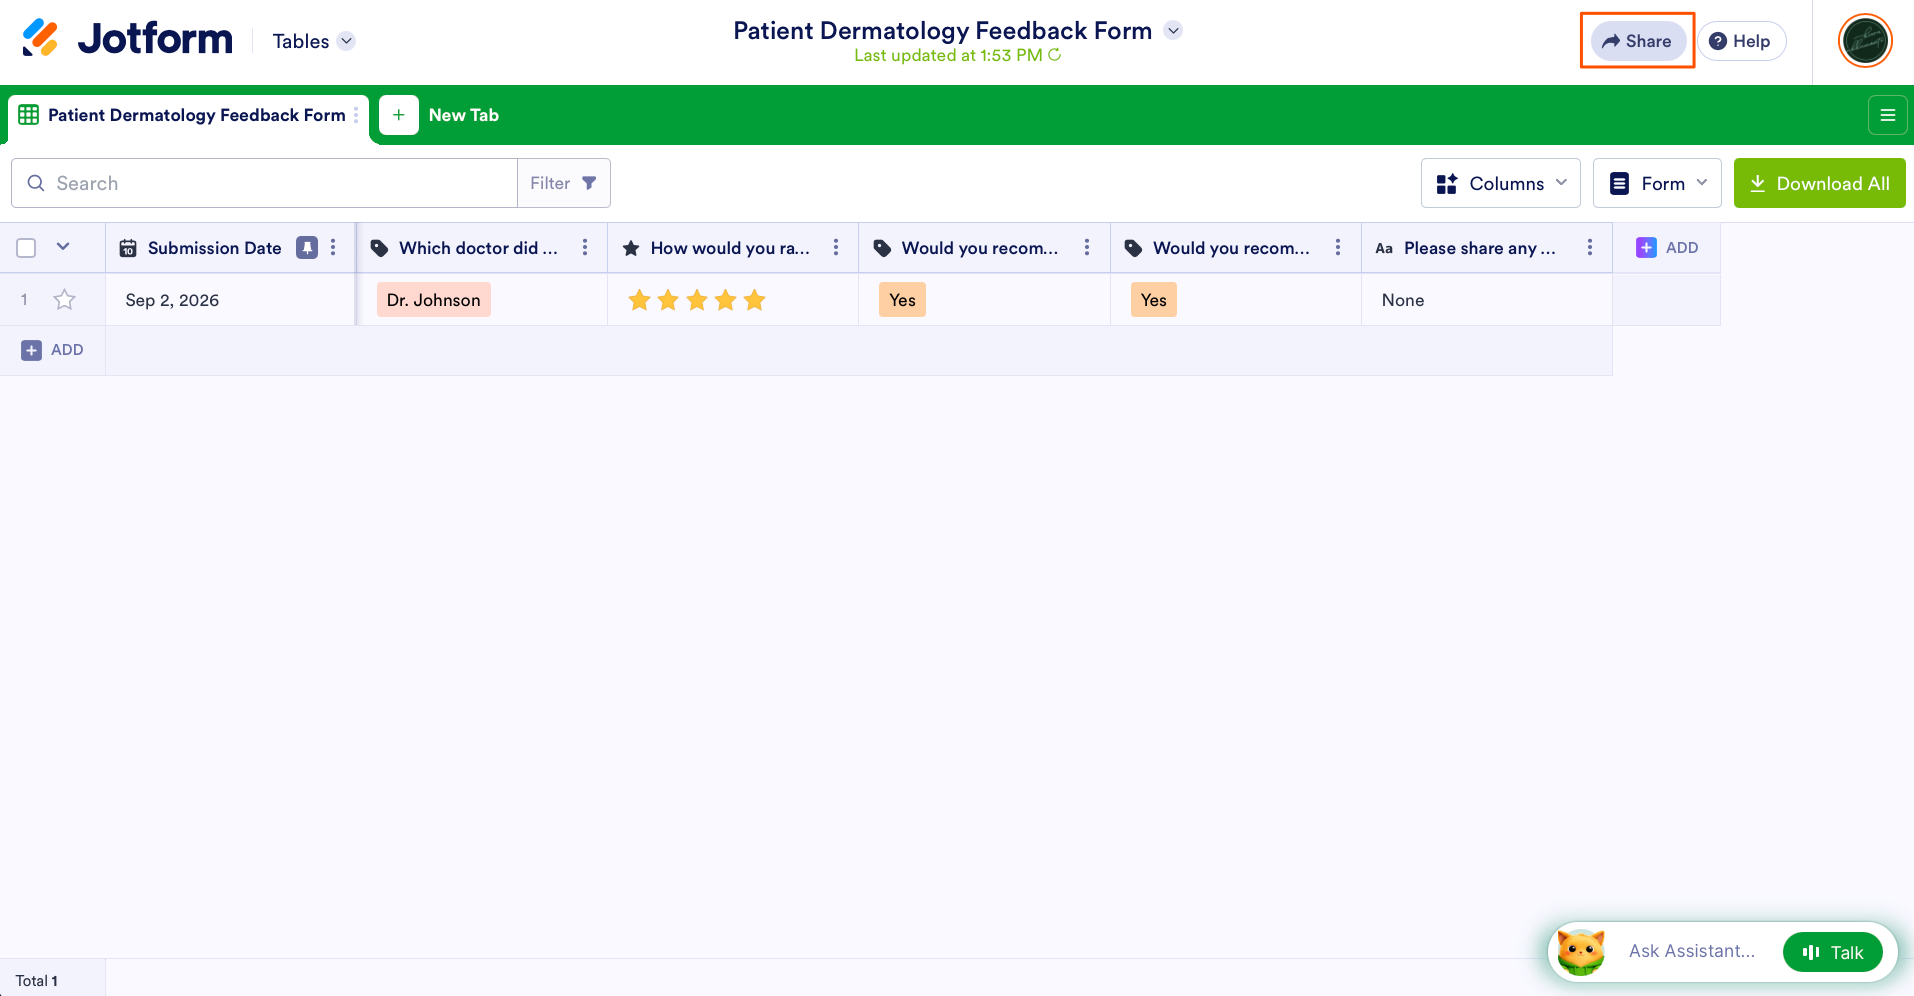
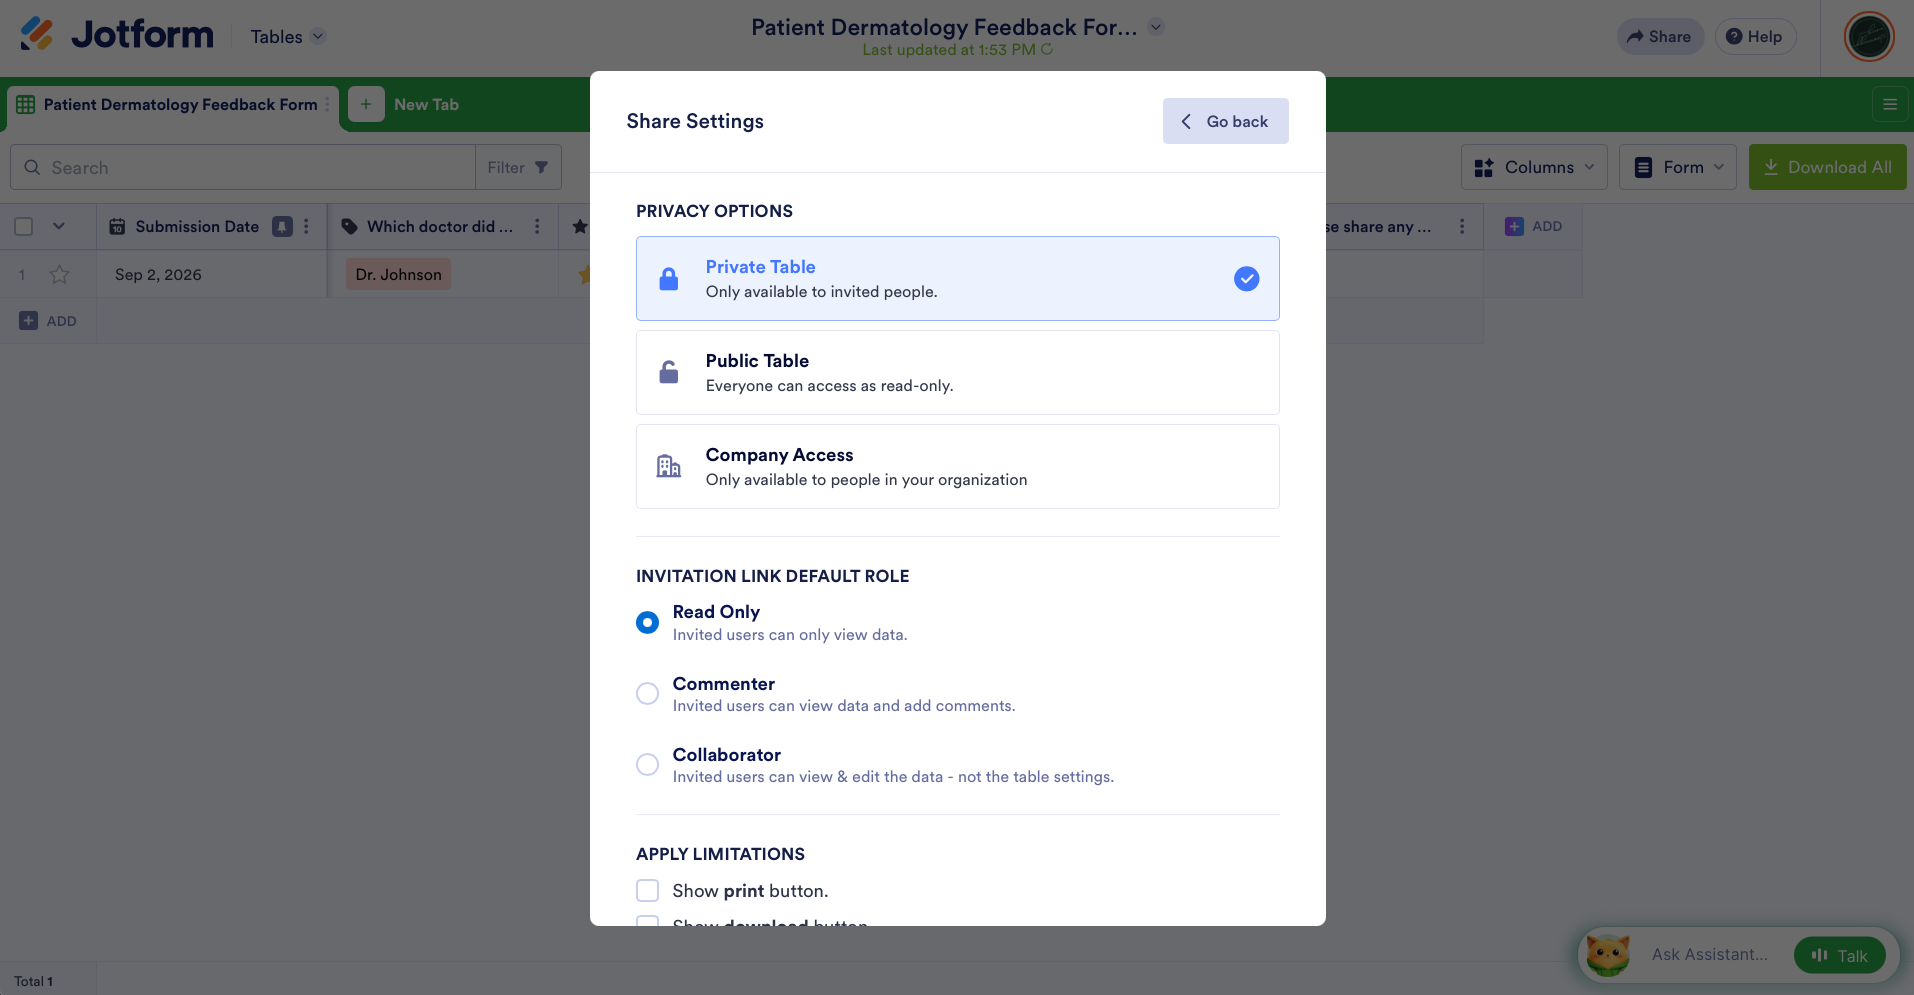
Click Share Settings and check that Privacy Options is set to Private Table, which means only people you invite can see your responses. (Choose Company Access if you want everyone registered under your organization’s domain name to have access.)
Under Privacy Options, select an Invitation Link Default Role: Read Only, Commenter, or Collaborator. Read Only allows people to view your data, Commenter lets someone leave comments, and Collaborator means people can view and edit.
You can also opt to limit printing and downloading responses requesting access, and set an expiration date for your link.
When you’re happy with the settings, click Go Back in the top right. From there, you can copy the link and share with anyone you want.
To share via email:
Open your form’s responses in Jotform Tables and click Share in the top-right corner.
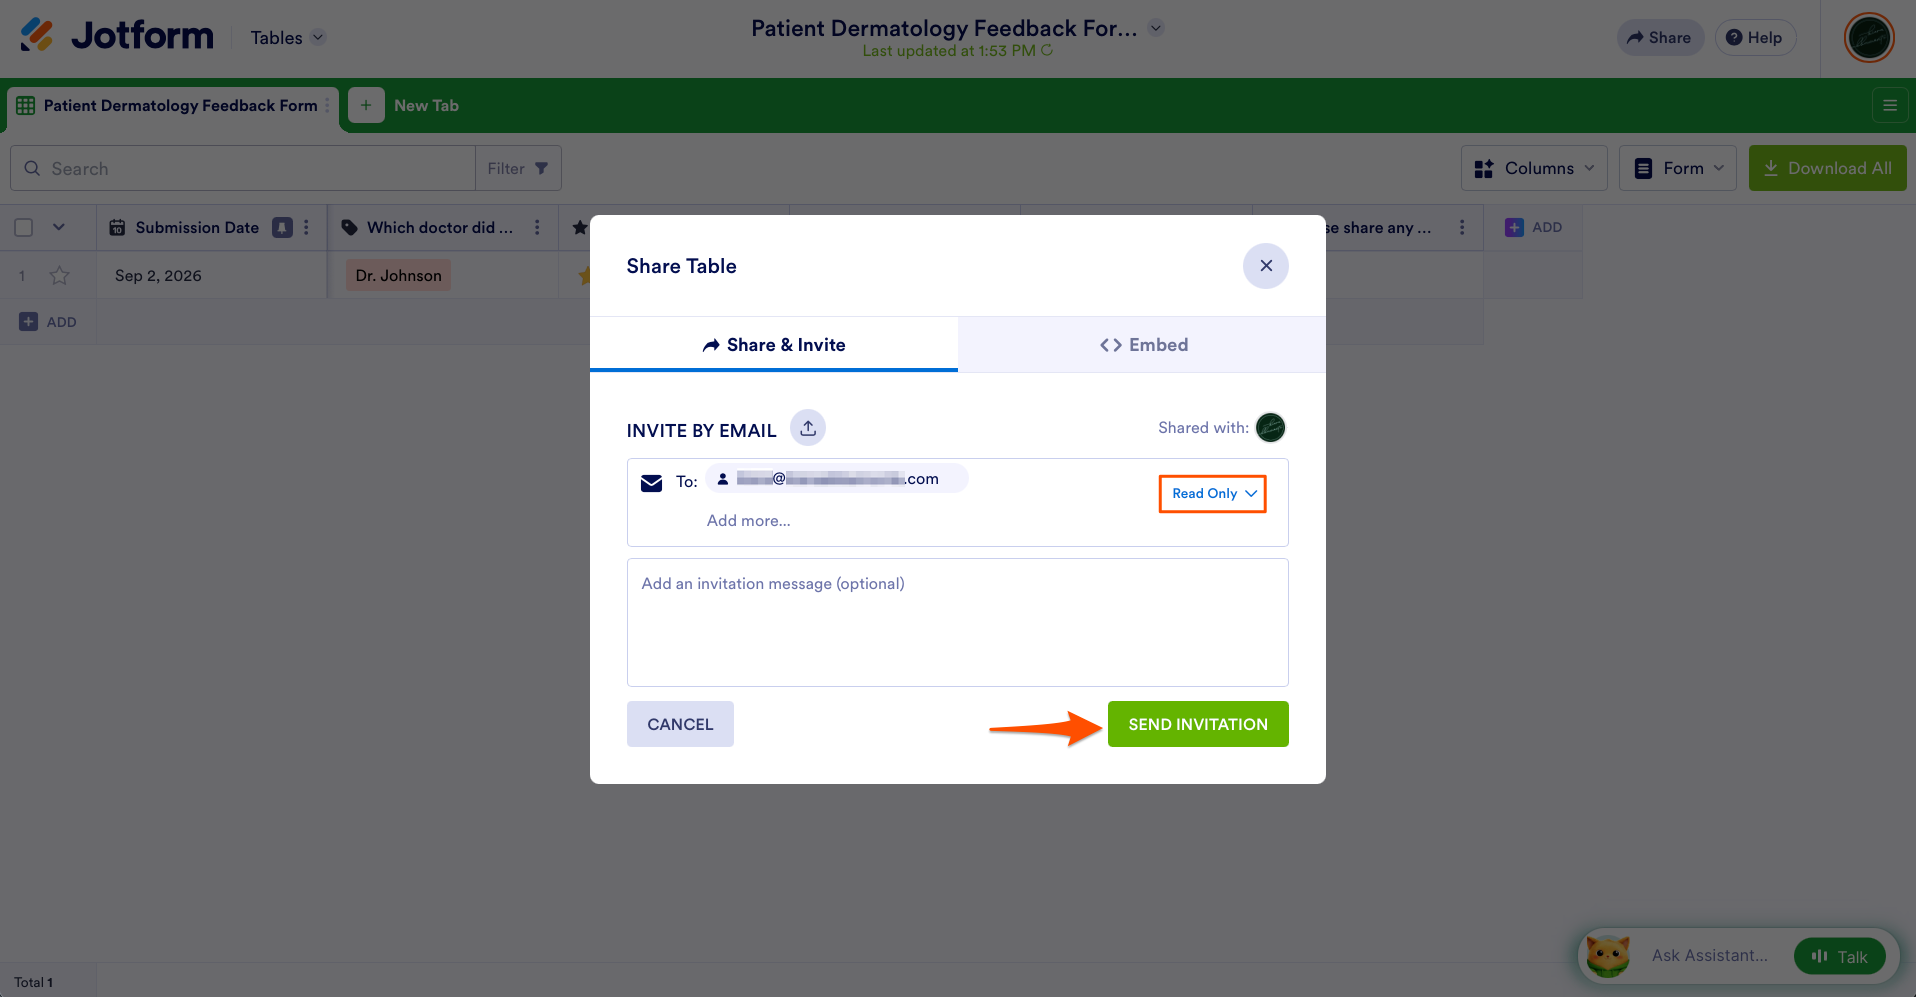
Under Invite By Email, add email addresses and select the role you want them to have by clicking Read Only and choosing from the dropdown menu (Read Only, Commenter, or Collaborator). Then click Send Invitation.
One thing to keep in mind: Anyone you invite will need to have a Jotform account, and you’ll use whichever email address is tied to it. If someone without access opens your link, they’ll see a “Request access” screen, and you can decide whether to approve them.
Pro Tip
To remove someone later, open Share in the top-right corner of your table, and click Shared With to see the list of users who have access. Click the three dots next to the person you want to remove, and select Revoke User.
Manage your form permissions with ease
Microsoft Forms doesn’t let you restrict access to form responses without a workaround. As a Microsoft Forms alternative, Jotform lets you do that and gives you a lot more control over who can view response data.
Switching doesn’t mean rebuilding from scratch, though. You can migrate your forms from Microsoft Forms to Jotform in a few minutes.
Simply copy your Microsoft Form’s public URL, paste it into the Jotform migration tool, and click Migrate Your Forms to Jotform. Jotform does the hard work and lets you review your imported forms right away.
This article is for Microsoft Forms users, business owners, HR teams, educators, administrators, and operations teams that collect sensitive form data and need to manage who can view form responses.


































































Send Comment: