
3 steps to add a popup survey on your website
- Create your survey form
- Select your display option and copy the appropriate code
- Paste the code into your website
Need to collect feedback from your customers or website visitors? A popup survey may be a good solution for you.
A popup survey is a customer survey form that automatically appears on screen as a visitor or app user browses a website or uses a web app. Popup surveys are also called on-page surveys, on-site surveys, or survey widgets. If you implement them properly, popup surveys can help you collect valuable feedback from your website visitors or app users.
However, although most popup surveys are relatively unobtrusive, improperly designed ones can negatively affect user experience. Julien Gandelin, former digital marketing consultant and founder of Travailleur Autonome says that popups can frustrate users and “in 95 percent of the cases, they’re immediately closed as soon as they’re displayed.”
In this article, we’ll show you how to create and add a well-designed popup survey to your website that gets results — using Jotform.
How to create a popup survey in Jotform
Follow these steps to easily add a popup survey on your website to display in specific circumstances.
1. Create your survey form
First, sign up for free on Jotform or log in to your account to create a popup survey form. If you need inspiration, Jotform has a free survey maker tool as well as hundreds of survey templates you can choose from. You can select a template or design your form from scratch.
Once you’re happy with your form design, click Publish at the top of the Form Builder, then select Embed in the left column.
2. Select your display option and copy the appropriate code
Every popup needs a trigger to display it — that is, an action that triggers the popup. With Jotform, you can trigger the display of your popup form in two ways:
- On click: The popup appears when a user clicks on a link or button.
- Automatically: You can set the popup to appear automatically after a website visitor lands on a page on your site.
Displaying your form on click
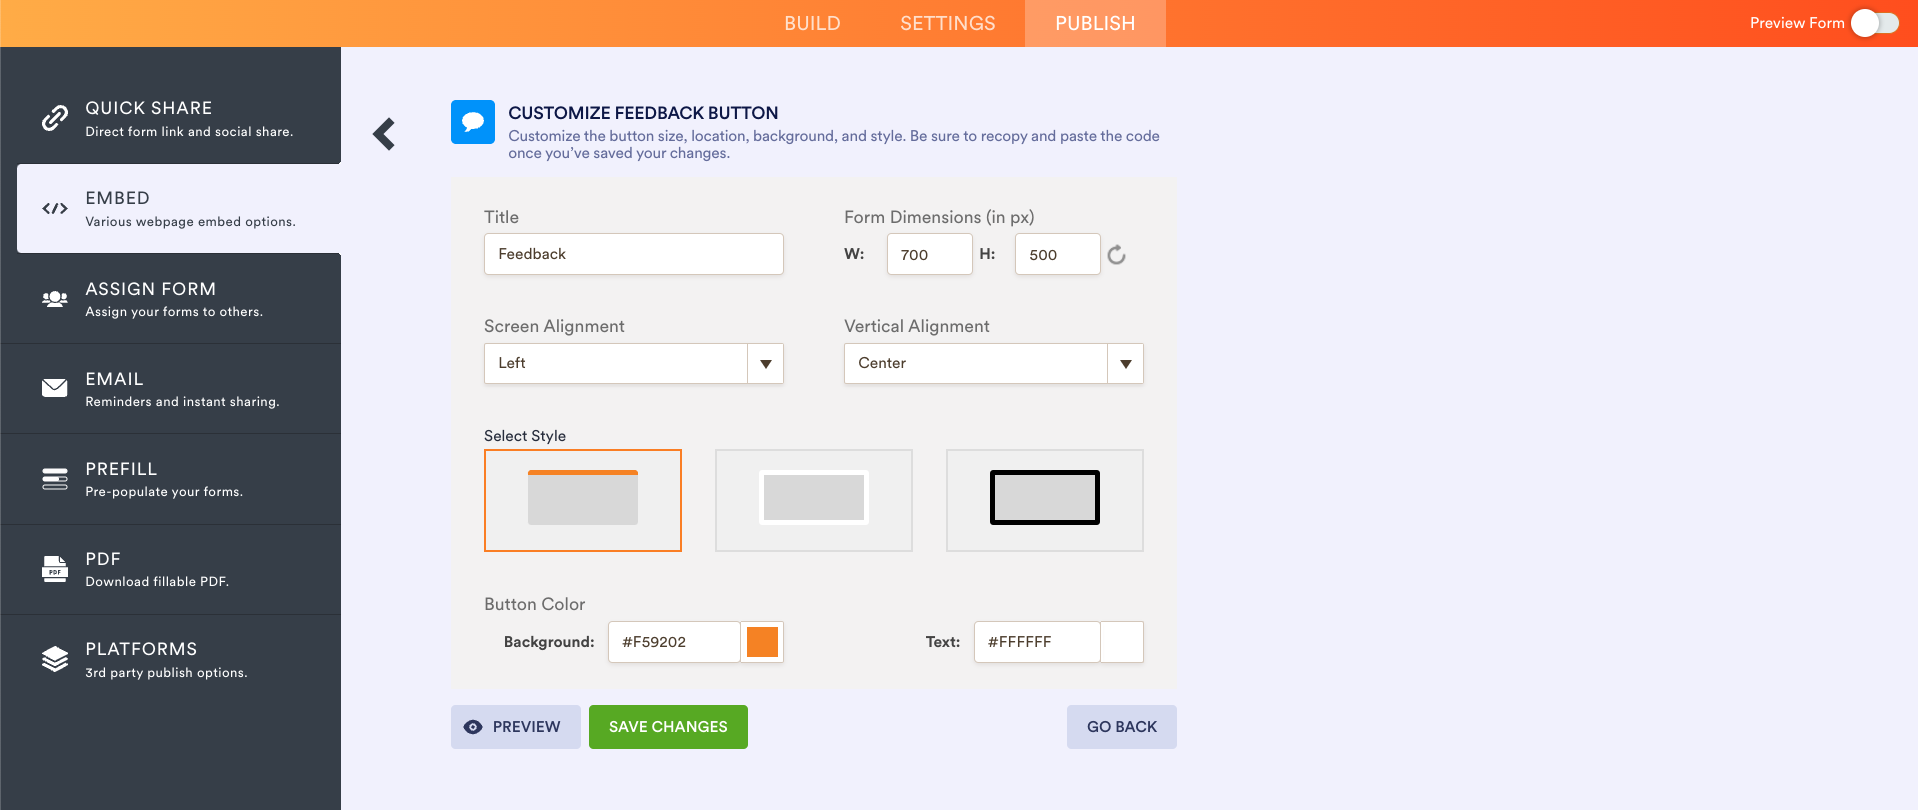
If you want to display the popup when the user clicks a link or button, choose Feedback button or Popup from the list of embed options and copy the code generated. If you select Feedback button, the code will show a button on the side of your website, as pictured below.

When users click on the Feedback button, your survey form will show up in a lightbox.

You can customize the title of the feedback button and the style of the popup.
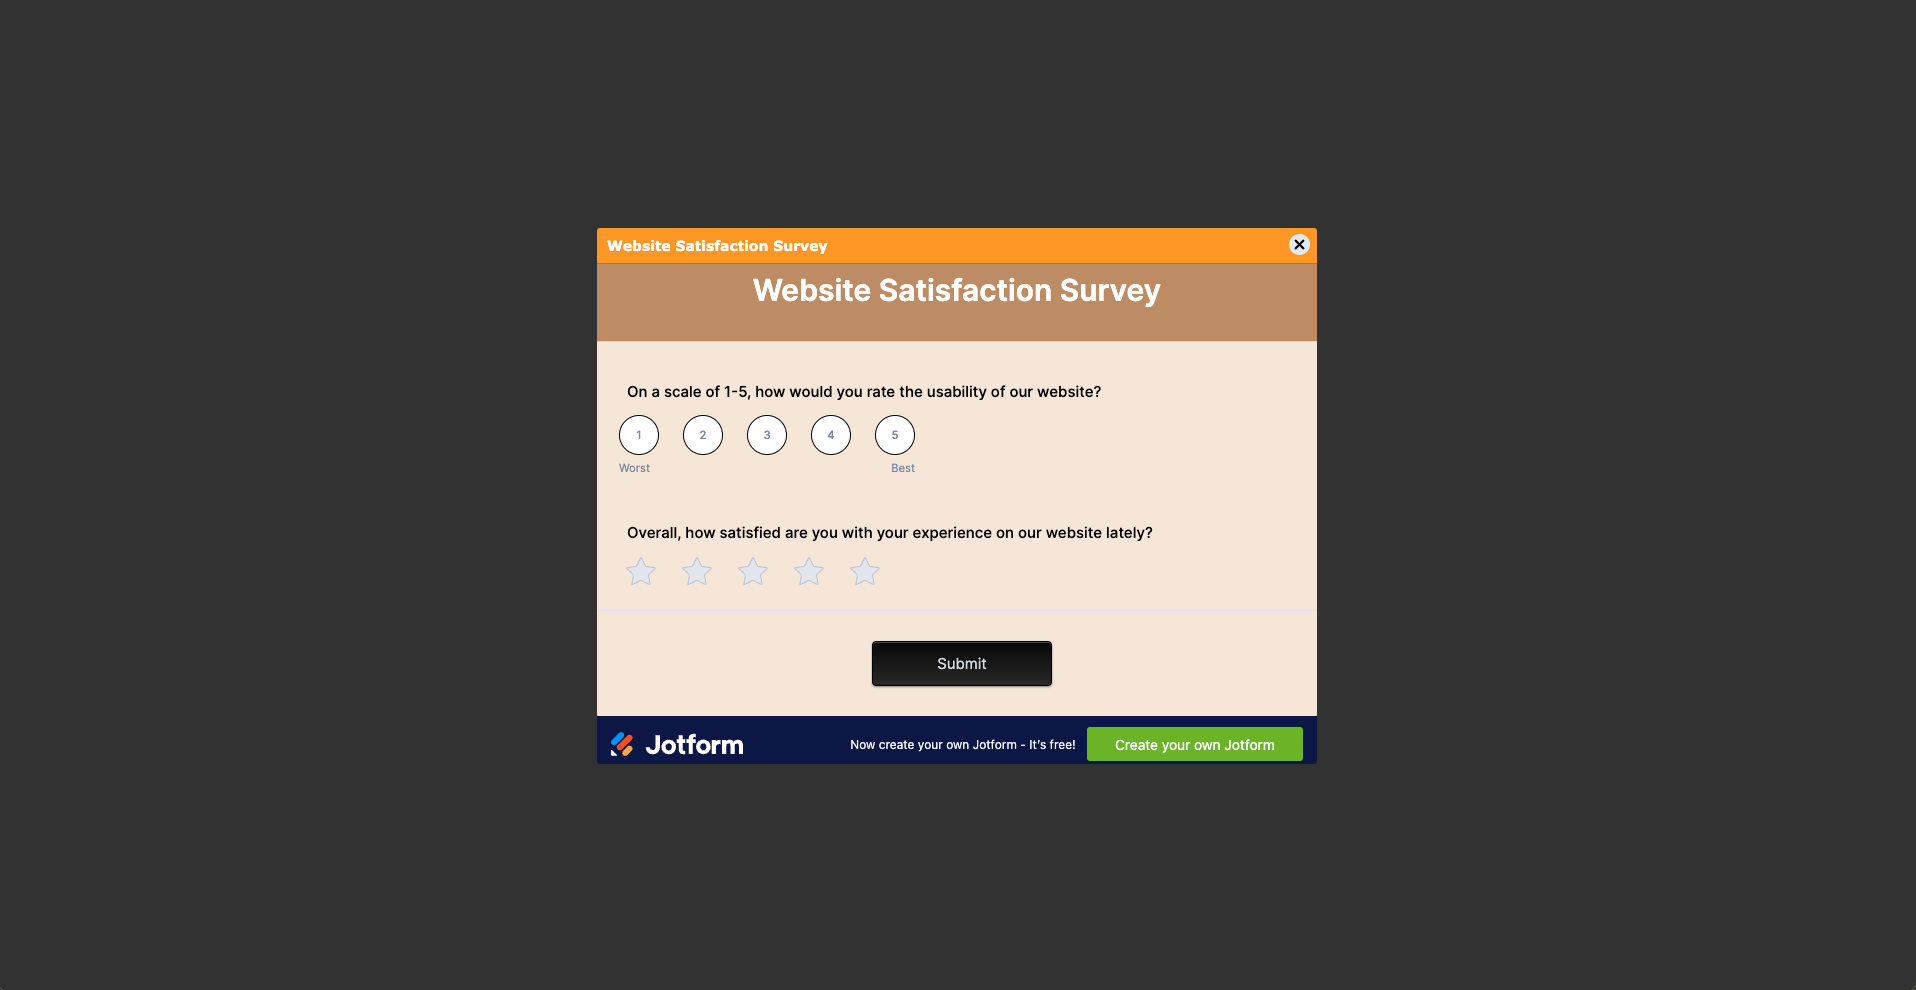
If you select Popup, your form will open up in a new window.

Notice that there’s no lightbox effect and the popup displays as a new browser window.
Displaying your form automatically
If you want to display the survey automatically on a certain page of your site, select Lightbox from the embed list options. Click Customize and check the box for Open on Page Load.

If you leave the settings as they are, your form will load immediately when the user opens the page. If you want to automatically delay the display of the form until after a specified period of time, check out this guide to see how to further customize the generated code.
3. Paste the code into your website
The final step is to paste the embed code into your website’s source code. If you’re using a link or button, you’ll need to replace the href attribute value for that link or button with the Jotform-generated code.
Every button or link on your website has an href attribute like this one:
<a href=”https://www.websitename.com”>link or button text</a>
The text enclosed in quotation marks is the href attribute value. To display your form as a popup, you’ll need to copy and paste the generated code between the quotation marks,
like this:
<a href=”paste your Jotform-generated code here”>link or button text</a>
See this guide for more ways to embed the code in WordPress, Squarespace, or other website builders.
How to create popup surveys: A few tips
Here are three tips to help you create well-designed popup surveys that are more likely to engage site visitors or app users.
1. Keep it simple
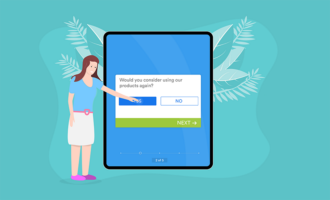
Respect your website visitors’ time by keeping popup surveys simple and easy to complete. Ideally, you should only use popup surveys to collect quick feedback. Ask only one or two questions.
In this example, the visitor only has to select one option in order to submit the form.
2. Display popups at the right time
How and when you display a popup survey matters. According to Gandelin, you should decide whether you want to display your popup survey the minute someone lands on your website, wait until a specified amount of time has elapsed, or wait until the visitor performs a specific action.
“The best strategy depends on what you’re trying to achieve,” Gandelin says. For example, if your form is a website feedback form, it would be pointless to have it load when the reader first opens a page on the site.
3. Make popups easy to leave
“If someone has no interest in your popup and can’t find an exit quickly, they’ll likely leave your site, never to return,” says Gandelin. He adds that making popups difficult to exit can not only drive away potential customers, but they can also damage your brand reputation over time.
If you’re automatically showing popups upon page load, Gandelin recommends displaying them on the first page that a visitor sees (except in the case of a website feedback form, when you want feedback on your whole site) — don’t use them on every page. “Once the user exits the window and moves to another page, they should be free to browse without being hindered by other windows.”
So, there you have it! Start creating popup survey forms with Jotform today.


Send Comment: