
Whether it’s at the DMV, during school registration, or at the doctor’s office, almost everyone has had to fill out a stack of paperwork with all the usual information — like name, address, and phone number.
The thing is, you’ll often find yourself filling out that basic information over and over again as you go through the forms. Why can’t they just use the address from one form when doing data entry for the other forms? It’s a throwback to a darker, pre-digital age.
Fortunately, filling out forms online can help you bypass a lot of that headache because the data is available digitally to the departments that need it.
So if you’re creating a form, why not go a step further and make things as simple as possible? Here’s how to do just that with Google Forms.

Looking for the best alternative to Google Forms?
Jotform’s full-featured form-building solution is mobile-friendly and has the most integrations in the industry. Use it to collect payments, automate workflows, gather leads, and more.
Eliminating TL;DR (too long, didn’t read)
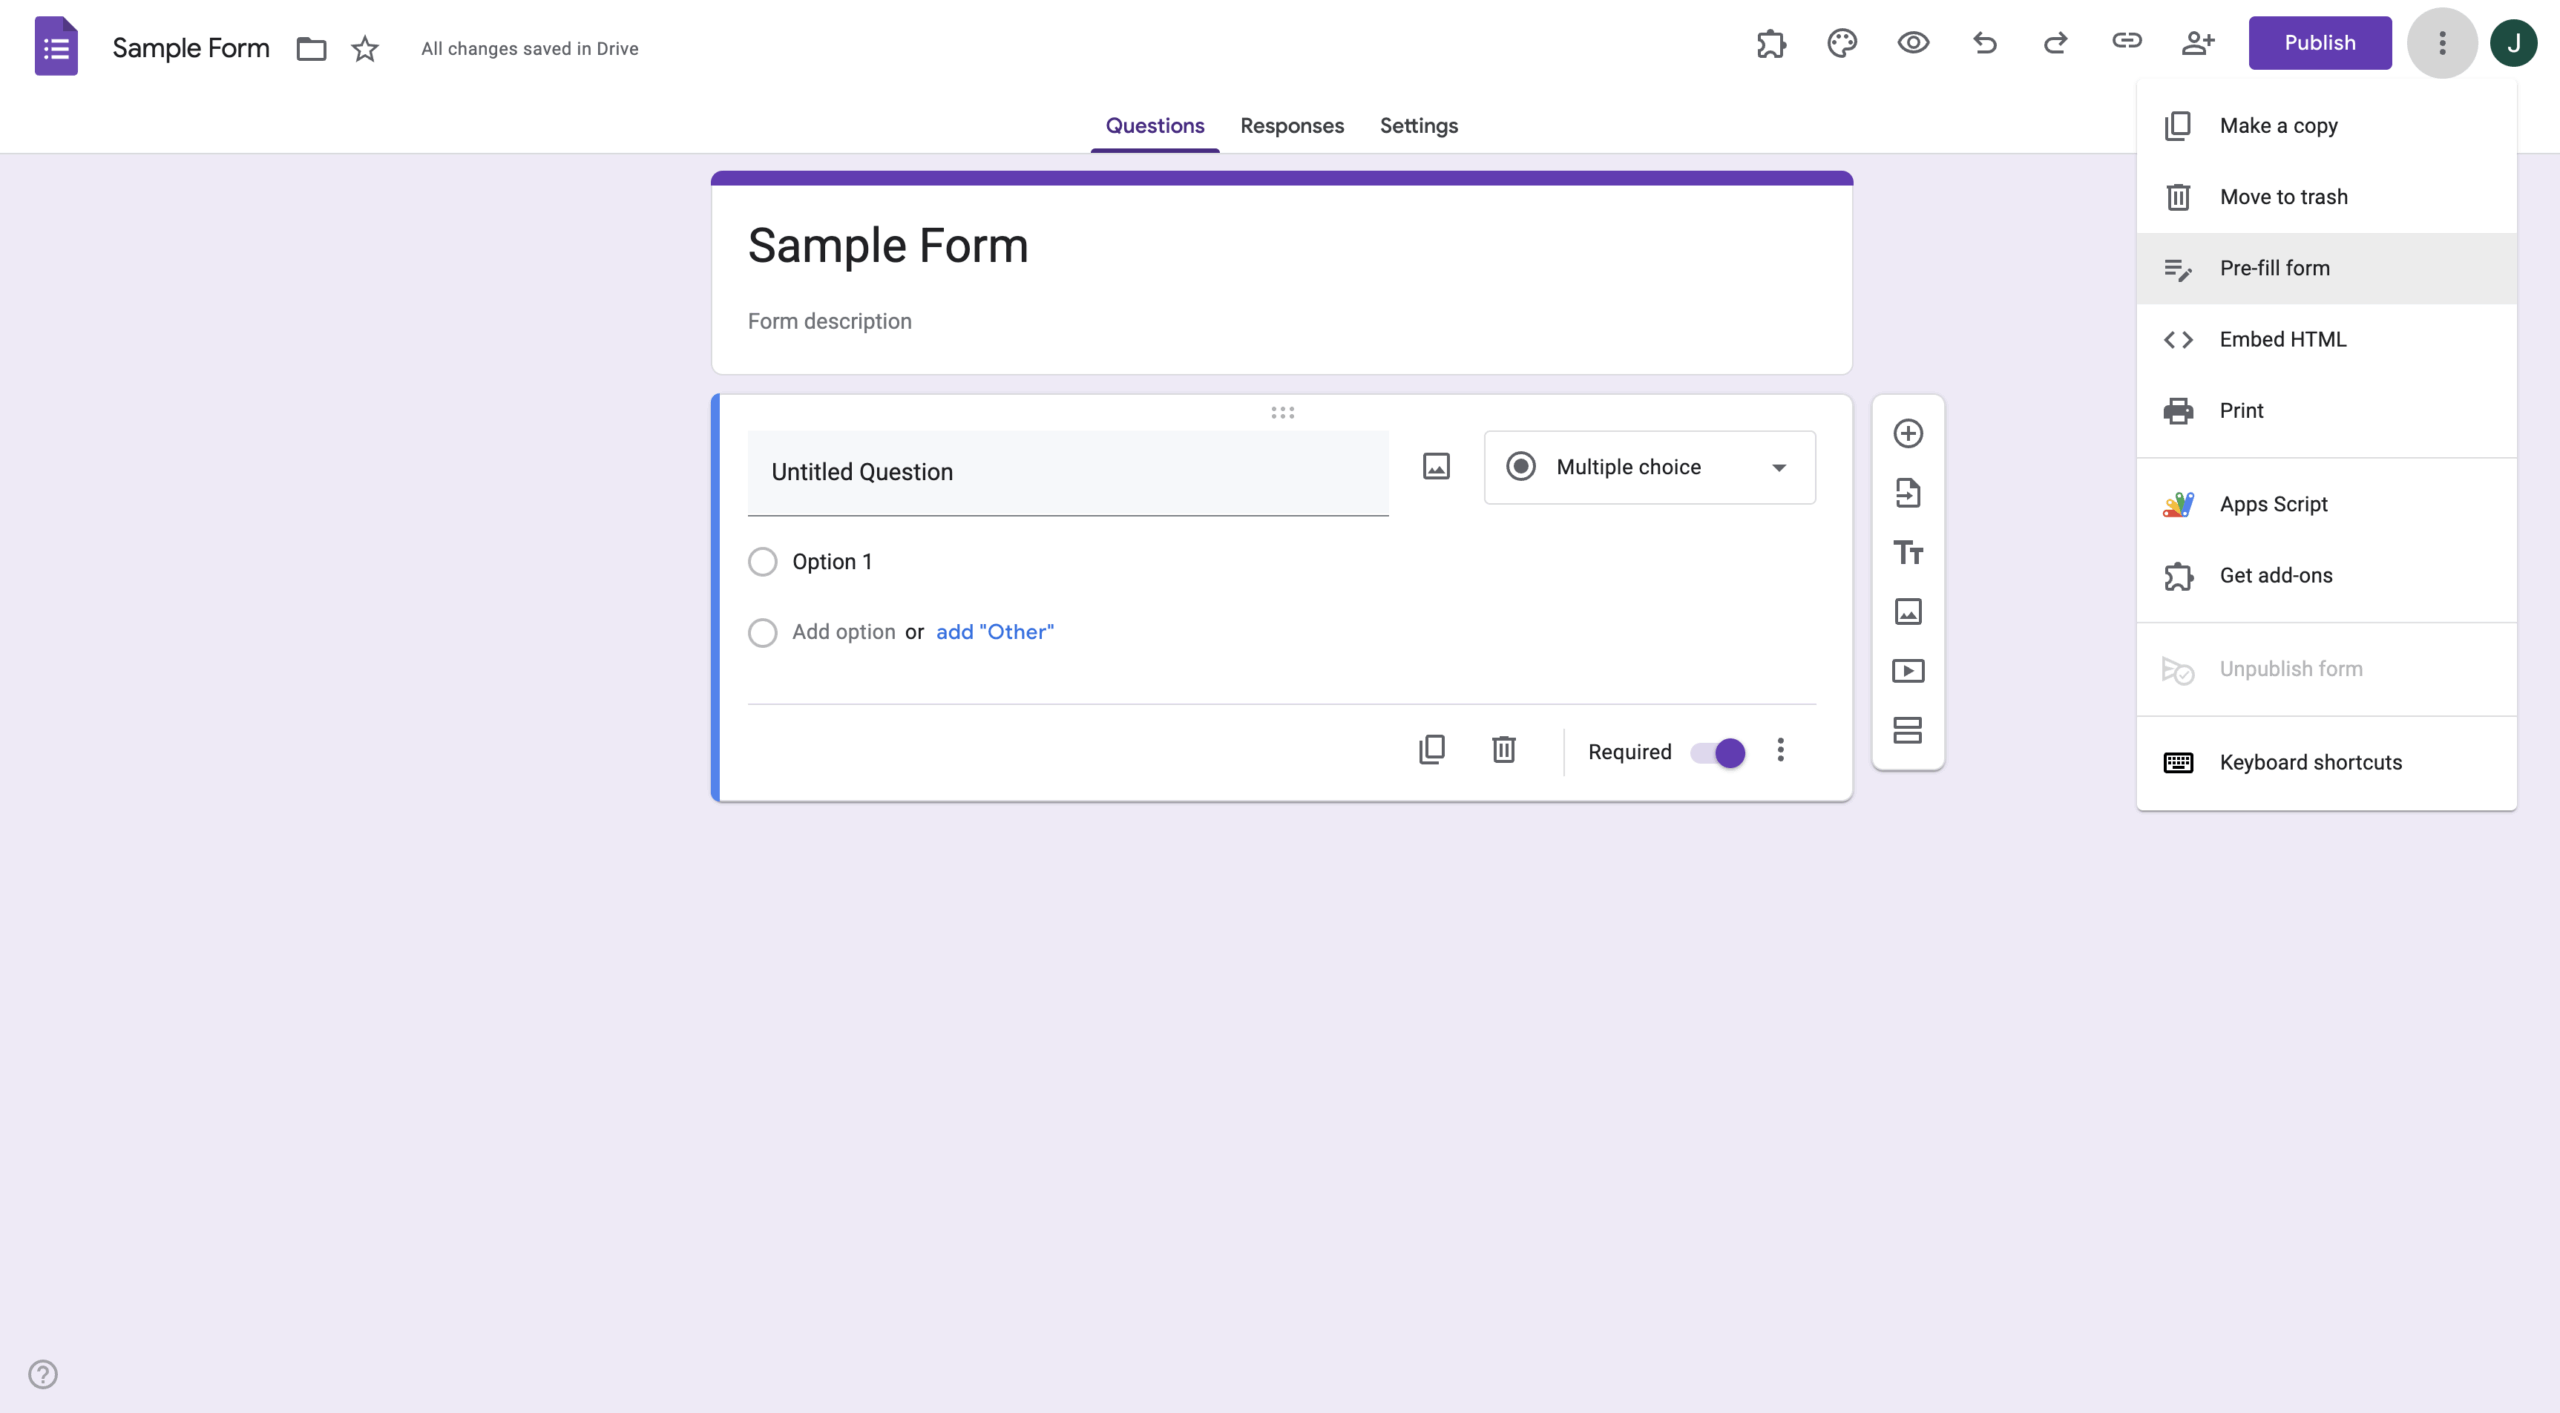
If you’re already familiar with Google Forms, prefilling one is easy. Select Pre-fill form from the three-dot menu in the upper right-hand corner.
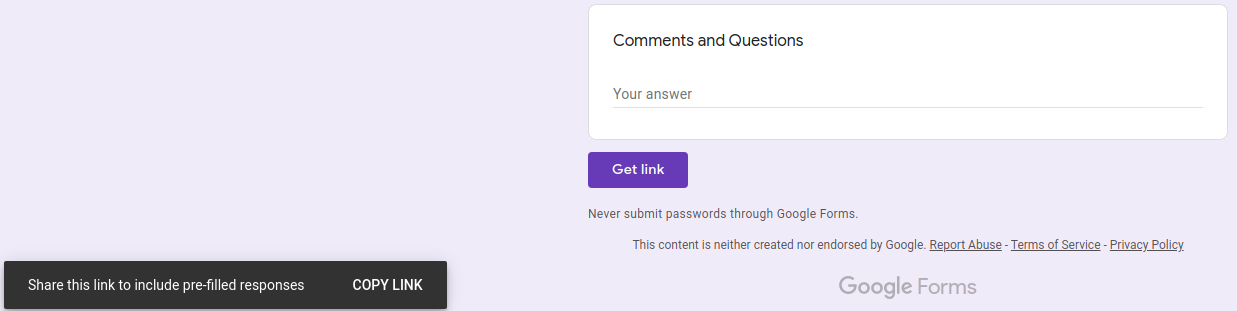
That will open the form in a new tab. From there, fill out any relevant fields that you already know the answer to for the person you intend to send the link to.
Once you’re done, click the Get link button at the bottom of the form. Then click Copy Link at the bottom of the page. Now you can paste that link into a new tab to preview it. Or you can paste it into an email, web page, or Slack chat — whatever works best for you.
If filling out Google Forms one at a time feels a giant waste of time, skip to the last section for a much better solution.
If you want more information and an illustration of how this could work for you, keep on reading.
Getting organized with Judy
Judy is an empty nester with too much time on her hands. When she first retired, she decided to clean up the garage. She and her husband had used it mostly for storage for the last 20 years. There were piles of cardboard boxes scattered on the floor, loose tools lying around on unused workbenches, and bags of holiday decorations everywhere. It was a disaster.
After reading several books on organization by Marie Kondo and others, she had her garage in excellent shape. Her husband even started tinkering again. But Judy wasn’t done.
She went on to tackle closets, cupboards, and the dusty shed out back. But then something awful happened — she finished.
Everything in her whole home was well organized, and she had nothing to do. One day while driving by the park, she saw a sign for free classes at the community center, which gave her an idea — maybe other people could benefit from her home organization knowledge.
So she sent a Google Form to all of her friends and acquaintances to see if anyone would be interested in taking an organization class.
The response was overwhelming. Dozens of people said they wanted her help.
That settled it. Judy decided to teach a class. She set up a curriculum and contacted the community center to make all the arrangements.
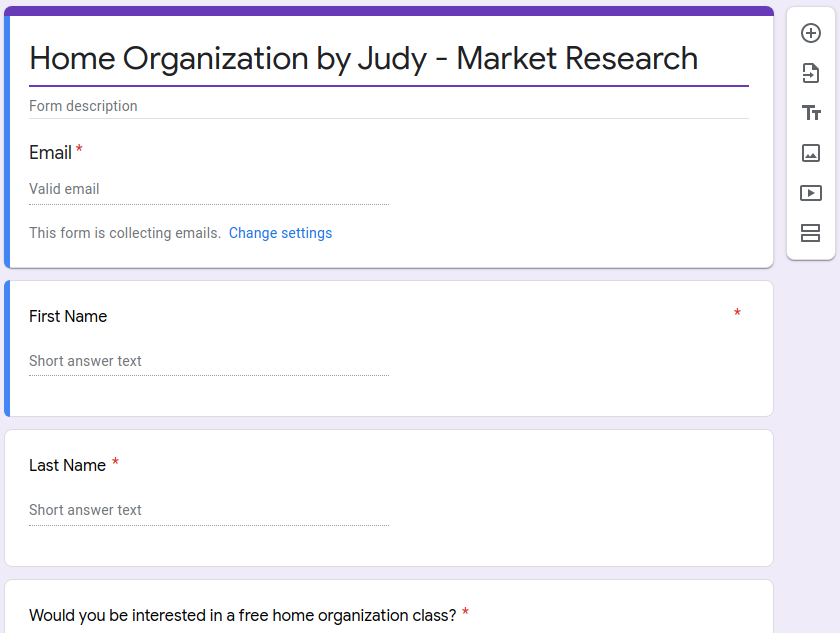
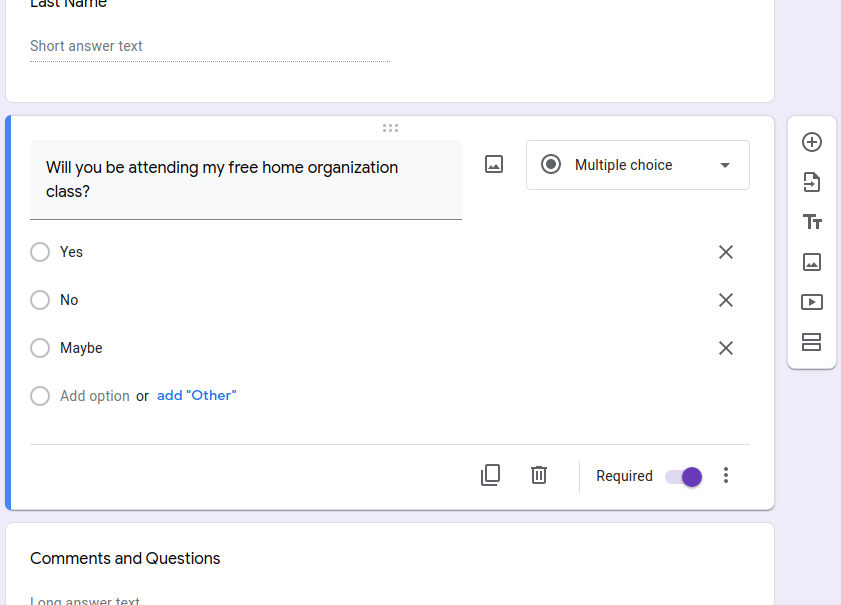
Then she made a copy of her form for class registration. She added a date and location to the description and changed the question about interest to make it about attendance.
Judy had already collected the names and email addresses of her friends. And she knew for sure which ones were interested in her class. She thought it would be nice to save her friends some time and fill in their names for them.
After a bit of googling, she found this article and figured out how to do just that. (Fortunately, she never read past the TL;DR section, or she would have been extremely confused and maybe even a little bit creeped out to find herself in the article.)
If you read the TL;DR section, then you now know what she did to prefill her forms. If not, you should go back and read it now.
After an hour of filling out forms with her friends’ names from the spreadsheet, she realized that she had only emailed 20 links to her prefilled forms.
Judy was about to pull out her hair. This was going to take all night. Then she learned a better way.
Automating the process with Jotform Prefill
Judy learned about the Jotform Prefill tool. At first, Judy was worried about having to create her form from scratch. But Jotform’s drag-and-drop elements made it even easier than creating her Google form.
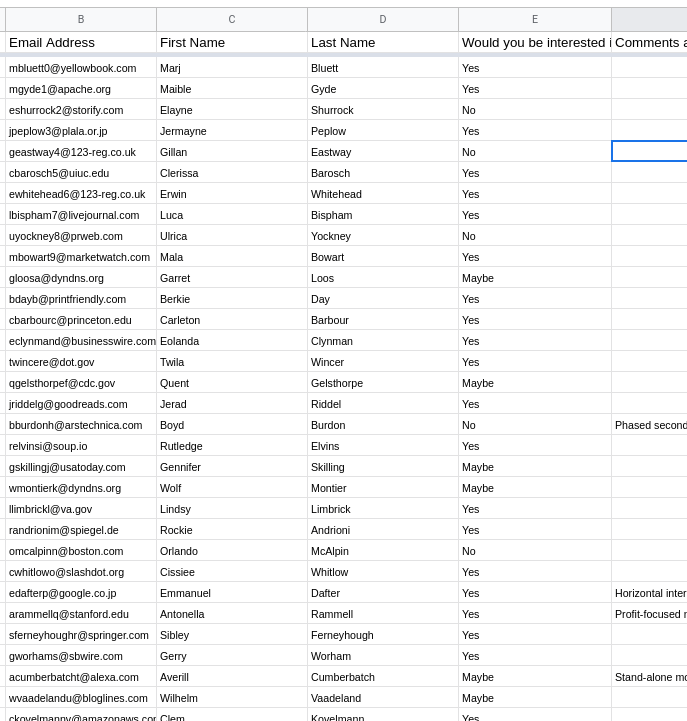
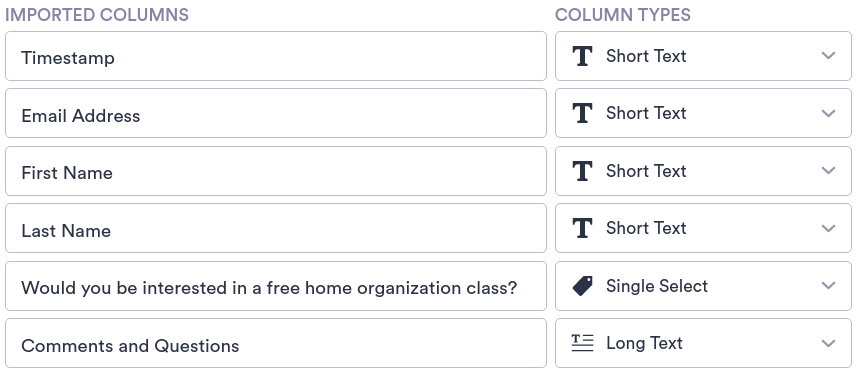
Next, Judy exported her Google Sheet to a CSV file and imported it into a Jotform Table.
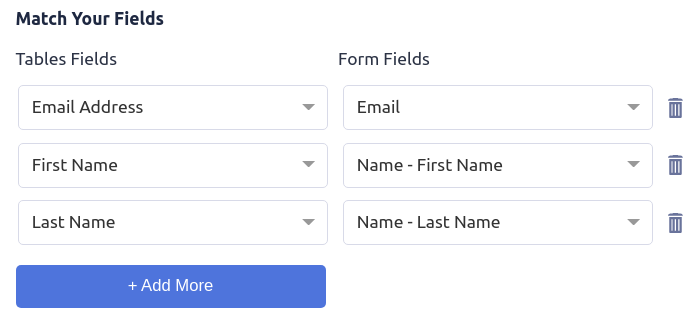
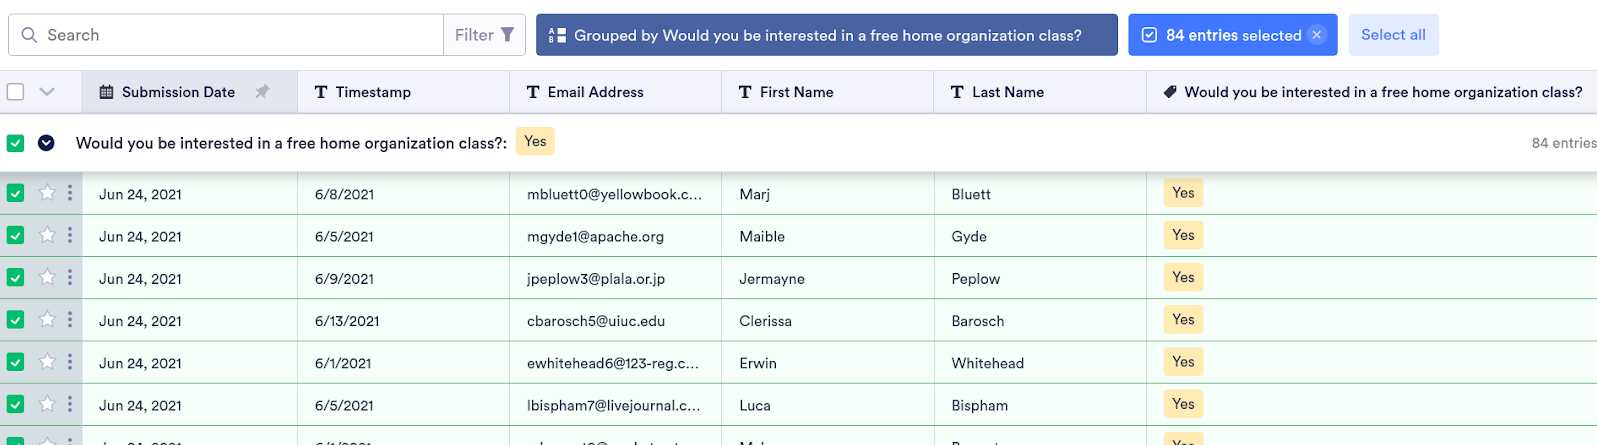
Judy used Jotform Tables to easily group all the people who were interested in her class. Then she created a new prefill from her table data.
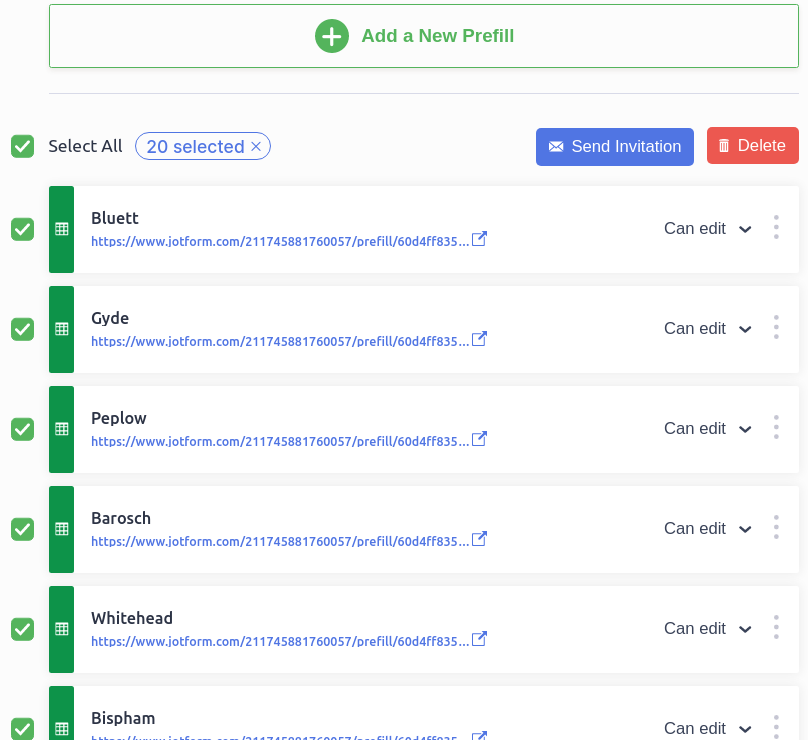
Suddenly, it was easy to pick only the people who were interested in her class and create prefills for all of them.
As soon as she hit Create, she had a list of prefills ready to send.
After all that, Judy thought maybe she should learn more about digital organization as well. And Jotform seemed like the absolute best place to start.
See also Jotform’s in-depth guide about: Google Forms


Send Comment: