
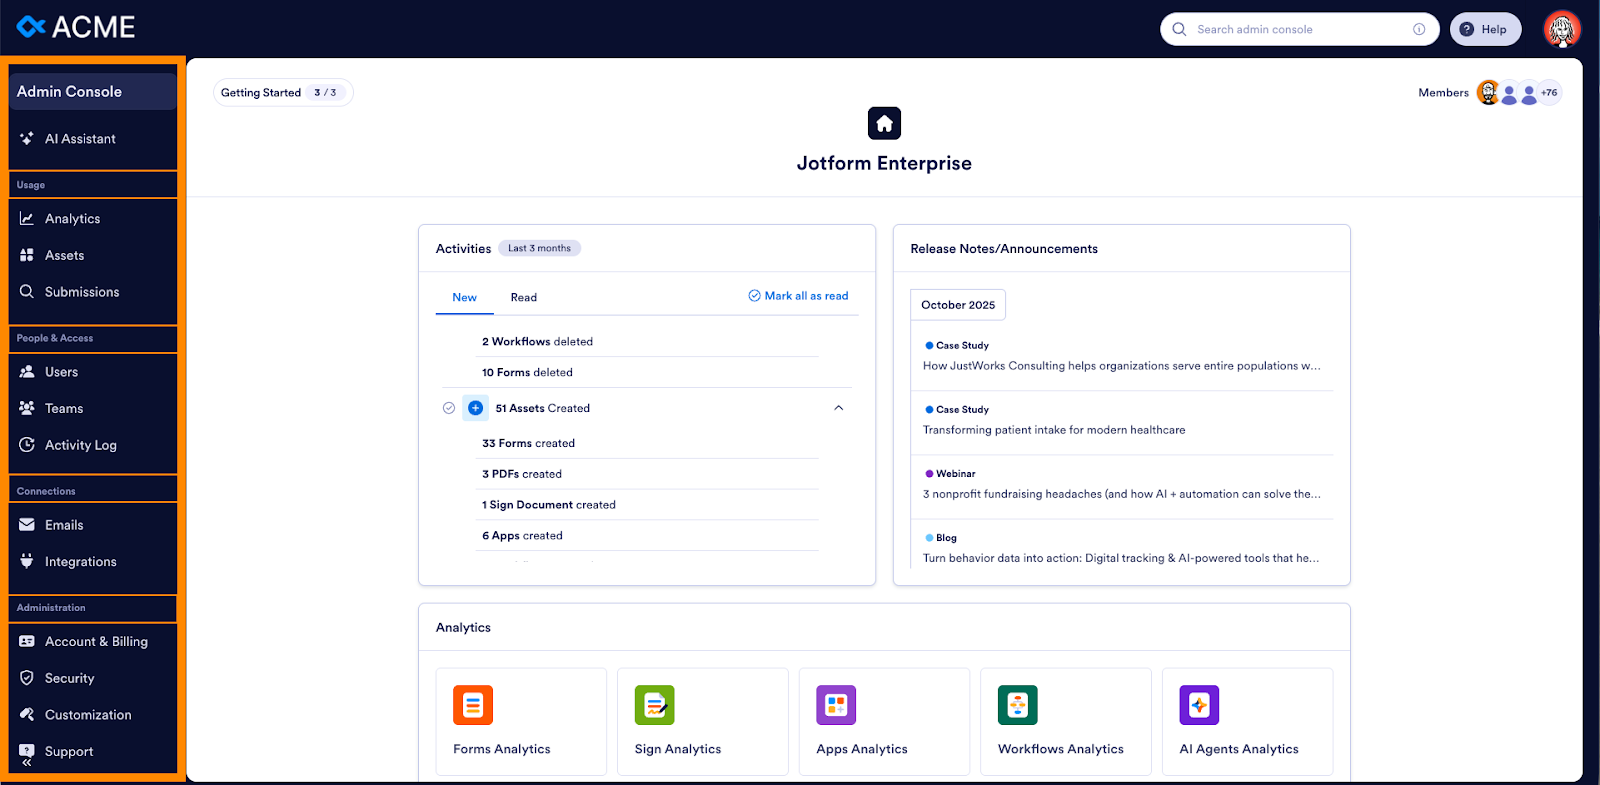
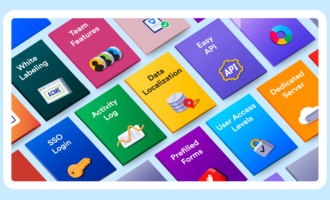
The Admin Console is a powerful tool for managing your Jotform Enterprise account. Designed to give you everything you need in one central location, the Admin Console provides access to trend data, user information, support tickets, account settings, and more.
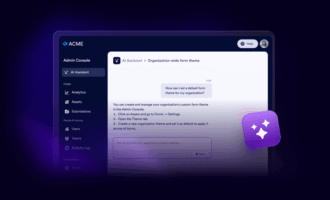
Starting at the top left of the screen is the new AI Assistant. It’s standing by to answer questions, find resources, and build whatever you envision. The AI Assistant is also available to users, providing robust support for form creation, how-to’s, and more.
Below that, you’ll find a new menu with four main sections that make it easy manage your Enterprise account:
- Usage for analytics, assets, and submissions
- People & Access for users, teams, and activity logs
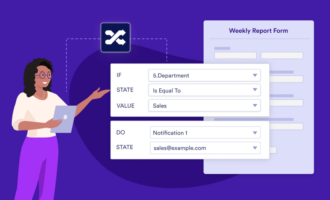
- Connections for emails and integrations
- Administration for account & billing, security, customization, and support
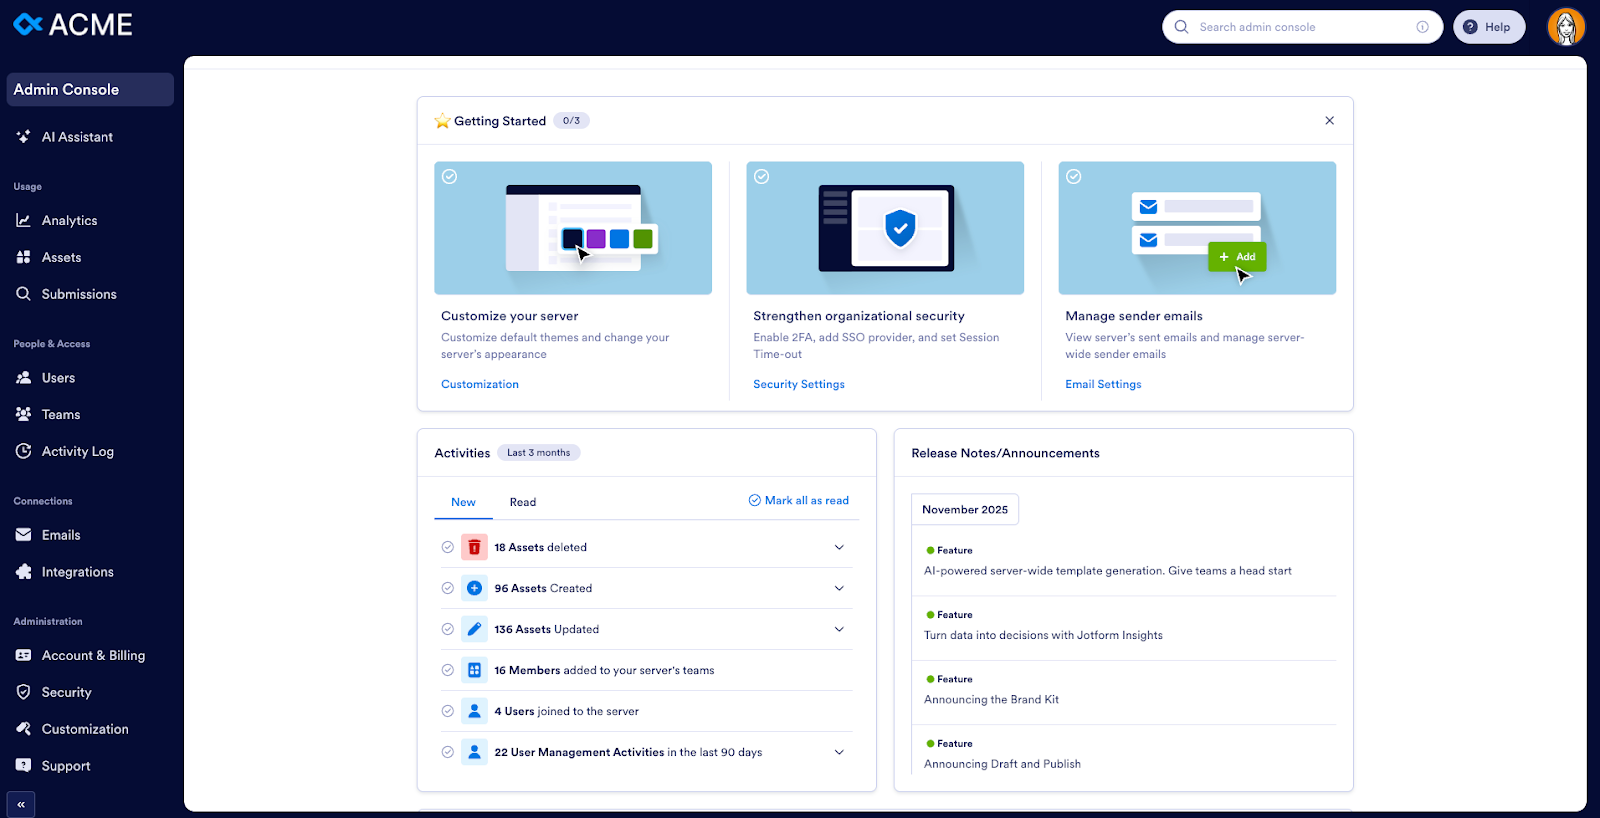
An intuitive, premium Admin Console experience
The Admin Console provides
- A clean visual hierarchy for quick scanning and decision-making
- Charts and analytics for submissions, forms, views, and instance-wide trends
- Direct links to Insights (our deep analytics module) for expanded reporting
- Workspace-aware navigation that allows admins to jump directly into team-level assets
- AI-generated insights that appear directly in dashboard blocks (e.g., “Top-performing forms this week,” “Unusual activity detected”)
This dashboard strengthens organizational visibility while keeping trends crystal clear.
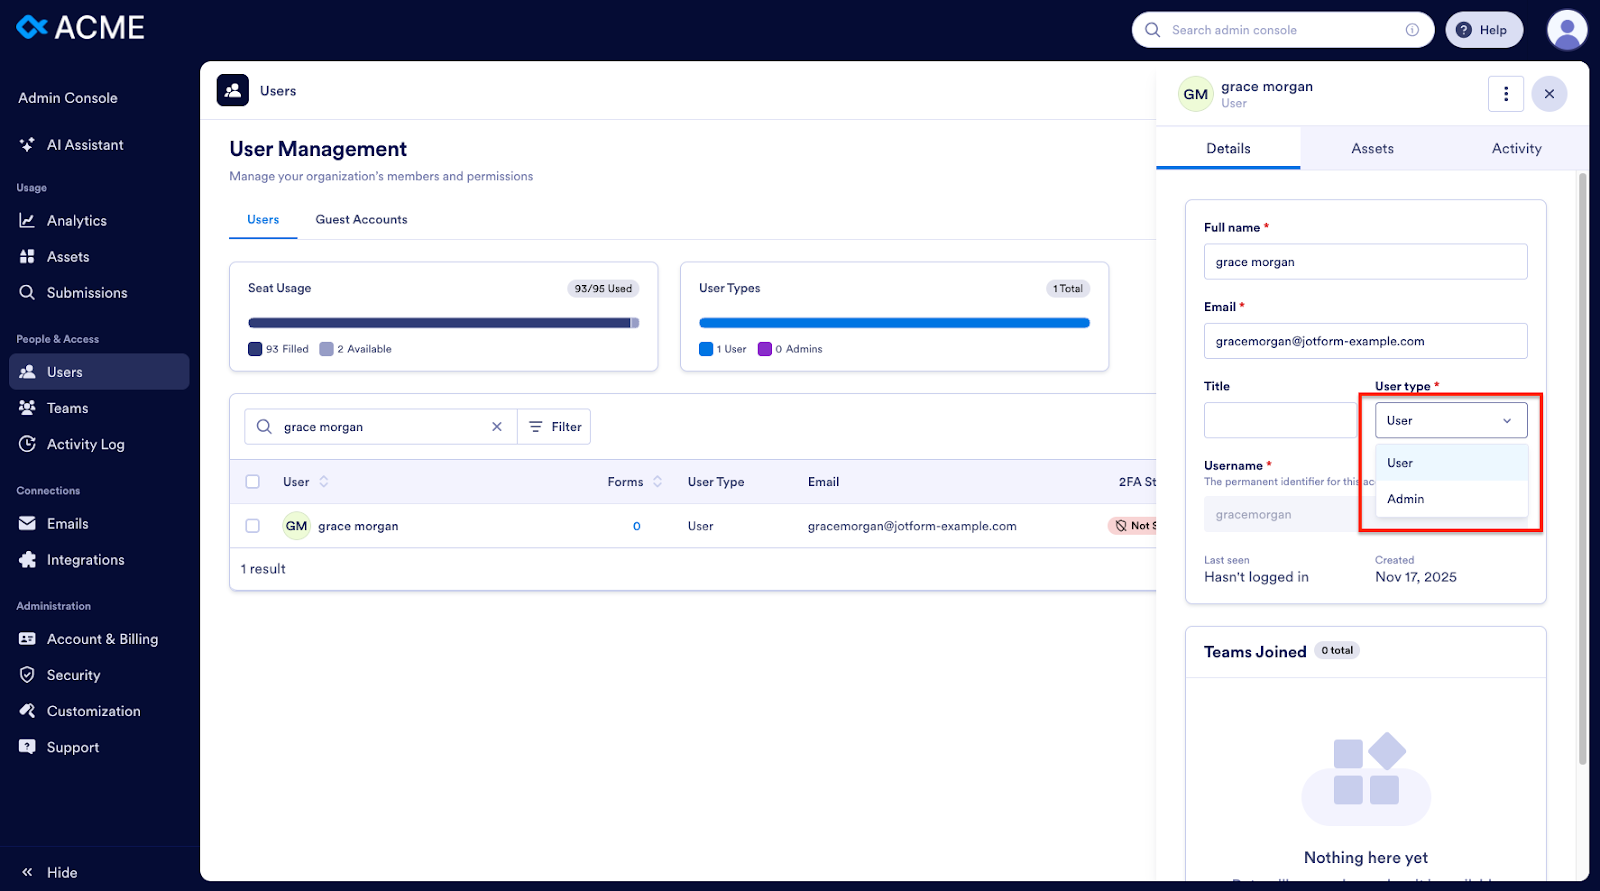
Managing users with the Admin Console
For a quick view of all users, their last login, the forms they’ve created, and their access level, go to the Users tab in the Admin Console.
To change access levels, locate a user via search, click the three-dot icon on the far right, and select Details.

You can toggle between Admin and User roles or lock an account to prevent login.
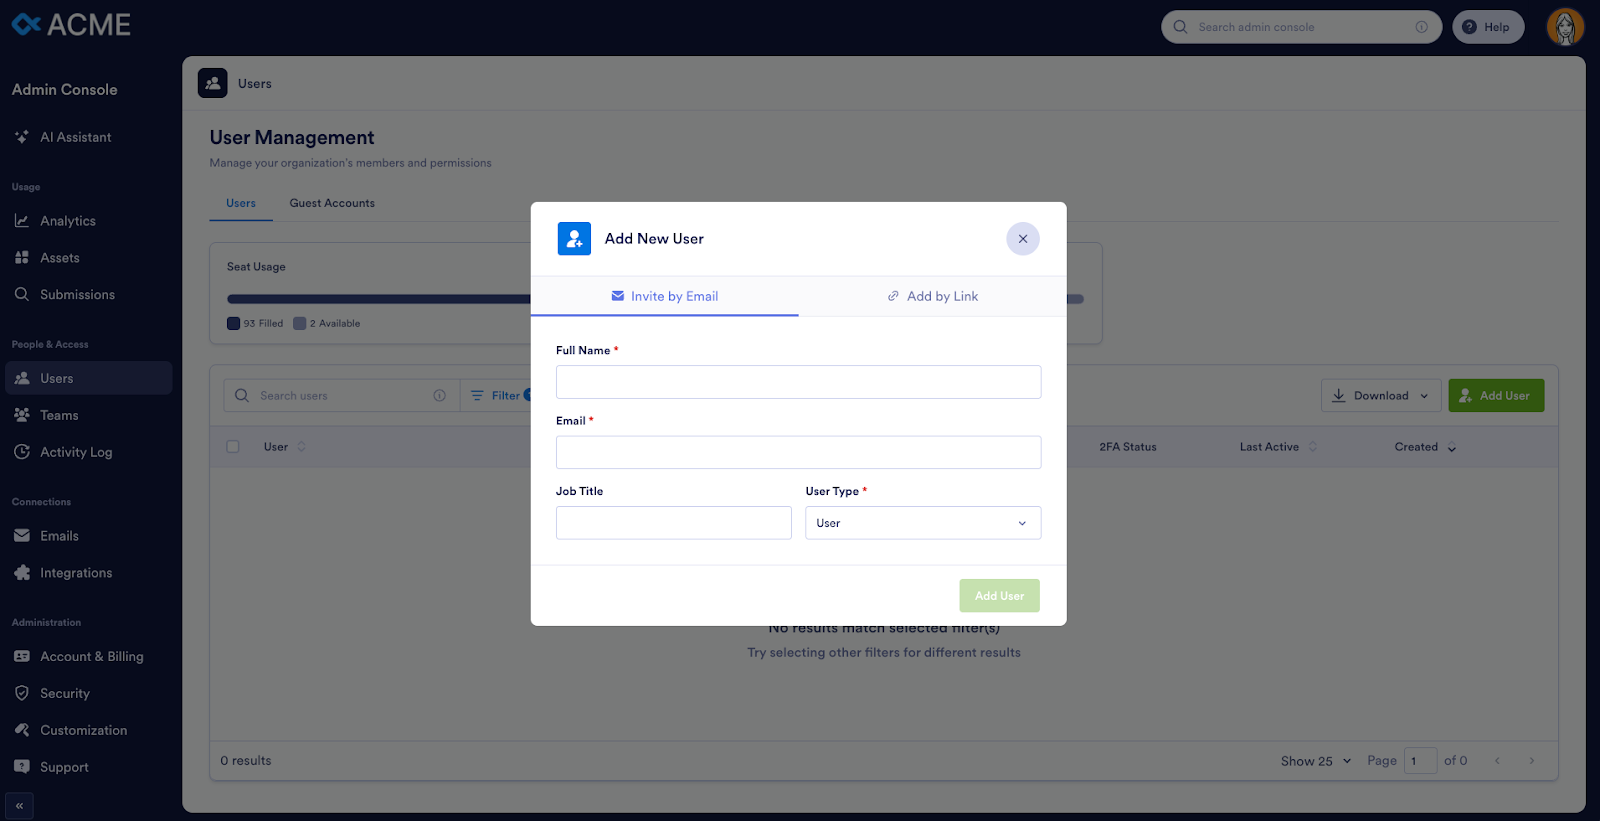
Adding new users to your account
To add a new member, click Add User.
Enter the user’s name, email, and title, and assign them either user or admin status. You can invite users via email or a shareable link.
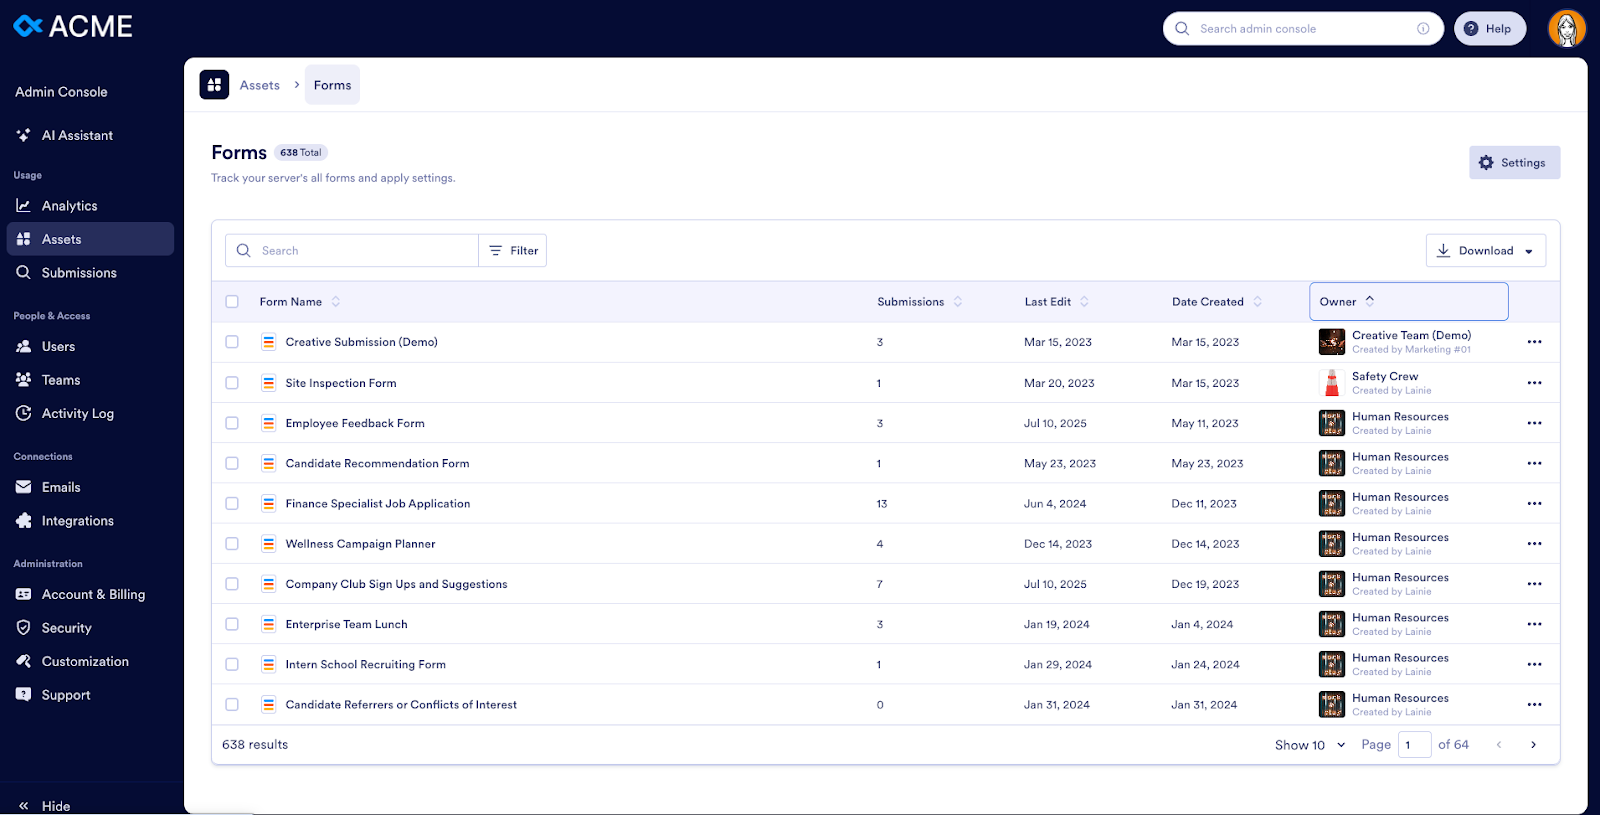
How to manage forms and form owners
In the Assets tab, click Forms. You’ll see your organization’s forms and be able to sort by name, number of submissions, last edit, creation date, or creator.
Click any form name to view it, or use the menu to the right for additional actions like View Analytics, View Form, Edit Form, View Submissions, Change Owner, and Delete Form.
Need a full list of all your organization’s forms? Download it as a CSV or Excel file.
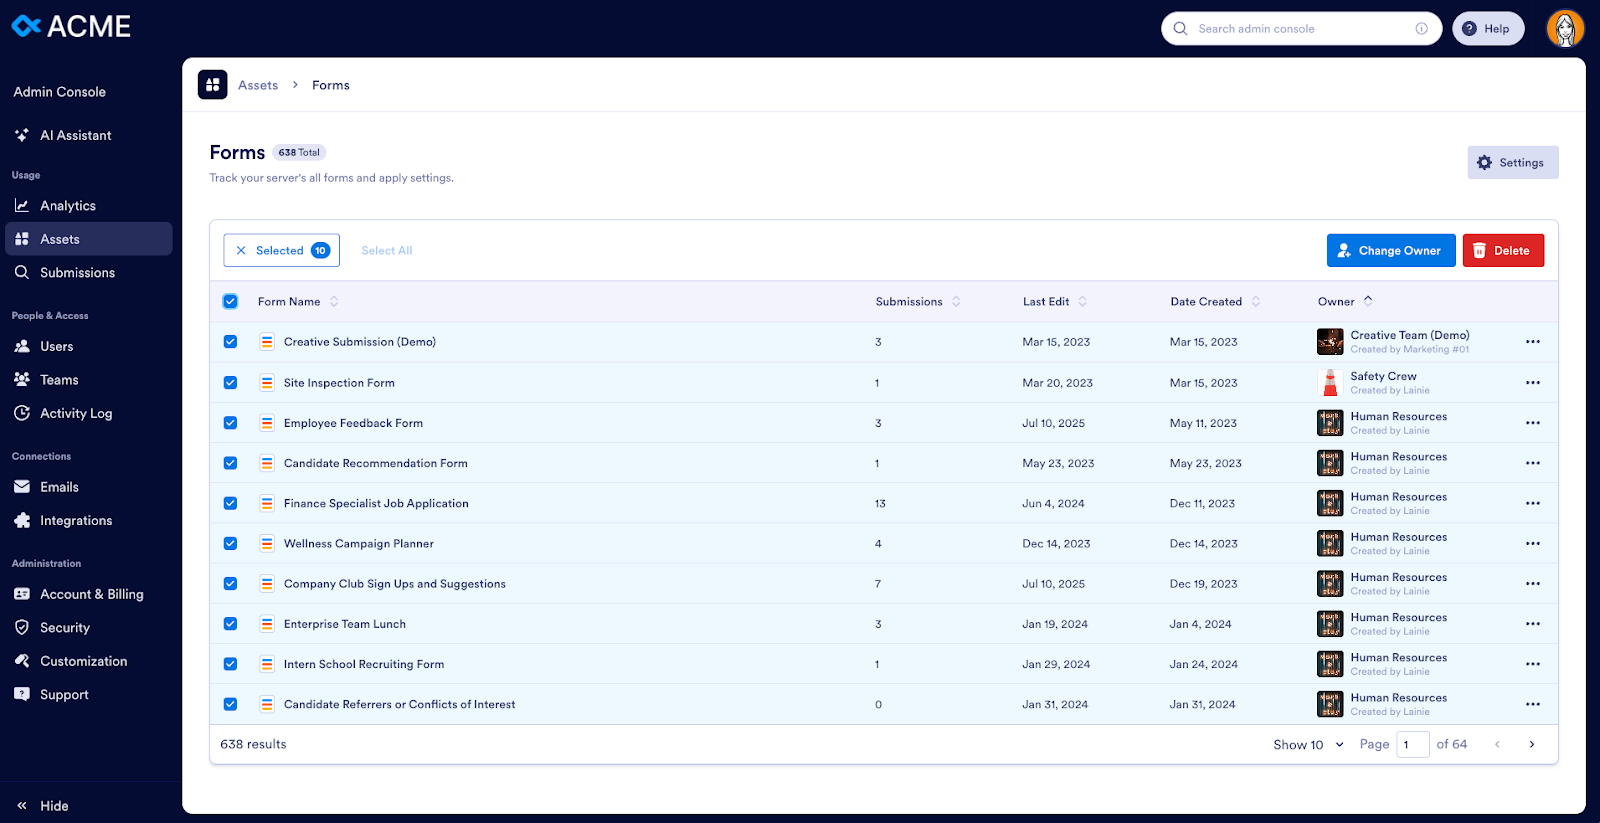
Editing multiple forms at once
If you need to transfer multiple forms from one owner to another, search for the user’s name, click Select All, and choose Change Owner.
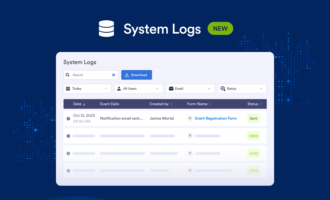
How the Admin Console helps you maintain data compliance
The Activity Log supports your compliance needs — including the GDPR’s right to be forgotten, the UK’s right to data portability, and California’s right to know. You can generate a full data report for a specific individual across all forms.
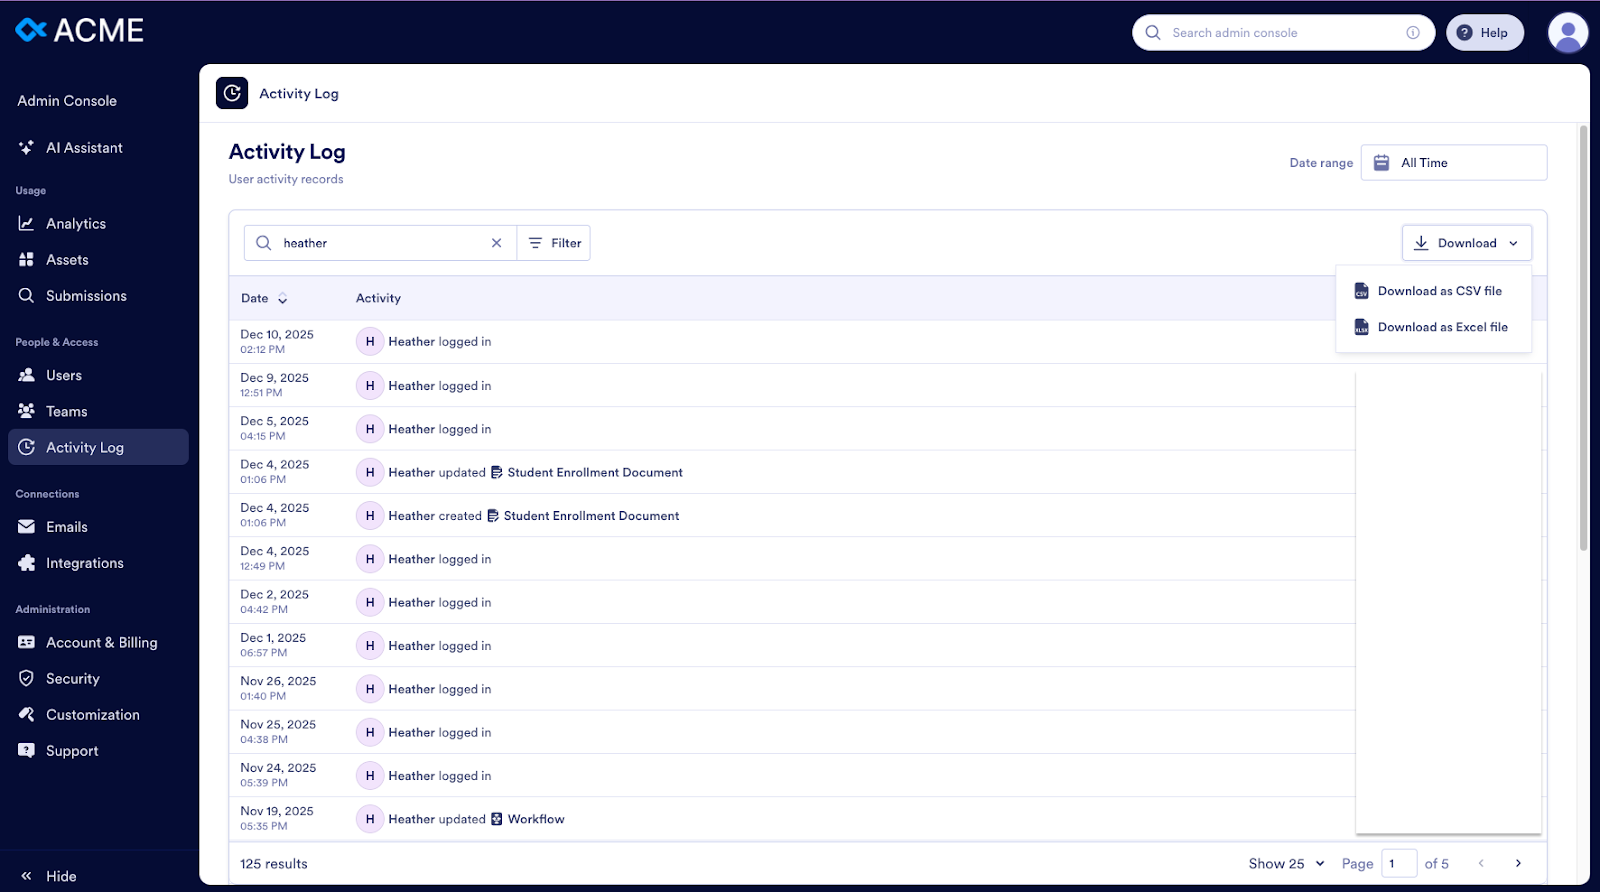
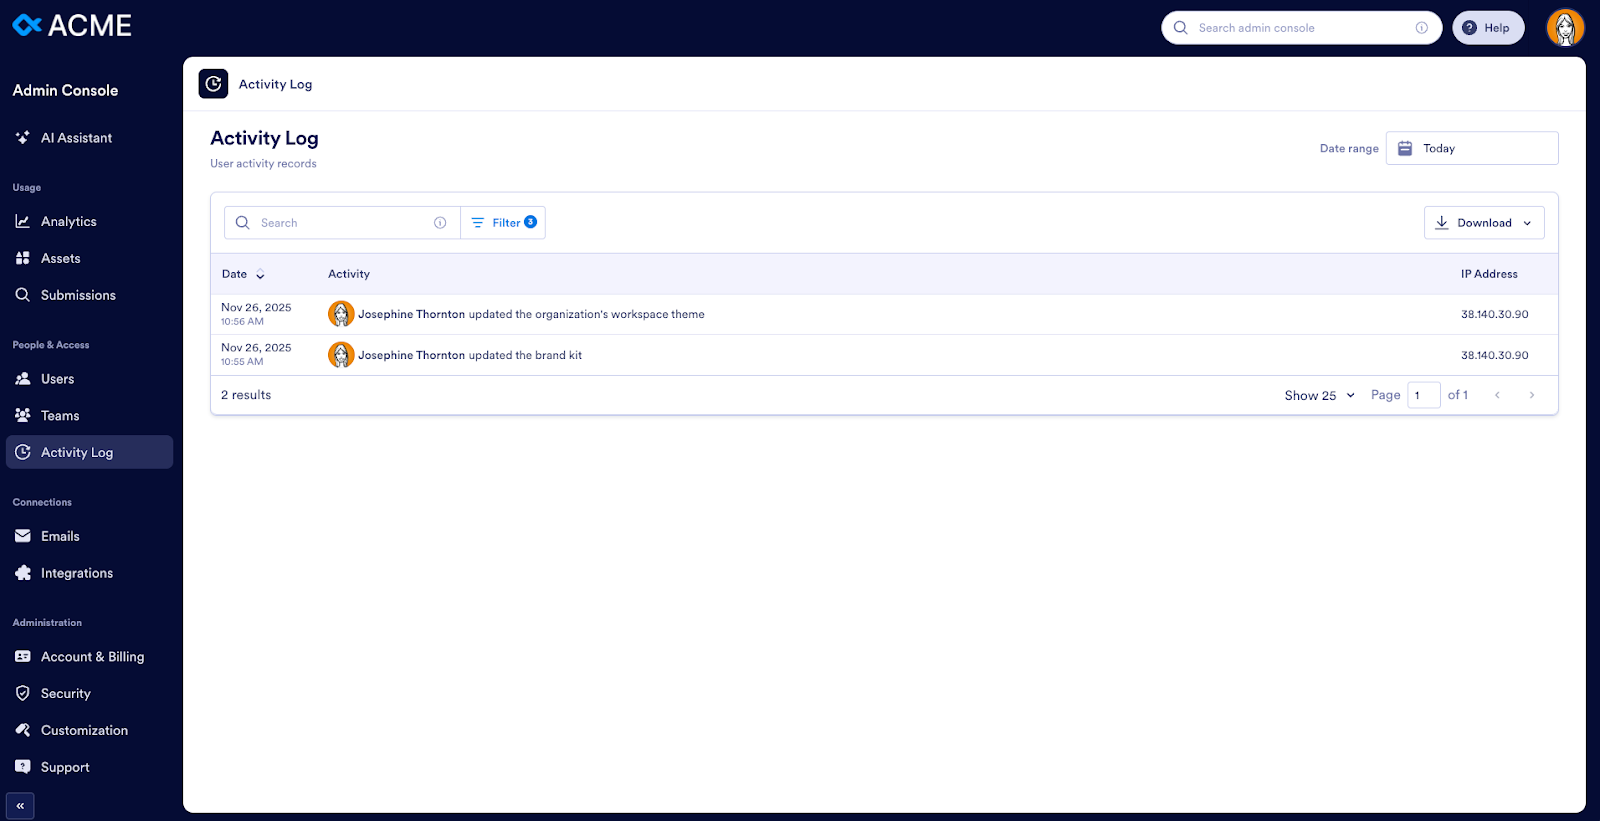
Monitoring organizational activity with the Admin Console
The Activity Log tab helps you view
- Logins
- Forms created
- Form updates
- Form deletions
- Form purges
- Submission edits
- Submission deletions
Filter by preset periods or custom ranges. You can also monitor user invitations, account setting changes, SSO integrations, and branding updates.
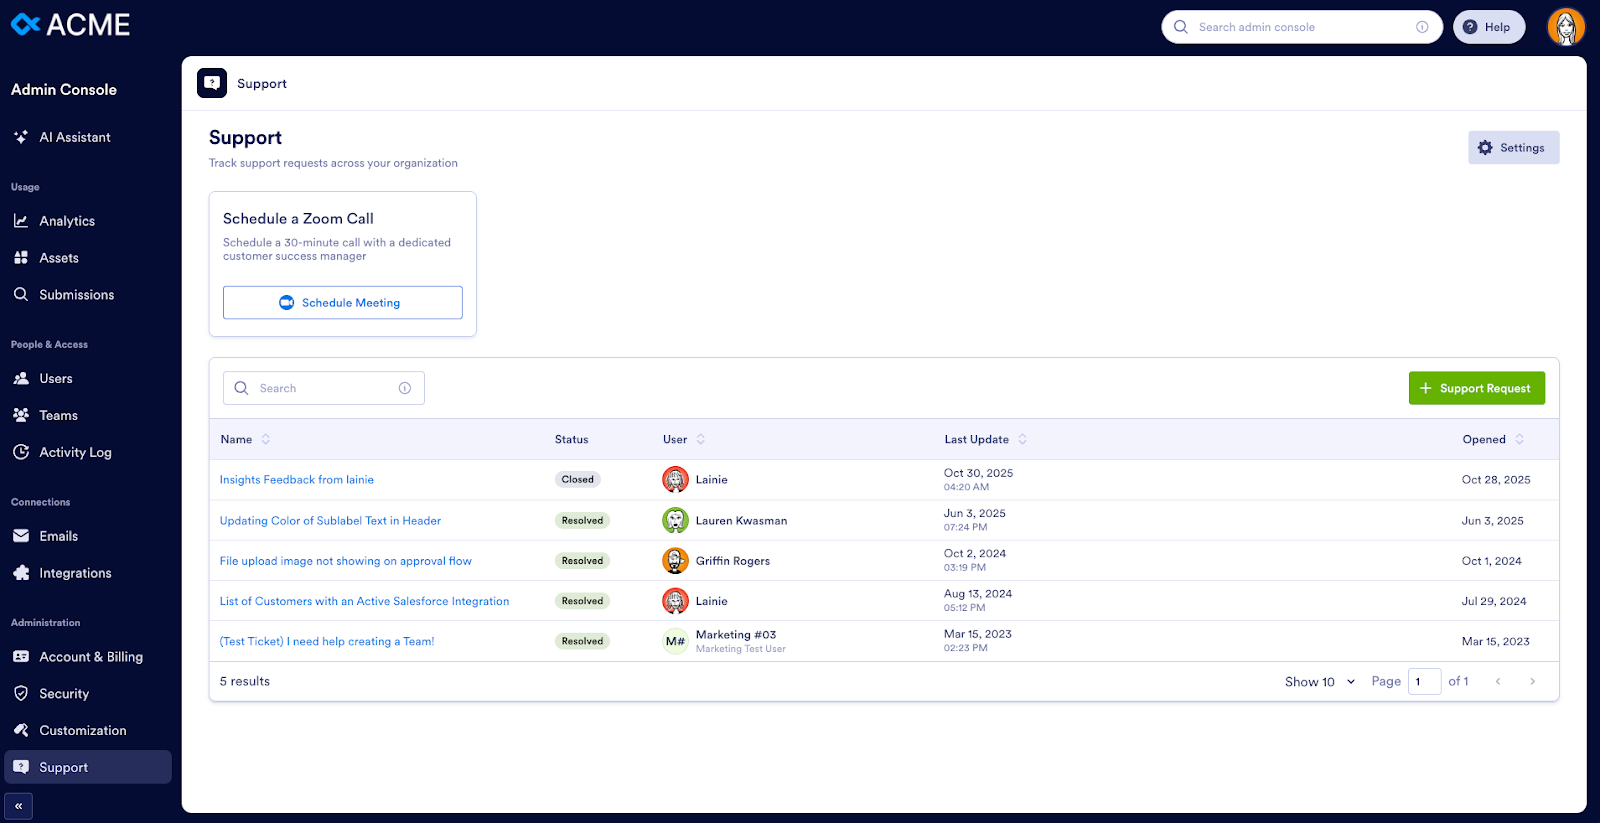
Accessing support and managing tickets
You can view support tickets across your organization in the Support tab. Click any ticket to see full details or search for specific requests.
Using the Admin Console to manage global settings
You can control your organization’s branding across your Enterprise instance from the Customization tab.
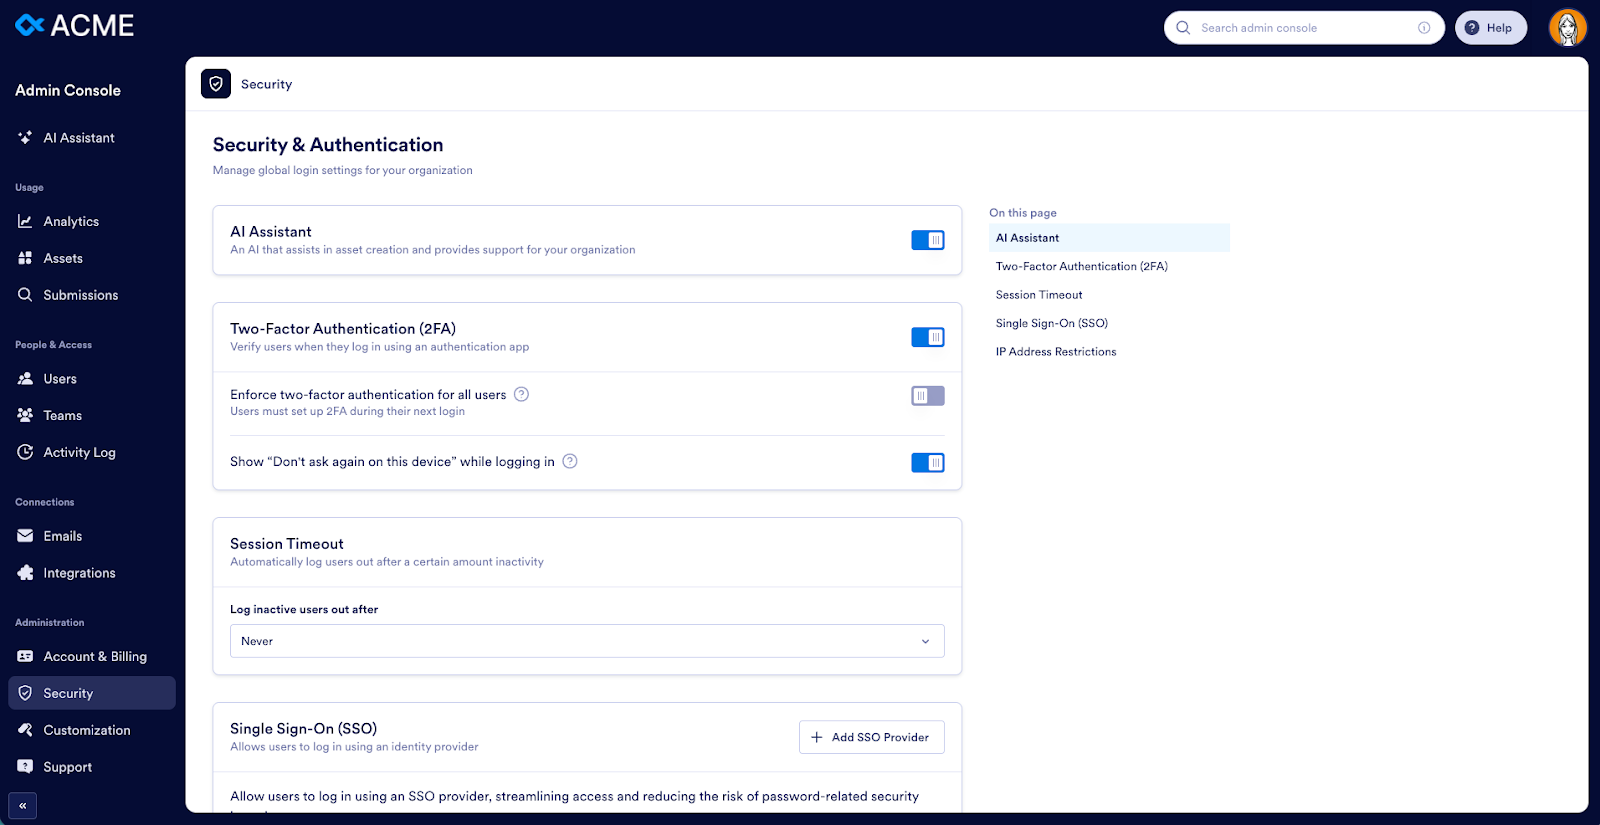
The Security tab allows you to manage global security and authentication settings for your organization, including SSO, IP restrictions, two-factor authentication, and more.
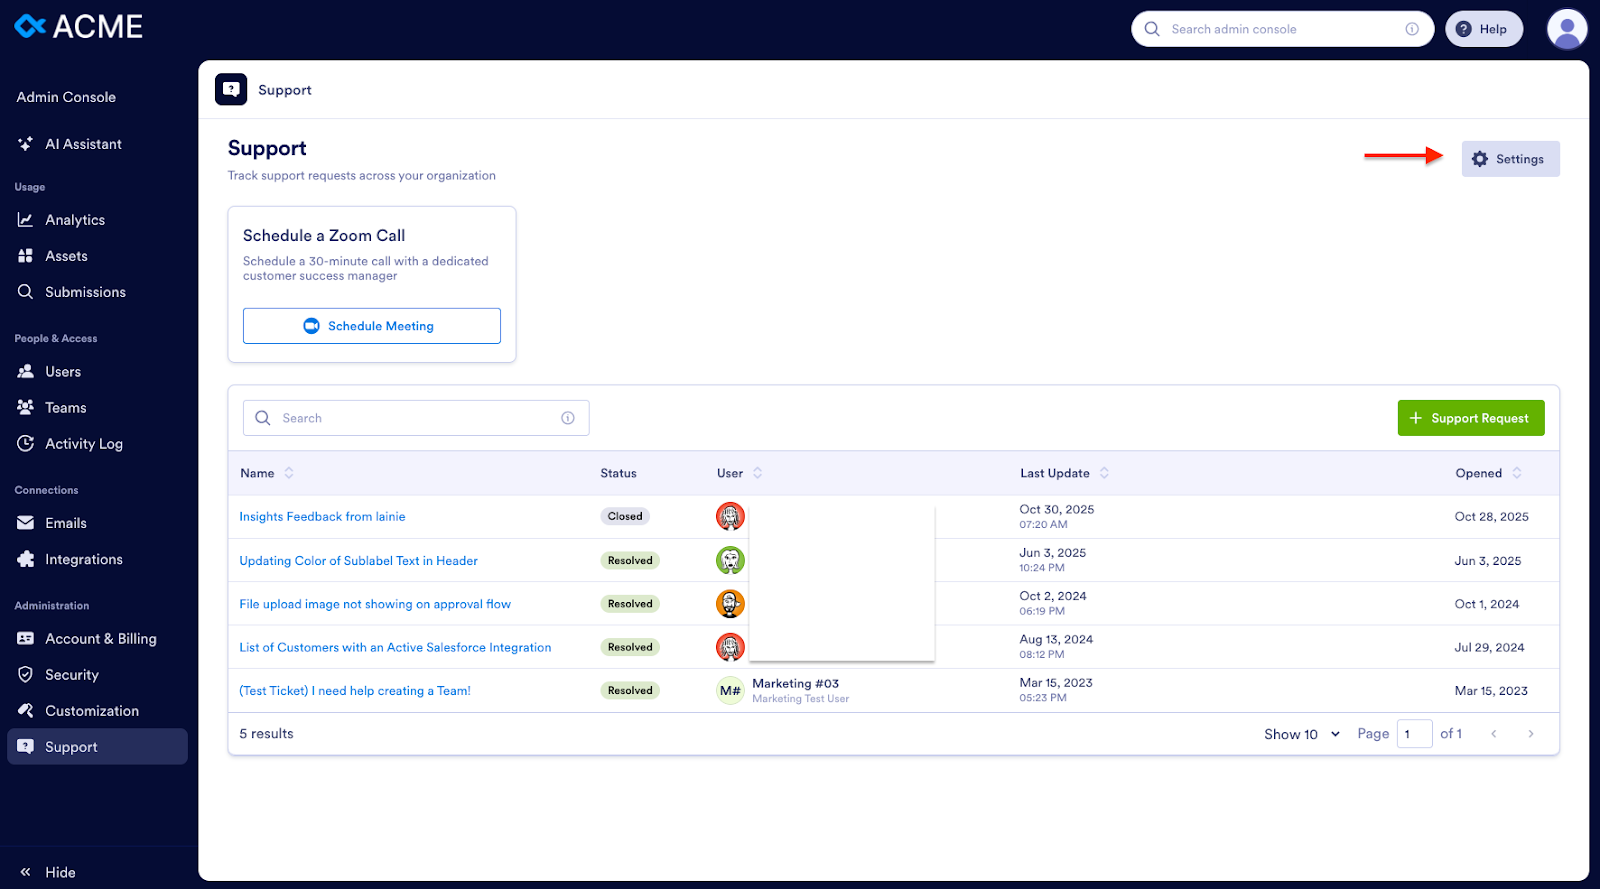
Click on the Settings button in the Support tab to manage your support preferences.
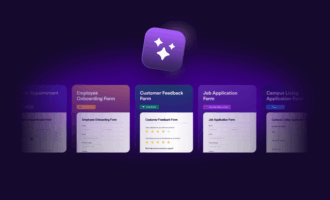
AI-powered organization-wide form templates
AI-powered, organization-wide form templates are now available to Enterprise customers. Admins can manage these templates directly through the Admin Console.
With organization-wide form templates, admins can
- Create and publish standardized templates for any department
- Enable AI-assisted form generation that follows your organization’s brand voice and formatting
- Restrict template access by team or workspace
- Ensure consistent, branded forms across the company
This makes rolling out complex form programs organization-wide significantly easier.
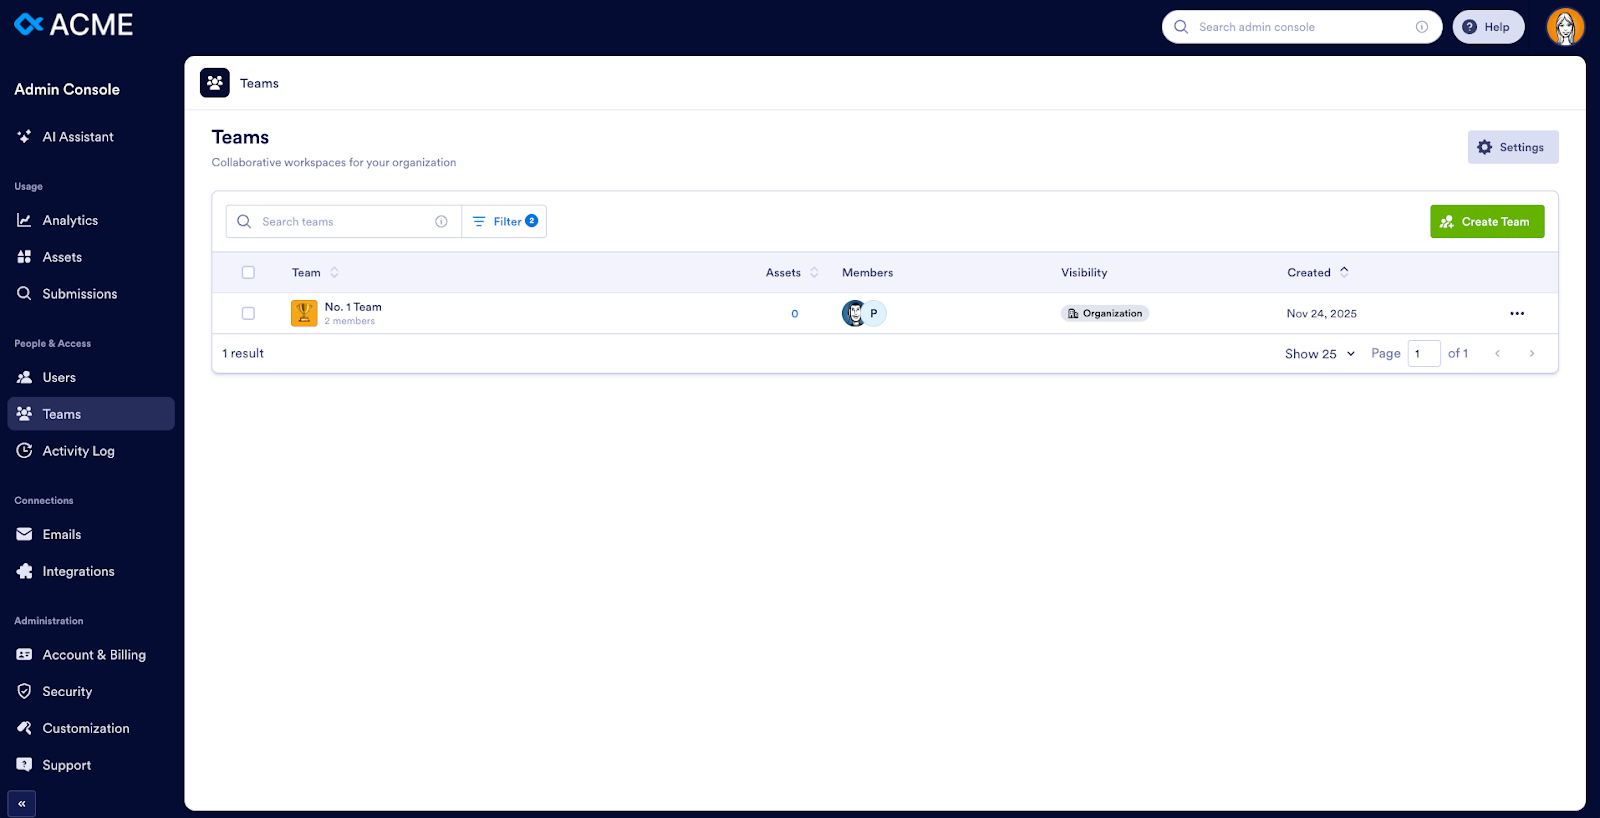
Team workspaces and workspace controls
Personal and shared team spaces can be managed from the Admin Console:
- View and manage team-level workspaces
- Assign workspace roles
- Control visibility and access settings
- Track workspace-level analytics
- Move forms, tables, and apps between teams
This is a huge benefit for distributed teams and large organizations that want structured, scalable collaboration.
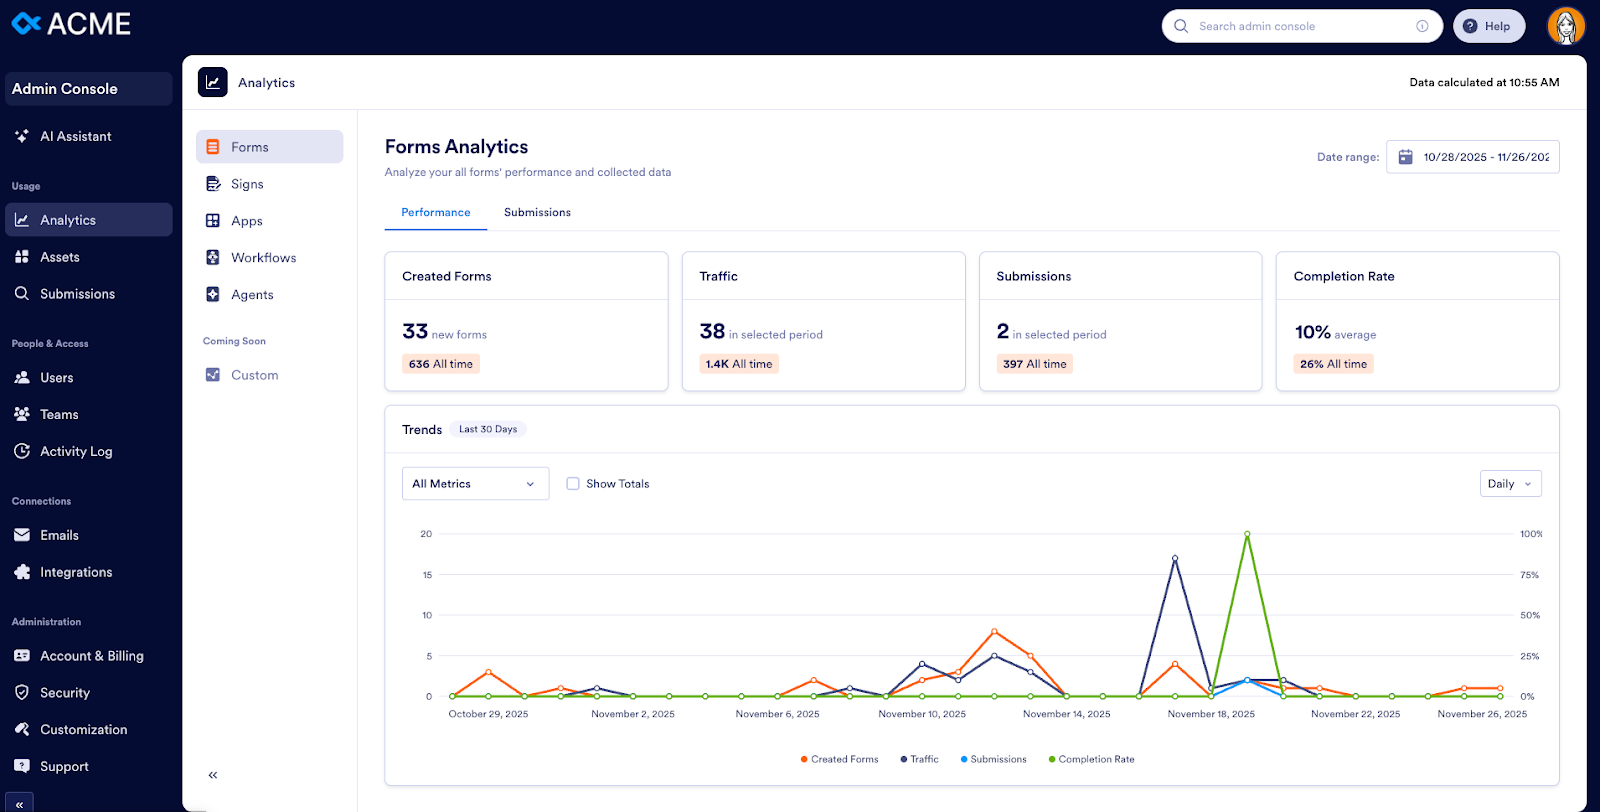
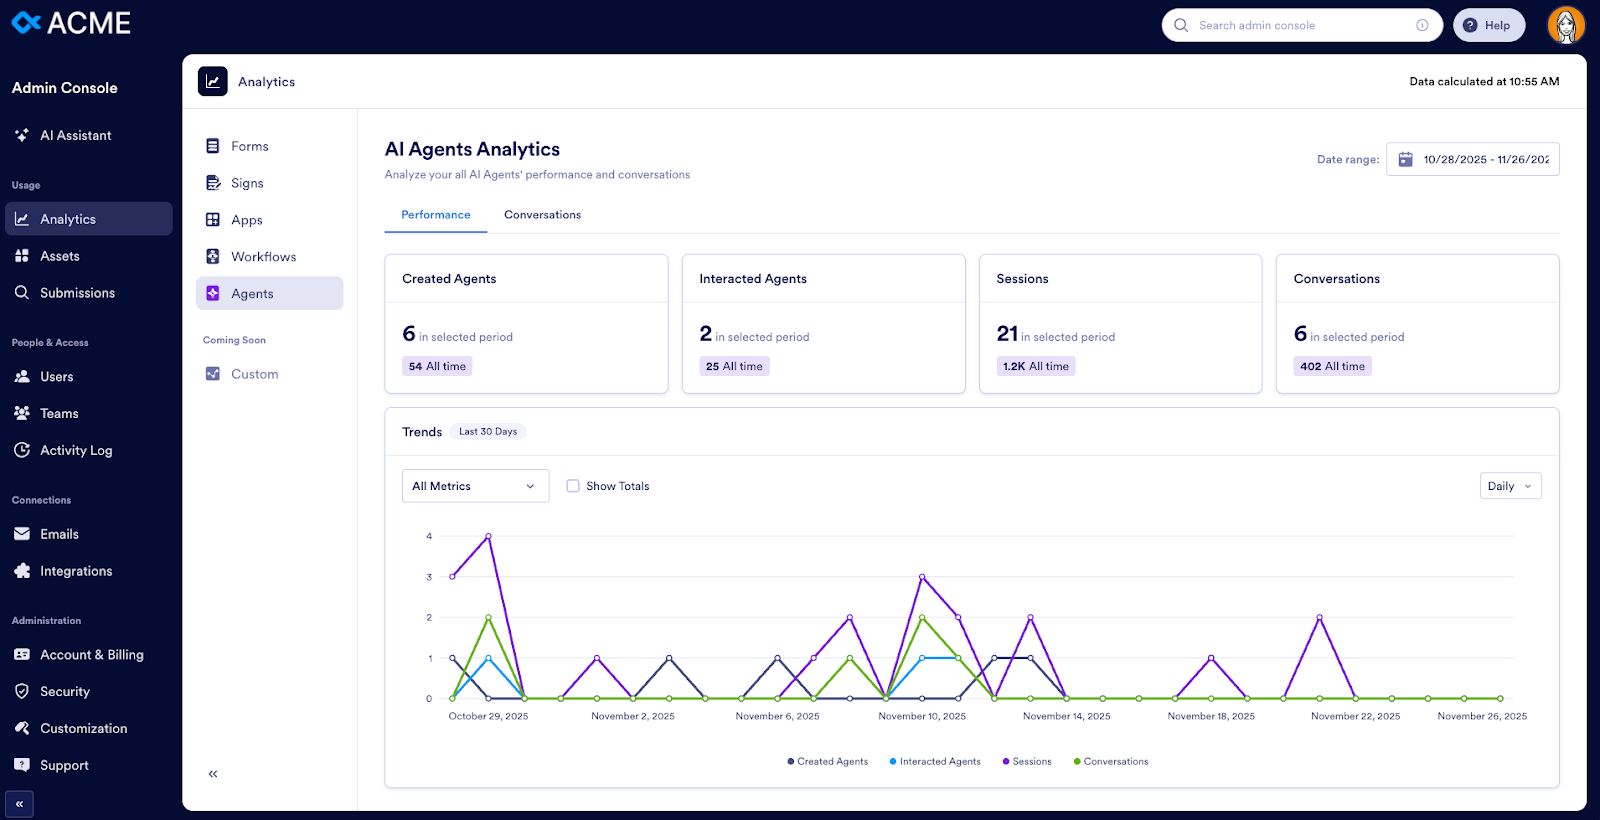
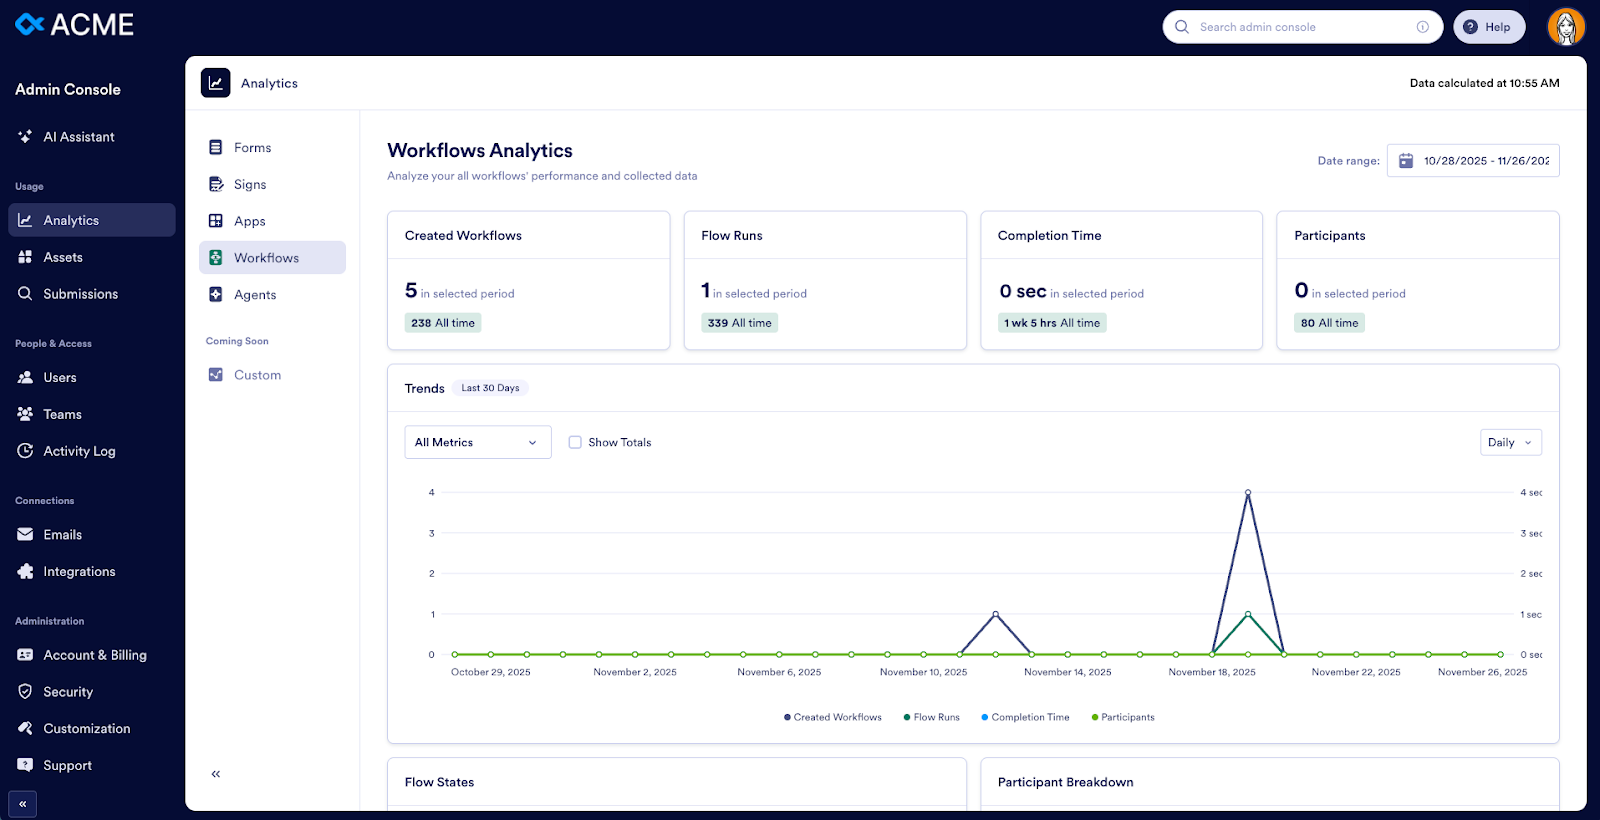
Real-time analytics across all assets
Insights, a powerful analytics tool, is accessible in the top navigation. Insights is available to all Enterprise users, not just administrators.
Insights provides
- Consolidated analytics across forms, workflows, e-sign documents, apps, and AI Agents
- Organization-wide performance dashboards
- AI-highlighted trends and anomalies
- Usage insights across teams, workspaces, and individual creators
- Deep reporting on task completion, approvals, e-signatures, and AI Agent activity
This new module extends far beyond traditional form analytics, enabling data-driven decisions at every level.
AI Agent analytics and controls inside the Admin Console
The Admin Console provides admins full oversight of AI Agents:
- Monitor AI Agent conversations
- Track volume, outcomes, and satisfaction indicators
- Manage agent access
- Connect agents to forms and workflows
- Ensure compliance and visibility across every automated interaction
This empowers organizations to scale customer service and internal support securely.
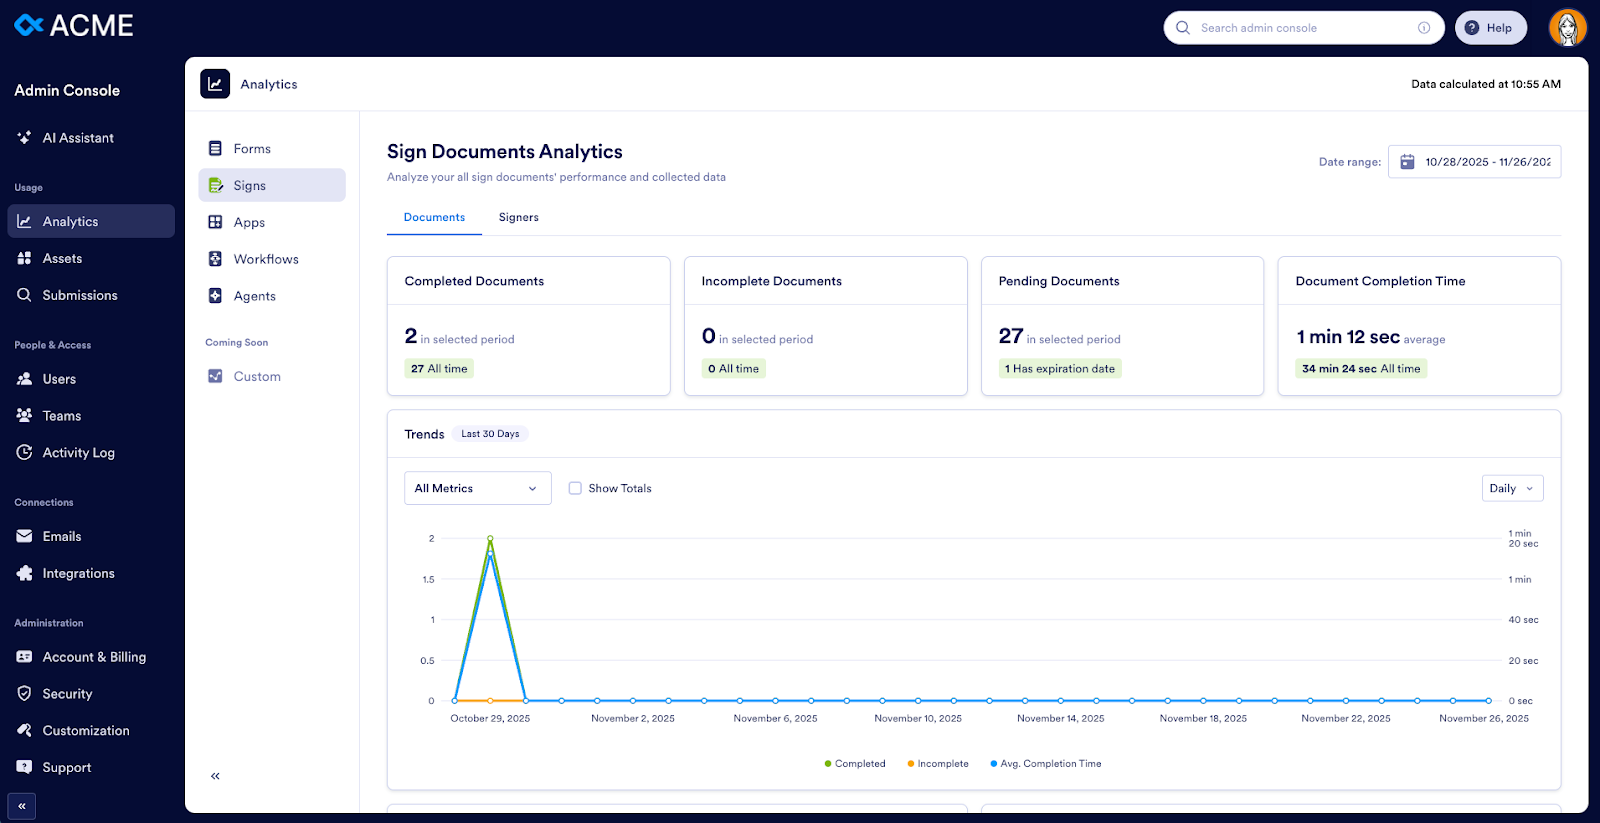
Enhanced e-signature oversight
A management panel within the Admin Console allows admins to
- Track e-sign document progress
- View pending signatures
- Audit completion timelines
- Monitor signer activity
- Generate audit-ready logs
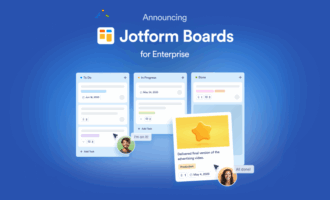
Boards management and workflow visibility
Boards — Jotform’s new task management experience — plays a key role in Enterprise.
From the Admin Console, administrators can now
- Monitor tasks generated via forms, AI Agents, or workflows
- Track team pipeline health
- Review SLA compliance
- Oversee cross-departmental workflows
Elevated security and role management
Enterprise includes
- Role-based access options
- Workspace-level permissions
- Granular controls for forms, tables, and apps
- Centralized integration management
- Enhanced IP, SSO, and audit settings
All of these security and authentication controls can be configured from the Security page (under Administration). Admins can now govern their entire instance with more precision and fewer manual steps.
Now you’re ready to leverage the full power of the Admin Console. For additional resources, read our user guide or watch the Admin Console chapter in our Jotform Enterprise Demo video.


Send Comment:
2 Comments:
April 29, 2023
That’s very helpful about console data, It helps to manage data.
September 7, 2022
Why was the price low in the past?