
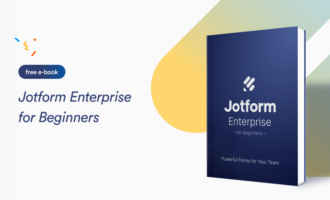
If your organization just signed up for Jotform Enterprise or added you to an existing account, congratulations! This blog post is designed to help you get started with our feature-rich, user-friendly form builder. Along with some inspiration for using Jotform Enterprise to minimize manual work, here are some tips that will help you get your first forms ready to go in no time.
1. Build a form from scratch
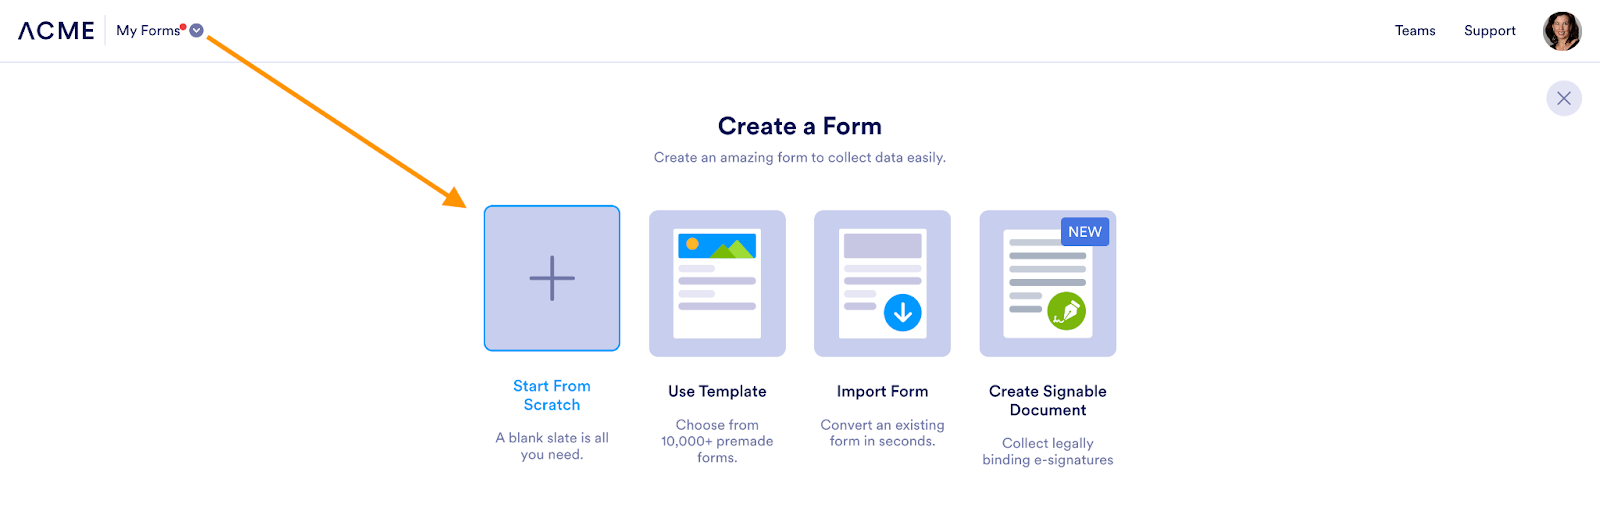
Once you’ve logged into your Jotform Enterprise account, you’ll see the Create Form button at the top of your screen. Click it and then select Start from Scratch to start building your first form.

From there, you have the option to build a Classic or Card form. Classic forms are ideal when you want to present your questions on one page or on a series of pages and in sections. The Card layout is ideal for presenting one question at a time, which can improve the experience on mobile and make longer forms a bit easier to digest.

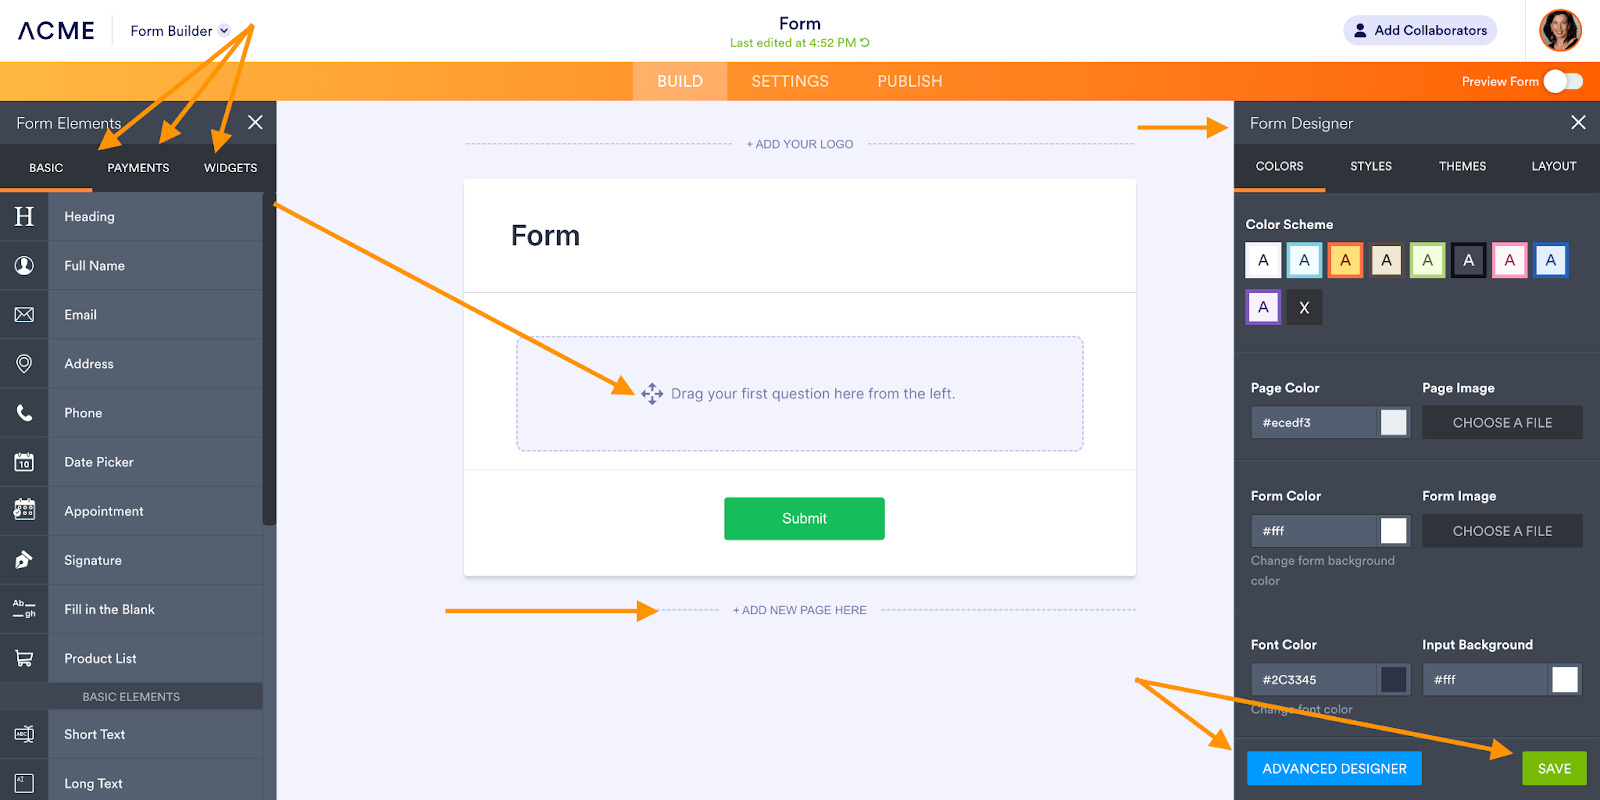
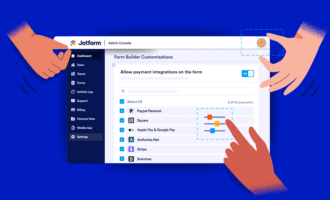
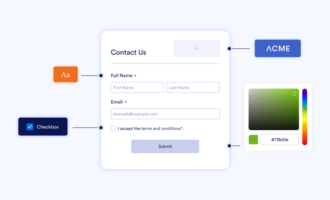
Once you’ve decided on your layout, use the Form Builder menu on the left side to drag and drop whatever form elements you’d like into your form. There are hundreds of features and widgets to choose from to gather data, schedule appointments, collect payments, and get what you need done.
On the right side of the screen, our Form Designer enables you to select form colors, styles, theme, and layout. As an Enterprise customer, your administrator can also set up and share forms with brand-specific themes to save you time (or read our next tip about using our templates).
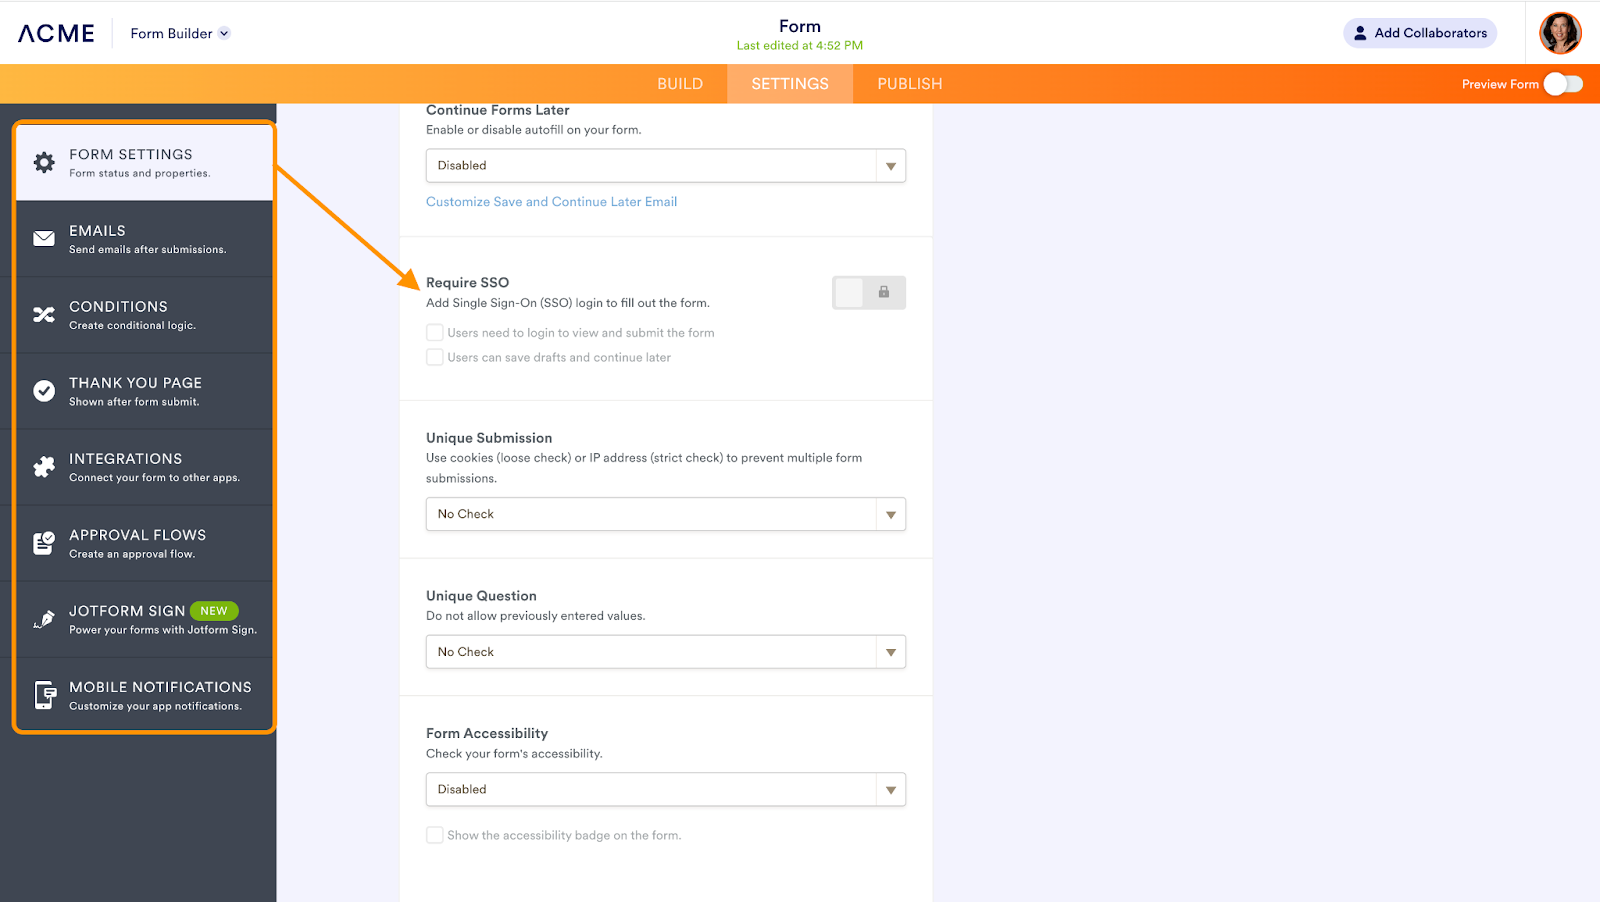
Additional customizations, including conditional logic, SSO authentication, and Jotform Sign, can be found in the Settings tab.
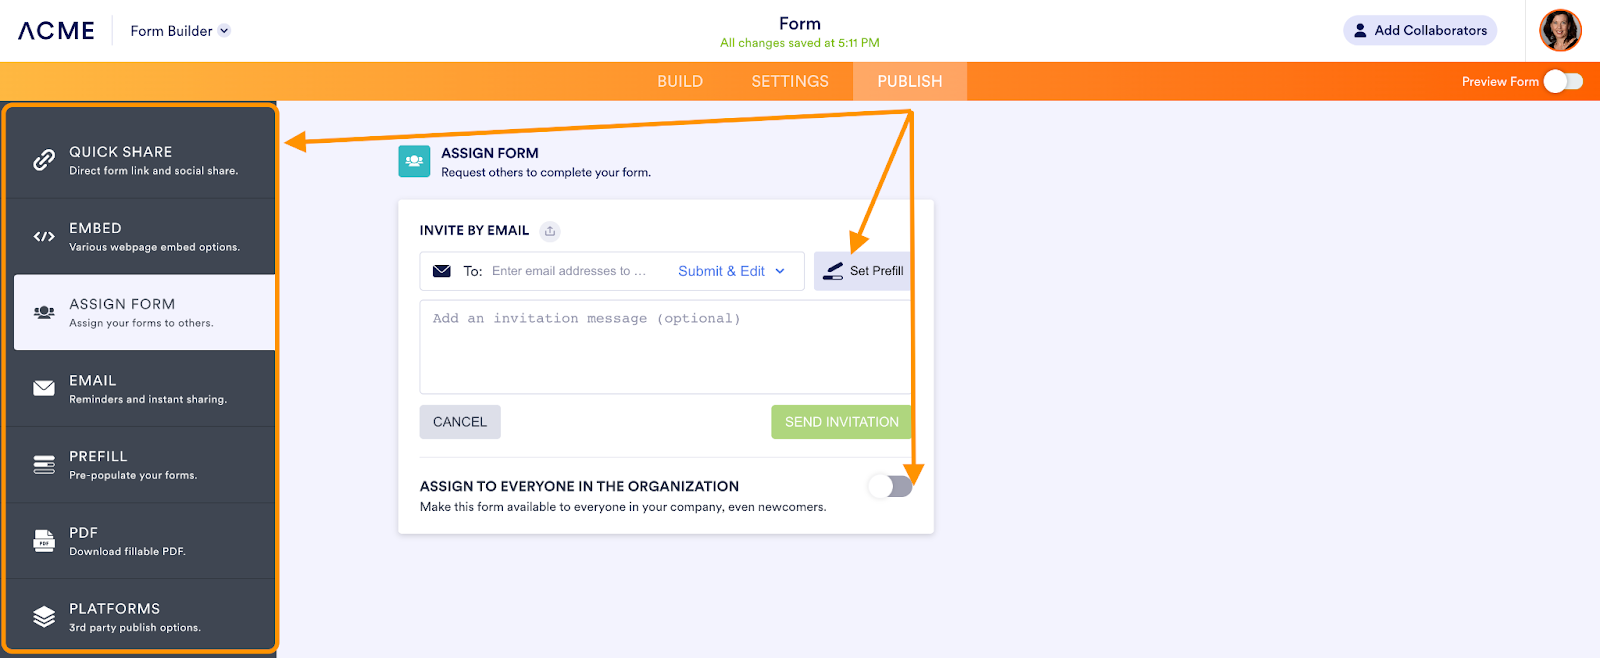
Use the Publish tab to determine who should see your form and how they will access it. Choose from social sharing and embedding options, or sharing via email to select individuals or your entire organization. Take advantage of SSO Prefill and fillable PDF options to enhance your user experience, or consider a range of third-party platforms for publishing.
2. Create forms quickly and easily with Jotform templates
If you’re in a hurry or curious about what you can do with a form, there are more than 20,000 free templates available. Search by form type, industry, or profession to kick-start your form building process, and then customize a template to suit your needs by following the steps above.
3. Digitize paper forms with Smart PDF Forms
Say goodbye to paper forms and (gasp!) carbon copies, and say hello to Smart PDF Forms. Save on paper and printing by importing and digitizing your existing paper forms. No more trying to decipher handwriting or sifting through stacks of paper.
Securely collect, store, and share data; search for specific records; and send confirmations of submission data in a snap. Migrating all your paper-based forms and processes to Jotform Enterprise is a great first step to getting the most out of the platform.
4. Collect e-signatures with Jotform Sign for Enterprise
Don’t settle for expensive, unwieldy e-signature solutions. Collect secure, electronic signatures seamlessly with Jotform Sign, which is included with your Jotform Enterprise plan. Simply drag the Signature field over from the Form Elements list and begin collecting e-signatures.
The Jotform Sign Inbox lets you read status updates on document progress, send reminder notifications, and download signed documents. Plus, Jotform Sign works with Jotform Enterprise’s entire suite of products, including
- Jotform Tables for project management
- Jotform Approvals to automate workflows
- Report Builder for visually rich communications and updates
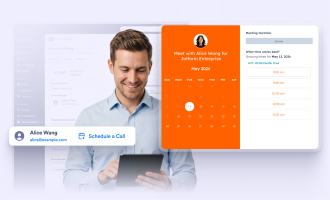
5. Automate appointment scheduling with customized parameters
The process of scheduling an appointment is something that doesn’t get talked about often. It may be an everyday occurrence, but it’s one of the first experiences a user has with your organization.
It’s also an exceedingly time-consuming task for the person responsible for scheduling — and rescheduling — individuals with busy calendars. Automate and upgrade your appointment scheduling experience with an appointment scheduling form.
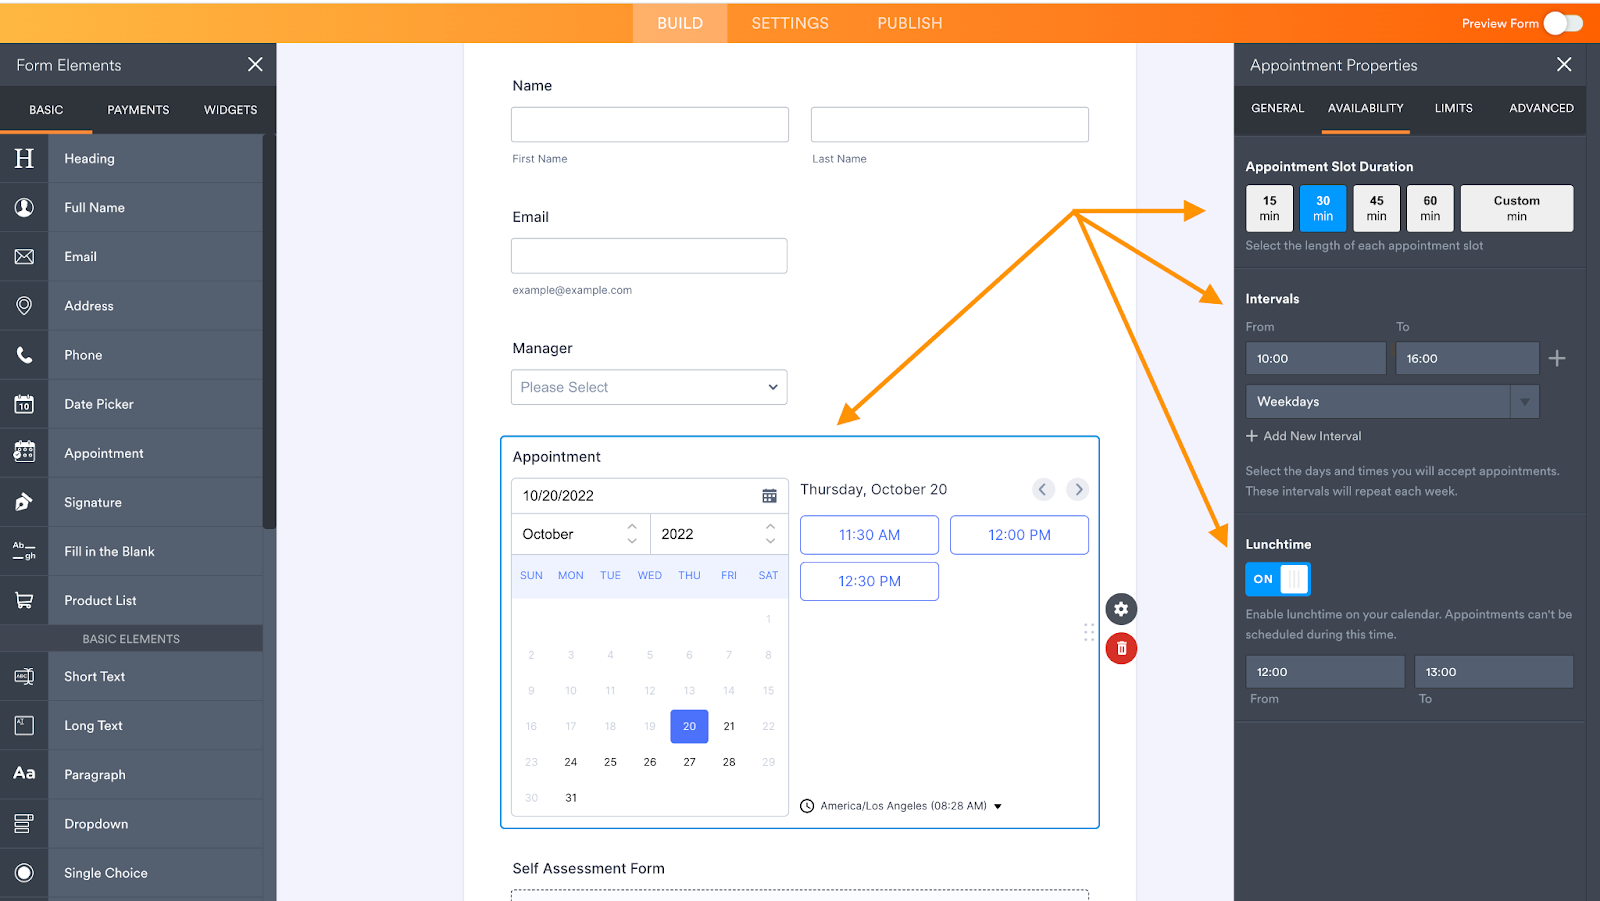
Select the Appointment option from the Form Builder elements, and in a few clicks, you can
- Choose the appointment duration
- Limit which days and times are available
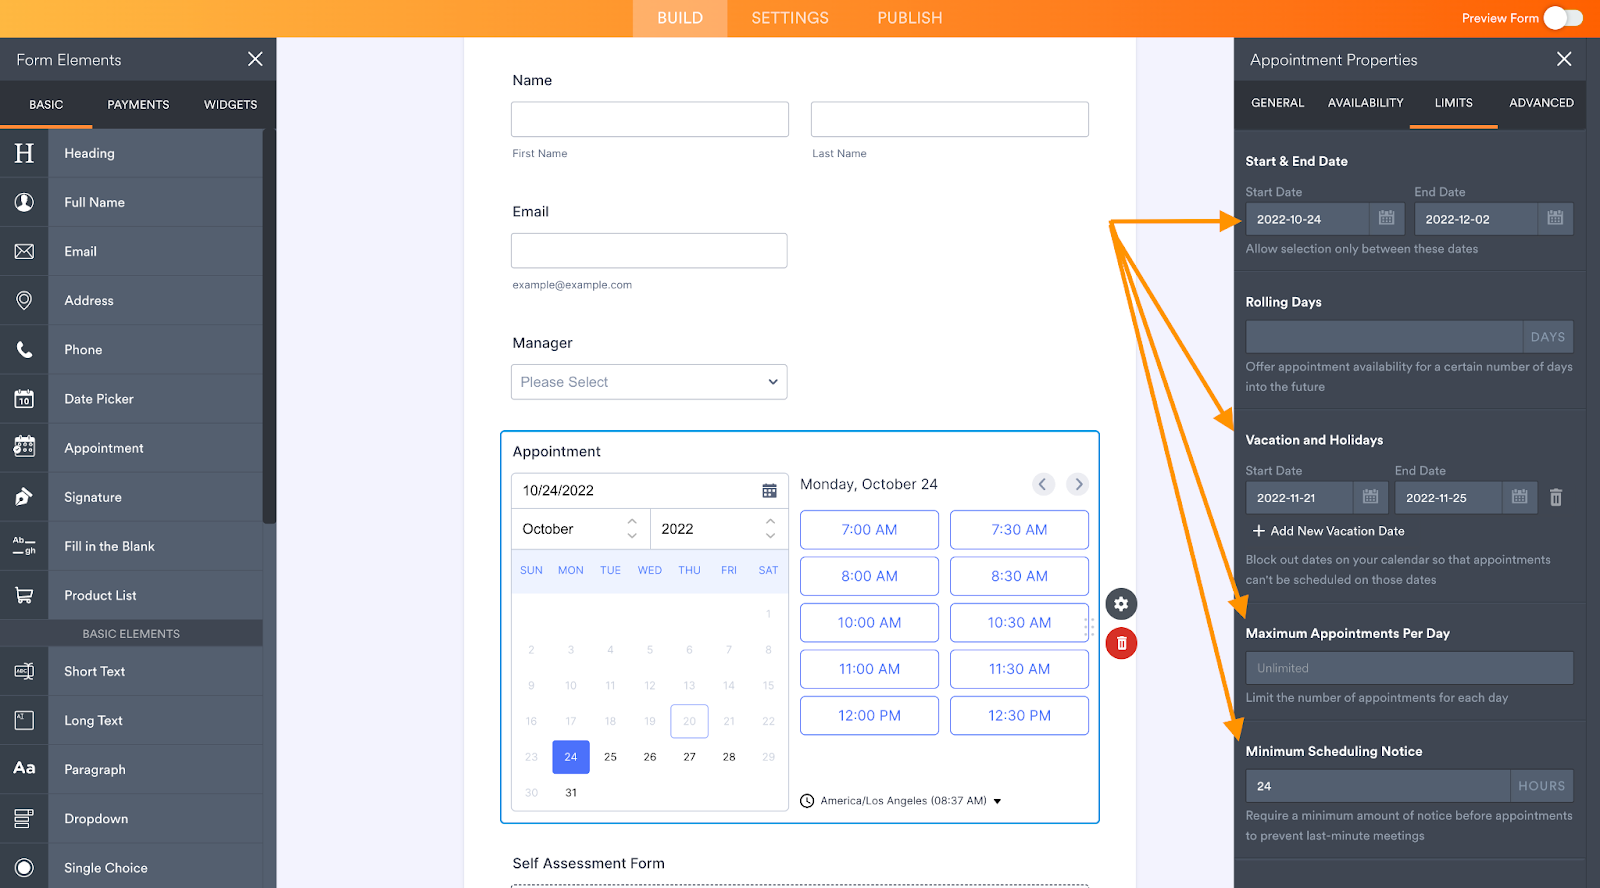
- Specify a date range for appointments to be scheduled
- Block out lunchtime, vacations, and holidays
- Ensure preparation time with a minimum scheduling notice
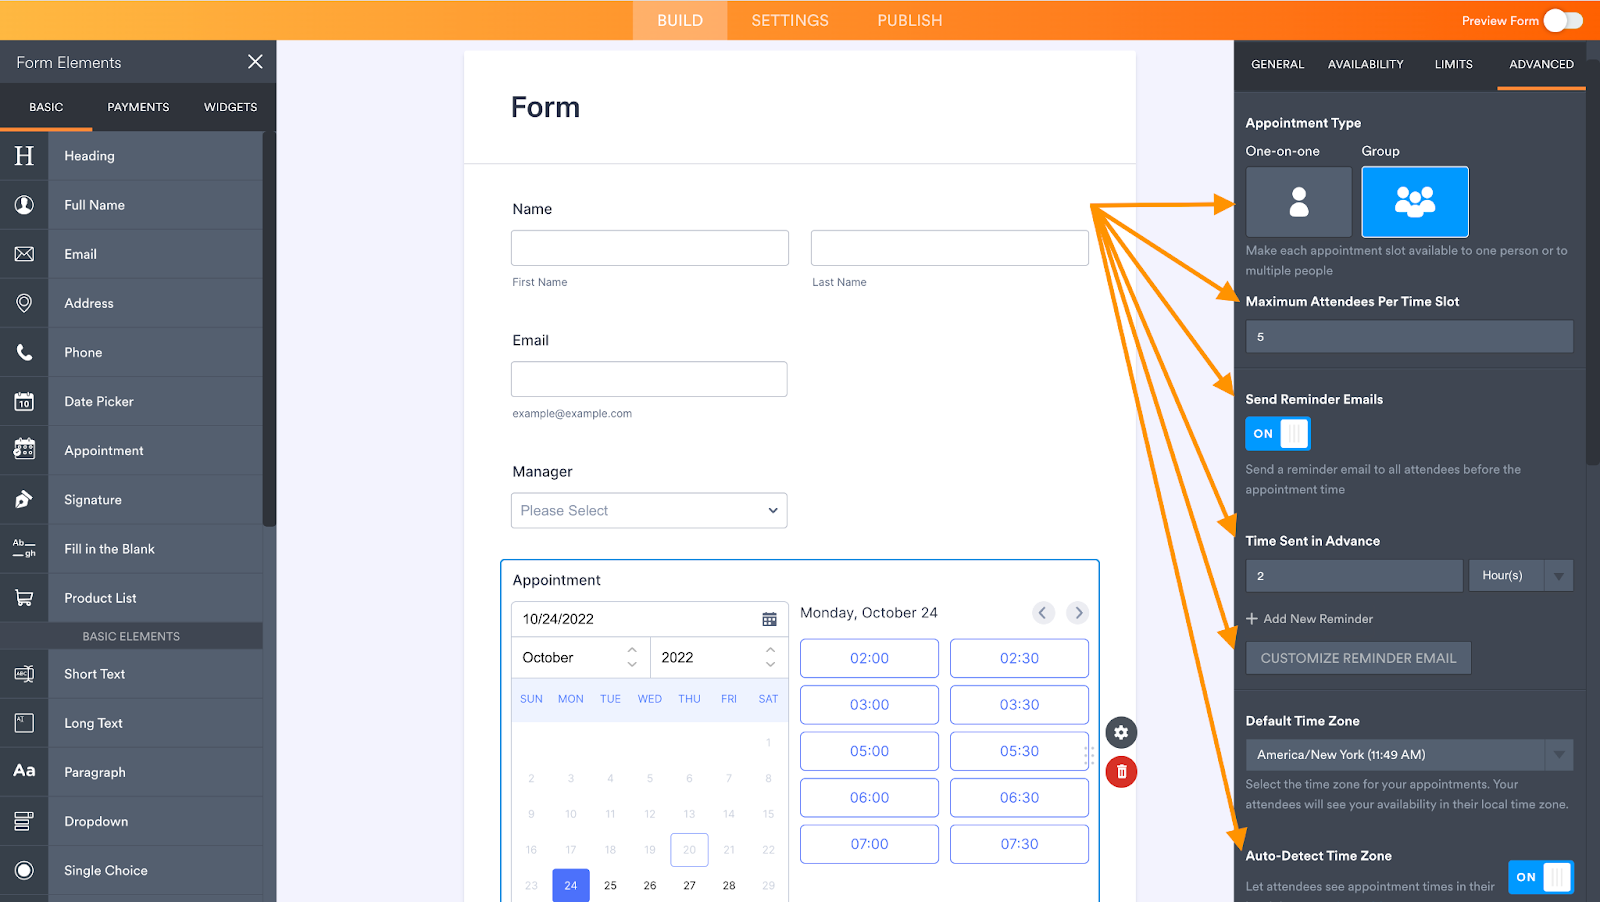
- Enable group appointments and set a maximum number of attendees
- Automate and customize appointment reminders
- Set time zone preferences and more
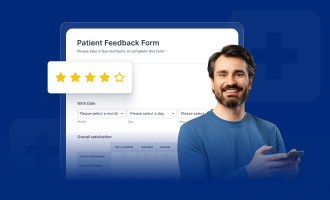
6. Create quick customer, donor, and employee surveys
Online survey forms are an excellent conduit for more data-driven decisions in your organization. Staying connected to the people who make your organization hum shows you care about their opinions. And taking action on that feedback can increase customer, member, and employee loyalty and engagement.
Here are a few ideas to help you shed light on how and where to spend your precious resources:
- Get product/service enhancement ideas from your advisory board or power users.
- Design educational opportunities around major donor interests.
- Update professional development programs based on 360-degree reviews.
- Inform your communications content, frequency, and channels with customer input.
7. Save time and boost security with single sign-on (SSO) integrations
How can you speed form submissions, increase data accuracy, and enhance security? With the single sign-on integrations from Jotform Enterprise. You can use single sign-on to ensure only specific individuals can access your forms and submission data, prefill form data with existing information, and streamline logins using specified credentials. Here’s a detailed overview of how to enable SSO integration.
8. Automate emails with notifications and autoresponders
People have written volumes about inbox hacks and ways to avoid wasting time on email. Here’s one more tip: Automate your emails.
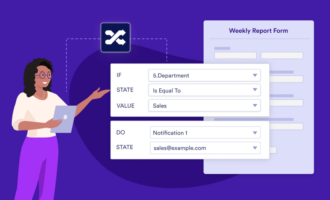
Within the form Settings, you can set up a notification to let you or your colleagues know when forms are submitted or edited, and set up autoresponders to let the form filler know you’ve received their information or to provide an email verification of their submission. If needed, you can send your autoresponder a certain number of days after form submission or on a specified date.
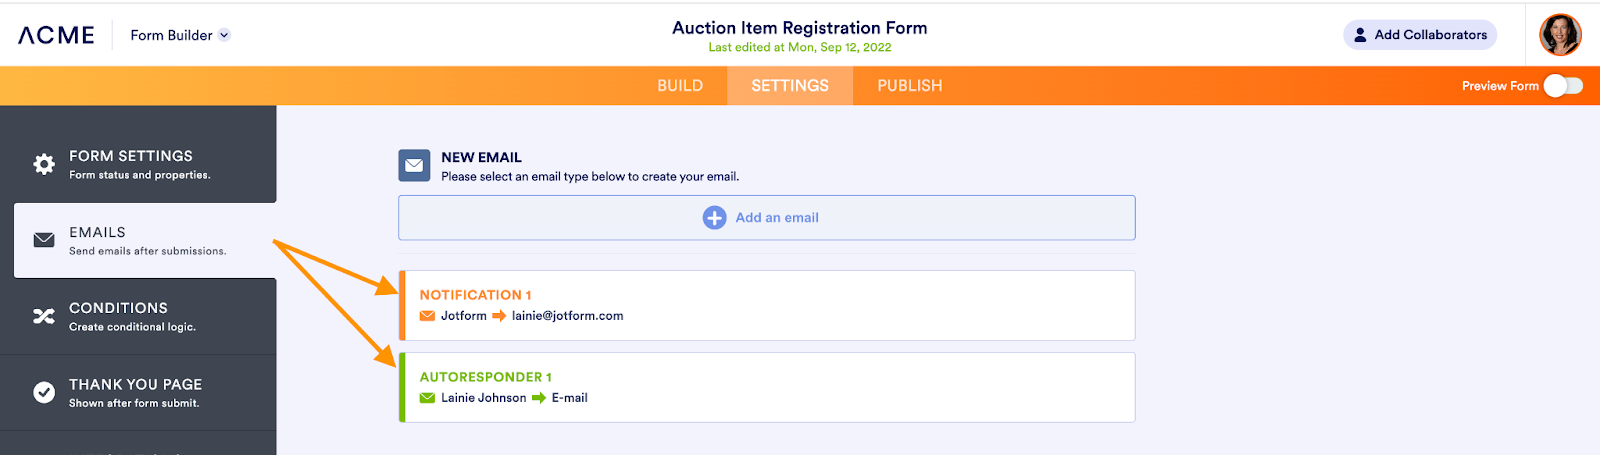
Customize your email subject and content by adding form fields or directly typing into the relevant email area and clicking Save.
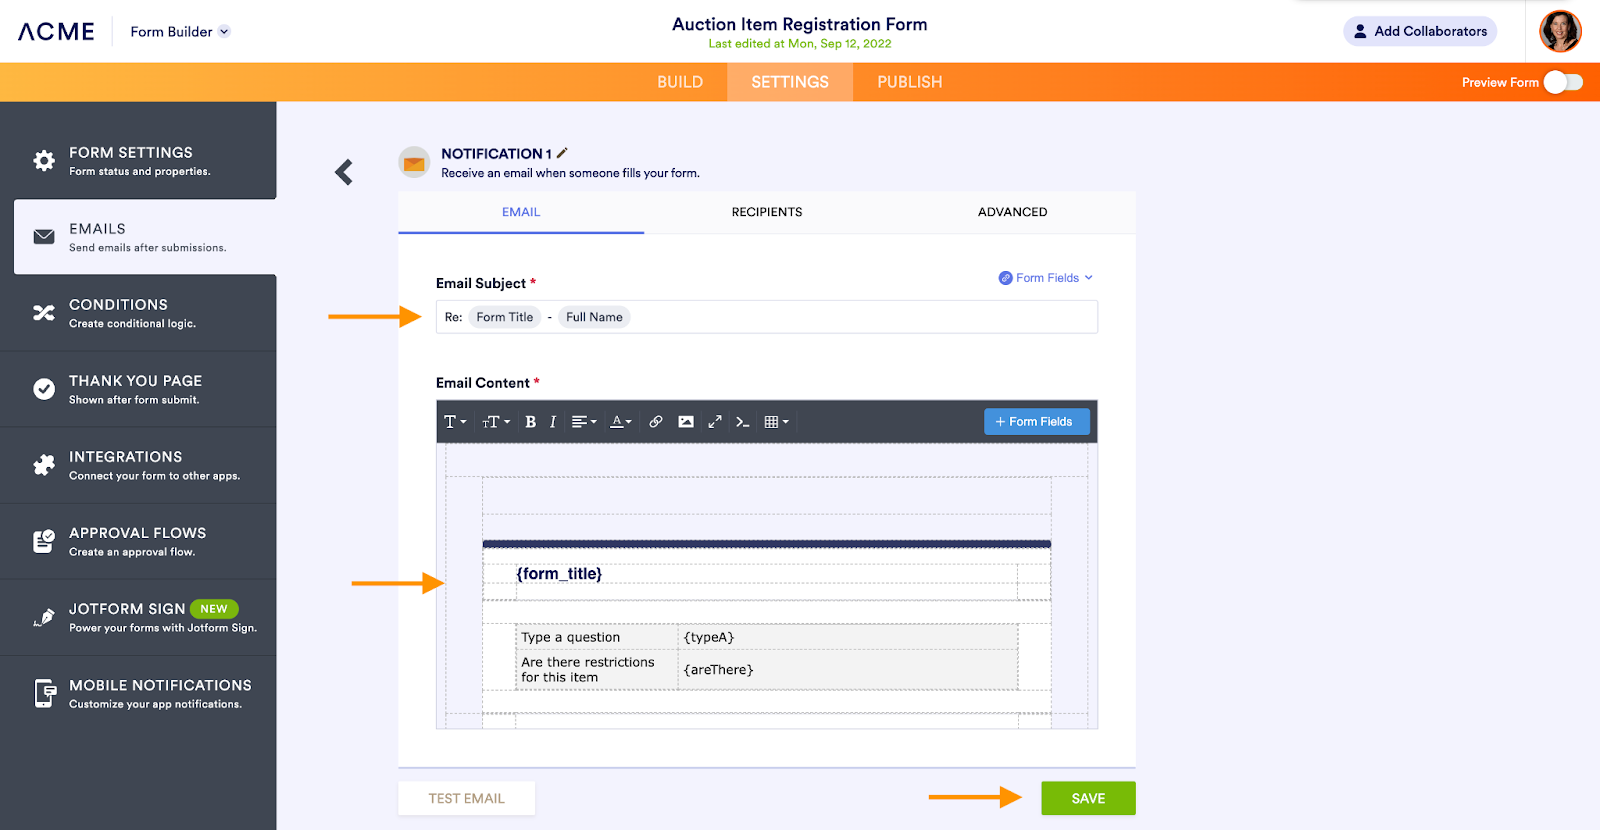
You can even attach a PDF to your email notification and password protect it as needed.
9. Tailor your Thank You page
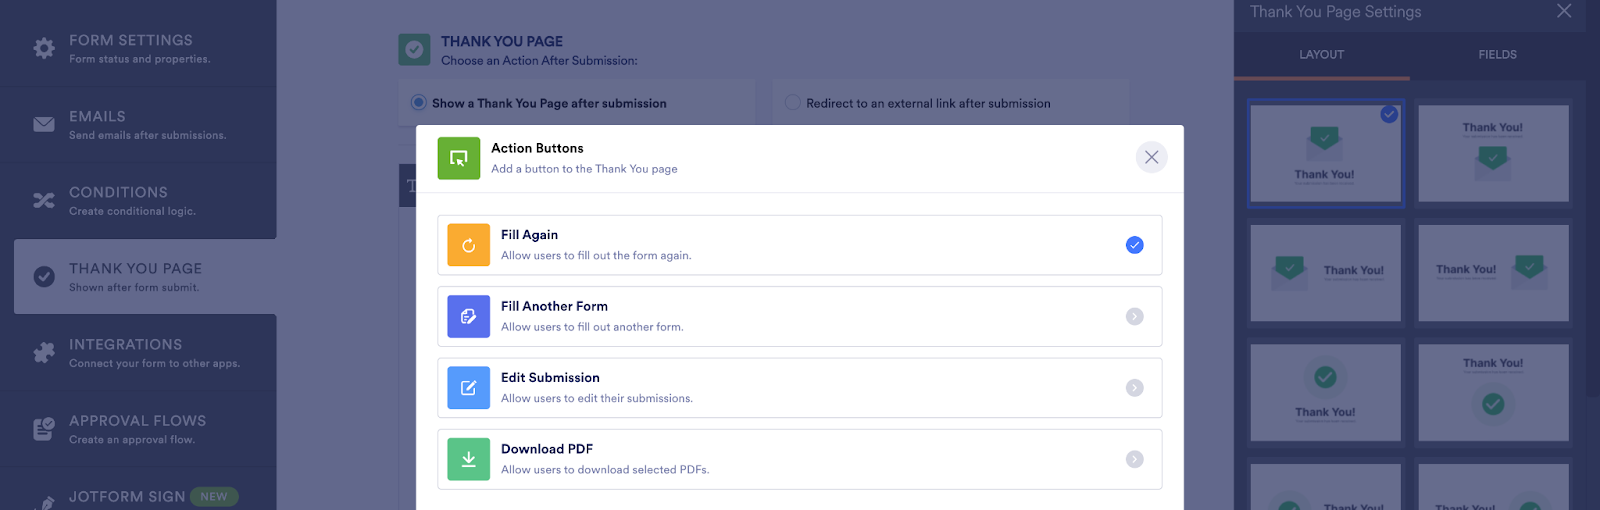
It’s common to see a Thank You page after completing an online form. In addition to the many layout and personalization options available for Thank You pages, Jotform Enterprise enables you to direct users to another URL or request a specific action depending upon your needs:
- Routine inspection or inventory form? Use Fill Again.
- Just getting started? Use Fill Another Form.
- Anticipating mistakes? Use Edit Submission.
- Have related resources? Use Download PDF.
10. Share your form
There are no additional steps required to publish your form. A URL is automatically generated upon form creation so that you can share it immediately from the Publish tab. Depending on your audience, you have many options for sharing your form:
- Share via email with a customized message as well as customizable viewing and editing options.
- Assign your form using a simple link or by sending an email.
- Tailor form access by making it available to the general public, form assignees, or people in your organization. Require a company email domain for added security.
- Share on social or third-party platforms.
- Embed your form on a website using source code, an iFrame, popup tools, and more.
- Download a QR code for a mobile-friendly option on the go.
- Share your form as a template so others in your organization can get a head start on building forms of their own.
We hope you feel empowered to start building your first form and exploring all the customization and data gathering features at your fingertips. Forms are just the beginning of this journey, so be sure to bookmark our blog and subscribe to our YouTube channel to learn more and make the most of the Jotform Enterprise platform.


Send Comment: