We’re happy to announce new customization features for Jotform Enterprise to help you enhance branding, improve security, and simplify the user experience within your organization.
Customize your Enterprise login page, control integration usage, create server-wide sender emails, and more. With this latest update, the Jotform Enterprise Admin Console is packed full of new options. Let’s take a look at all these features.
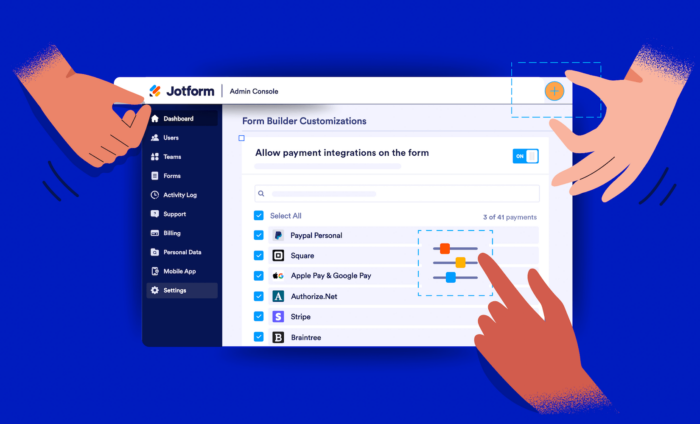
Control access to payment gateways
As a Jotform Enterprise admin, you’re now able to control which payment integrations are available to users in the Form Builder. This feature allows your organization to increase security by only allowing the use of approved payment gateways.
To disable and enable payment integrations, go to the Assets tab in the Admin Console. Open the Settings menu by clicking on the button on the right side of the screen.

On the page that follows, you can select which payment integrations you want to be available to your organization. You also have the option to turn off all payment gateways completely.

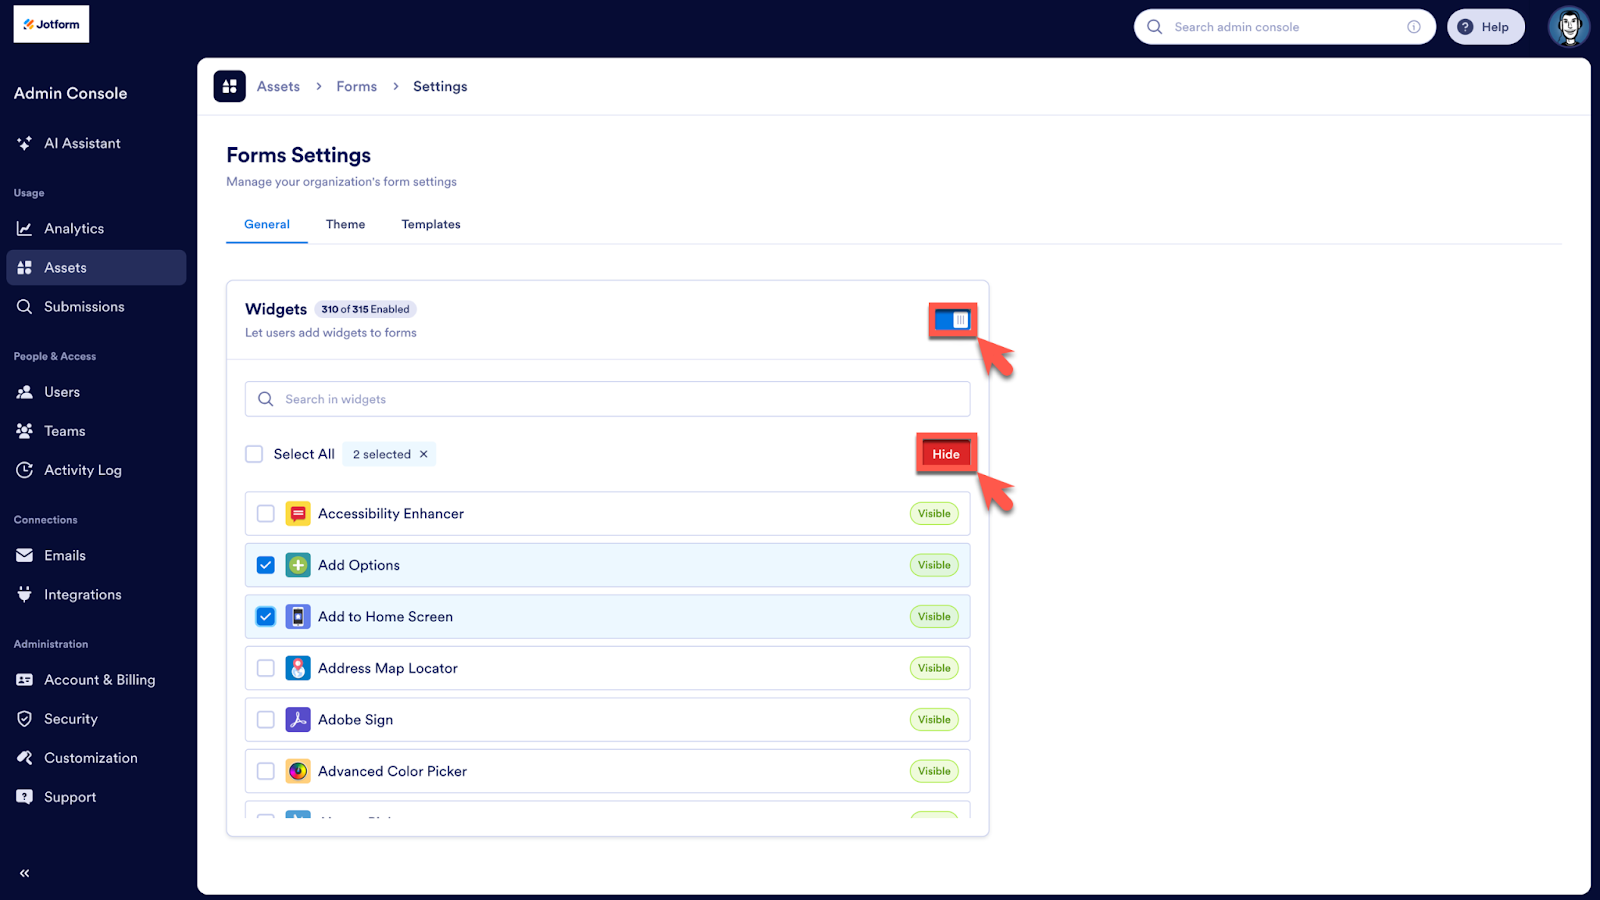
Control access to widgets
Enterprise admins can also now control the widgets available to users in the fForm bBuilder. This feature allows you to remove widgets that may be unnecessary to your organization, making it easier for your users to find relevant and useful widgets when building forms.
To disable and enable widgets, open the Assets tab and select Forms.

On the following screen, open the Settings menu. There, you’ll find the Widgets section. Just like payment gateways, you can enable and disable certain widgets or completely toggle them off.
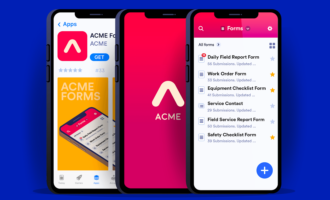
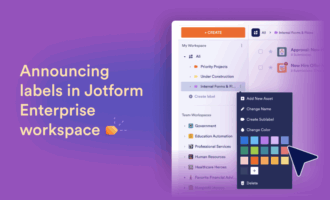
Customize your header, login page, error page, and more
The Admin Console now contains an advanced Customization section where you can customize your organization’s header, login page, error page, and workspaces. You can also create a brand kit for your organization using the AI-powered Brand Kit feature.
To add company colors and logos, go to the Customization tab and add your company’s URL or upload its logo. Next, click Regenerate. The Brand Kit will be applied to your Jotform Enterprise login page, error pages, and workspaces.

To change your organization’s logo, open the Organization Logo section below Brand Kit URL, and select a new logo. Likewise, you can change the favicon by opening the appropriate section and making a selection. You can also change these settings in the General tab.

Create custom server-wide sender emails
The final new Enterprise customization feature is the ability to create organization-wide sender emails. This allows you to change the sender of your Jotform outreach emails, replacing the default noreply@formresponse.com. This is a great feature for brand-conscious organizations looking to make full use of Jotform Enterprise’s white-labeling capabilities.
To create an organization-wide sender email, go to the Email tab and then click on the Add Sender Email button.

On the following screen, it’s easy to quickly connect a Google or Microsoft email account. Alternatively, you can add a custom email address.
We hope these new customization features help you elevate your organization’s branding and security within Jotform Enterprise. Want more information or help using these new features? Our Enterprise client support team is just a few clicks away in the Admin Console and would be happy to help out!


Send Comment: