
Steps to integrate AI into an app
- Start with a narrow use case
- Choose your integration approach
- Establish a secure backend architecture
- Choose your data connection pattern
- Demand structured outputs
- Add production guardrails before shipping
AI features that used to be impressive, such as ones that could summarize a long document or answer a question in plain language, are now expected. For most teams, the question isn’t whether to add AI to their app but how to do it without creating new problems.
Adding AI to an existing app isn’t as simple as pasting an API key into your front-end code. If done carelessly, adding an AI feature can introduce problems that are hard to undo later. It can lead to latency issues, meaning AI responses take several seconds compared to the immediacy users are used to. What’s more, most providers charge for every request, so your bill increases as usage grows. AI can also behave unpredictably, so your app needs safeguards to handle unexpected responses.
If you’re a developer, product manager, or chief technology officer who wants to learn how to add AI to an existing app, this tutorial will take you through the steps without damaging your current infrastructure. We’ll cover the full life cycle of an AI feature, from choosing the first feature you want to infuse AI into to enforcing structured JSON outputs and streaming responses. By the end, you’ll feel confident that what you’ve built won’t break.
1. Start with a narrow use case
The most common mistake teams make when learning how to build a fully autonomous AI agent is going too big too soon. You should start with one narrow, predictable workflow. That way, you can test it and understand what happened if something goes wrong. This task could simply be summarizing a note or tagging a support ticket, giving your product team a controlled way to see how the AI behaves before it’s fully rolled out.
Here are a few features to test, based on the type of app you’re developing:
| App type | Ideal first AI feature | AI model type |
|---|---|---|
|
Notes and productivity |
Summarize a document or note into a few bullet points |
LLM (text generation) |
|
Customer support |
Categorize an incoming ticket by topic and urgency |
LLM (classification) |
|
E-commerce |
Answer product questions from your catalog and FAQs |
LLM with retrieval-augmented generation (RAG) |
|
Finance |
Flag unusual transactions for review |
Predictive model (anomaly detection) |
Each of these has a narrow scope and a verifiable result, which makes them safe places to start.
2. Choose your integration approach
Once you’ve picked a feature to start with, you’ll need to decide on the technical path you’ll take to connect the model. There are three main approaches:
- AI-as-a-Service APIs: You send requests to a hosted model from a provider such as OpenAI, Anthropic, or Google. This is the fastest way to get started because there’s no infrastructure to manage, and AI APIs for mobile apps work the same way as web apps. The trade-off is less control and a cost that rises with every request.
- Self-hosted models: You run an open model on your own servers. This gives you full control and can lower cost at scale, and it’s the route for custom AI model integration when data privacy or fine-tuning matters. In exchange, you take on real infrastructure and maintenance work.
- AI software development kits and frameworks: A LangChain integration or similar framework adds a layer between your app and the model that handles common patterns, including retrieval and tool calling, so you write less connective code yourself. The cost is another dependency to learn and keep updated, as well as less insight into what the framework is doing between your app and the model.
3. Establish a secure backend architecture
There’s one rule that matters more than any other when you’re learning how to integrate AI into an app: Never let your app talk directly to an AI provider.
Anything in your front-end code, whether it’s a web app in the browser or a mobile app on a device, can be read by the people using it. Your secret API key would be sitting in that code, and it’s easy to extract it from the network traffic or the app bundle. Once someone has your key, they can run requests against your account until your budget is gone. This is the most common and most expensive mistake in AI backend architecture.
Instead, route every request through your own back end so you can keep your API key secure, control costs, and validate the AI’s responses before users see them. Here’s what that flow looks like:
- User action: Someone clicks Summarize in your app’s interface.
- Front end: Your app sends the request to your own back end, not to the AI provider.
- Back end: Your server authenticates the user, applies rate limits, and attaches the secret API key, which lives only here.
- AI provider: The model processes the request and returns a response.
- Back end: Your server validates and sanitizes that response, then formats it for your app.
- Front end: Your app displays the clean, checked result to the user.
Routing requests through your own server adds a step, but that’s what makes everything else possible. Because every request passes through your server, the key remains hidden, users are limited to how often they can call the feature, and the AI response is checked before your app shows it to anyone.
4. Choose your data connection pattern
The next step for your custom AI model integration is to decide how much of your app’s data the AI can see and use. There are three standard patterns that differ in what they can do and how much work they require to set up:
- Prompt only: You include everything the model needs directly in the prompt. If a user asks to summarize a note, you send the note along with the instruction. This is the simplest pattern and the right default for self-contained tasks, but it works only when the relevant data is small enough to fit in the prompt.
- RAG: When the AI needs to provide an answer from a large amount of information, such as your product catalog, help center, or internal documents, you can’t fit all of it in every prompt. RAG solves this by searching your data for the pieces most relevant to the question, then passing only those into the prompt. It’s what lets an AI answer accurately from your own content instead of guessing, and it’s the standard approach for a knowledgeable in-app assistant. The trade-off is you typically need a vector database and a retrieval pipeline to make it work.
- Function or tool calling: The model can trigger actions in your app (e.g., checking an order status, booking a slot, pulling live data) by returning a structured request your back end runs. This is the most powerful pattern and the one to reach for when the AI needs to do something, not just say something.
Pro Tip
If you want to integrate a knowledgeable assistant into your existing app, use Jotform AI Agents. You can instantly train an agent simply by uploading your PDFs, website links, or text files, then seamlessly embedding that trained agent directly into your app’s UI, with no complex vector databases required.
5. Demand structured outputs
“Vibes-only prompting,” or relying on the model to reply in plain sentences, falls apart the moment your app needs to read the output as data instead of text. If you ask the model to categorize a support ticket and it replies, “Sure thing! The category is Billing,” your code has to extract “Billing” from that sentence. The next response might be phrased completely differently, making that extraction unreliable.
The solution is to require structured outputs, using a JSON Schema to make the model return a strict, machine-readable object like {“category”: “billing”, “priority”: “high”} every time. Your back end can then parse it the same way on every request, without writing fragile text-parsing logic or risking a crash when the wording changes.
6. Add production guardrails before shipping
Before the feature goes live, put a few safeguards in place. Each safeguard prevents a specific problem that’s harder to fix once the feature is live and people are using it.
Here are the mandatory safety checks to implement before pushing the feature to production:
- Input size limits: Cap how much text a user can send in a single request. Without a limit, one oversized input can spike your costs or exceed the model’s context window and fail.
- Rate limits: Restrict how many requests a single user can make in a given window. This protects your budget from accidental loops and deliberate abuse, and it prevents a single heavy user from degrading the experience for everyone else.
- Conversation history: If your feature is a chat, decide how much prior context you send back with each request. Too little, and the AI loses the thread; too much, and every request gets slower and more expensive.
- Streaming (SSE): For anything longer than a short reply, stream the response token by using server-sent events instead of making the user wait for the whole thing. It doesn’t make the model faster, but it makes the feature feel responsive rather than frozen.
How to monitor and scale your AI feature
Once the feature is live, you need visibility into how it’s behaving. Log the details that tell you where problems start, such as prompt length, response latency, and error rates, so you can spot a slowdown or a spike before users report it.
Plan for failure, too. AI providers have outages, so design a fallback for what your app shows when the model is unavailable, rather than leaving users staring at a broken screen. Once your first feature is stable and well understood, you can safely begin expanding into more complex AI agent workflows.
Don’t have an app yet? Skip the code entirely
If you’ve gotten this far and the Node.js, backend routes, and API architecture are starting to feel like more than you bargained for, here’s a question to ask yourself: Do I want to build all of this myself from scratch?
Plenty of apps that leverage AI aren’t complex products. If you just need an internal company portal, a client intake tool, or a smart directory your team can search, hiring a developer to build it can cost a lot of money and time, when you could set it up yourself in an afternoon.
If you want to create an app without coding, Jotform App Builder lets you describe the app you want in plain language and generate a working version with AI features that you can customize and share already built in. There’s no back end to secure, no API keys to hide, and no pipeline to maintain because it’s all handled for you.
Here’s how quickly it comes together:
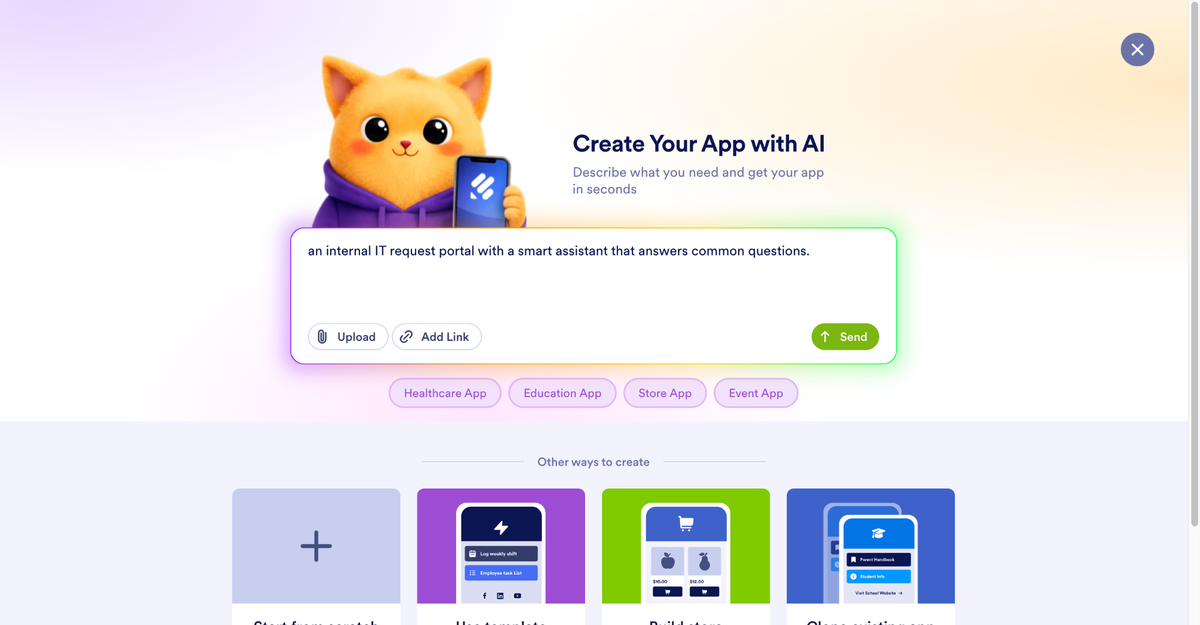
- Open Jotform App Builder and describe your app. Tell it what you need in a sentence or two, such as “an internal IT request portal with a smart assistant that answers common questions.”
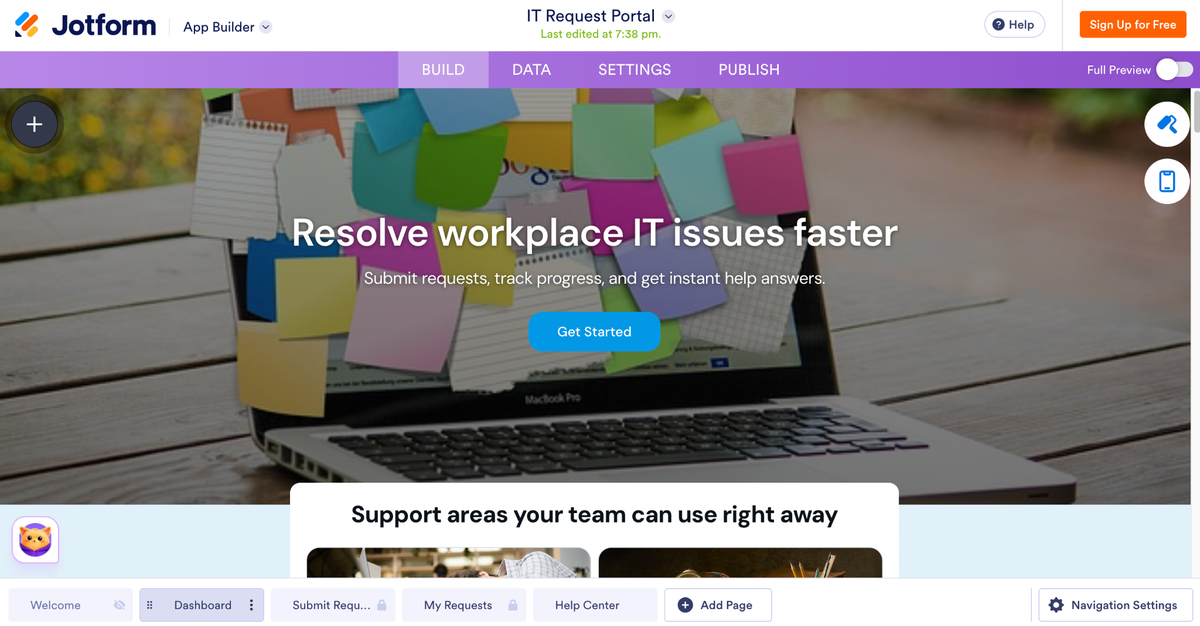
- Review the generated app. Within about a minute, you’ll have a working app with pages, forms, and navigation already in place.
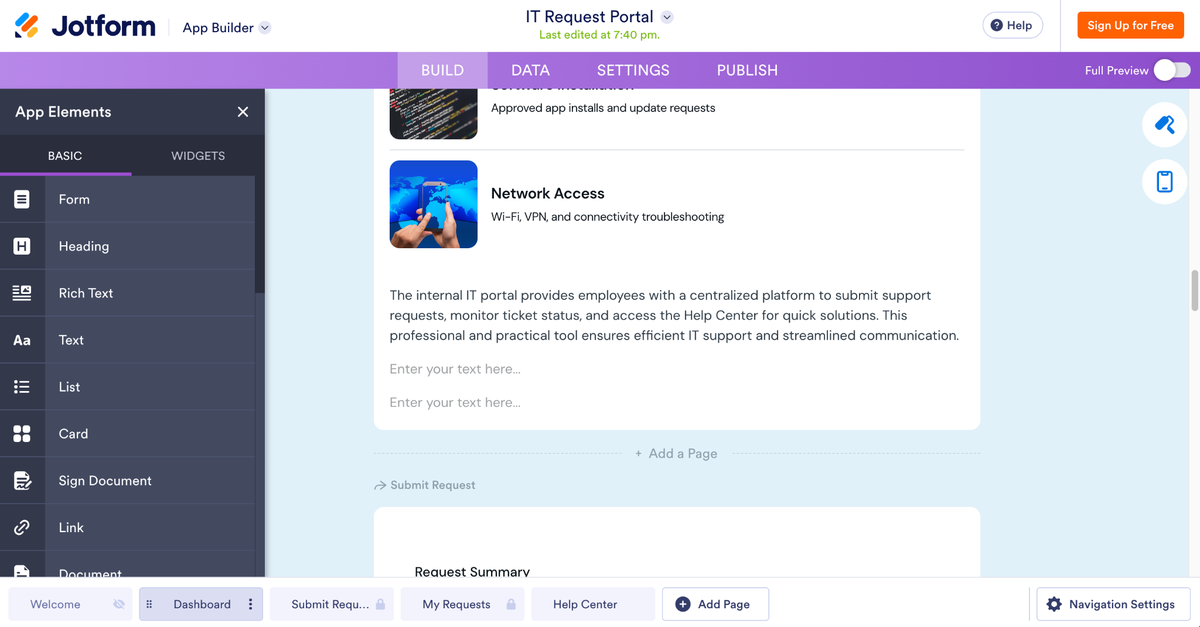
- Customize the app by adjusting the layout, adding your branding, and editing the content by prompting the AI or editing directly.
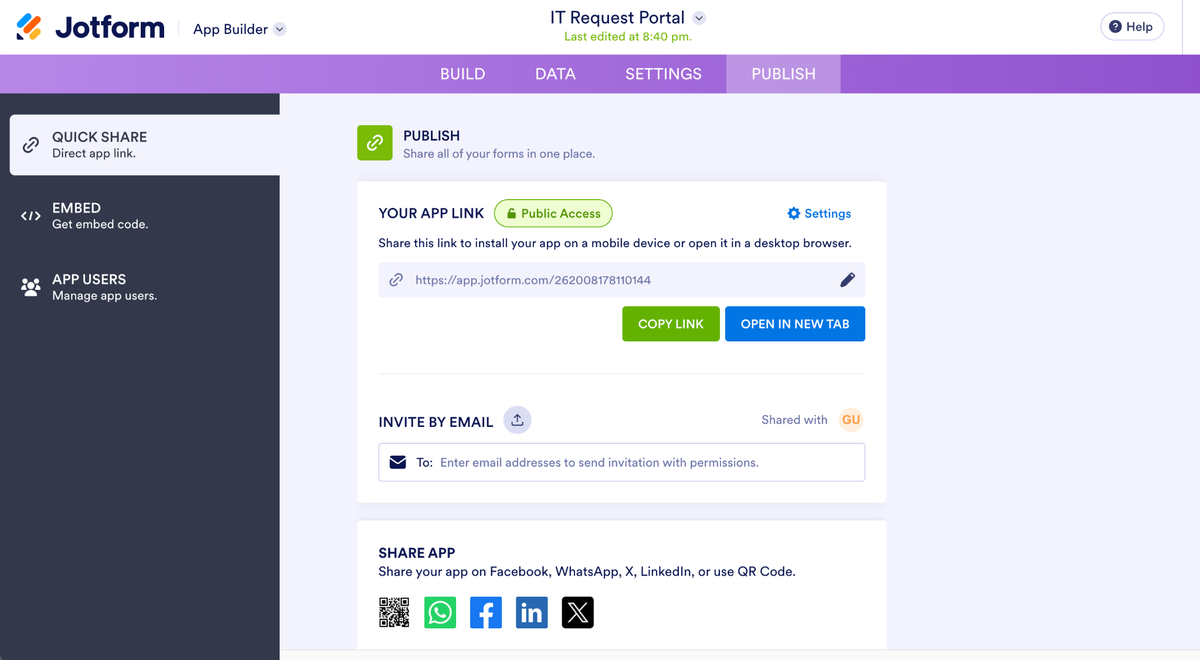
- Publish the app and share it with a link or a QR code, ready to use on any device.
If your goal was a working app with AI features, not a monthslong engineering project, this achieves that integration with minimal friction. You can always move to a custom build later, once you know exactly what you need.
Whichever route you take, the same principles apply: Start with a small, focused first feature that’s easier to test than an open-ended one. Keep your API key on your own server to protect both your budget and your users. And use structured output to stop your app from breaking on a sentence it can’t read. The limits and logging you add before release are what let you identify problems before anyone reports them. Handling those at the start costs far less than retrofitting them once users depend on the feature.
And if you use Jotform App Builder, you’ll have a working app with AI features ready to use in a few minutes.
This article is for CTOs, product managers, and software developers who want to add artificial intelligence (like LLMs, computer vision, or predictive analytics) to their existing mobile or web applications without breaking their current infrastructure.































































































Send Comment: